• Welcome to TechPowerUp Forums, Guest! Please check out our forum guidelines for info related to our community.

[MSI PRO MOD S3] - KRAIT VENOM

Joined
Apr 12, 2015
Messages
269 (0.08/day)


Hi guys and welcome to my build log for a mod I will be calling KRAIT VENOM. This will be my entry in the MSI PRO MOD Season 3.


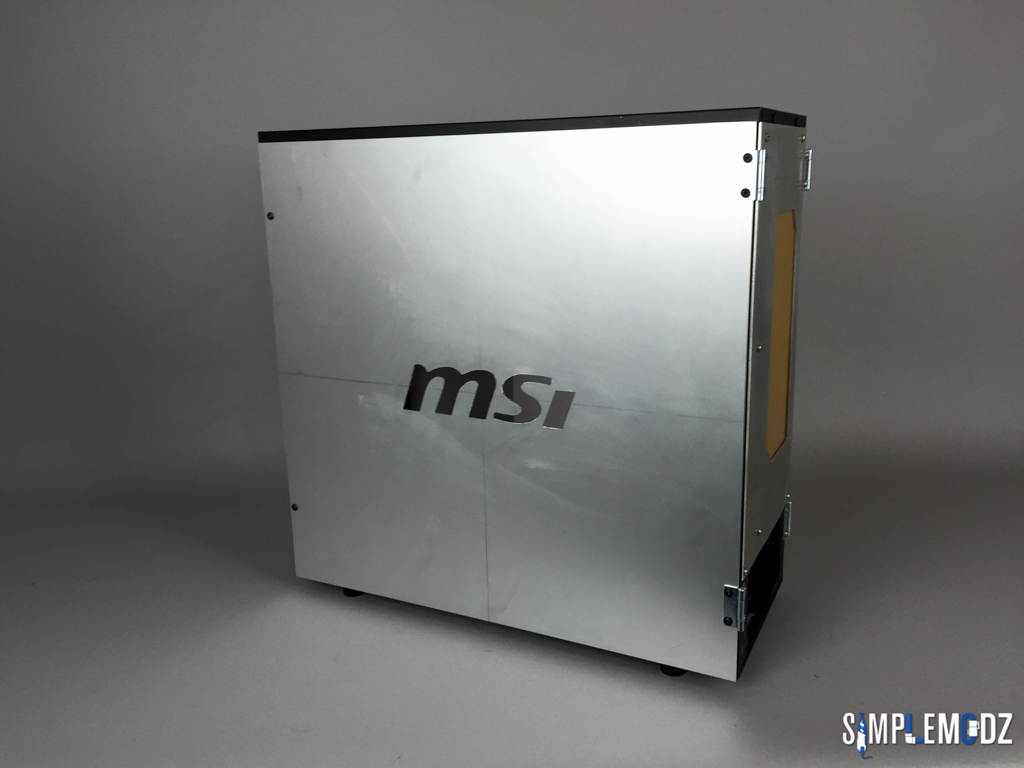
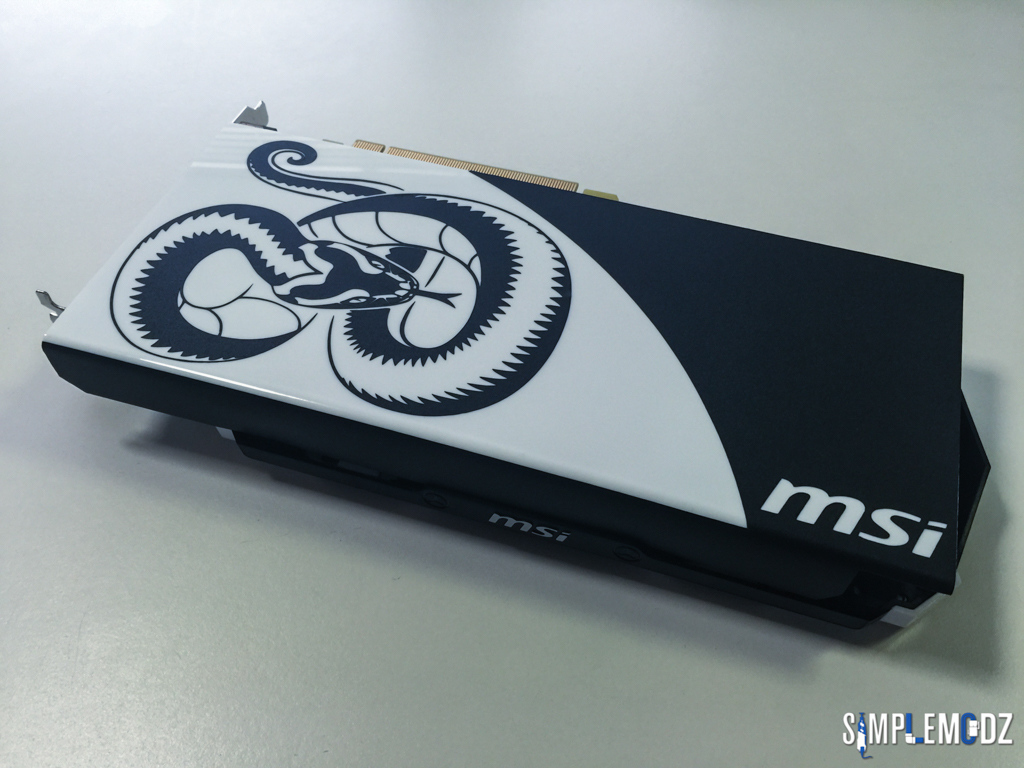
The theme will be based around the MSI Krait theme and will be all blacks and white.


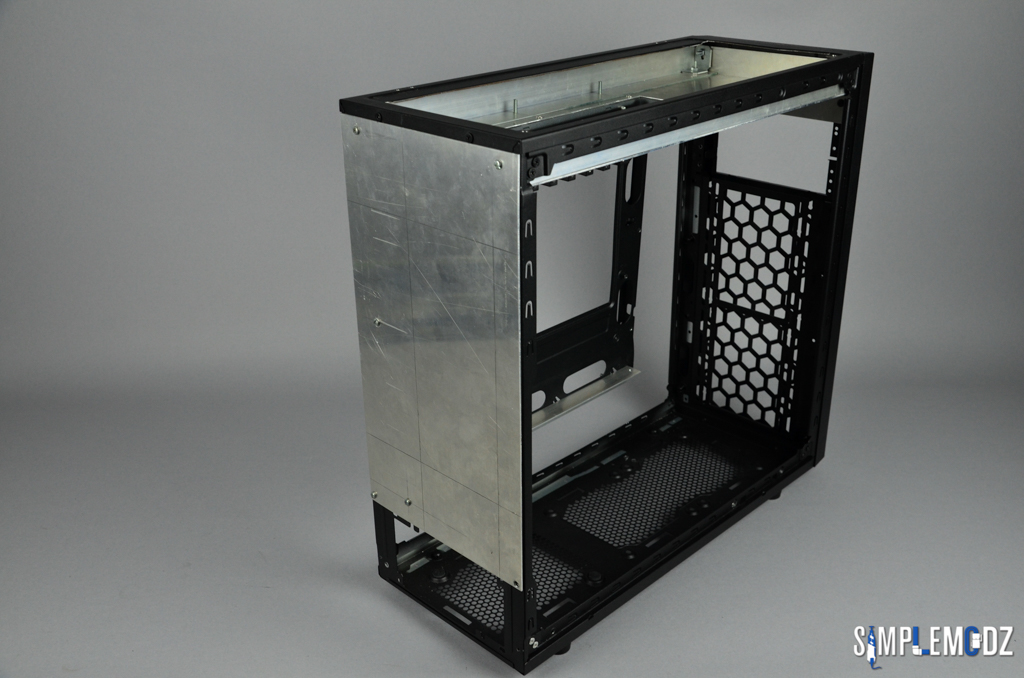
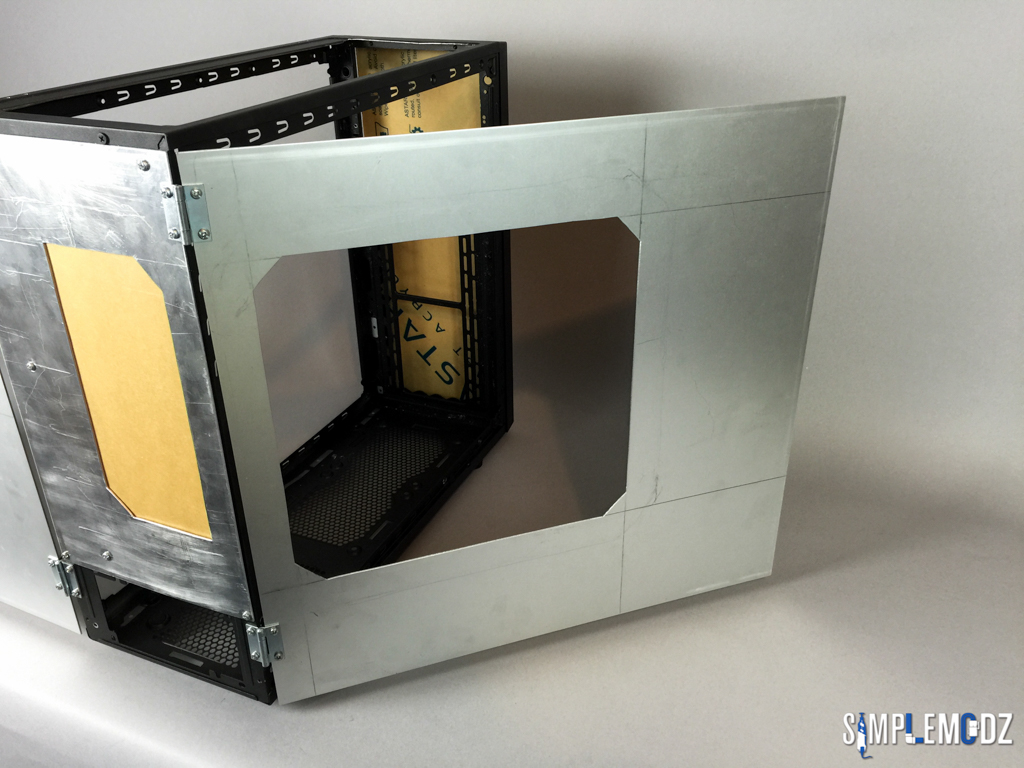
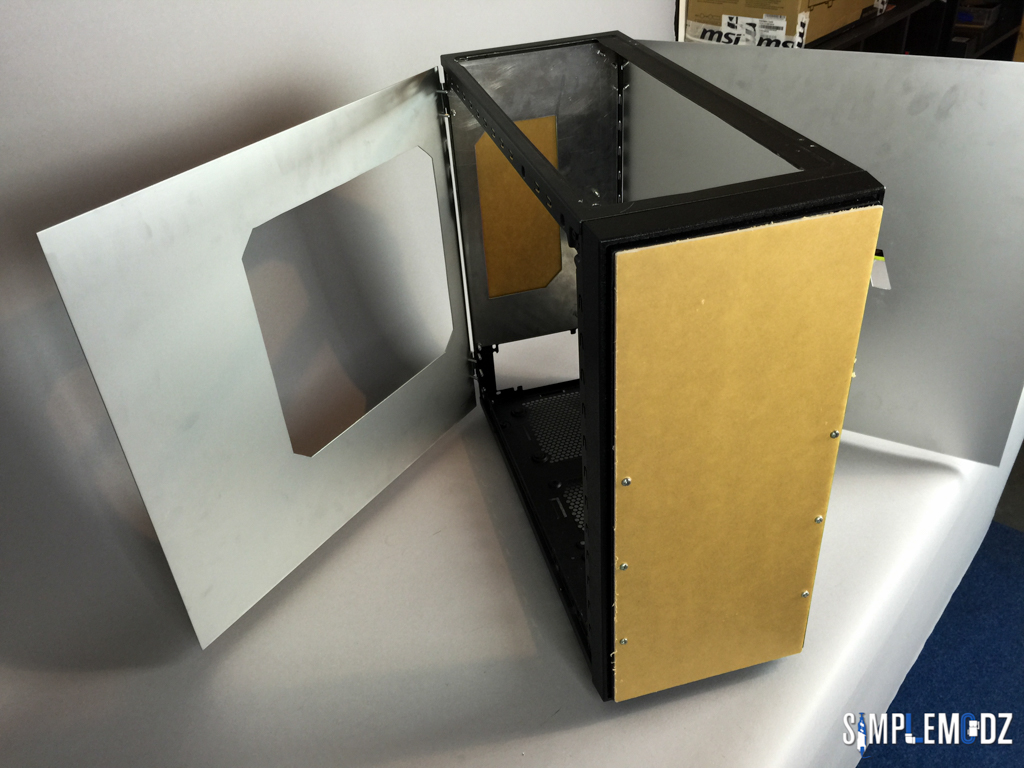
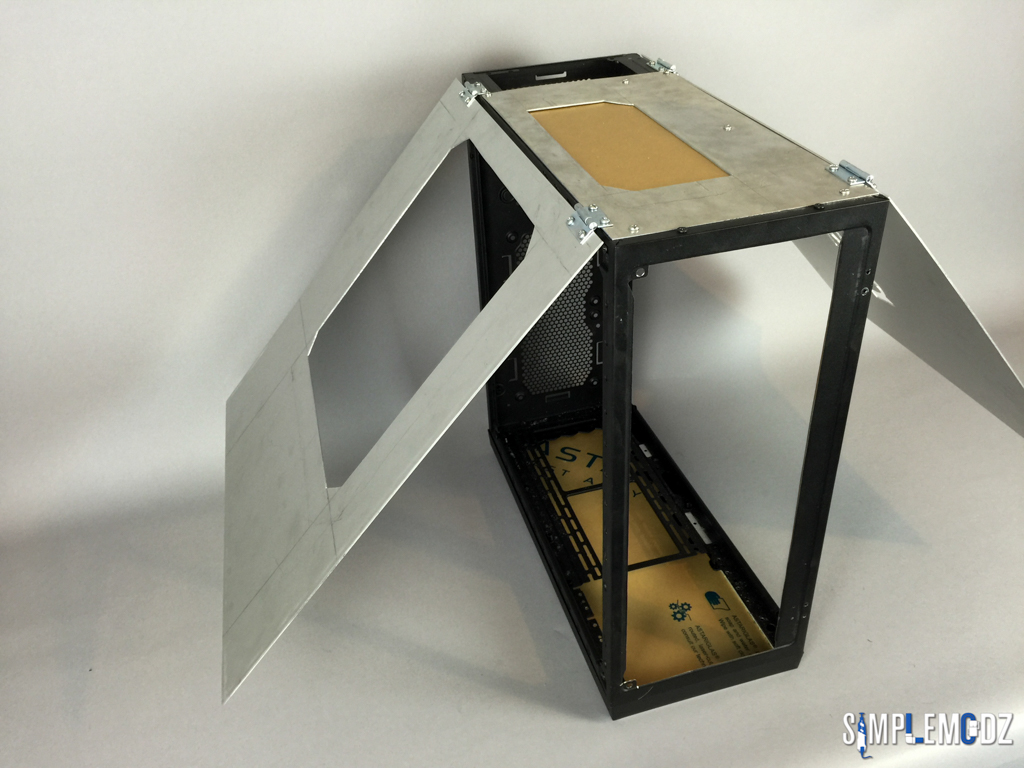
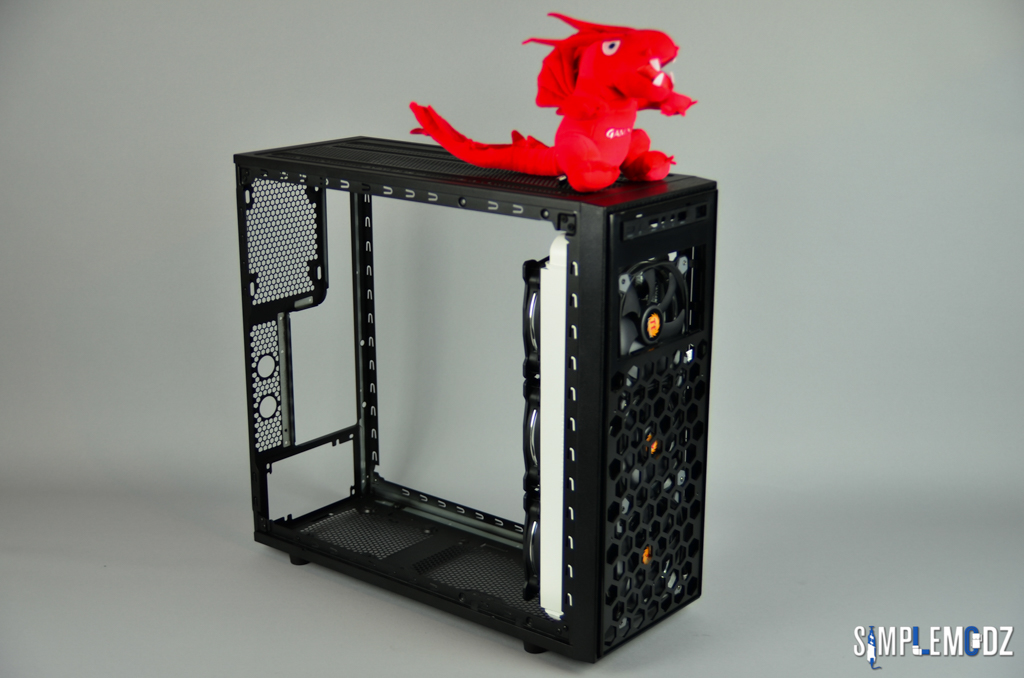
I will be transforming the Thermaltake Versa H34 and show that you don't need a high end expensive case to have a good looking PC :D


Here are the main specs:


Case - Thermaltake Versa H34

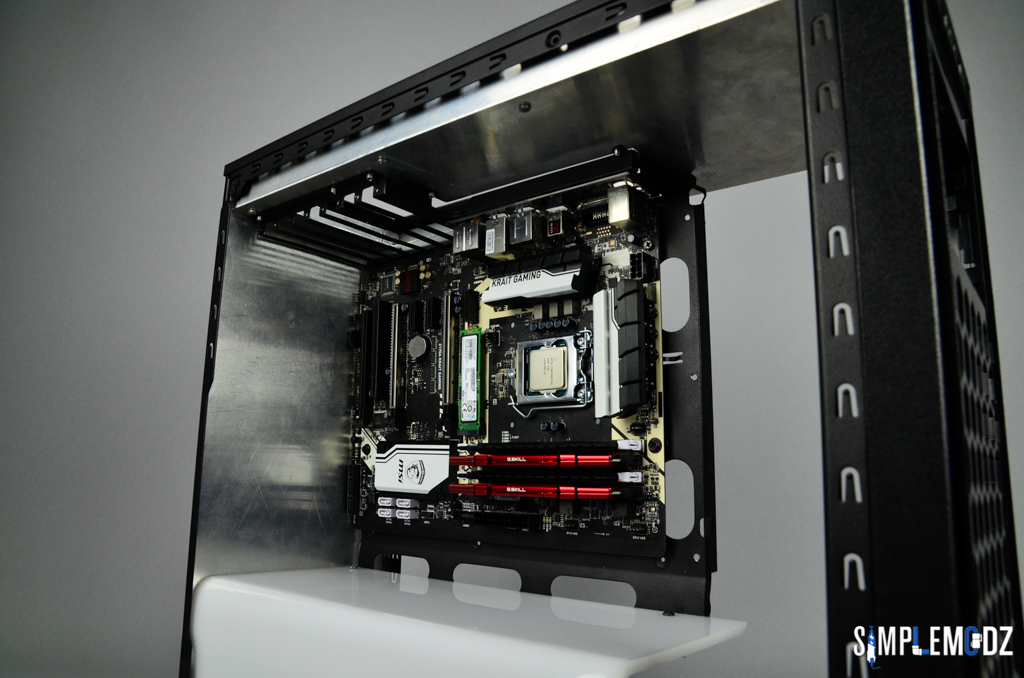
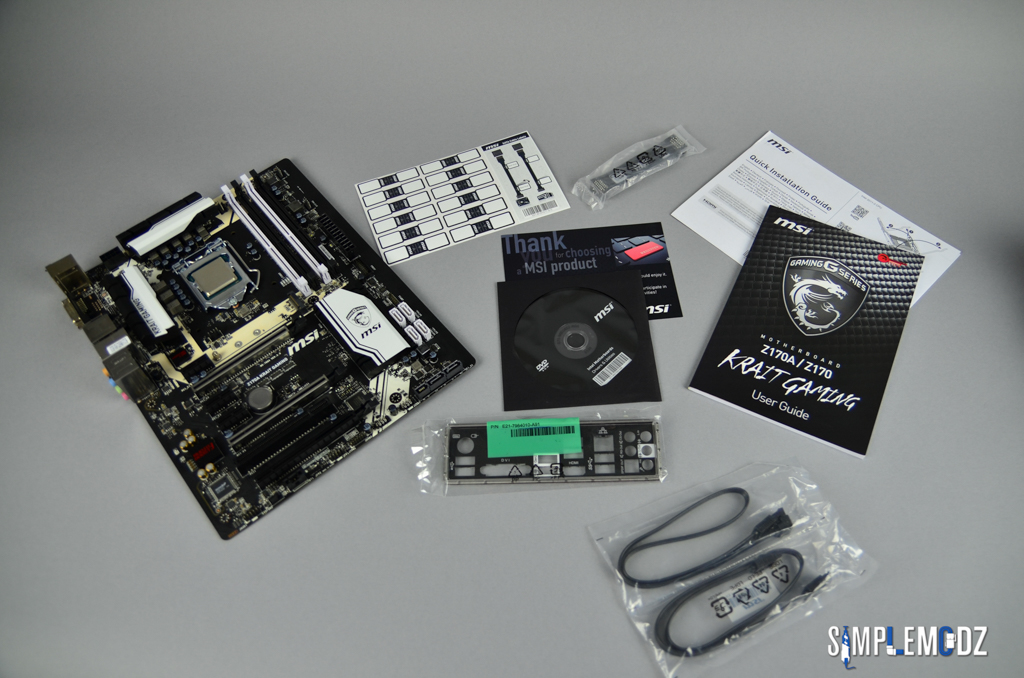
Motherboard - MSI Z170A Krait Gaming

CPU - Intel i5 6600K

Memory - 2 x 4GB G.Skill Ripjaws V 2800Mhz DDR4 Memory
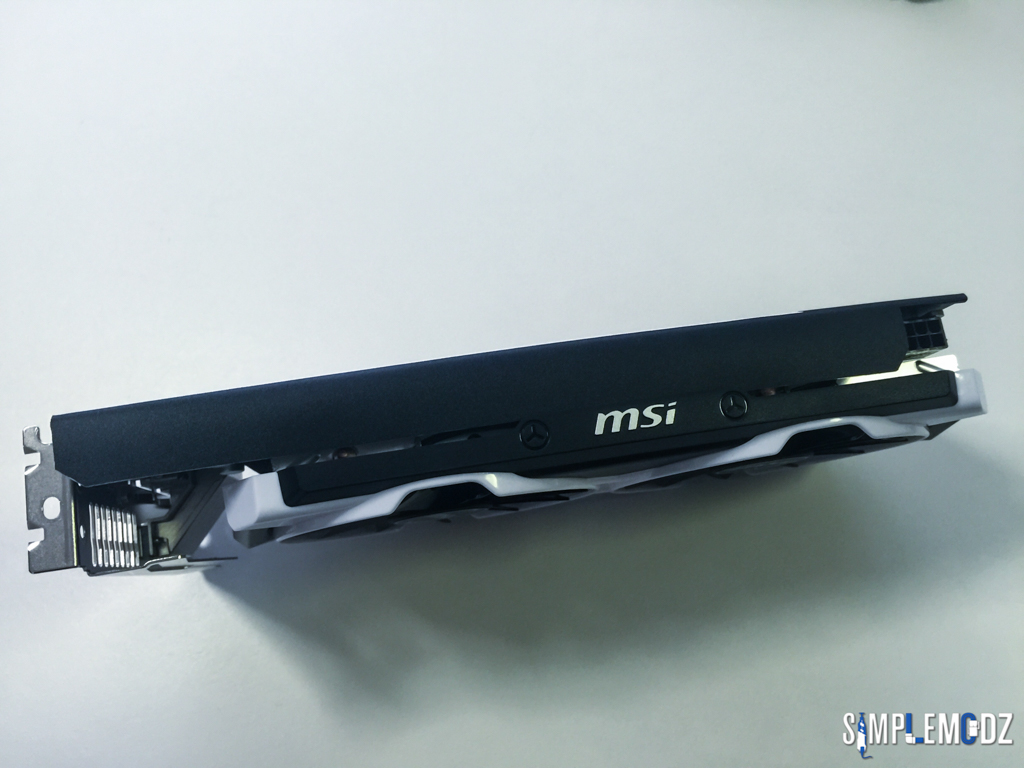
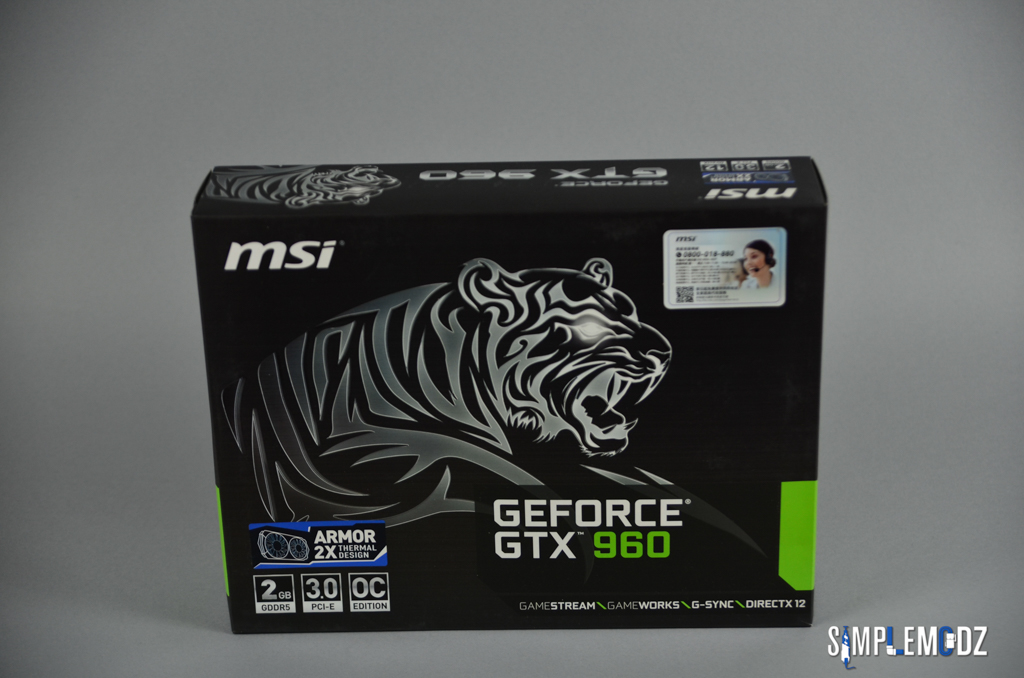
GPU - MSI GTX 960

SSD - Intel

M.2 - 256GB Samsung SM951 PCI-E M.2 SSD

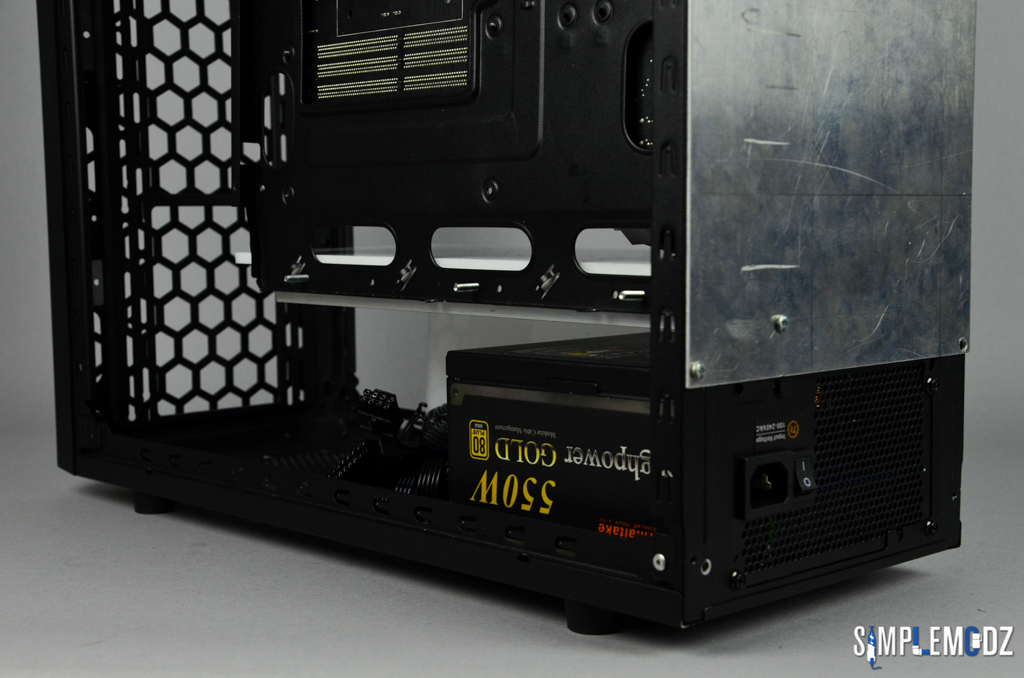
PSU - Thermaltake Toughpower Gold 550W


Cables - Icemodz Fully Custom Individually Sleeved Cables


LEDs - Icemodz RGB LED Strips


Thermaltake Custom Watercooling

Radiator - Pacific RL360 White Edition
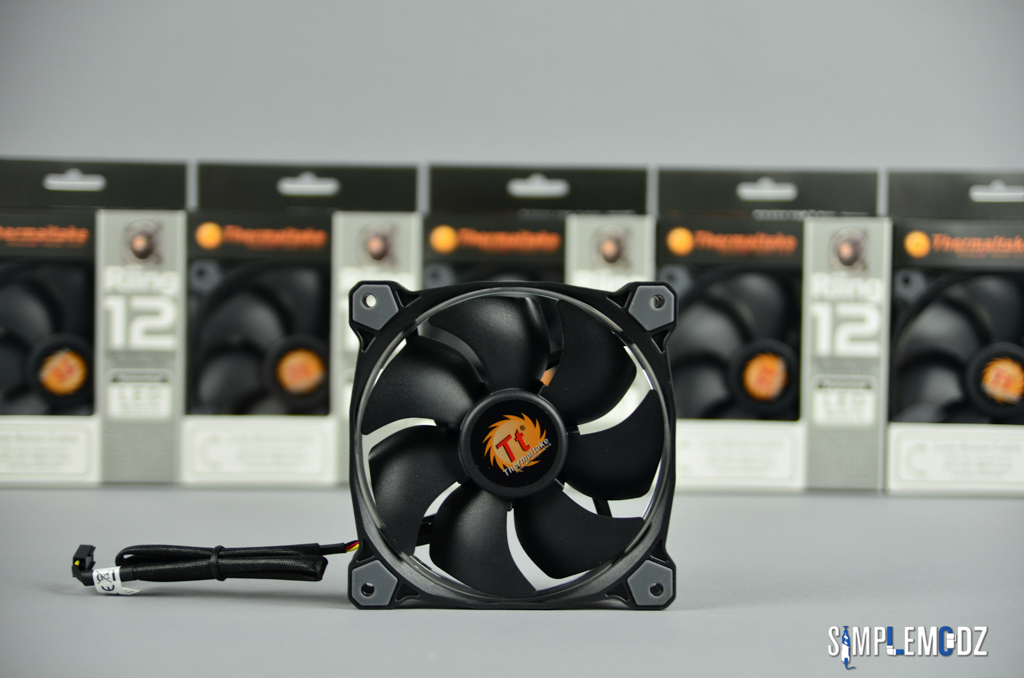
Fans - 6 X Riing 12 LED White
CPU Block - Pacific W2 CPU Water Block
Pump - Pacific P1 Black D5 Pump w/ Silent Kit
Reservoir - Pacific R22
Fittings - Pacific G1/4 PETG Tube 5/8” (16mm) OD Adapter – Black
Tubing - V-Tubler PETG Tube

Coolant - Mayhems Aurora II Silver


Here is a pic with the starting hardware, I will most likely use the AIO for the first stage of the build before doing a full custom loop.


Thanks for checking it and stay tuned for more!


Cheers,


Alex


Last edited:
Joined
Apr 12, 2015
Messages
269 (0.08/day)


Hi guys!


Today I'd like to introduce you to the awesome MSI Z170A Krait Gaming motherboard and a i5 6600K Skylake CPU to go with it!


Thanks for checking it out!


Cheers!


Alex


Joined
Apr 12, 2015
Messages
269 (0.08/day)


Hi guys!


Back with another update, this time I want to showcase the MSI GTX960 following with the black and white theme of the build :D


Just a few more hardware updates and the modding will begin :p


Thanks for checking it out!


Cheers,


Alex


Joined
Apr 12, 2015
Messages
269 (0.08/day)


Hi guys!

Time for another update!

It seems like the MSI dragon has gotten out of his cage and into the build as I'm doing some test fitting with the Thermaltake Pacific RL360 Rad.

The build looks like it will have a custom loop going in after all starting with this awesome and rather large rad compared to this case, already powdercoated in white by Thermaltake.


Once the test fitment is done, out with the dremel rotary, jig saw and scroll saw on this case before doing the paint job :)


Thanks for checking it out!

Stay tuned for more!

Cheers,

Alex


peche

Thermaltake fanboy
Joined
Nov 7, 2014
Messages
6,709 (1.94/day)
Location
San Jose, Costa Rica
System Name Athenna
Processor intel i7 3770 *Dellided*
Motherboard GIGABYTE GA-Z68X-UD3H-B3 Rev. 1.1
Cooling Thermaltake Water 3.0 Pro + Tt Riing12 x2 / Tt ThunderBlade / Gelid Slim 120UV fans
Memory 16GB DRR3 Kingoston with Custom Tt spreaders + HyperX Fan
Video Card(s) GeForce GTX 980 4GB Nvidia Sample
Storage Crucial M4 SSD 64GB's / Seagate Barracuda 2TB / Seagate Barracuda 320GB's
Display(s) 22" LG FLATRON 1920 x 1280p
Case Thermaltake Commander G42 Window
Audio Device(s) On-board Dolby 5.1+ Kingston HyperX Cloud 1
Power Supply Themaltake TR2 700W 80plus bronce & APC Pro backup 1000Va
Mouse Tt eSports Level 10M Rev 1.0 Diamond Black & Tt Conkor "L" mouse pad
Keyboard Tt eSports KNUCKER
Software windows 10x64Pro
Benchmark Scores well I've fried a 775' P4 12 years ago, that counts?
Joined
Apr 12, 2015
Messages
269 (0.08/day)


Hi guys!


Back with another quick update!


I want to show you some more goodies. Awesome Thermaltake Riing fans with white LED and Thermaltake Thoughpower 550W PSU which will be more than enough for this build as well as the the G.Skill Ripsaws V DDR4 memory.


Thanks for checking it out and stay tuned for more!


Cheers,


Alex


Joined
Apr 12, 2015
Messages
269 (0.08/day)


Hi guys,


All the rough cuts have been made on the case and it's pretty much all torn apart. It's now time to start working with some aluminum panels :)


First up I shortened the I/O bracket and also the motherboard tray


I completely removed the back as best as I could leaving just the PSU mount


Also there is a massive hole in the top as well with some simple mounting left


Made a cut out to clean up the front as well to better accommodate the front 360mm radiator


Thanks for checking it out and stay tuned for more over the coming days which might answer some questions as to where I'm taking this mod by removing so much of the original case :p


Cheers,


Alex


Joined
Apr 12, 2015
Messages
269 (0.08/day)


The motherboard tray is now mounted in it's new location.


What I am doing is mounting the I/O to the top of the case to change things around a bit :p


Here is the tray with the aluminum panel I made


The 90 degree aluminum corner bar is mounted there for a shroud to mount to once the motherboard tray is in the case. I will showcase this once done :)


Also here is how I am mounting the motherboard tray panel to the top of the case. Using these brackets and other 90 degree aluminum corner bars and leaving a small compartment in the top for cables to connect with ease.


Hope you guys like the progress so far and stay tuned for more :D


Cheers,


Alex


Joined
Apr 12, 2015
Messages
269 (0.08/day)


Motherboard tray is in for test fitting and also so I can work on other stuff inside the case.

You can now see the orientation more clearly :)

Also please ignore any ugly screws for now and also the bare aluminum. In the end it will all be black.


You can see here the cutout I am going to make for a window on the back panel


Plenty of room for cables to connect to in the top


And plenty of room for cables in the back :D


Now time to go work on a shroud!

Thanks for checking it out guys and stay tuned for more!

Cheers,

Alex

 
Joined
Apr 12, 2015
Messages
269 (0.08/day)


Hi guys,


The shroud for the build is ready.


It's from a 6mm thick piece of opal white acrylic. With some vinyl on it and an LED strip underneath, it should look pretty good :D


Thanks for checking it out!


Cheers,


Alex


Joined
Apr 12, 2015
Messages
269 (0.08/day)


Hi guys,

Back with another small update on this project.

I've laid most of the components down to sorta get a visual of things and see how I'm gonna paint things, make some covers, backplates and a lot of vinyl work. Everything to tie in to the black and white theme of the MSI PRO MOD S3 as well as the MSI Krait theme I've chosen :)

This is how I usually work, just put everything together and get a good look at things and see what I can modify. I never start a mod with a set plan or design, just an idea of how things could look and most of it gets developed as I work on the system. Seeing what works and what doesn't as well as getting new ideas. Sometimes a mod can turn out differently as to how I see it in my mind the first time I get an idea.

So what I have here is the Intel i5 6600K processor, 8GB of G.Skill DDR4, the MSI GTX 960 and on the motherboard you can see a Samsung SM951 256GB M.2 drive which will be the boot drive for this system. There is also an Intel 535 240GB SDD for some extra storage.


Firstly the RAM will definitely have to be painted white and I will most likely use white Plasi Dip on it just in case I will wanna take it back to stock in the future. I also have some spare ram covers from some Asus Sabertooth motherboards that I have. I will use two of those just to fill the other ram slots. If you're not sure what I mean you'll see in a future update :)

I will be making a custom acrylic cover for the M.2 drive as well as for the Intel SSD and also a backplate for the GPU. I will use 2mm thick white acrylic with black vinyl design.

I'm also thinking of making a simple I/O cover for the motherboard also from white acrylic.

Thanks for checking out this update and stay tuned for more!

Cheers,

Alex

 
Joined
Apr 12, 2015
Messages
269 (0.08/day)


Having a bit of a test fit and feel for things inside the case :D


Thanks for checking it out!


Cheers,


Alex


Joined
Apr 12, 2015
Messages
269 (0.08/day)


More hardware shots inside the case :)


A look inside the top compartment!


Thanks for checking it out and stay tuned for more!

Cheers,

Alex

 
Joined
Apr 12, 2015
Messages
269 (0.08/day)


Hi guys,

Did some work on the top panel and also made new side panels. 1.6mm aluminum sheets were used for this and everything was cut by hand with my trusty jig saw and moto saw as well as lots and lots of filing.

Hope you guys like how they turned out and don't worry I didn't forget about the dot in i from MSI haha I have a plan for that :p


As you can see I will use some small hinges to attach the top panel and some larger thumb screws in the front to secure it. There is also a cut out at the bank for cables to run through.

Should all look nice once it's all painted black :)


Here is the work I did on the side panels. I thought an MSI logo will look good on the back panel with some mesh behind it and also some lights. So I started cutting at it followed by lots of filing.


New windowed panel that will nicely show the motherboard area.


Pretty happy with the end result, I hope you guys agree! I will also have some hinges for the side panels as well, with thumb screws at the front to secure them :)

Thanks for checking it out and stay tuned for more!

Cheers,

Alex

 
Joined
Apr 12, 2015
Messages
269 (0.08/day)


Hi guys!

Side panels are on and the back window has been cut. Just need to get some proper screws for the hinges and the case will be ready for powder coating :)

You may also spot the new acrylic on the front panel!


Thanks for checking it out!

Cheers,

Alex

 
Joined
Apr 12, 2015
Messages
269 (0.08/day)


Hey guys,

All of the panels on the case are done and the case is getting powder coated in a satin black, should turn out good.

Here it is before it went away!

Once done I will mount some thumb screws towards the front of the case to hold the panels to make it easier and also the front panel is offset a bit and I will do it a bit more, this is purely for airflow as the fans will be pulling air in from there.


Thanks for checking it out!

Cheers,

Alex

 
Joined
Apr 12, 2015
Messages
269 (0.08/day)


Hey guys,

With the case now getting powder-coated it is time to start adding details to the rest of the components!

Starting with some custom SSD covers and vinyl designs.

Here is a cover for the Samsung SM951 SSD


Very simple and effective


And also for the Intel 535 SSD, just need to round the corners to match it


Now to add vinyl


Also changing the motherboard heatsink to be more Krait looking


Now to get the RAM sticks painted white!

Thanks for checking it out and stay tuned for more!

Cheers,

Alex


t_ski

Former Staff
Joined
Apr 11, 2006
Messages
11,960 (1.81/day)
System Name My i7 Beast
Processor Intel Core i7 6800K
Motherboard Asus X99-A II
Cooling Nickel-plated EK Supremacy EVO, D5 with XSPC Bayres & BIX Quad Radiator
Memory 4 x 8GB EVGA SuperSC DDR4-3200
Video Card(s) EVGA 1080 SuperClocked
Storage Samsung 950 Pro 256GB m.2 SSD + 480GB Sandisk storage SSD
Display(s) Three Asus 24" VW246H LCD's
Case Silverstone TJ07
Audio Device(s) Onboard
Power Supply Corsair AX1200
Keyboard Corsair K95
Software Windows 10 x64 Pro
I would advise against covering the Samsung SSD. You will probably insulate it, and the built-up heat will make the drive throttle down the read/write speeds.
 
Joined
Apr 12, 2015
Messages
269 (0.08/day)
I would advise against covering the Samsung SSD. You will probably insulate it, and the built-up heat will make the drive throttle down the read/write speeds.

I have it like that in another system and it runs all good, it's just a tiny piece of double sided and the acrylic doesn't sit directly on it, just the tape.
 

rtwjunkie

PC Gaming Enthusiast
Supporter
Joined
Jul 25, 2008
Messages
13,909 (2.42/day)
Location
Louisiana -Laissez les bons temps rouler!
System Name Bayou Phantom
Processor Core i7-8700k 4.4Ghz @ 1.18v
Motherboard ASRock Z390 Phantom Gaming 6
Cooling All air: 2x140mm Fractal exhaust; 3x 140mm Cougar Intake; Enermax T40F Black CPU cooler
Memory 2x 16GB Mushkin Redline DDR-4 3200
Video Card(s) EVGA RTX 2080 Ti Xc
Storage 1x 500 MX500 SSD; 2x 6TB WD Black; 1x 4TB WD Black; 1x400GB VelRptr; 1x 4TB WD Blue storage (eSATA)
Display(s) HP 27q 27" IPS @ 2560 x 1440
Case Fractal Design Define R4 Black w/Titanium front -windowed
Audio Device(s) Soundblaster Z
Power Supply Seasonic X-850
Mouse Coolermaster Sentinel III (large palm grip!)
Keyboard Logitech G610 Orion mechanical (Cherry Brown switches)
Software Windows 10 Pro 64-bit (Start10 & Fences 3.0 installed)
It's coming along nicely! I can't wait to see the final product. :rockout:
 
Joined
Apr 12, 2015
Messages
269 (0.08/day)


Hi guys,

Got quite a bit done on the build in the last few days and getting ready to finish it by next week I hope!

The memory is now plasti dipped white, it's a bit rough but it's plasti dip so it's all good.


Just taped and sprayed


Also here is the CPU block from Thermaltake made by Swiftech so it's pretty much the same deal and with the swap-able inserts.


I made sure to customise it of course


and it lights up really nice and bright


Also made a custom backplate for the GPU


Thanks for checking it out and stay tuned for more!

Cheers,

Alex

 
Joined
Apr 12, 2015
Messages
269 (0.08/day)


Hey guys!

Made a small cover for the motherboard rear I/O and added some vinyl to it. Also vinyl on the G.Skill memory as well as the backplate for the graphics cards is completed now and looking awesome I must say!

Check it out and let me know that you guys think?


Thanks for checking it out!

Cheers,

Alex

 
Top