 82
82
ASUS M5A97 EVO AM3+ Review
Board Software »BIOS Walkthrough
| BIOS Options | ||
|---|---|---|
| Clocks | Range | Step Size |
| CPU BCLK: | 100 MHz ... 600 MHz | 1.0 MHz |
| PCI-E Frequency: | 100 MHz ... 150 MHz | 1.0 MHz |
| Memory Dividers: | x4 (800 MHz), x5.33 (1066 MHz), x6.66 (1333 MHz ),x8 (1600 MHz) | |
| Voltages | Range | Step Size |
| CPU Vcore: | Range varies with CPU | 0.00625V |
| DRAM Voltage: | 1.2V... 2.2V | 0.00625V |
| CPU/NB Voltage: | Range varies with CPU | 0.00625V |
| NB Voltage: | 1.1V ... 1.25V | 0.00625V |
| SB Voltage: | 1.1V ... 1.8V | 0.005V |
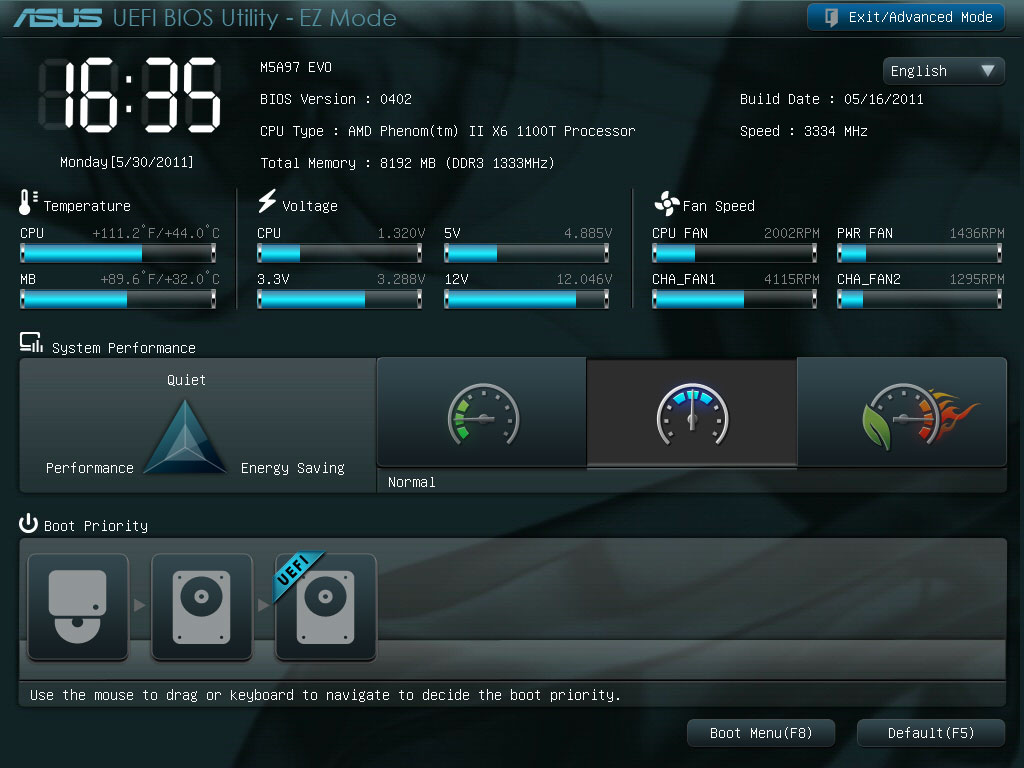

Using the ASUS UEFI bios has to be one of the most pleasurable computing experiences we have ever had. Upon first entering the BIOS, we are greeted by the "EZ Mode" page, a simple page that allows EPU setting adjustments, as well as access to choose boot devices, and lists pertinent info about the system and its setup. For those that prefer a far more advanced BIOS interface, the M5A97 EVO answers, with the "advanced" BIOS mode offering full access to not only voltage and clock settings, but also to VRM and memory drive options, as well as memory timings. The main page has system date and clock settings right up front, as well as offering a brief description of the system and the installed CPU and memory.
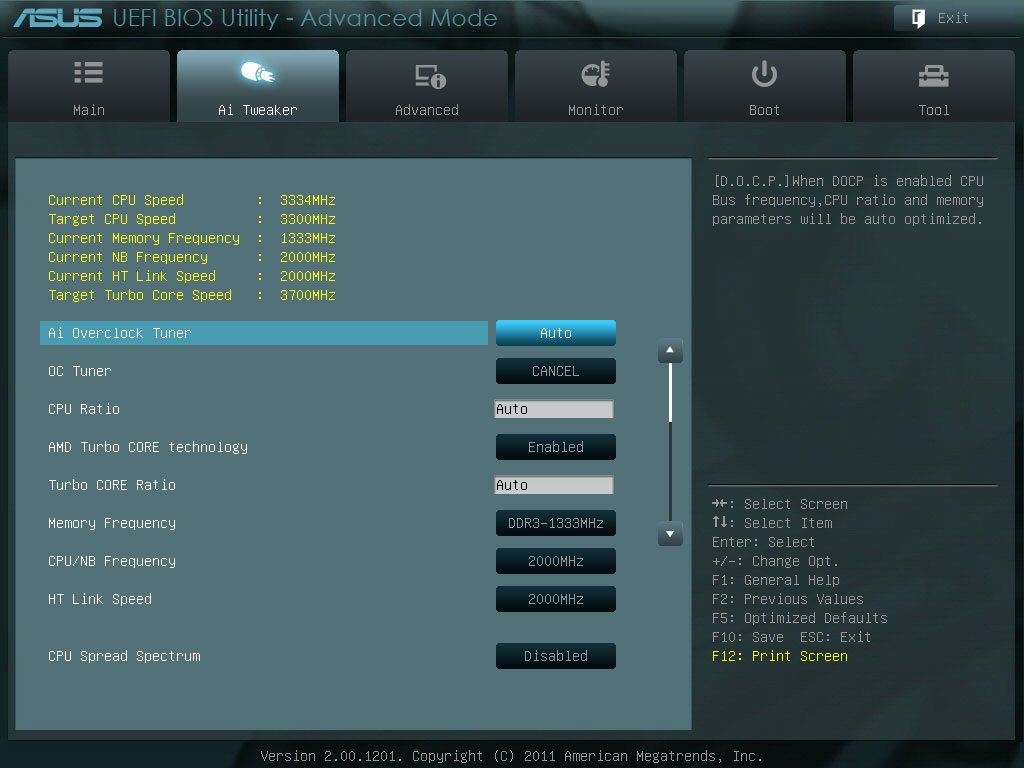
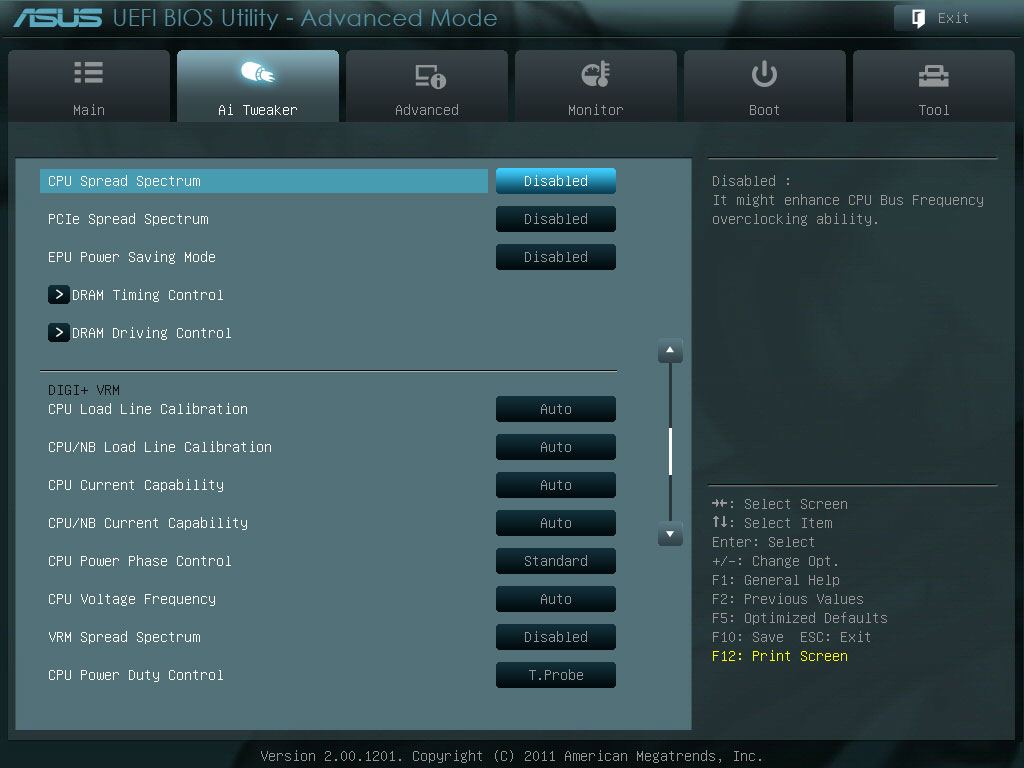

The second tab, labeled "AI Tweaker", offers access to the aforementioned clock and voltage settings, with so many options that the three images you see above are all from the same "AI Tweaker" page.


DRAM timings and drive options, shown above, are just as extensive as what's offered on the "AI Tweaker" tab, with many options not needed by most users, but still required for those that want to push to the absolute maximum.
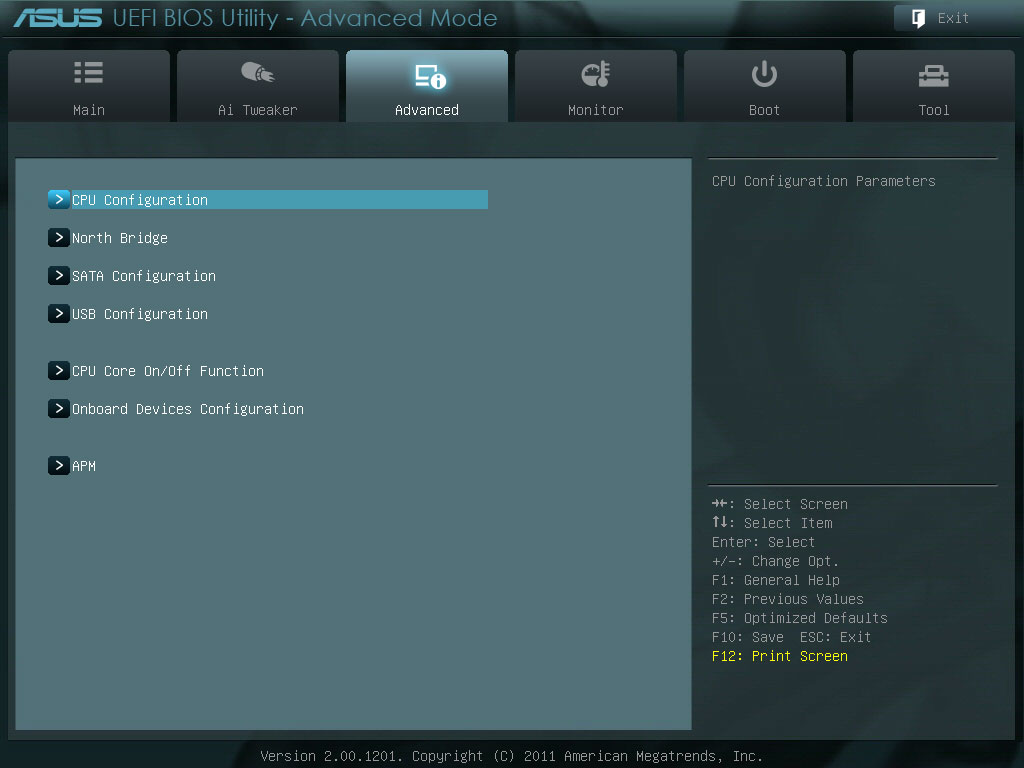


The "Advanced" tab offers access to board component settings, allowing users to enable or disable devices as needed, as well as containing access to several critical CPU tweak settings. The next tab, "Monitor", provides real-time temperature and voltage readings, as well as providing options for fan speed adjustment.


The last three tabs, "Boot", "Tools", and "Exit", quite naturally, provide access to options for all settings related to the tab's name. When it comes down to functionality and ease of use, ASUS really has done a fantastic job; even the screenshots shown here were made using the BIOS itself. Capturing screenshots of the BIOS, so that users can easily compare settings, is as simple as having a FAT-formatted drive connected, and pressing the "F12" key. The BIOS will save the image to the FAT drive, which can then be accessed from within your chosen OS, as images are saved in .JPG format.
We weren't really expecting the ASUS M5A97 EVO to have a fully featured UEFI BIOS like it has; having used it on other products, the ASUS UEFI BIOS has become our immediate favorite, and gives us enough reason all on its own to choose ASUS products over others. It's quite obvious to us that ASUS' primary focus is none other than the user experience, and they have definitely succeeded in providing a solution that is not only easy to use, but also powerful enough for even the most advanced user. But that's not all; hit the next page to take a look of the included software.
Apr 19th, 2024 01:32 EDT
change timezone
Latest GPU Drivers
New Forum Posts
- What's your latest tech purchase? (20283)
- Linus watercools (13)
- Should the CDPR make the Fallout 5 instead? (23)
- Will a RTX 4070 TI super bottleneck a Ryzen 9 7950X3D? (36)
- DDR5 RAM Speeds and the future (45)
- Cinebench crashed my PC. My Wi-Fi stopped working, and I keep getting a "Please wait" screen when I boot up my PC. (7)
- Adventure: Running 8/9th gen Coffee Lake CPUs on Z170 motherboard (ASUS Maximus VIII Ranger) (336)
- First computer build for my son (1)
- Why is SteamOS taking so long to come to desktop for AMD users, when ChimeraOS is the same thing almost? (19)
- Do you use Linux? (229)
Popular Reviews
- Horizon Forbidden West Performance Benchmark Review - 30 GPUs Tested
- PowerColor Radeon RX 7900 GRE Hellhound Review
- Fractal Design Terra Review
- Corsair 2000D Airflow Review
- Minisforum EliteMini UM780 XTX (AMD Ryzen 7 7840HS) Review
- Thermalright Phantom Spirit 120 EVO Review
- Creative Pebble X Plus Review
- FiiO KB3 HiFi Mechanical Keyboard Review - Integrated DAC/Amp!
- ASUS GeForce RTX 4090 STRIX OC Review
- NVIDIA GeForce RTX 4090 Founders Edition Review - Impressive Performance
Controversial News Posts
- Sony PlayStation 5 Pro Specifications Confirmed, Console Arrives Before Holidays (109)
- NVIDIA Points Intel Raptor Lake CPU Users to Get Help from Intel Amid System Instability Issues (102)
- US Government Wants Nuclear Plants to Offload AI Data Center Expansion (98)
- Windows 10 Security Updates to Cost $61 After 2025, $427 by 2028 (82)
- Developers of Outpost Infinity Siege Recommend Underclocking i9-13900K and i9-14900K for Stability on Machines with RTX 4090 (82)
- TechPowerUp Hiring: Reviewers Wanted for Motherboards, Laptops, Gaming Handhelds and Prebuilt Desktops (71)
- Intel Realizes the Only Way to Save x86 is to Democratize it, Reopens x86 IP Licensing (70)
- AMD Zen 5 Execution Engine Leaked, Features True 512-bit FPU (63)