 16
16
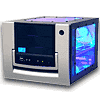
Aspire X-QPack Review
The Power Supply »Features

Once the cover was removed, I noticed that all the edges were not folded, but were not very sharp either, the only two edges which were folded were in the back of the case. Considering that the user may have to stick his/her hand into tight spaces to connect cables, the risk of getting cut is quite likely.
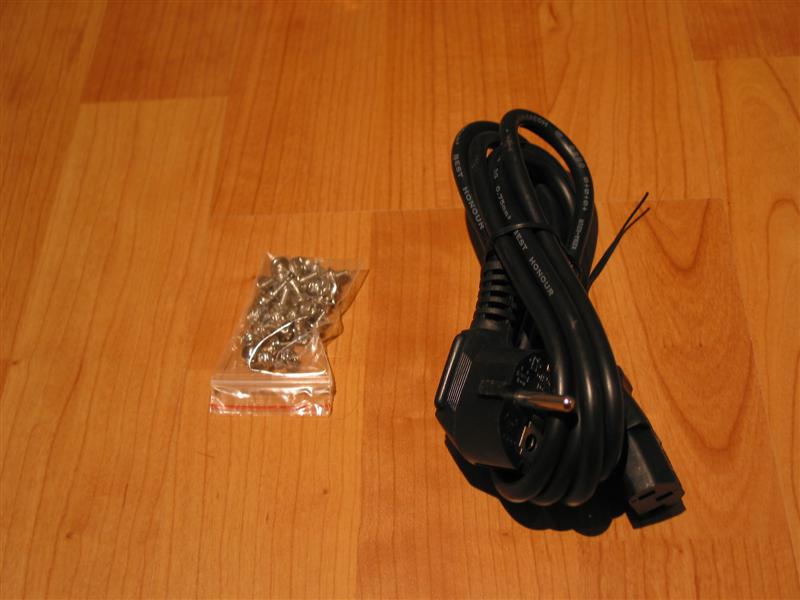
On the inside there was the usual power cable and a little bag of screws.

The mainboard tray comes with removable PCI bracket covers, instead of the punch out kind, which you would have to remove by force. That is great, considering that one could damage the mainboard by having to take the covers off by force after installation, or even hurting ones self in the process. The tray itself is rather fragile, and the back bends easily when no graphic card or other PCI card is installed, which would hold it in place. Aspire decided to cut a hole into the tray and leave a 3-4mm high ledge around that hole.


The hard drive bracket is secured by two screws. Even with the screw in all the way, the bracket still has some free space to move around. My first thought was, that there is no need for such a removable part, but Aspire had to do that, to give the user access to screw in the optical and floppy drive.
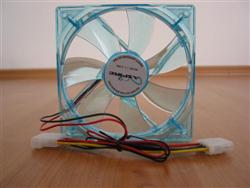
The 12 cm fan, which came installed in the back is set to blow the hot air out. As you can see it comes with the 12V Molex connector and needs to be plugged directly into the power supply. A fan with RPM reporting may have been a better choice as mATX boards usually come with one extra fan header besides the one for the CPU. That way the user could possibly control the amount of voltage applied to the fan, thus reducing the overall noise of the system. The fan has blue LEDs embedded in the corners which light up as soon as the power is turned on. This is great, as it will light the interior of the case and the parts installed in it.


In front of the case there is a small LCD which will display the hard drive and CPU temperatures. Two USB ports, one Firewire port, color coded audio connectors, a green LED for power, a yellow one for hard drive access and a small reset button.
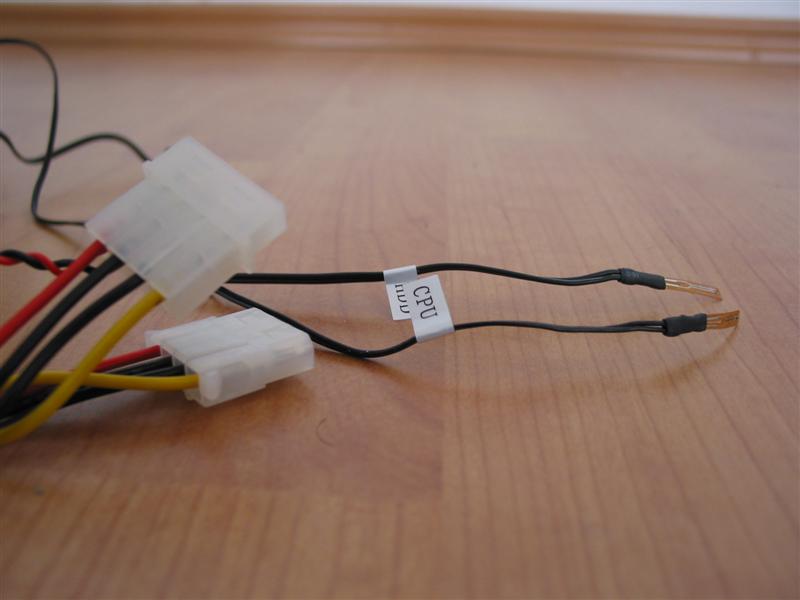
The LCD display has a 12V Molex pass through connector, so you do not lose a connection on the power supply by using the LCD. Along with that, there were the two clearly labeled thermal probes. The USB, Firewire and Audio cables could be removed individually from the front part of the case, further reducing cable clutter if not needed.
Now let's take a look at the included power supply.
Apr 23rd, 2024 10:29 EDT
change timezone
Latest GPU Drivers
New Forum Posts
- Possible near-future 2024 Arrow Lake build.... (49)
- What are you playing? (20521)
- Windows 12 (142)
- EK seems to be having major issues (25)
- Odd RTX 3080 behaviour (2)
- Show us your collections thread!! (281)
- Serious bug in PHP reported! (2)
- Upgrade Build (105)
- The Official Linux/Unix Desktop Screenshots Megathread (693)
- Share your AIDA 64 cache and memory benchmark here (2913)
Popular Reviews
- Horizon Forbidden West Performance Benchmark Review - 30 GPUs Tested
- Fractal Design Terra Review
- Corsair 2000D Airflow Review
- Thermalright Phantom Spirit 120 EVO Review
- Minisforum EliteMini UM780 XTX (AMD Ryzen 7 7840HS) Review
- ASUS GeForce RTX 4090 STRIX OC Review
- NVIDIA GeForce RTX 4090 Founders Edition Review - Impressive Performance
- ASUS GeForce RTX 4090 Matrix Platinum Review - The RTX 4090 Ti
- Creative Pebble X Plus Review
- MSI GeForce RTX 4090 Gaming X Trio Review
Controversial News Posts
- Sony PlayStation 5 Pro Specifications Confirmed, Console Arrives Before Holidays (116)
- NVIDIA Points Intel Raptor Lake CPU Users to Get Help from Intel Amid System Instability Issues (105)
- AMD "Strix Halo" Zen 5 Mobile Processor Pictured: Chiplet-based, Uses 256-bit LPDDR5X (101)
- US Government Wants Nuclear Plants to Offload AI Data Center Expansion (98)
- Windows 10 Security Updates to Cost $61 After 2025, $427 by 2028 (84)
- Developers of Outpost Infinity Siege Recommend Underclocking i9-13900K and i9-14900K for Stability on Machines with RTX 4090 (82)
- TechPowerUp Hiring: Reviewers Wanted for Motherboards, Laptops, Gaming Handhelds and Prebuilt Desktops (74)
- Intel Realizes the Only Way to Save x86 is to Democratize it, Reopens x86 IP Licensing (70)