 24
24
Cooler Master Cosmos S Review
Installation & Finished Looks »A Closer Look - Inside


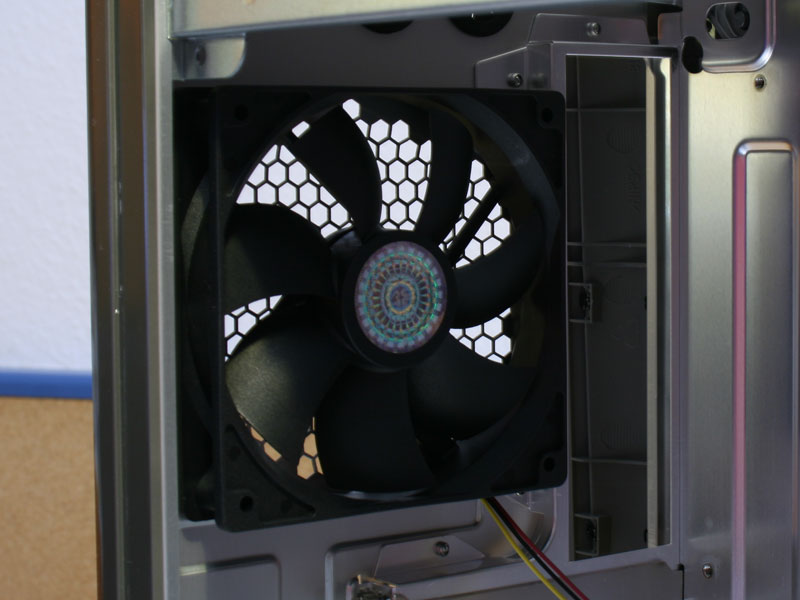
A welcome addition to the Cosmos S, is a large, 200 mm fan on the side panel. On top of that the entire metal mesh has been covered by a fine cloth, which acts as a dust filter. The fan can be connected directly to the mainboard or powered by the power supply. It pushes 150 CFM at a very low, near silent noise level. This is perfect for multi-GPU rigs. The case itself is incredibly spacious. The mainboard has several holes to route cables through.


The PSU bay is still the same as in the original Cosmos. It is lined with a thin layer of foam, to dampen any vibrations. A removable dust filter covers the air vent. The expansion slots are covered by seperate, SECC covers which are secured by thumb screws. Above that is another 120 mm fan.


The hard drive cage, which can hold four drives It is held in place by one push lock and two screws on either side. The locking mechanism is incredibly simple. Just push to lock and push once more to unlock the drive. The system is single-sided, so you should still use at least one screw on the other side to completely secure your drives.


Another 120 mm fan is located up top, right where the PSU would be in traditonal cases. You can install a total of seven fans in the system, even the bottom of the case. This position also has a dust filter, which can be removed.
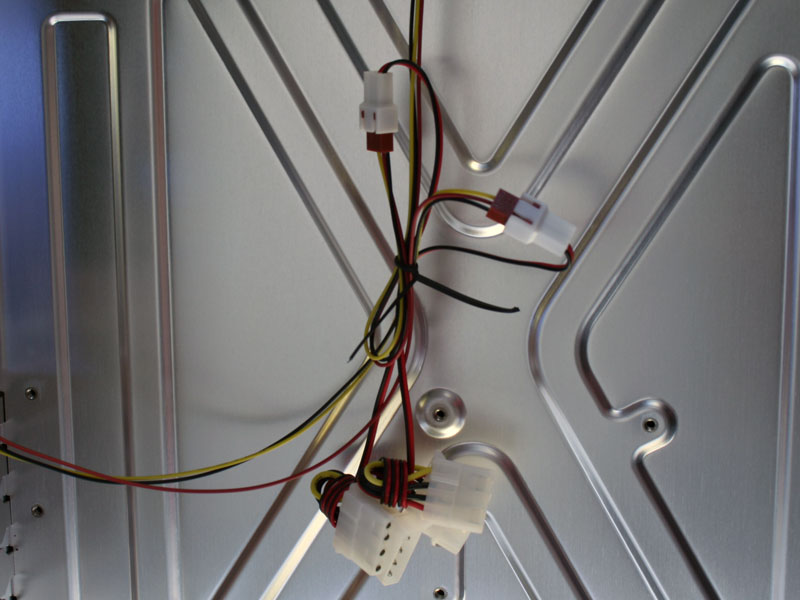


All four included fans use mainboard headers, but also come with adapters to power them via Molex plugs. Cooler Master also decided to color code the mainboard headers for Audio. HD Audio is orange, while the AC'97 connector is black. The power button is very unusual as well, it is fed directly into the 24 pin power connector. As you can see, there is actually three cables instead of two.


Taking the hard drive cage out is done easily through the front of the case. It has a very strong resemblance to the one used in the Stacker series, but instead of SECC, it is made completely of Aluminum. Installing a hard drive in it is done the traditional way with four screws.
Apr 24th, 2024 09:51 EDT
change timezone
Latest GPU Drivers
New Forum Posts
- EK seems to be having major issues (39)
- What's your latest tech purchase? (20334)
- Official Board Game Discussion (16)
- What phone you use as your daily driver? And, a discussion of them. (1464)
- My computer setup - Request for opinions (15)
- Is It The 1080 TI The Best GPU Ever? (205)
- Looking to build another system (0)
- Core i5-6300U (10)
- Which one to choose from these 3 laptops offer? (21)
- Blender 3.3.0 Benchmark (11)
Popular Reviews
- Fractal Design Terra Review
- Corsair 2000D Airflow Review
- Thermalright Phantom Spirit 120 EVO Review
- Minisforum EliteMini UM780 XTX (AMD Ryzen 7 7840HS) Review
- ASUS GeForce RTX 4090 STRIX OC Review
- NVIDIA GeForce RTX 4090 Founders Edition Review - Impressive Performance
- ASUS GeForce RTX 4090 Matrix Platinum Review - The RTX 4090 Ti
- MSI GeForce RTX 4090 Gaming X Trio Review
- MSI GeForce RTX 4090 Suprim X Review
- Gigabyte GeForce RTX 4090 Gaming OC Review
Controversial News Posts
- Sony PlayStation 5 Pro Specifications Confirmed, Console Arrives Before Holidays (116)
- NVIDIA Points Intel Raptor Lake CPU Users to Get Help from Intel Amid System Instability Issues (106)
- AMD "Strix Halo" Zen 5 Mobile Processor Pictured: Chiplet-based, Uses 256-bit LPDDR5X (101)
- US Government Wants Nuclear Plants to Offload AI Data Center Expansion (98)
- Windows 10 Security Updates to Cost $61 After 2025, $427 by 2028 (84)
- Developers of Outpost Infinity Siege Recommend Underclocking i9-13900K and i9-14900K for Stability on Machines with RTX 4090 (84)
- TechPowerUp Hiring: Reviewers Wanted for Motherboards, Laptops, Gaming Handhelds and Prebuilt Desktops (78)
- Intel Realizes the Only Way to Save x86 is to Democratize it, Reopens x86 IP Licensing (70)