 36
36
EKWB EK-XLC Predator 240 Review
Finished Looks »Installation


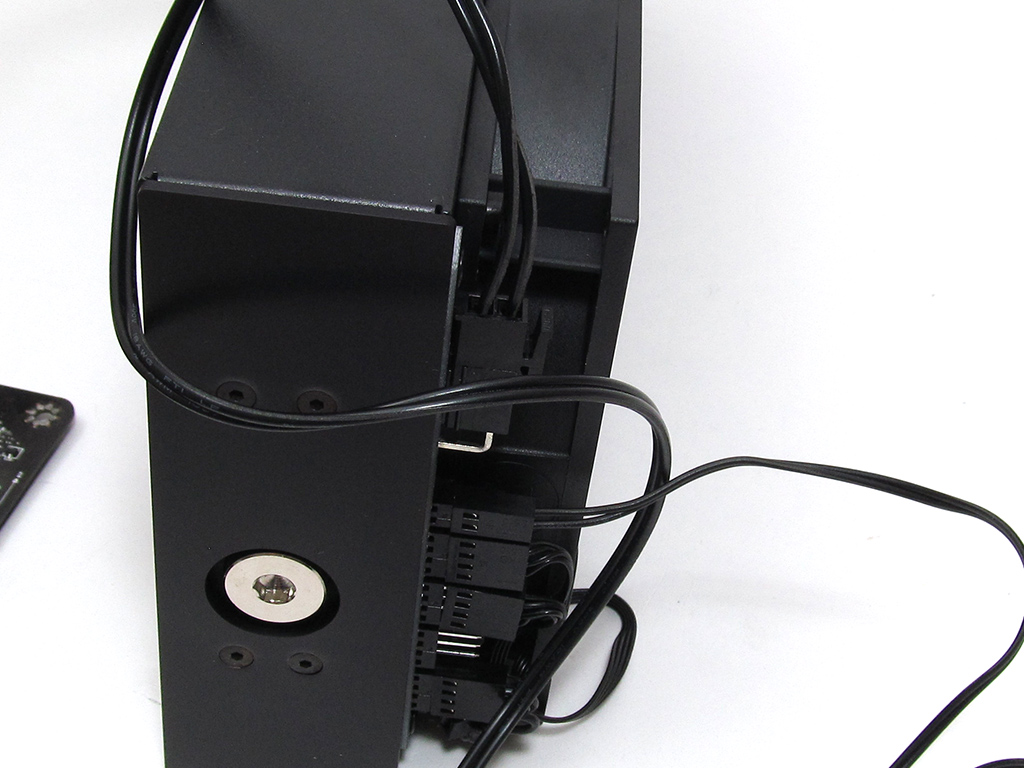
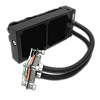
Installing the EKWB Predator 240 is as straightforward as it gets. In my case I had to reinstall the fans. However, unless you plan to reverse the fans' direction for whatever reason, you can skip this step. After the fans are reinstalled, simply connect the SATA power plug to the PWM controller and make sure the fans and pump are plugged into their respective spots.
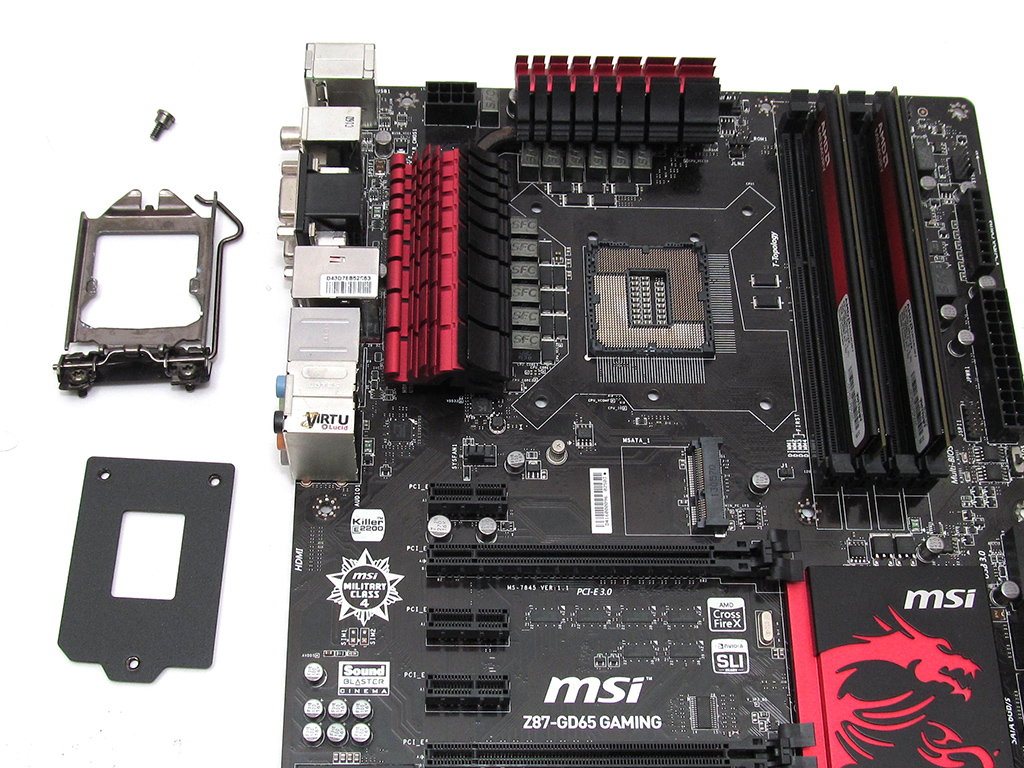

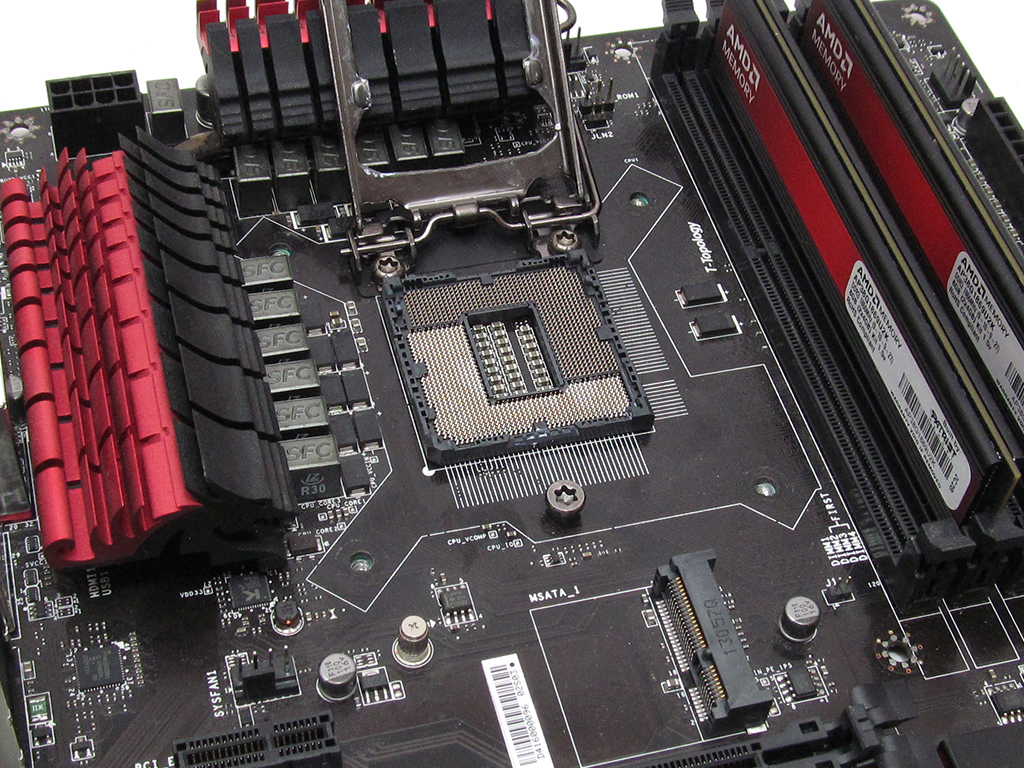
Next, remove the install socket retention mechanism to remove the back plate using the Torx T20 Key. Be careful not to bend any pins during this step. With the old Intel backplate removed, install the EKWB backplate before reinstalling the retention mechanism.


With the backplate secured, install the CPU and apply some thermal paste. Once that's done, all that's left is to mount the block, tightening it down with the thumbscrews. That's it, your EKWB Predator 240 is ready to go.
Installing the EKWB Predator 240 was rather easy overall; however, the removal of the socket retention mechanism was a bit different compared to many other coolers, and I hope they find a way to change this design to something easier for first-timers and newcomers. Their main rival in the high-end custom AIO market, Swiftech, doesn't require this step, which has Swiftech win out when it comes to the ease-of-use. As such, I would rate the difficulty of installation this AIO a 9 on a scale of 1 (hardest) to 10 (easiest).
EK would earn a perfect 10/10 for the install if it were to change this design element. The only other issue I will mention is to prepare for a headache if you plan to remove the fans or change their orientation. The Hex key screws are of two different lengths, and in my personal situation, my Hex key set did not have one that fit. Hopefully, EKWB will include a hex key in the future for that purpose. Still, these issues only apply to those seeking to change the Predator kit. If you're gonna set it, forget it, and call it a day, you will never run into this problem. Still, a standard set of 6/32 radiator screws would have been preferred.
Apr 23rd, 2024 21:17 EDT
change timezone
Latest GPU Drivers
New Forum Posts
- The TPU UK Clubhouse (24768)
- Realtek Modded Audio Driver for Windows 10/11 - Only for HDAUDIO (5688)
- What's your latest tech purchase? (20319)
- Post your Cinebench 2024 score (449)
- Sexy Mechanical Keyboard Thread (484)
- need help with motherboard/ ram compability certainty (14)
- My computer setup - Request for opinions (12)
- Show us your collections thread!! (282)
- What phone you use as your daily driver? And, a discussion of them. (1454)
- Is there a technical reason that Windows 11 doesn't have built into it battery charge limitation? (37)
Popular Reviews
- Fractal Design Terra Review
- Corsair 2000D Airflow Review
- Thermalright Phantom Spirit 120 EVO Review
- Minisforum EliteMini UM780 XTX (AMD Ryzen 7 7840HS) Review
- ASUS GeForce RTX 4090 STRIX OC Review
- NVIDIA GeForce RTX 4090 Founders Edition Review - Impressive Performance
- ASUS GeForce RTX 4090 Matrix Platinum Review - The RTX 4090 Ti
- MSI GeForce RTX 4090 Gaming X Trio Review
- MSI GeForce RTX 4090 Suprim X Review
- Gigabyte GeForce RTX 4090 Gaming OC Review
Controversial News Posts
- Sony PlayStation 5 Pro Specifications Confirmed, Console Arrives Before Holidays (116)
- NVIDIA Points Intel Raptor Lake CPU Users to Get Help from Intel Amid System Instability Issues (106)
- AMD "Strix Halo" Zen 5 Mobile Processor Pictured: Chiplet-based, Uses 256-bit LPDDR5X (101)
- US Government Wants Nuclear Plants to Offload AI Data Center Expansion (98)
- Windows 10 Security Updates to Cost $61 After 2025, $427 by 2028 (84)
- Developers of Outpost Infinity Siege Recommend Underclocking i9-13900K and i9-14900K for Stability on Machines with RTX 4090 (84)
- TechPowerUp Hiring: Reviewers Wanted for Motherboards, Laptops, Gaming Handhelds and Prebuilt Desktops (74)
- Intel Realizes the Only Way to Save x86 is to Democratize it, Reopens x86 IP Licensing (70)