 5
5
Enermax MaxRevo 1350 W Review
Voltage Regulation & Efficiency »A More Detailed Look Inside
Since we like to push things to the limits we decided to completely take apart the secondary side of the EMR1350EWT. Before we start showing you photos of the procedure let's remind you once more that the victim is a $300 PSU. Nevertheless don't worry, we will assemble it again in the end.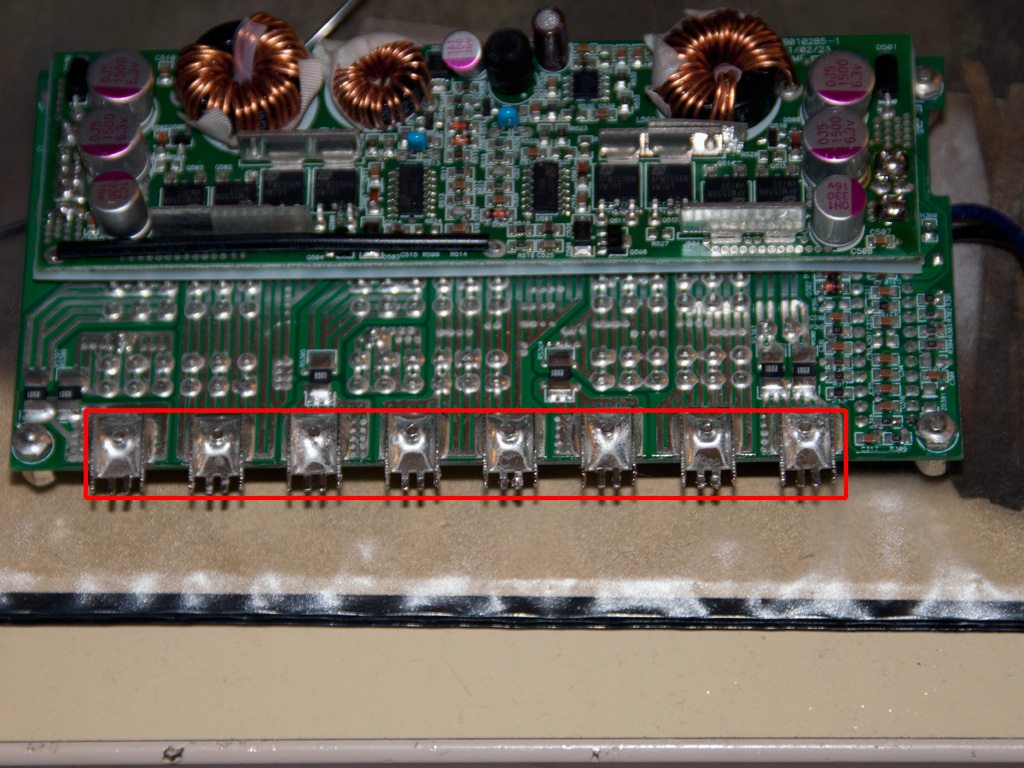
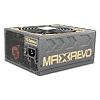
The first thing we had to desolder was the modular PCB and more specific the copper bridge arrays. This was not an easy job but in the end the Hakko 808 prevailed. Near the bottom of the PCB the six shunt resistors for +12V are clearly shown.


Once we removed the modular PCB we had a better view at the Rubycon caps.
Right behind the Rubycon caps reside the two coils which rectify and filter +12V.
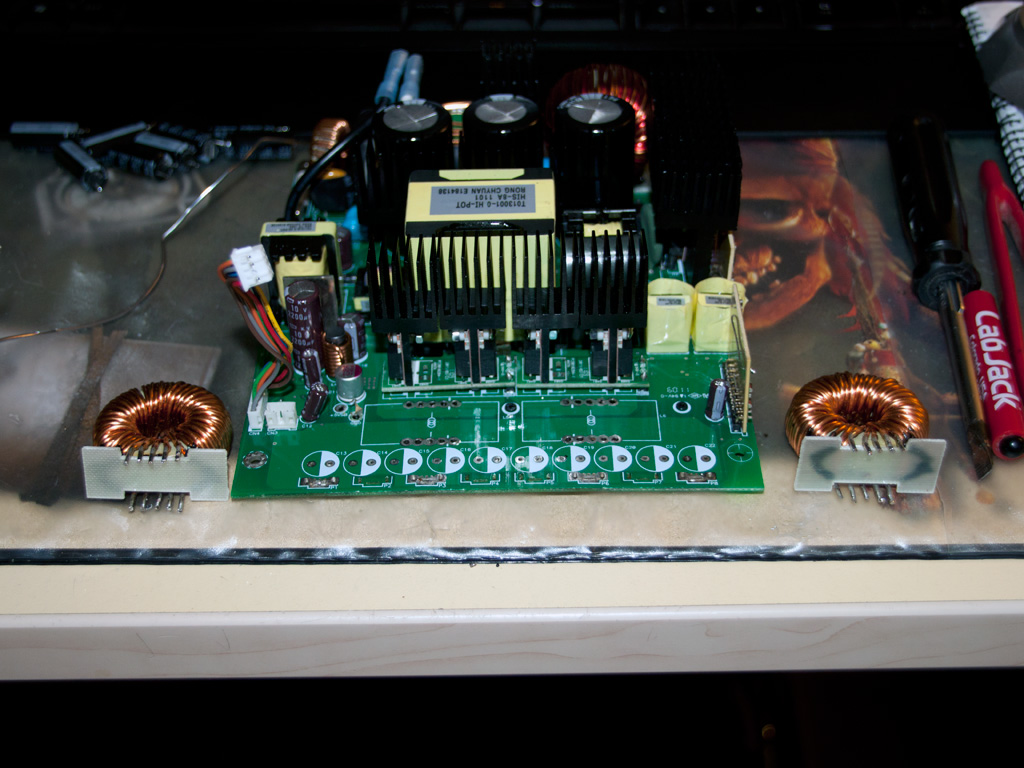


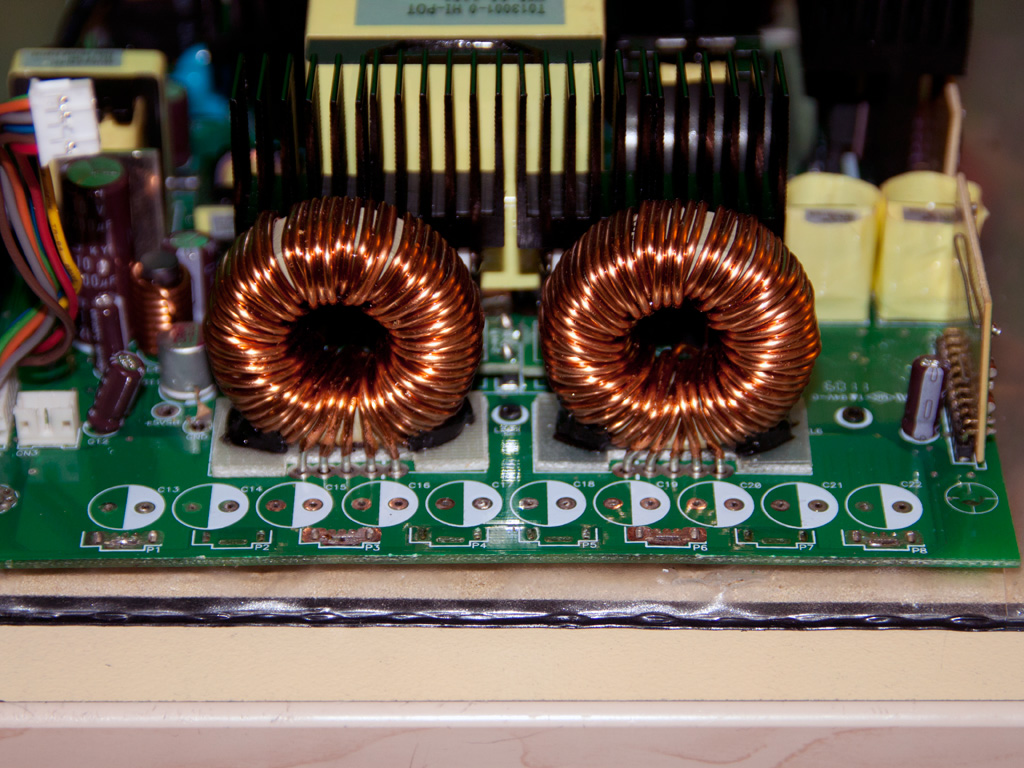
After we removed the two coils we can see now the mosfets that regulate +12V. As you can see there are two empty spaces on the PCB. We wonder if the 1500W MaxRevo will have them occupied.
The secondary side now is almost empty meaning that here the fan part ends. Now we have to install and solder all above in their places.
Apr 19th, 2024 17:41 EDT
change timezone
Latest GPU Drivers
New Forum Posts
- Looks like the Z80 is finished (0)
- AAF Optimus DCH Audio Modded Driver for Windows 10/11 - For ALL HDAUDIO Enumerator Chips (642)
- What can be changed in a VBIOS file? (PCI vendor etc) (5)
- The TPU UK Clubhouse (24735)
- Whats your favourite Linux Distro? (53)
- GPU-Z reporting wrong ReBar info for RTX 20 series (1)
- Roccat Kone AIMO has developed a double left click, when I click it once. Any fix out there? (32)
- [WIN11] 5700x3d Security processor Attestation: Not supported? (9)
- XFX RX580 stock Bios (6)
- I7-8750H + GTX 1050ti Laptop drops performance periodically (4)
Popular Reviews
- Horizon Forbidden West Performance Benchmark Review - 30 GPUs Tested
- PowerColor Radeon RX 7900 GRE Hellhound Review
- Fractal Design Terra Review
- Corsair 2000D Airflow Review
- Thermalright Phantom Spirit 120 EVO Review
- Minisforum EliteMini UM780 XTX (AMD Ryzen 7 7840HS) Review
- Creative Pebble X Plus Review
- FiiO KB3 HiFi Mechanical Keyboard Review - Integrated DAC/Amp!
- ASUS GeForce RTX 4090 STRIX OC Review
- NVIDIA GeForce RTX 4090 Founders Edition Review - Impressive Performance
Controversial News Posts
- Sony PlayStation 5 Pro Specifications Confirmed, Console Arrives Before Holidays (111)
- NVIDIA Points Intel Raptor Lake CPU Users to Get Help from Intel Amid System Instability Issues (102)
- US Government Wants Nuclear Plants to Offload AI Data Center Expansion (98)
- Windows 10 Security Updates to Cost $61 After 2025, $427 by 2028 (82)
- Developers of Outpost Infinity Siege Recommend Underclocking i9-13900K and i9-14900K for Stability on Machines with RTX 4090 (82)
- AMD "Strix Halo" Zen 5 Mobile Processor Pictured: Chiplet-based, Uses 256-bit LPDDR5X (80)
- TechPowerUp Hiring: Reviewers Wanted for Motherboards, Laptops, Gaming Handhelds and Prebuilt Desktops (72)
- Intel Realizes the Only Way to Save x86 is to Democratize it, Reopens x86 IP Licensing (70)