 13
13
NZXT Phantom 820 Review
A Closer Look - Inside »A Closer Look - Outside
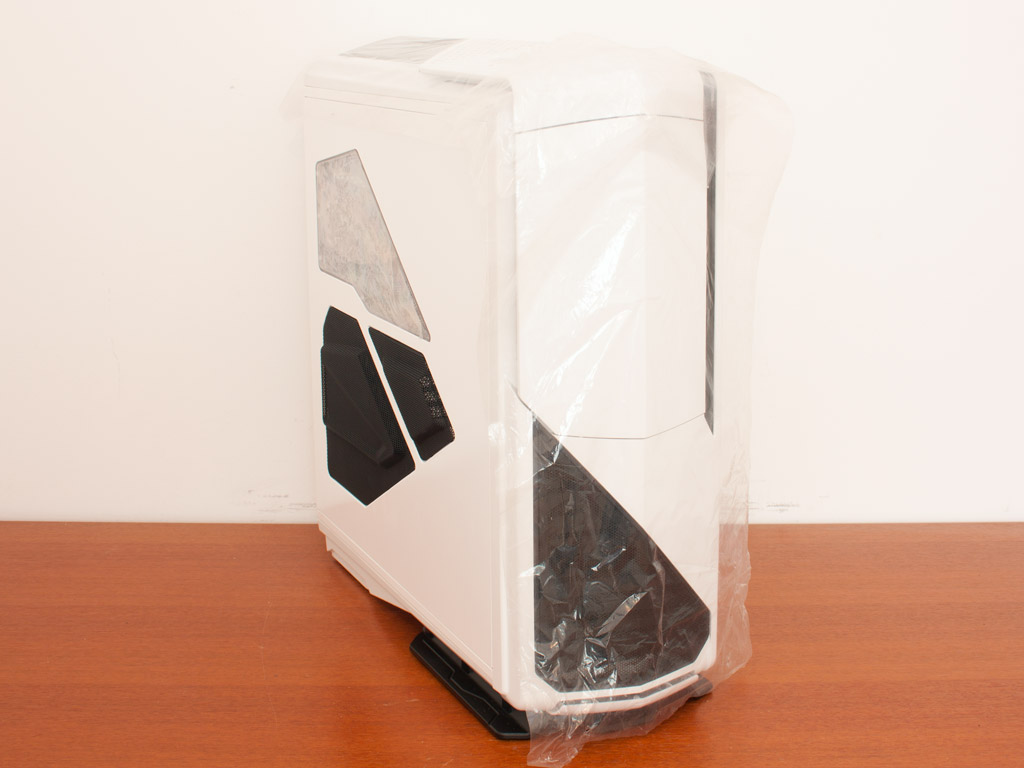
The case itself is also lined with an additional layer of plastic on all smooth areas for added protection. The case looks pretty damn menacing and is not only NZXTs biggest case but also one of their most expensive ones. As far as I can recall, only the Khaos chassis was more expensive when it hit the market.


Taking a look at the front of the chassis, the case clearly carries the genes of the original Phantom, but NZXT has expanded on the theme a bit more by adding many little design details to the Phantom 820. The door swings open to the right, revealing the drive bays and some additional features hidden behind it. In the rear, you will find a bottom mounted PSU bay and an all-white chassis frame. The other color variants of the chassis will, just like we have come to expect from the Phantom line, also have a paint job matching the exterior of the chassis.
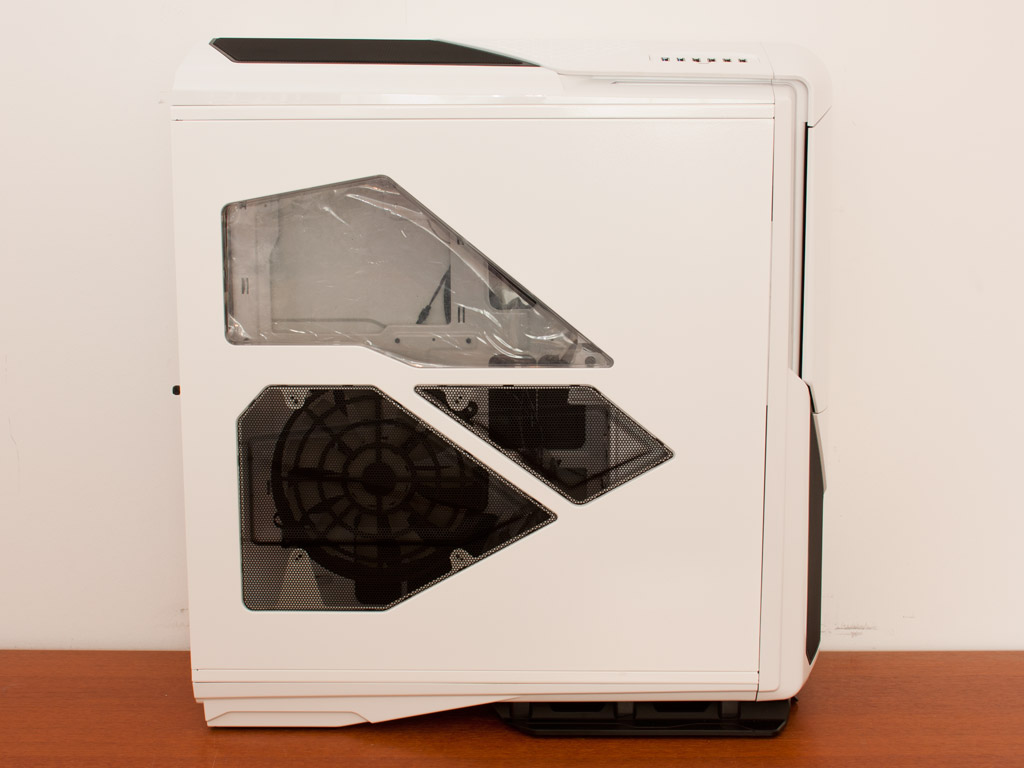

An elaborate side-panel with an abstract window should allow just enough of a peek inside the chassis to make people come up close for a better look. A large 200 mm fan on the side of the chassis pushes air into the case and across the motherboard expansion slots. The unit comes with a dust filter to keep as much grime out of the case as possible. The other side-panel also features a few extrusions that add to the overall look of the case.


Taking a closer look at the front, the bottom is basically a large air-vent for the cooling fans behind it. NZXT installed a single unit here, but you may install an additional one there if you wish. Above that are the three 5.25" expansion slots; each one can be removed easily without prying off the entire front of the chassis. There is also the SDHC capable card reader, an LED on/off switch for the rear motherboard LEDs, and a big dial for NZXT's integrated Hue LED lighting system.


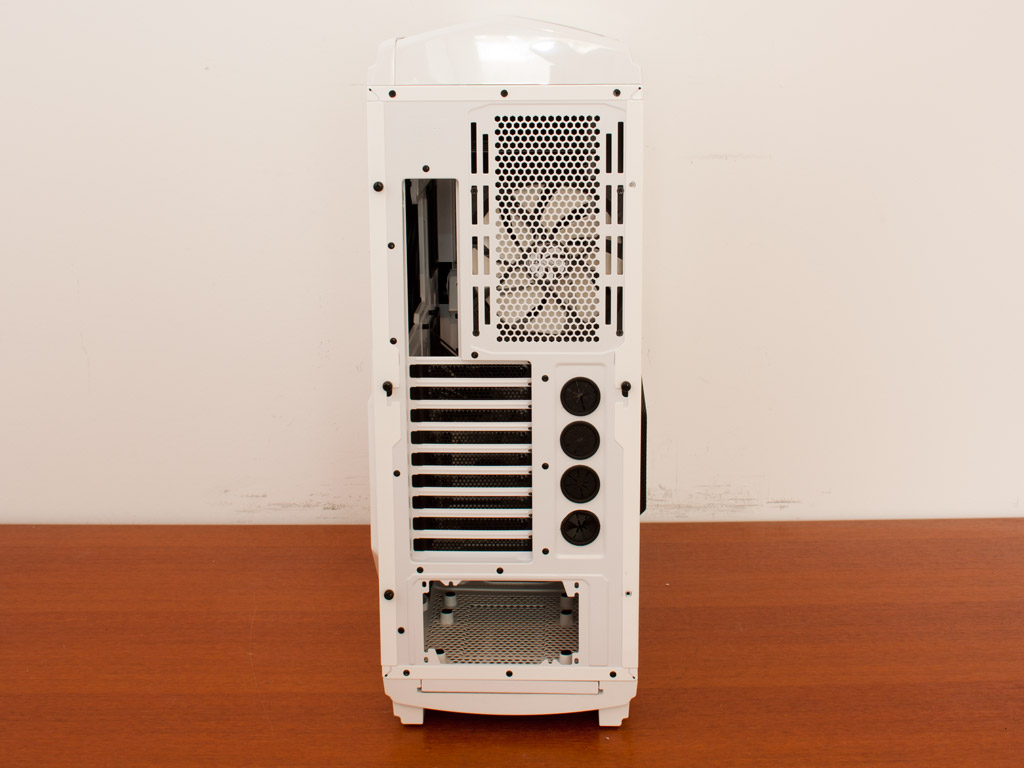
Turning our focus to the rear of the case, the previously mentioned PSU bay is located on the very bottom. You may install the power supply with the fan either facing up or down because of two sets of mounting holes. Above that are the nine motherboard expansion-slots, each protected by a metal mesh-cover. There are also four large openings to route water-cooling tubes through the rear panel. Above that is the 140 mm fan, the position of which may be adjusted vertically for the most effective cooling spot. You may also install a 120 mm unit here instead.
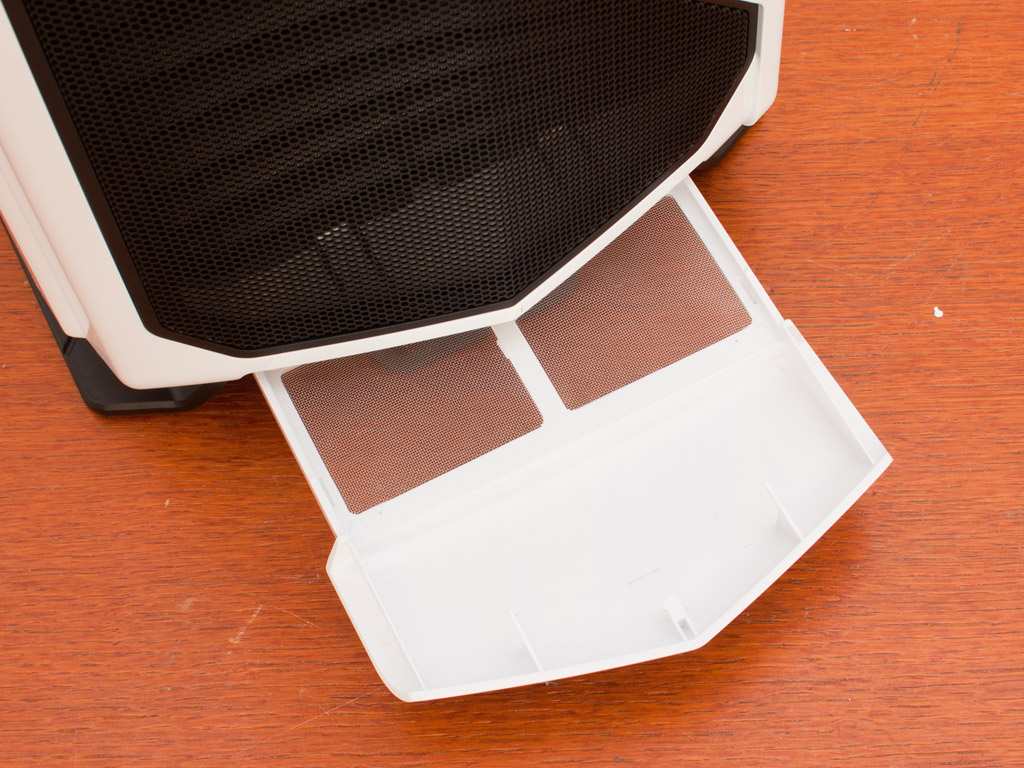

You will find two dust filters covering the entire underside of the case. Each unit may easily be removed by pushing down on the frame to make it pop out. These are washable and should keep dust out of the case really well.

Just like with the Phantom, NZXT includes quite the elaborate fan-controller with the Phantom 820. It is a 4-channel unit with 15W capacity per channel and has the ability to connect to twelve cooling units. Unlike the first Phantom, there are no sliders. Instead, NZXT is using buttons for channel selection and speed control. The fan controller is also capable of cutting the power to the selected fans off completely, which stops them from spinning. You will also find the power button and a pair of audio connectivity here. The reset button is hidden away behind the front door.
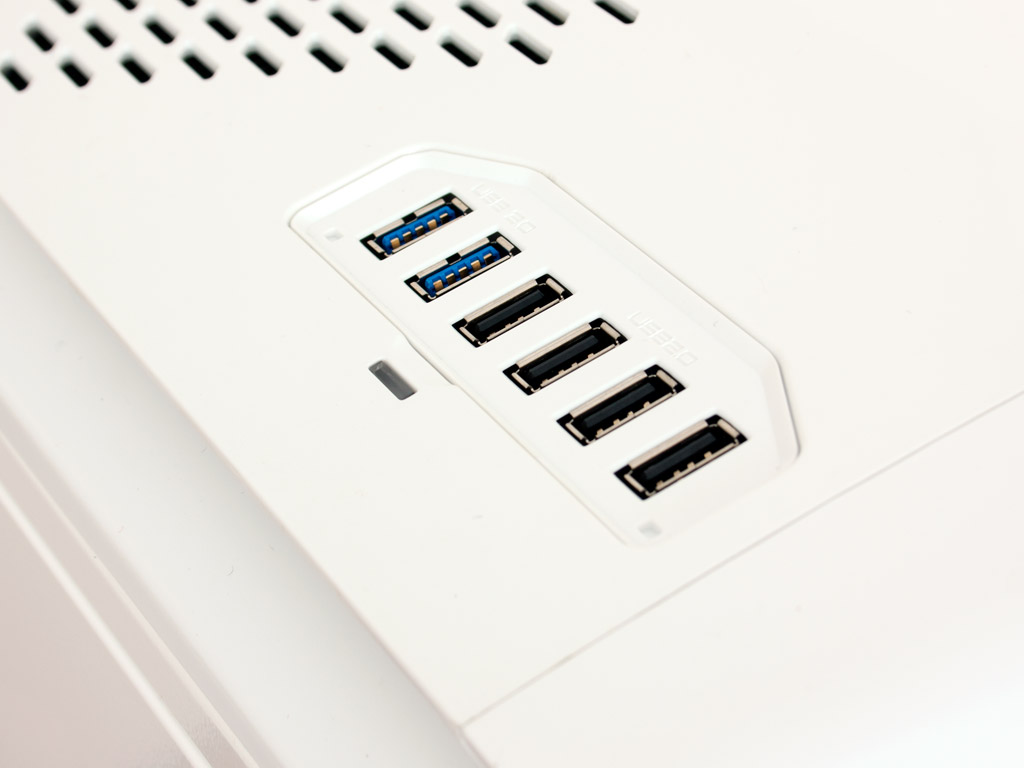
On the other side of the top panel are the six USB ports, two of which are of the 3.0 kind. A large air vent in the rear allows for hot air to be pushed out by the ceiling mounted 200 mm unit. You may place an additional 200 mm cooling fan here, or switch the configuration over to three 120 / 140 mm fans.
Apr 18th, 2024 07:46 EDT
change timezone
Latest GPU Drivers
New Forum Posts
- Will a RTX 4070 TI super bottleneck a Ryzen 9 7950X3D? (32)
- Unlocked Realtek HD Audio Drivers for Windows 11 (Dolby Digital Live/DTS Interactive) (152)
- The TPU UK Clubhouse (24726)
- What are you playing? (20453)
- Gigabyte gpu model differences? (33)
- DDR5 RAM Speeds and the future (25)
- [Official] Meta Quest 3 (43)
- Which air cooler for a ryzen 9 5900x (156)
- Realtek Modded Audio Driver for Windows 10/11 - Only for HDAUDIO (5677)
- Your PC ATM (34484)
Popular Reviews
- Horizon Forbidden West Performance Benchmark Review - 30 GPUs Tested
- PowerColor Radeon RX 7900 GRE Hellhound Review
- Fractal Design Terra Review
- Corsair 2000D Airflow Review
- Minisforum EliteMini UM780 XTX (AMD Ryzen 7 7840HS) Review
- Creative Pebble X Plus Review
- FiiO KB3 HiFi Mechanical Keyboard Review - Integrated DAC/Amp!
- ASUS GeForce RTX 4090 STRIX OC Review
- NVIDIA GeForce RTX 4090 Founders Edition Review - Impressive Performance
- ASUS GeForce RTX 4090 Matrix Platinum Review - The RTX 4090 Ti
Controversial News Posts
- Sony PlayStation 5 Pro Specifications Confirmed, Console Arrives Before Holidays (106)
- NVIDIA Points Intel Raptor Lake CPU Users to Get Help from Intel Amid System Instability Issues (102)
- US Government Wants Nuclear Plants to Offload AI Data Center Expansion (98)
- Windows 10 Security Updates to Cost $61 After 2025, $427 by 2028 (82)
- Developers of Outpost Infinity Siege Recommend Underclocking i9-13900K and i9-14900K for Stability on Machines with RTX 4090 (82)
- TechPowerUp Hiring: Reviewers Wanted for Motherboards, Laptops, Gaming Handhelds and Prebuilt Desktops (71)
- Intel Realizes the Only Way to Save x86 is to Democratize it, Reopens x86 IP Licensing (70)
- AMD Zen 5 Execution Engine Leaked, Features True 512-bit FPU (63)