 5
5
Noctua NH-U12F Review
Performance »Installation

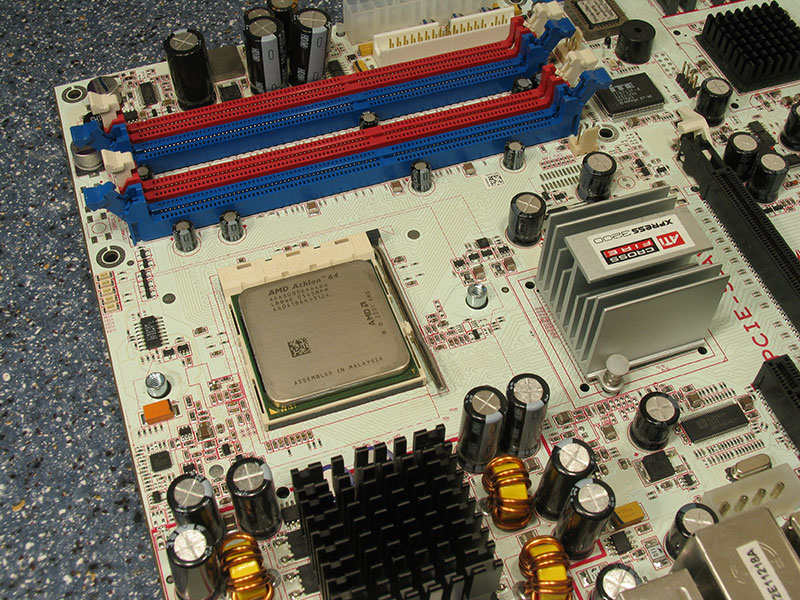
First we had to remove the heatsink retention module of our motherboard.


Depending on the orientation you want to use for the fan you have to use different metal clips here. They are screwed to the back of the bottom of the heatsink base.

Next we put together springs and screws and insert them into the metal clip holes.


Align the cooler over the CPU socket and screw down the two screws. Take a turn each then switch to the other screw. The holes in the cooler clips are a bit bigger so it is easy to screw down the cooler even though it is not 100% perfectly aligned at the start.


The screws have exactly defined points at which they are screwed down tight, this means you can't screw the heatsink down too tight.
90° rotated installation


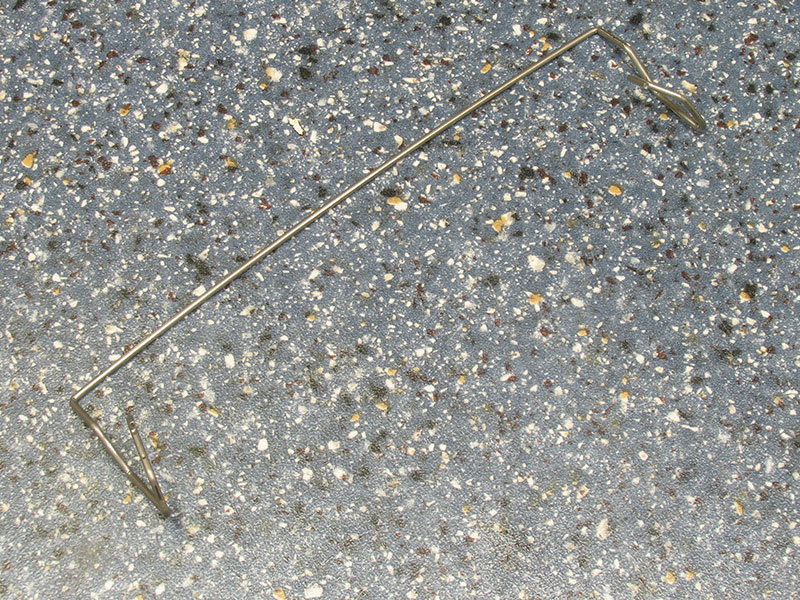
To install the cooler rotated you have to use different clips. Now the screws sit under a hole that goes all the way through the heatsink. That's what the long included "screwdriver" is used for.


A truly ingenious solution - as long as you don't lose the screwdriver.

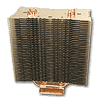
After the cooler is installed, the final step is putting the fan on the cooler.


These small plastic strips should be put between heatsink and fan to reduce loud vibrations.

Finally, use the clips to attach the fan. The connection is very secure, even with heavy abuse I can't imagine the fan falling off.
Apr 24th, 2024 10:42 EDT
change timezone
Latest GPU Drivers
New Forum Posts
- Which new games will you be buying? (310)
- Looking to build another system (5)
- What's your latest tech purchase? (20335)
- Is It The 1080 TI The Best GPU Ever? (206)
- EK seems to be having major issues (40)
- What phone you use as your daily driver? And, a discussion of them. (1465)
- Large Address Aware (374)
- ThrottleStop 9.6 Voltage won't change (3)
- Official Board Game Discussion (16)
- My computer setup - Request for opinions (15)
Popular Reviews
- Fractal Design Terra Review
- Thermalright Phantom Spirit 120 EVO Review
- Corsair 2000D Airflow Review
- Minisforum EliteMini UM780 XTX (AMD Ryzen 7 7840HS) Review
- ASUS GeForce RTX 4090 STRIX OC Review
- NVIDIA GeForce RTX 4090 Founders Edition Review - Impressive Performance
- ASUS GeForce RTX 4090 Matrix Platinum Review - The RTX 4090 Ti
- MSI GeForce RTX 4090 Gaming X Trio Review
- MSI GeForce RTX 4090 Suprim X Review
- Gigabyte GeForce RTX 4090 Gaming OC Review
Controversial News Posts
- Sony PlayStation 5 Pro Specifications Confirmed, Console Arrives Before Holidays (116)
- NVIDIA Points Intel Raptor Lake CPU Users to Get Help from Intel Amid System Instability Issues (106)
- AMD "Strix Halo" Zen 5 Mobile Processor Pictured: Chiplet-based, Uses 256-bit LPDDR5X (101)
- US Government Wants Nuclear Plants to Offload AI Data Center Expansion (98)
- Windows 10 Security Updates to Cost $61 After 2025, $427 by 2028 (84)
- Developers of Outpost Infinity Siege Recommend Underclocking i9-13900K and i9-14900K for Stability on Machines with RTX 4090 (84)
- TechPowerUp Hiring: Reviewers Wanted for Motherboards, Laptops, Gaming Handhelds and Prebuilt Desktops (78)
- Intel Realizes the Only Way to Save x86 is to Democratize it, Reopens x86 IP Licensing (70)