 8
8
Thermaltake Chaser MK-1 Review
Assembly & Finished Looks »A Closer Look - Inside


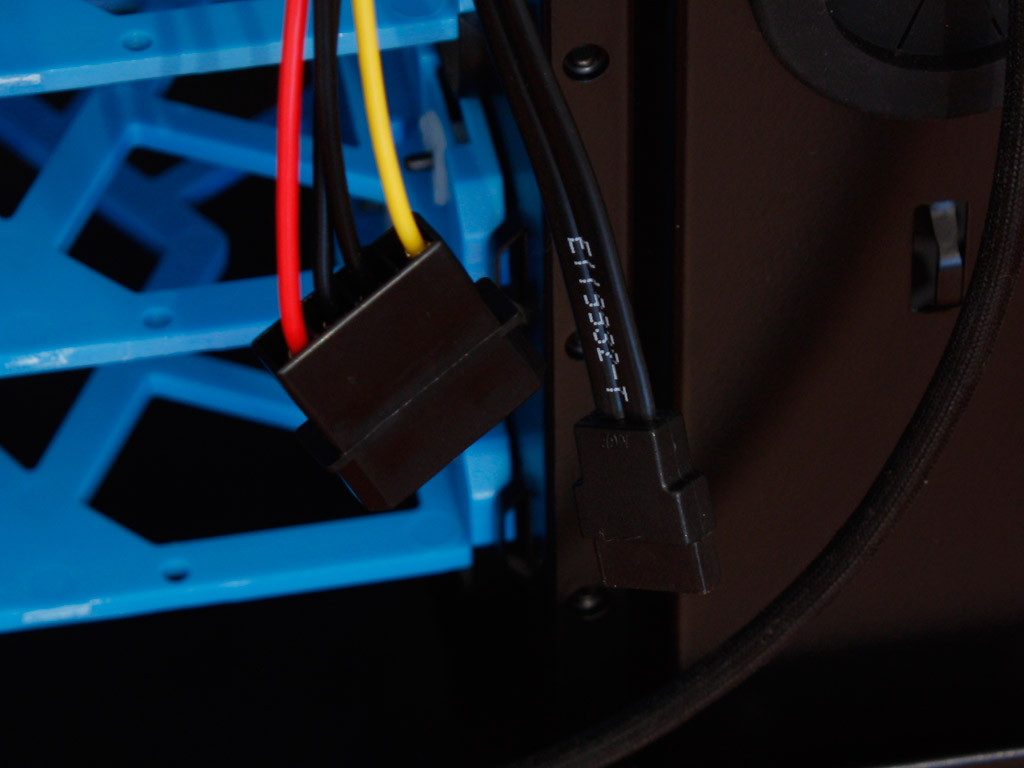
Both side panels may easily be removed by unscrewing the pair of thumb screws holding each in place. As mentioned before, the interior is all black, but Thermaltake has also added blue elements to the case. There is a large opening in the mainboard tray to give you easy access to the CPU cooler backplate along with several smaller ones to route cables through.

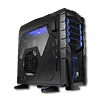
Six fairly large, bright blue and surprisingly good looking hard drive trays make the installation of the drives a breeze. The locking mechanism works great and due to the shape you can easily hide even the ugliest, oldest drives. Above that are the four external drive bays with screwless locks, similar to those found on other modern cases. These snap into place automatically and should work quite well.


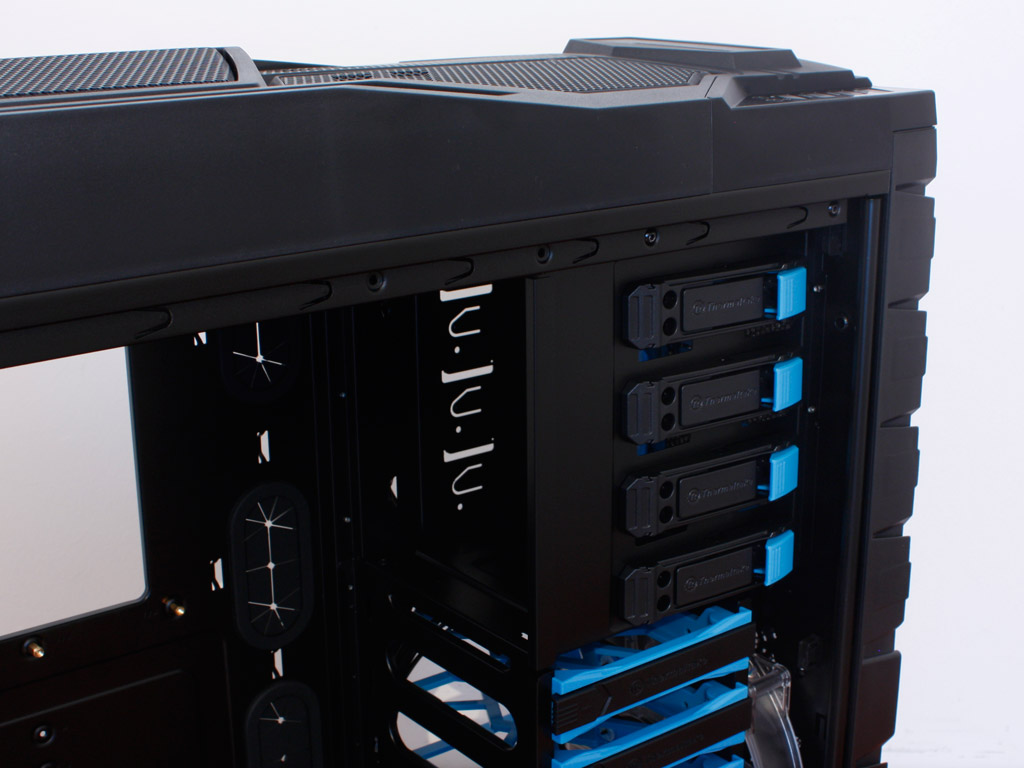
In the rear, the bottom mounted PSU rests on a metal cross bar. This means an extra step when installing the device. It would be easier and cheaper for Thermaltake to use rubber mounts instead. Above that are the eight expansion slots, which are protected by separate covers being held in place with thumb screws. An all black, turbine shaped fan pulls air out the back of the Chaser MK-1.

As the power supply is located on the bottom, Thermaltake has placed a 200 mm cooling unit in the ceiling to pull hot air out the top as well. As you can see, there is space for another one to the right.


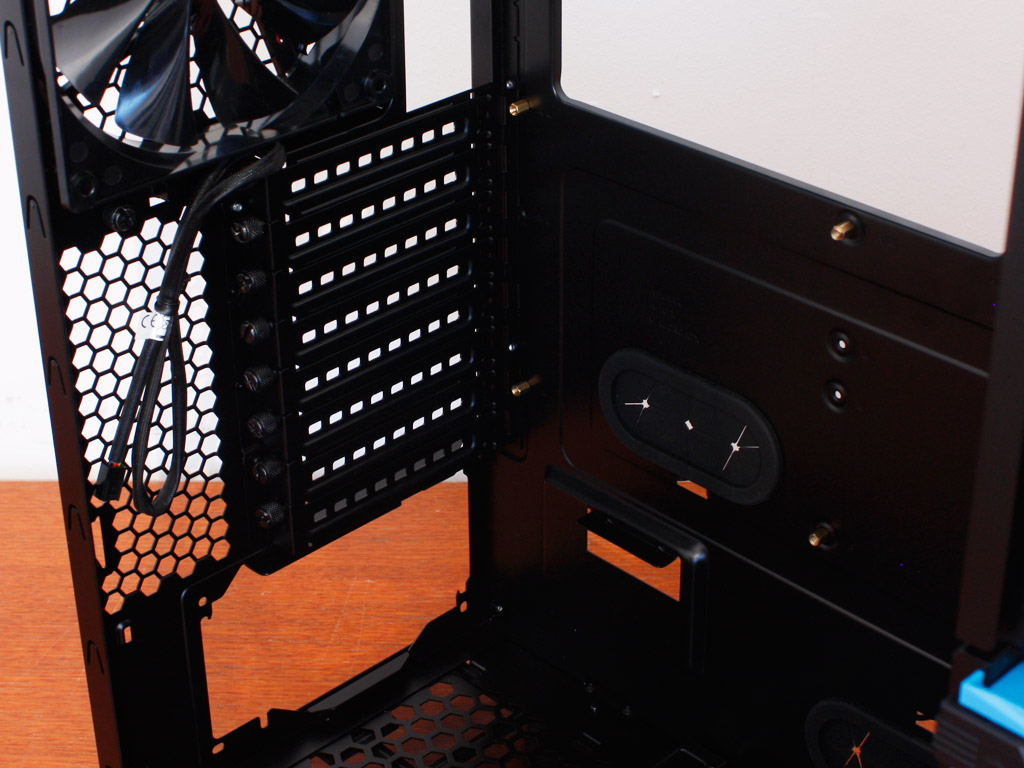
Before we dive into the assembly process, let us take a quick look at the cables within the Chaser MK-1. Interestingly enough, the SATA based HDD dock utilizes a Molex plug to deliver power to the drive. On top of that you have the usual connectors for the I/O and power/reset/LEDs. Thermaltake has kept them all black to go with the rest of the chassis.
Apr 24th, 2024 19:30 EDT
change timezone
Latest GPU Drivers
New Forum Posts
- Will a RTX 4070 TI super bottleneck a Ryzen 9 7950X3D? (58)
- The best *budget* ATX PC case on the market? (24)
- GTX 1070 Ti - TDP Issues - Always Power Throttling (4)
- The TPU UK Clubhouse (24782)
- 2022-X58/1366 PIN Motherboards NVME M.2 SSD BIOS MOD Collection (656)
- Meta Horizon OS (15)
- Is there a technical reason that Windows 11 doesn't have built into it battery charge limitation? (41)
- Best SSD for system drive (75)
- How are MX330 and İ5 1135G7 ? (9)
- 3DMARK "LEGENDARY" (189)
Popular Reviews
- Fractal Design Terra Review
- Thermalright Phantom Spirit 120 EVO Review
- Corsair 2000D Airflow Review
- Minisforum EliteMini UM780 XTX (AMD Ryzen 7 7840HS) Review
- ASUS GeForce RTX 4090 STRIX OC Review
- NVIDIA GeForce RTX 4090 Founders Edition Review - Impressive Performance
- ASUS GeForce RTX 4090 Matrix Platinum Review - The RTX 4090 Ti
- MSI GeForce RTX 4090 Gaming X Trio Review
- MSI GeForce RTX 4090 Suprim X Review
- Gigabyte GeForce RTX 4090 Gaming OC Review
Controversial News Posts
- Sony PlayStation 5 Pro Specifications Confirmed, Console Arrives Before Holidays (116)
- NVIDIA Points Intel Raptor Lake CPU Users to Get Help from Intel Amid System Instability Issues (106)
- AMD "Strix Halo" Zen 5 Mobile Processor Pictured: Chiplet-based, Uses 256-bit LPDDR5X (101)
- US Government Wants Nuclear Plants to Offload AI Data Center Expansion (98)
- Windows 10 Security Updates to Cost $61 After 2025, $427 by 2028 (84)
- Developers of Outpost Infinity Siege Recommend Underclocking i9-13900K and i9-14900K for Stability on Machines with RTX 4090 (84)
- TechPowerUp Hiring: Reviewers Wanted for Motherboards, Laptops, Gaming Handhelds and Prebuilt Desktops (78)
- AMD's RDNA 4 GPUs Could Stick with 18 Gbps GDDR6 Memory (71)