 21
21
Thermaltake Element S Case Review
Inside the case »A Closer Look


The style on the Thermaltake Element S case is somewhat muted, except for the red trim on the front door. Upon opening the door, one is greeted by what appears to be nine 5.25" bays.

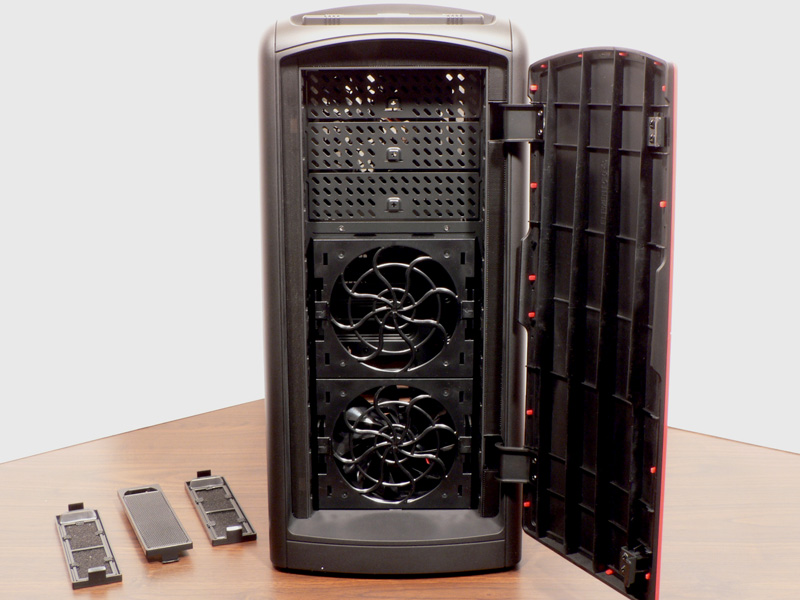

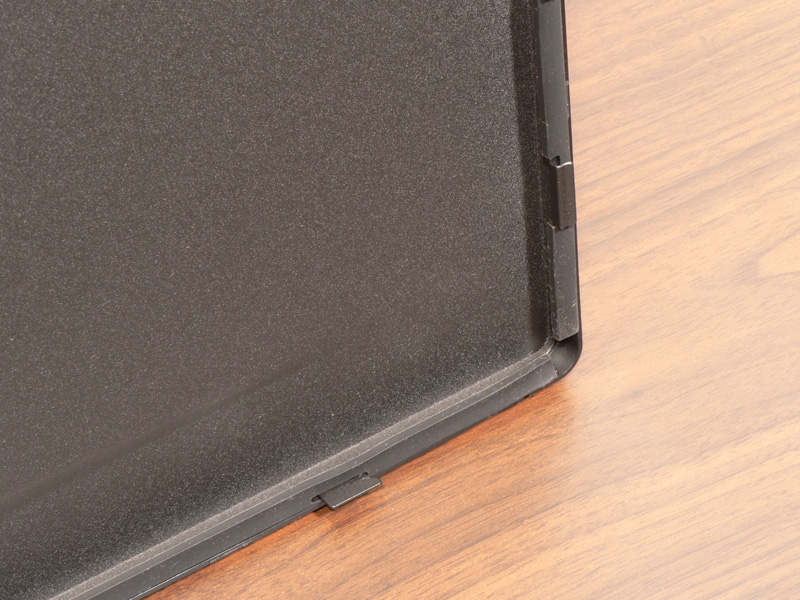
However, this is not the case, as only the top three bays are for 5.25" devices. Each of the vented bay covers pulls out to reveal the space behind. Unfortunately, Thermaltake has chosen to leave the stamped steel plates in the bay locations. While this may add some rigidity to the case if these bays are empty, most users will be installing at least one device in these locations and will be forced to remove these plates before installing their hardware. The good news is that, since only the top three bays are usable for external devices, Thermaltake decided to place dual 120mm fans in the lower six "bays" (one fan is included and the other is optional). These fans install on plastic brackets that easily snap out of the front.


Turning our attention to the rear of the case, we see the same black finish as the sides. There is a small vent at the top, and just below is an included 140mm fan behind a very open honeycomb mesh grill (there is the option to install a 120mm fan if desired). Below that and to the right are two more vents that allow the user to install dual 60mm fans next to the expansion cards. The power supply mounts at the bottom of the case, and there are two small knockouts for water cooling tubes. Again, Thermaltake has left the stamped I/O covers and PCI slot covers installed. Not only does this make more work the for system builder, but in this circumstance the PCI plates are not replaceable once removed. If the end user changes hardware frequently or plays around with hardware locations, this will leave the back wide open unless covers are purchased separately.

The side panels are attached with some matching black thumbscrews, and there is a loop to lock the side panel if desired. Also, both side panels are trimmed in plastic so they slide easily, and they have some rubber edging that covers the mating surfaces to reduce vibrations.


Toward the rear on the top is a clear 230mm fan which lights up from the red LEDs. There is an I/O panel on the top at the front of the case that features two USB, one eSATA, mic and headphone jacks, and the standard Power & HDD LEDs and Power & Reset buttons. The panel is well-laid out, with plenty of room between the connections. However, I can't help but notice that it looks as if it is missing a cover by the way it is designed.
Apr 24th, 2024 18:00 EDT
change timezone
Latest GPU Drivers
New Forum Posts
- Is there a technical reason that Windows 11 doesn't have built into it battery charge limitation? (41)
- Best SSD for system drive (75)
- How are MX330 and İ5 1135G7 ? (9)
- GTX 1070 Ti - TDP Issues - Always Power Throttling (1)
- Will a RTX 4070 TI super bottleneck a Ryzen 9 7950X3D? (55)
- 3DMARK "LEGENDARY" (189)
- TPU's Nostalgic Hardware Club (18462)
- Meta Horizon OS (14)
- im new to throttelstop and i think i messed it up by copying others any hints would be very much aprreciated (0)
- Is It The 1080 TI The Best GPU Ever? (214)
Popular Reviews
- Fractal Design Terra Review
- Thermalright Phantom Spirit 120 EVO Review
- Corsair 2000D Airflow Review
- Minisforum EliteMini UM780 XTX (AMD Ryzen 7 7840HS) Review
- ASUS GeForce RTX 4090 STRIX OC Review
- NVIDIA GeForce RTX 4090 Founders Edition Review - Impressive Performance
- ASUS GeForce RTX 4090 Matrix Platinum Review - The RTX 4090 Ti
- MSI GeForce RTX 4090 Gaming X Trio Review
- MSI GeForce RTX 4090 Suprim X Review
- Gigabyte GeForce RTX 4090 Gaming OC Review
Controversial News Posts
- Sony PlayStation 5 Pro Specifications Confirmed, Console Arrives Before Holidays (116)
- NVIDIA Points Intel Raptor Lake CPU Users to Get Help from Intel Amid System Instability Issues (106)
- AMD "Strix Halo" Zen 5 Mobile Processor Pictured: Chiplet-based, Uses 256-bit LPDDR5X (101)
- US Government Wants Nuclear Plants to Offload AI Data Center Expansion (98)
- Windows 10 Security Updates to Cost $61 After 2025, $427 by 2028 (84)
- Developers of Outpost Infinity Siege Recommend Underclocking i9-13900K and i9-14900K for Stability on Machines with RTX 4090 (84)
- TechPowerUp Hiring: Reviewers Wanted for Motherboards, Laptops, Gaming Handhelds and Prebuilt Desktops (78)
- Intel Realizes the Only Way to Save x86 is to Democratize it, Reopens x86 IP Licensing (70)