maarten12100
New Member
- Joined
- Jan 10, 2013
- Messages
- 2 (0.00/day)
Watercooled mac mini Build log

This mod is copied from the original build log placed here
So to sum up my demands for this rig:
Build Log


The picture that says mainboard is actually quite funny besides the fact that it cost me money.
I had that package shipped from china and it contained the mac mini cases the customs officers opened up the package and found those pieces of paper placed there to protect the mac mini housing from bouncing and scratching.
She concluded it contained electronics which it did not and send me an invoice to pay 20 euro in taxes such fun :axesmiley
This mod is a copy from my worklog at overclock.net
This mod is copied from the original build log placed here
As all my previous mods are all done I now have the time to start on something new.
My previous mods were all mac casses and they're sprouting around my house
They include a G4 sawtooth a G4 MDD and a G5 and in the future will include both this case mod and a case mod on a G4 quicksilver
as for the quicksilver I do not know yet what I'm gonna fit in it but I'll see.
Now lets get to the idea.
The plan is too build a powerful yet compact system the system has to be at least as powerful as my current rig as it will be my school and work pc for the coming year.(2013)
My rig is currently a dual xeon e5520 on a asus z8na-d6 motherboard combined with a gtx570 graphics card and 20GB reg ecc ddr3 ram.
As a final word before I begin I start a project with a finished result already in mind and I will change my plan about 100 times before getting the final result.
Therefore in this build log I will also include the things that didn't work out as it might be an aid for anyone.
So to sum up my demands for this rig:
- It has to be at least as strong as my previous rig and has to be stronger in single threaded performance.
- It should have a low usage both idle as full load (50W idle and 200W load max)
- It should be running relatively cool but I don't mind it idiling at 50 °C as long as it doesn't reach extremes it should stay under 90 degrees at full load. (Yes those seem extremly hot but it are soft demands I will do as much to get them as low as possible)
- It should run relatively quite 40Dba max.
- It should have a small form factor as I plan on having it on my desk."
- It should have a lot of connectivity the more ports the better especially usb I always fall short on those.
- Resolves around point 4 but it has to be housed inside the mac case with minimal modifications to the way it looks it should stay classy
- Yes there is a greedy part of the story my budget is 1000 euro
Build Log
So I started planning looking for those things that would fit my demands.
I started looking trough mini itx boards low profile graphic cards low profile pumps low profile everything.
I ended up with the following in mind:
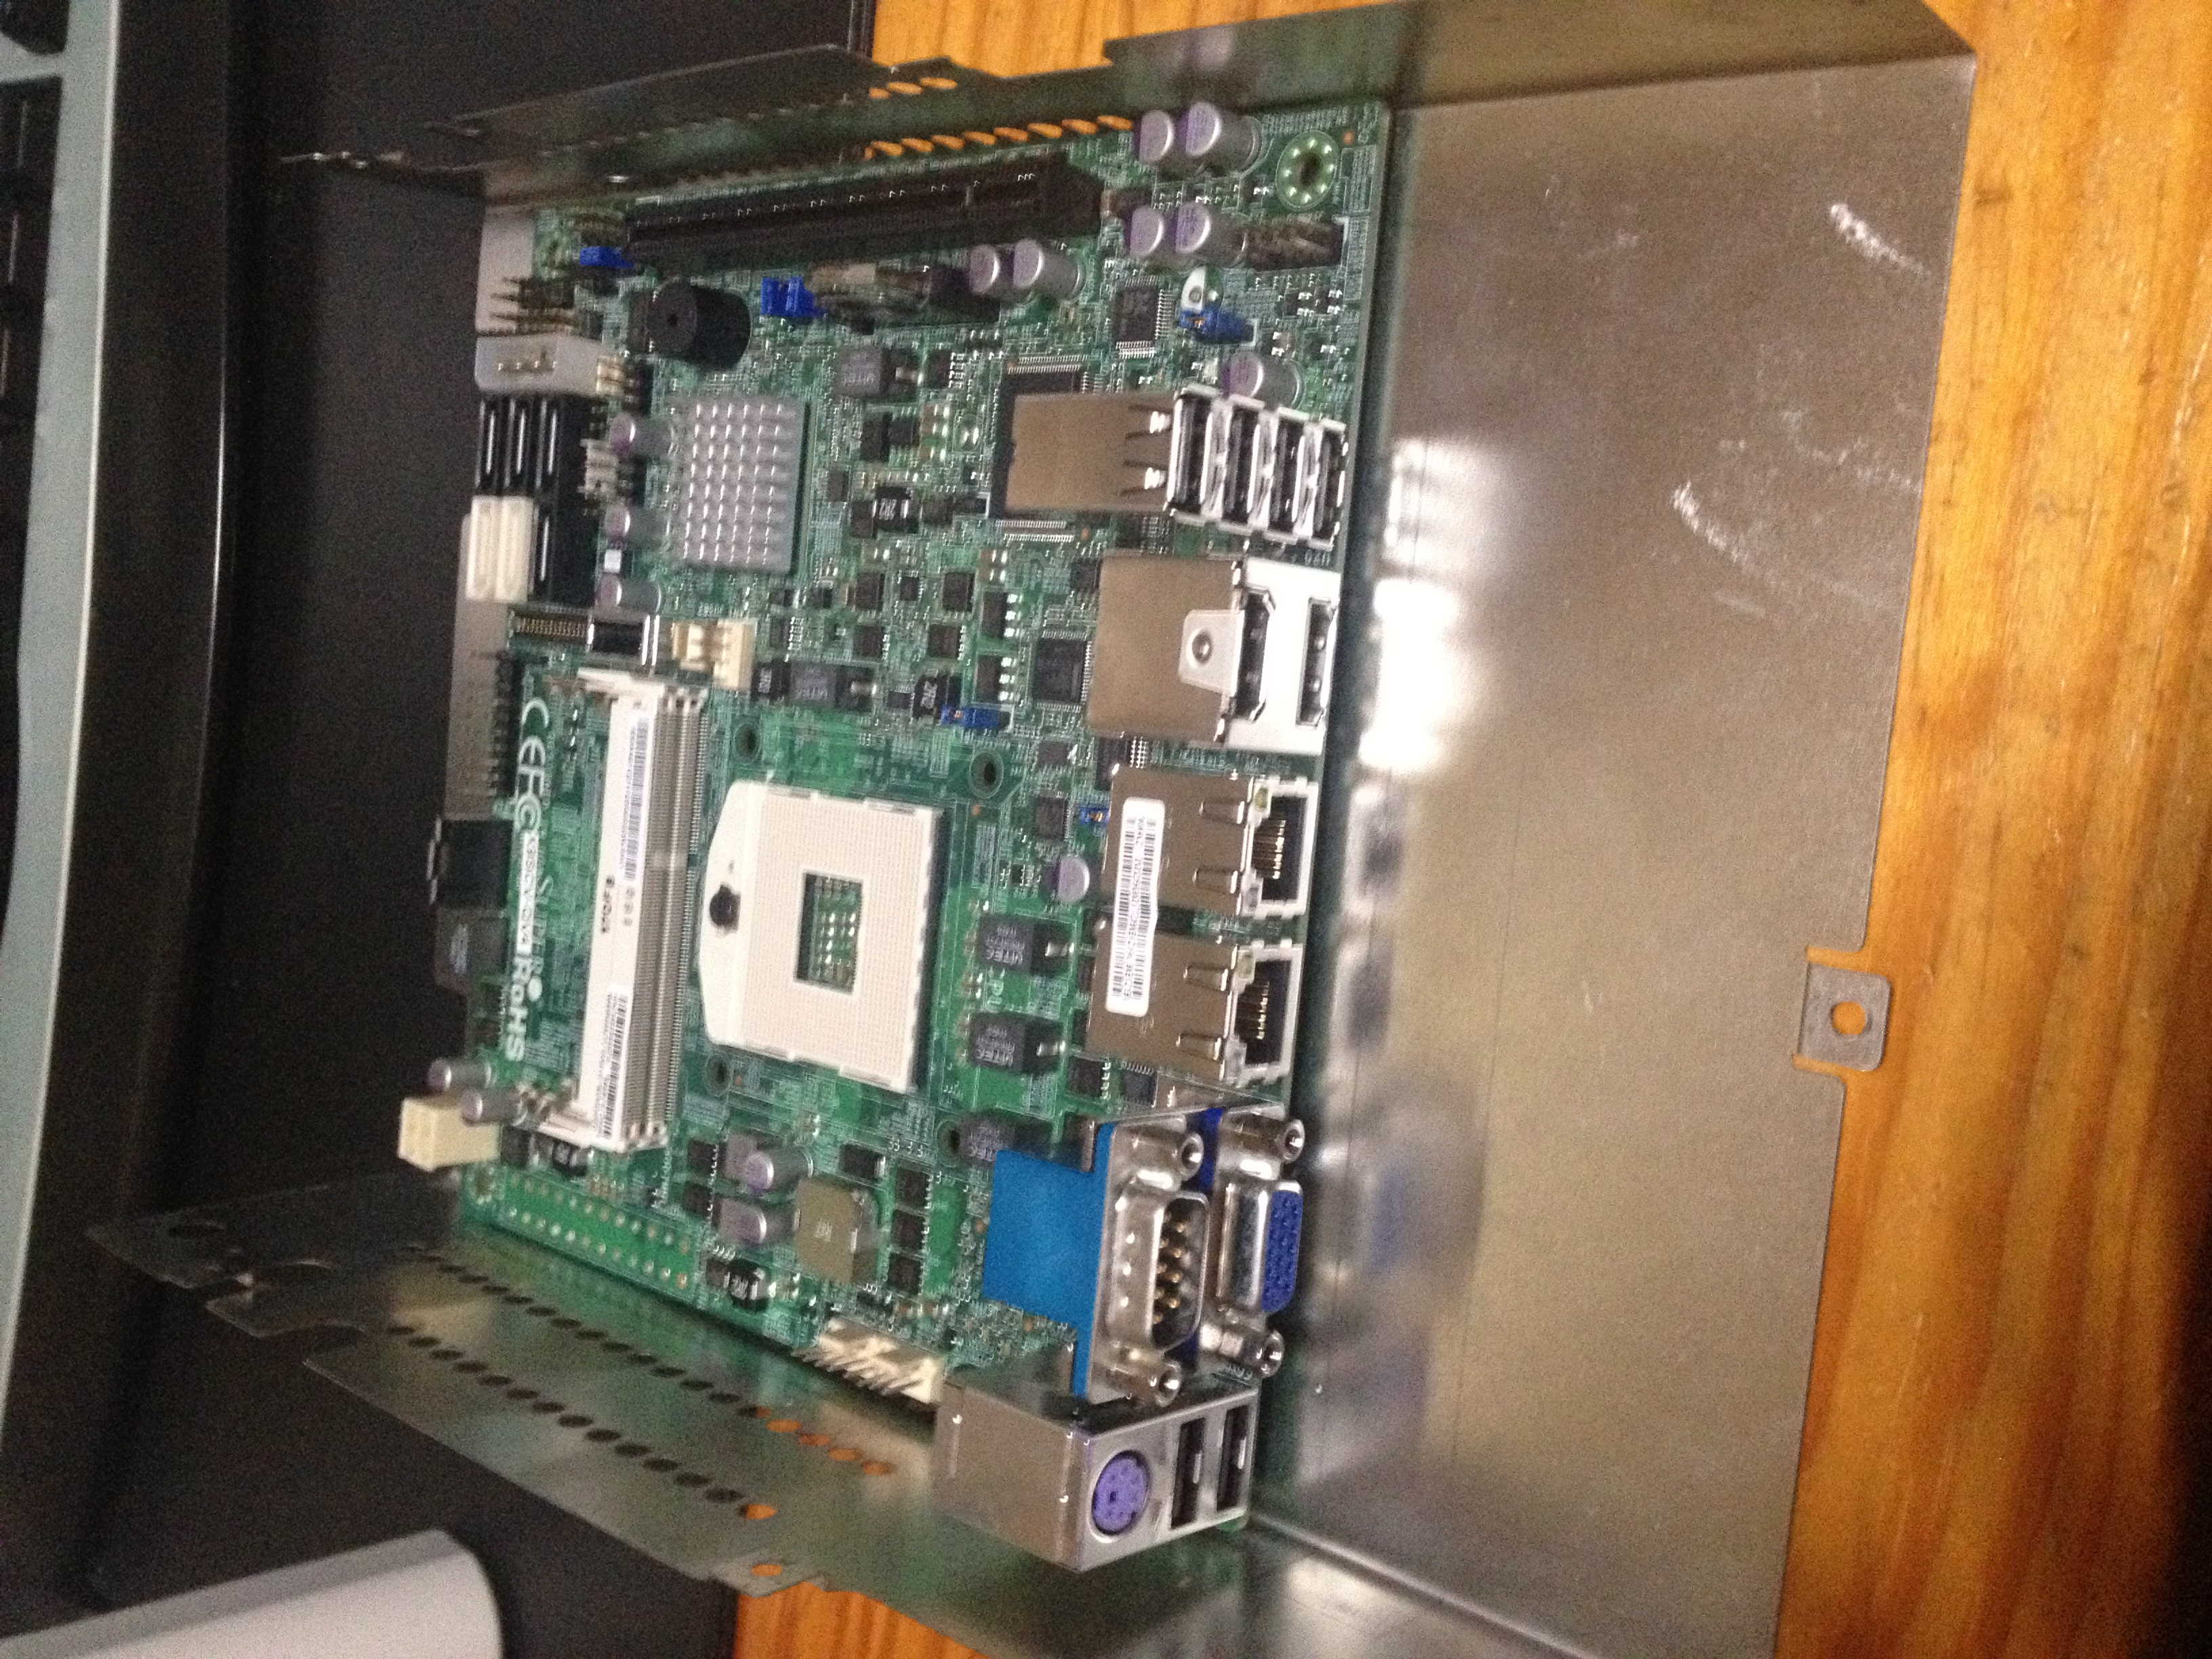
Motherboard
X9SCV-QV4 this board was everything I could've hoped for and comes as close to custom build for my build as it could get no over-sized DDIM slots very minimalistic however the height of the IO was one of the things that worried me a bit.

Graphics card:
HD7750 LP
A low profile card with an extremely tiny power consumption of under 30W under load bajeezus that is low.
In return the power of this tiny card is not that great however the price performance and performance watt is terrific.

Processor:
The processor was a bit tricky a normal sandy or ivy bridge mobile processor that would match my performance demands would set me back about 400 euro's at least.
I decided for a i7 3610/i7 3820 it will have the clocks of a i7 3610 but the cache of a i7 3820 and it would only cost me 1/4 the price of a retail processor.

With the main components taken care of except for ram which isn't important at all as I can just throw in any ddr3 So-dimm
Power supply:
As there would be a enormous shortage on space I decided on an external power supply.
Since one of my demands is high efficiency I chose a psu that would have about 90% eff which is almost a gold certificate on the 80 PLUS rating scale.
A huge challenge was to get a external psu that still has a lot of bang I ended up with one of the most high end if not the most high end external power supply the mini box 12v/16A AC-DC Power adapter.

Simple maths will tell you that this psu can provide atleast 192W of power.
As for testing due to slight lacks on the 12V which every psu has 192W is actually 188W.
188W may sound like too little but keep in mind that all components will be feeded trough 12v and the conversions will be done on the motherboard with high efficiency.
Too keep you guys tranquil the over current protection kicks in at 120% load so no until 225W power draw before it shuts itself.
But Maarten what are you doing 192W is awfully close too 200W so yeah if the setup would load it up to 100% the draw at wall socket might be more than 200W but as I use low power components it will be more like 100W at max.
Lowering the psu wattage would be "unsafe" so that is why I took the most powerful one and ofcourse because of the high eff.
Storage:
The storage will be provided by a simple 256GB SSD from adata model sp900
I will ad some pictures later on there isn't much to see but I will be taking it apart.
I don't know how it is for you but I like to see how things come apart.
Show me that Pcb baby!
As for the watercooling side of things it was crucial that I only use the lowest profile things while not trading in on performance too much.
Cpu and Gpu block:
Those blocks are extremely low profile measuring just 1.2cm in height.
Koolance GPU-180-h06
8/6 tubbing
Fittings and reduction pieces
and of course a tiny pump.
A radiator as thin as possible
Those don't really need a picture as they will be shown a lot in the upcoming log.
I started looking trough mini itx boards low profile graphic cards low profile pumps low profile everything.
I ended up with the following in mind:
Motherboard
X9SCV-QV4 this board was everything I could've hoped for and comes as close to custom build for my build as it could get no over-sized DDIM slots very minimalistic however the height of the IO was one of the things that worried me a bit.
Graphics card:
HD7750 LP
A low profile card with an extremely tiny power consumption of under 30W under load bajeezus that is low.
In return the power of this tiny card is not that great however the price performance and performance watt is terrific.
Processor:
The processor was a bit tricky a normal sandy or ivy bridge mobile processor that would match my performance demands would set me back about 400 euro's at least.
I decided for a i7 3610/i7 3820 it will have the clocks of a i7 3610 but the cache of a i7 3820 and it would only cost me 1/4 the price of a retail processor.
With the main components taken care of except for ram which isn't important at all as I can just throw in any ddr3 So-dimm
Power supply:
As there would be a enormous shortage on space I decided on an external power supply.
Since one of my demands is high efficiency I chose a psu that would have about 90% eff which is almost a gold certificate on the 80 PLUS rating scale.
A huge challenge was to get a external psu that still has a lot of bang I ended up with one of the most high end if not the most high end external power supply the mini box 12v/16A AC-DC Power adapter.
Simple maths will tell you that this psu can provide atleast 192W of power.
As for testing due to slight lacks on the 12V which every psu has 192W is actually 188W.
188W may sound like too little but keep in mind that all components will be feeded trough 12v and the conversions will be done on the motherboard with high efficiency.
Too keep you guys tranquil the over current protection kicks in at 120% load so no until 225W power draw before it shuts itself.
But Maarten what are you doing 192W is awfully close too 200W so yeah if the setup would load it up to 100% the draw at wall socket might be more than 200W but as I use low power components it will be more like 100W at max.
Lowering the psu wattage would be "unsafe" so that is why I took the most powerful one and ofcourse because of the high eff.
Storage:
The storage will be provided by a simple 256GB SSD from adata model sp900
I will ad some pictures later on there isn't much to see but I will be taking it apart.
I don't know how it is for you but I like to see how things come apart.
Show me that Pcb baby!
As for the watercooling side of things it was crucial that I only use the lowest profile things while not trading in on performance too much.
Cpu and Gpu block:
Those blocks are extremely low profile measuring just 1.2cm in height.
Koolance GPU-180-h06
8/6 tubbing
Fittings and reduction pieces
and of course a tiny pump.
A radiator as thin as possible
Those don't really need a picture as they will be shown a lot in the upcoming log.
As I wanted to have just as much bang into this system as I had in my old powerhorse rig I wanted a better graphics card.
After looking around on the web for a few hours I found that Afox made low profile hd6850 cards after looking up Afox I found out that they we're also making a low profile card based around the hd7850 chip.
It featured a fully enabled 7850 chip (although it wasn't the Ghz edition ofc just stock 860mhz).

A beauty, only problem was there was no one selling them except for some Vietnames store.
The only thing I could do is contact Afox directly to inform where I could get one it turned out they could factory ship me one and it wasn't that expensive at all as it was a very custom card one would expect a much higher price that a regular hd7850 but it costed only 290 dollar.
I also found that using a car radiator was the only way to go and it was the only radiator I could think of measuring only 20mm in thickness.
The alternative to go flatter would be to take laptop heatsinks and flow water trough them heatpipes. (which I will have some experimenting on later on but no worries it turns out to be not for the faint hearted at all)
After looking around on the web for a few hours I found that Afox made low profile hd6850 cards after looking up Afox I found out that they we're also making a low profile card based around the hd7850 chip.
It featured a fully enabled 7850 chip (although it wasn't the Ghz edition ofc just stock 860mhz).
A beauty, only problem was there was no one selling them except for some Vietnames store.
The only thing I could do is contact Afox directly to inform where I could get one it turned out they could factory ship me one and it wasn't that expensive at all as it was a very custom card one would expect a much higher price that a regular hd7850 but it costed only 290 dollar.
I also found that using a car radiator was the only way to go and it was the only radiator I could think of measuring only 20mm in thickness.
The alternative to go flatter would be to take laptop heatsinks and flow water trough them heatpipes. (which I will have some experimenting on later on but no worries it turns out to be not for the faint hearted at all)
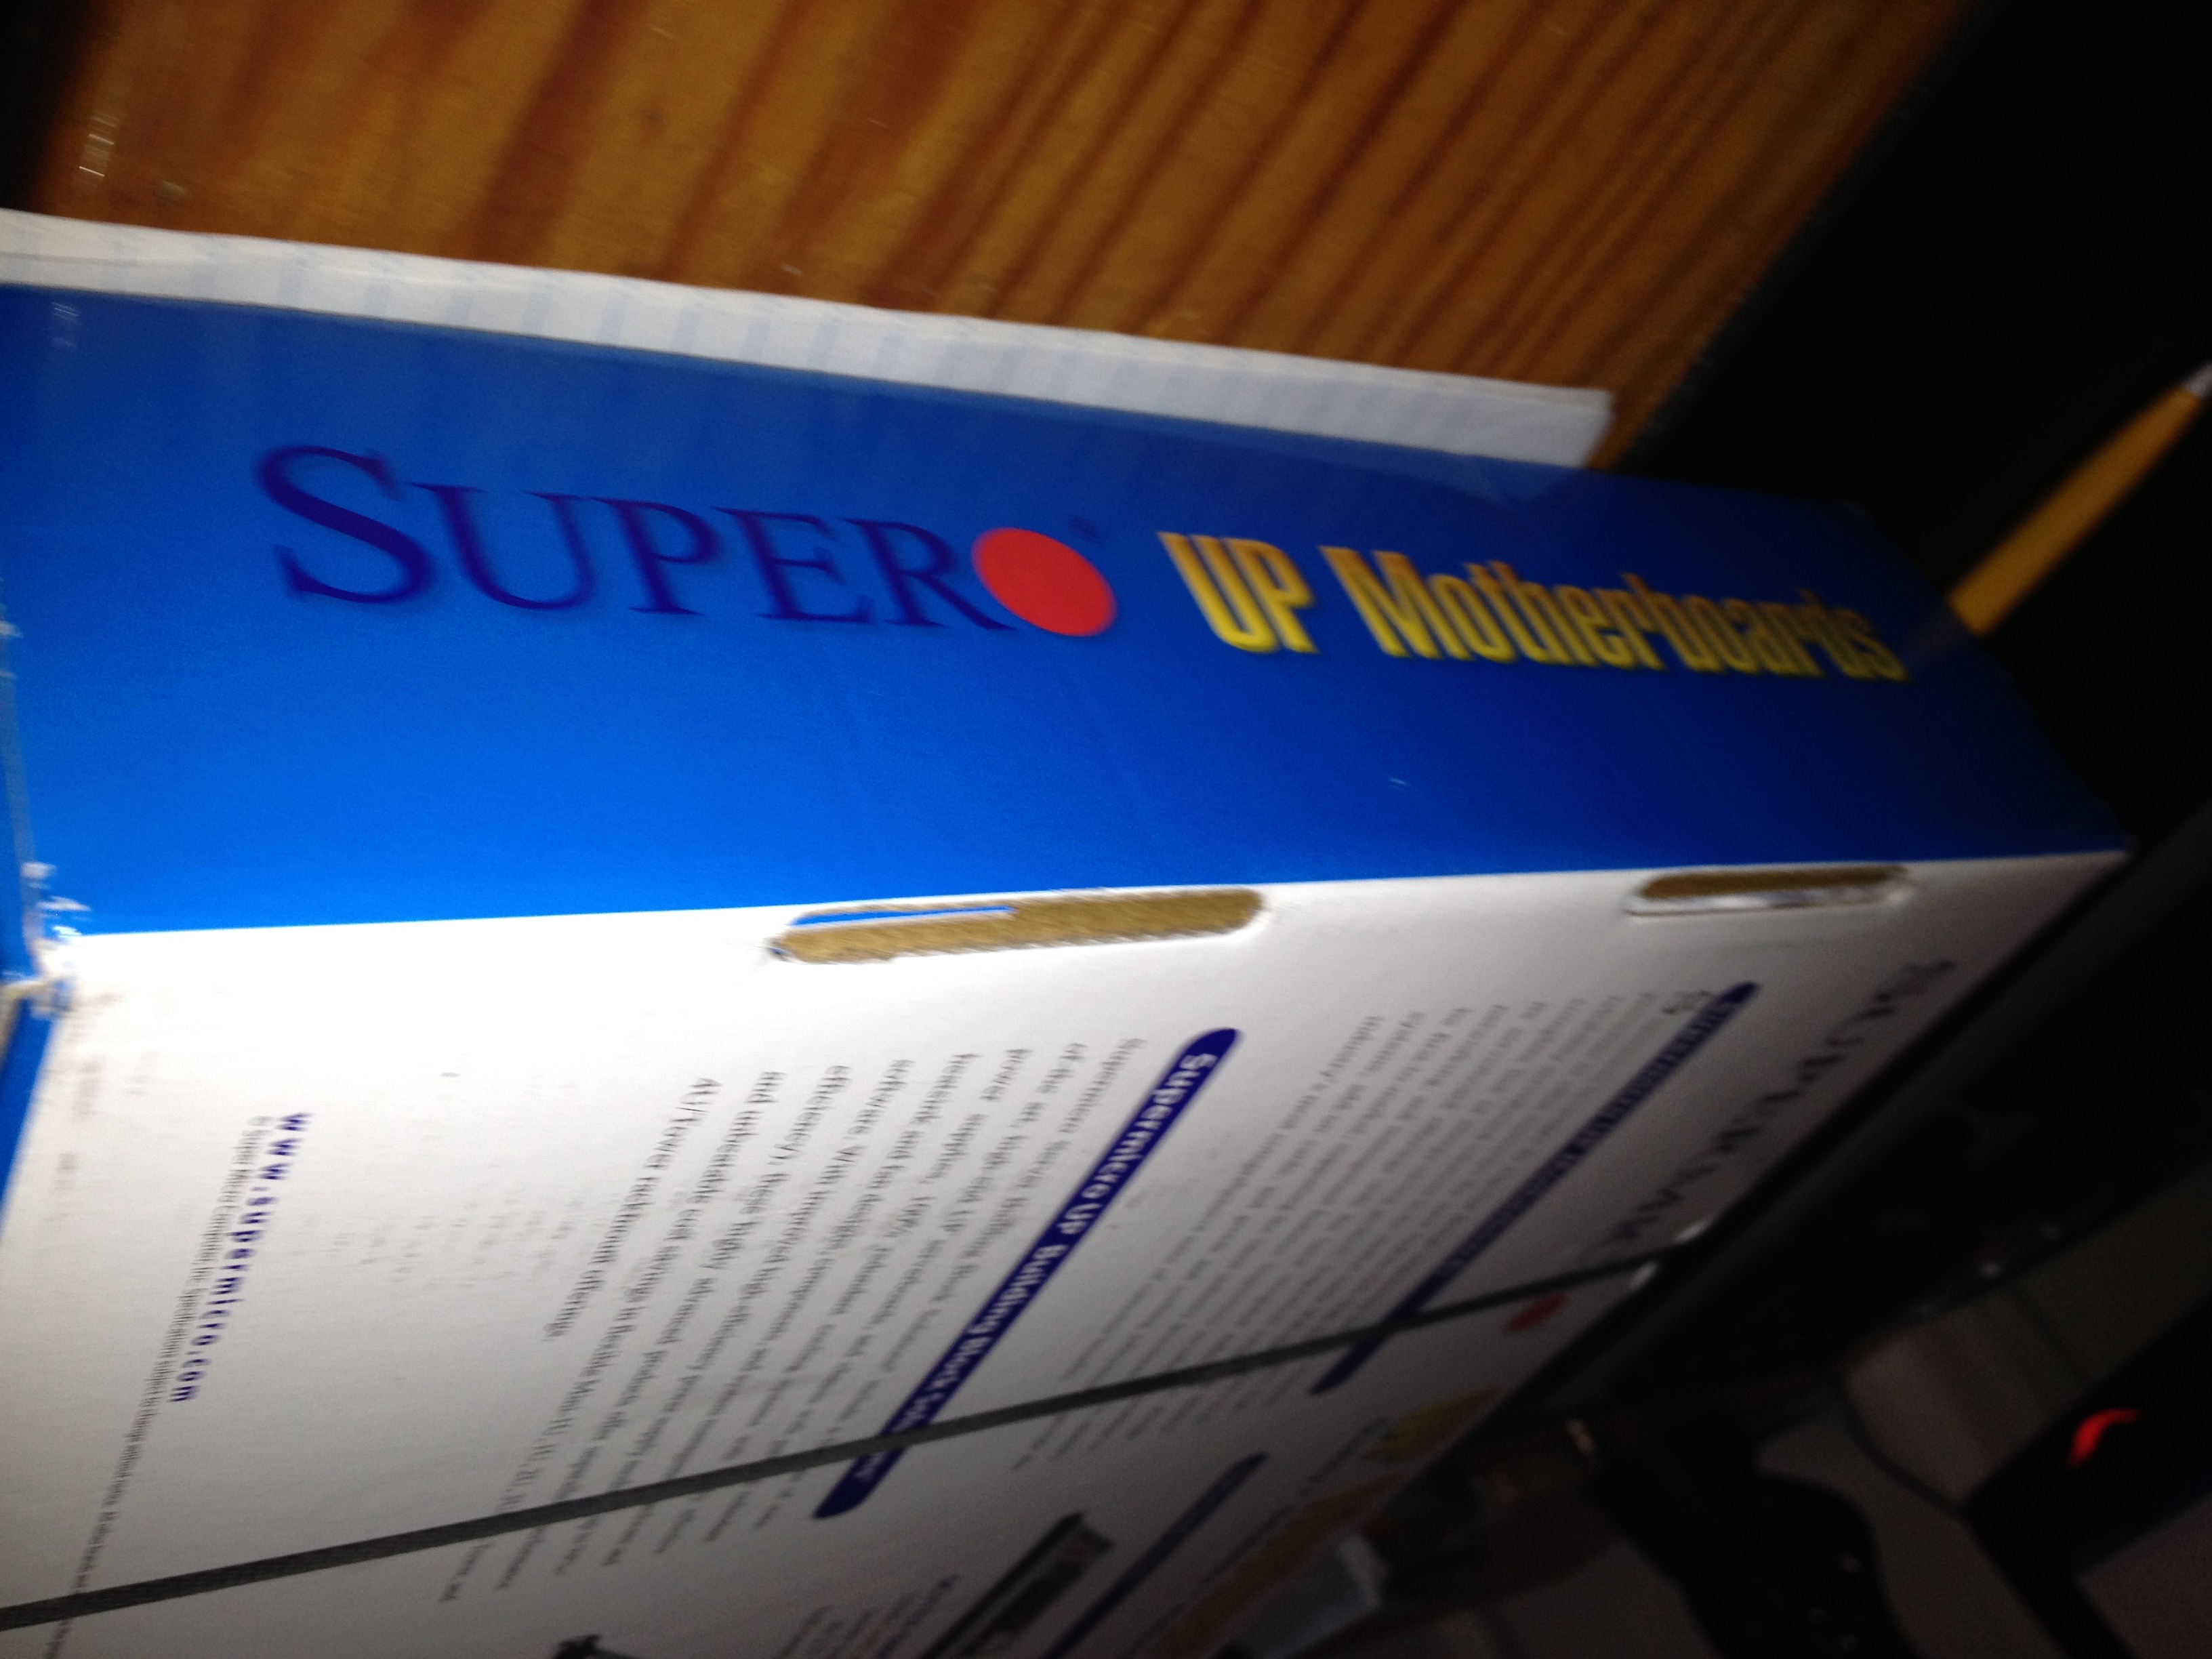
The picture that says mainboard is actually quite funny besides the fact that it cost me money.
I had that package shipped from china and it contained the mac mini cases the customs officers opened up the package and found those pieces of paper placed there to protect the mac mini housing from bouncing and scratching.
She concluded it contained electronics which it did not and send me an invoice to pay 20 euro in taxes such fun :axesmiley
Also photos of the mac mini housing this is the most important component of the entire build still it was the cheapest by fat this casing cost me 8 euro and I could get one with little scratches on it for 3 euro cheap is an understatement the price of the aluminium alone is close to that.


Photos on the storage disk the processor and Chinese junk glasses which I got with my order


Photos on both the package and the motherboard itself


Photos on the storage disk the processor and Chinese junk glasses which I got with my order
Photos on both the package and the motherboard itself
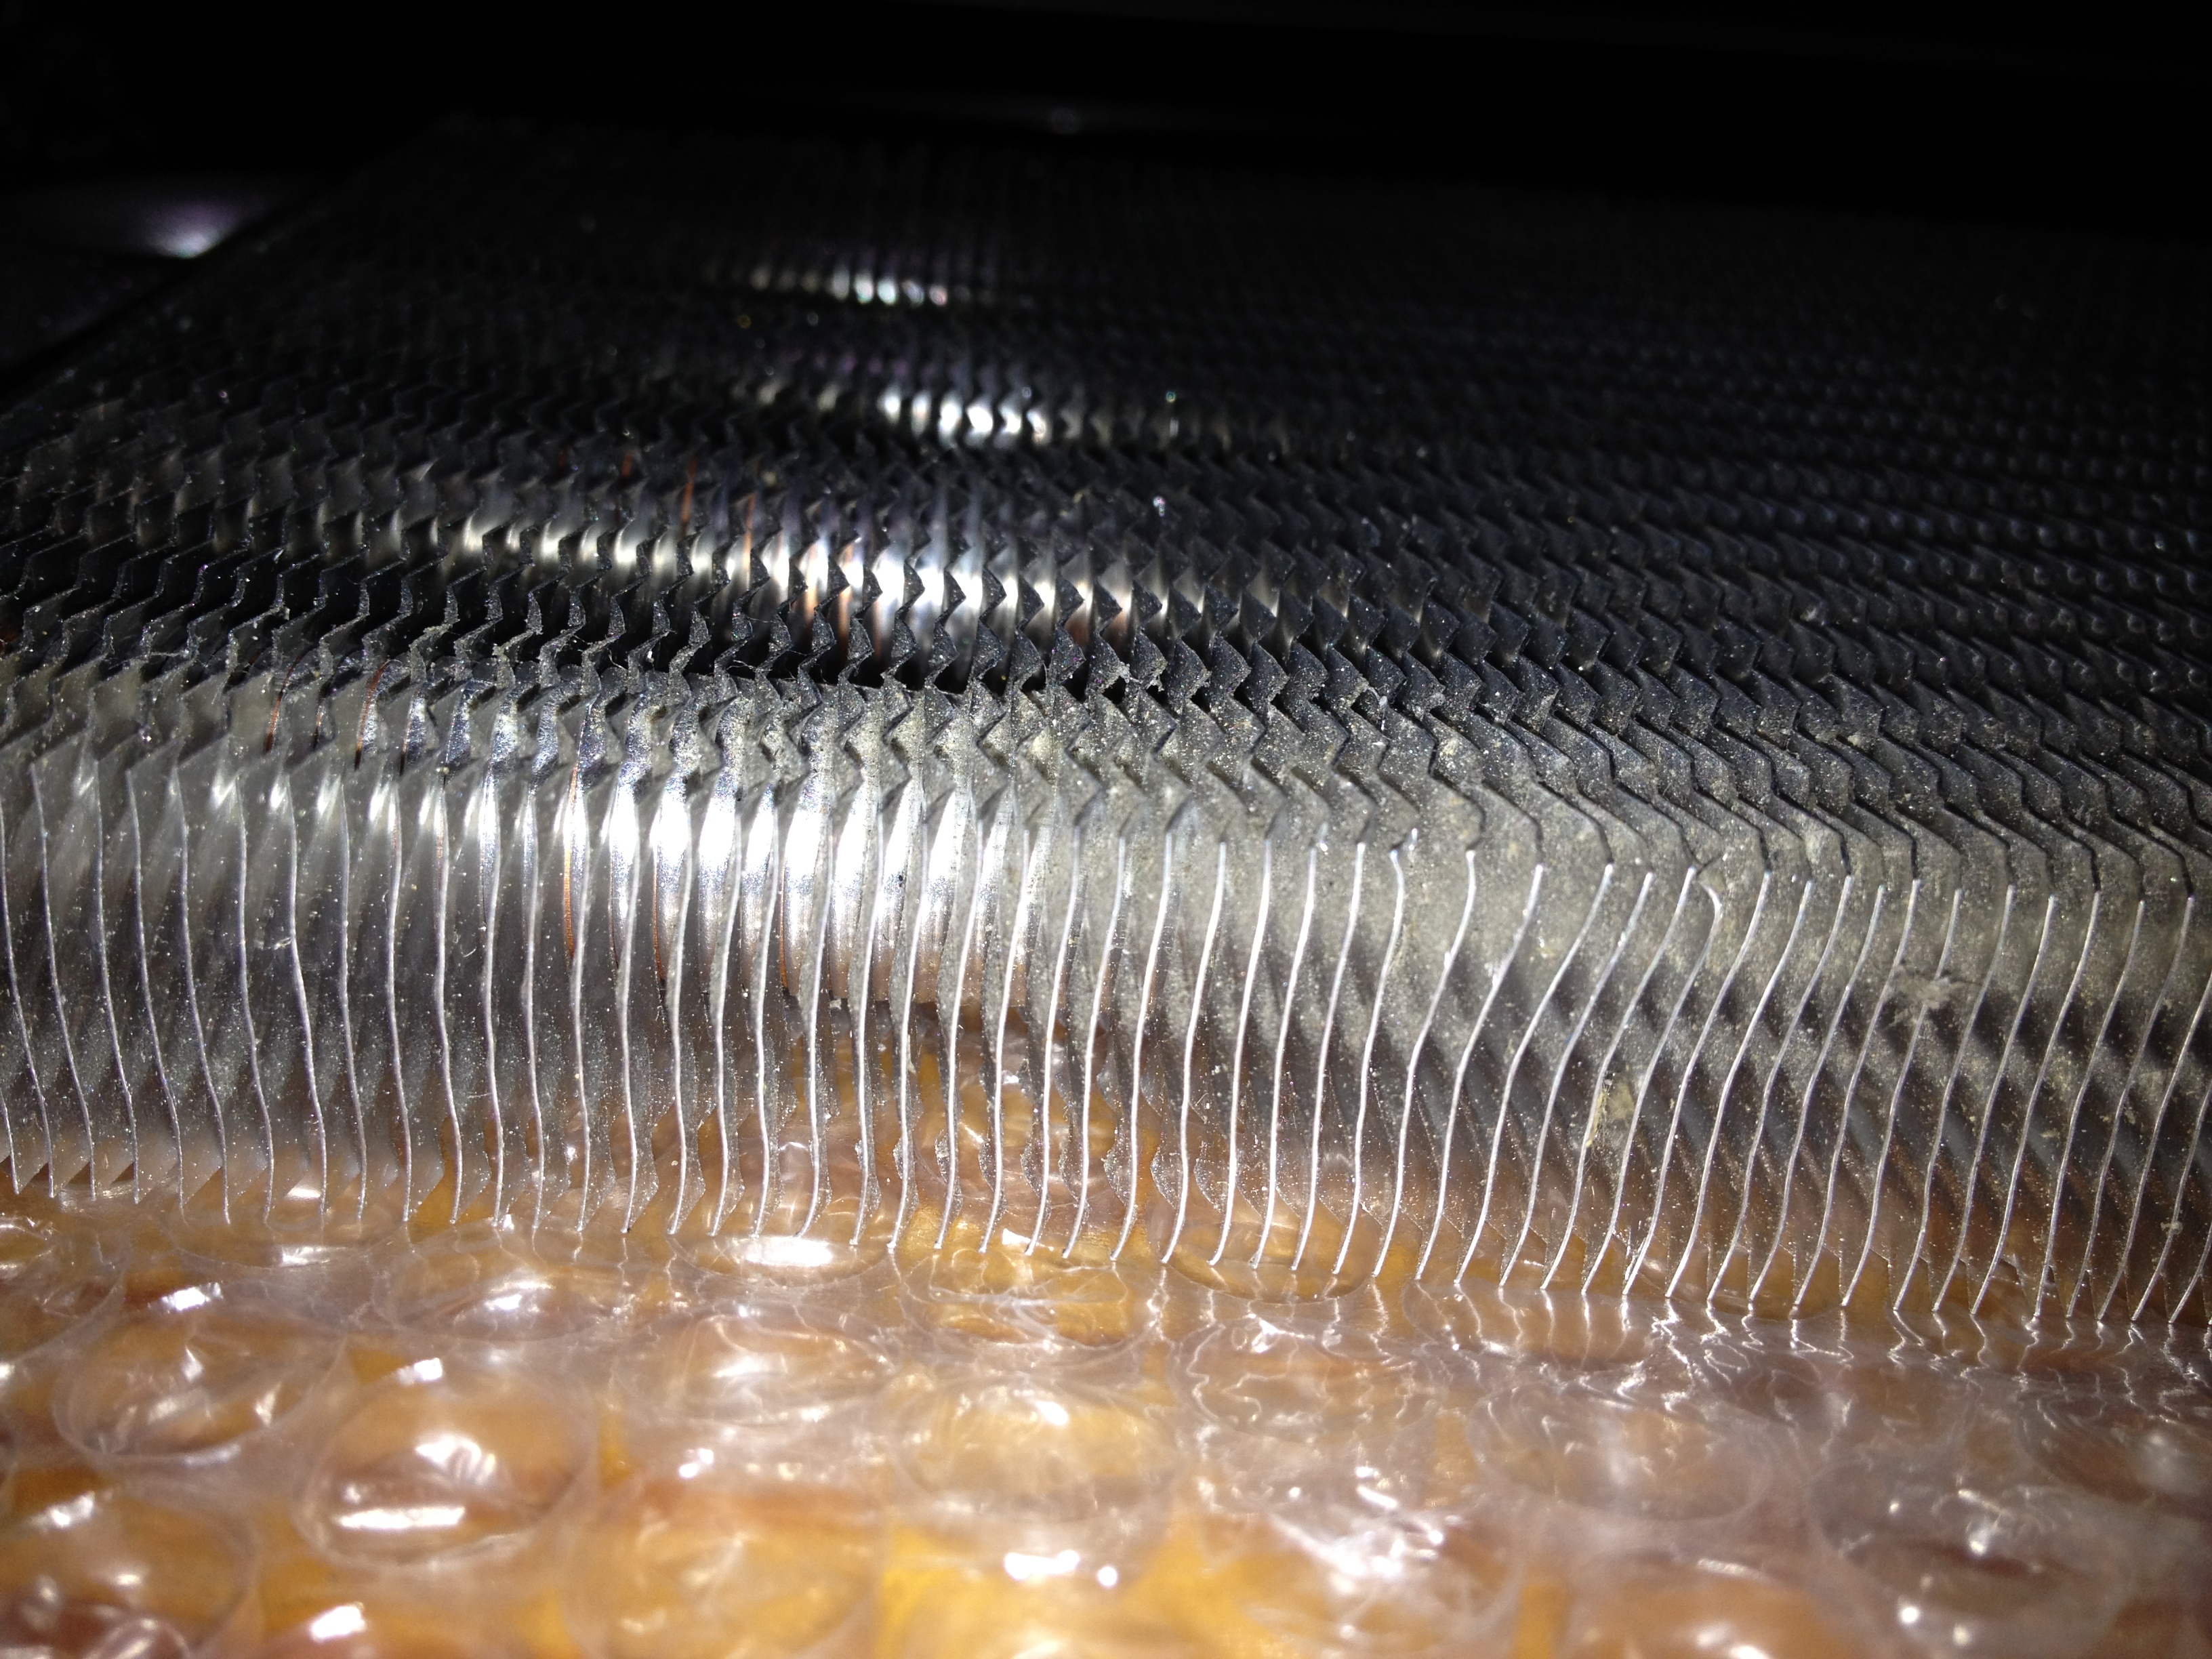
I ended up demolishing various radiators.
There is no result and a lot of time wasted to it but it might be useful for one considering modding a radiator or just having a very thin radiator.
I got mine from aquastealth and it is a steering oil cooler.
Here is the link
Radiator pictures


There is no result and a lot of time wasted to it but it might be useful for one considering modding a radiator or just having a very thin radiator.
I got mine from aquastealth and it is a steering oil cooler.
Here is the link
Radiator pictures
First I was planning on using the hd7750 LP but when I changed my mind and ordered the HD7850 which turned out to be quite a bit longer
Pictures from stacking things together with the hd7750 in mind for comparing the low profile short form factor a nvidia gt7300 was used.
I was to get a general idea as in chronological order I order the radiator first and was planing to order the gpu later not knowing I would make such a switch.
In the following pictures you can get a glimpe of what my first idea was of this build just a huge surface radiator paces flat and the low profile which would be a hd7750 if I hadn't changed plans.
Also a glimpse at the low profile sythe fan measuring 1.2cm in height but the blade and motor measure just 0.9cm so there is room for improvement later on.
Stacking it together
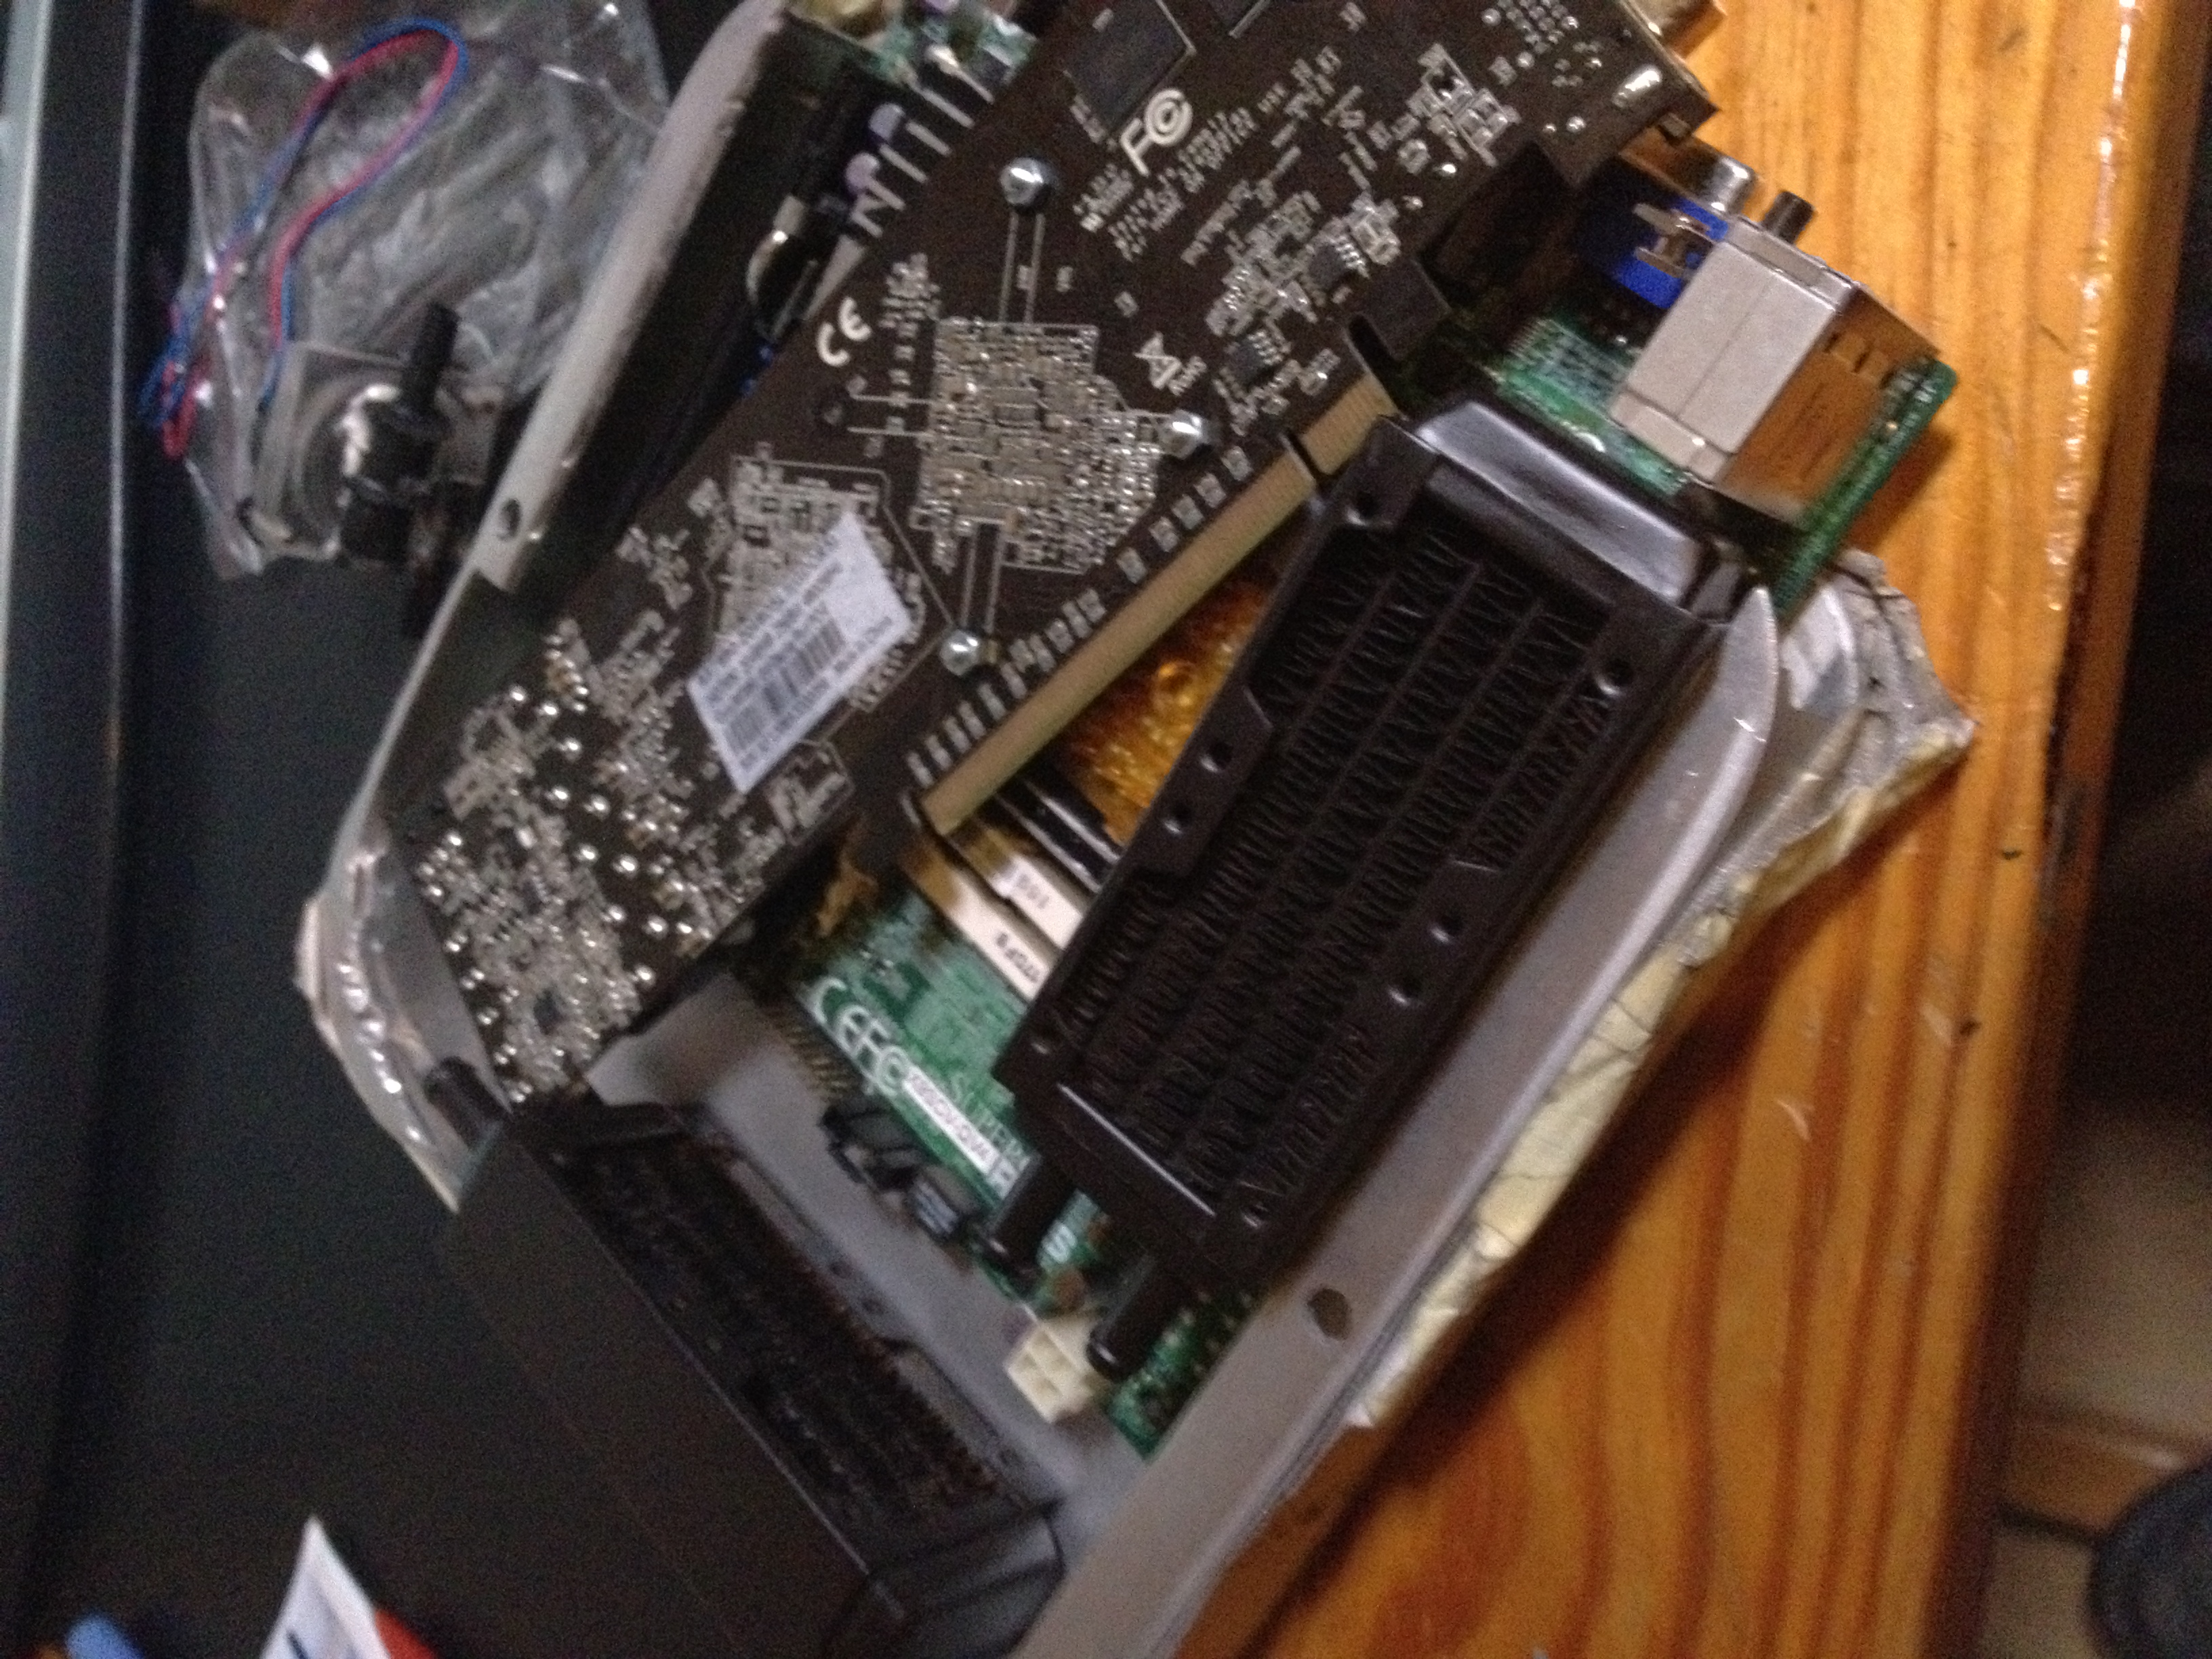
I have been whining a lot about how the graphics card is longer than I expected but it isn't that strange as instead of drawing from the pci-e slot which already has the 12v converted to 5v an 3.3v this card would be drawing from the atx 6pin 12v connector which means there are extra conversions necessary resulting in extra components and extra pcb.
Graphics card photos and pcb photos


Graphics card photos and pcb photos
water cooling this is the main focus around the build but to make it work I had to pick the smallest of the smallest some components therefore are modded heavily more on that later.
As of now these are the components I've received so far concerning water cooling (it will be joined by better hoses which won't knick and two magicool 2x40 mini radiators since I'm too irritated to waste another week on making one custom.


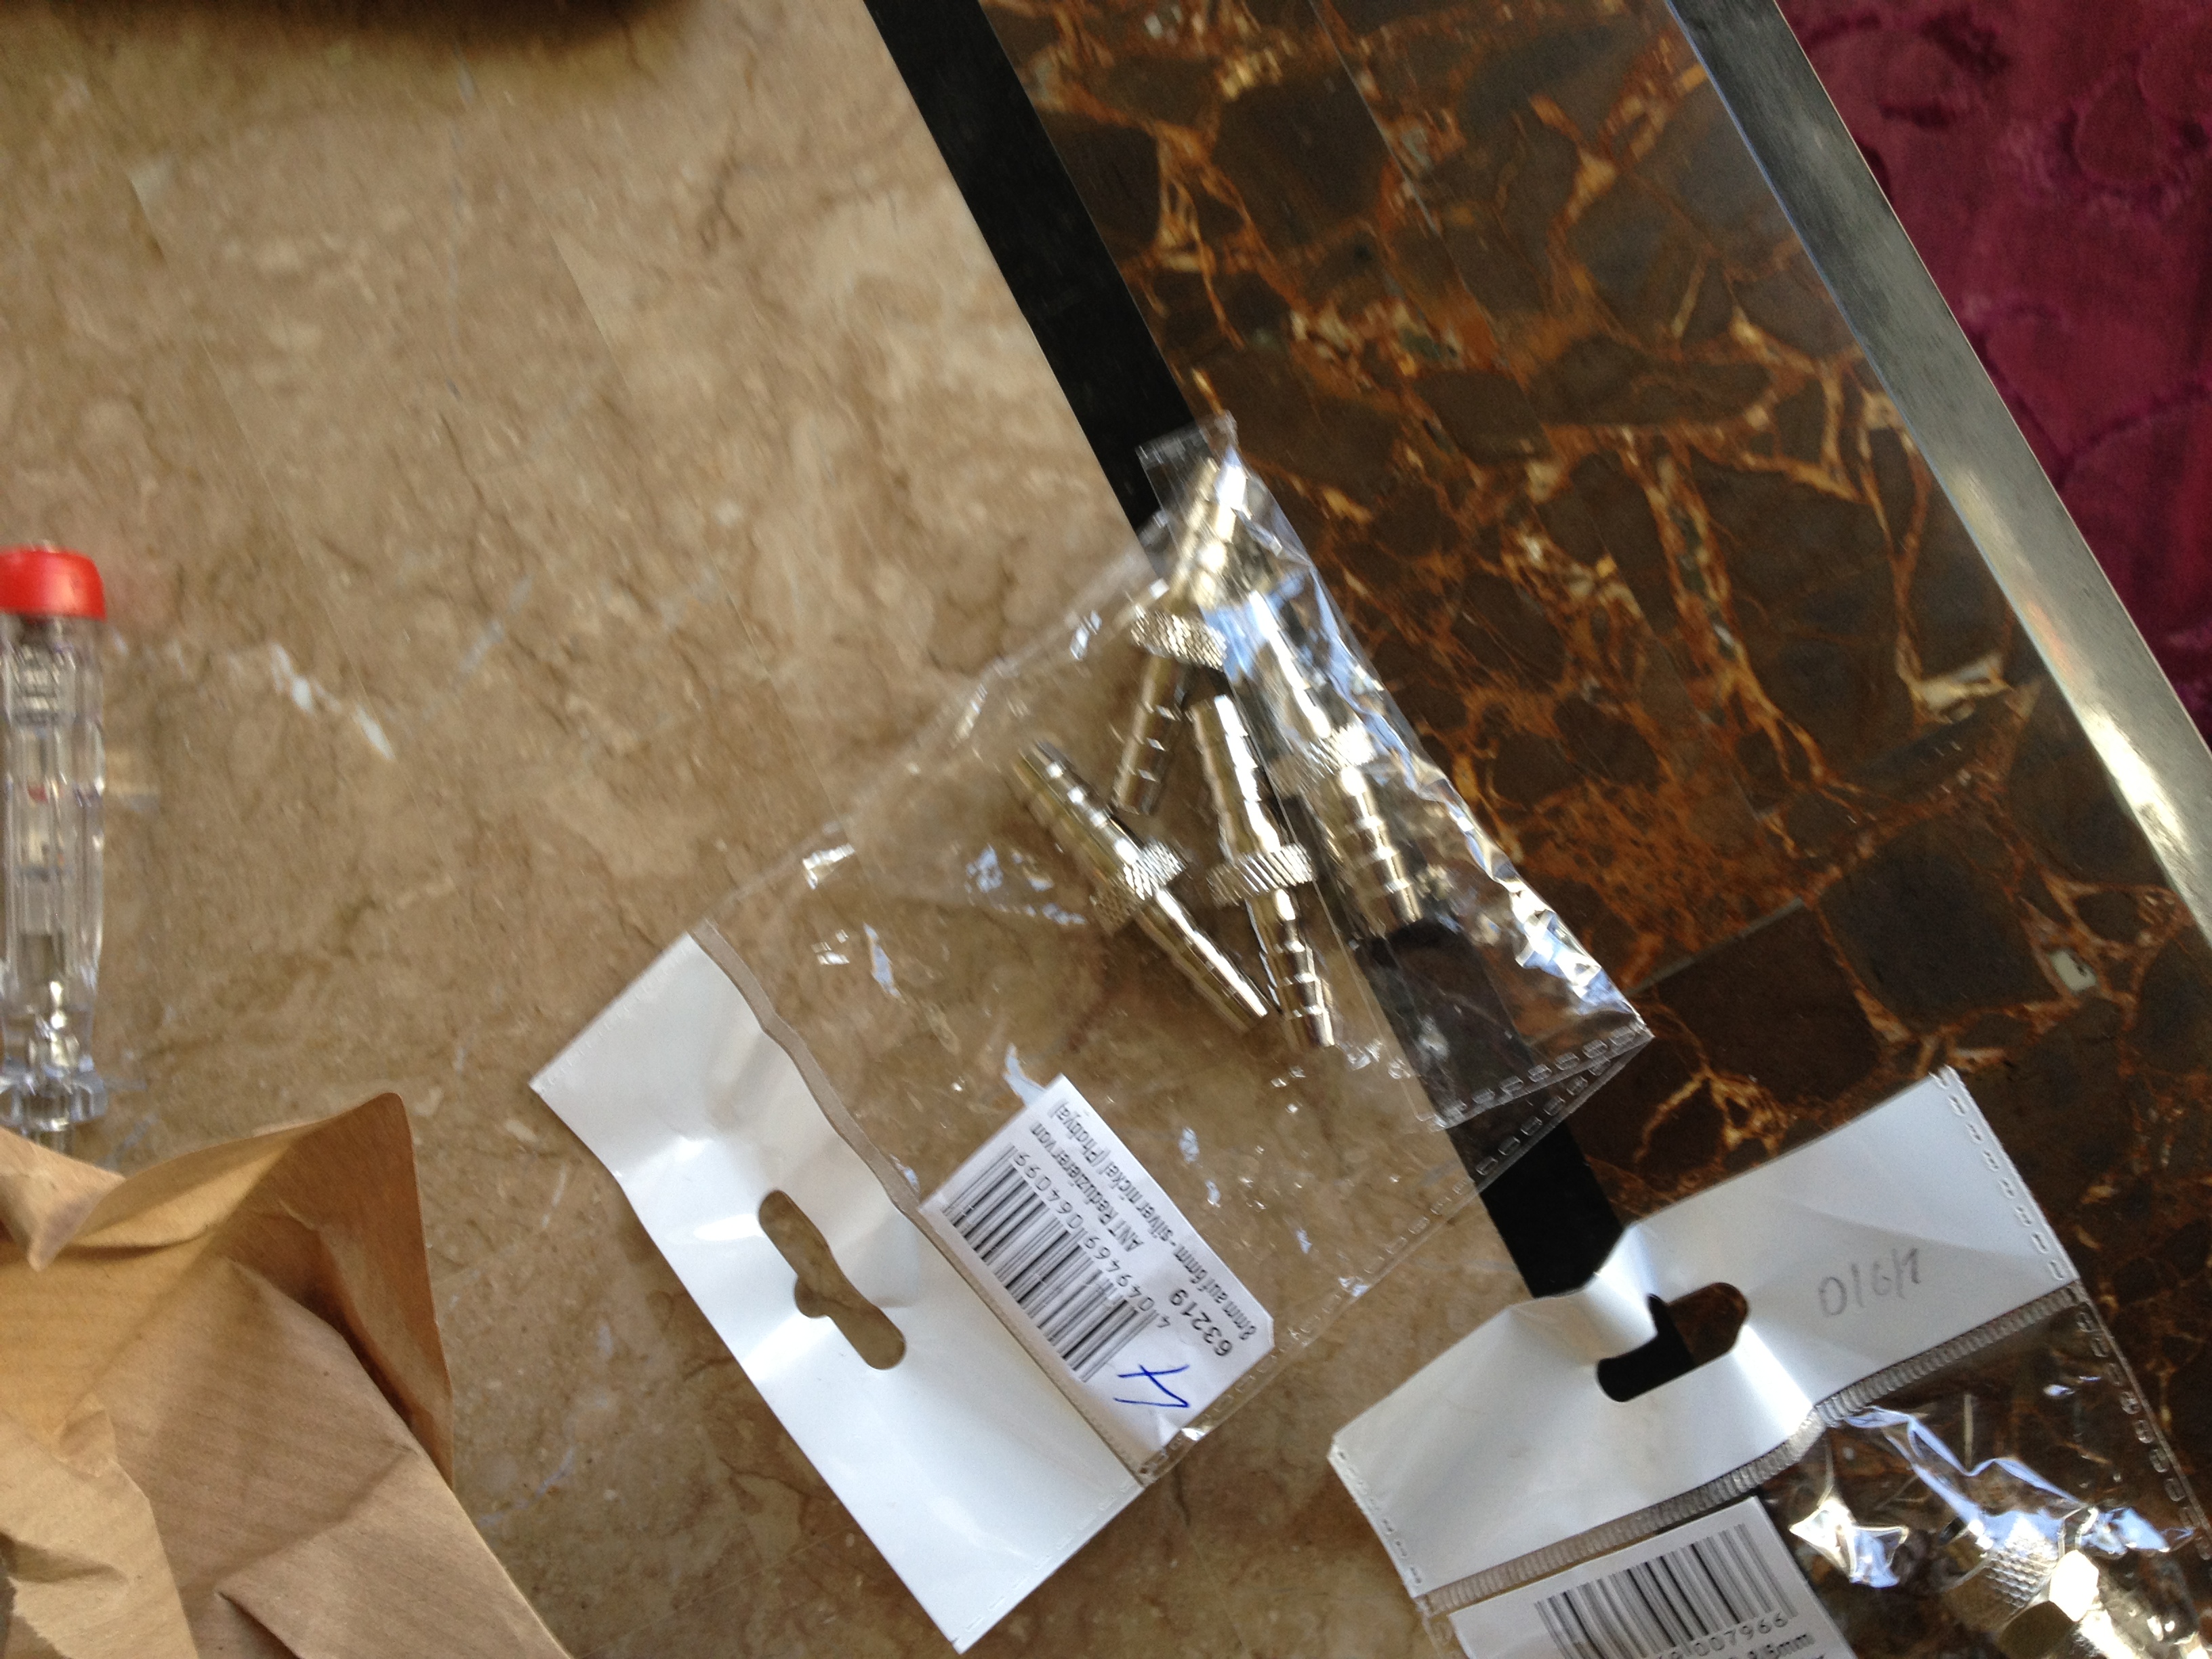


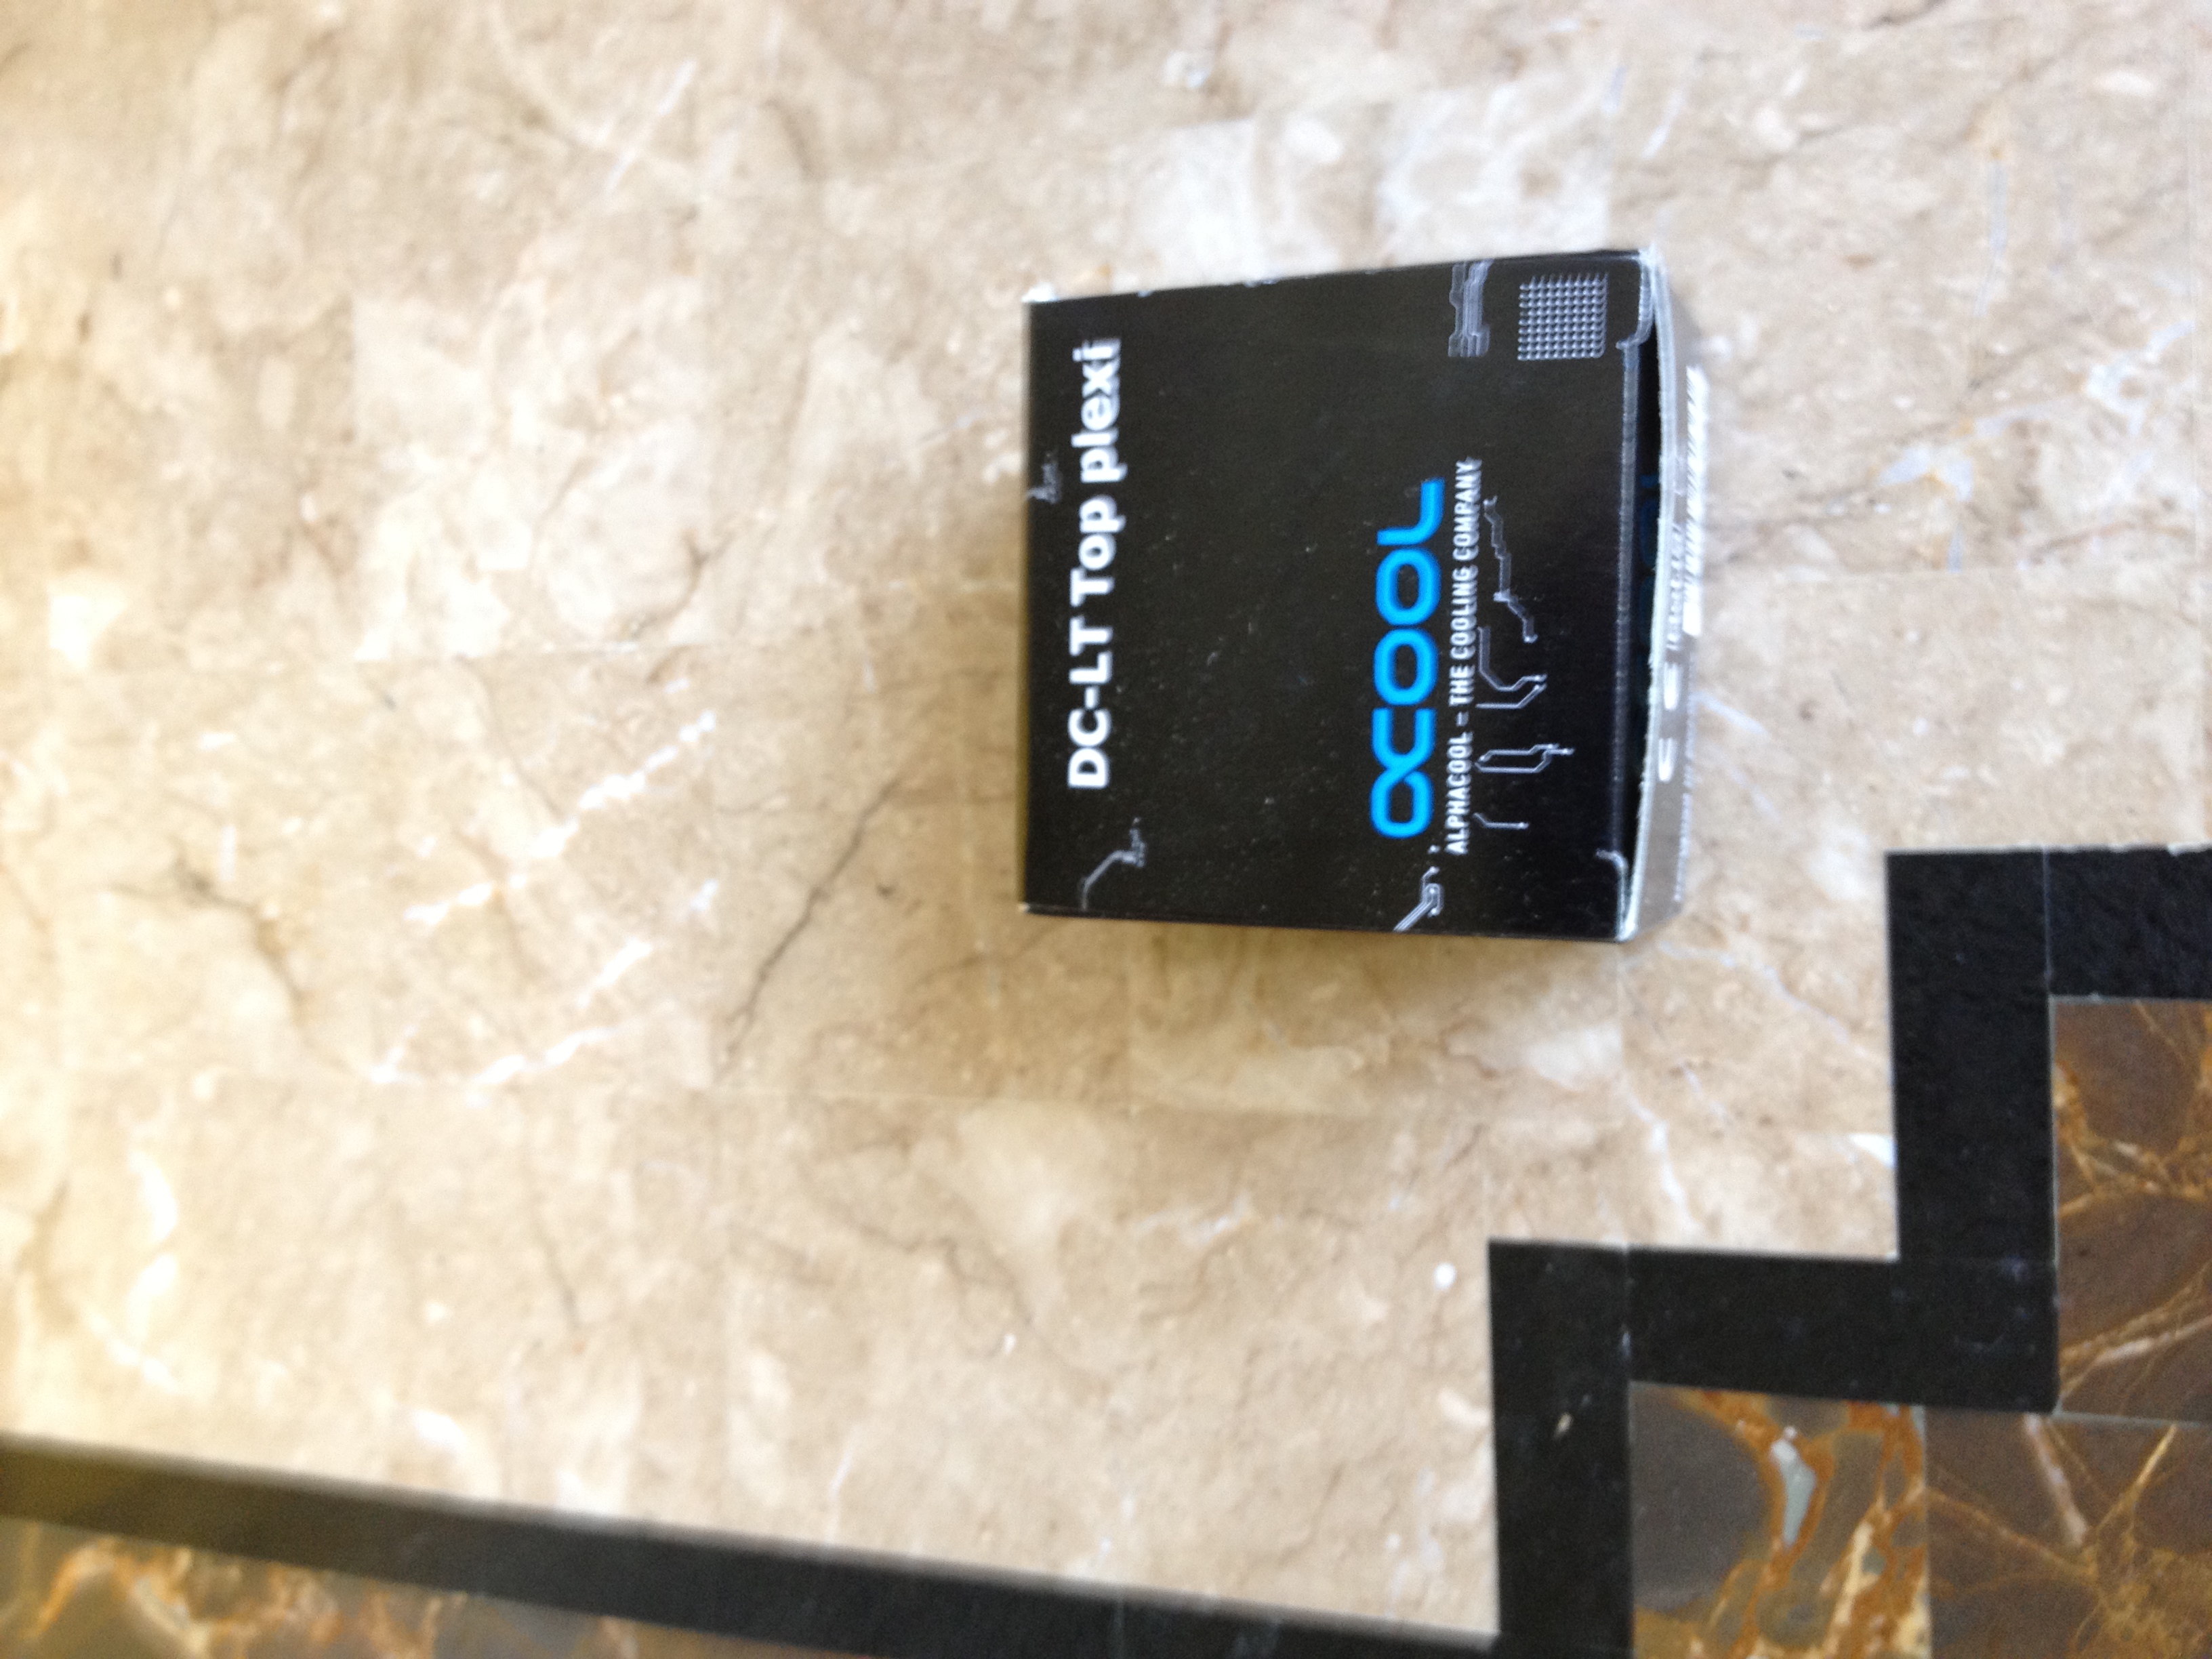

As of now these are the components I've received so far concerning water cooling (it will be joined by better hoses which won't knick and two magicool 2x40 mini radiators since I'm too irritated to waste another week on making one custom.
Next is adjusting the watercooling I modded the pump top to the sizes I needed it to be.
I also made a loop buildup in which it would flow trough 2 radiators while still being able to fill the loop.
Modded watercooling


I also made a loop buildup in which it would flow trough 2 radiators while still being able to fill the loop.
Modded watercooling
As space is not a premium in this mod and I have to make use of every cubic centimeter I have there is simply no space for a resevoir a simple T line will do the job.
As my motherboard lacks a 20/4 pin atx connector I can place it there if its perfectly.


As my motherboard lacks a 20/4 pin atx connector I can place it there if its perfectly.
I started on this motherboard tray with the length of my graphics card in mind knowing that I would have to either extend my case or let the graphics card stick out abit.
I chose extending my case to the back.
But as with the radiator since I changed my plans later on figuring I was going to be putting the graphics card sideways this was another waste of time.
For the motherboard tray I actually used a piece of metal obtained from a different mac case one with a little more age to it it was an Apple IIc no worries it was broken already however the display is still working and I actually had it hooked up to my PS2 for a while
Motherboard tray
I had to make some modifications to the motherboard itself so that I could put the graphics card sideways.
All I did was actually hack off the COM port and a piece of aluminum to mount the motherboard in a Supermicro build case.
Those are worthless add one to the IO.
So get ready to see some warranty voiding good pictures


All I did was actually hack off the COM port and a piece of aluminum to mount the motherboard in a Supermicro build case.
Those are worthless add one to the IO.
So get ready to see some warranty voiding good pictures
As I have restructured the placing of almost all my components it will be different now.
I need to make it as compact as possible to do this it is stacking everything thightly together making componets fit gaps of space.
I also had to consider the denseness of the loop and that I couldn't just have hoses making bends everywhere.
I also found out that the mounting sets of the waterblocks would add 5mm to the height something that would be terrible also it would retain me from mounting the second block as the first set would be constructing the mounting holes of the second block.
I had to fabricate something of my own that would add nothing to height.
You might think I've gone crazy since every mounting would take up some space.
Luckily my blocks have a lower line around the block which I can use to mount my blocks using a home made retainer.
One of the most important things of a build is ofcourse power I had to take the 12v 2x12v and 2xground(-12V in ac terms).
I directly spotted a thinking flaw of myself as those wires would be high amperage as one of them was going to feed the gpu partitialy and the wires were only rated for 7A.
To prevent the wires from getting hot I connected paralel wiring so the amperage would be split this both reduces loss and prevents over current trough the wires.
It was possibly not necessary at all but I prefer being on the safe side instead of having wires melting apart.
I also made a low profile S-ata data connector
As well as a low profile S-ata power connector.
That is one of the aspects of my motherboard that I like it give you everything you need and it converts everything from a single line.


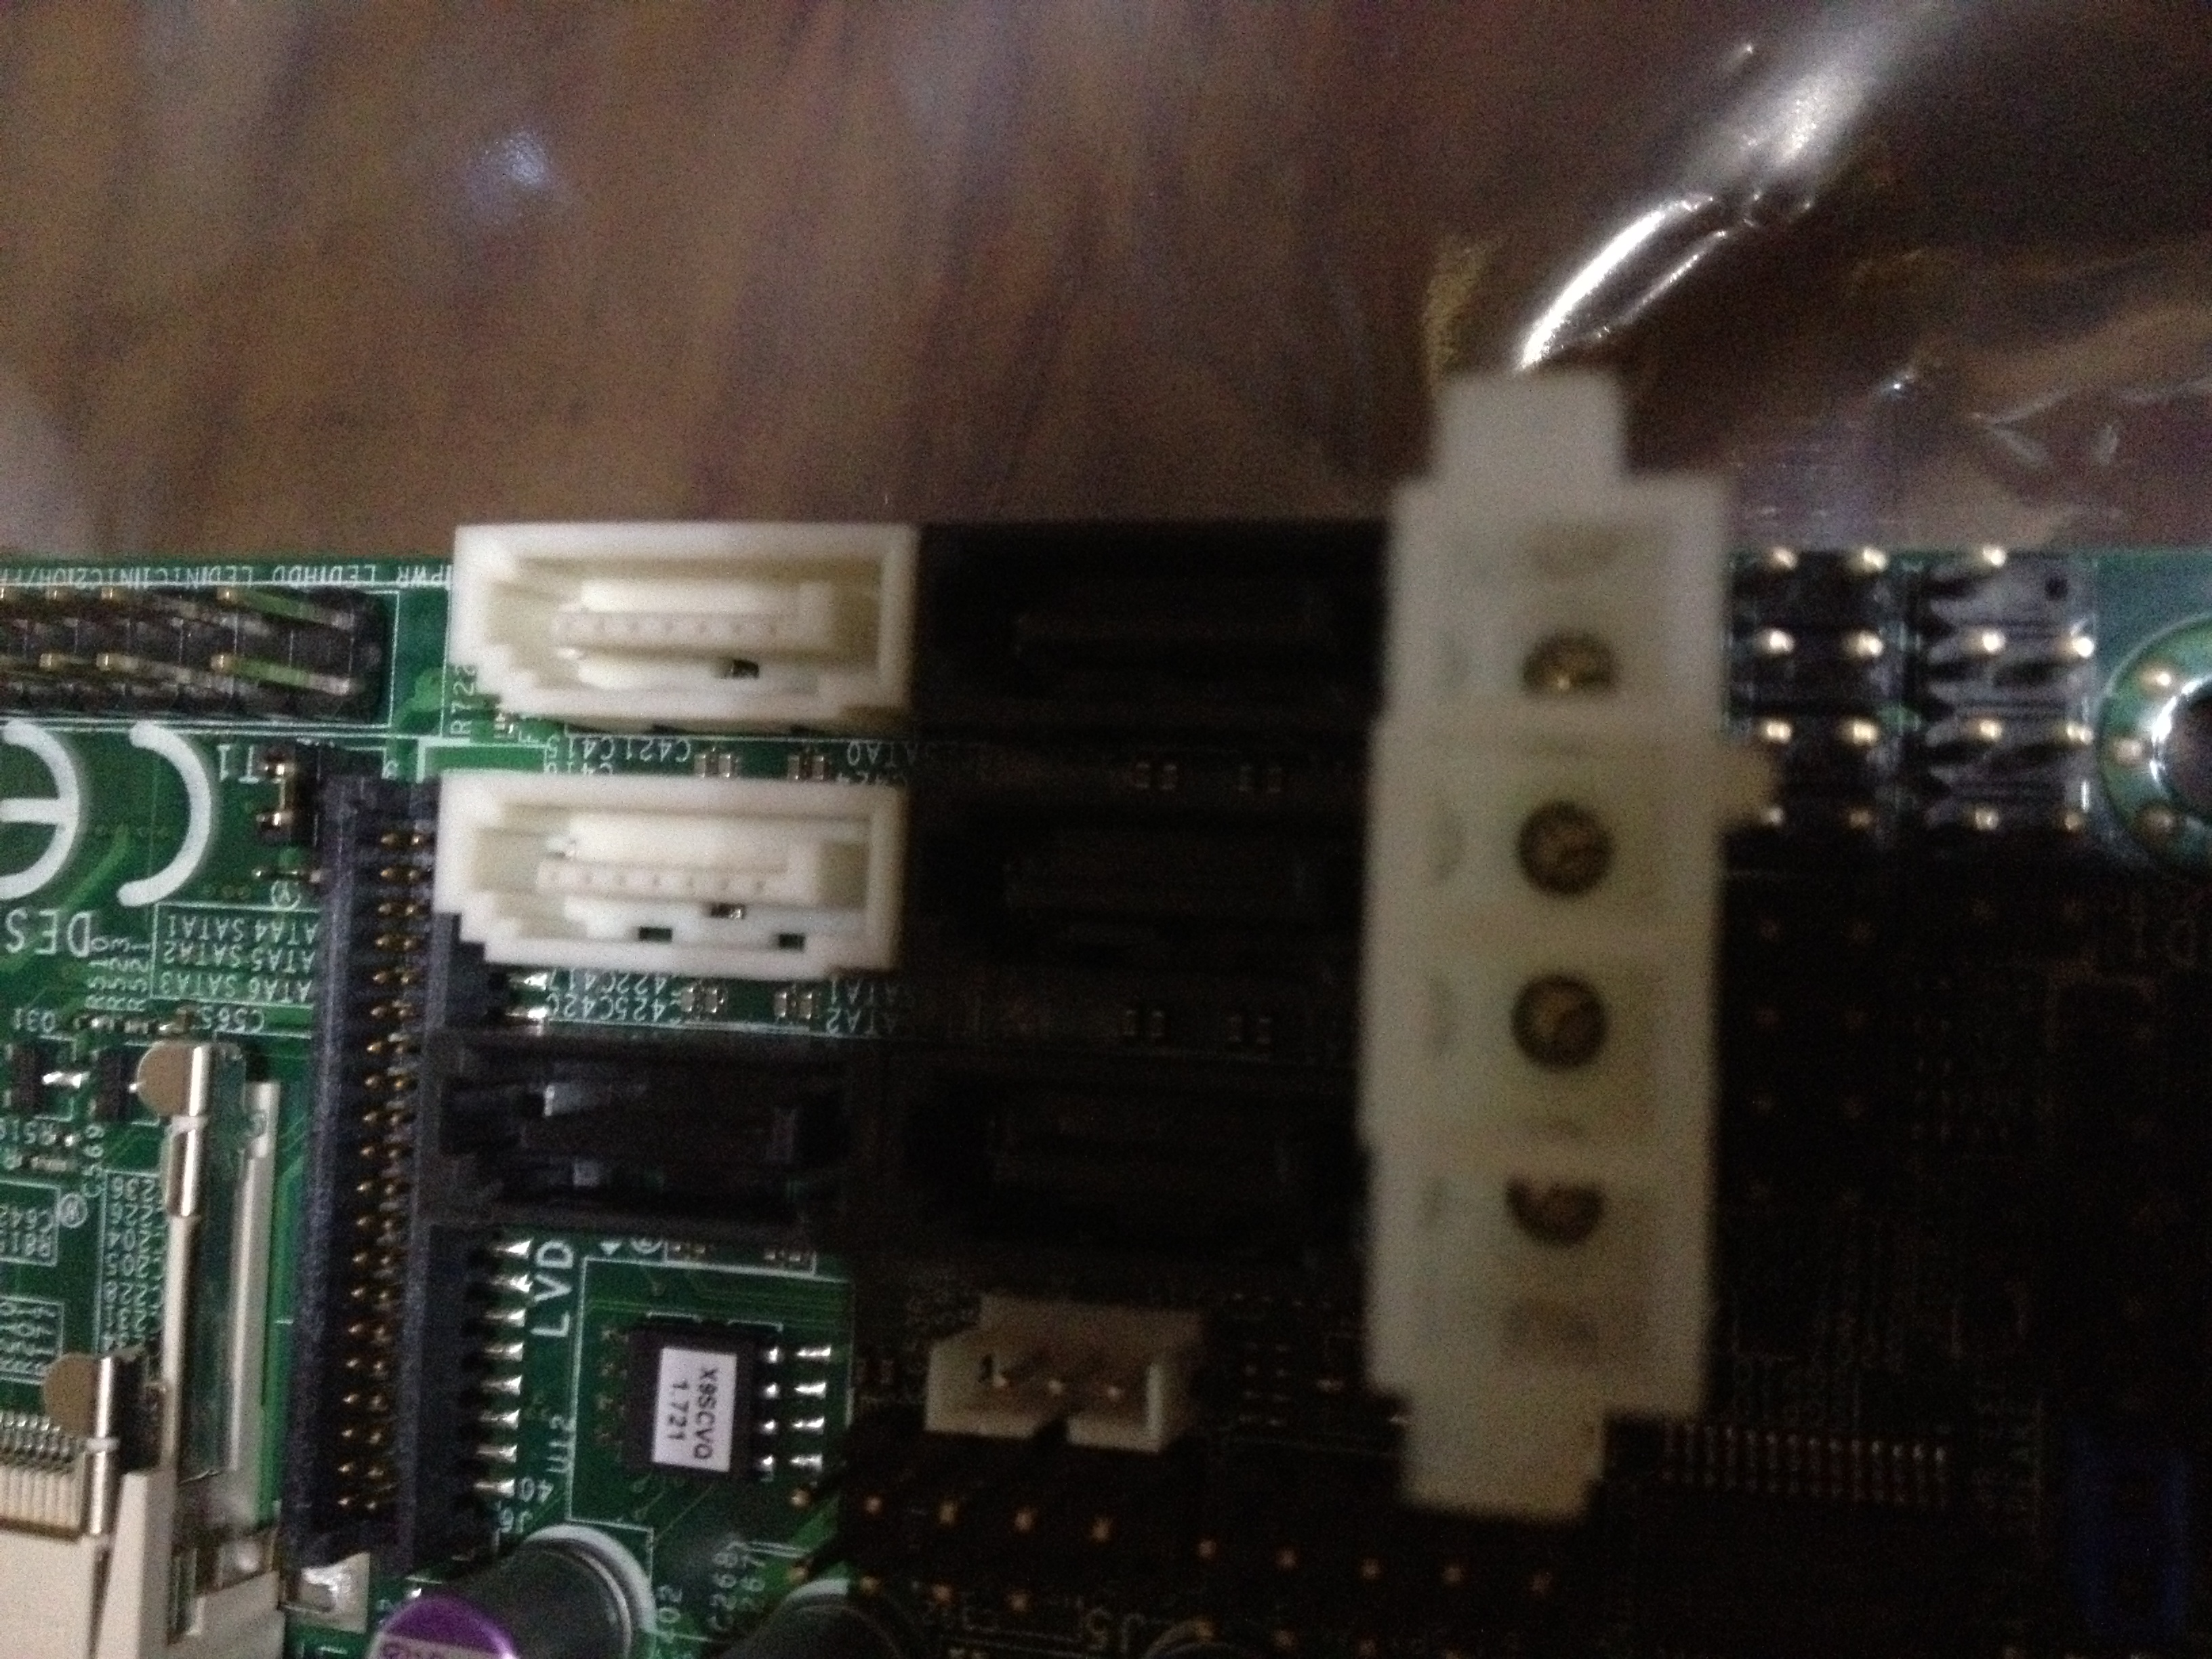


I still lack the wiring for the power button and the led(the led is so simple I won't bother telling about that) as I have no idea yet what to do with it.
I was planning on feeding an apple wireless keyboard trough usb so that I could rewire the power button to an IR transmitter and the power button would be hooked up to a IR receiver mounted in front of the PS/2 port on the IO as no one uses it anymore.

There will be more than enough room for both an IR reciever and the usb 5V wiring as it would normally give place too 3 thick batteries (forgot what they were called...)
I directly spotted a thinking flaw of myself as those wires would be high amperage as one of them was going to feed the gpu partitialy and the wires were only rated for 7A.
To prevent the wires from getting hot I connected paralel wiring so the amperage would be split this both reduces loss and prevents over current trough the wires.
It was possibly not necessary at all but I prefer being on the safe side instead of having wires melting apart.
I also made a low profile S-ata data connector
As well as a low profile S-ata power connector.
That is one of the aspects of my motherboard that I like it give you everything you need and it converts everything from a single line.
I still lack the wiring for the power button and the led(the led is so simple I won't bother telling about that) as I have no idea yet what to do with it.
I was planning on feeding an apple wireless keyboard trough usb so that I could rewire the power button to an IR transmitter and the power button would be hooked up to a IR receiver mounted in front of the PS/2 port on the IO as no one uses it anymore.
There will be more than enough room for both an IR reciever and the usb 5V wiring as it would normally give place too 3 thick batteries (forgot what they were called...)
As I want to keep the case as much as is or was I simply can not du to lack of space mostly because of the choice of taking the hd7850 instead of the hd7750 the choice in retail radiators and the choice to have a 120mm fan on top of this all.
Therefore I will keep close to the original looks and make and Apple worthy extension.
My plan is to take extremely high end solid black 20mm thick acrylic and use a cutter to hollow it where needed I will cut it to size and have it screwed on tightly.
Finally I will polish the sides all the sides so that it is just as shiny as the black apple logo on the top of the case.
Besides this I have cutted a lot of aluminum as it would get in het way of either the motherboard or different components to see what it is I've cutted just check the original mac case and then check the various other pictures showing the casing.
However I really like pushing limits to space keeping it at just 2.7cm internal would mean I have to cut back too much on radiator performance also I would lack the room for fans mostly and cooling this with small rads passive would be a death wish.
I already have polished up the bottom of the mac mini so the piece of acrylic can be mounted flat on it.
As I have recieved the radiators that I plan on using here are some pictures.
Note how the hose on the radiator is actually 6.4mm internal hose and it fits both the rad tightly as my pump connection worth the 5euro/meter.


I still have a concern though should I get a third radiator and then have two stacked from the back of the case and one beneath the fan.
Or should I just keep 2 and place on straight an the back with 2 fans on top and the other beneath the fan.
Note how the hose on the radiator is actually 6.4mm internal hose and it fits both the rad tightly as my pump connection worth the 5euro/meter.
I still have a concern though should I get a third radiator and then have two stacked from the back of the case and one beneath the fan.
Or should I just keep 2 and place on straight an the back with 2 fans on top and the other beneath the fan.
This mod is a copy from my worklog at overclock.net
Last edited:
")