• Welcome to TechPowerUp Forums, Guest! Please check out our forum guidelines for info related to our community.

Project Sulaco

de.das.dude

Pro Indian Modder
Joined
Jun 13, 2010
Messages
8,782 (1.74/day)
Location
Stuck in a PC. halp.
System Name Monke | Work Thinkpad| Old Monke
Processor Ryzen 5600X | Ryzen 5500U | FX8320
Motherboard ASRock B550 Extreme4 | ? | Asrock 990FX Extreme 4
Cooling 240mm Rad | Not needed | hyper 212 EVO
Memory 2x16GB DDR4 3600 Corsair RGB | 16 GB DDR4 3600 | 16GB DDR3 1600
Video Card(s) Sapphire Pulse RX6700XT 12GB | Vega 8 | Sapphire Pulse RX580 8GB
Storage Samsung 980 nvme (Primary) | some samsung SSD
Display(s) Dell 2723DS | Some 14" 1080p 98%sRGB IPS | Dell 2240L
Case Ant Esports Tempered case | Thinkpad | Antec
Audio Device(s) Logitech Z333 | Jabra corpo stuff
Power Supply Corsair RM750e | not needed | Corsair GS 600
Mouse Logitech G400 | nipple
Keyboard Logitech G213 | stock kb is awesome | Logitech K230
VR HMD ;_;
Software Windows 10 Professional x3
Benchmark Scores There are no marks on my bench
subbing to the awesomeness :respect:
 
Joined
Aug 1, 2009
Messages
961 (0.18/day)
Location
Currently somewhere around NSW, Australia
System Name hmmm... / lappy (ASUS Scar III)
Processor Intel Core i7-8086K / Intel Core i7-9750H
Motherboard ASUS Maximus XI Formula / ASUS G531GW
Cooling Noctua NH-D15s w/ 2 x Noctua NF-F12 PWM Chromax and 1 x Noctua NF-A15 HS-PWM Chromax Fans / Stock
Memory 4x16gb G.Skill Trident Z DDR4 3600mhz / 2x16gb Kingston Hyper X Impact DDR4 2666mhz C15
Video Card(s) 2 x EVGA GTX 1080 TI FTW3 / Nvidia RTX 2070 8gb
Storage 2 x Samsung 960 EVO Plus 1tb NVME/ 1tb Intel SSDPEKNW010T8 NVME + 2tb Samsung 860 EVO SSD
Display(s) Acer Predator X34P / ASUS 15.6" Screen
Case Fractal Design Meshify S2 White-TG + Noctua Chromax Fans / ASUS Scar III Case
Audio Device(s) Onboard + Logitech Z623 / Onboard
Power Supply Seasonic Prime Ultra Titanium 1000W + PROLINK PRO903WS / ASUS ADP-230GB B Power Brick
Mouse Corsair Vengeance M65 PRO RGB / Logitech MX Anywhere 2S
Keyboard Corsair K70 LUX RGB / ASUS Scar III Keyboard
Software Windows 10 Professional x64 / Windows 10 Professional x64
Can't wait to see it done... :toast:
 

tobyak

New Member
Joined
Aug 11, 2011
Messages
25 (0.01/day)
thanks for the subs and kind words guys.. and remember every sub saves a panda.... well it might not but we have no proof that it will not
 

tobyak

New Member
Joined
Aug 11, 2011
Messages
25 (0.01/day)
UPDATE TIME!!!!!!!

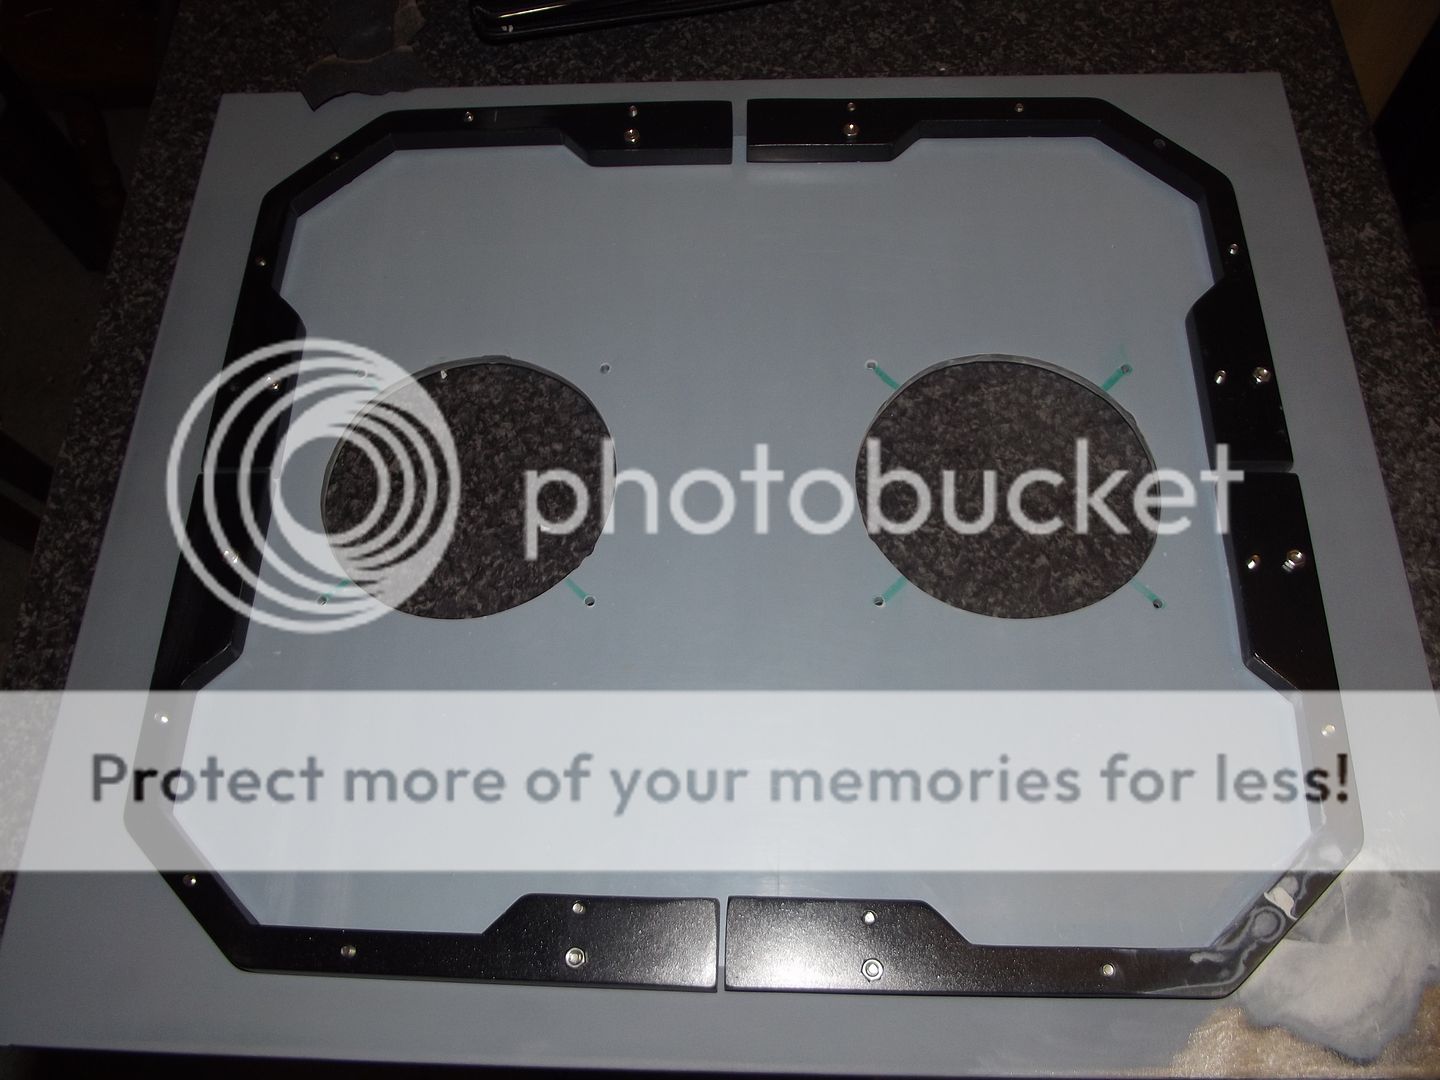
So this week its been all about the PSU cover and res holder combo
BUT.. there was a problem, when i could have ordered some nice smoked (very easy to cut and bond) Acrylic, i messed up and ordered the nightmare to cut and bond that is Perspex (plexiglass) so there was some serious outside the box thinking to get around it

First up getting all the pieces together (couldnt get pics of cutting wayyyyy to much airborne dust) )


First off i tacked all the pieces with superglue that i gelled with a little water...... it fell apart 3 times resulting in a LOT of swearing, finaly the main shell was tacked


The task began of finding a way to bond the perspex in a way that could take the stresses as obviously superglue will fracture if subjected to a shock....... so..... an hour of wandering around the house searching for old stockpiles of tools and misc decorating odds and ends when an idea struck me..... why not use the car body filler that i used on the side panel...

SUCESS!!!!!!! It aint pretty but it sure is strong


and the starting of the res holder an front plate


more later when the glue and filler fully cures and i can go mental with a sander


IN THE MEANTIME...... another....... SUPPLY DROP

This time Enermax who have been good enough to assist me with this project with some amazing Vegas Duo fans

And here they are


so whats in the box i hear you cry... well ok i dont but here it is just incase you did cry it

side by side 120mm and 140mm Vegas Duo fans, and the accessories from the the packs

Each fan comes with an attacked micro speed control and mode button


each fan also included rubber mounts and a 3pin to moles adapter

Now on to the 2 main features, the first is the brilliant click blades, a simple puch of the back of the blades and the blades unclip from the body of the fan, brilliant for cleaning and modding

at this point i need to point out that the blades are clear with a silver stripe to reflect the led arrays around the housing


and the second main feature of these amazing fans... the LED array, with the Vegas Due this is a twin array (blue red), the big brother to these the Vegas Trio have triple arrays of red, blue, green and more then 11 modes on the Duo alone


the Vegas range in action

And to finish off this supply drop the back of the box


and i simply had to add this as it just caught my eye.. there is a tab on the top to make it easier to open the fan packaging so you dont destroy the package... kinda cute

A massive thanks to Enermax for the fans


MORE COMING SOON.......................
 
Last edited:

tobyak

New Member
Joined
Aug 11, 2011
Messages
25 (0.01/day)
Big update in the works, another supply drop ASUS this time and more work on the PSU shroud
 

tobyak

New Member
Joined
Aug 11, 2011
Messages
25 (0.01/day)
After 10 coats of paint and clear the side panel has finaly been MOSTLY put together, stll have the brushed accents to fit over the bevel gaps but the majority is done

Durin the undercoat and fitting of the bevel i noticed that i had forgot to redrill one of the bolt holes that go through the window, metal and resin bevel to hold it all together.... so i grabbed my trusty drill and used the origional holes as my guide


HOWEVER, whilst drilling, the drill dropped to fast and shattered the body filler on the covered cutouts, so it was back to the filler for some quality swearing and repair work


Then it was time for more undercoating and then several layers of metalic black paint and then several layers of clear enamel, and then the headache of putting it all together


Building the side and making it work as a structure has been a long road, i dont have the tools most do for a fast job so it has been slow and steady work, there is still some finishing to do on the door but that will wait until i get the top and front bezels almost done and fitted​

To finish off today's update here's some LED fan porn courtesy of Enermax Vegas Duo fans


For all those interested, the fan grills i am using are 120mm Nautilus 'Overkill' grills made by MNPCtech.com


Joined
Aug 17, 2009
Messages
1,585 (0.30/day)
Location
Los Angeles/Orange County CA
System Name Vulcan
Processor i6 6600K
Motherboard GIGABYTE Z170X UD3
Cooling Thermaltake Frio Silent 14
Memory 16GB Corsair Vengeance LPX 16GB (2 x 8GB)
Video Card(s) ASUS Strix GTX 970
Storage Mushkin Enhanced Reactor 1TB SSD
Display(s) QNIX 27 Inch 1440p
Case Fractal Design Define S
Audio Device(s) On Board
Power Supply Cooler Master V750
Software Win 10 64-bit
Nice recovery from that drill incident. Looks very interesting. :D
 

tobyak

New Member
Joined
Aug 11, 2011
Messages
25 (0.01/day)
Just before the festivities i managed to get a rare nugget of time to finish the PSU shroud

First up a monor admission...... the mk1 broke a bit.. a child of mine who shall remain nameless knocked it on the floor causing the most frantic game of jenga in the history of the universe so the repairs commenced


Once it was all reglued and reinforced it was time for some frantic filling and sanding


Once the majority of the sanding and filling was done all i needed to do before undercoating was cut a hole for


OK i will state the obvious... UNDERCOATING


After a painfully large amount of painting and sanding and waiting for cure times i could finaly text fit it... seen here with my georgious EK multioption 250x2 res Basic his res will be the corner stone of my all EK watercooling in this system

and yes i know its not lateral to the line of the case its a test fit

Next post later today the installing of my beloved water cooling

Massive thanks to EK for all there help i could not have don't this without them and there amazing products and assistance. more coming soon
 

tobyak

New Member
Joined
Aug 11, 2011
Messages
25 (0.01/day)
As a little aside i decided to get a table saw or a bandsaw, BUT i cant afford one and my wife will kill me if i do buy one

So whats the solution..... MAKE ONE

Heres a quick guide

You will need....

  • Cheap workbench
  • Old Shelves
  • Spare wood (must be perfectly straight)
  • Wood Screws
  • G or speed Clamps (optional)
  • Cheap jigsaw


You dont need to build big in this case the final surface area is 18inch square but use your own size it can be modified

Take your shelf or left over wood and mark out your cuts to make the working surface in my version as the shelf is 9 inches wide i need to make 2 planks 9x18


To make your joined work surface you need to use some more spare wood to make the rails on the underside, just cut your spare to match the length of the work surface and mark up a number of holes to screw the frame together


Clamp everything together tight, your final surface mush be perfectly flat


And here is how it all looks fixed together


With a set square mark up some lines so you can make sure you mount your saw perfectly in line with the sides


Drill holes for the saw blade to pass through you can have as many or as few as you want


Remove the base plate from your cheap jig saw ans drill some holes in it for your screw/bolt holes


Once you have that all put back together and have remounted your saw to its base and then to the work surface you can flip it over and mount it to your cheap work bench... this is where the split top in the bench comes in really handy to put the body of the jigsaw through, then just tighten your bench up it will grip the base of the saw and you are good to test it


i tried both free hand and with a guide i made later, i must admit free hand is a little scary you are afterall working with an upside down jigsaw but using a guide it is realy easy and the cuts are perfect. you will be able to see on the pic below which cut is free and which is with a guide


Enjoy
 

tobyak

New Member
Joined
Aug 11, 2011
Messages
25 (0.01/day)
Supply Drop

As the project reaches its close and the next project is waiting in the wings I was delighted to hear that Bitfenix wanted to share some of there products with me

I am usually dubious when it comes to pre-sleeved cables you never quite know what to expect in terms of quality but i was very very pleasantly surprised

So first things first, whats in the box...

Bitfenix Alchemy Cables

As you can see we have a substantial drop here, including, 24pin, 3pin fan, internal IO, USB and 6pin PCIe. And an added bonus or some LED flex strips (chainable)


The 24pin connectors are very neat indeed and available in several coulurs, peronialy i like black and blue, an even sleeker look is achieved with a no heat shrink design


The same no shrink is also true of the 6pin PCIe


Some of the other cables in the range due to there design have some heat shirink but are presented very neat and precise


All pins and connectors are high qualty with well deffined pins some are plated for better contact

The sleeving realy is excelent, unfortunatly i dont have the time or resources to sleeve my HAF90 PSU but thankfully now i wont haft to, the sleeving is both dense and attractive


Finaly we have some Bitfenix Alchemy LED Flexstrips
I have seen and owned many different types of these over the years but Bitfenix have gone the extra mile and made them chain able, several connectors are included to allow you to daisy chain many strips in to one super long strip


Each flex strip is supplied with molex connector, power lead, 1inch chain connector and a pair of micro chain connectors


Available in a variety of colors and lengths when the description read "Super Bright" they were not kidding, 4 of these can light a large living room, and the LEDs are top notch for quality


It is a massive thanks to Bitfenix for sharing some of there brilliant Alchemy series products with me
 
Top