galletabah
New Member
- Joined
- Aug 2, 2016
- Messages
- 5 (0.00/day)
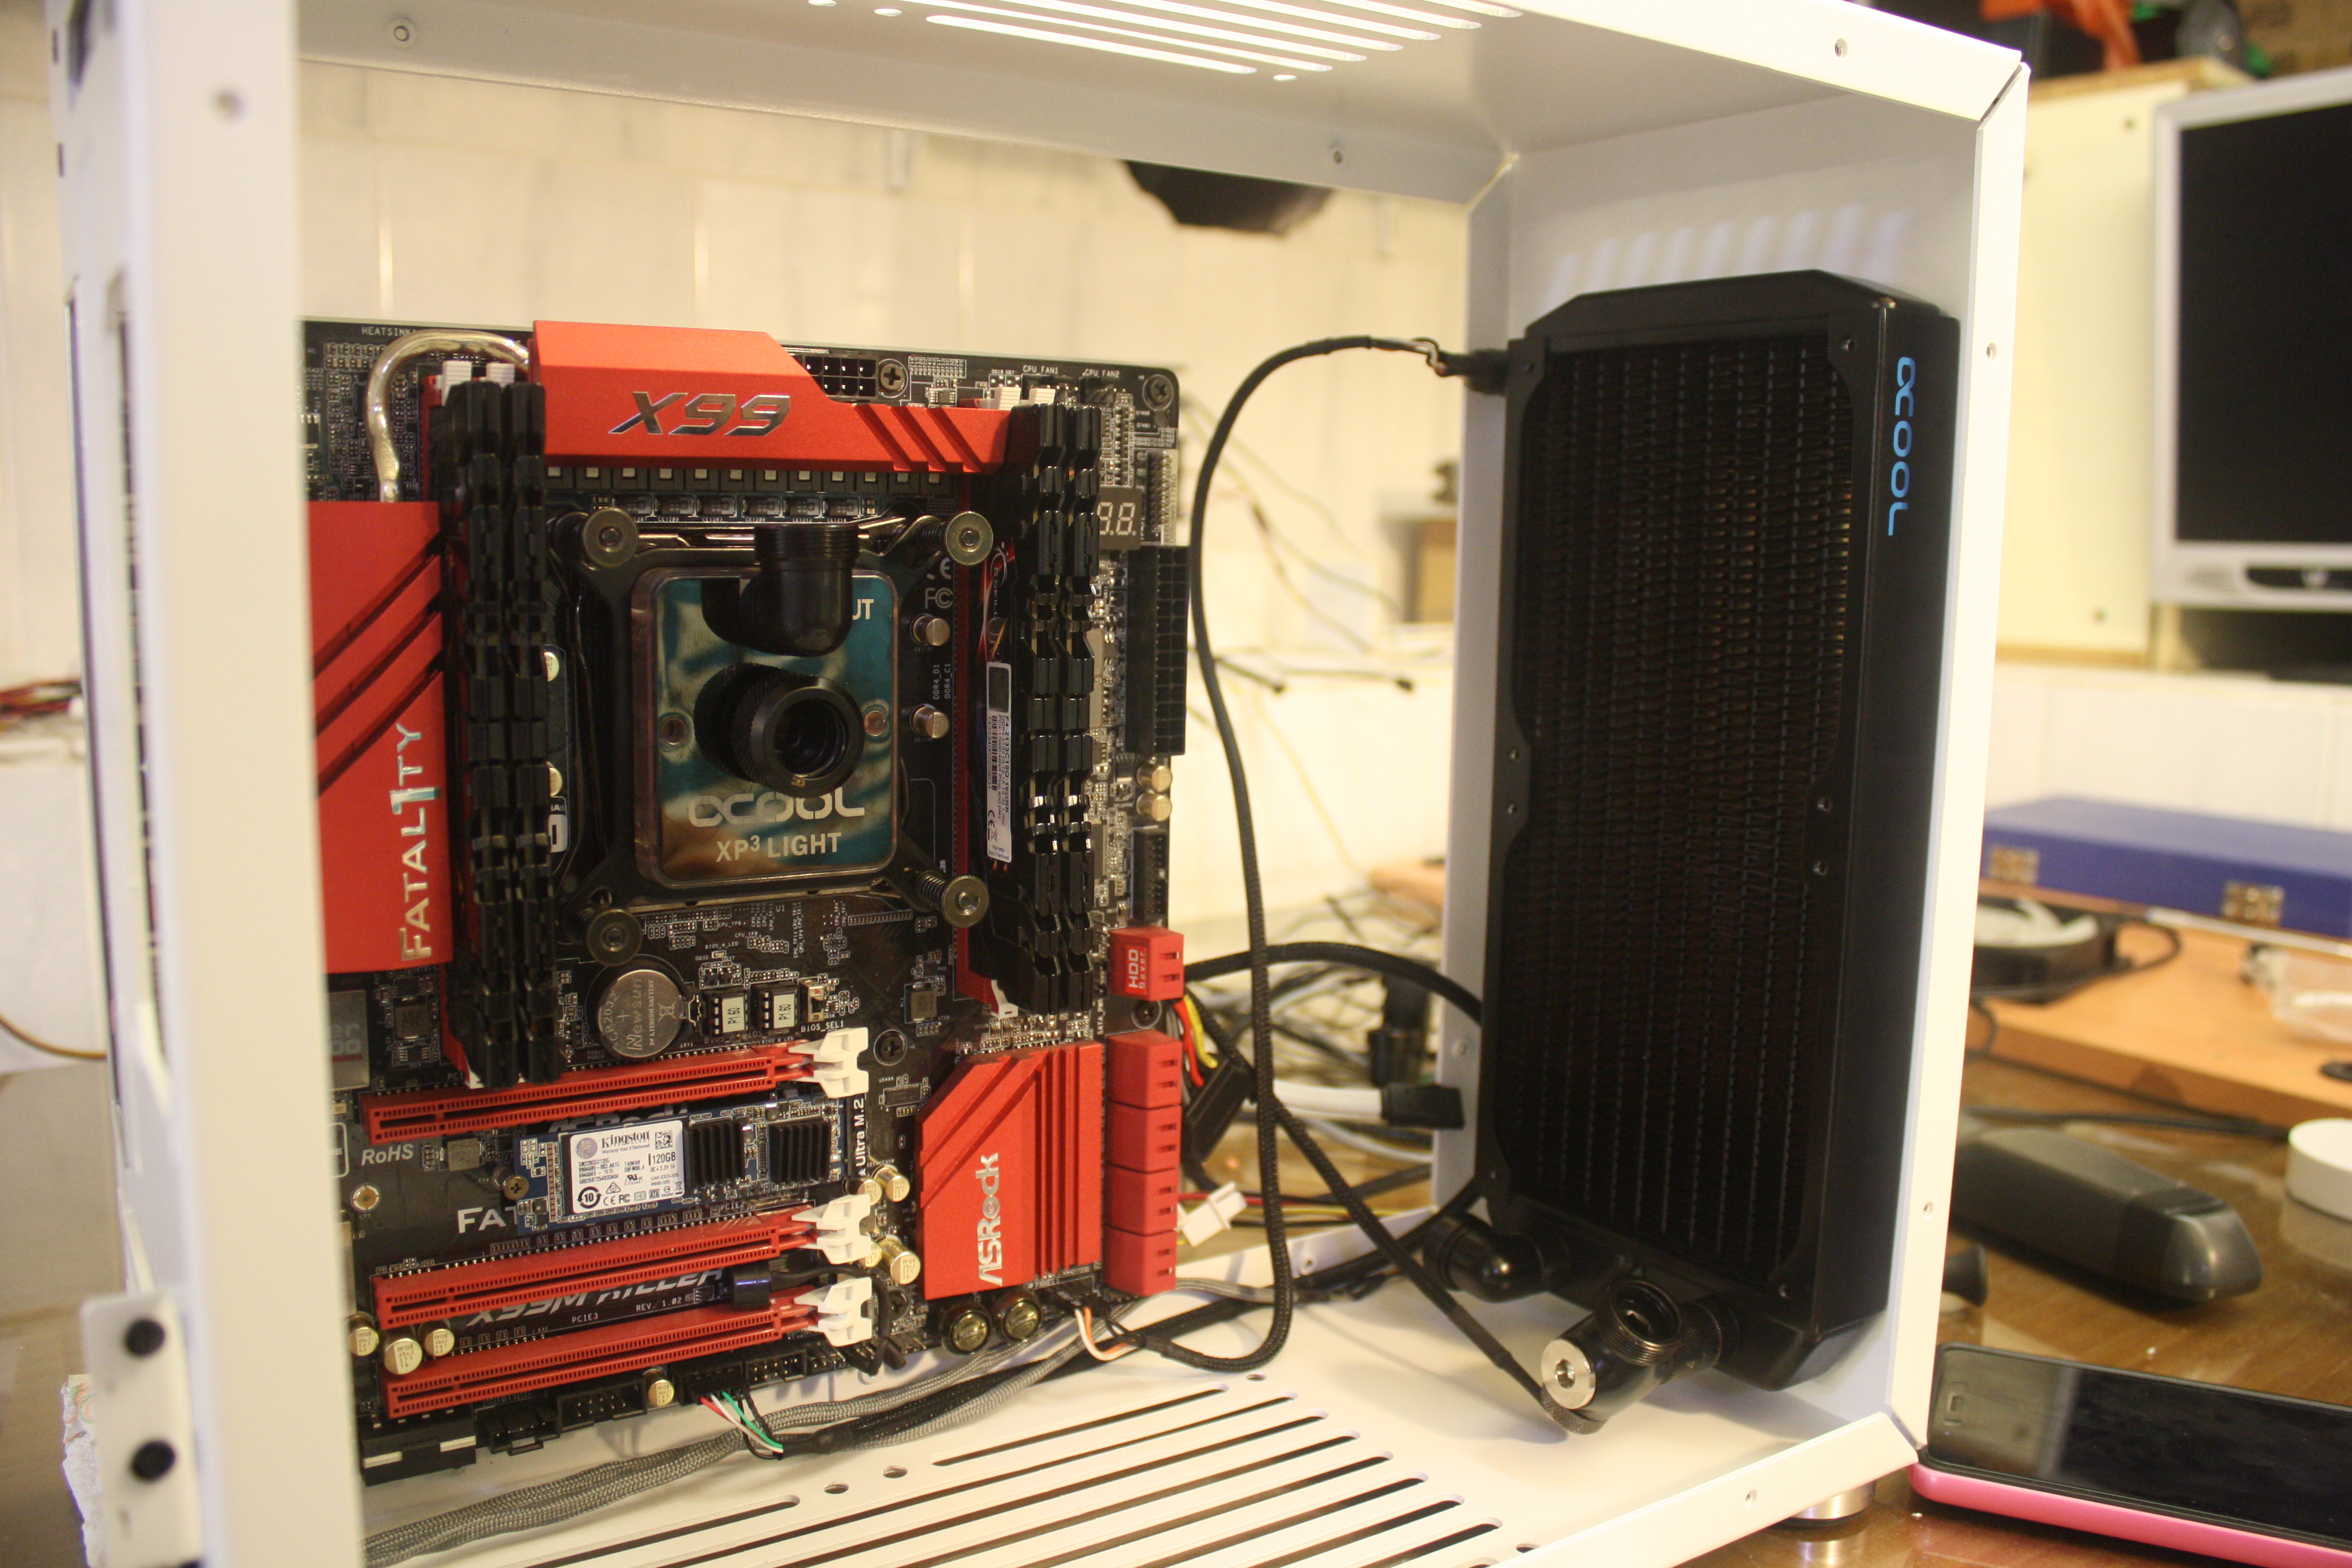
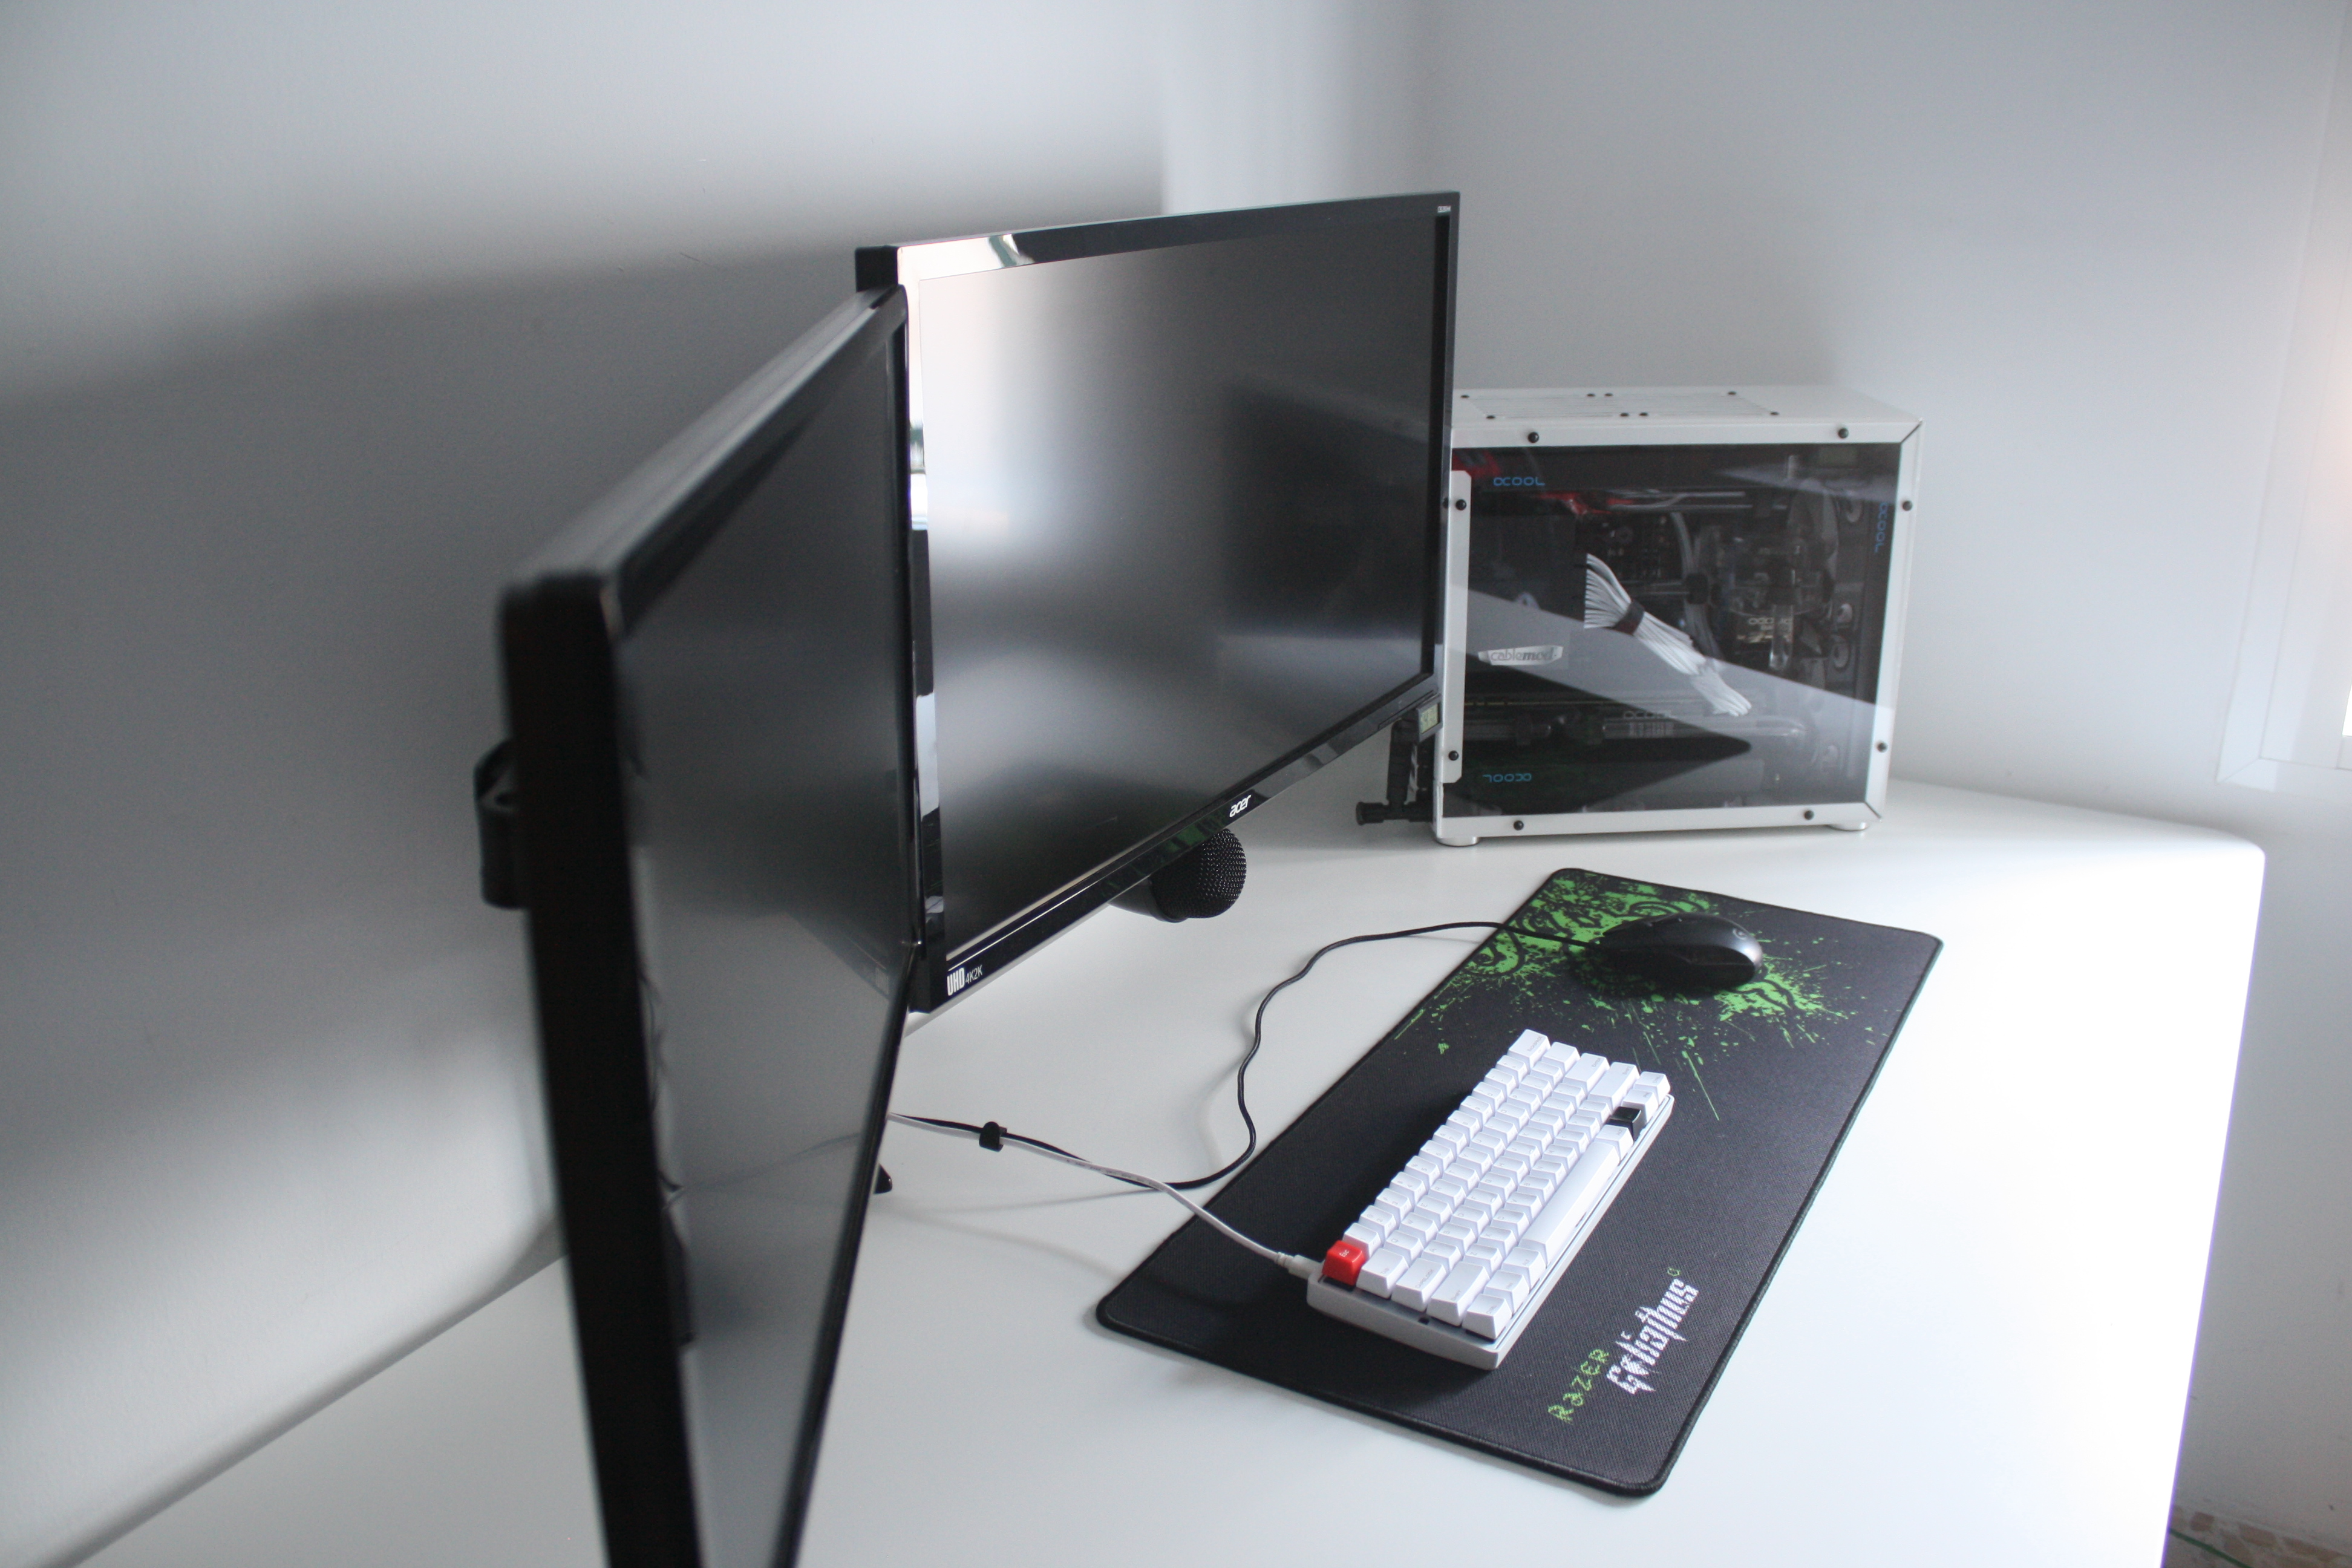
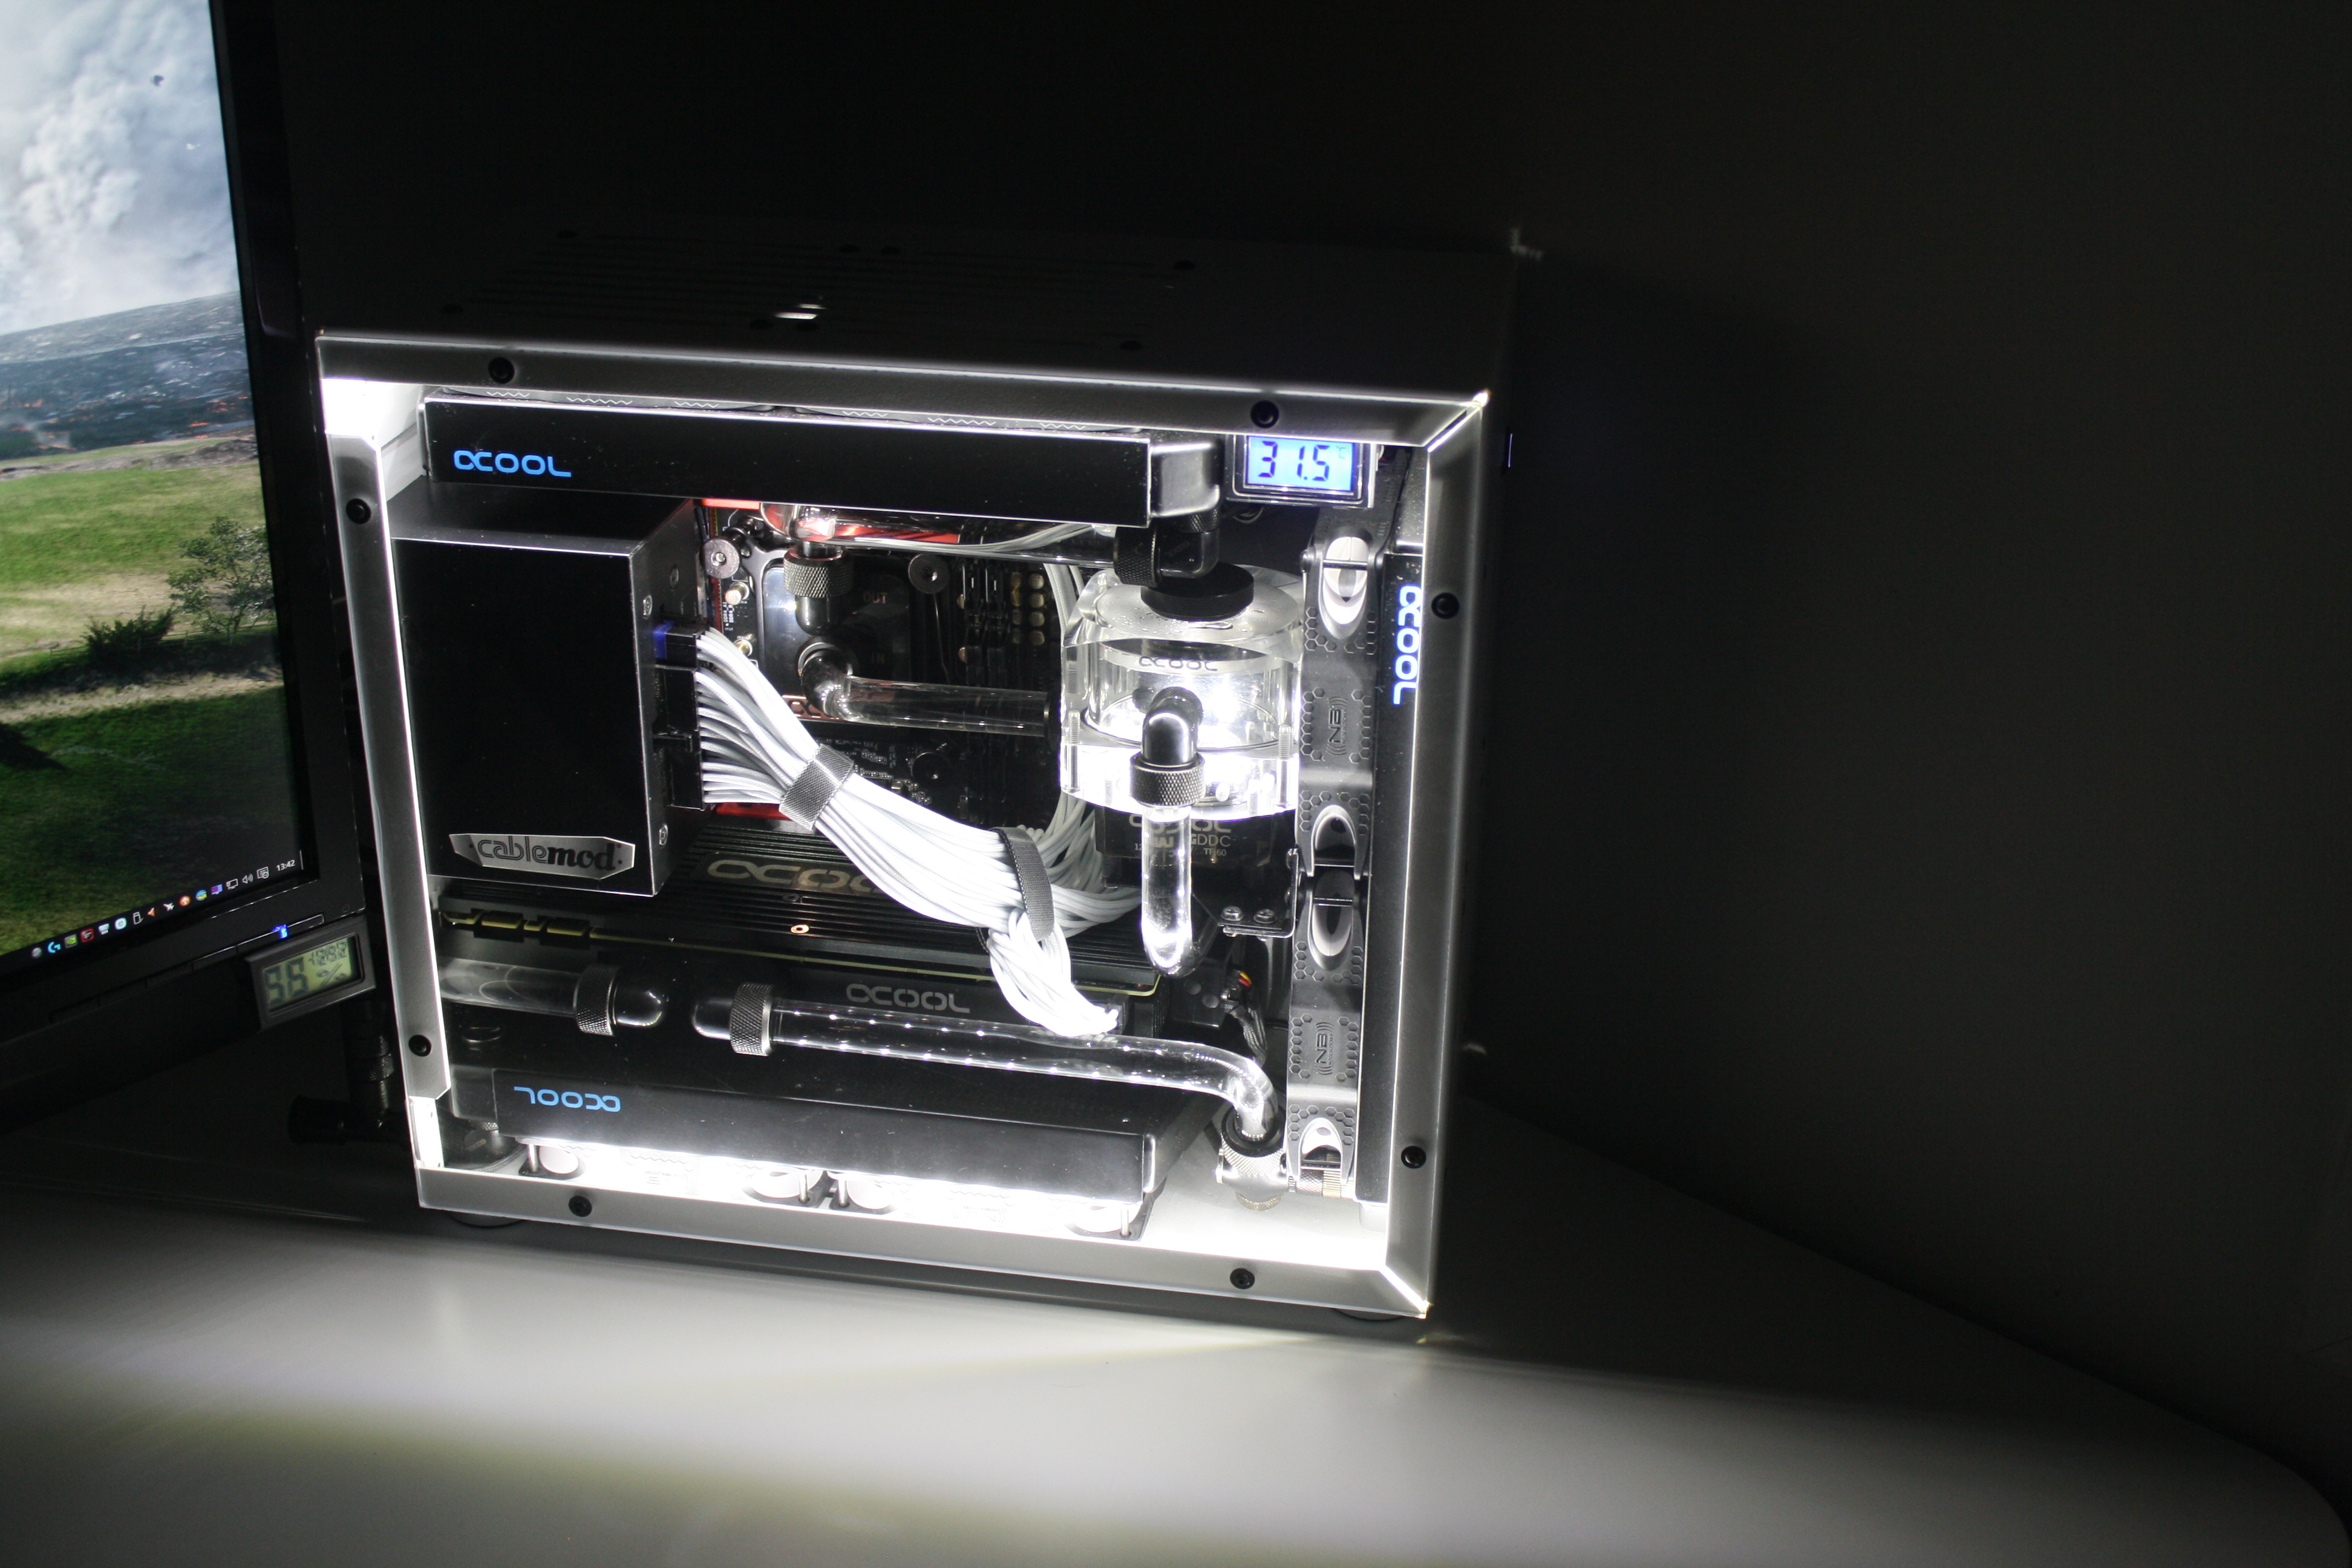
Hi, My name is Luis Saborido, alias 'Galletabah', I'm doing a new project log with a very exclusive custom case, The project mAtx:
http://www.overclock.net/t/1580191/...age-still-accepting-orders/0_30#post_24597594
 Only there are 25 units in the world!
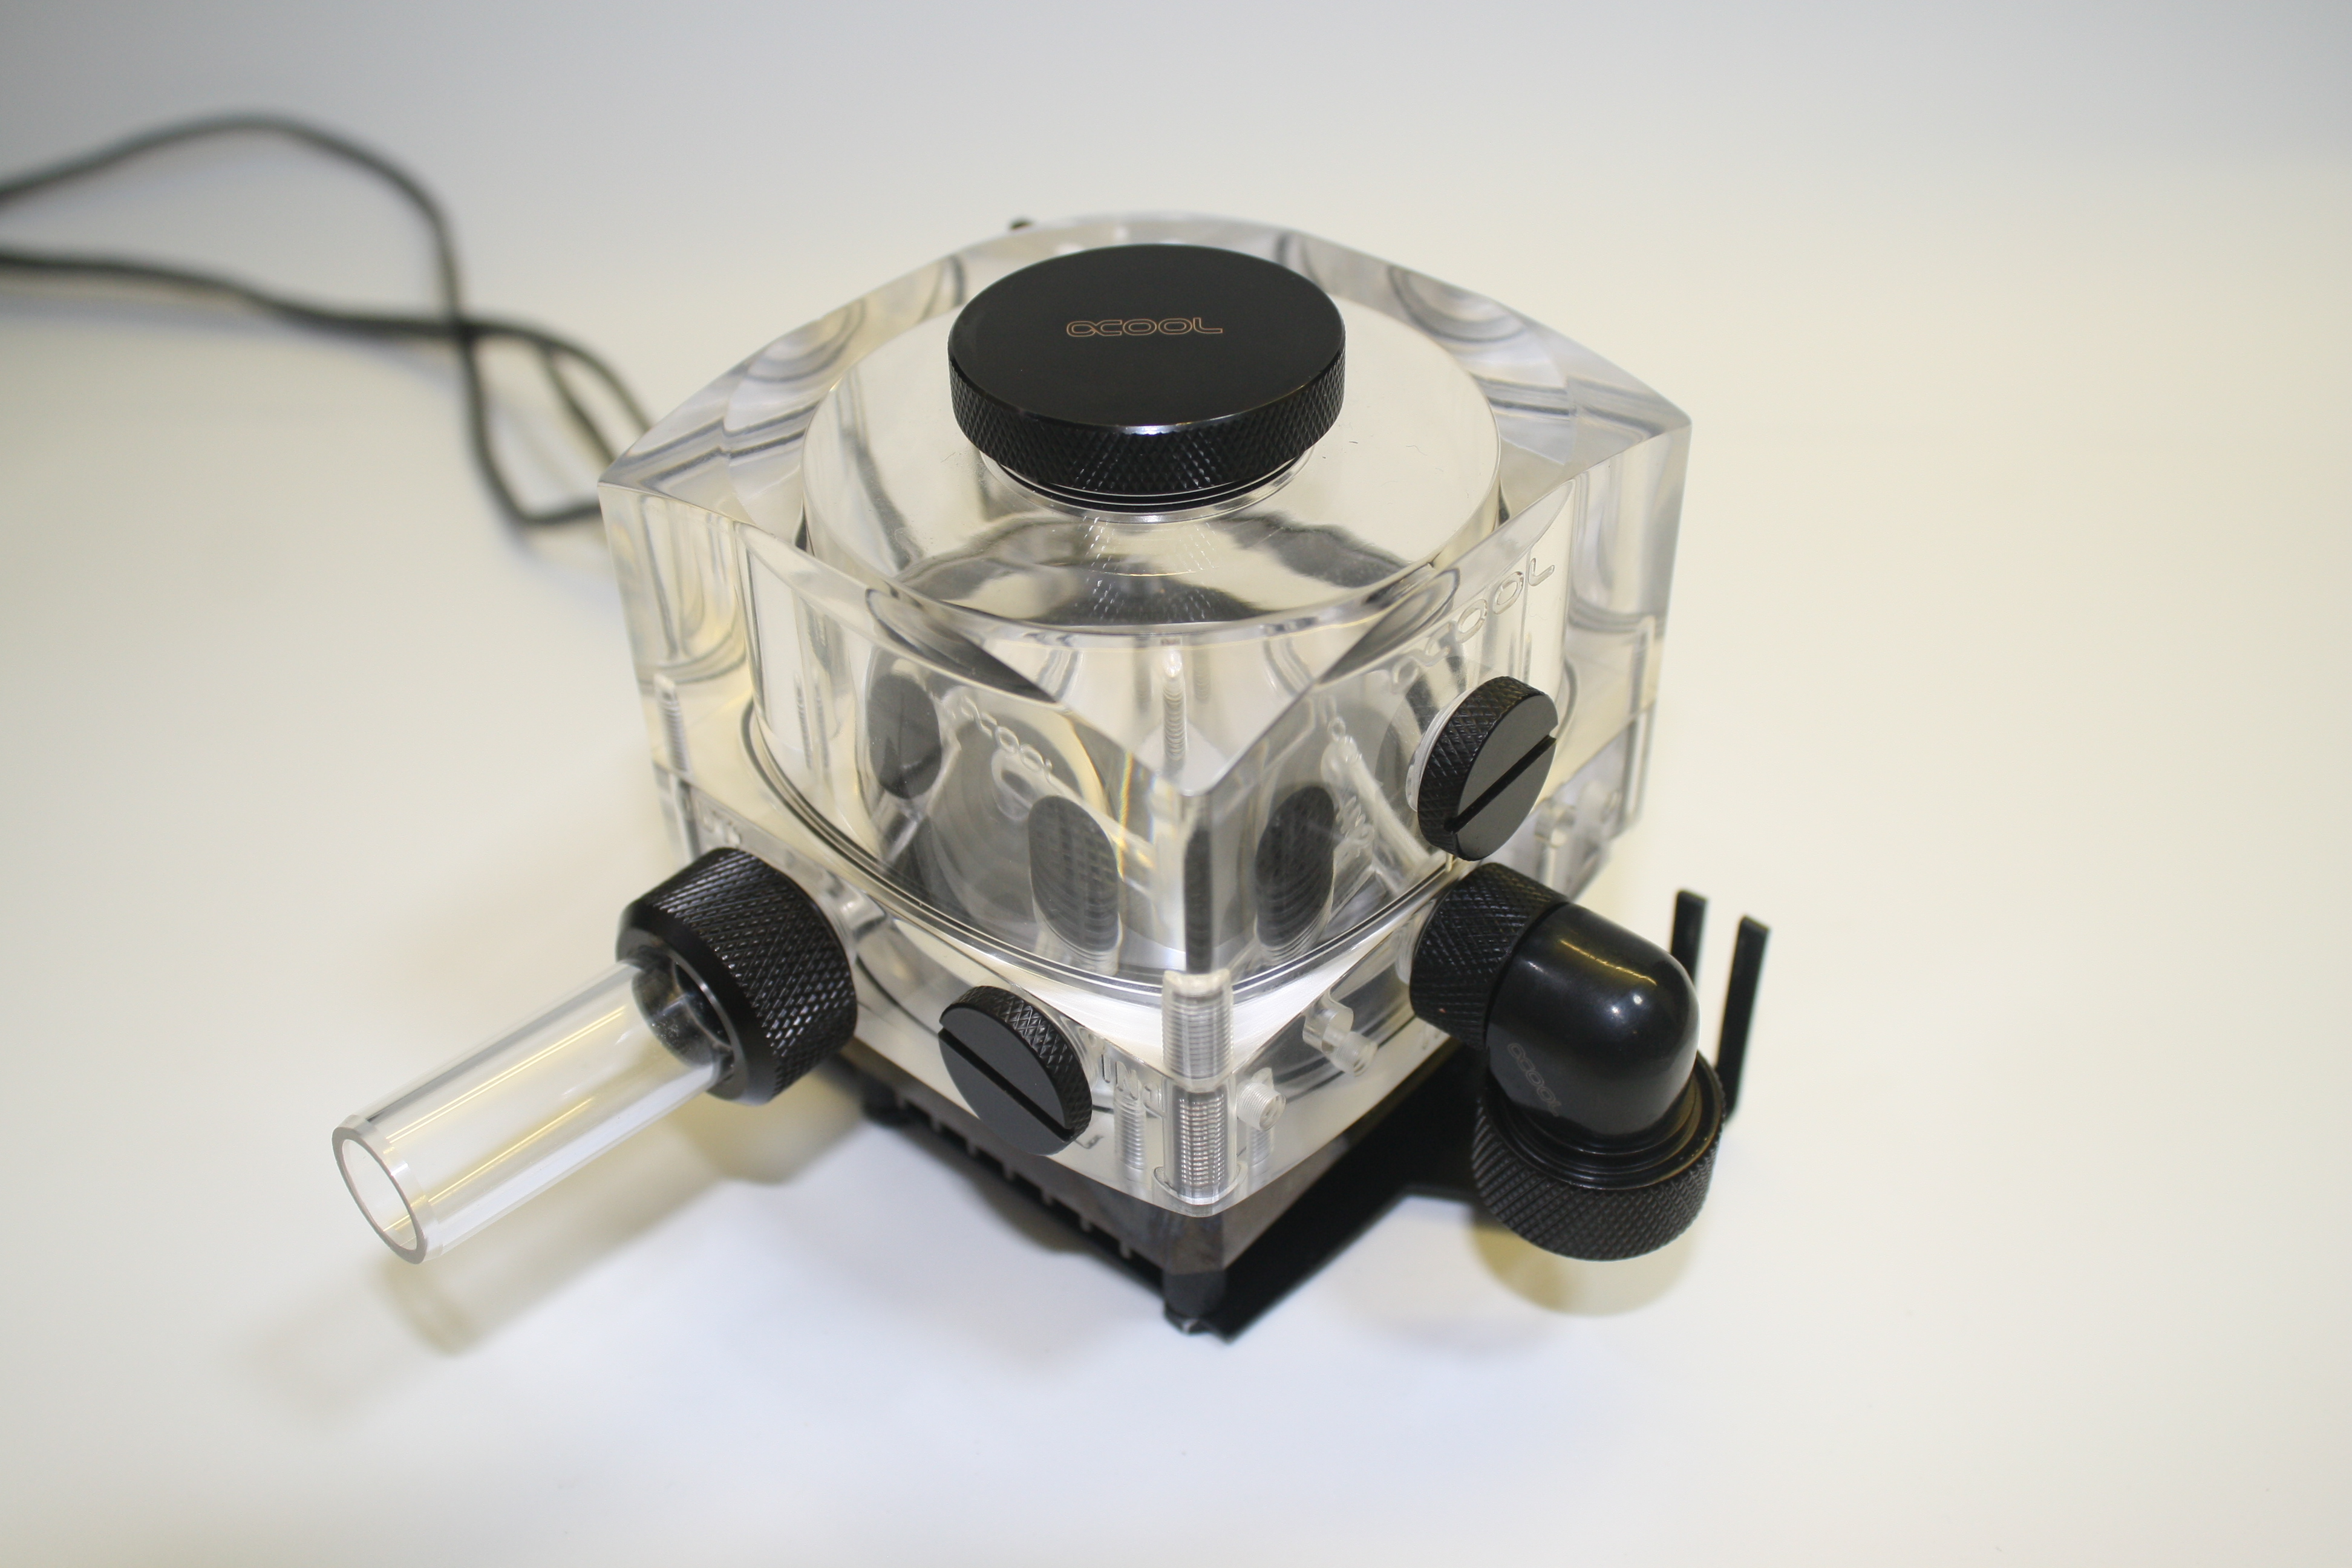
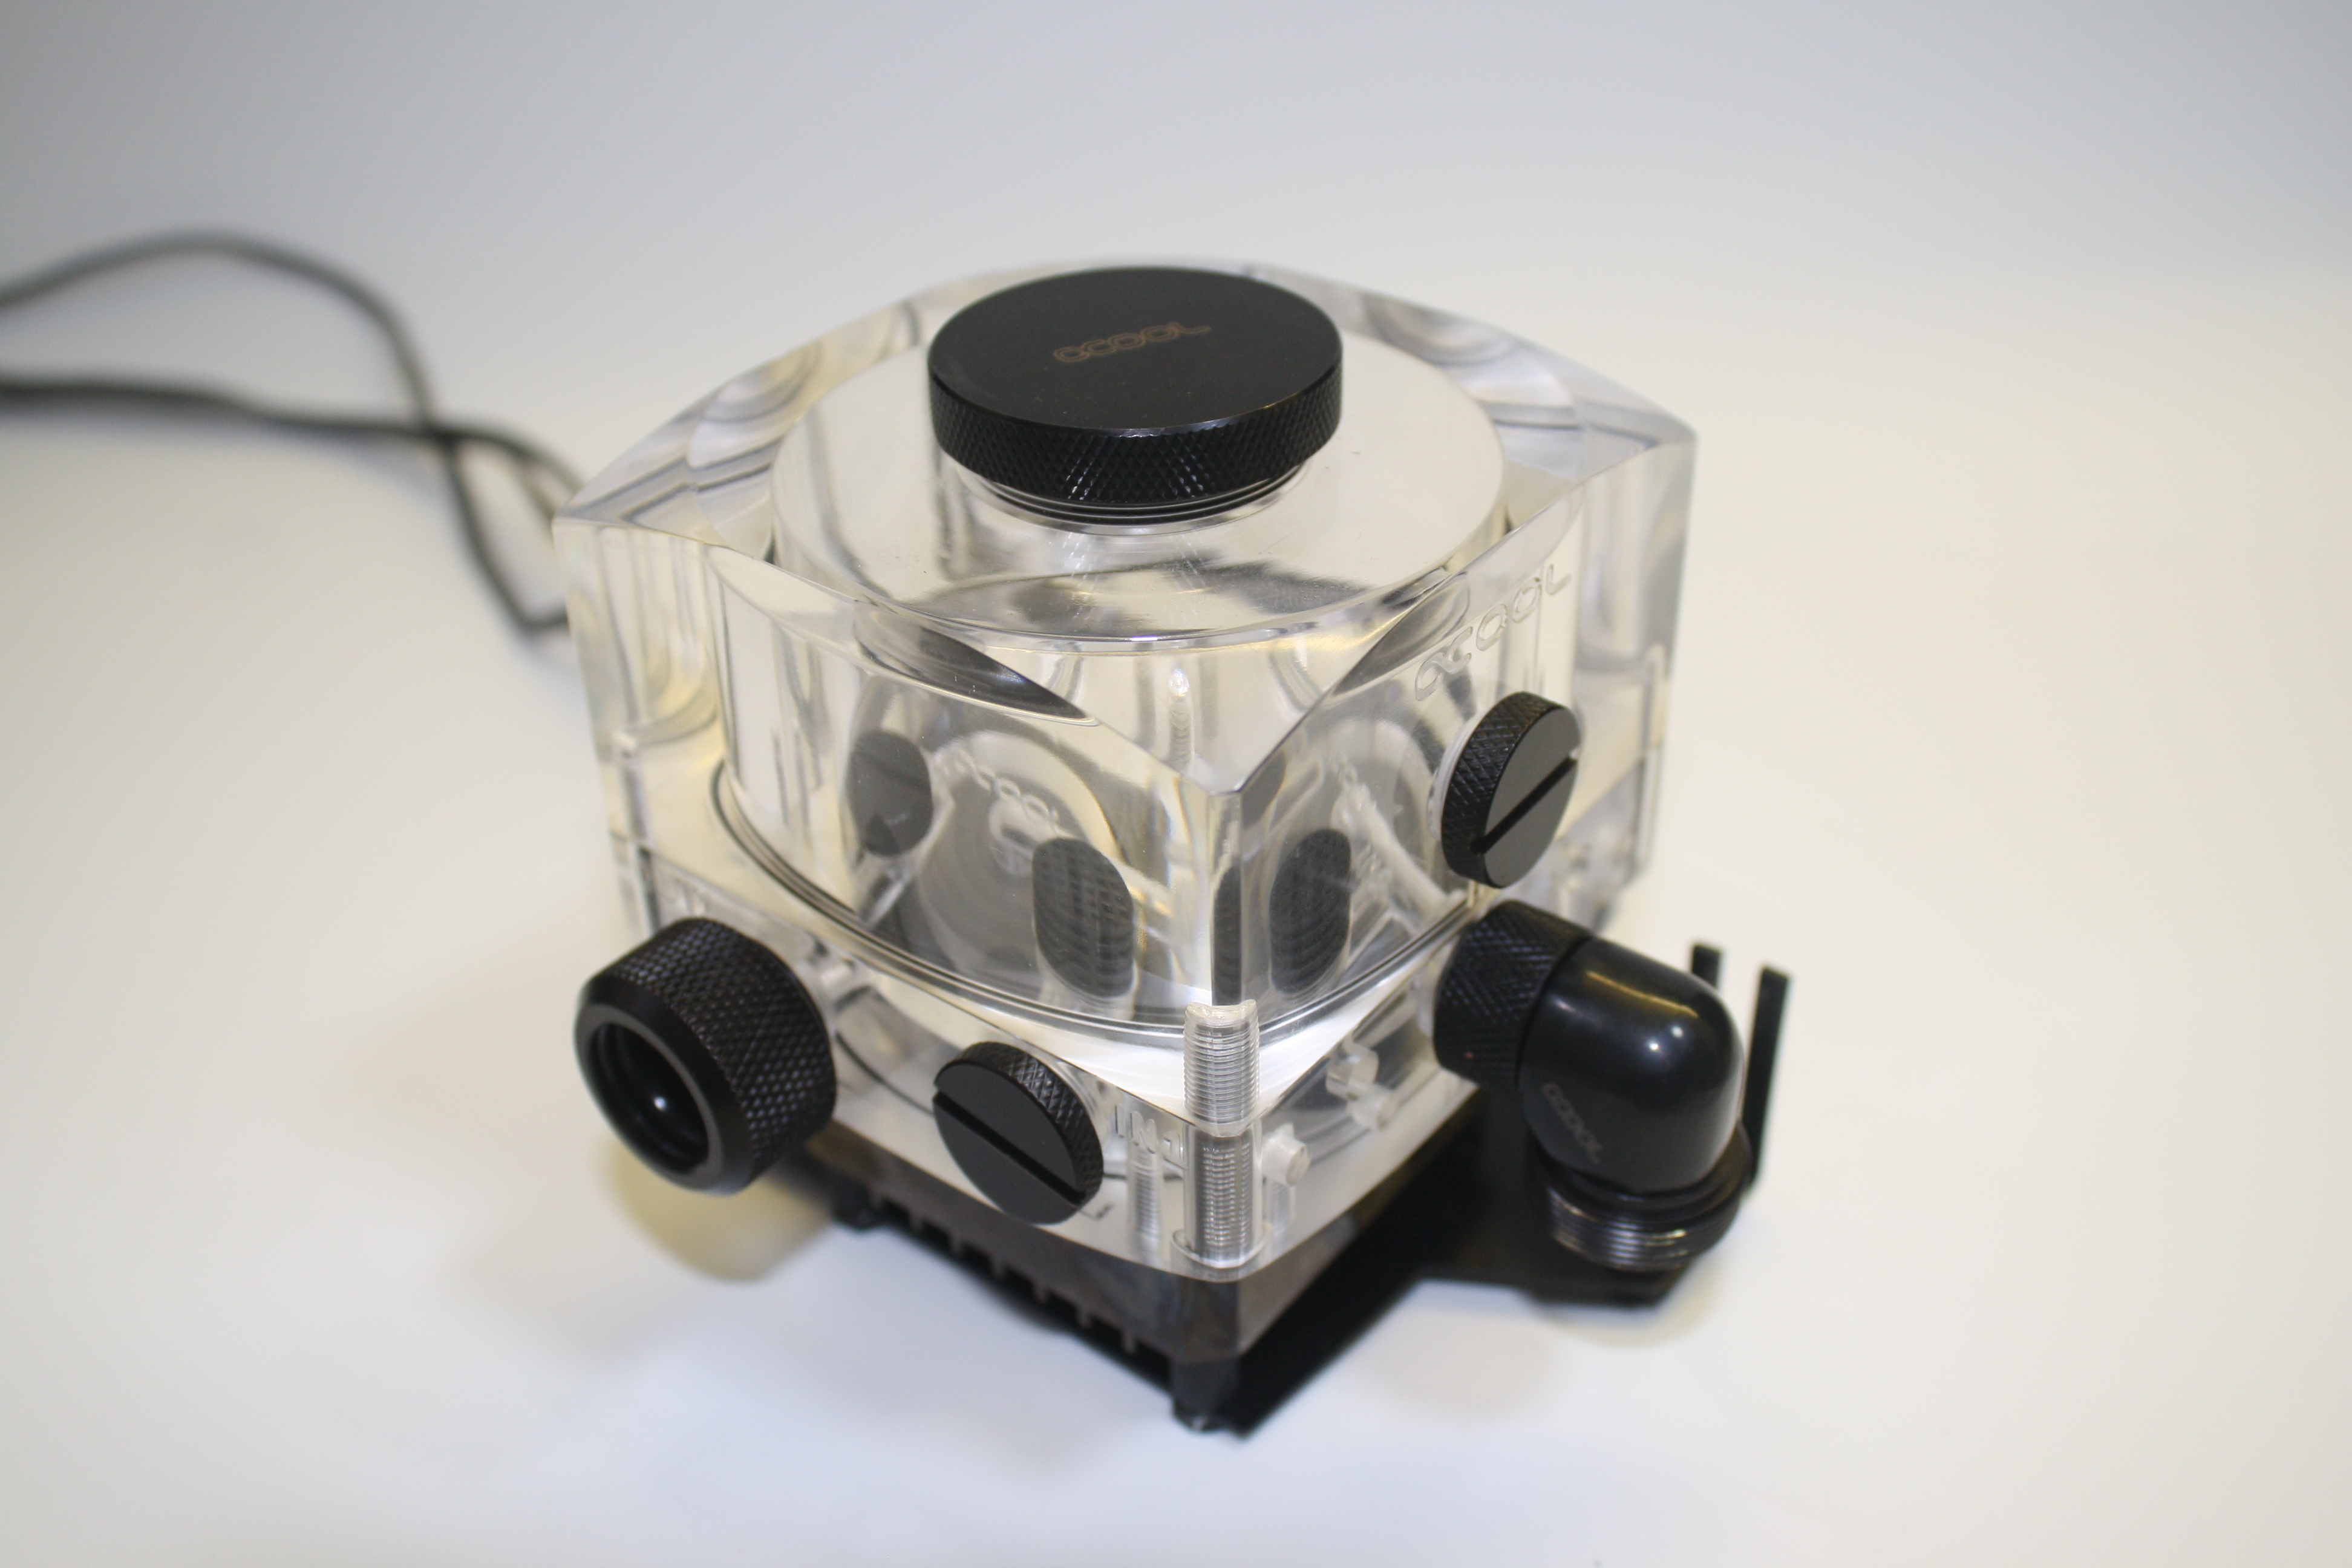
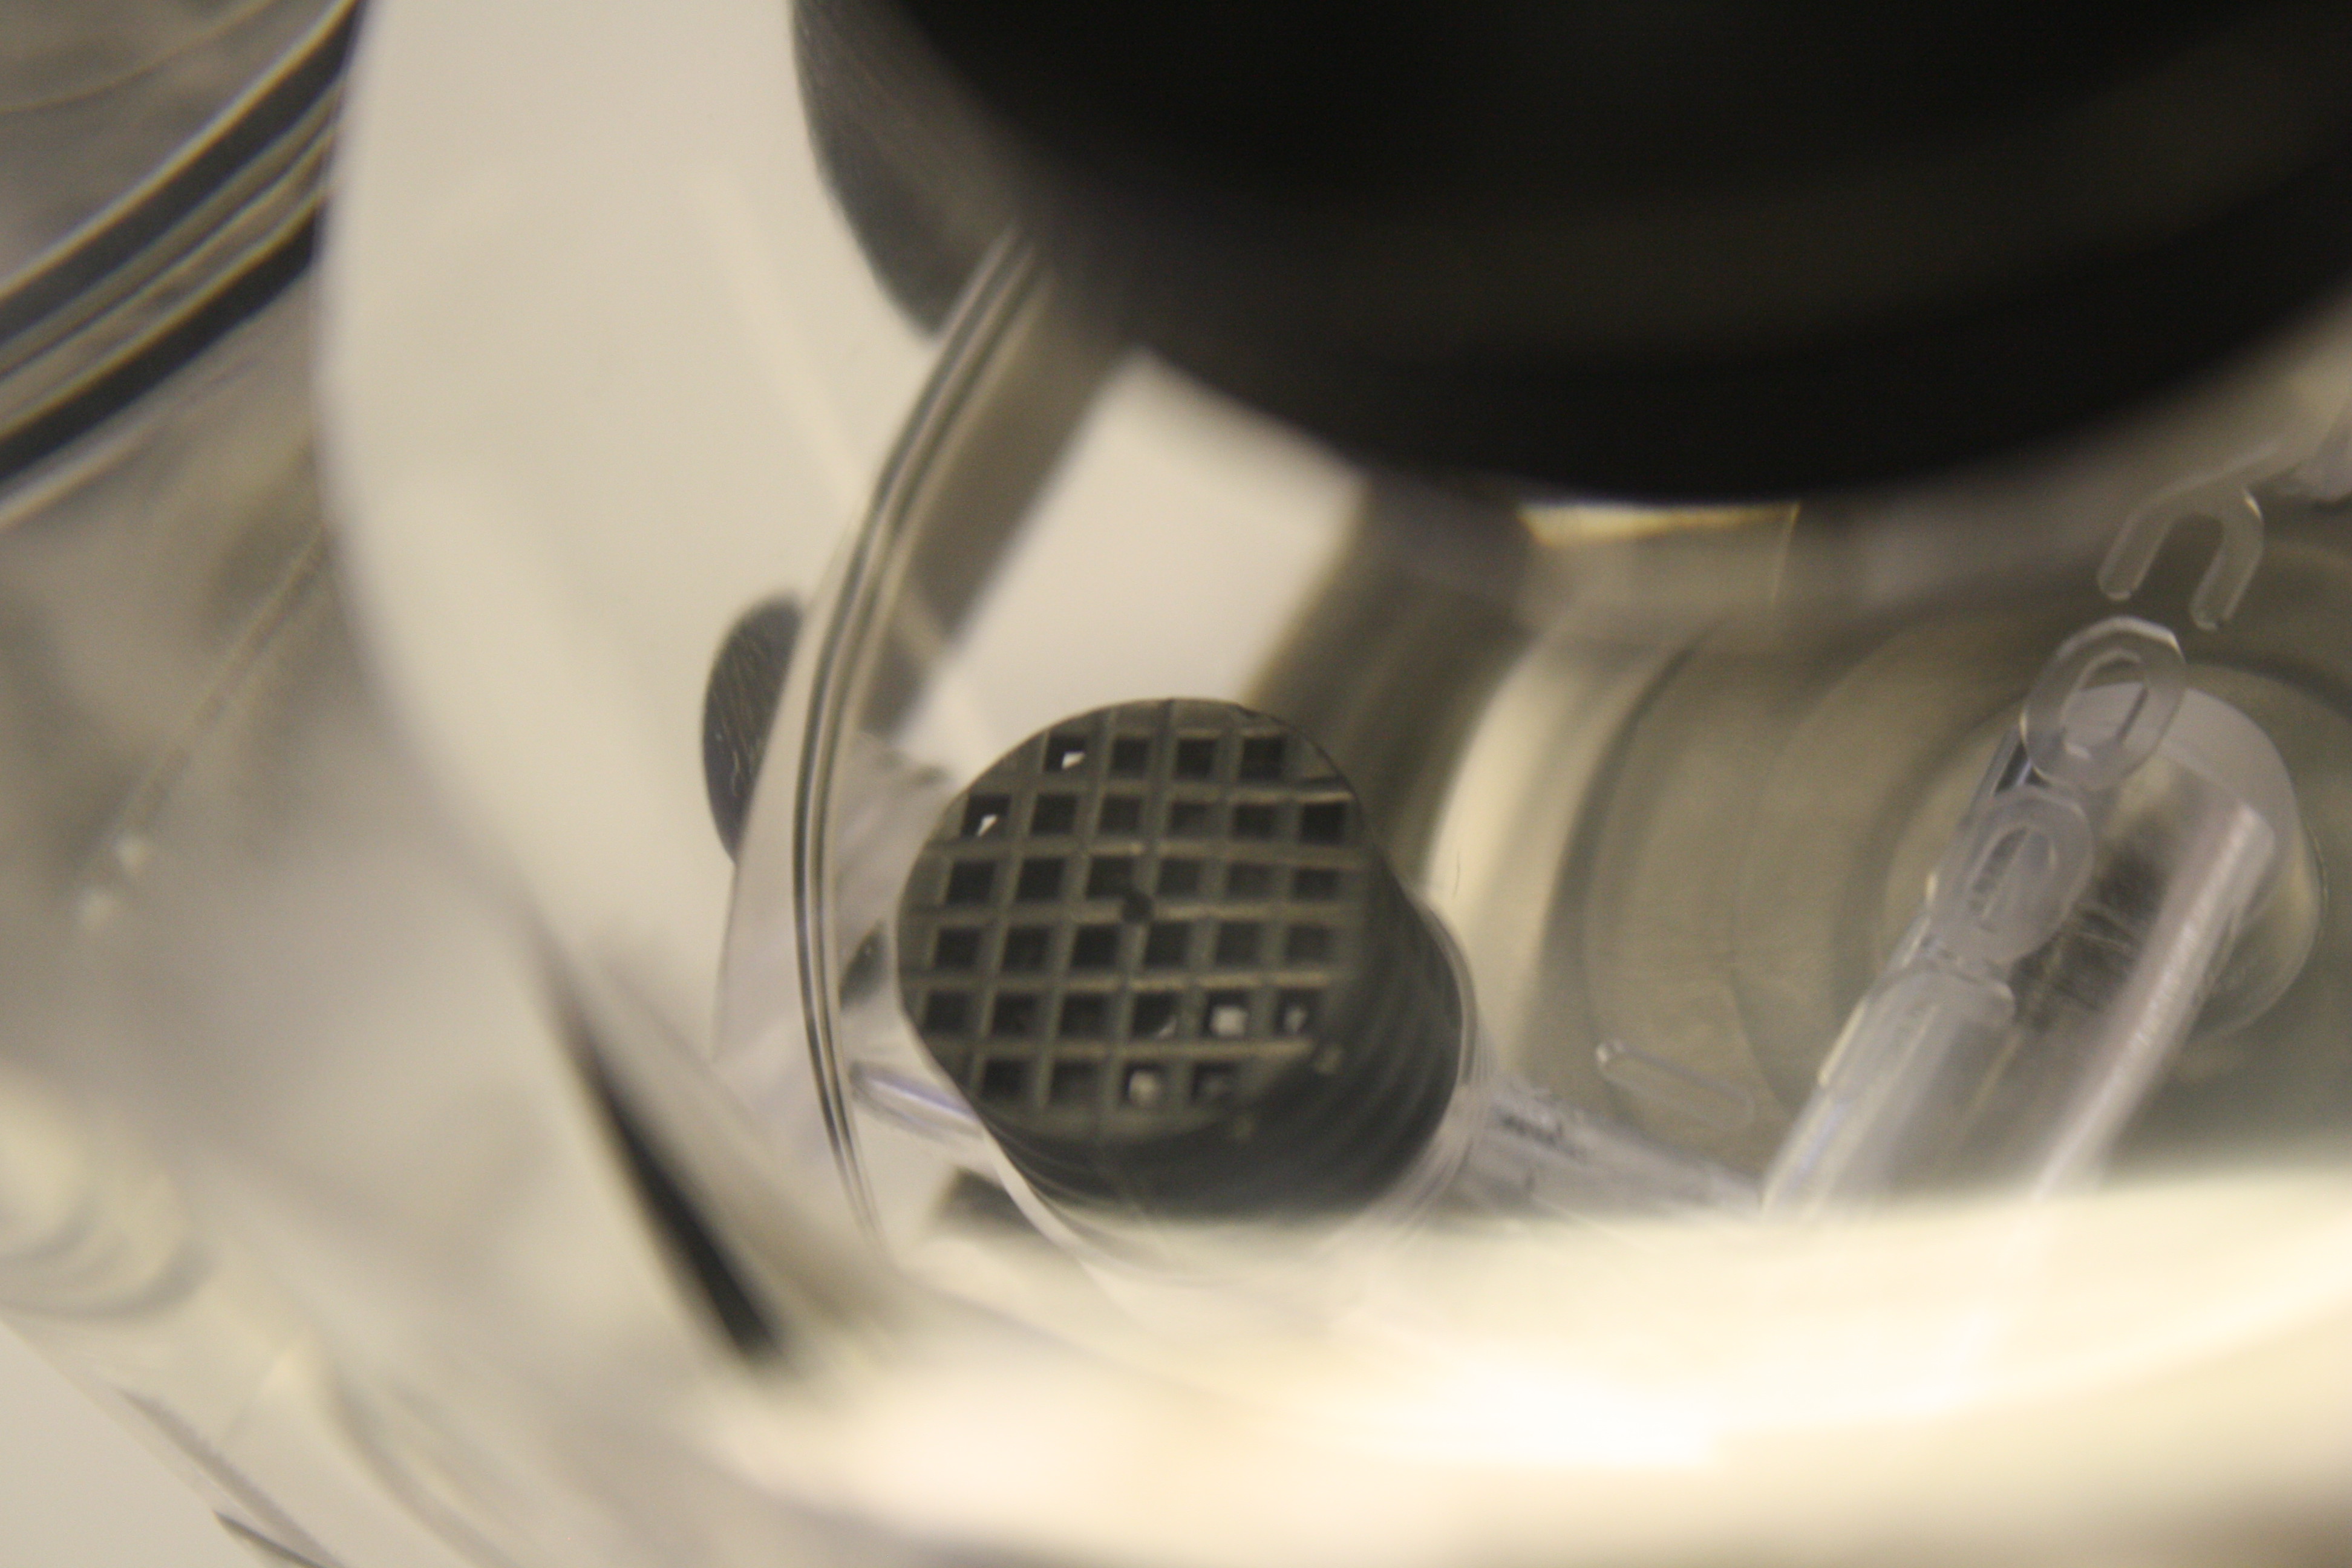
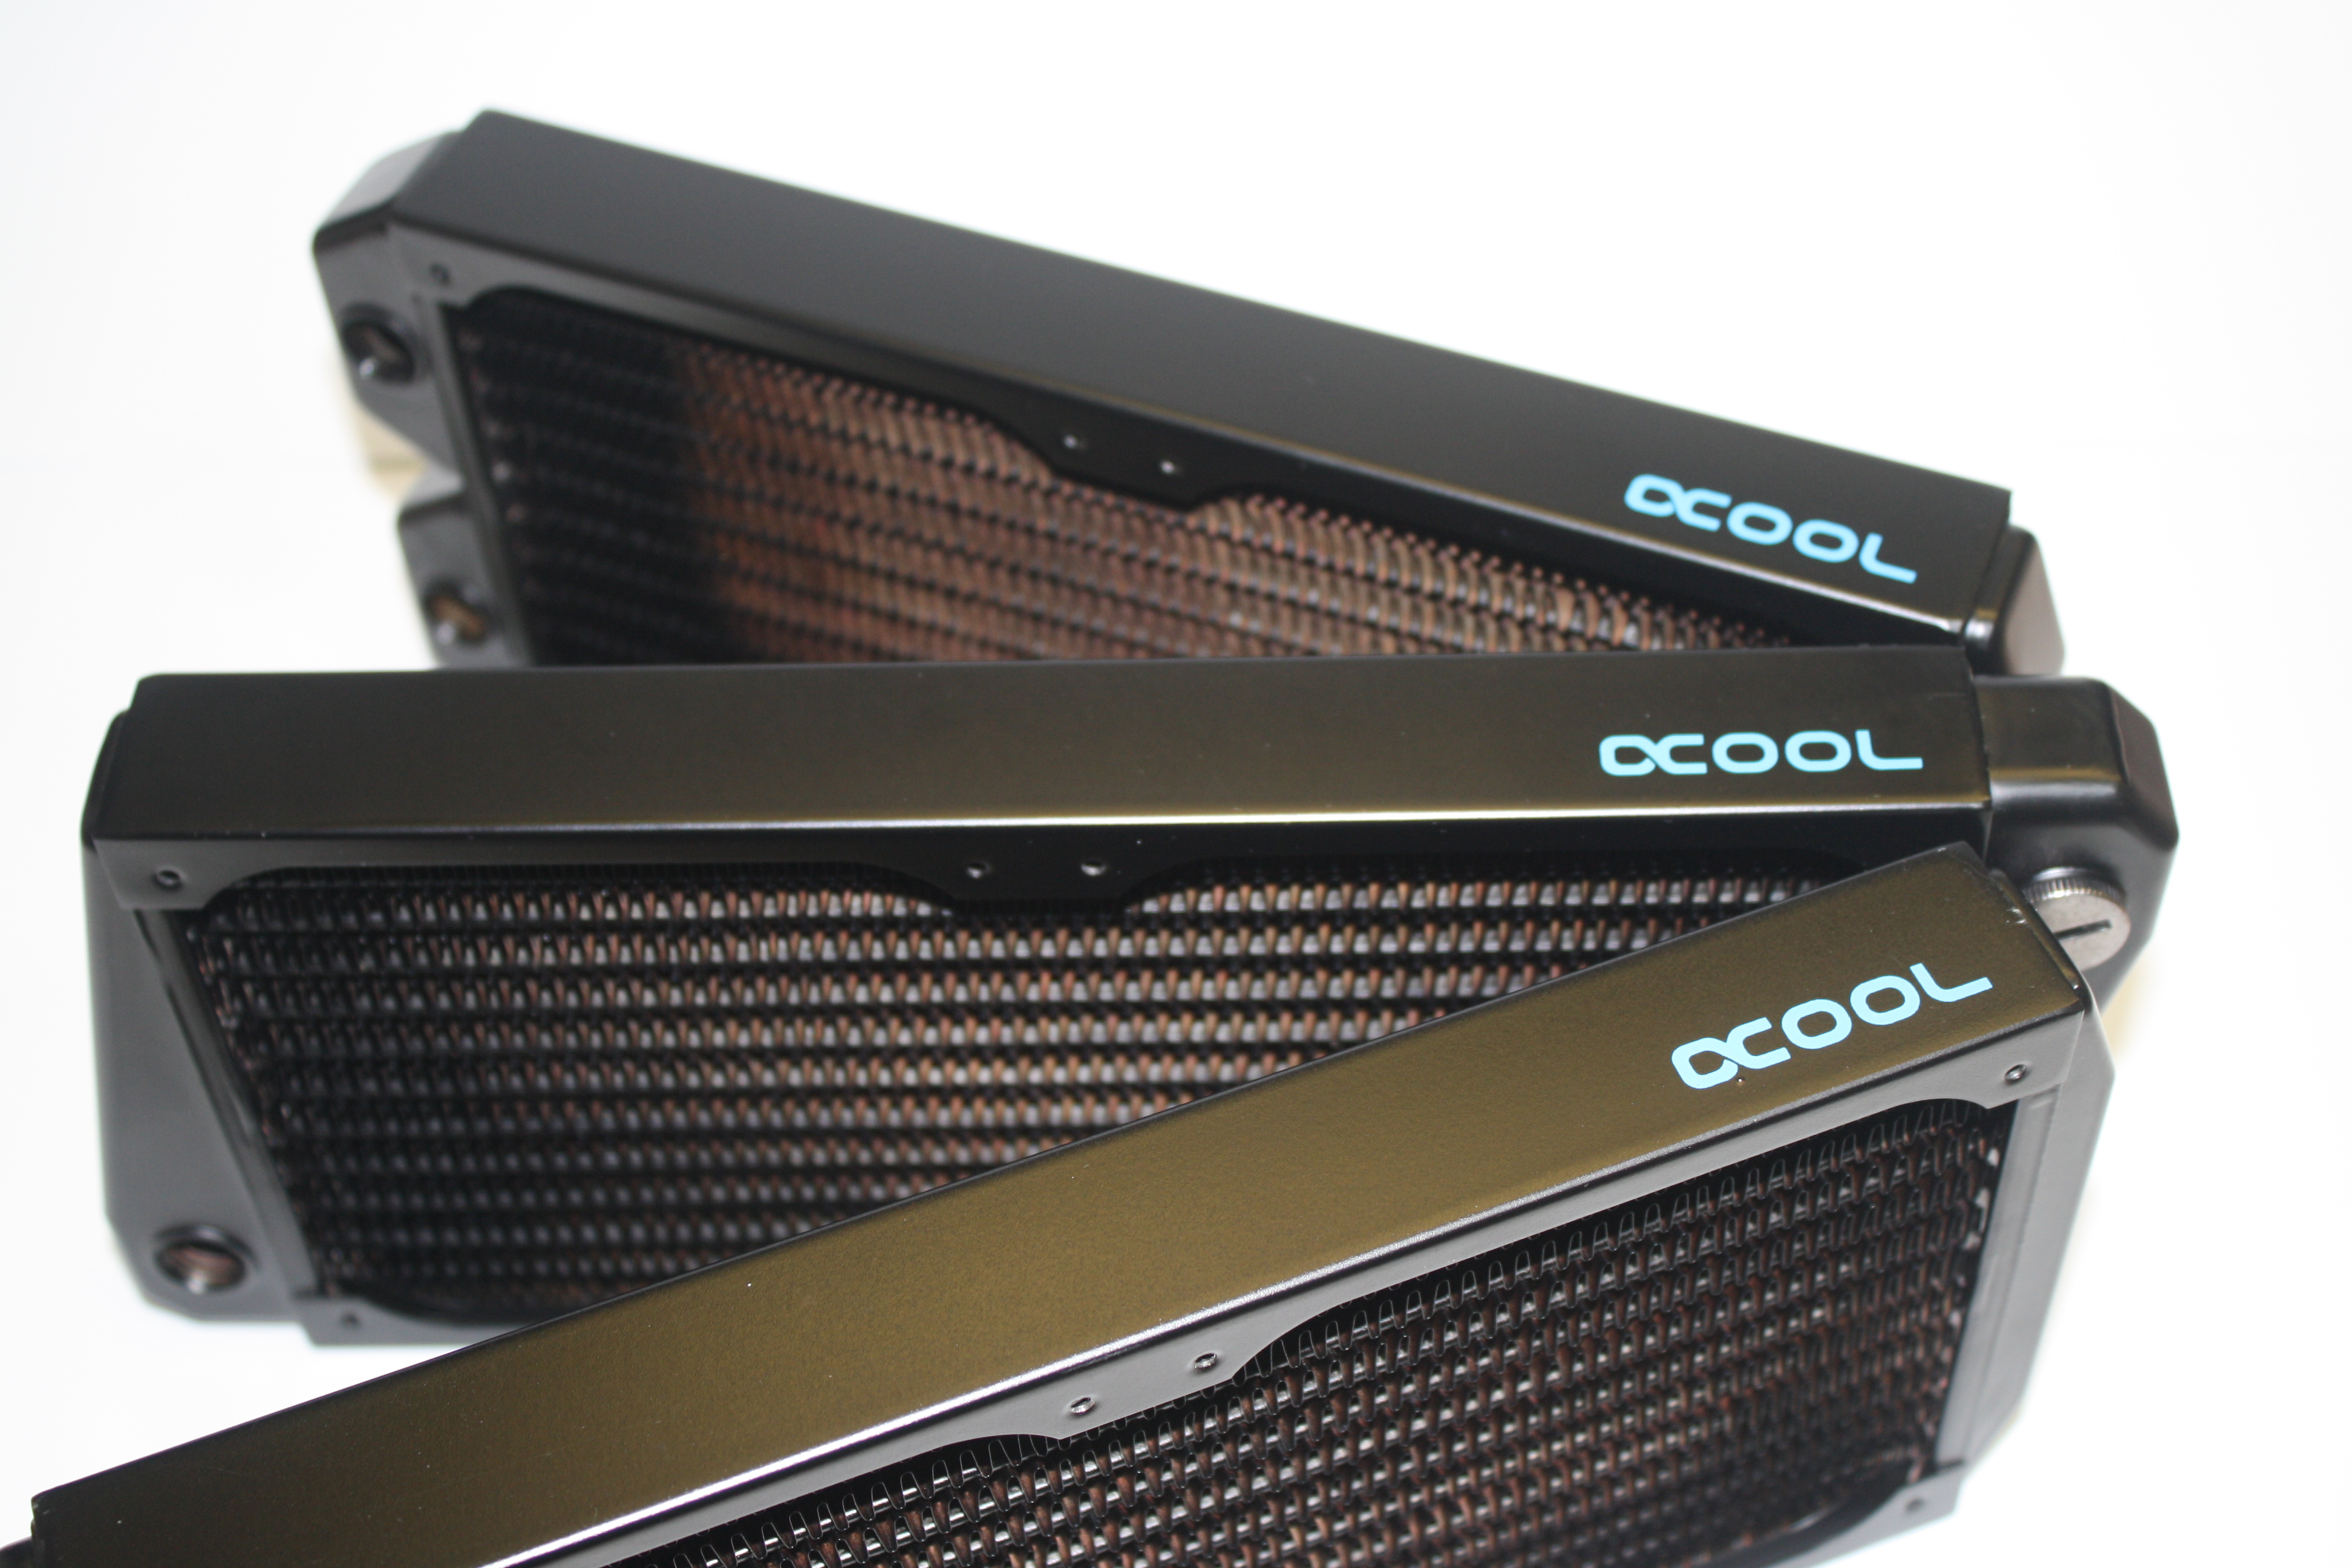
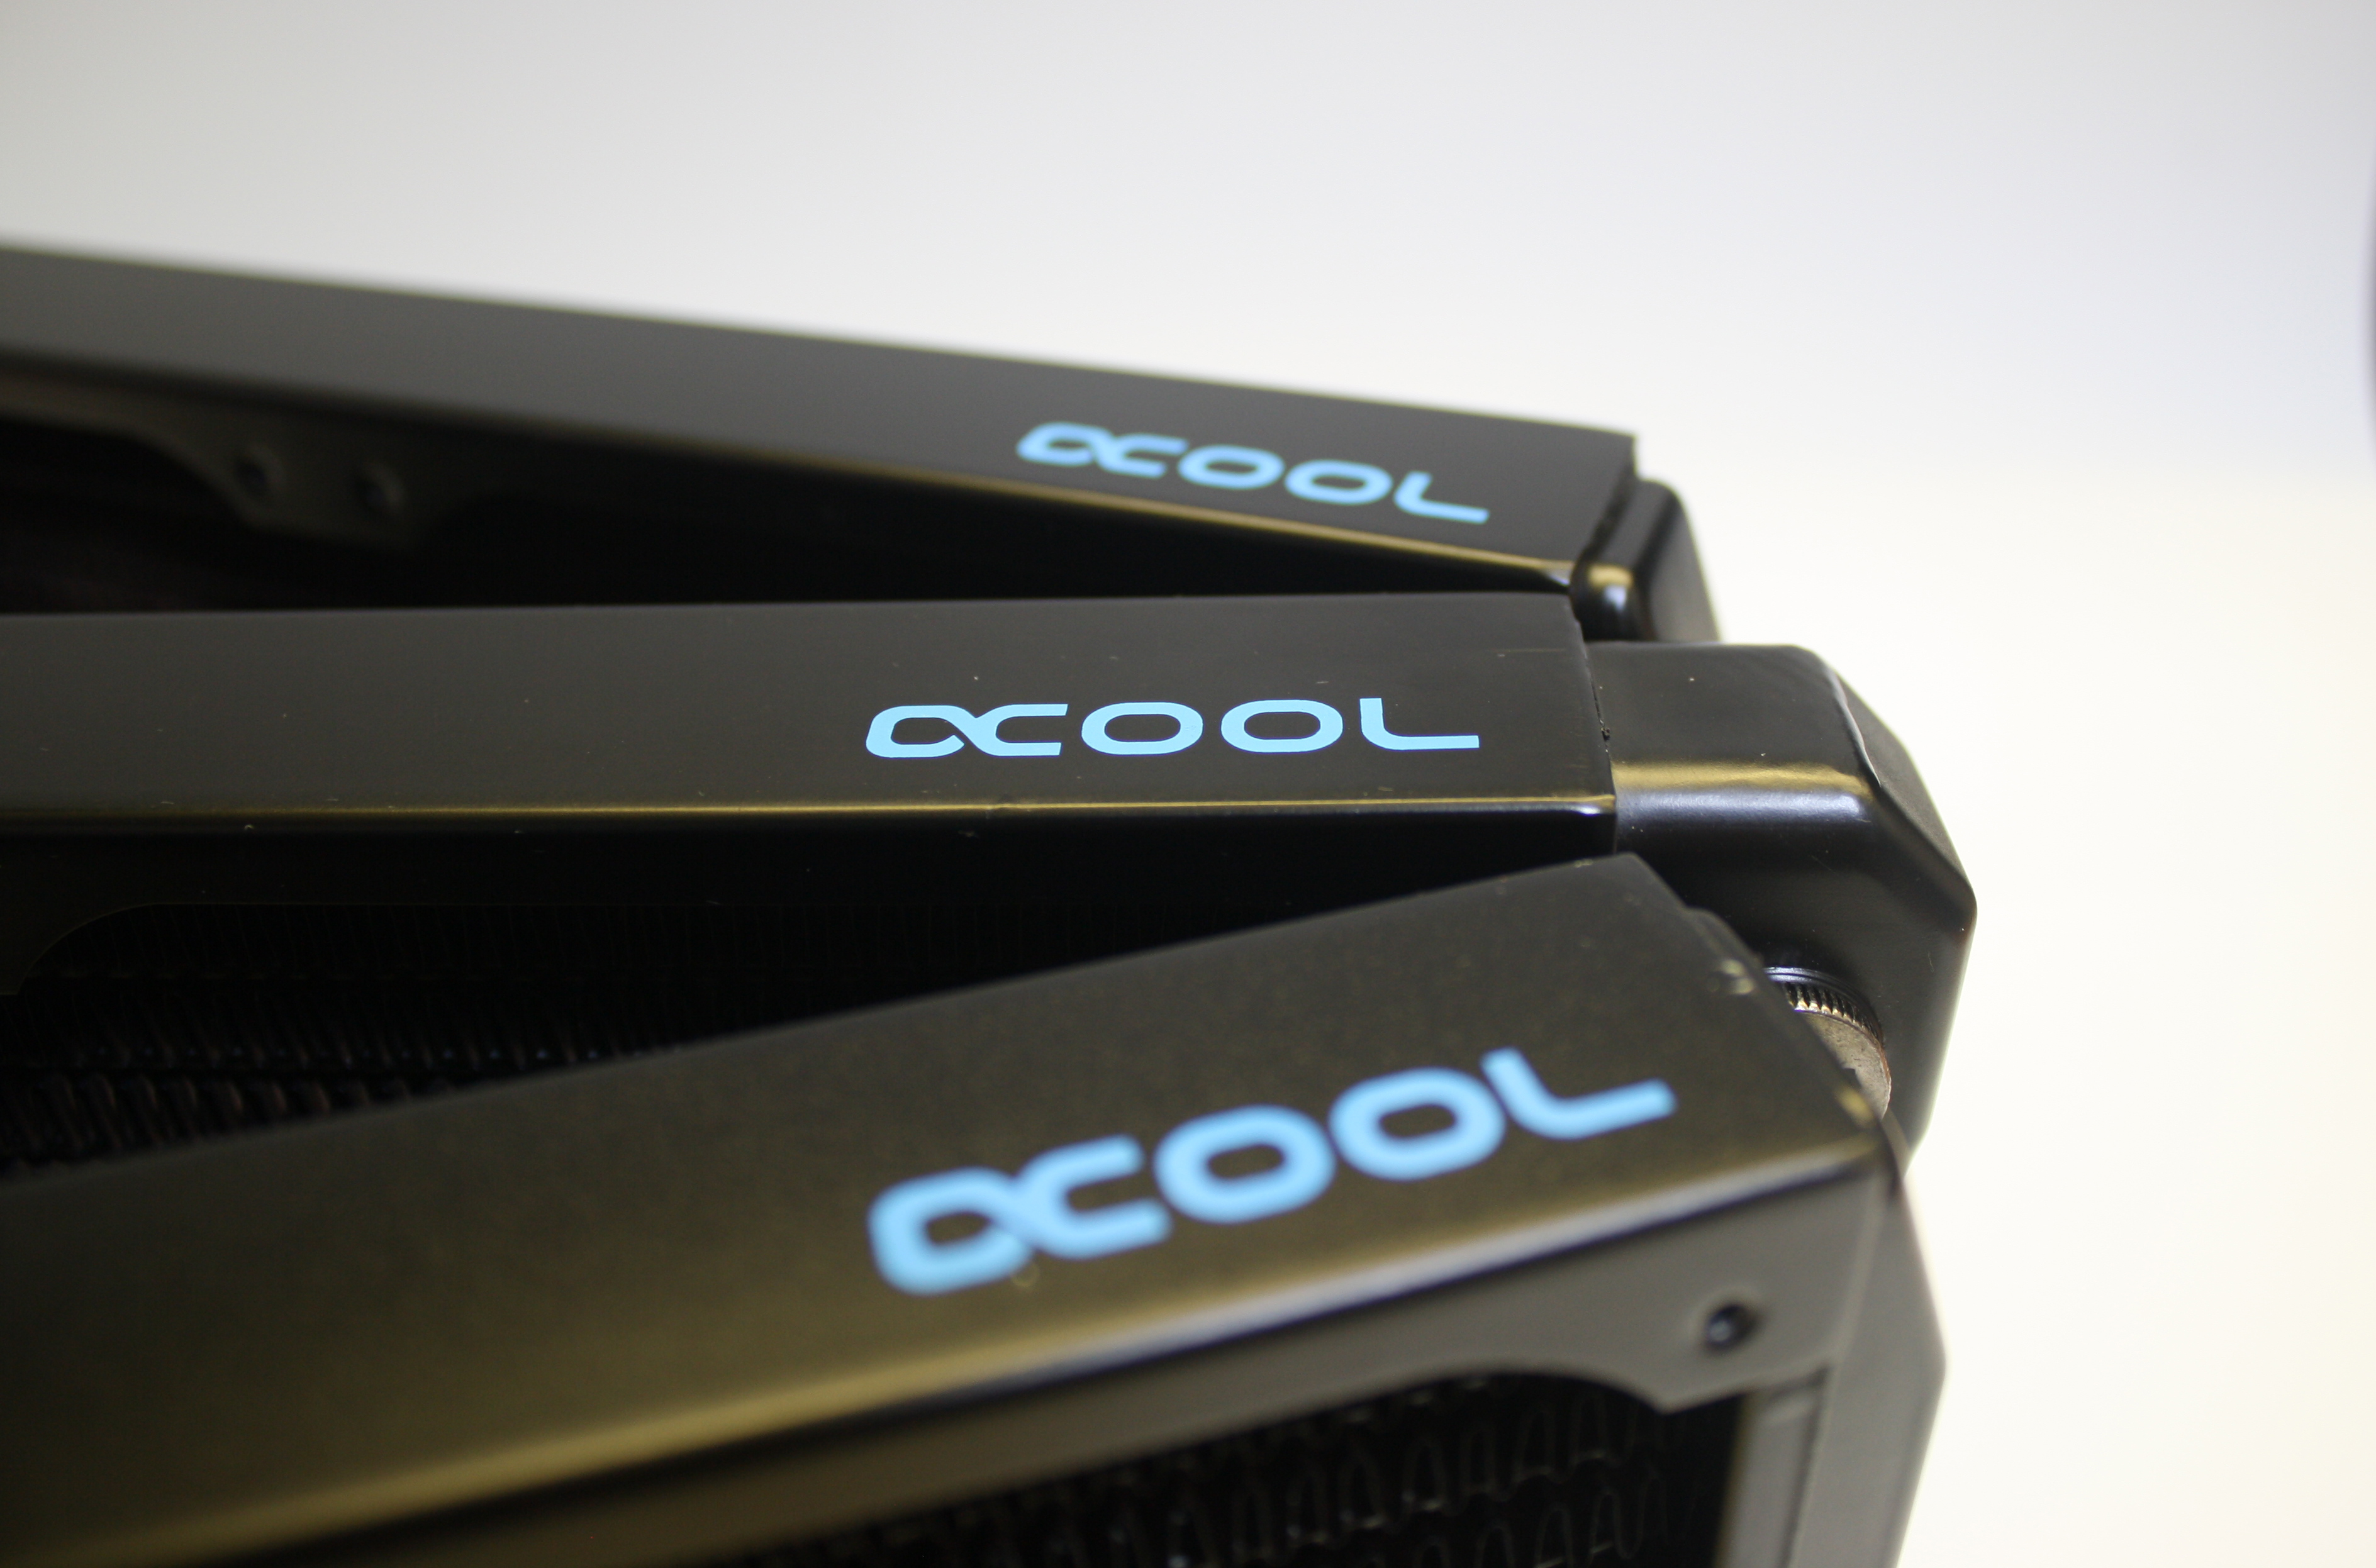
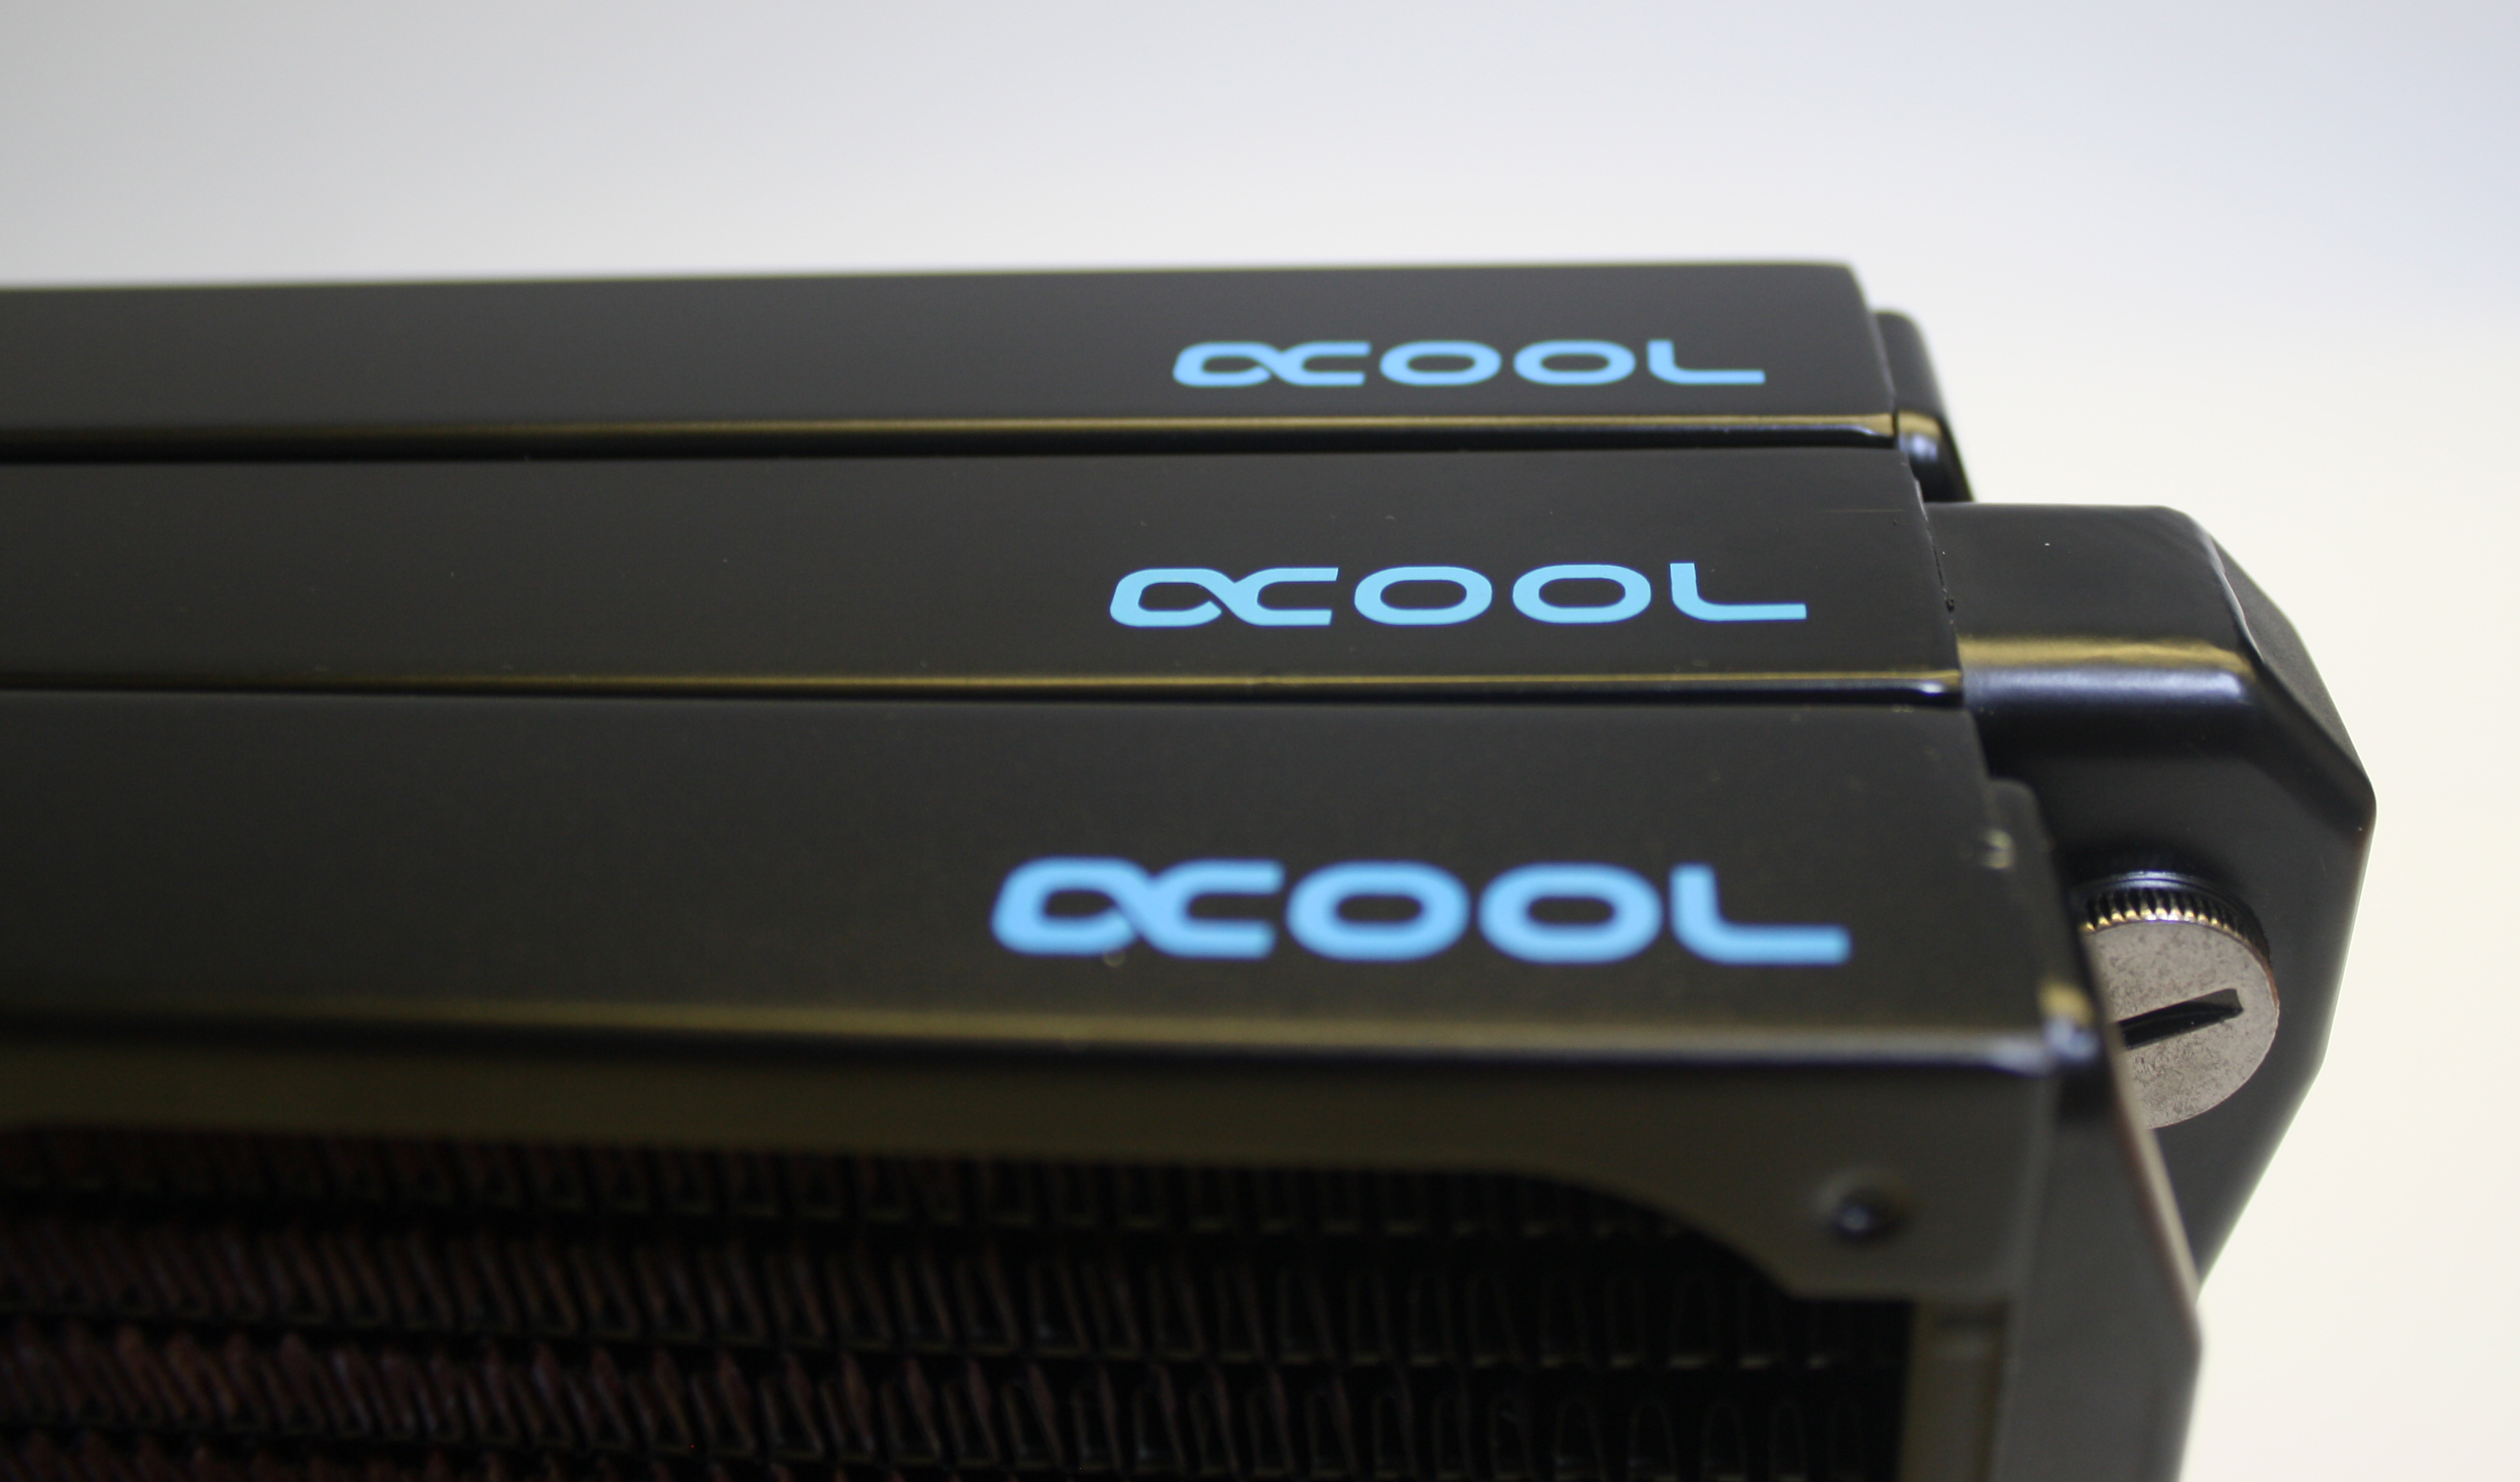
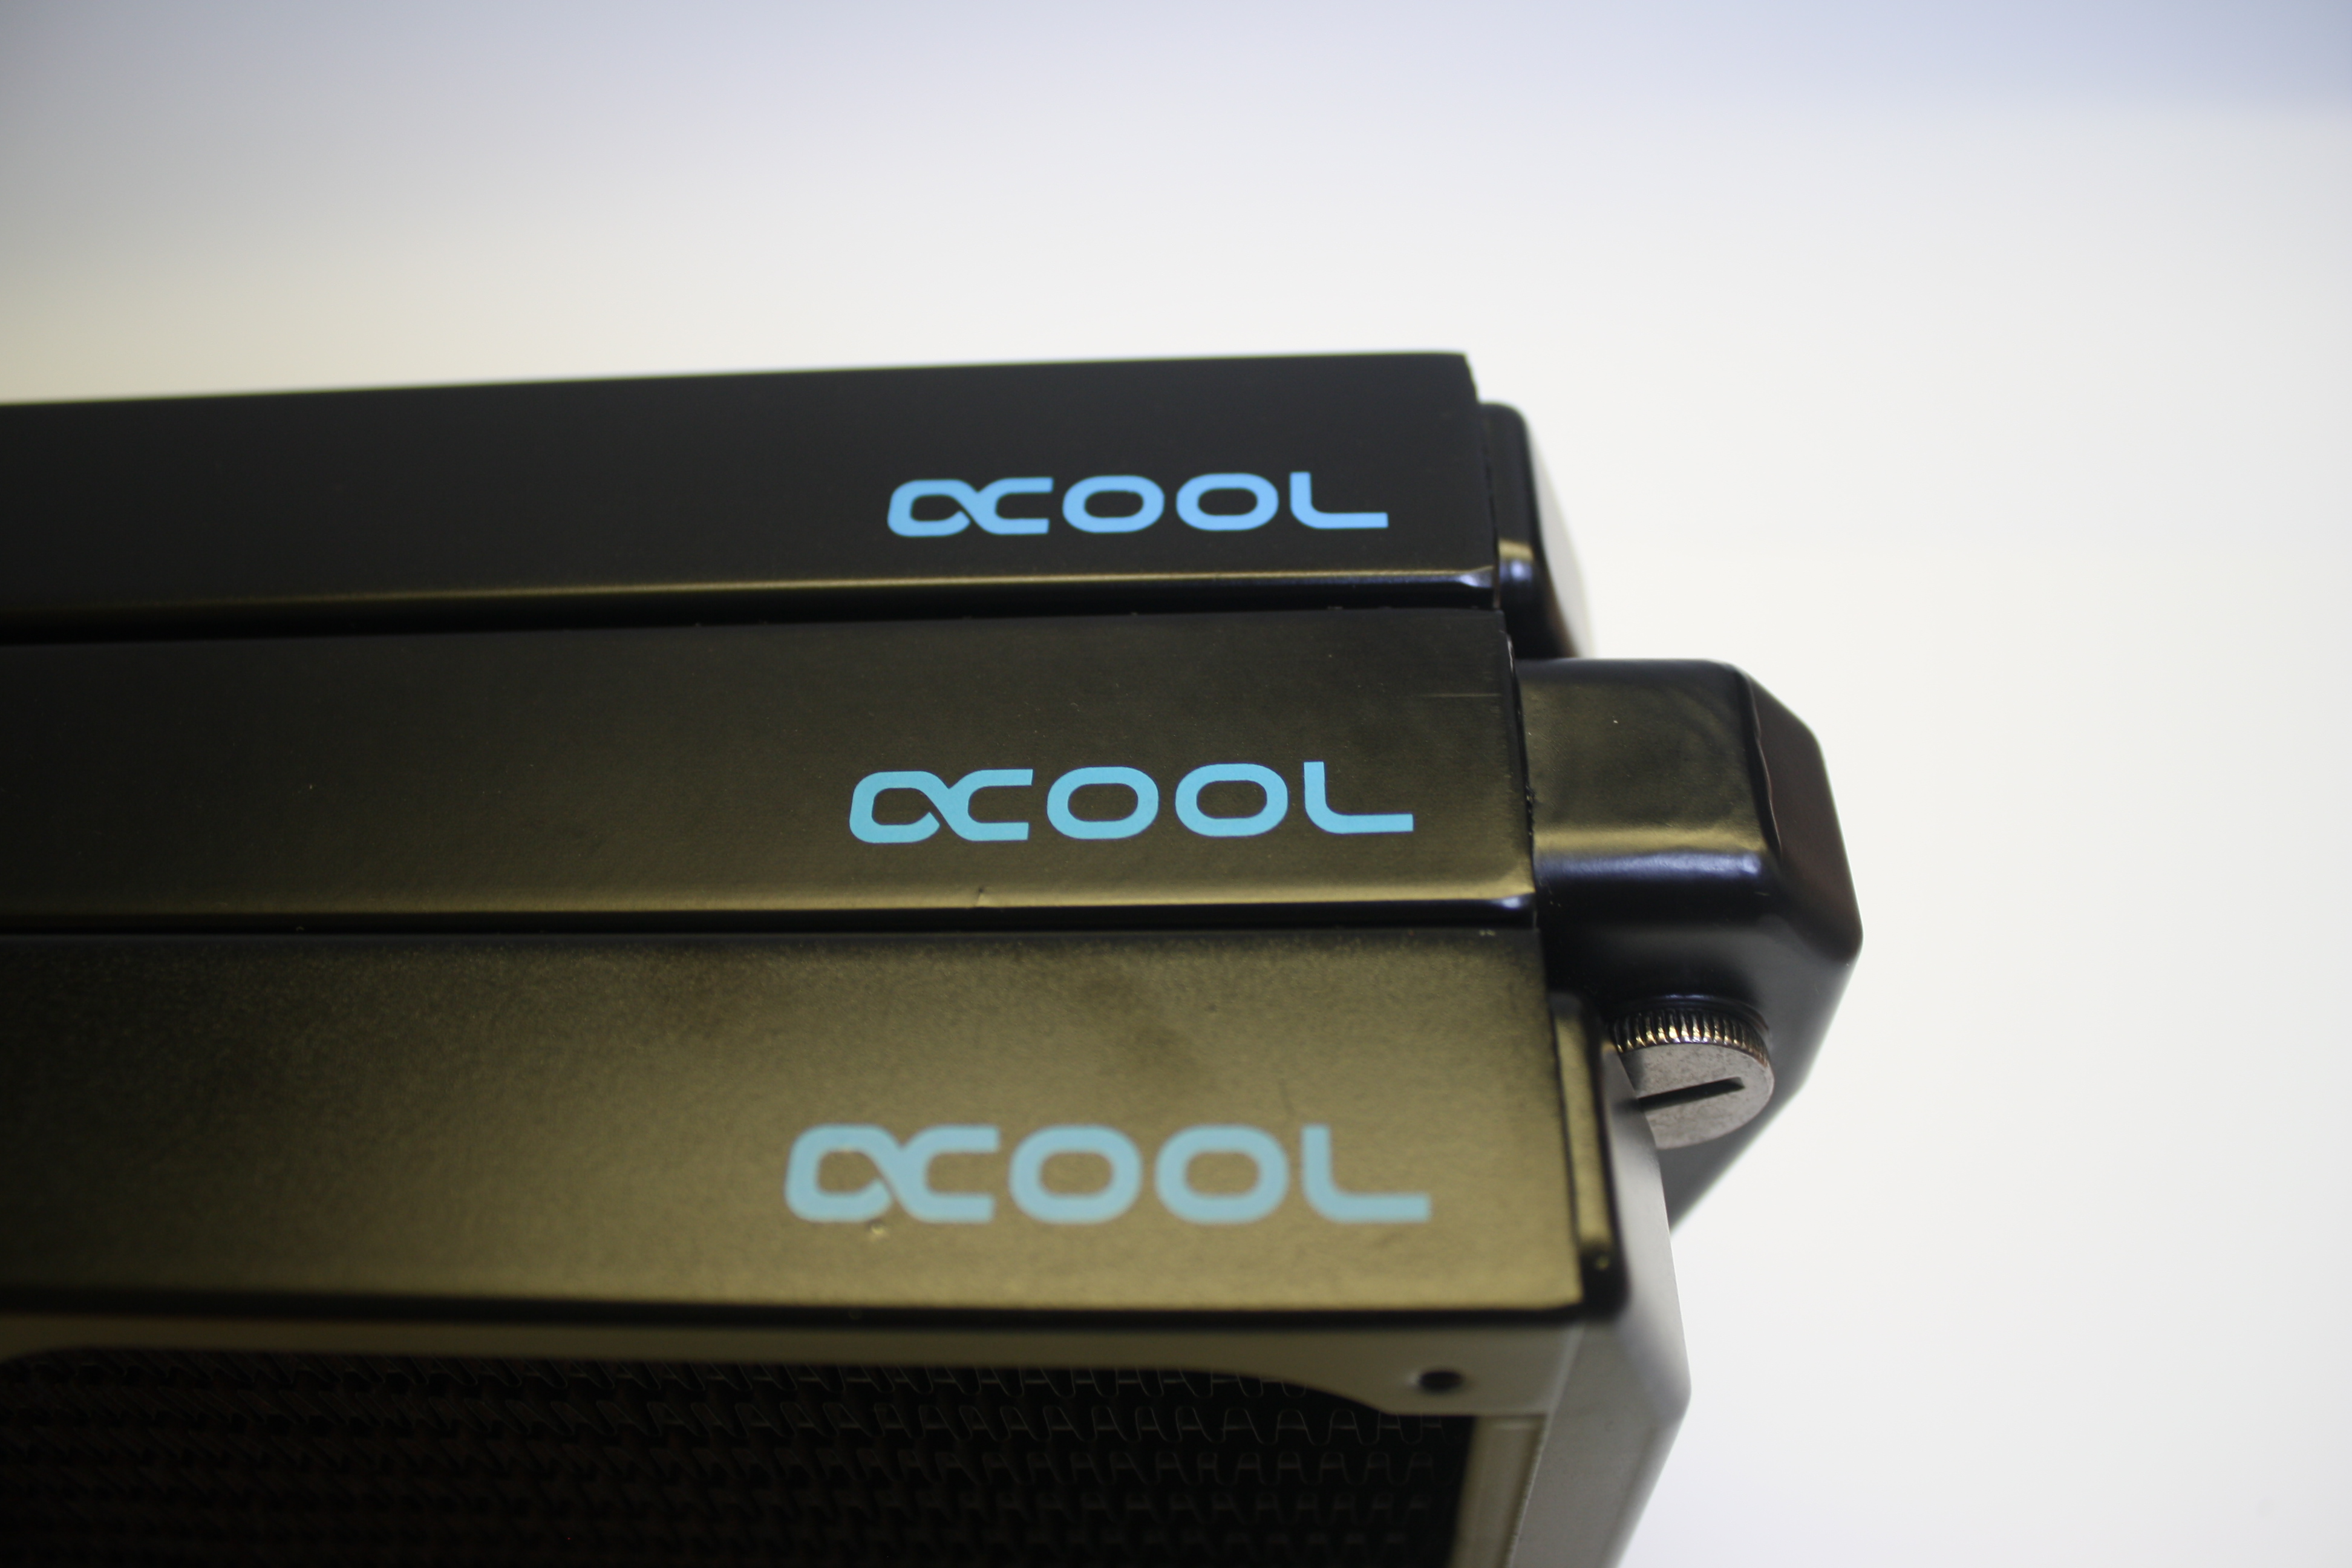
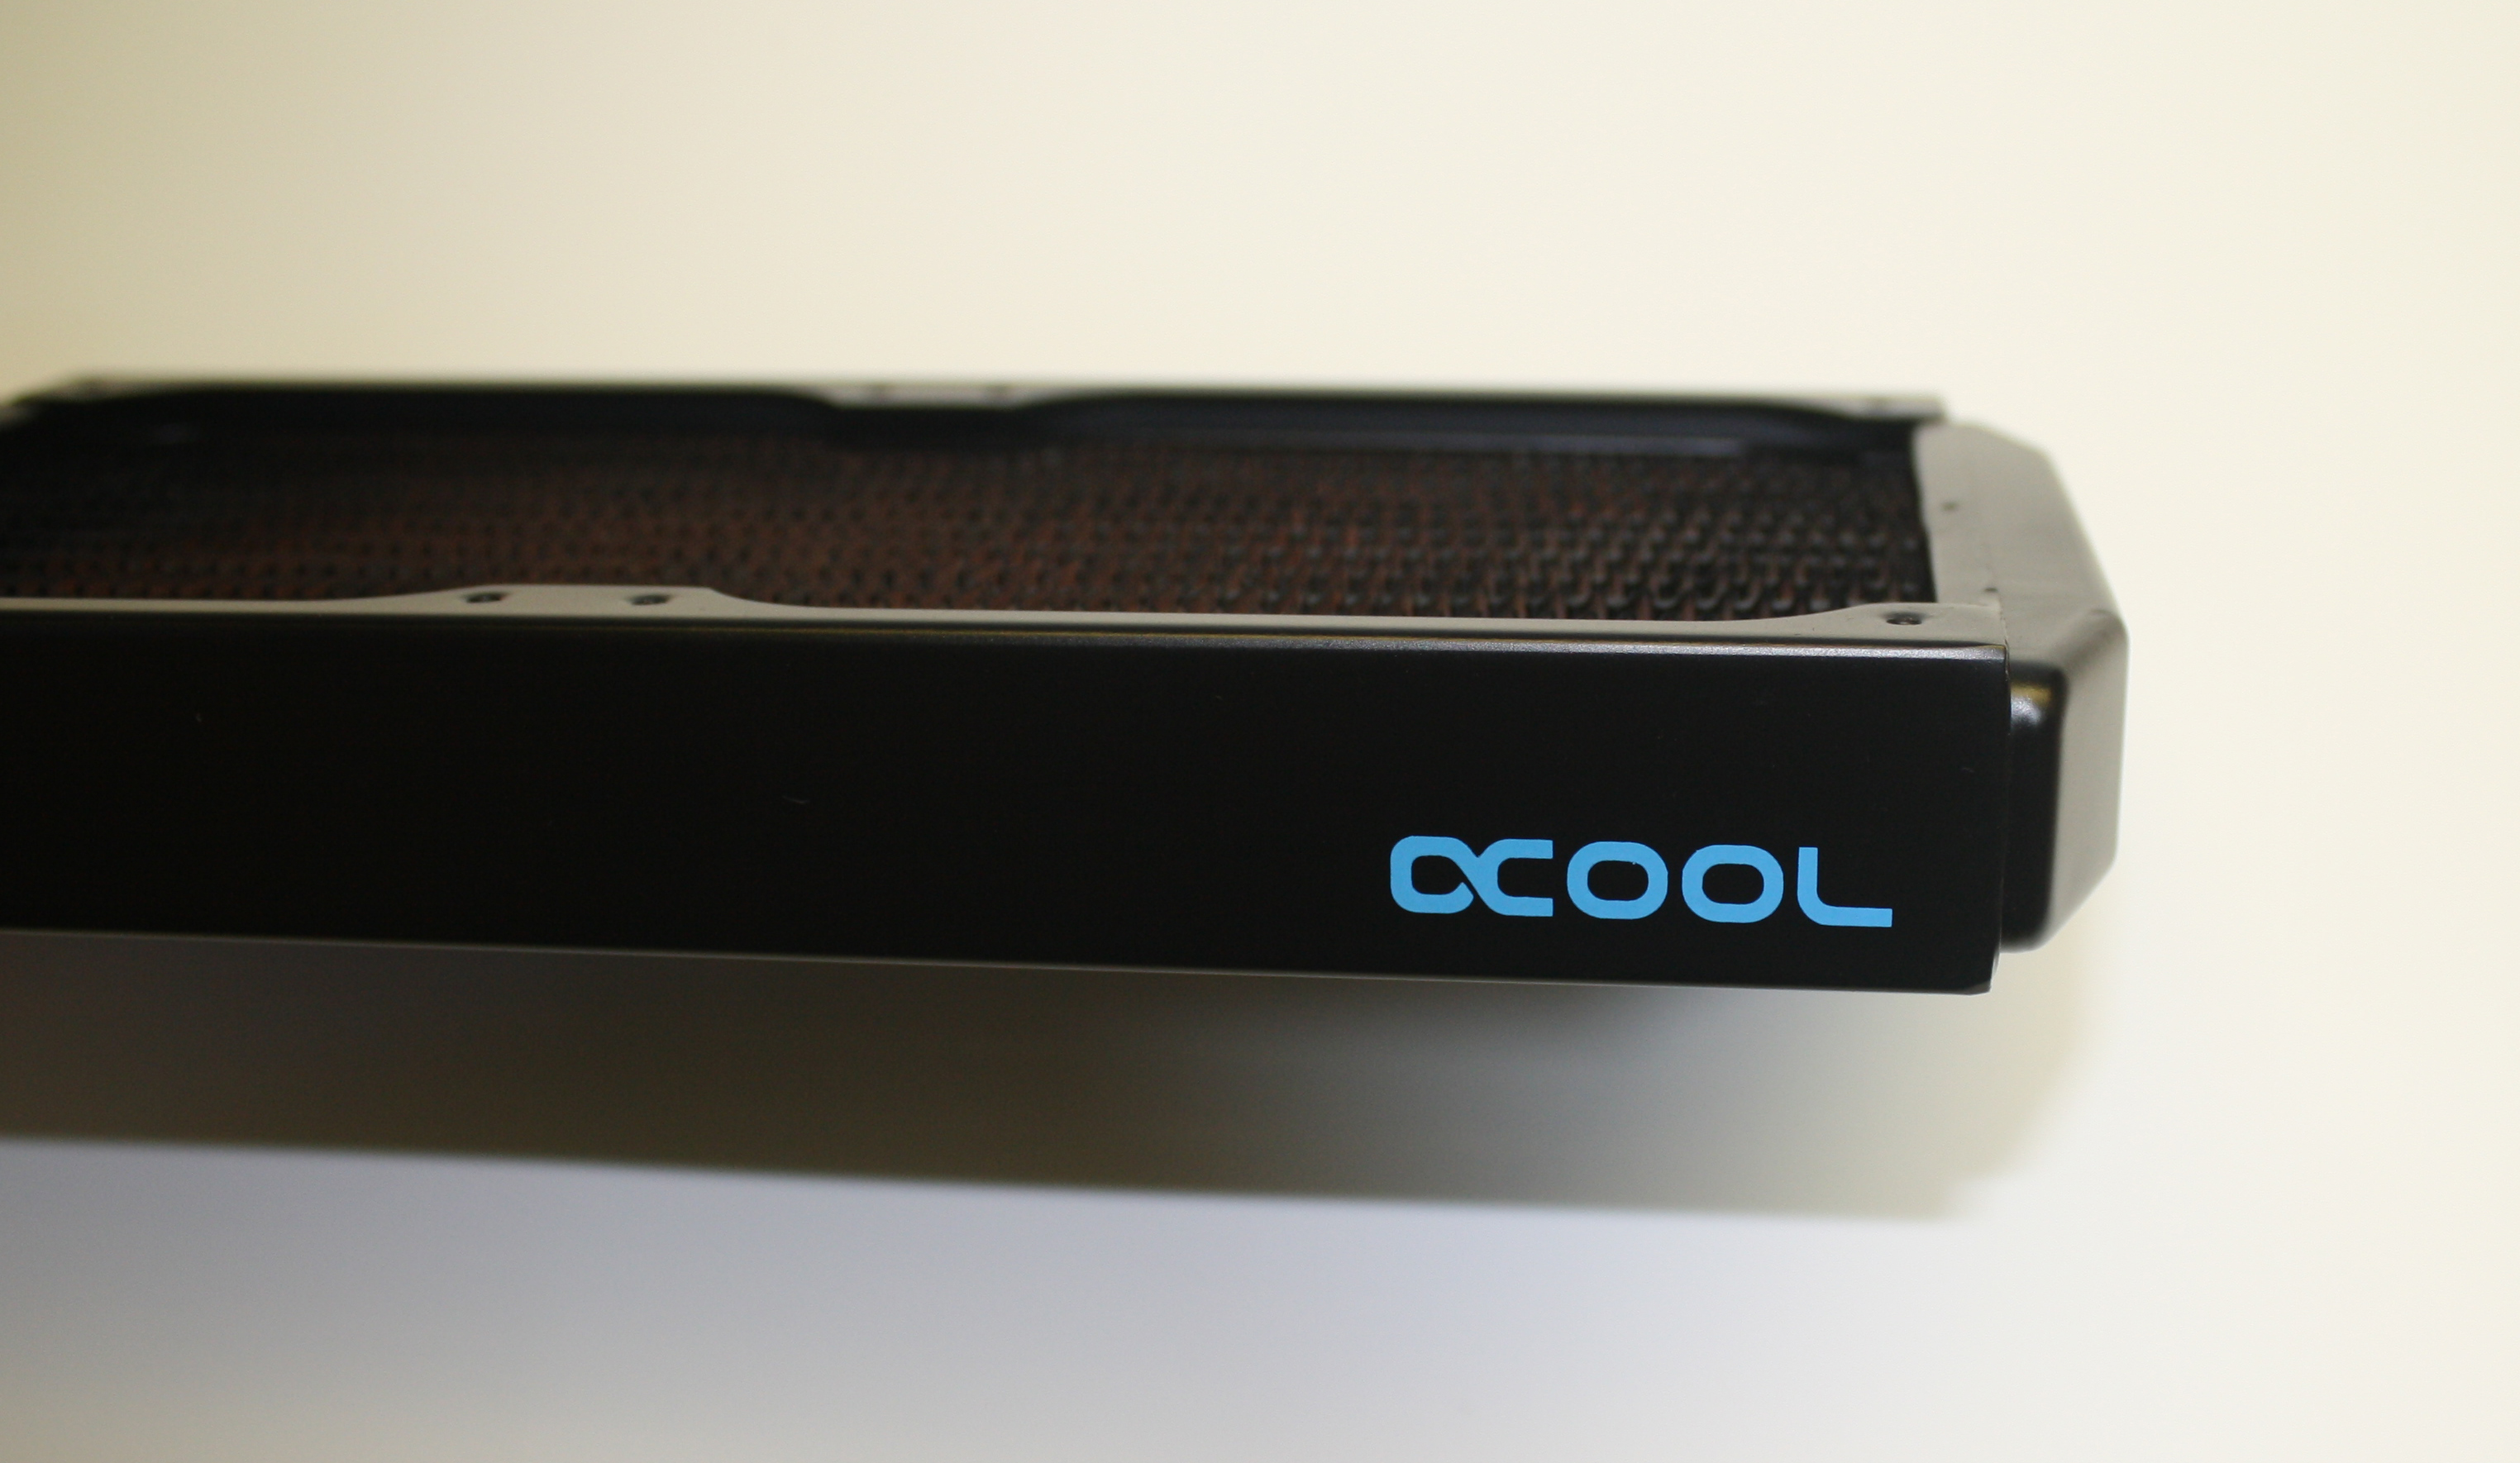
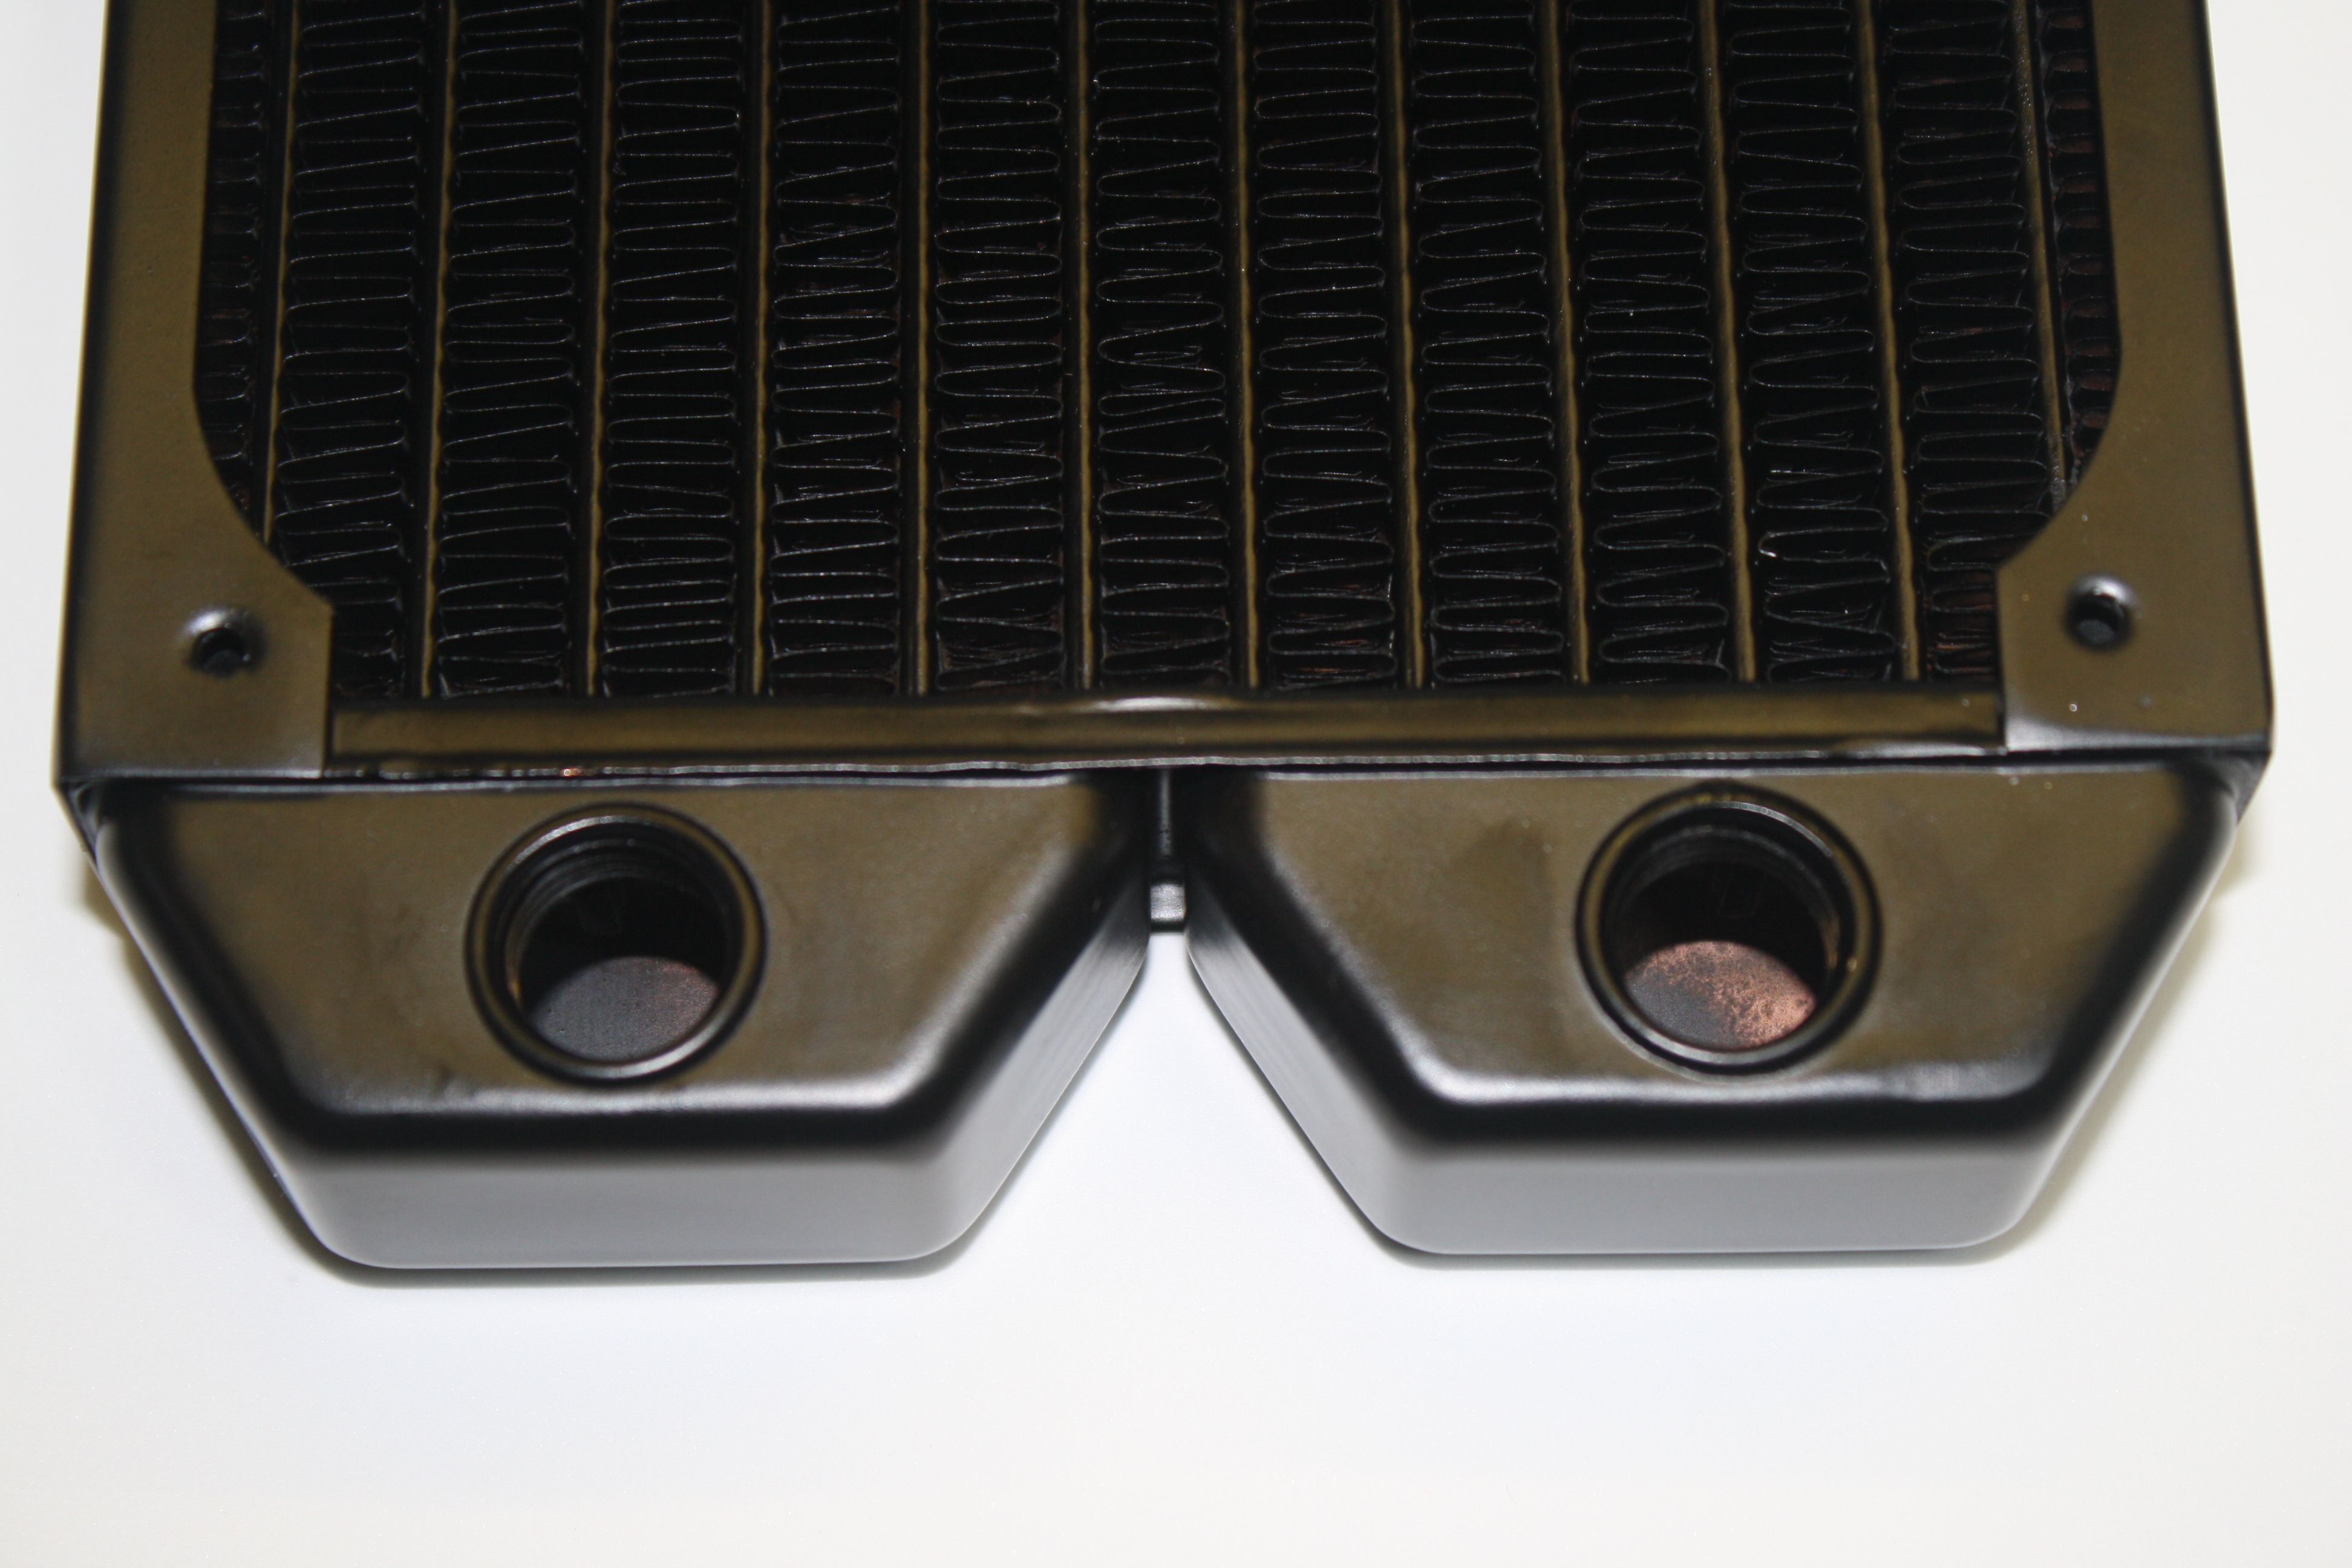
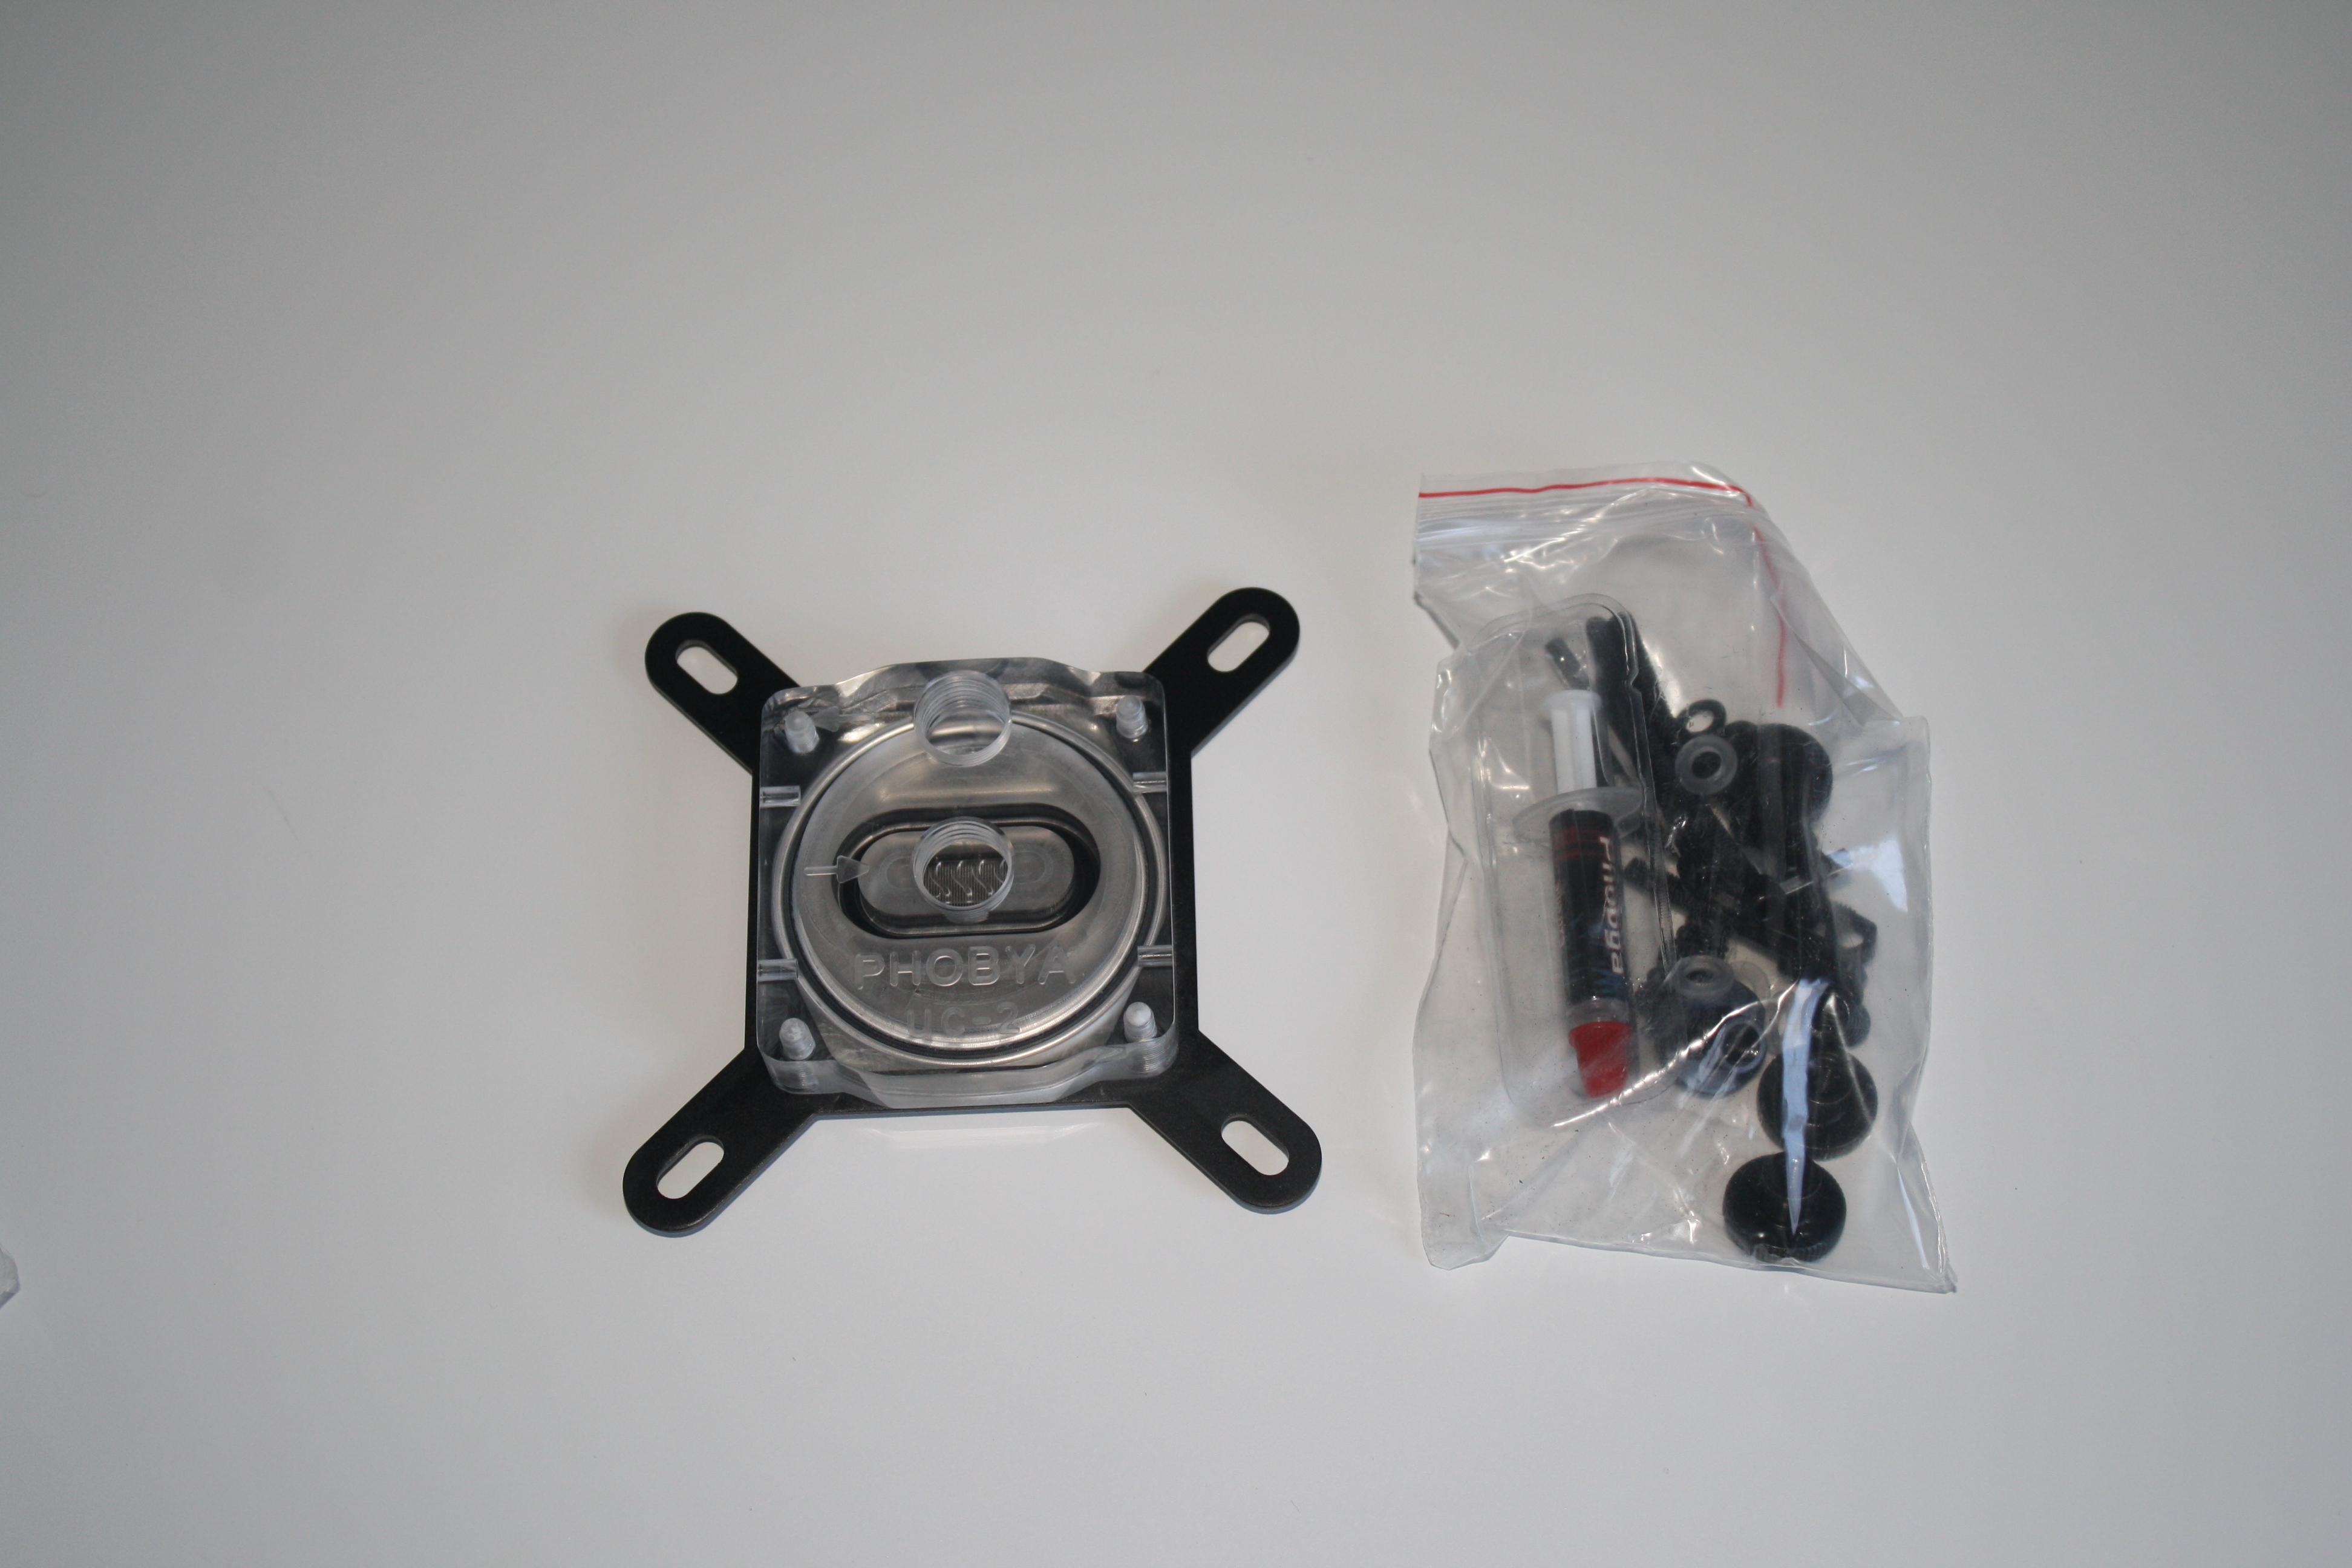
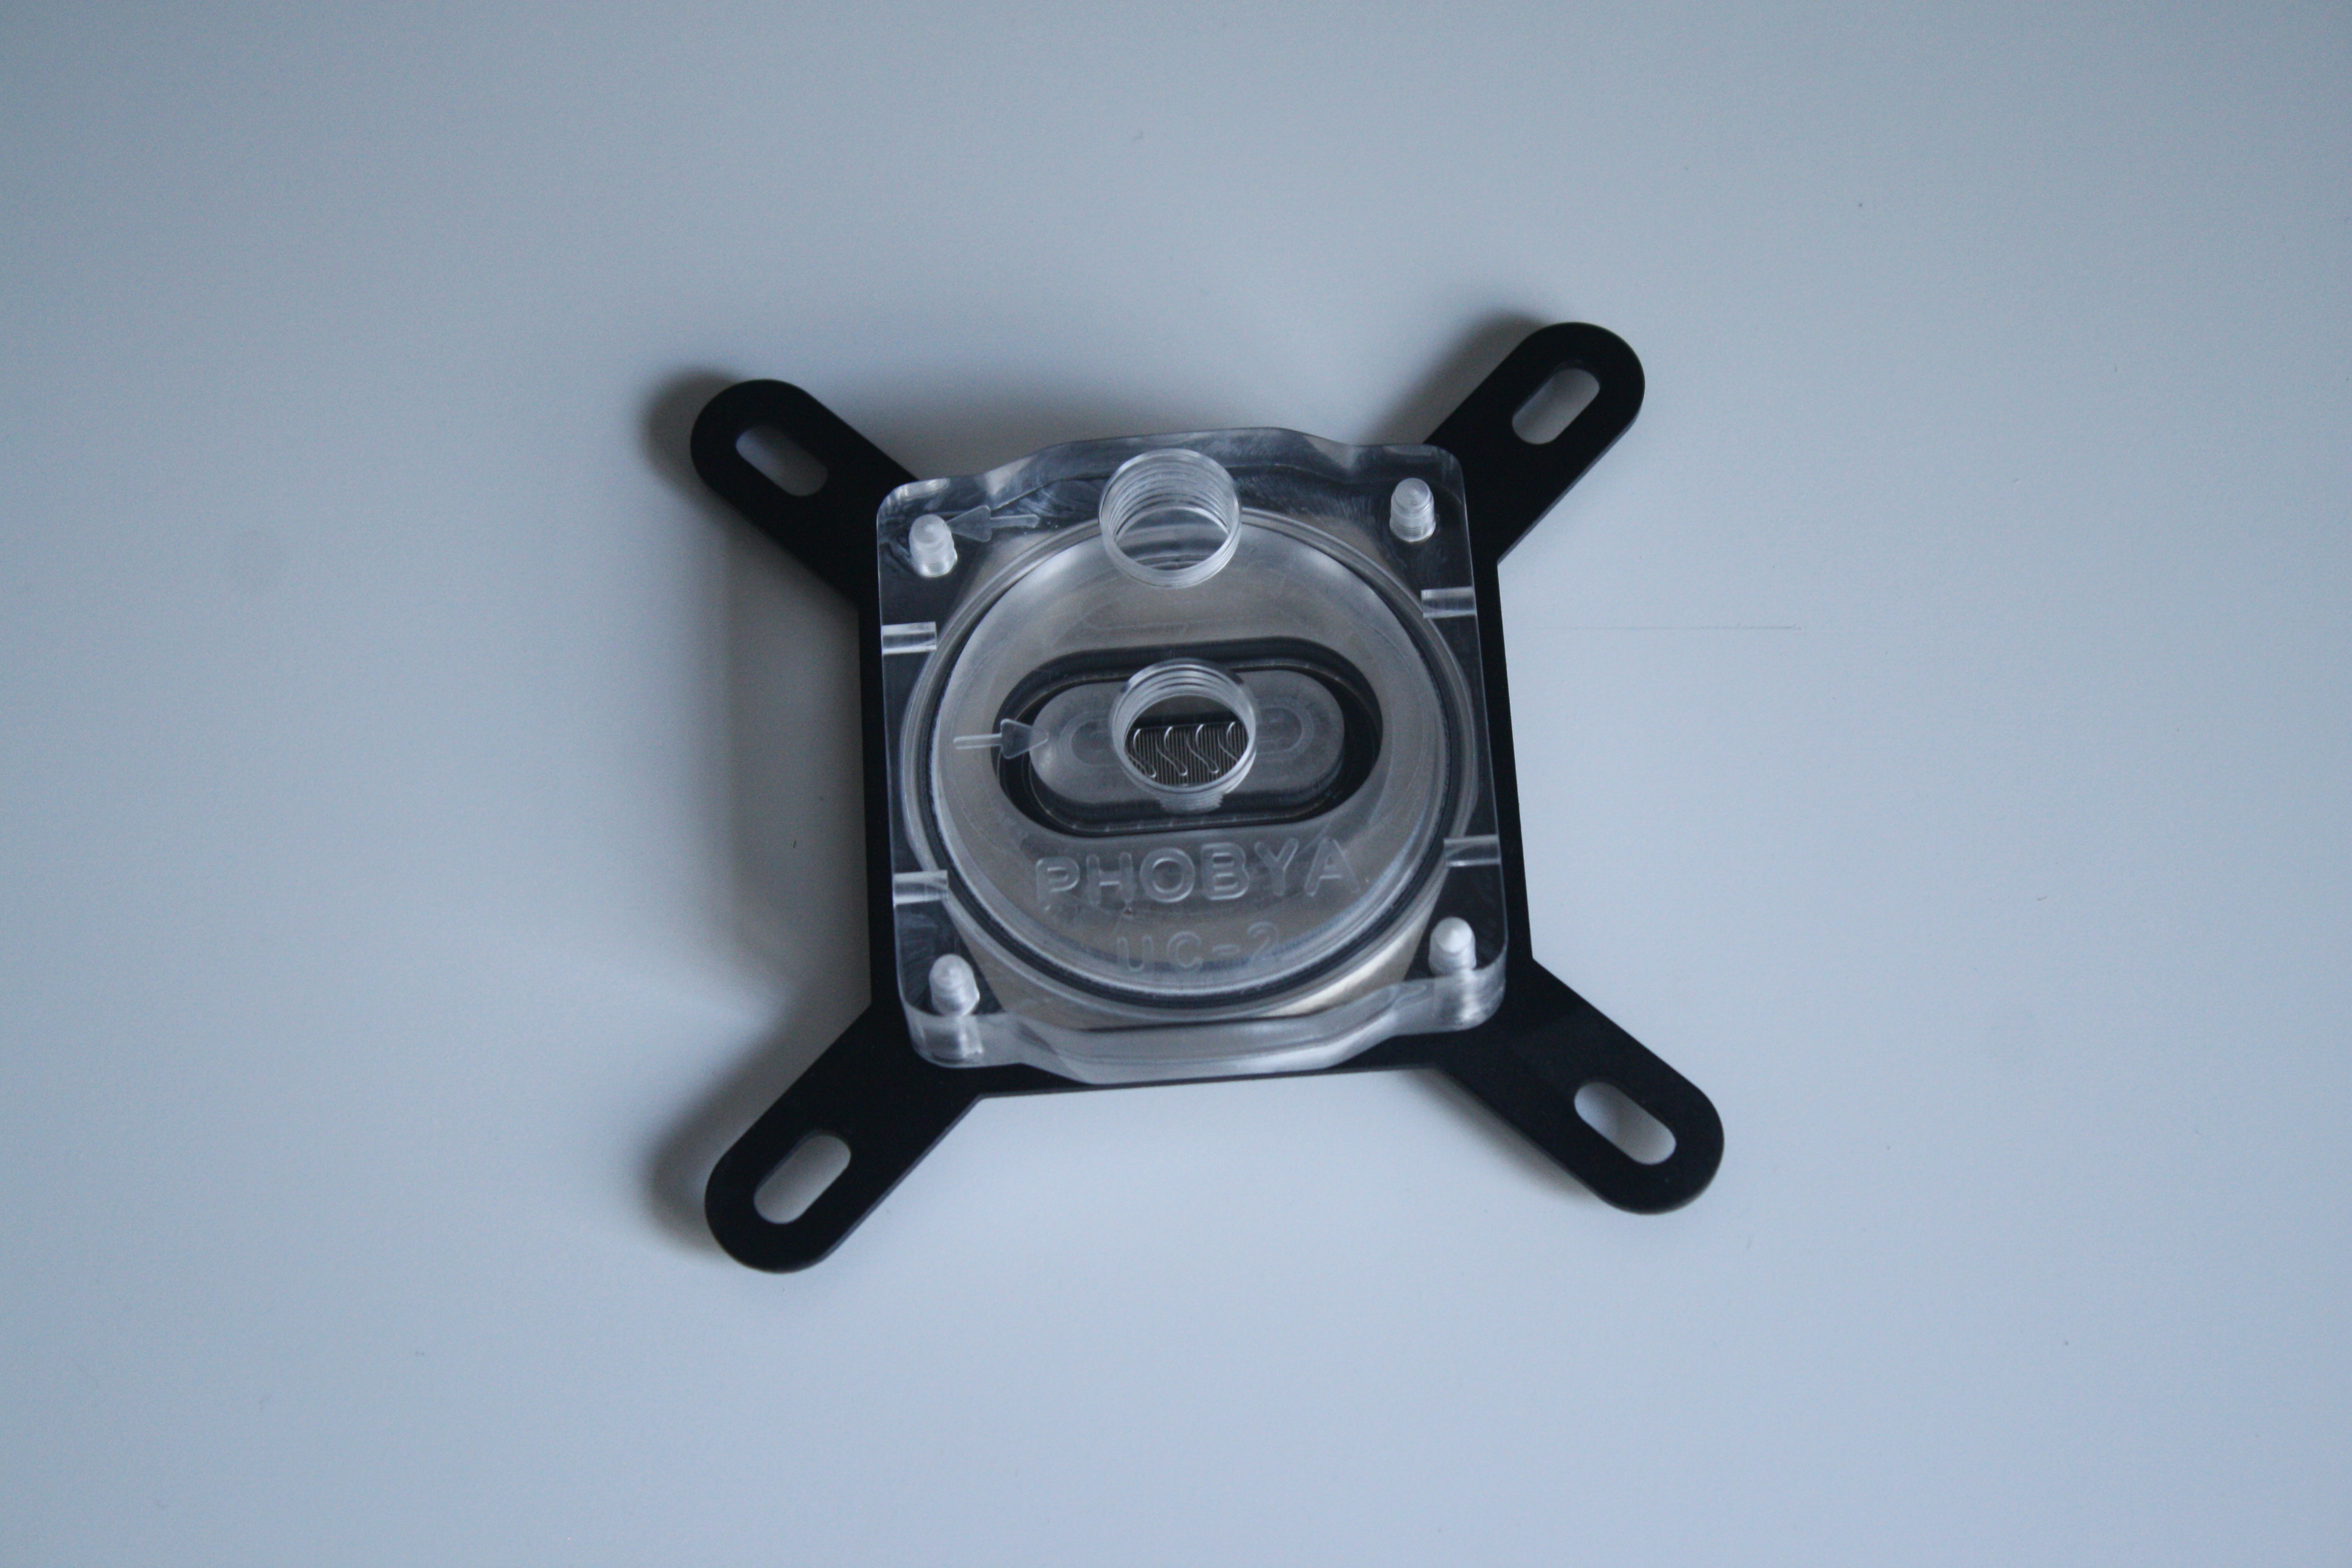
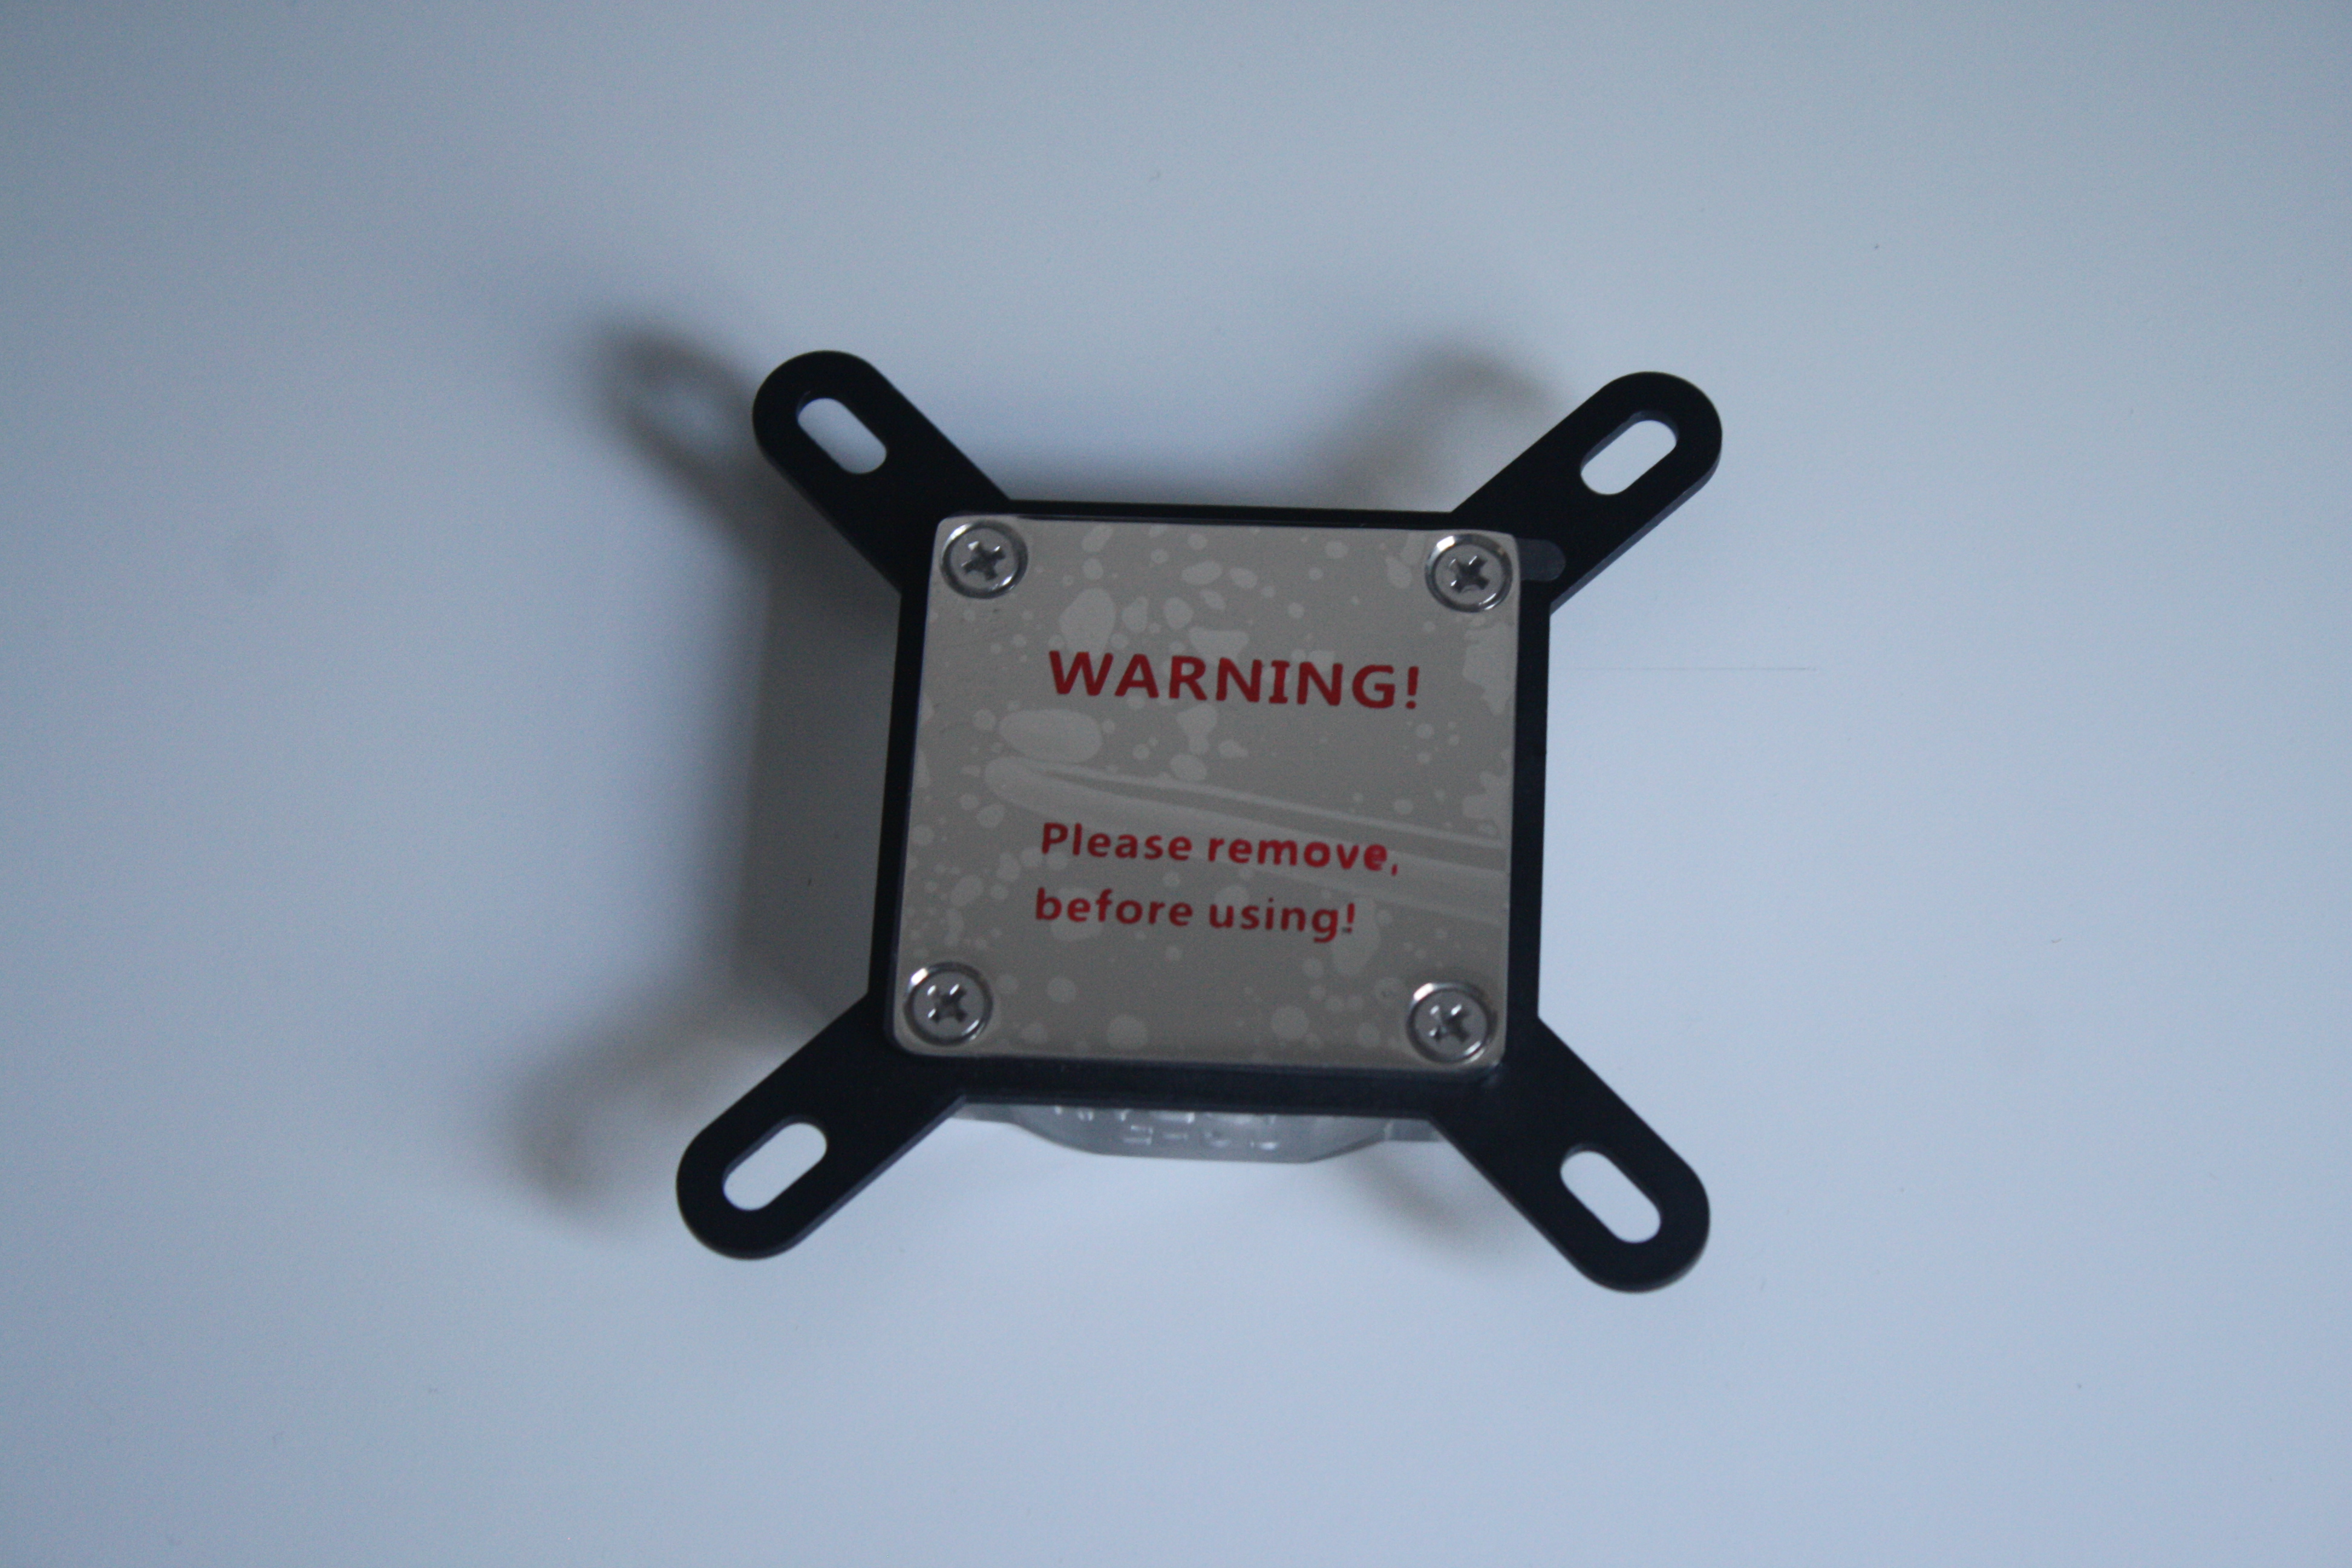
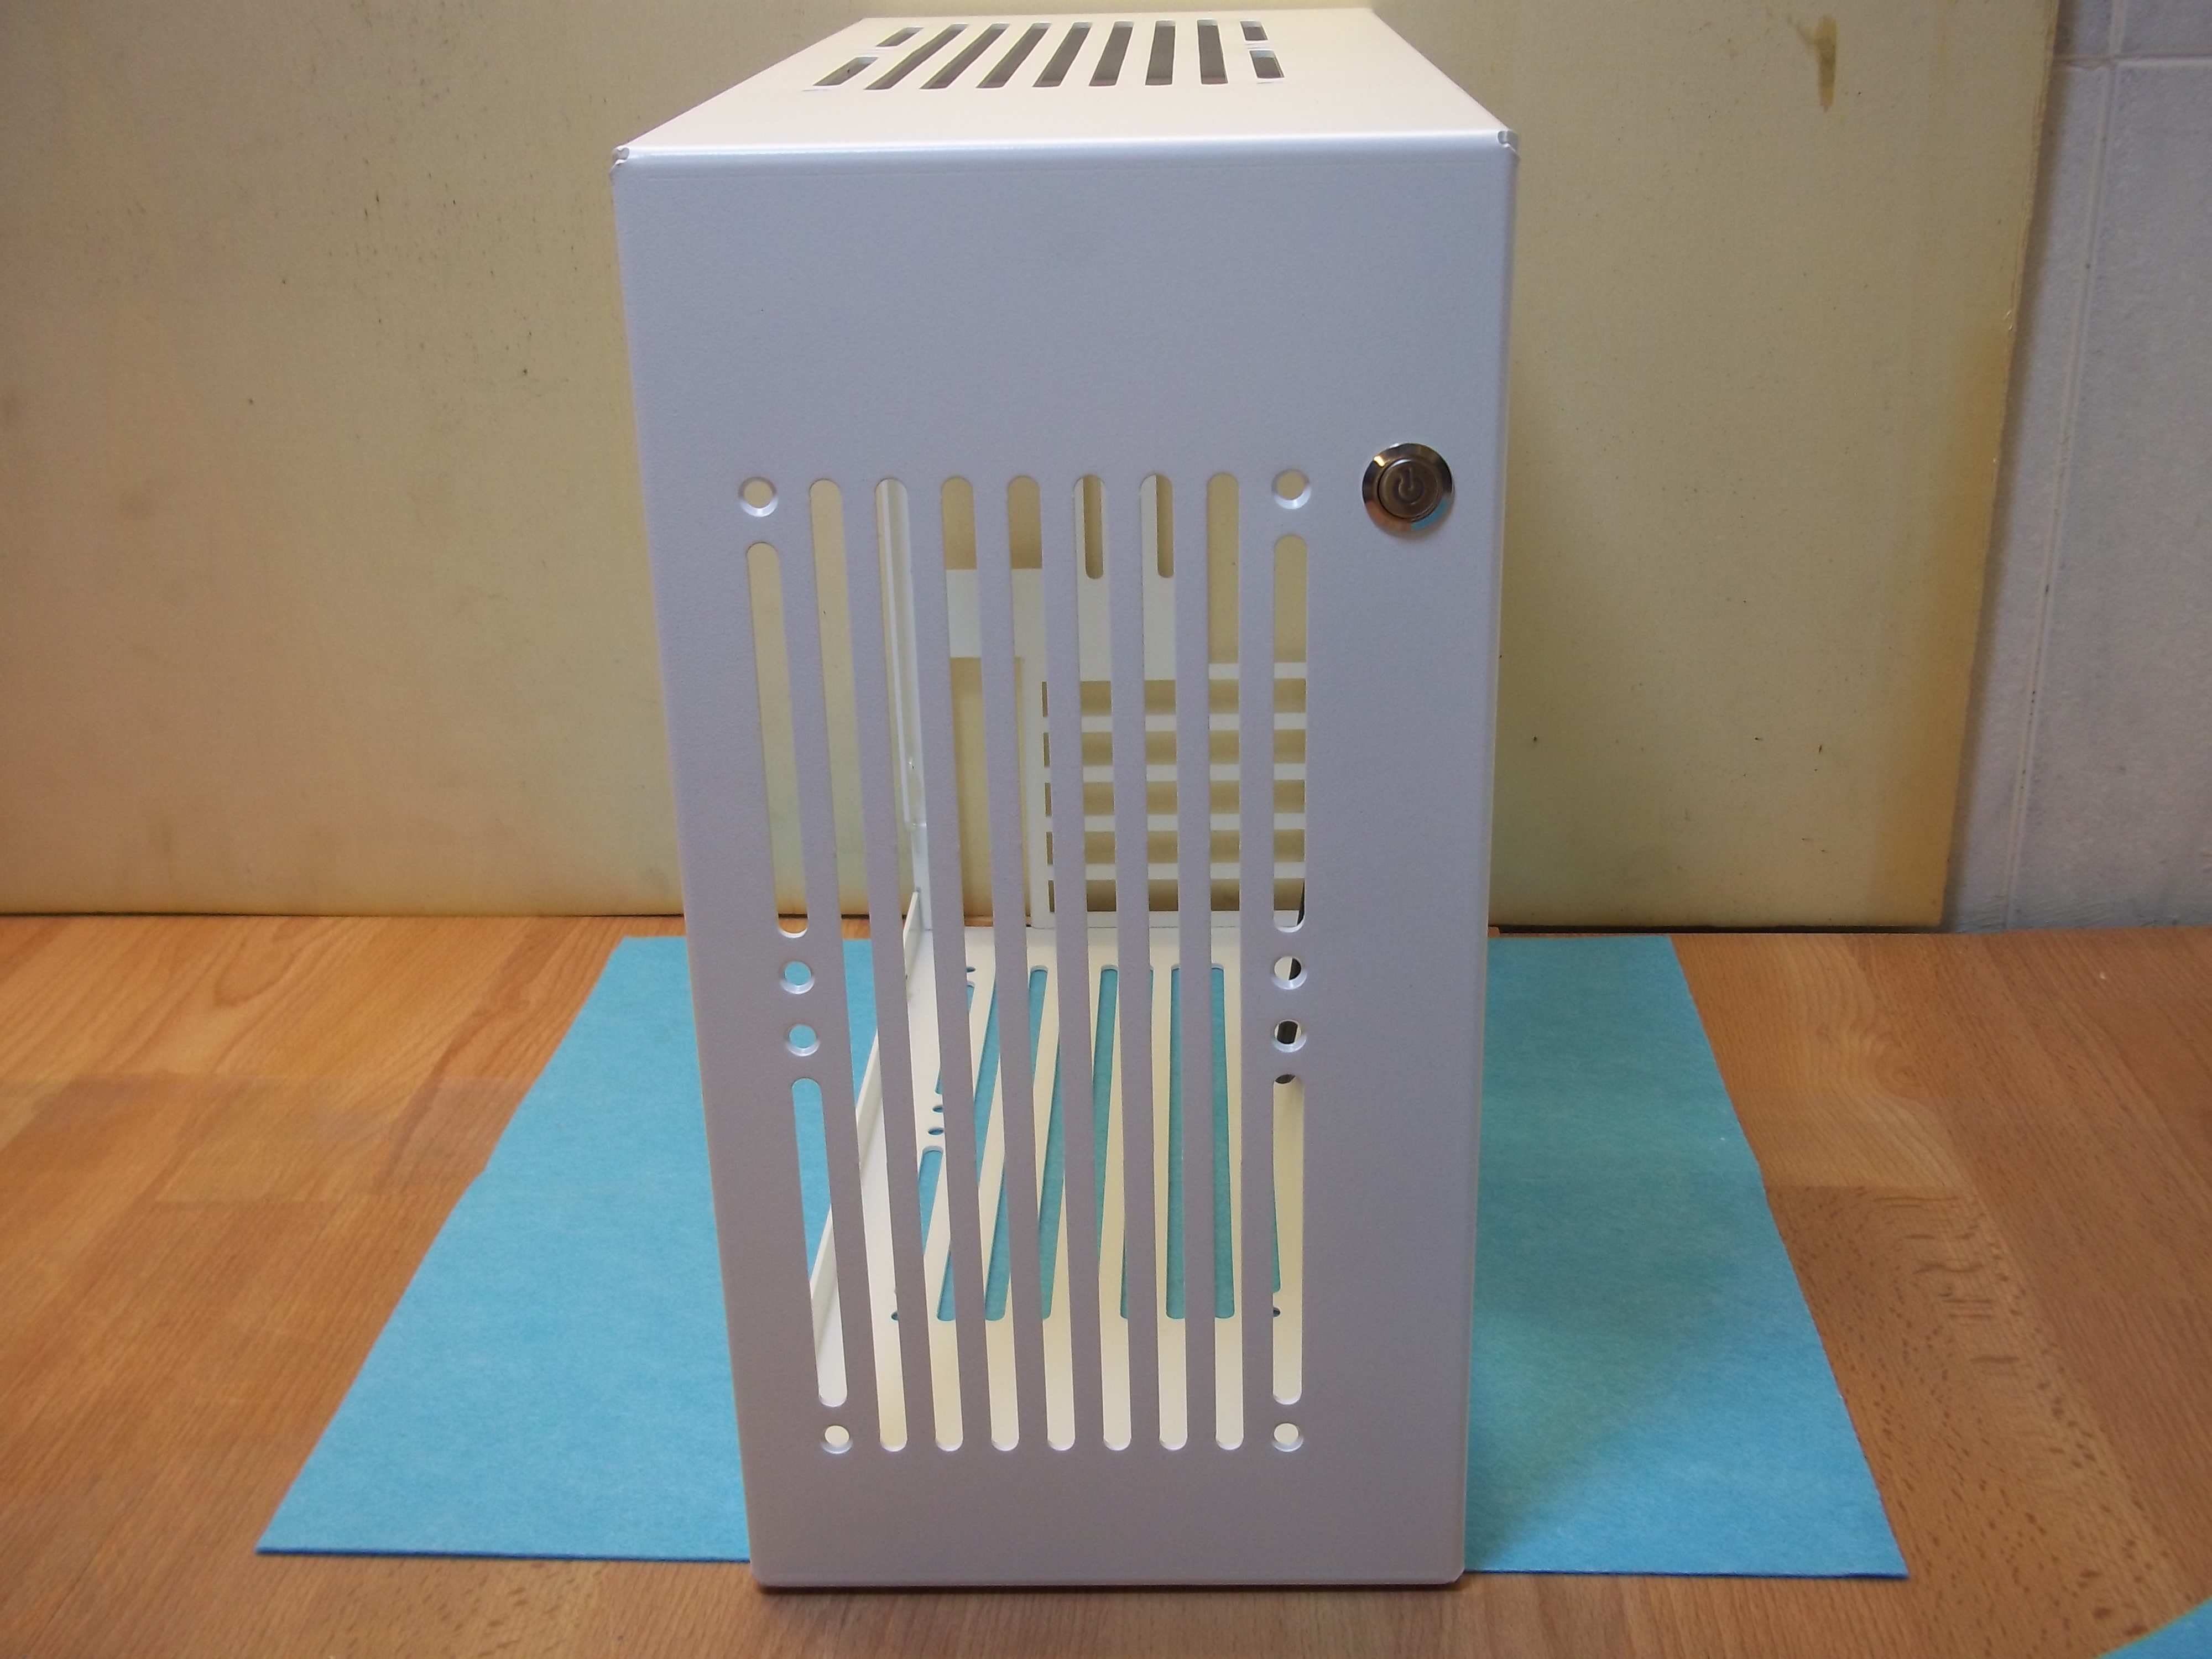
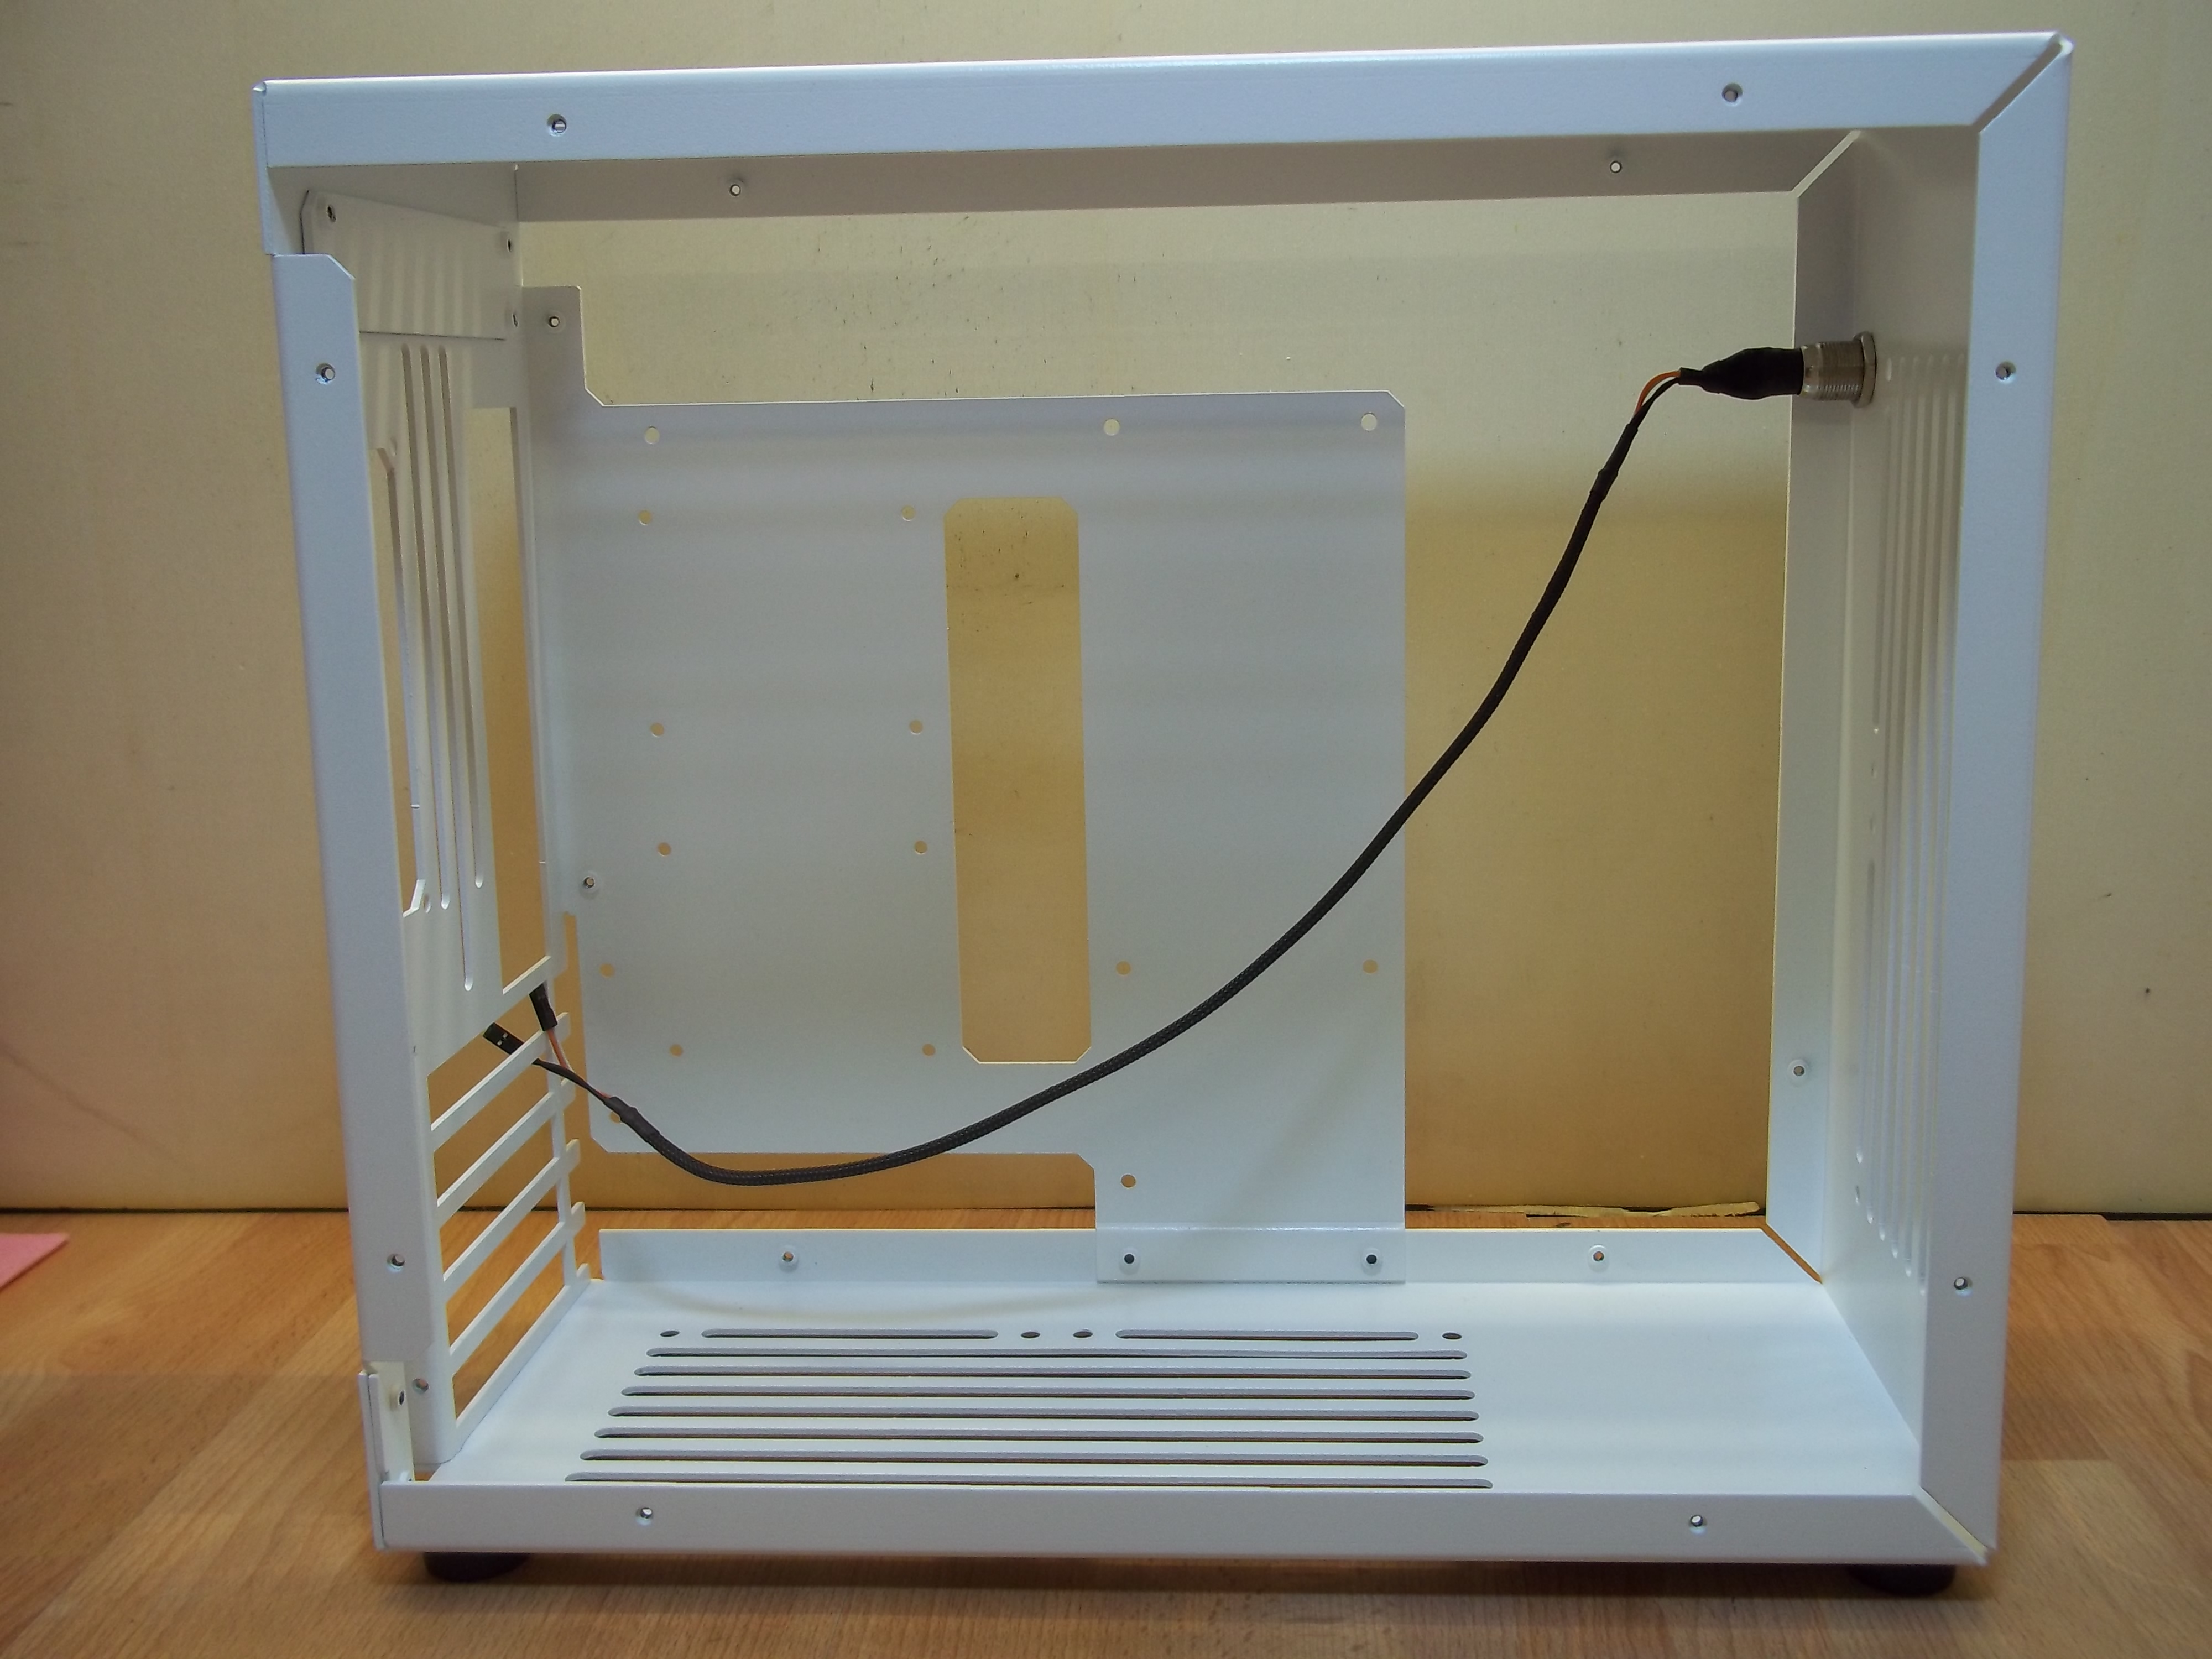
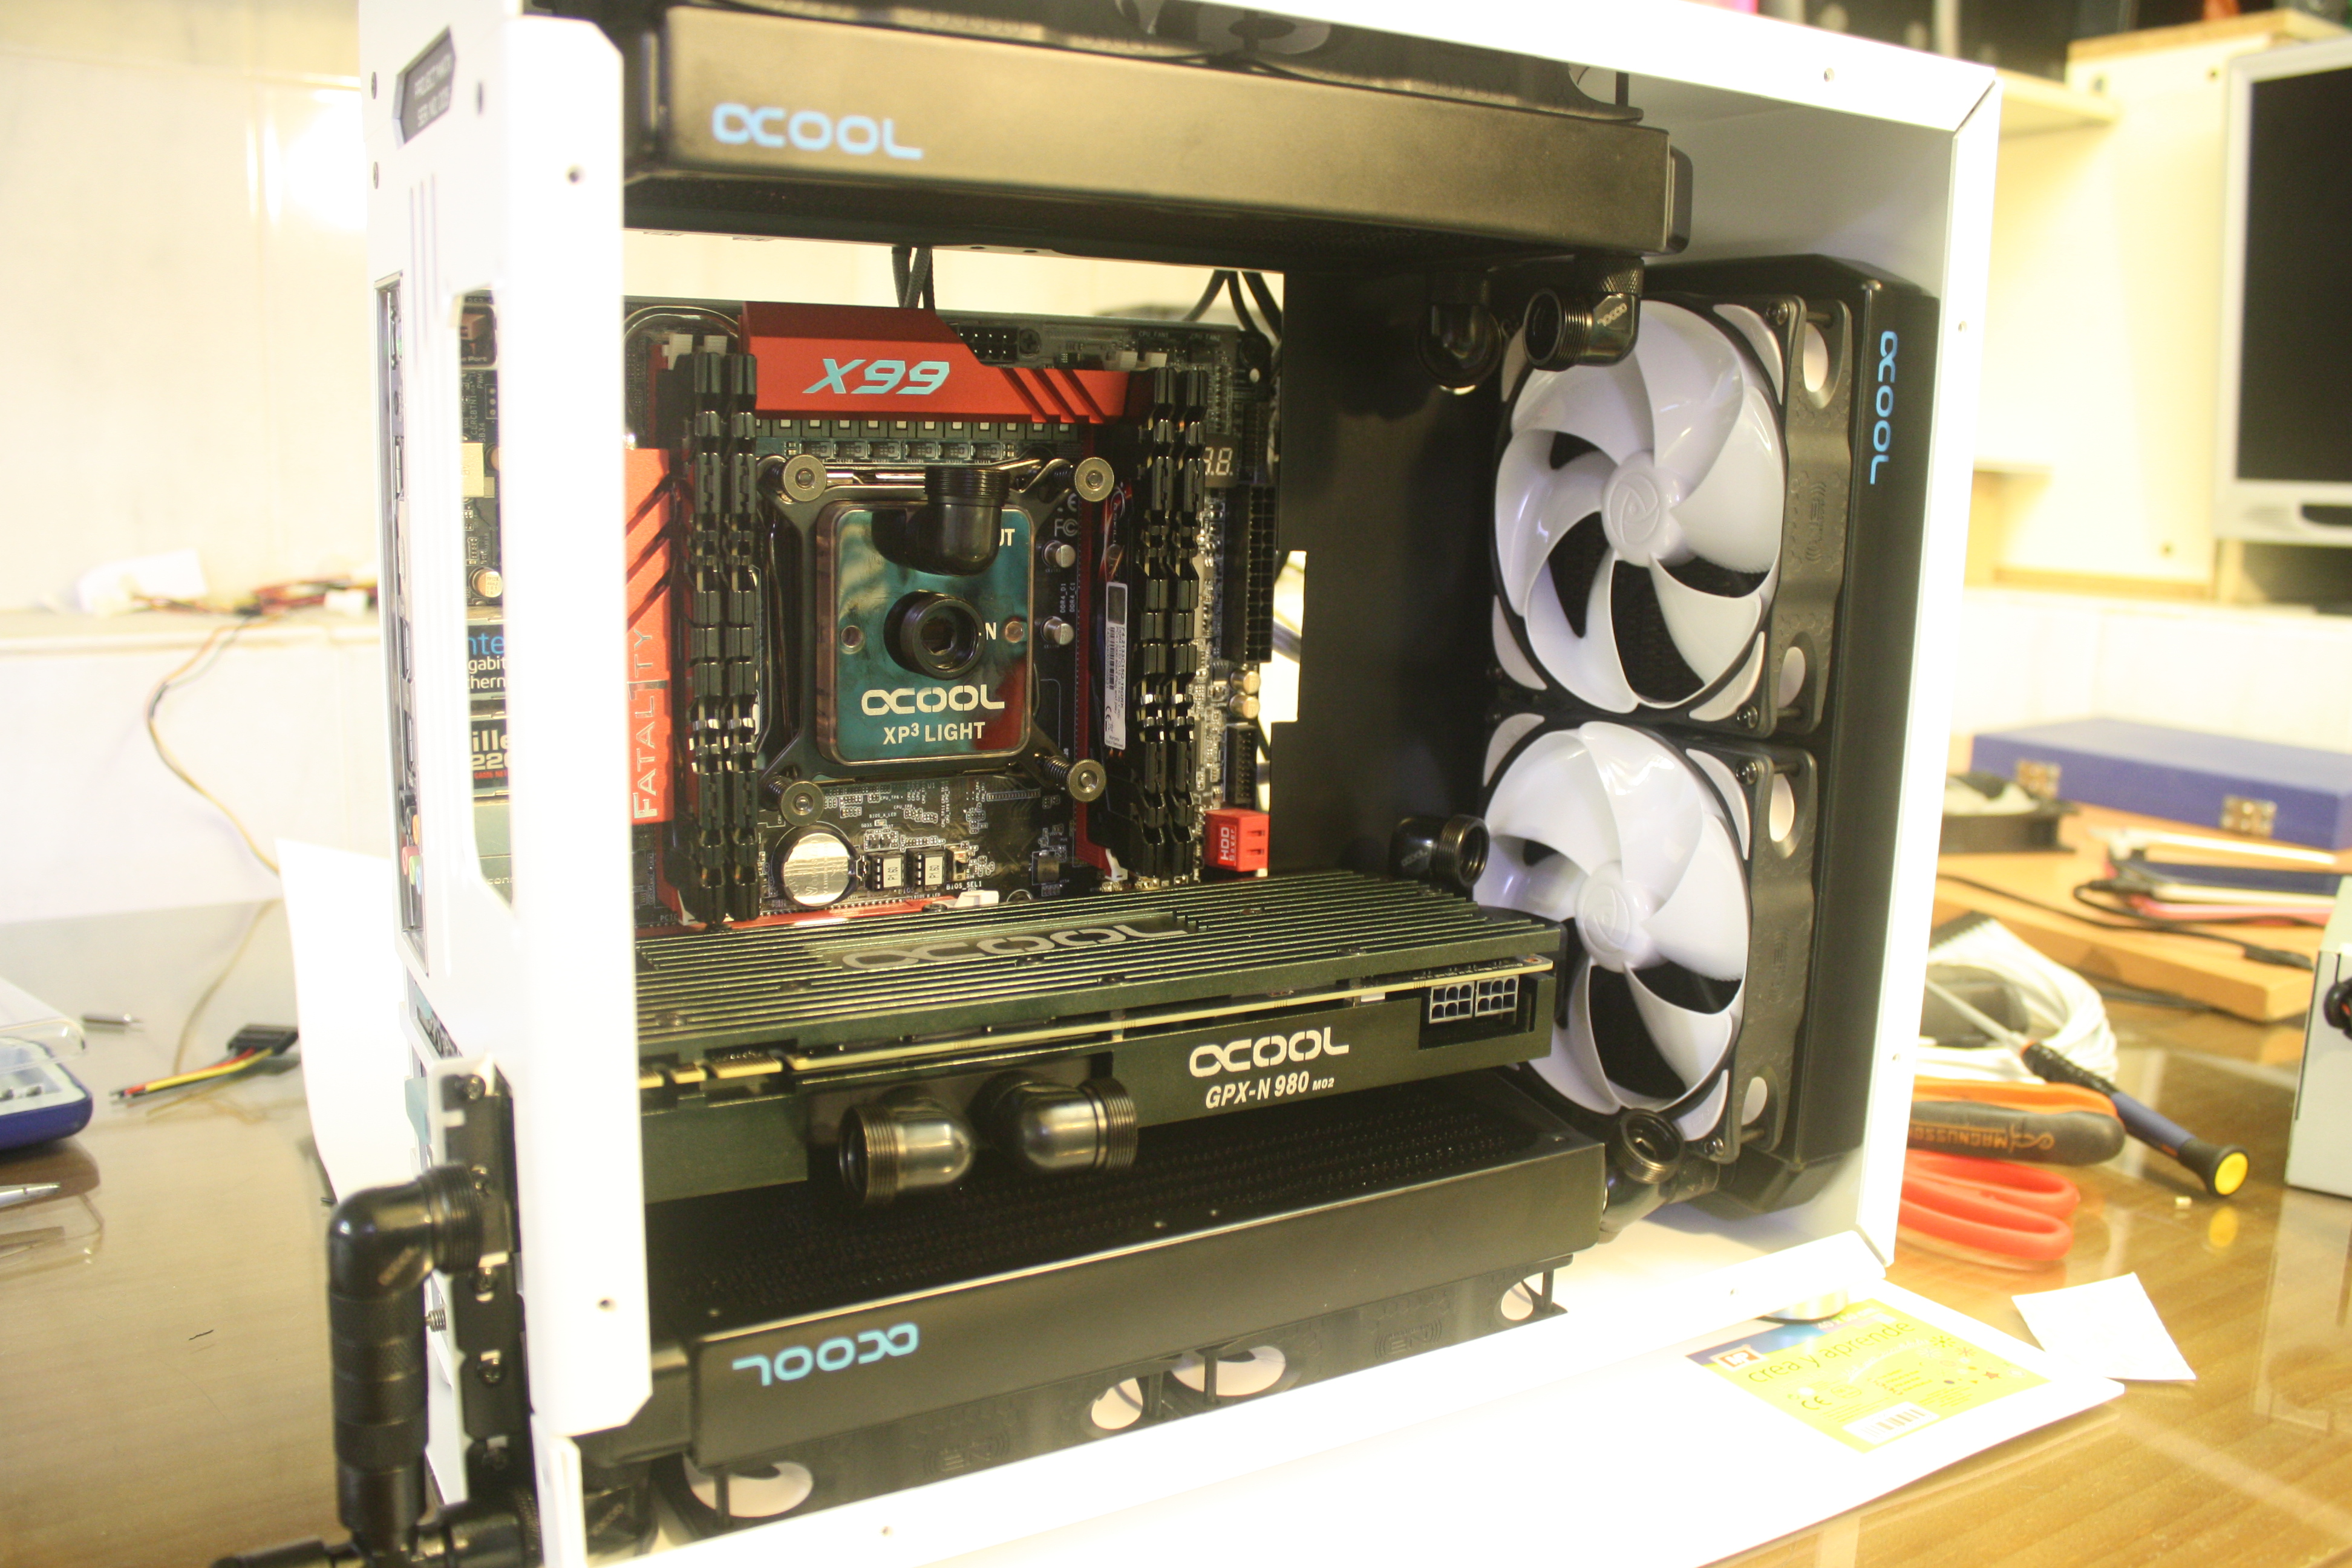
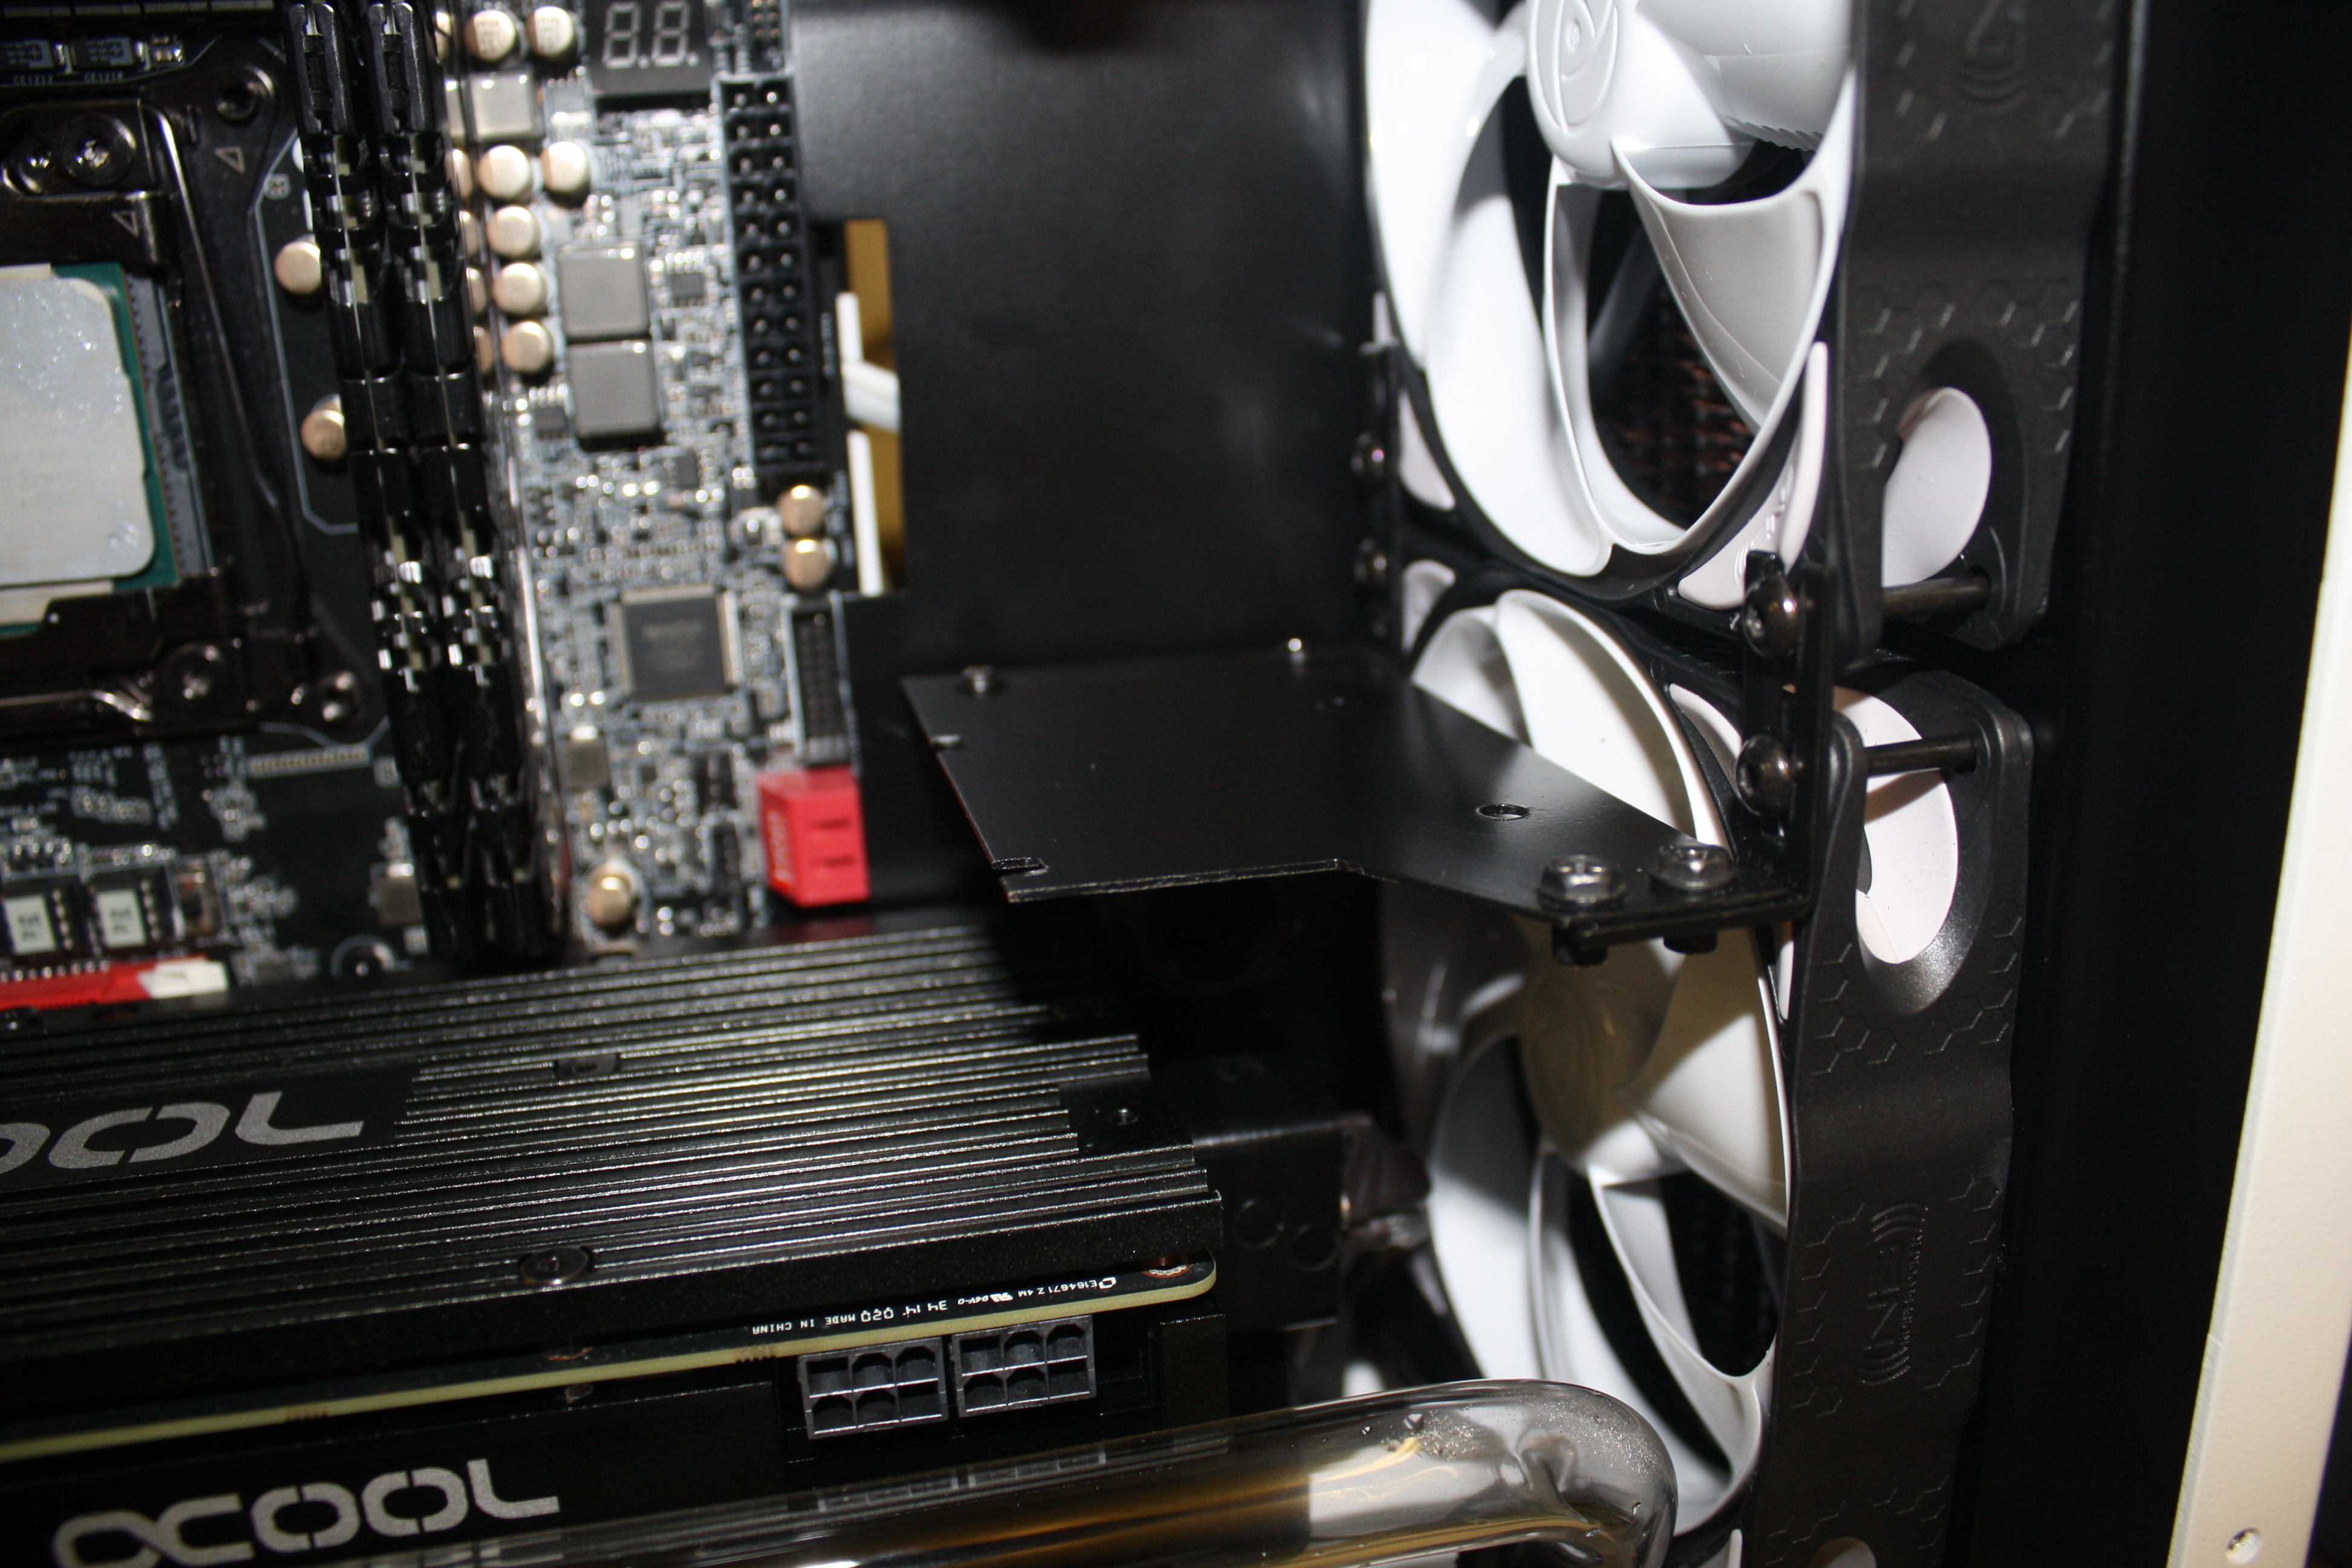
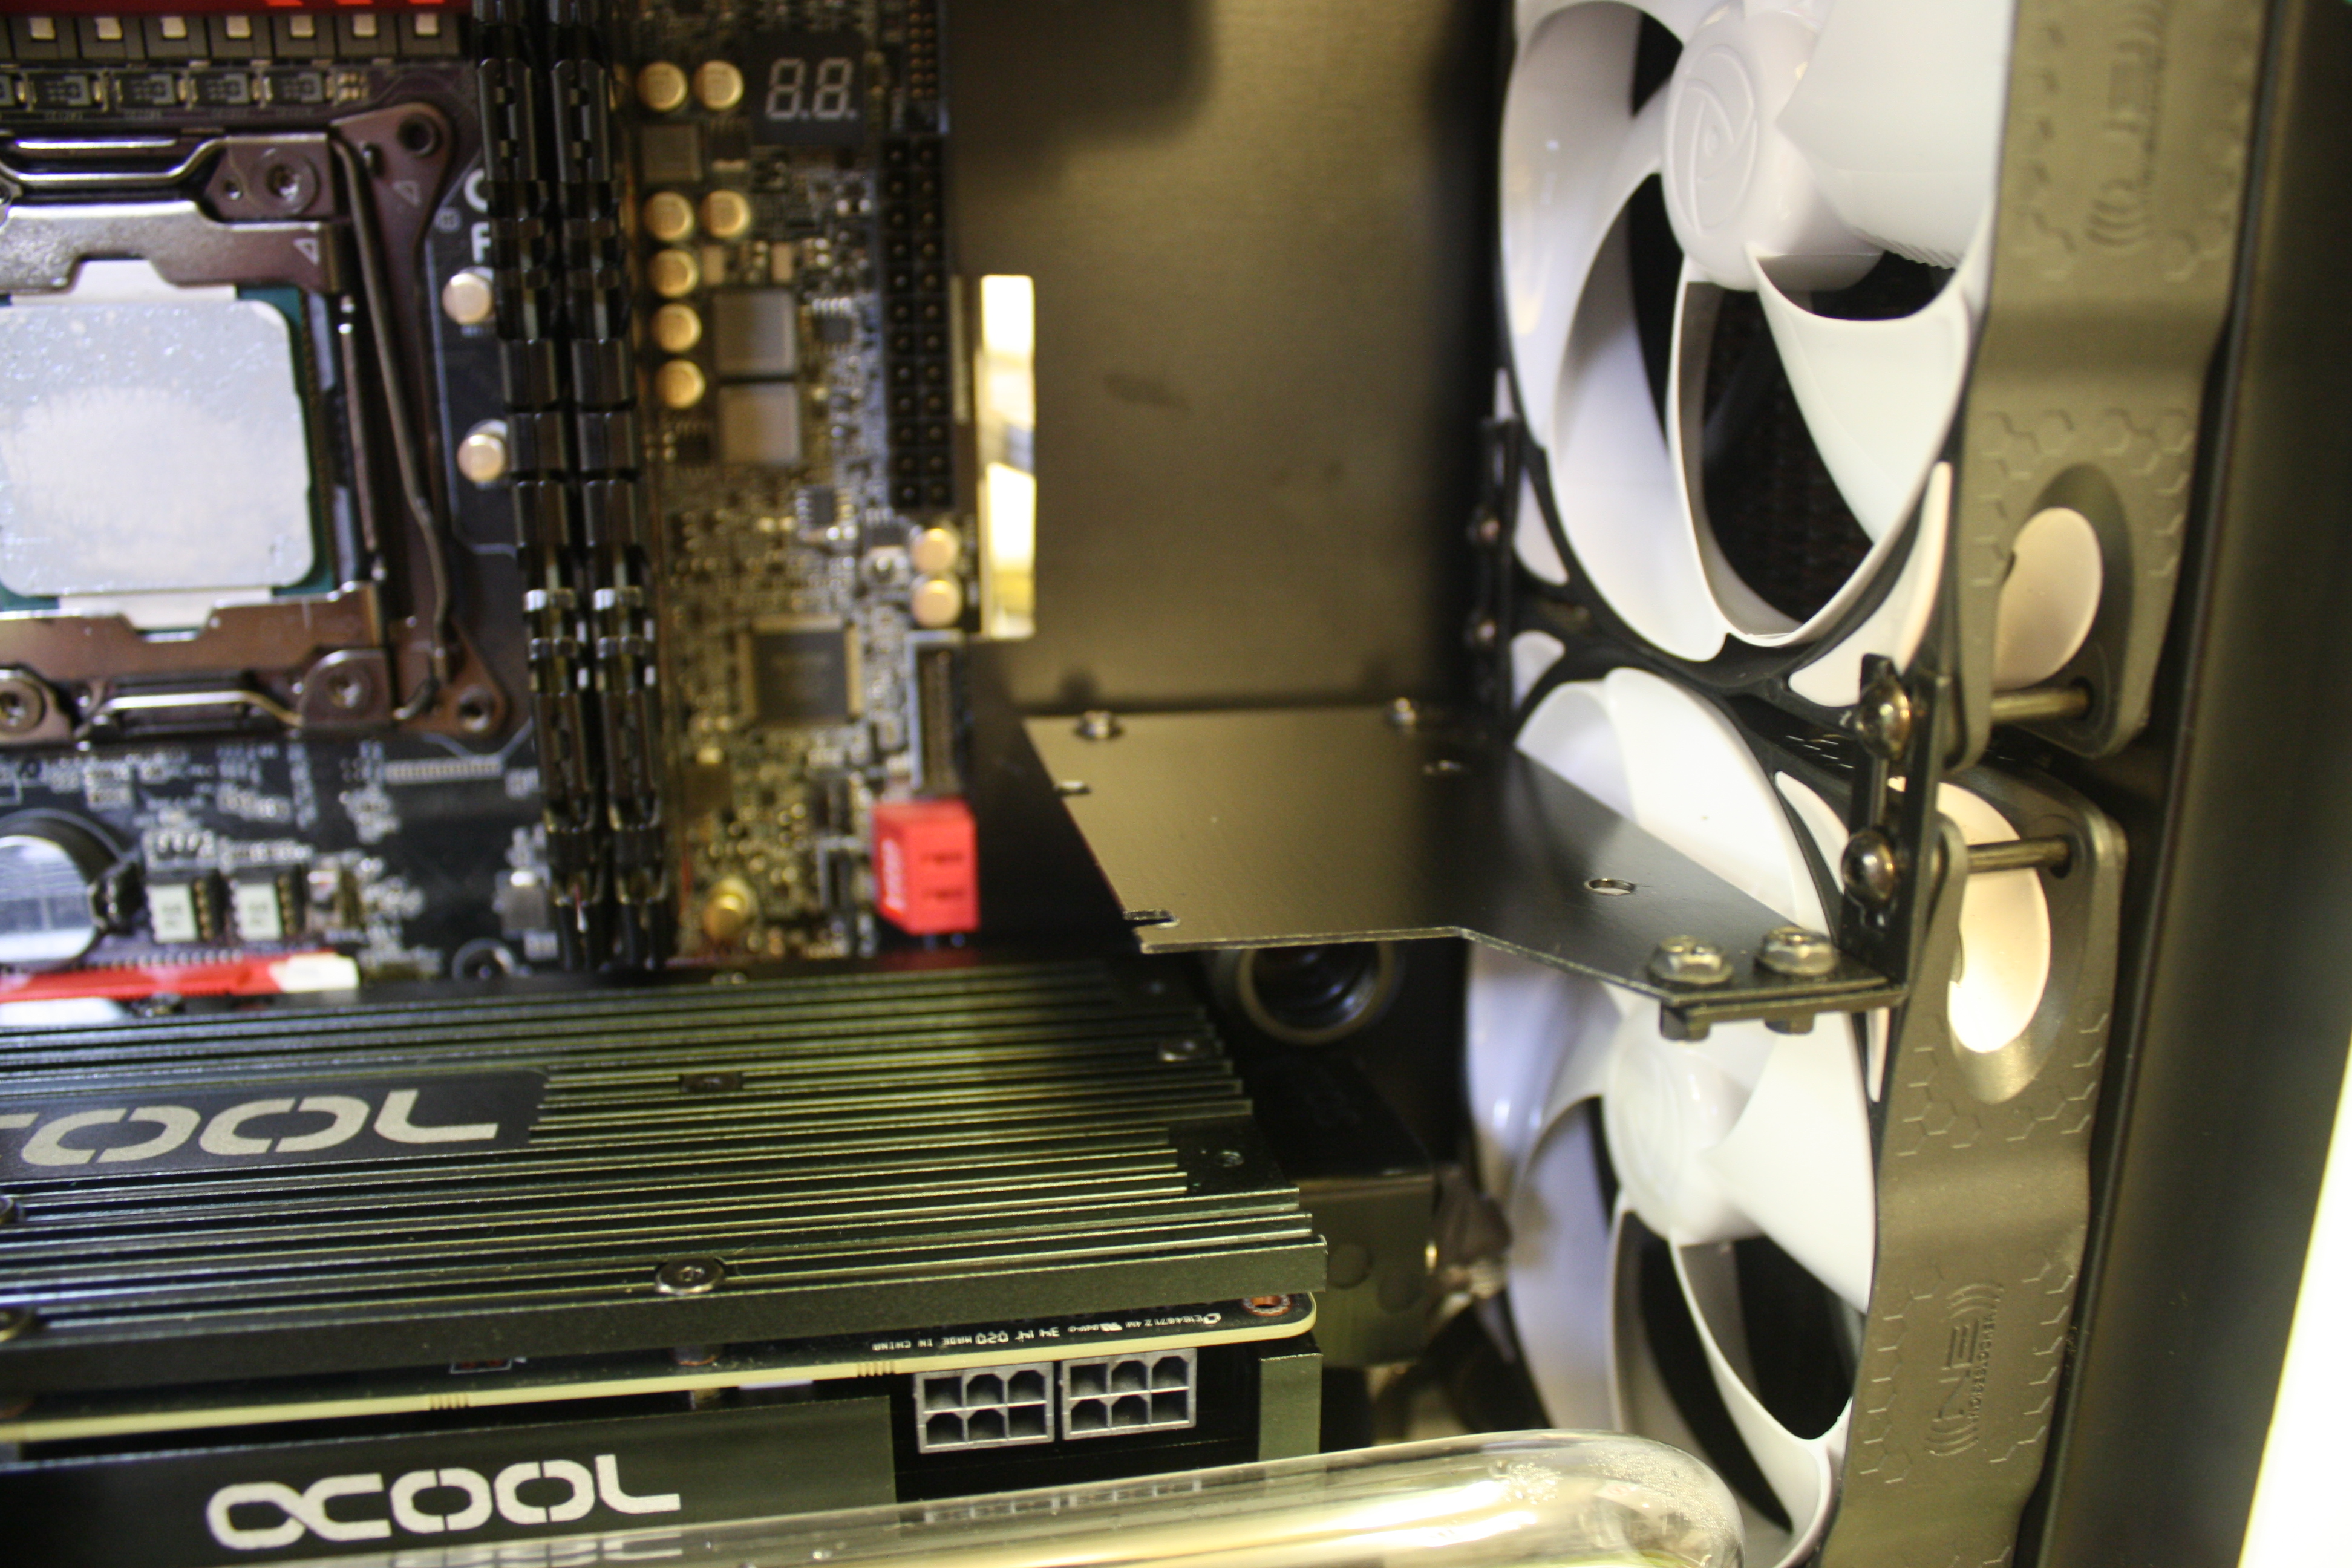
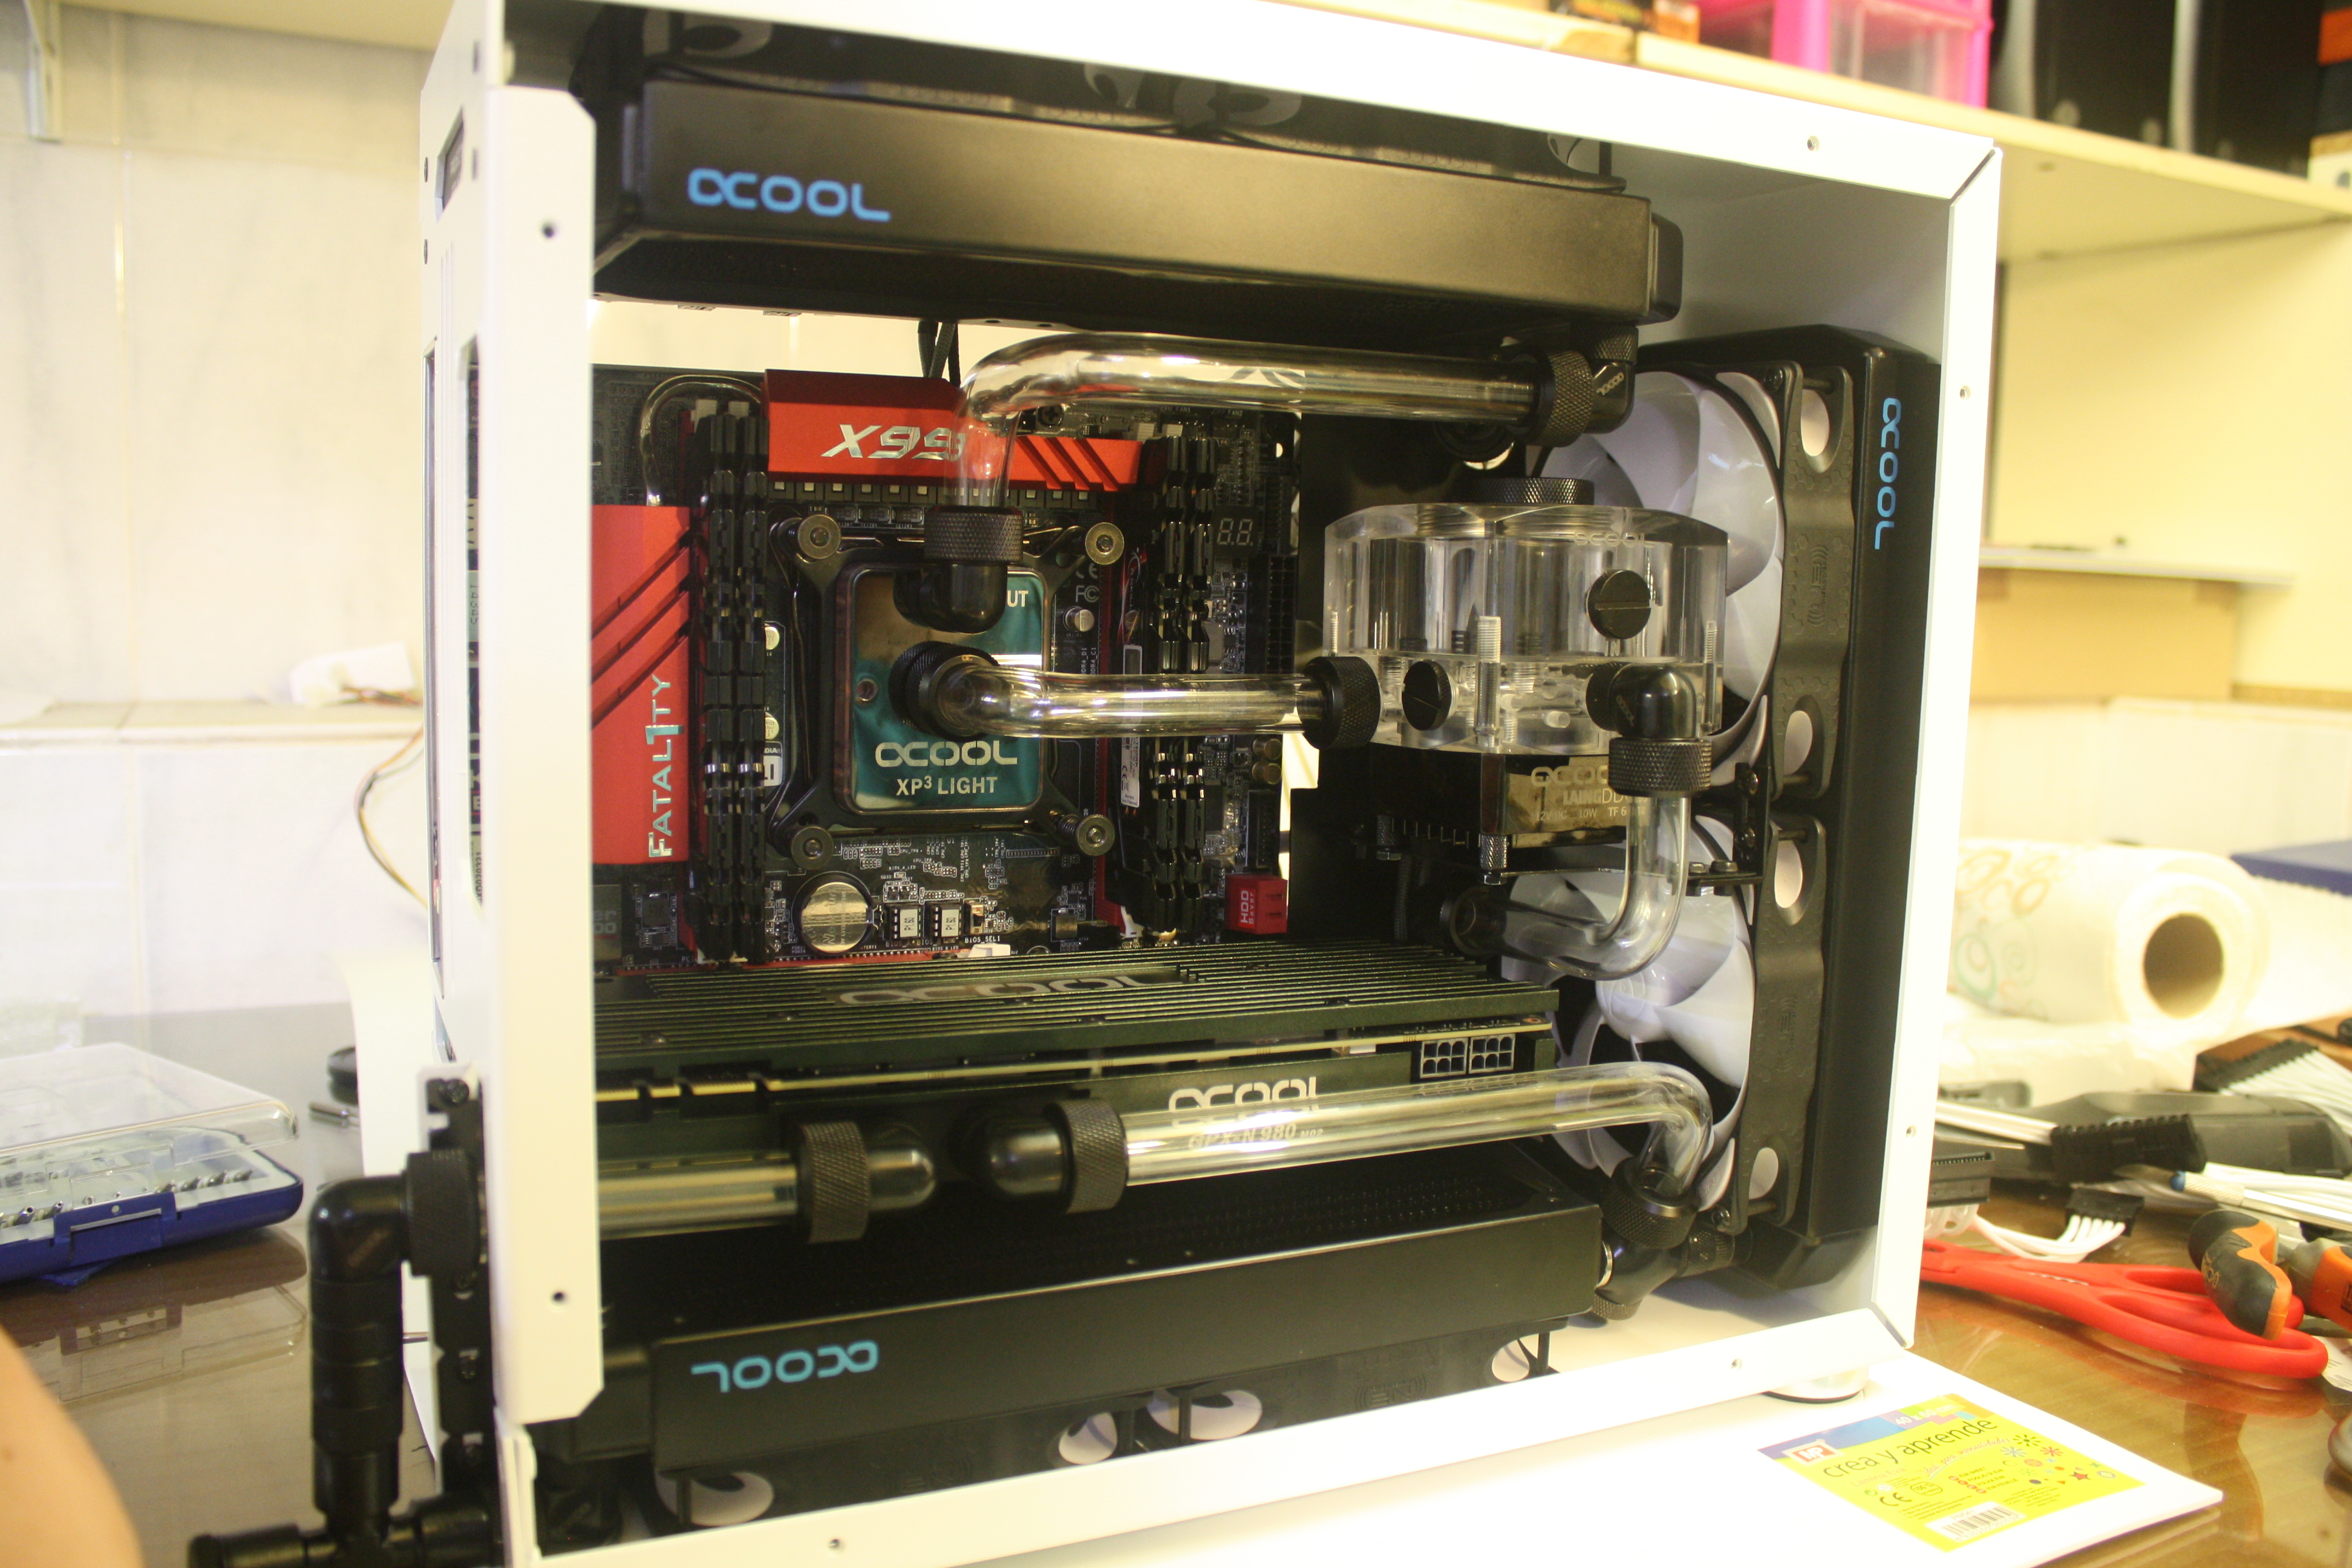
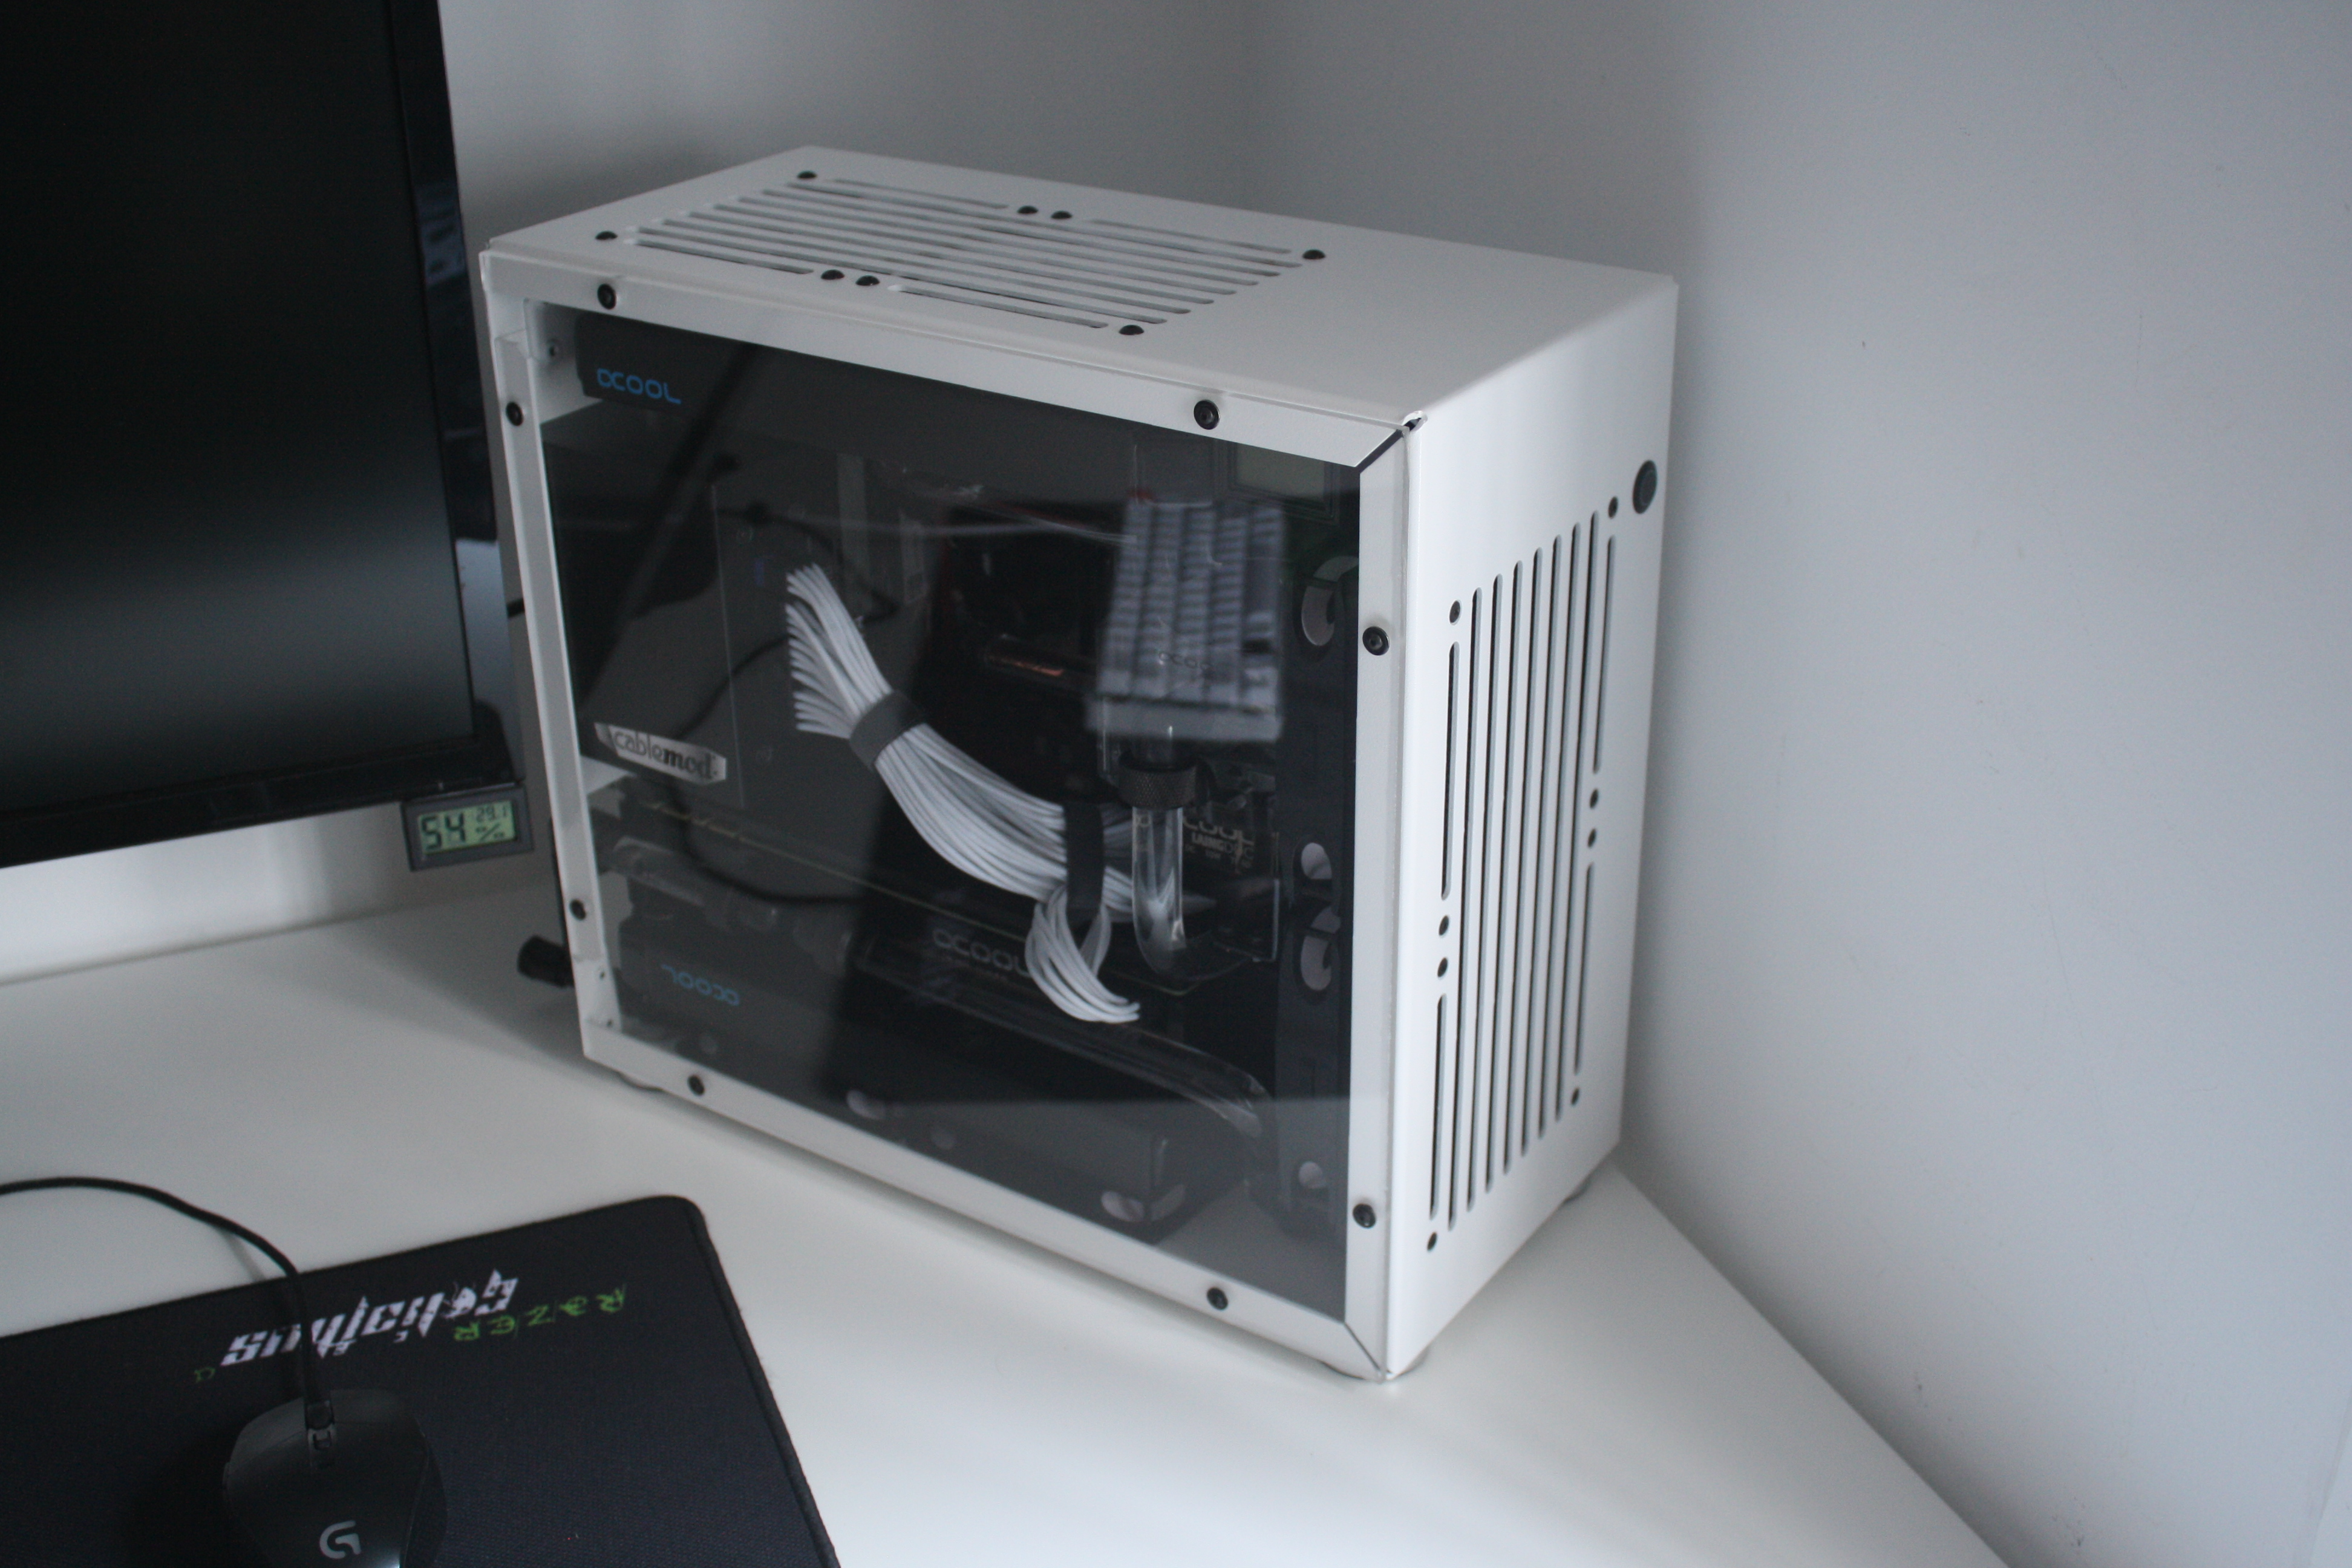
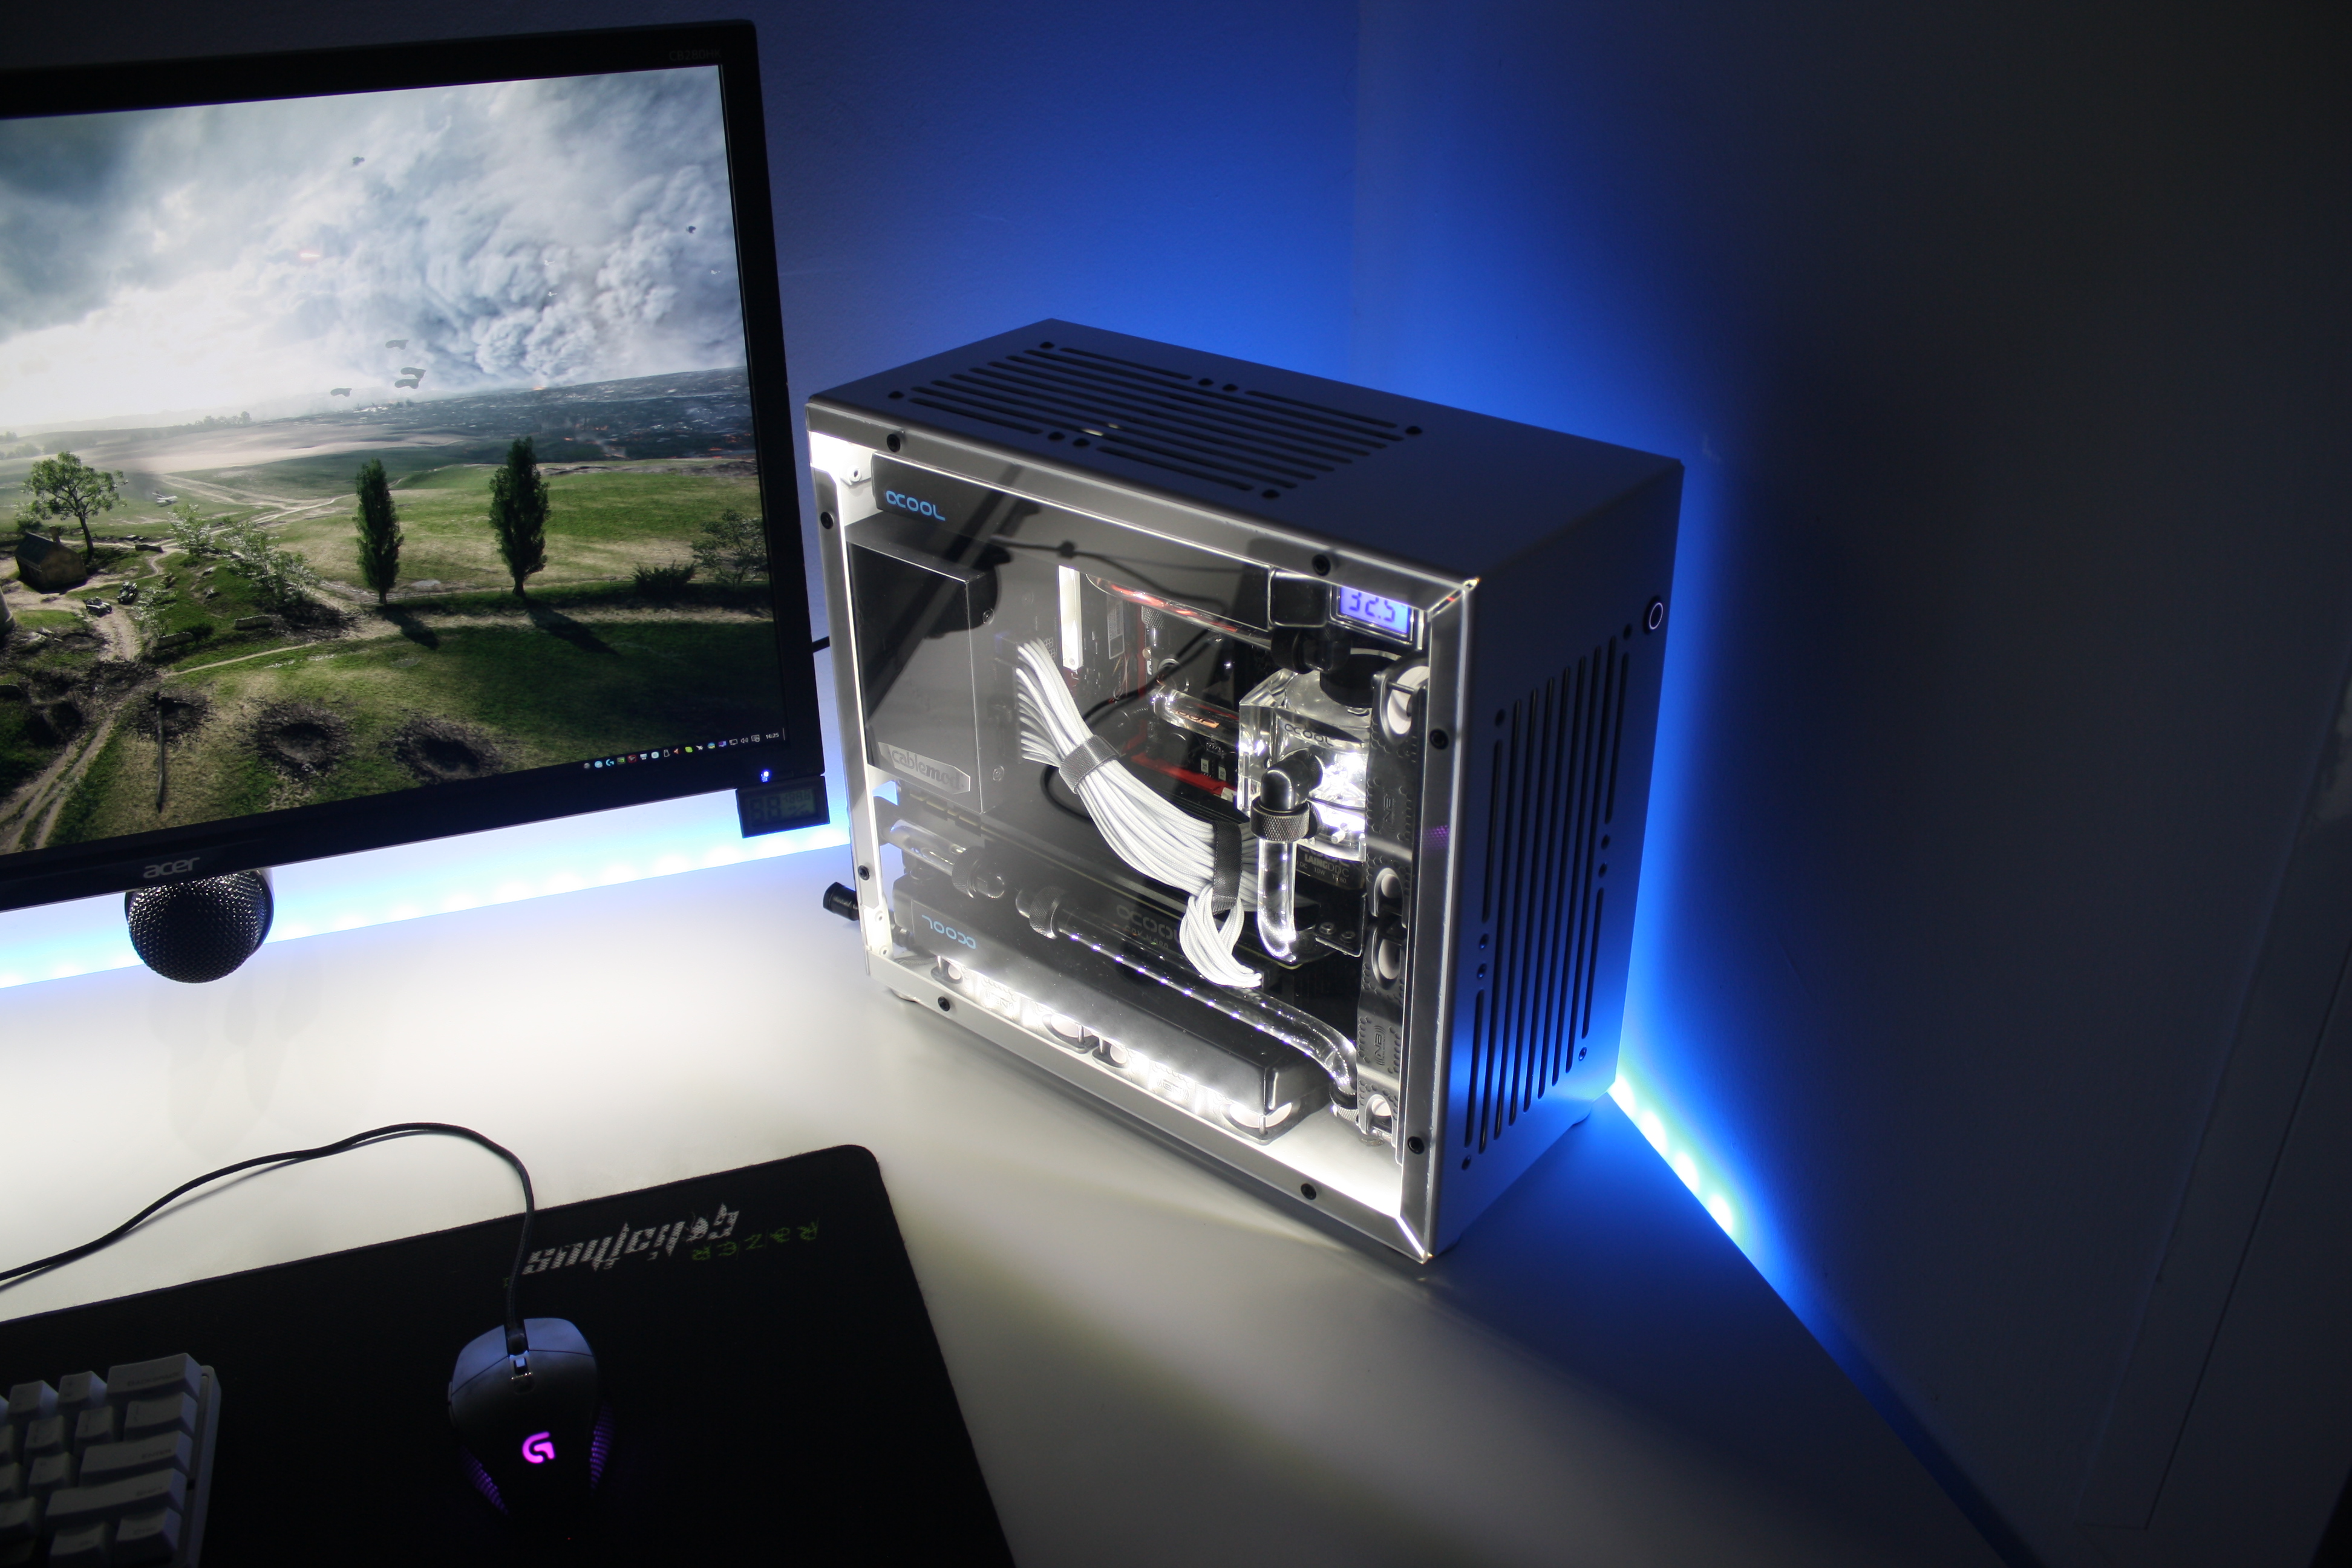
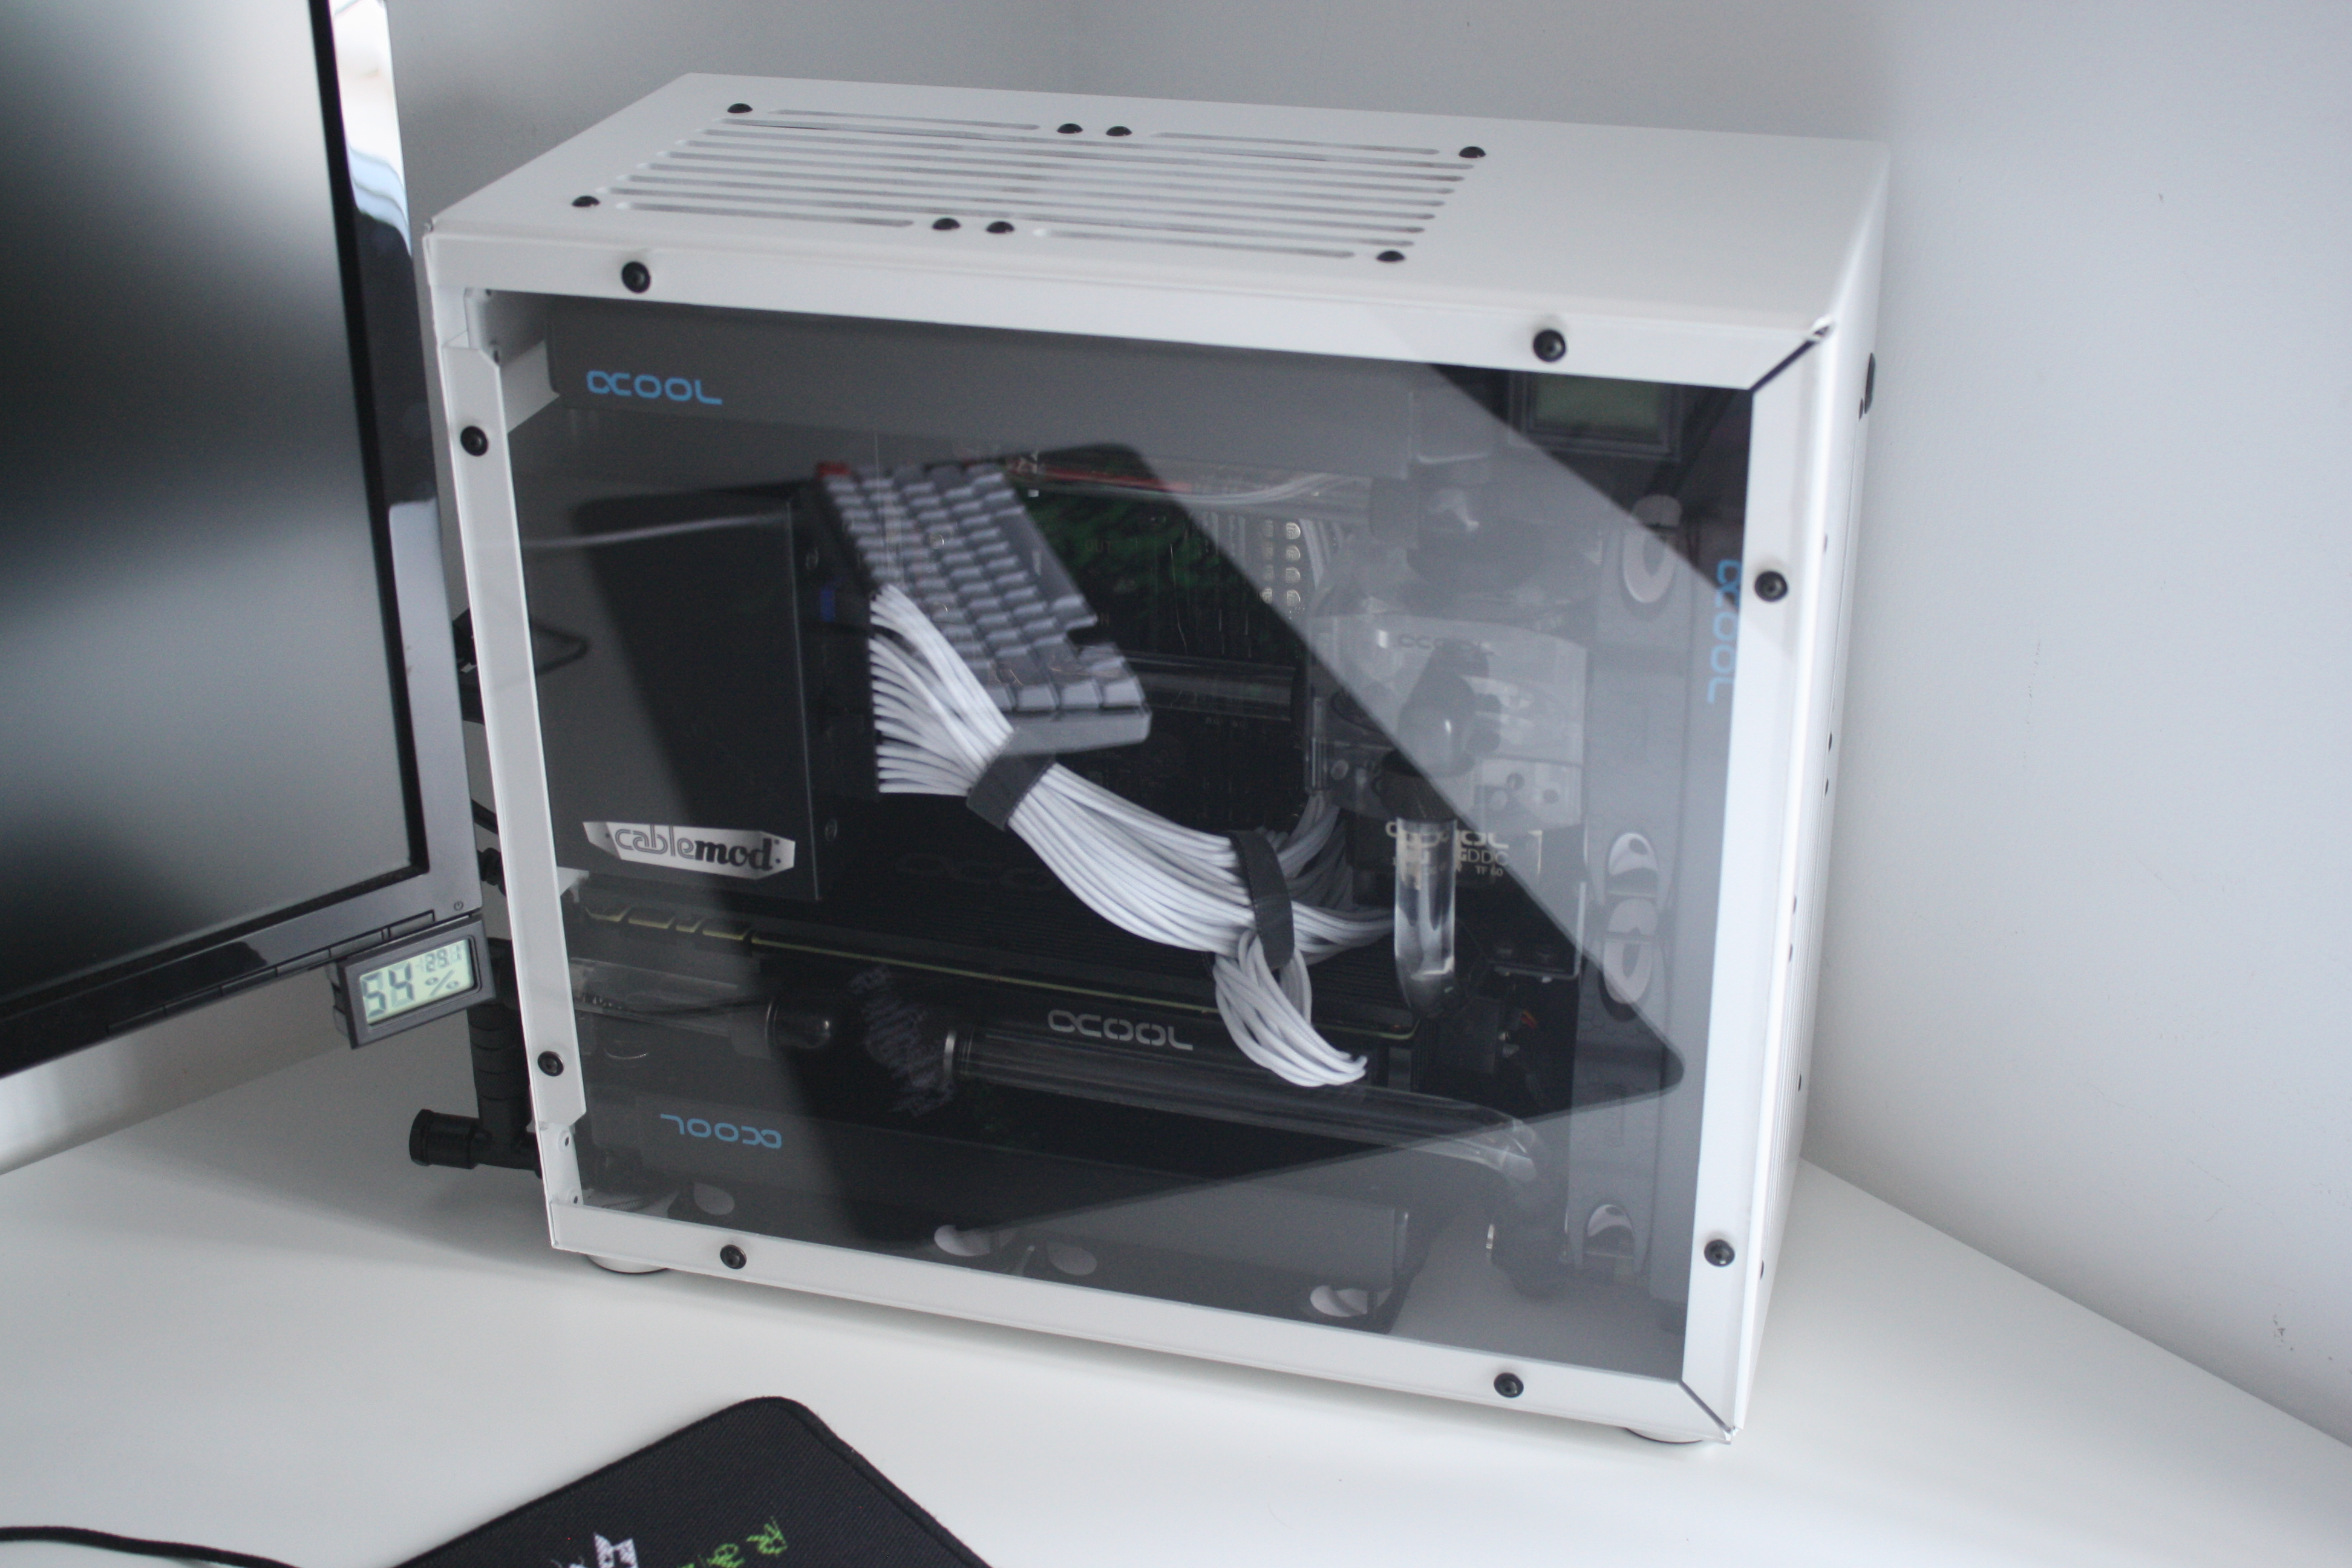
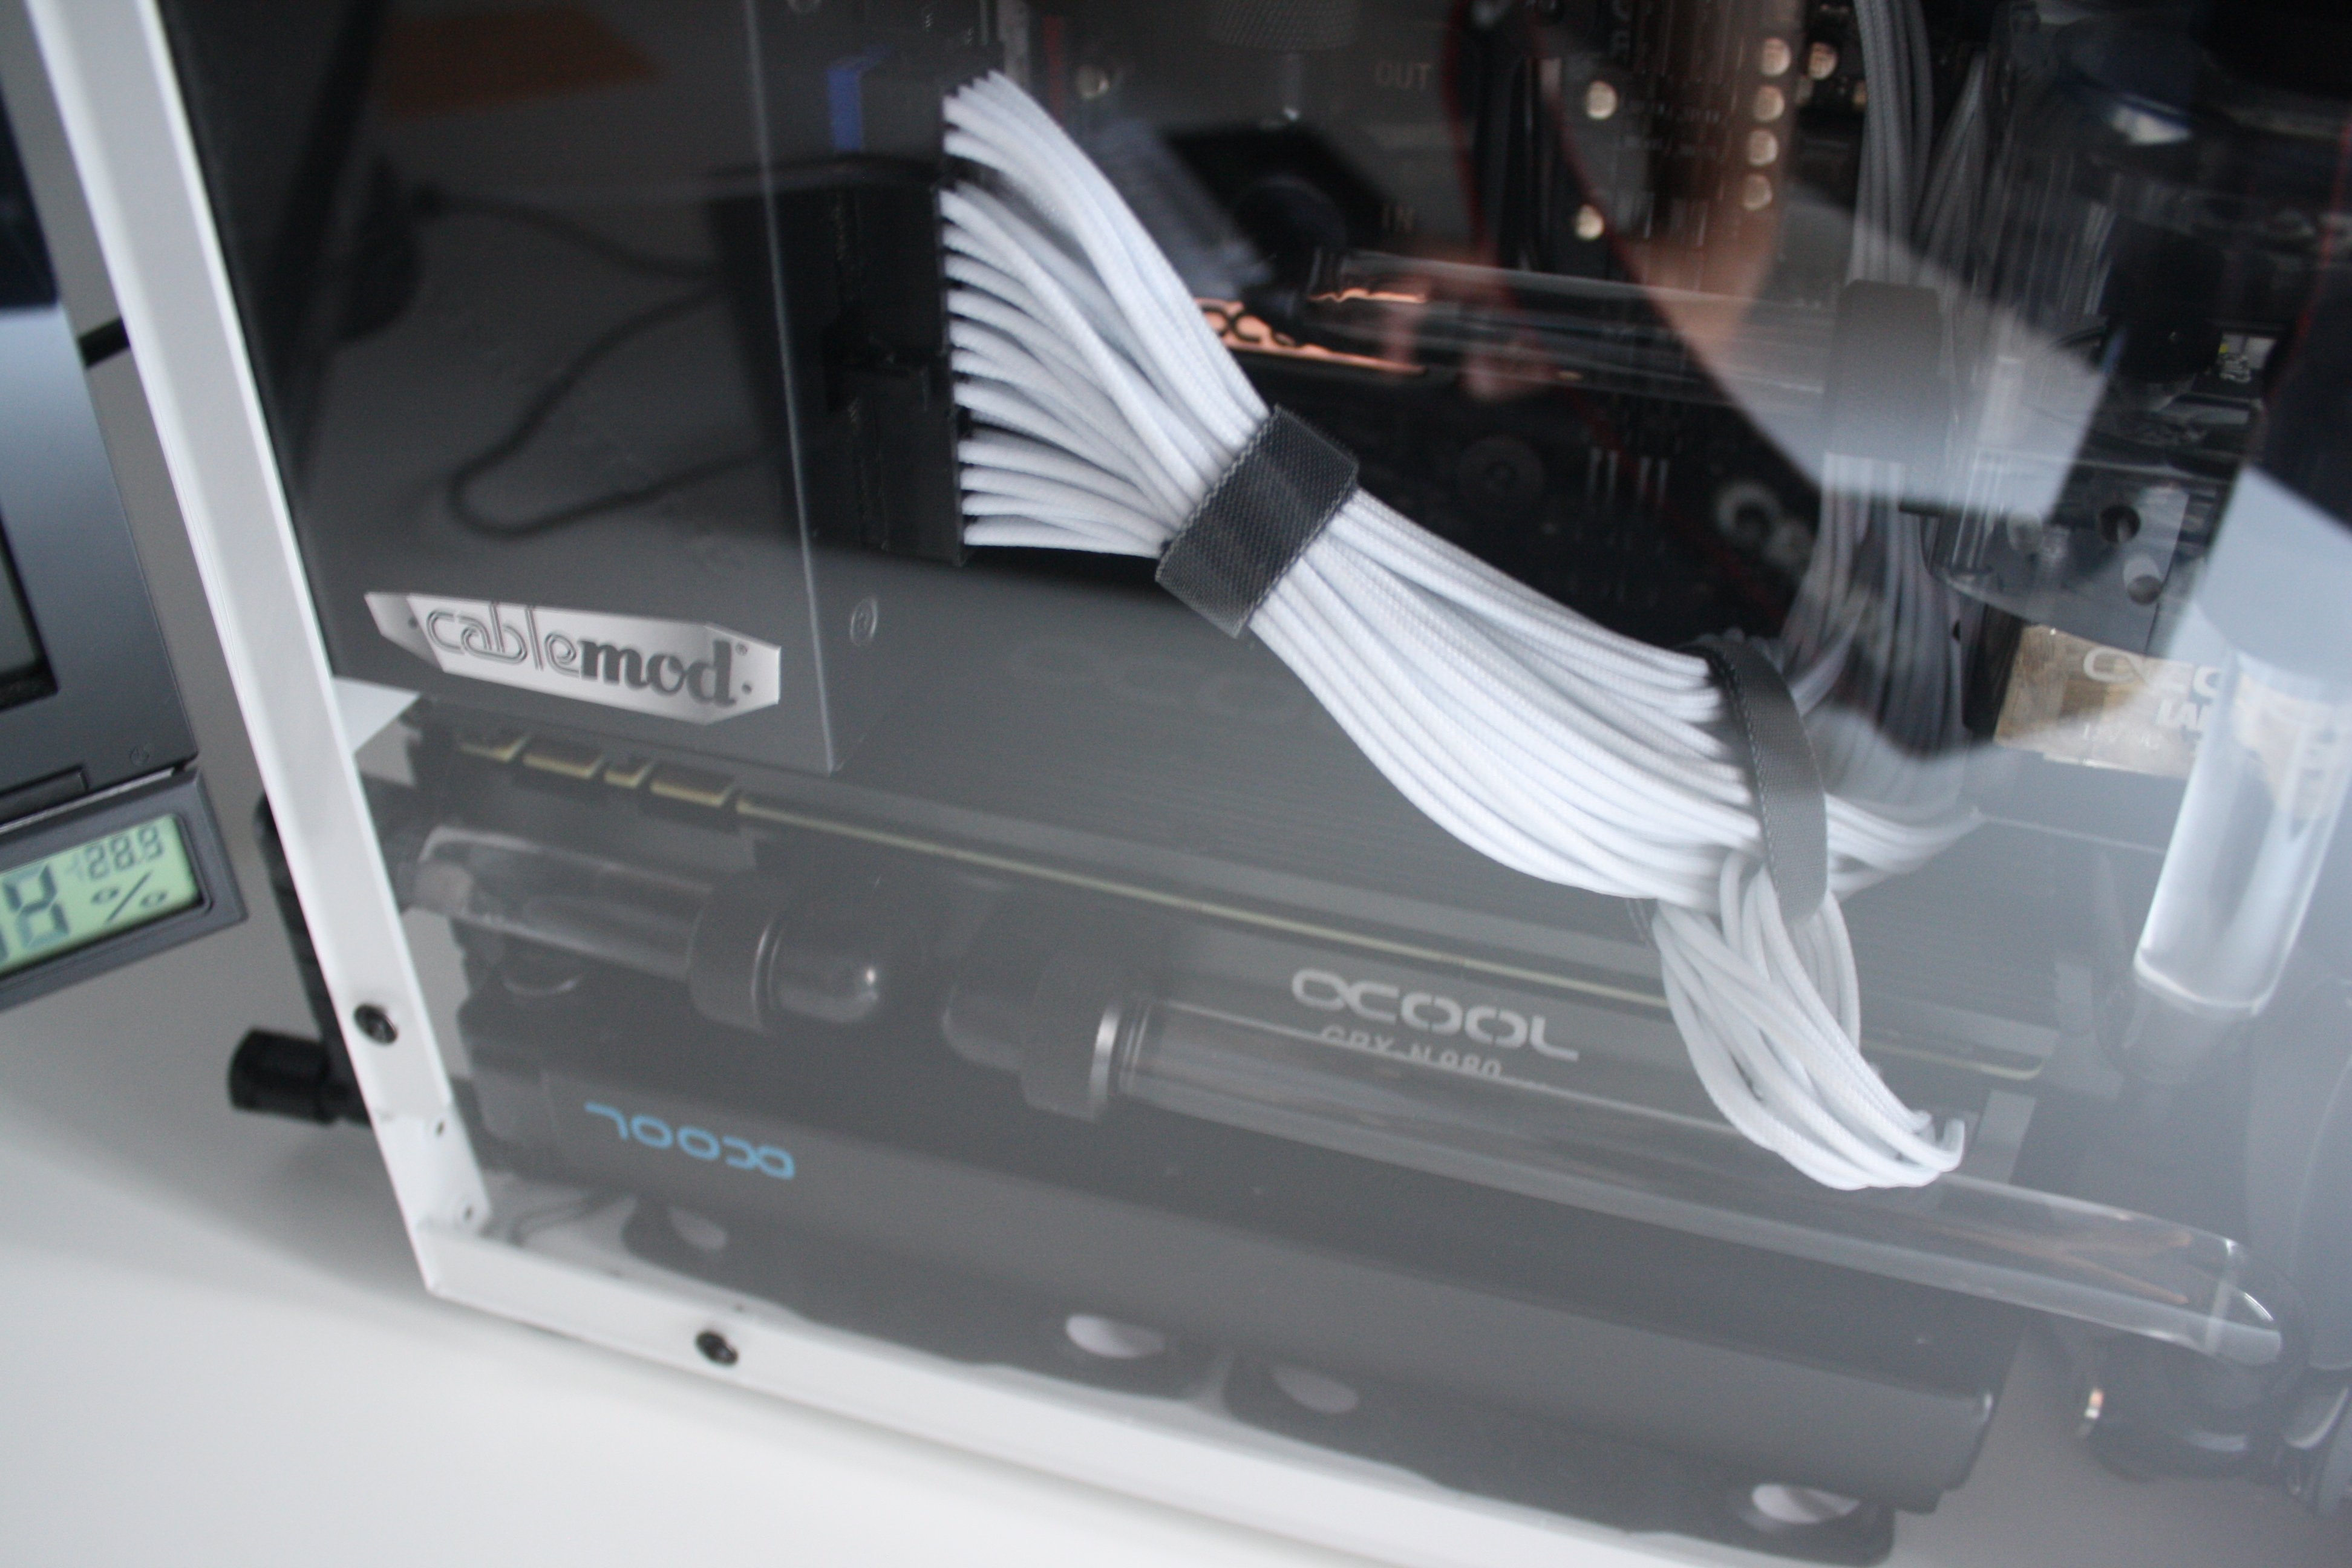
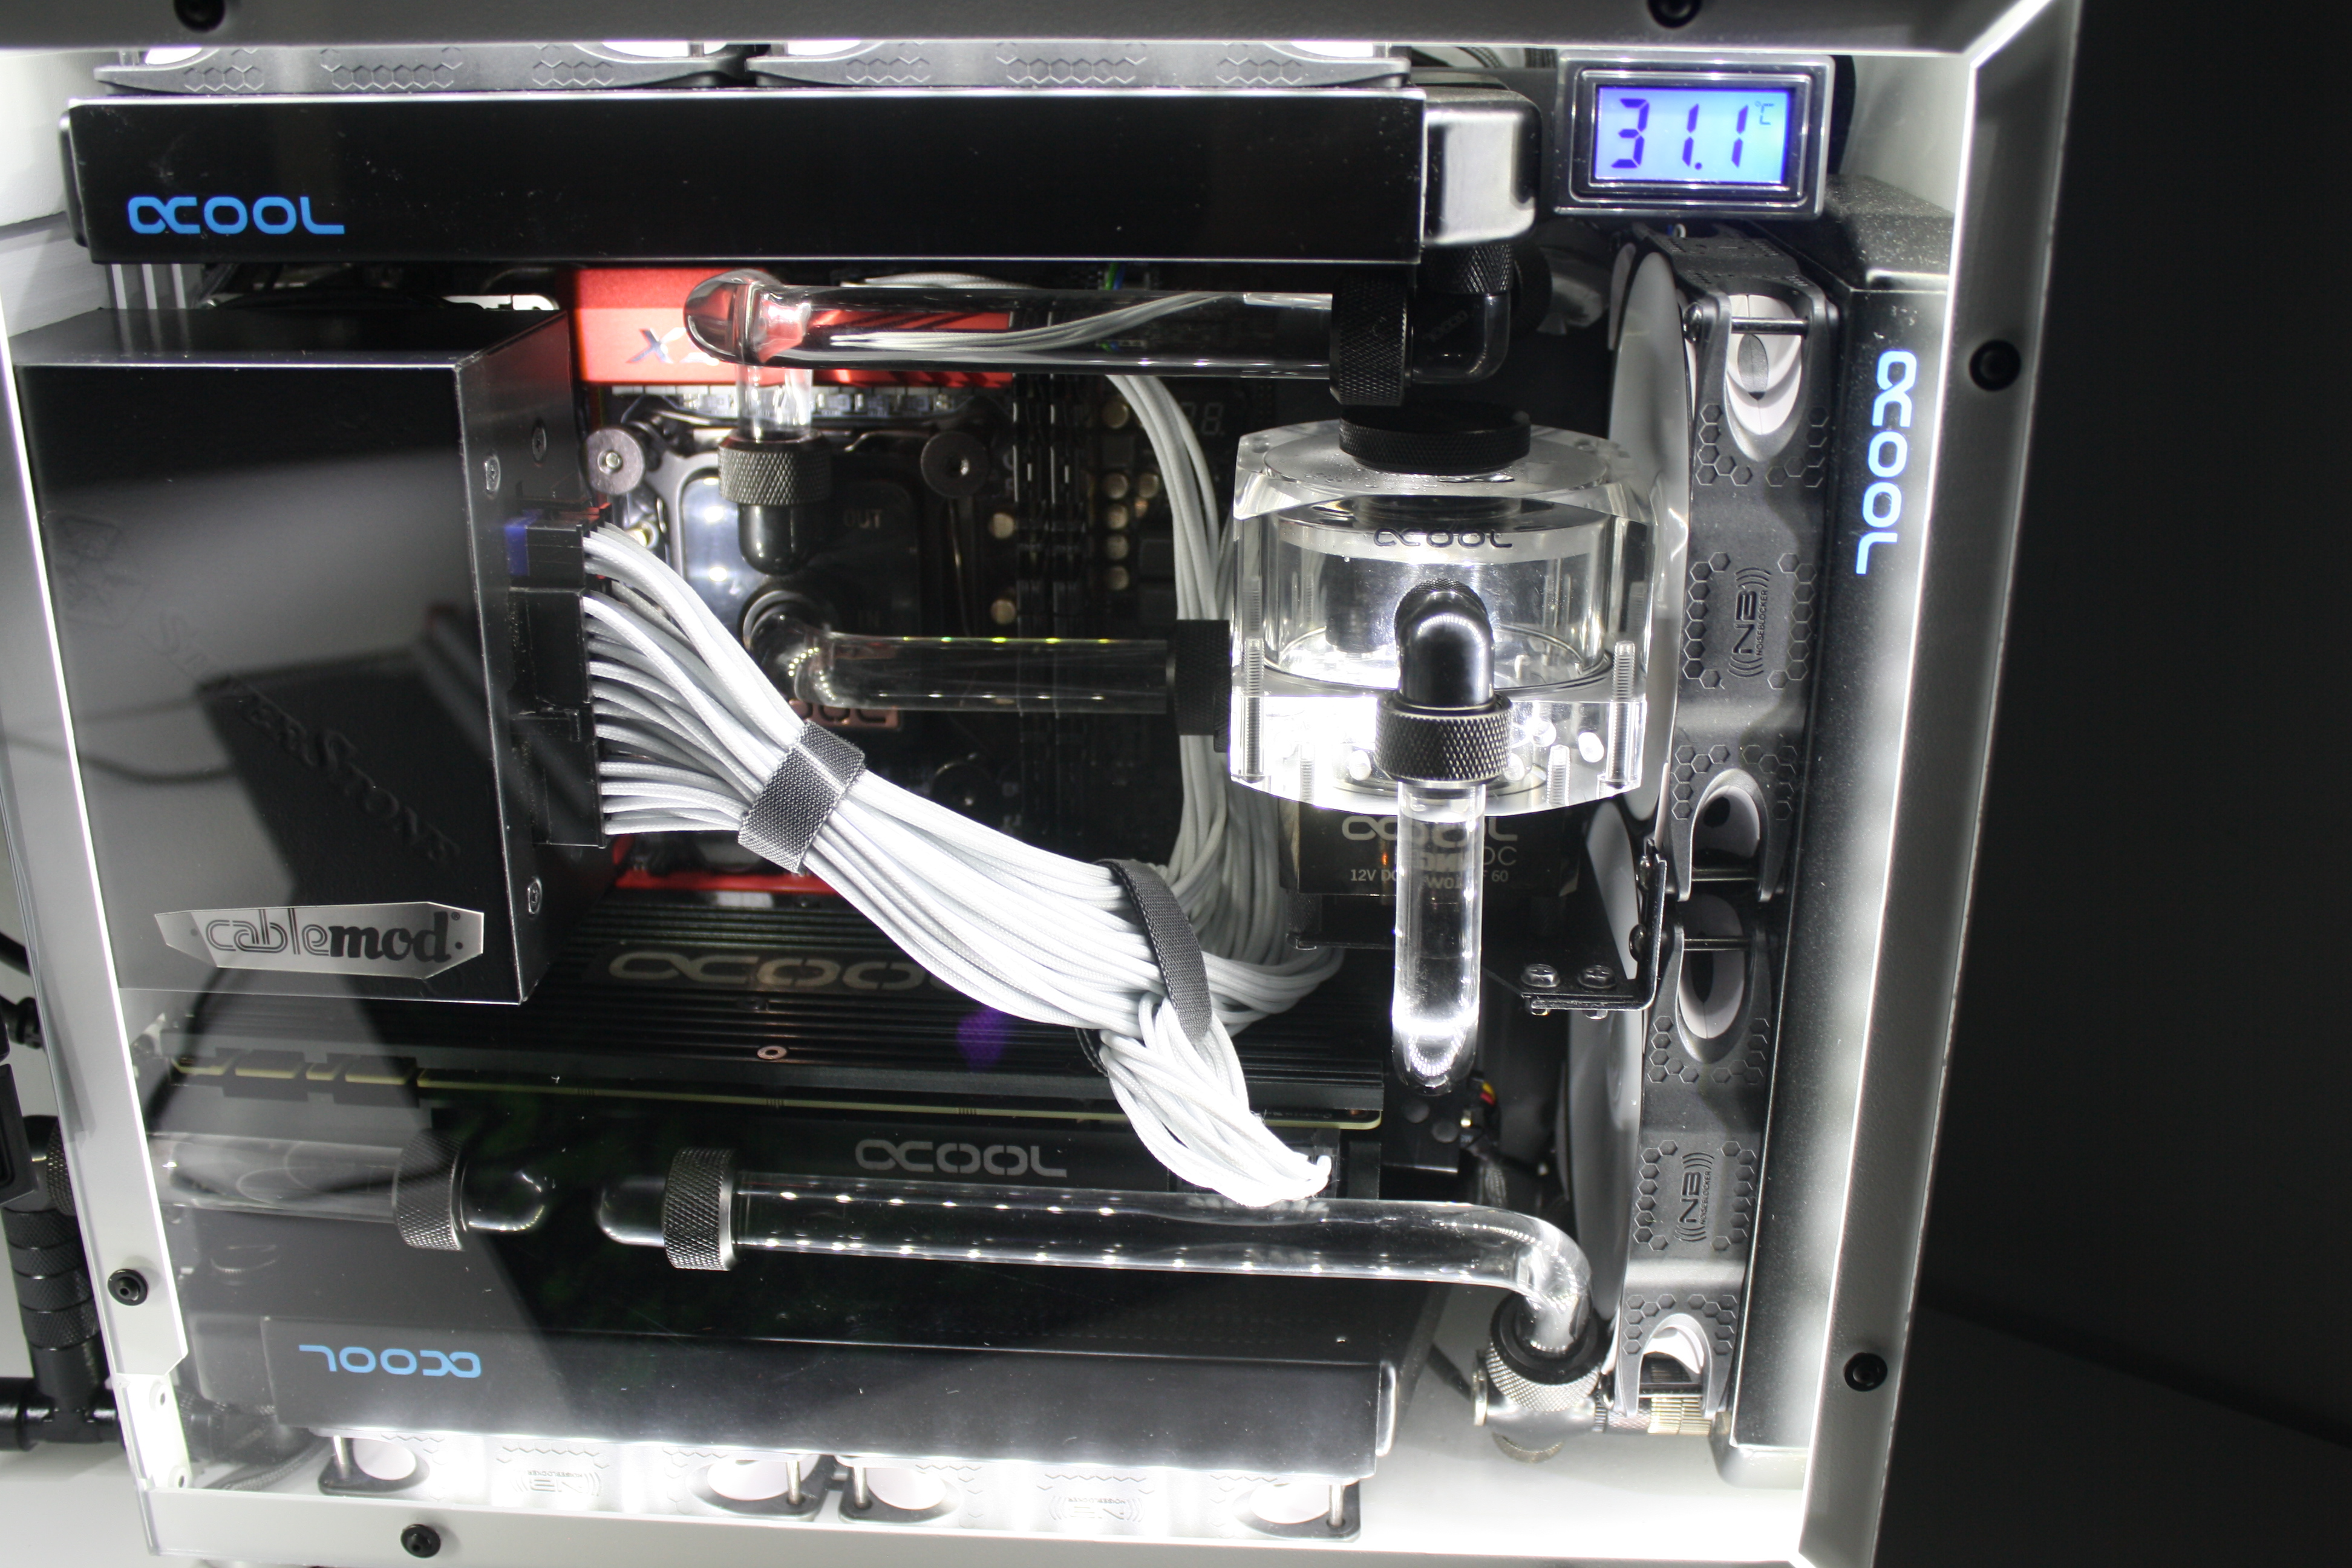
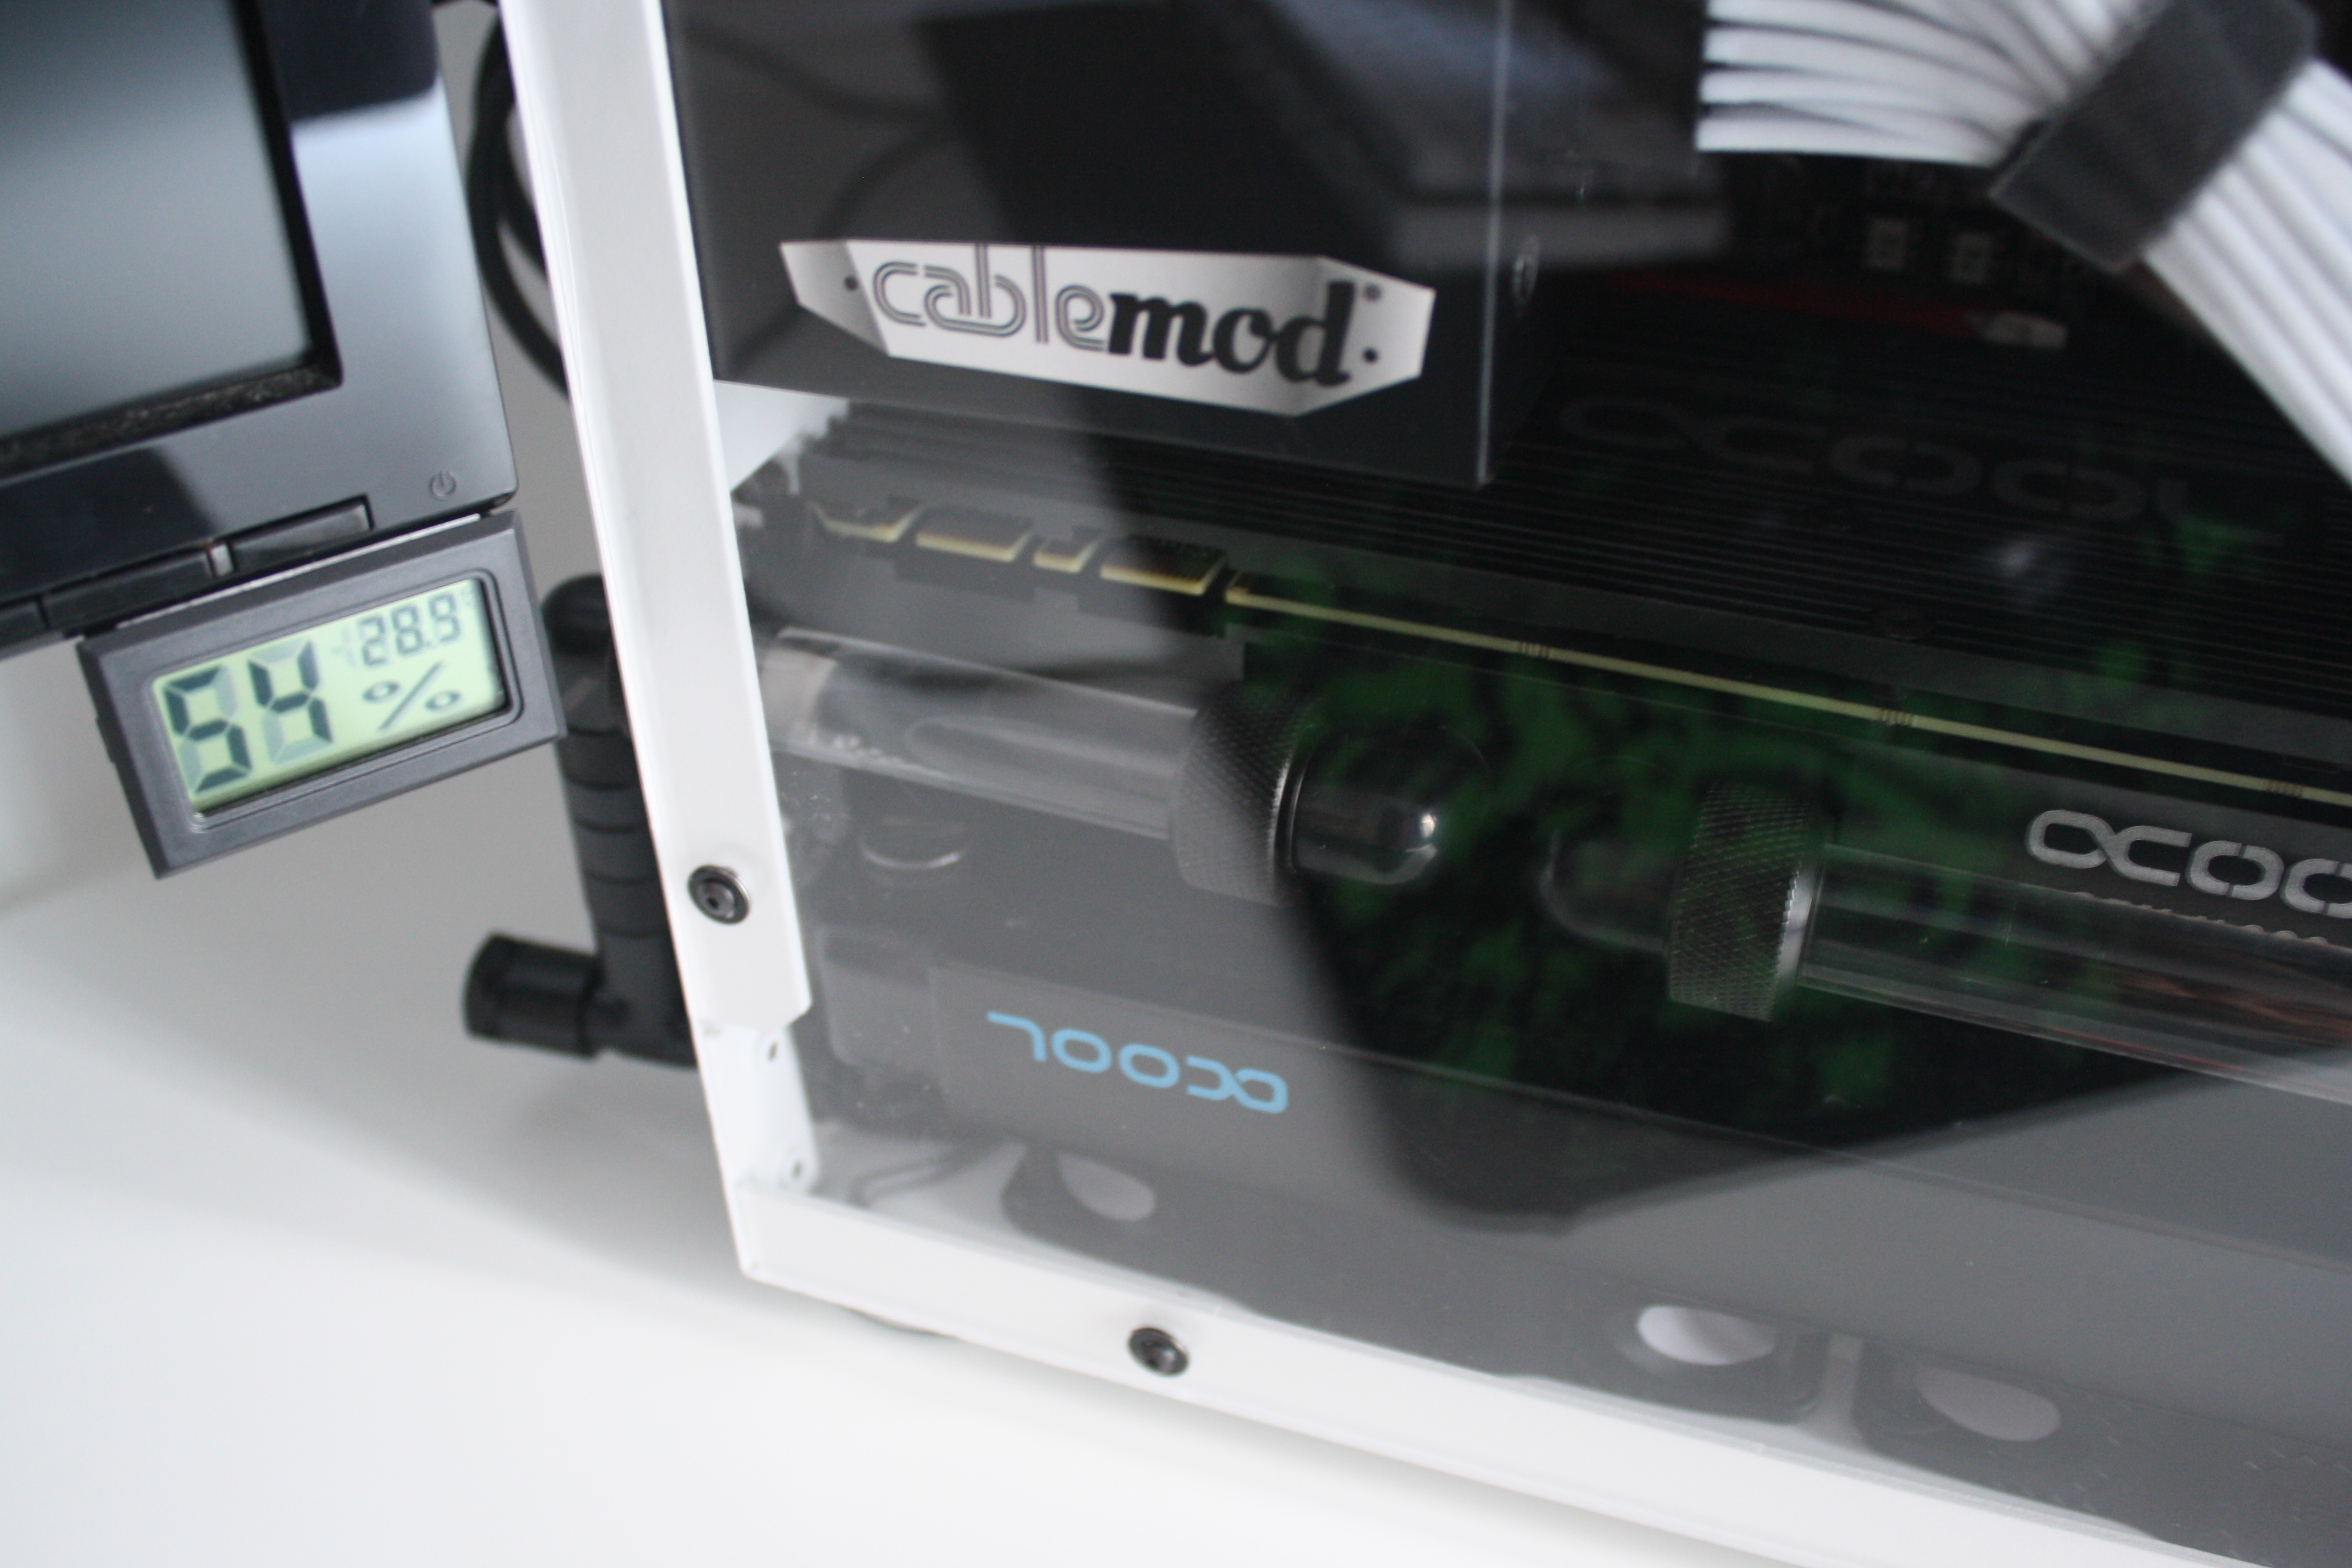
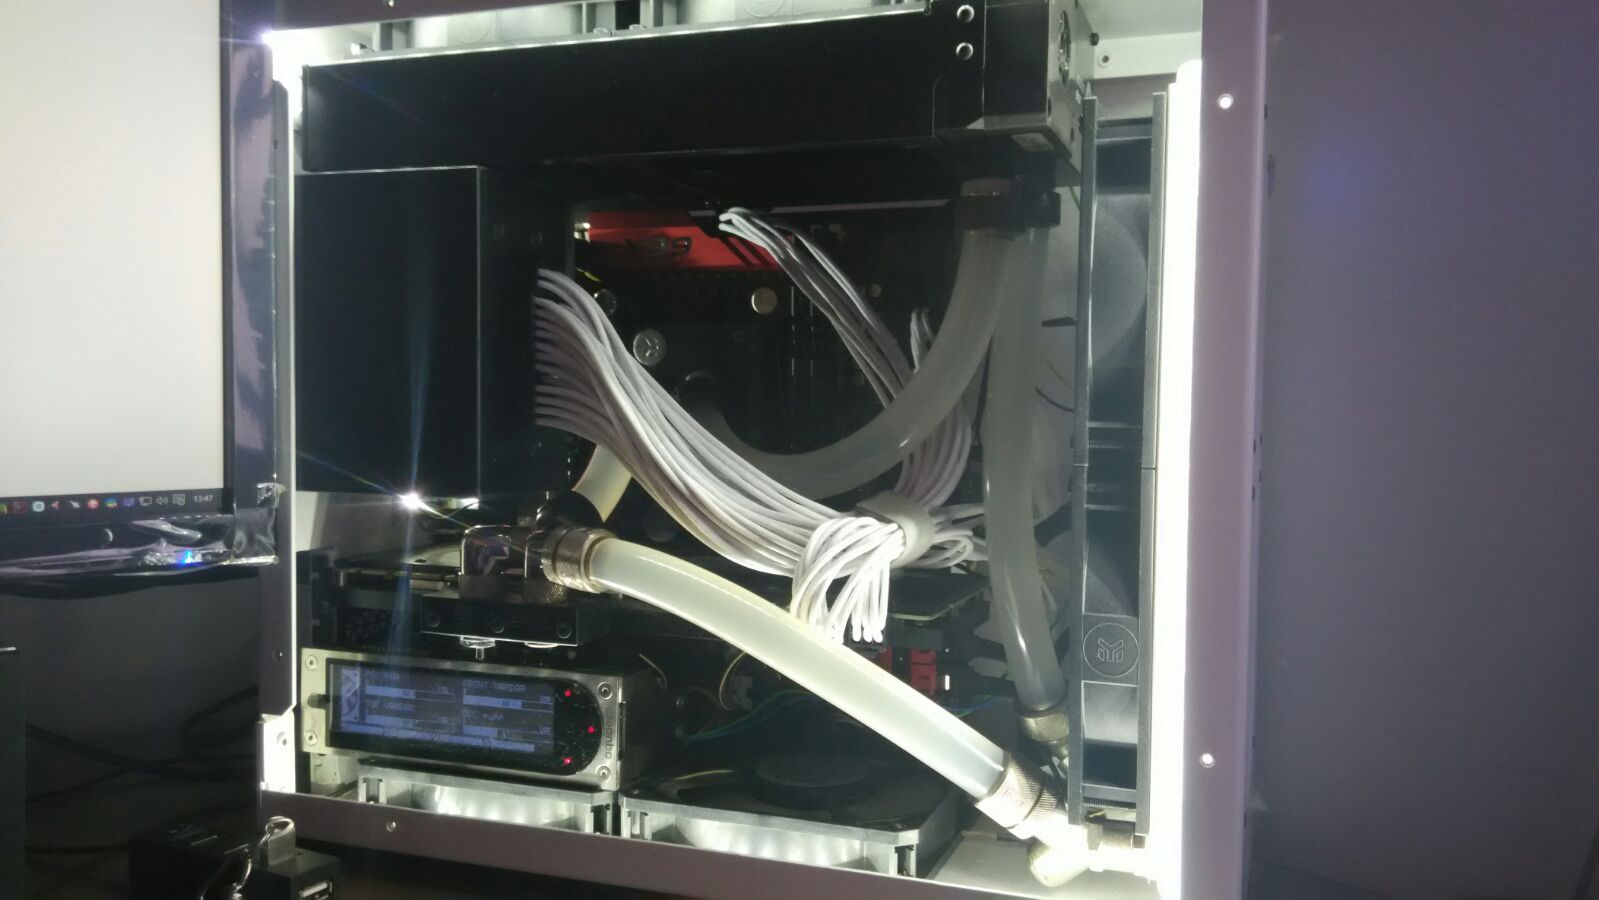
The case only has 20 liters volumen and I will use acrylic (16/12), 3 radiators, gpu and cpu (x99) with waterblocks, ddc pump with top/res combo, aquaero 5LT and custom sleev.
The following companies are sponsoring my project:
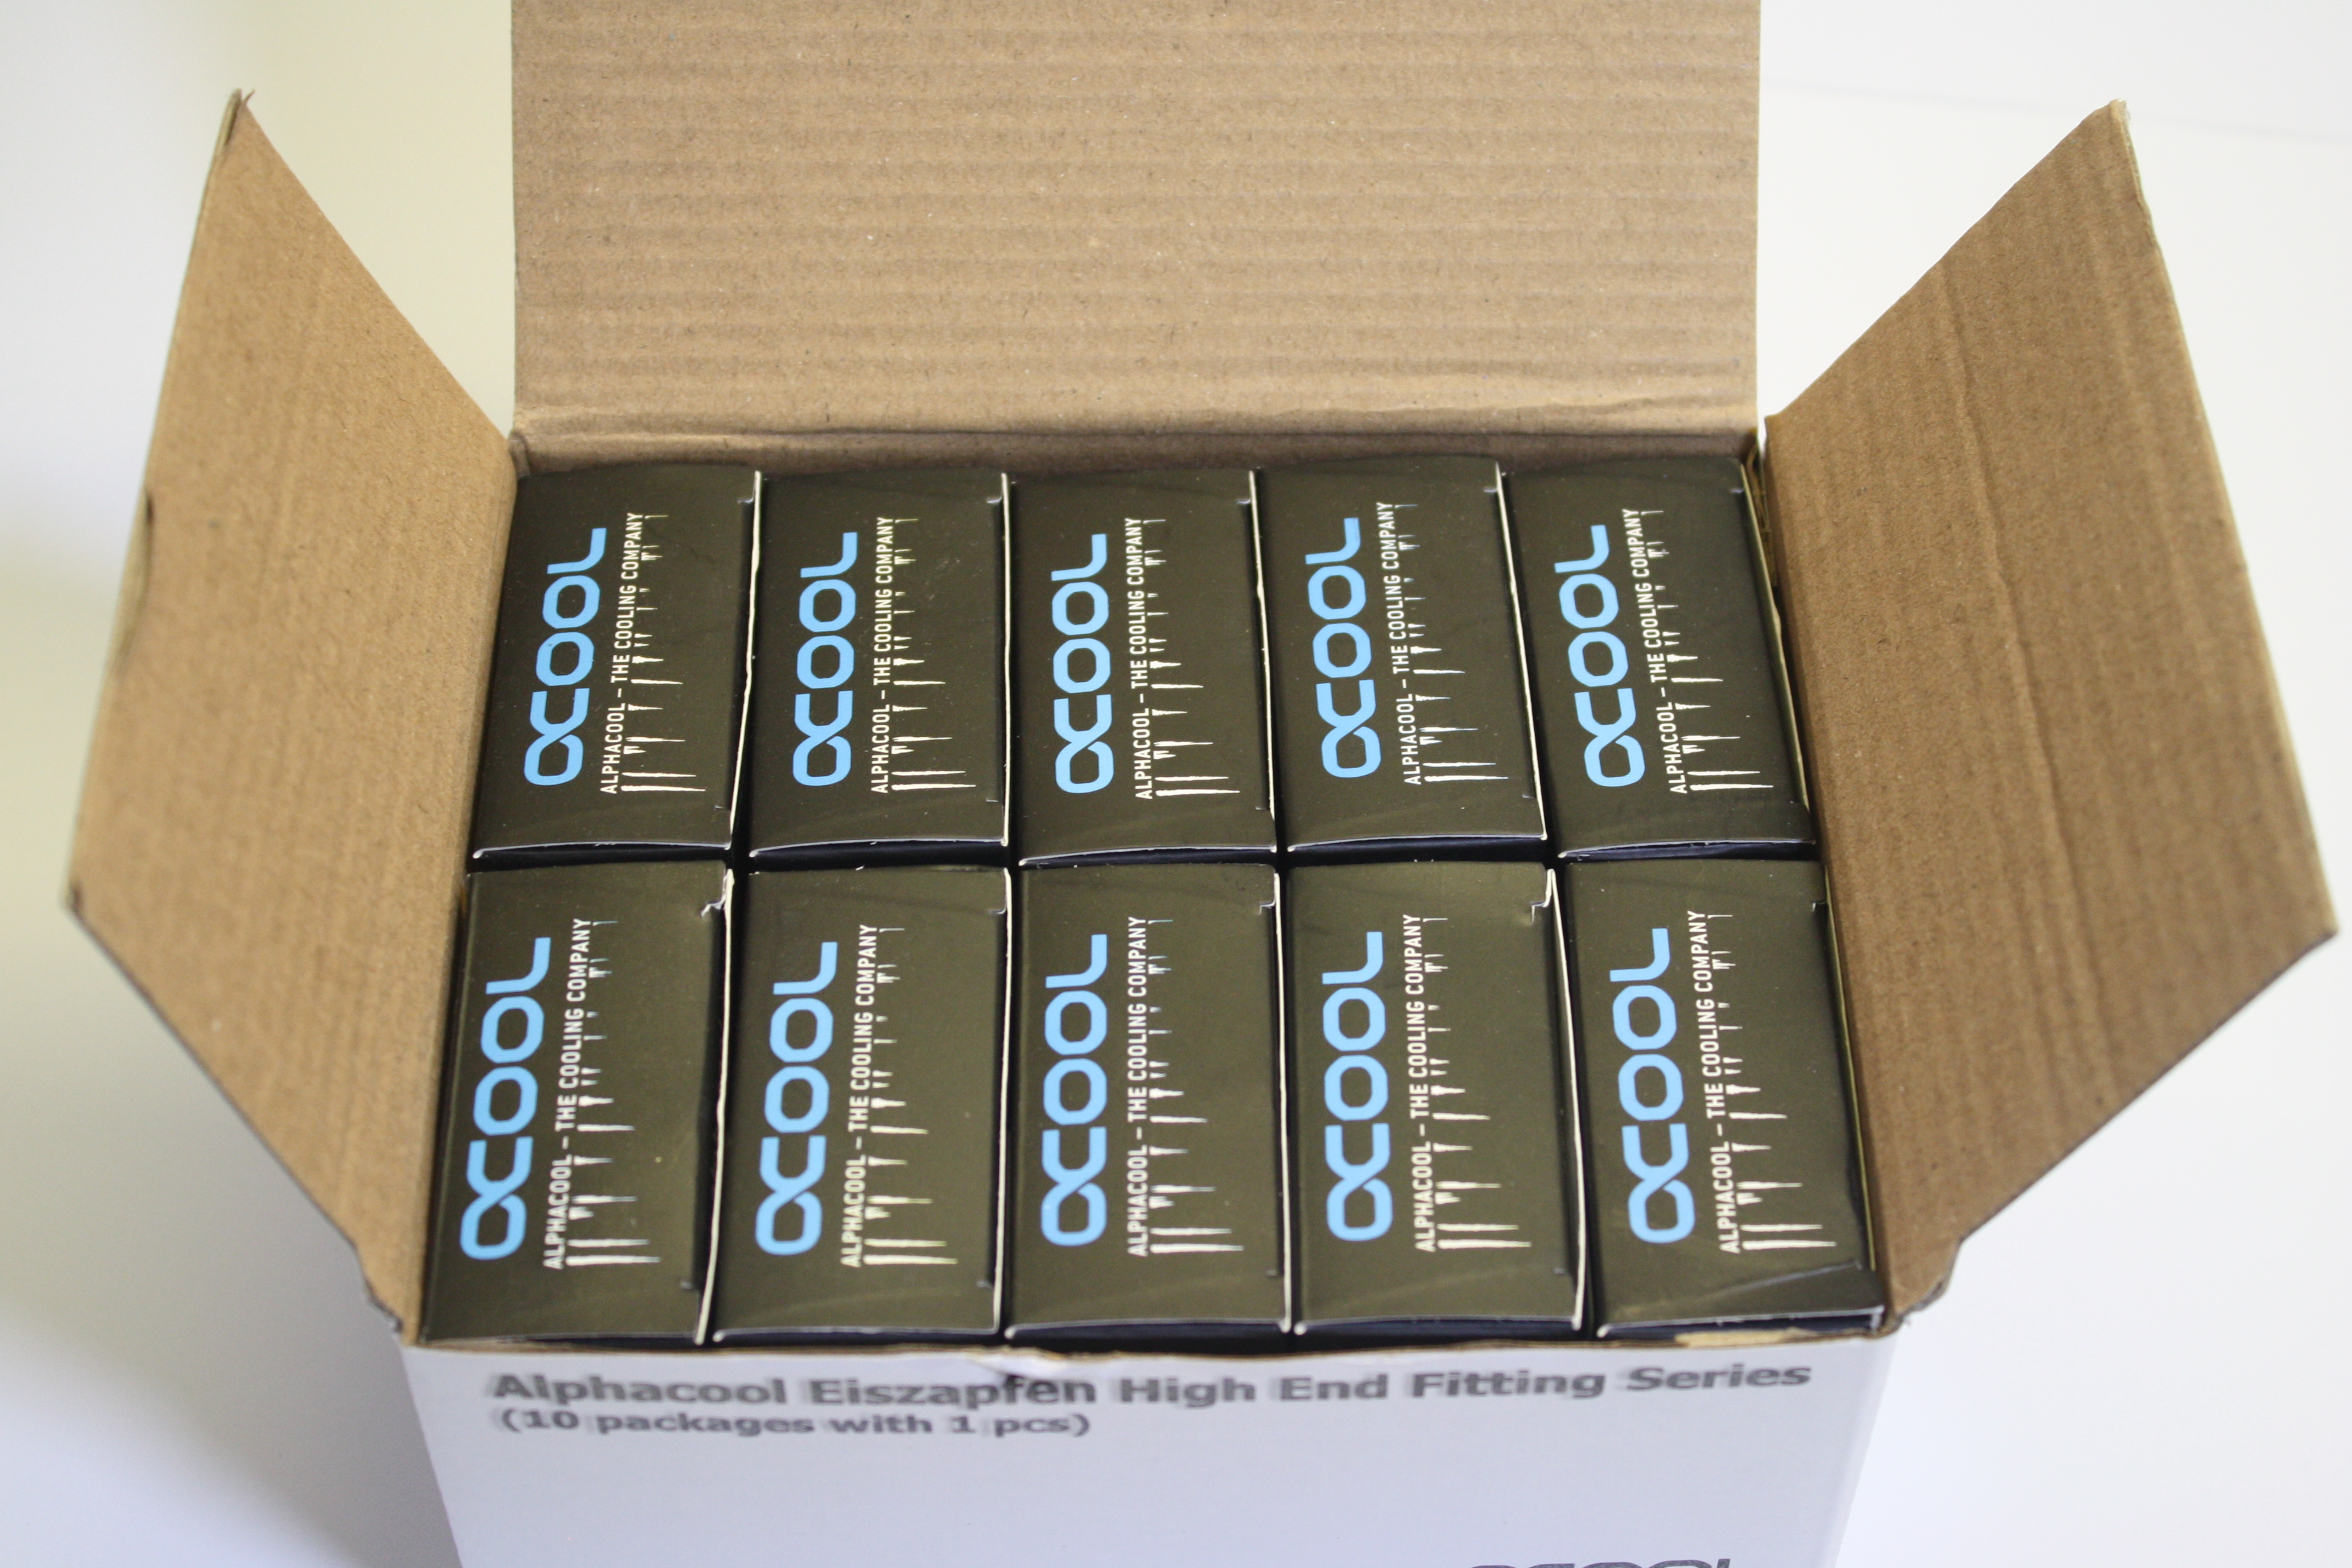
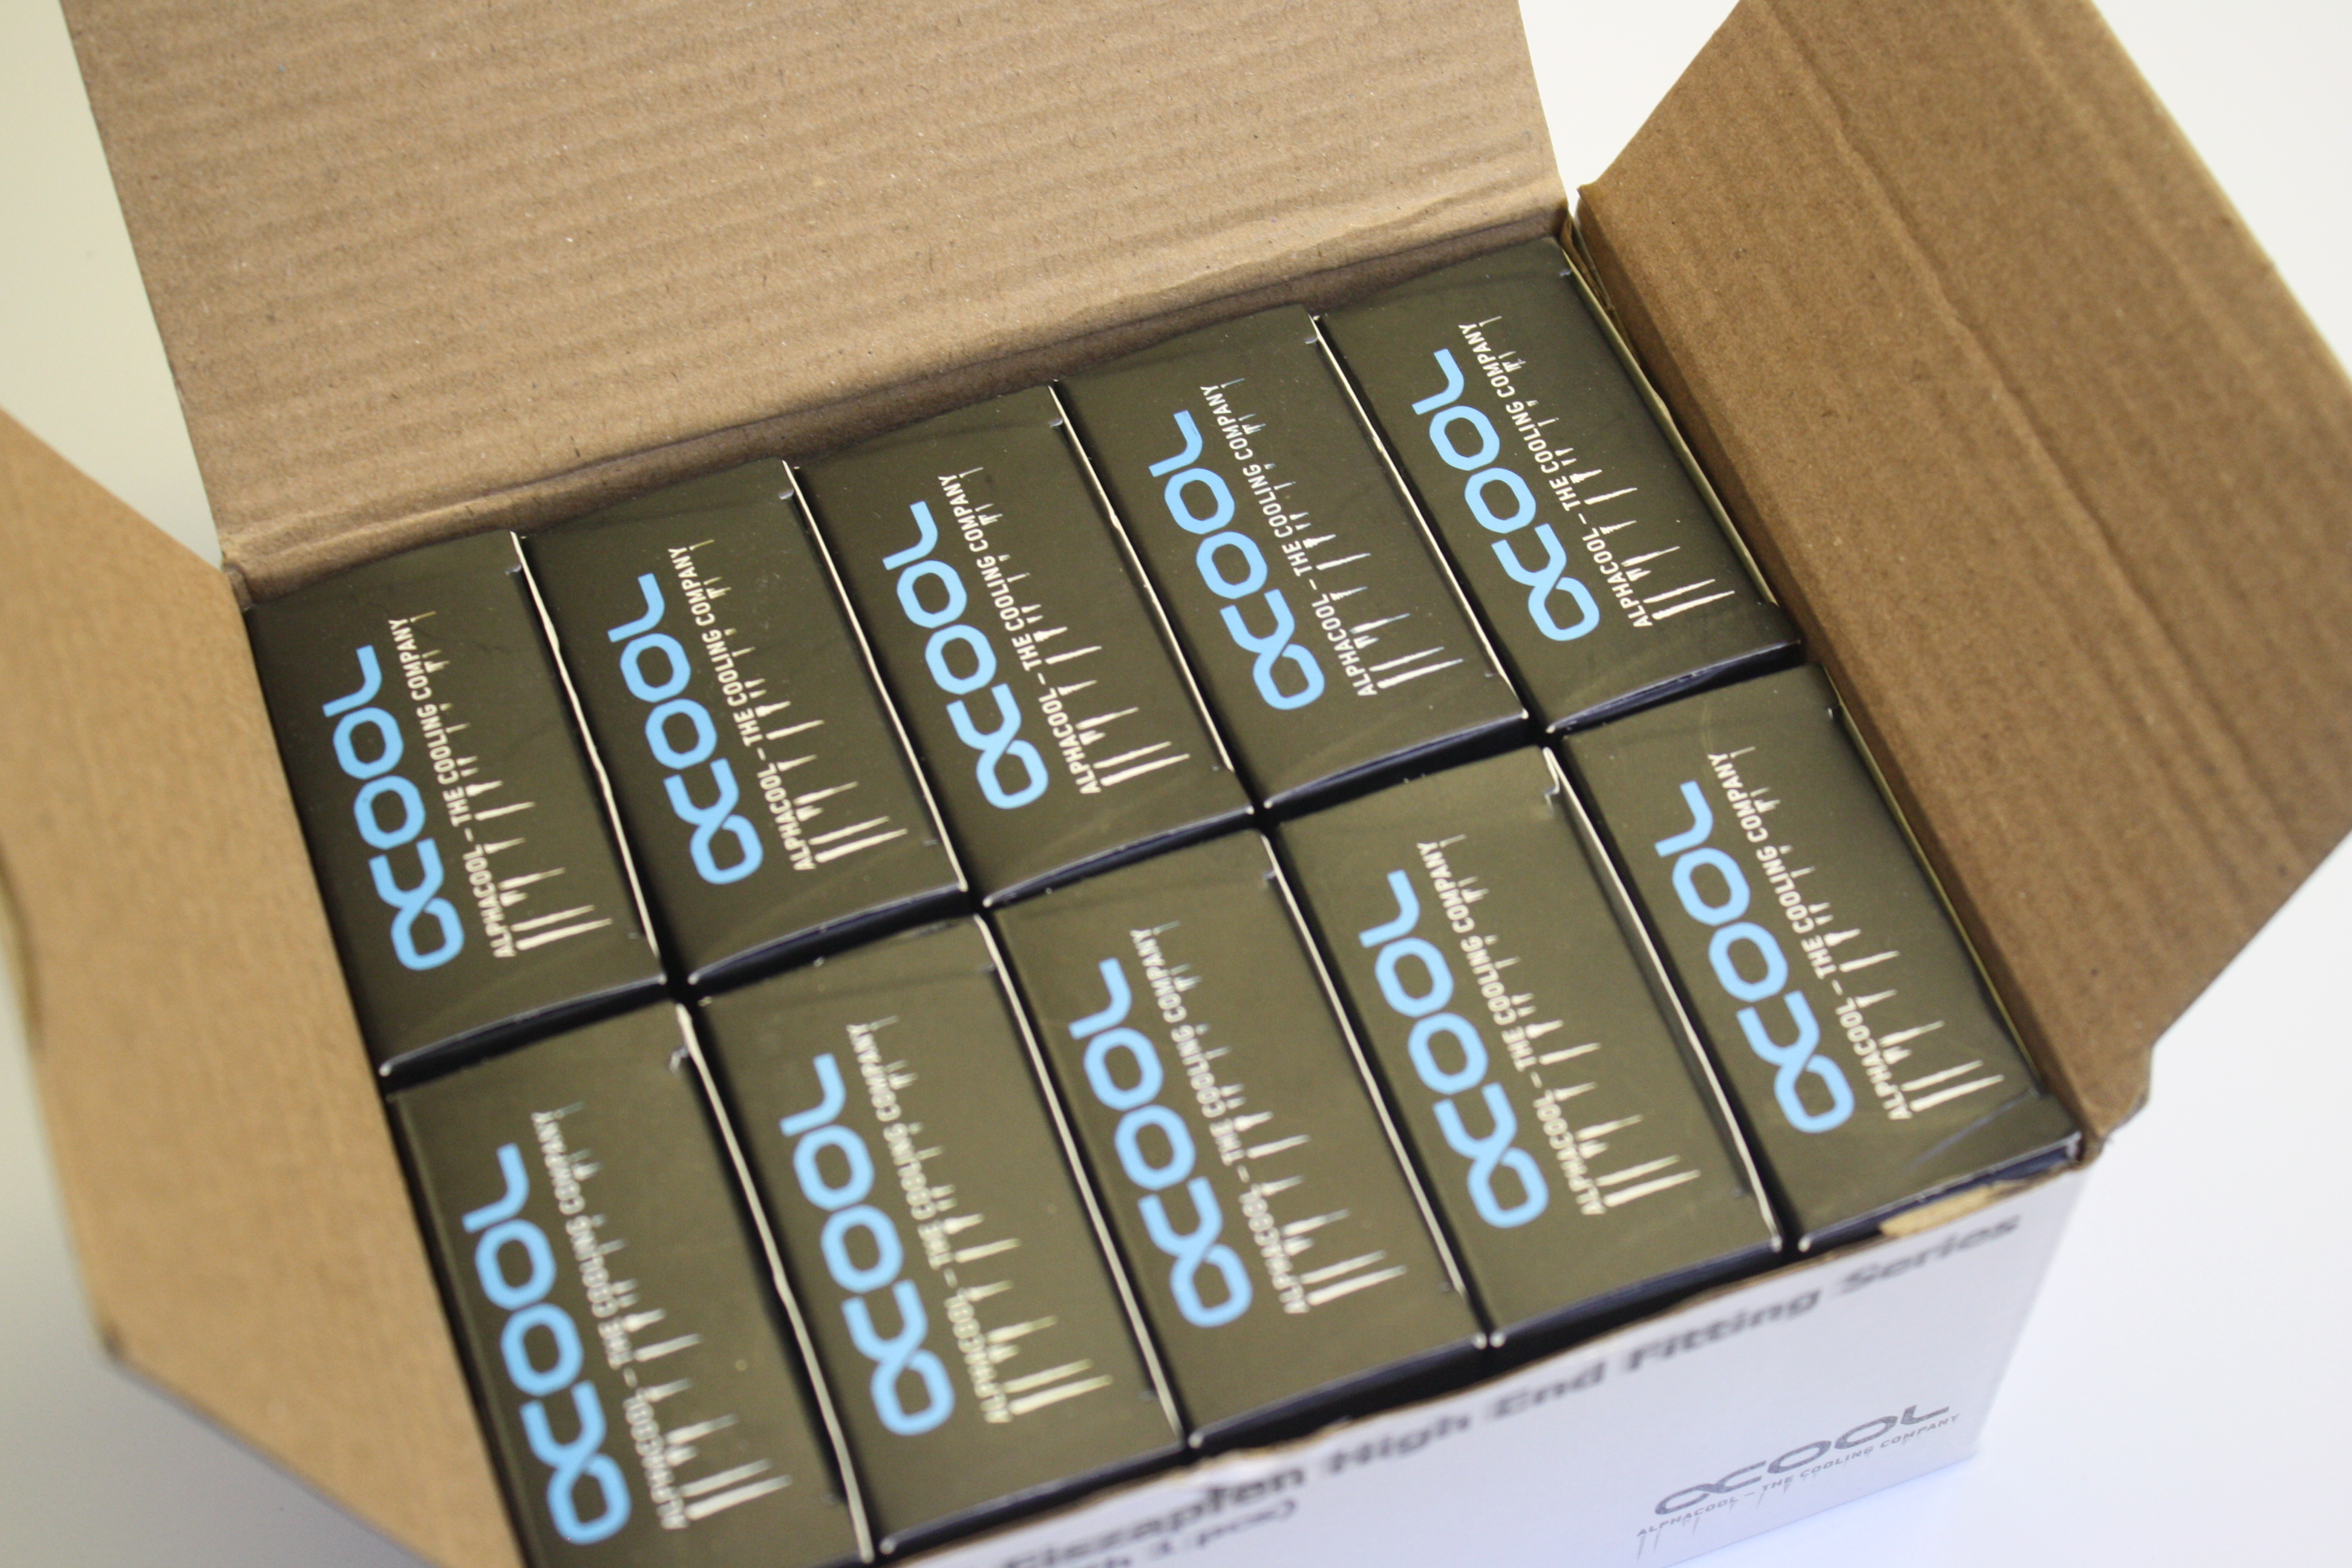
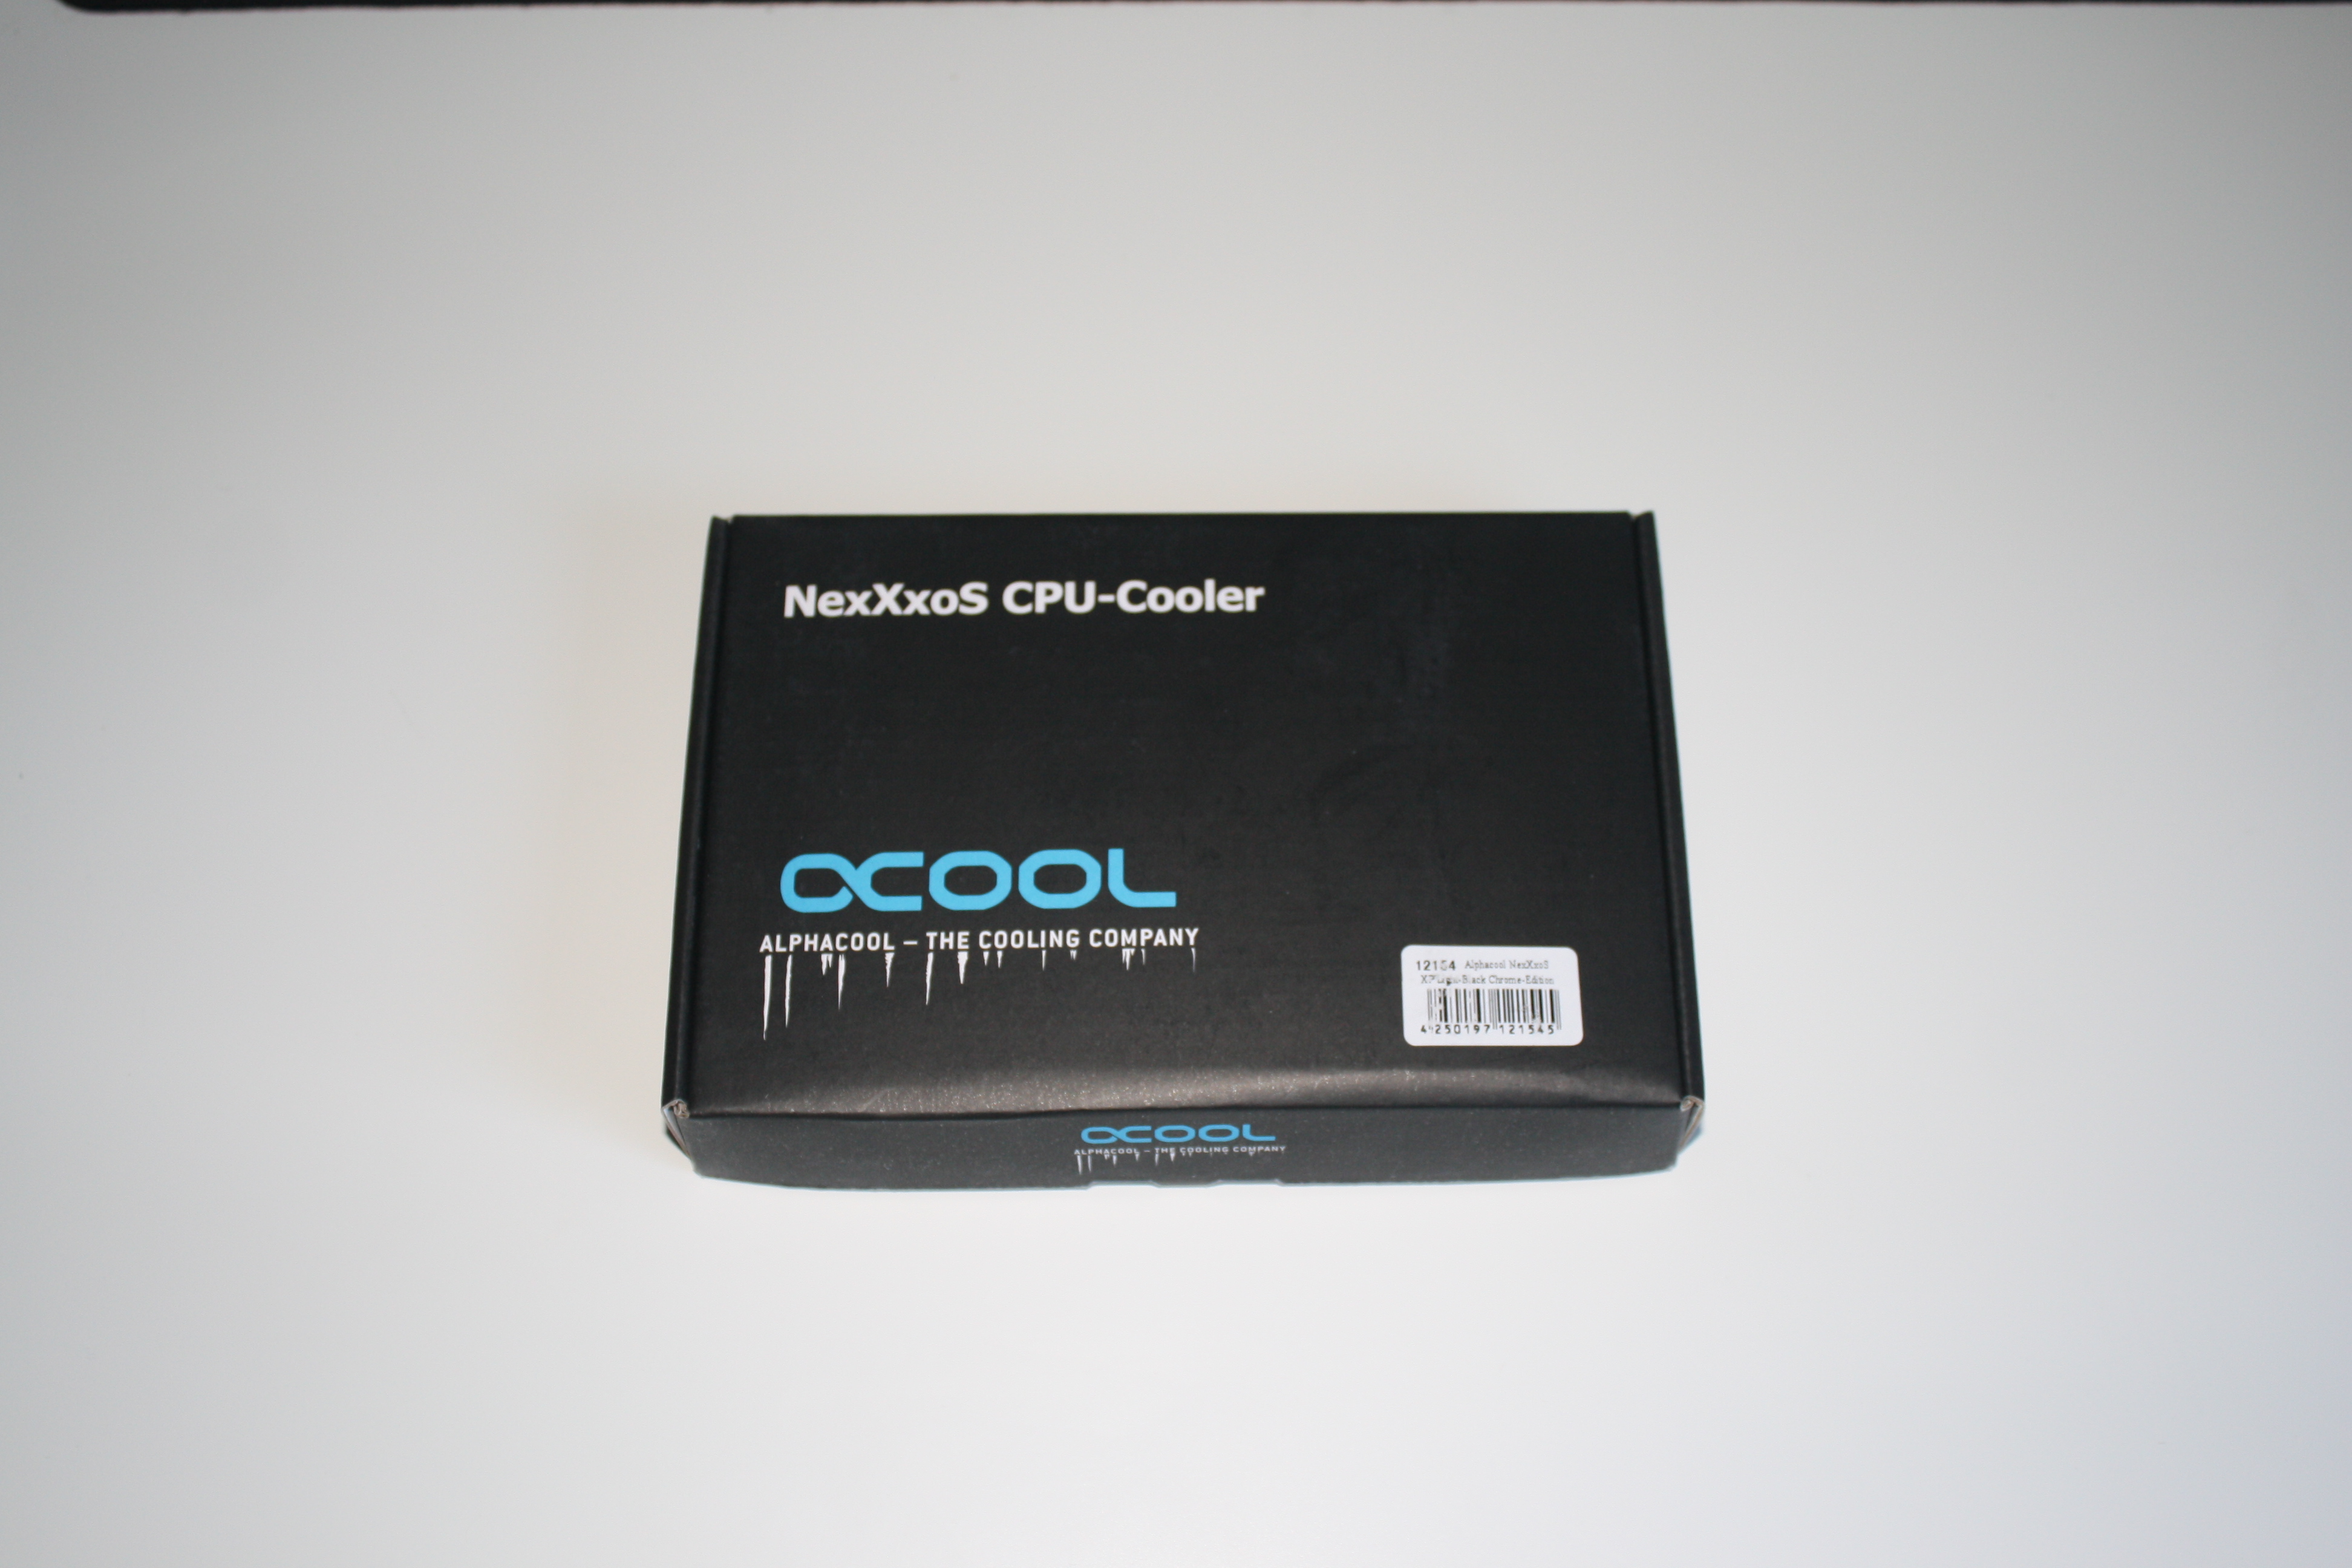
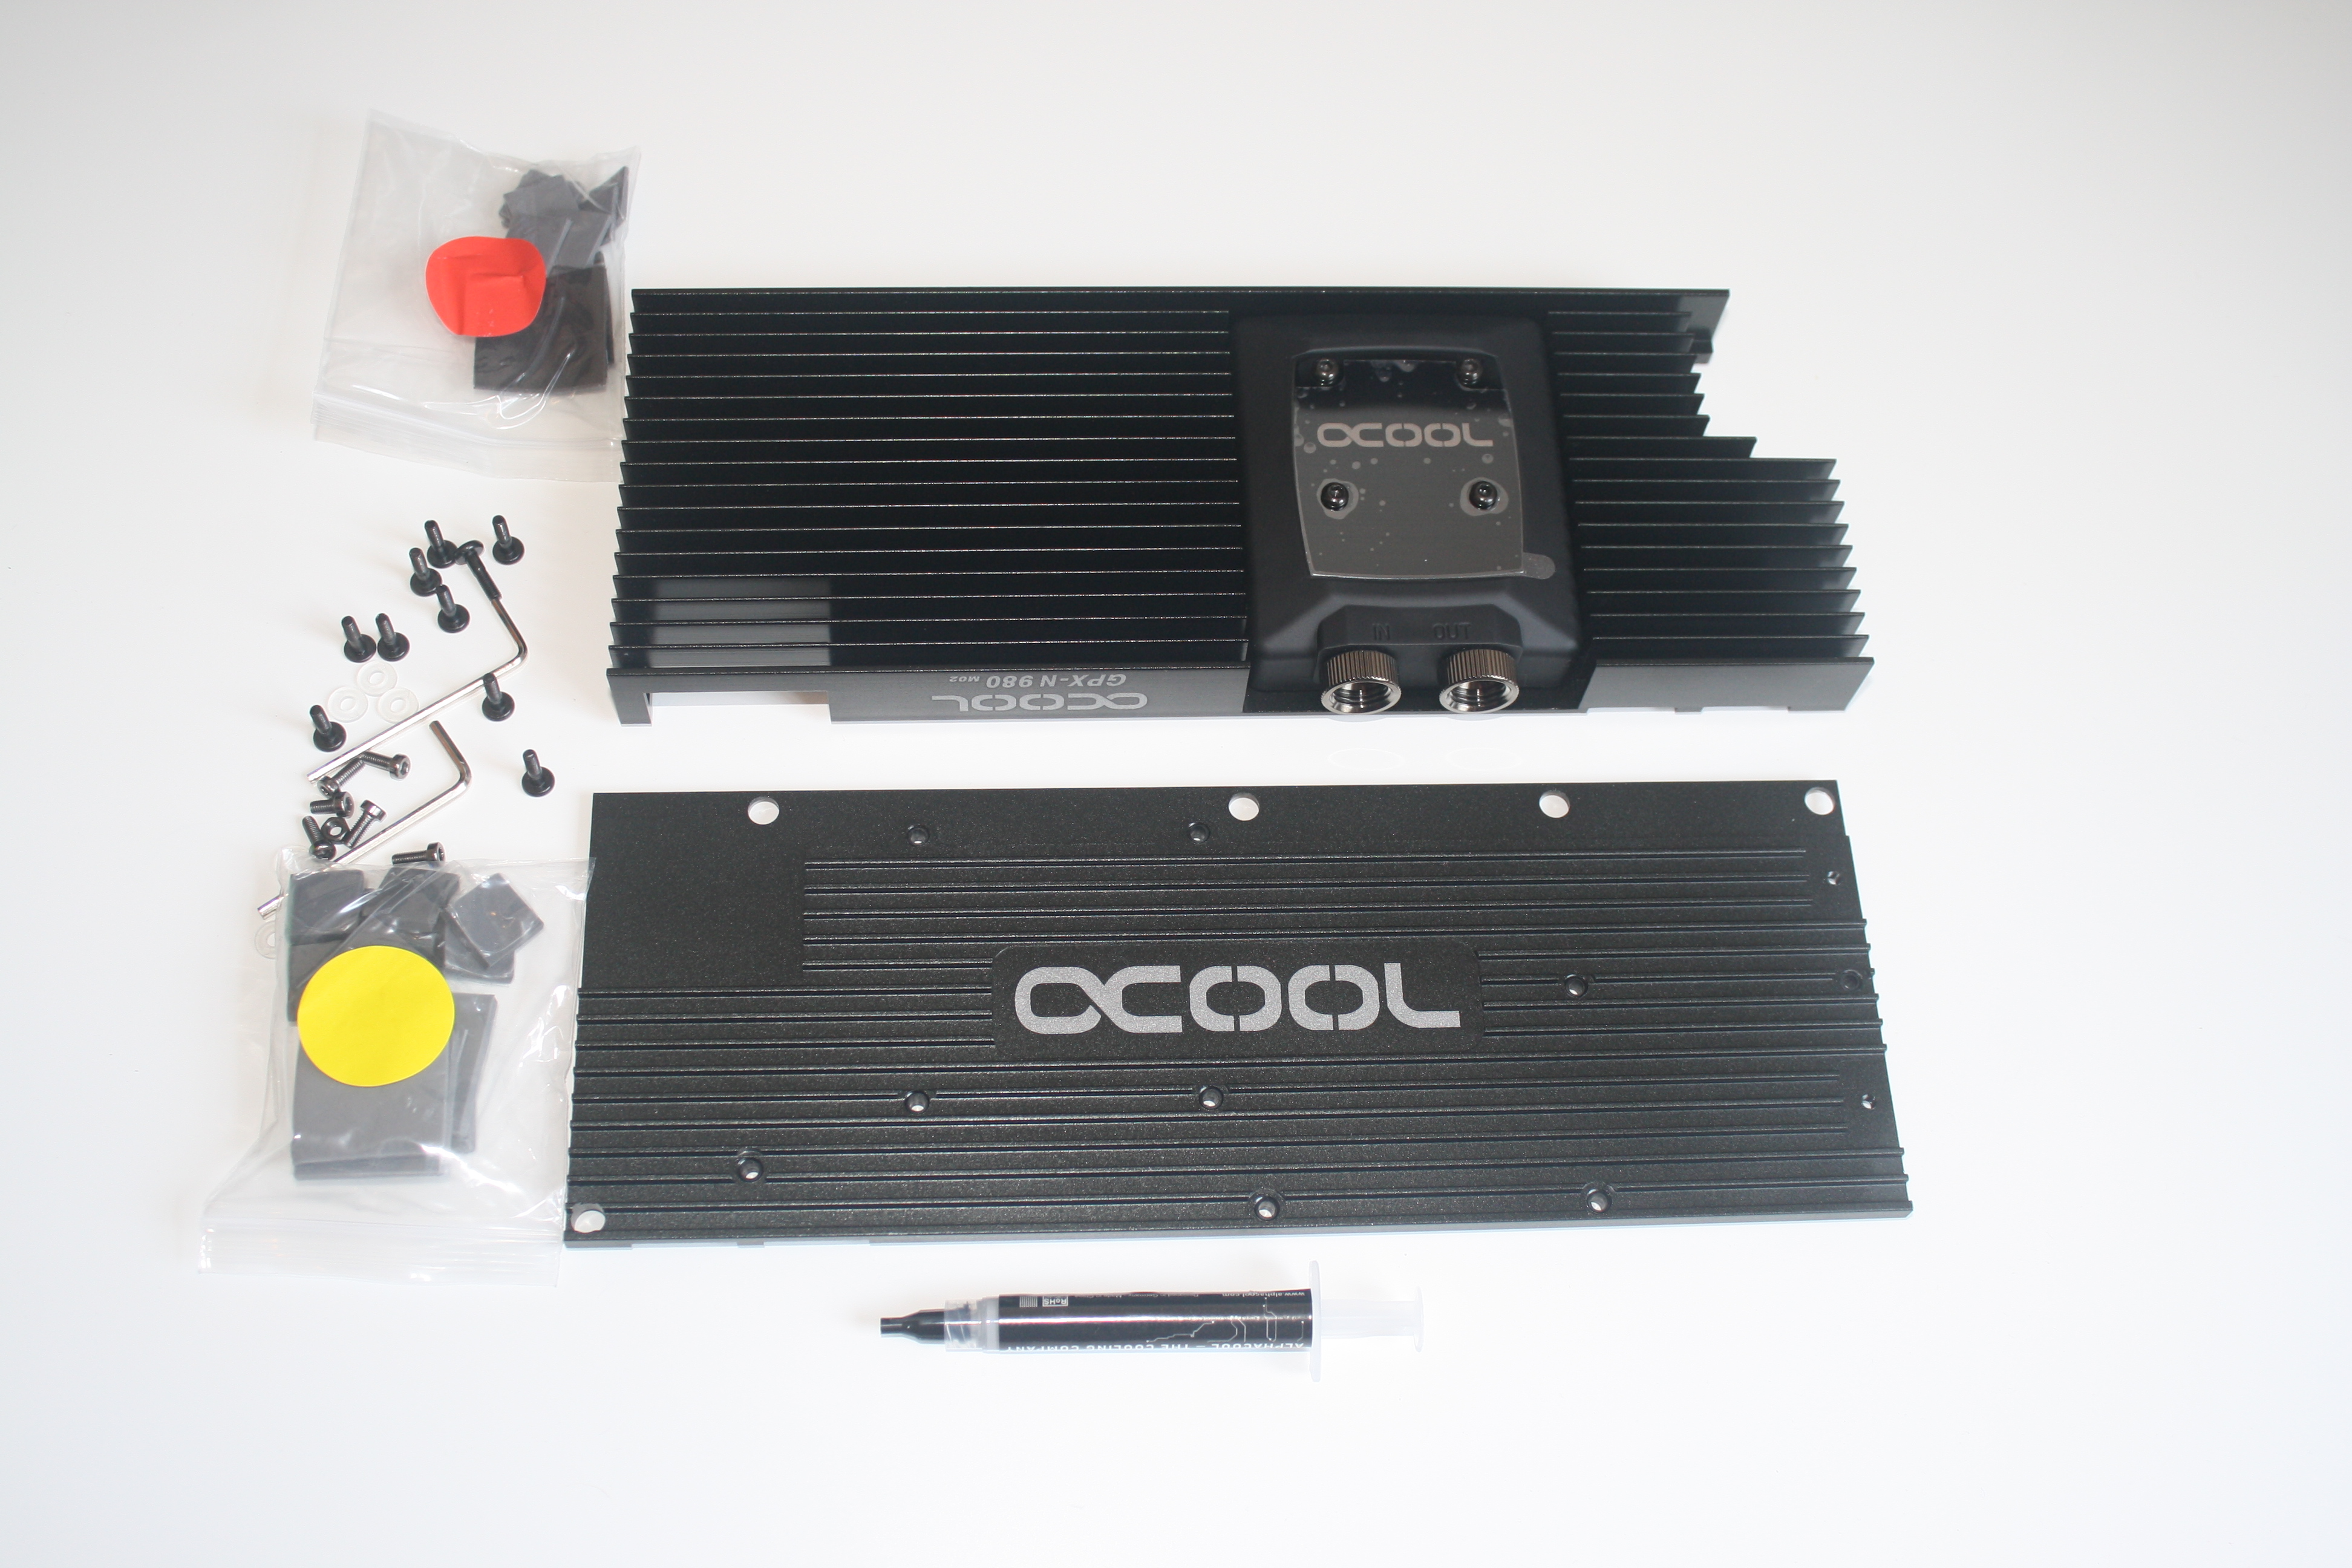
- Alphacool
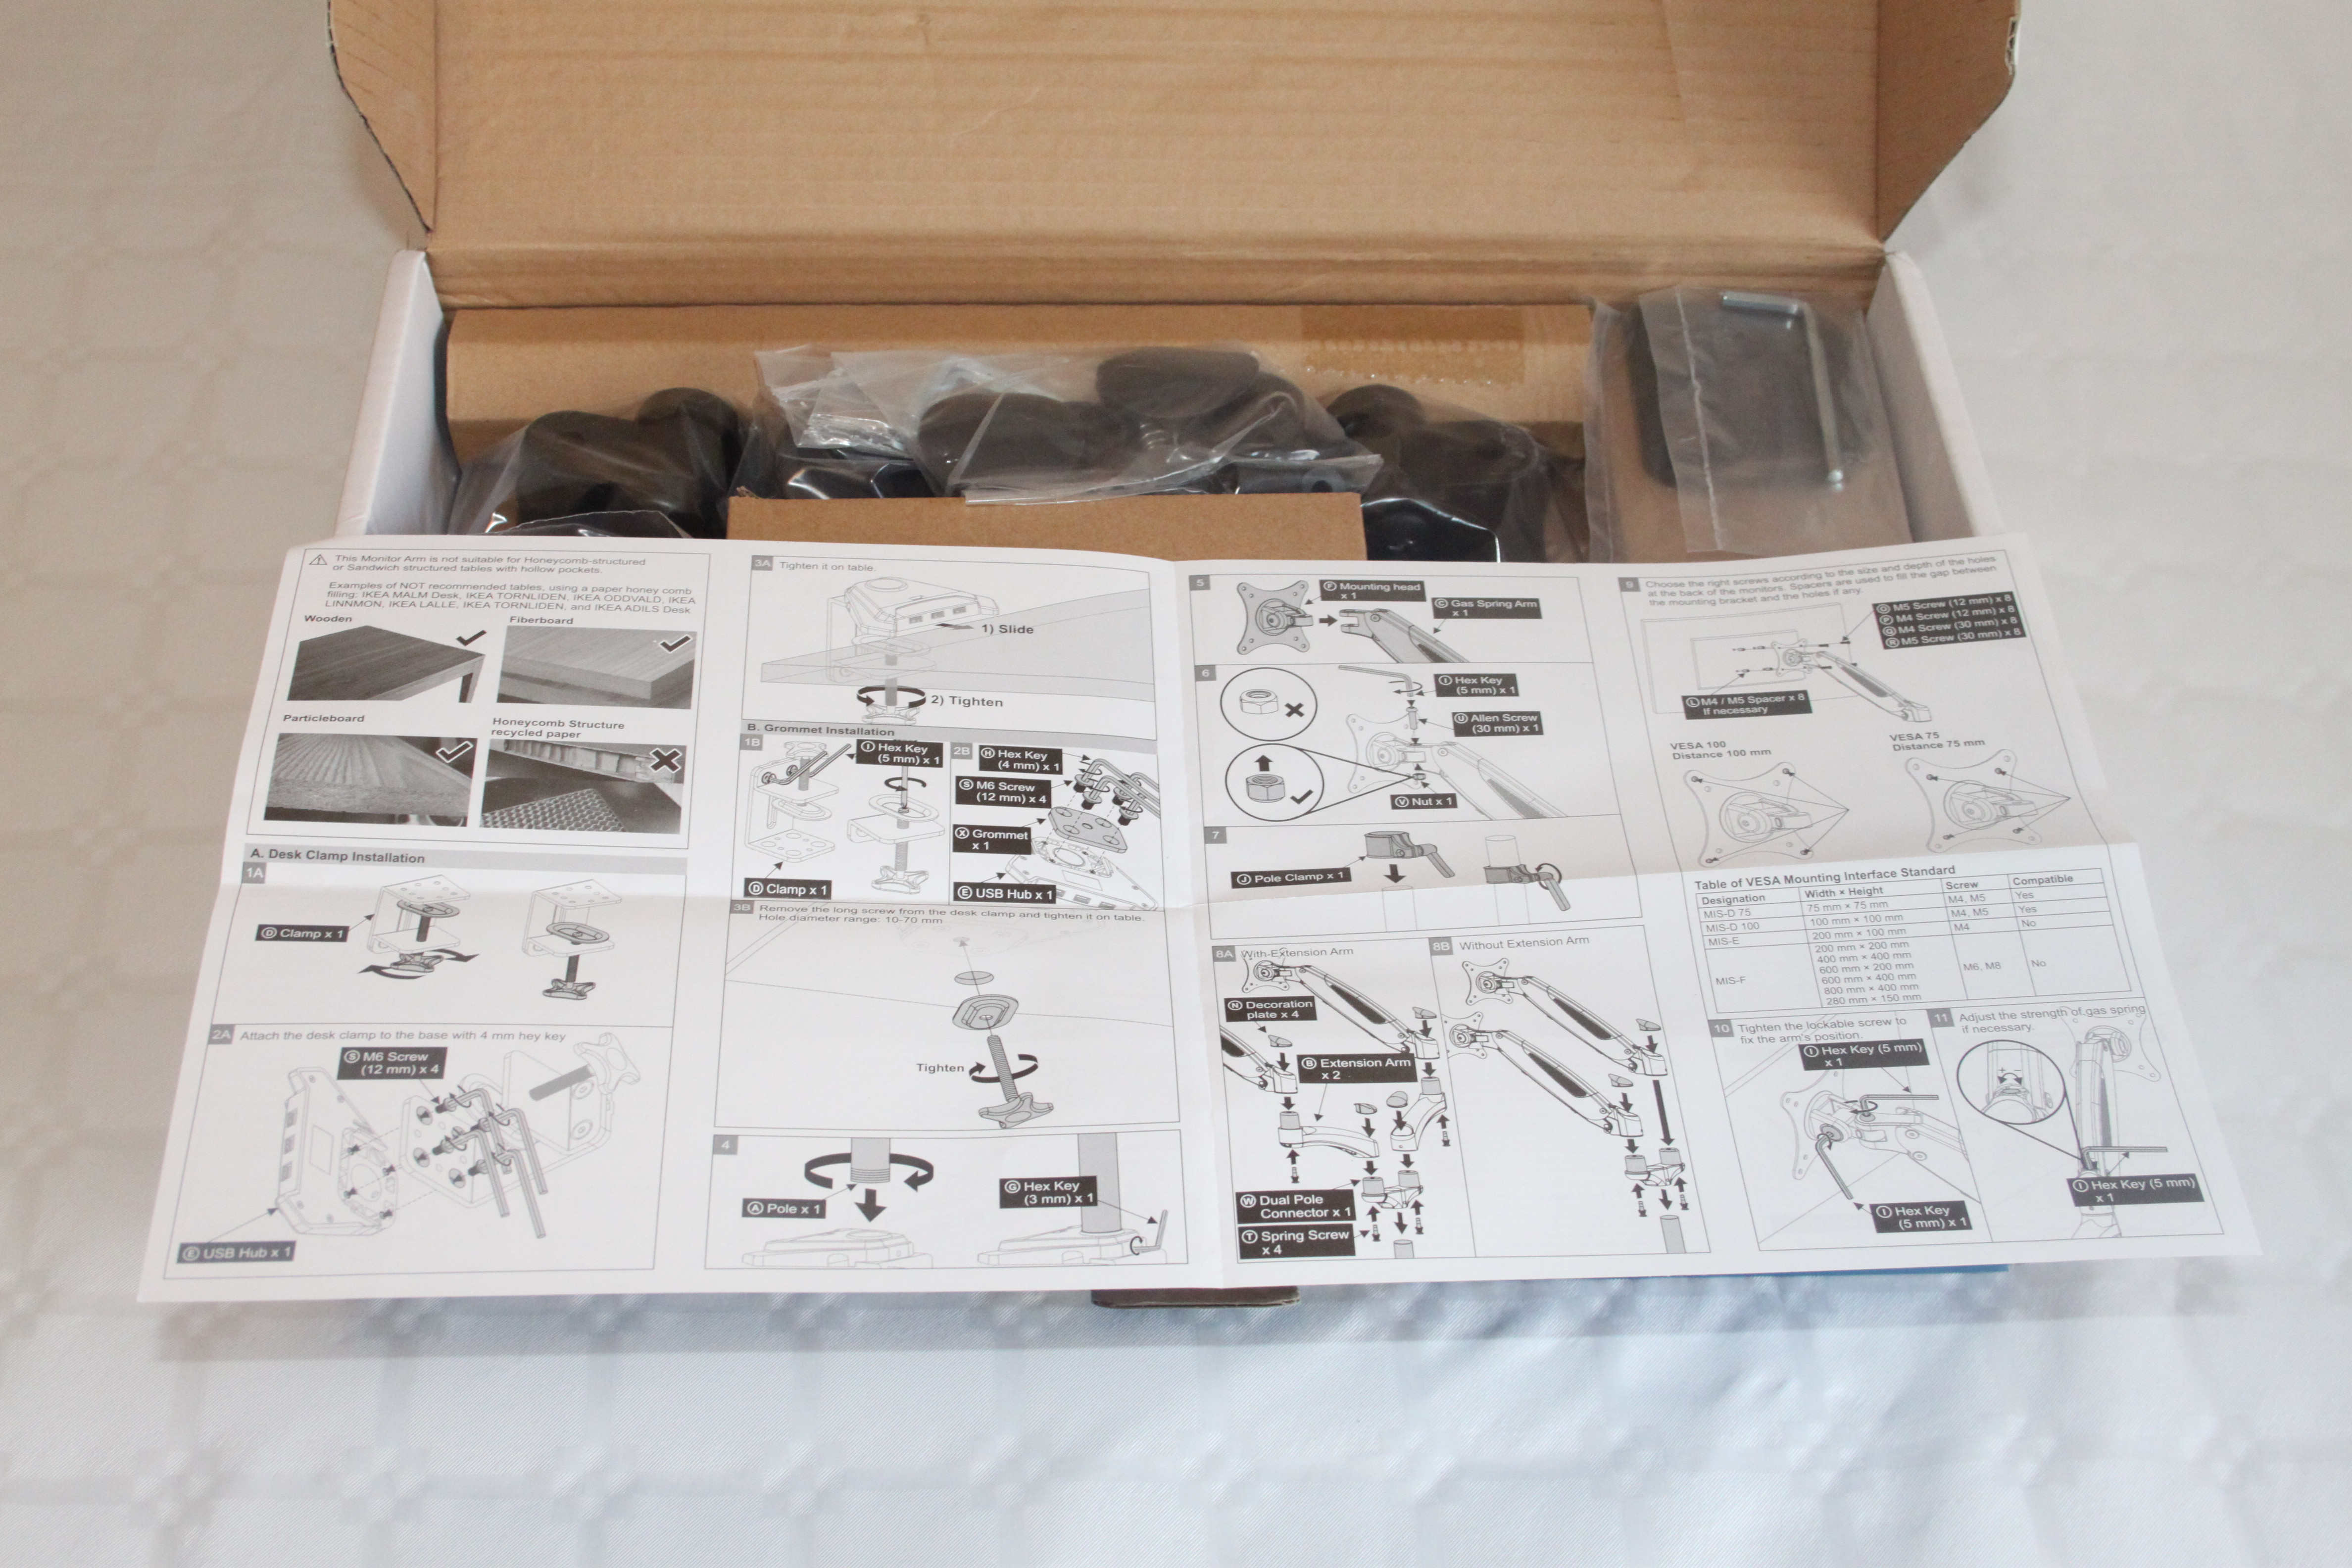
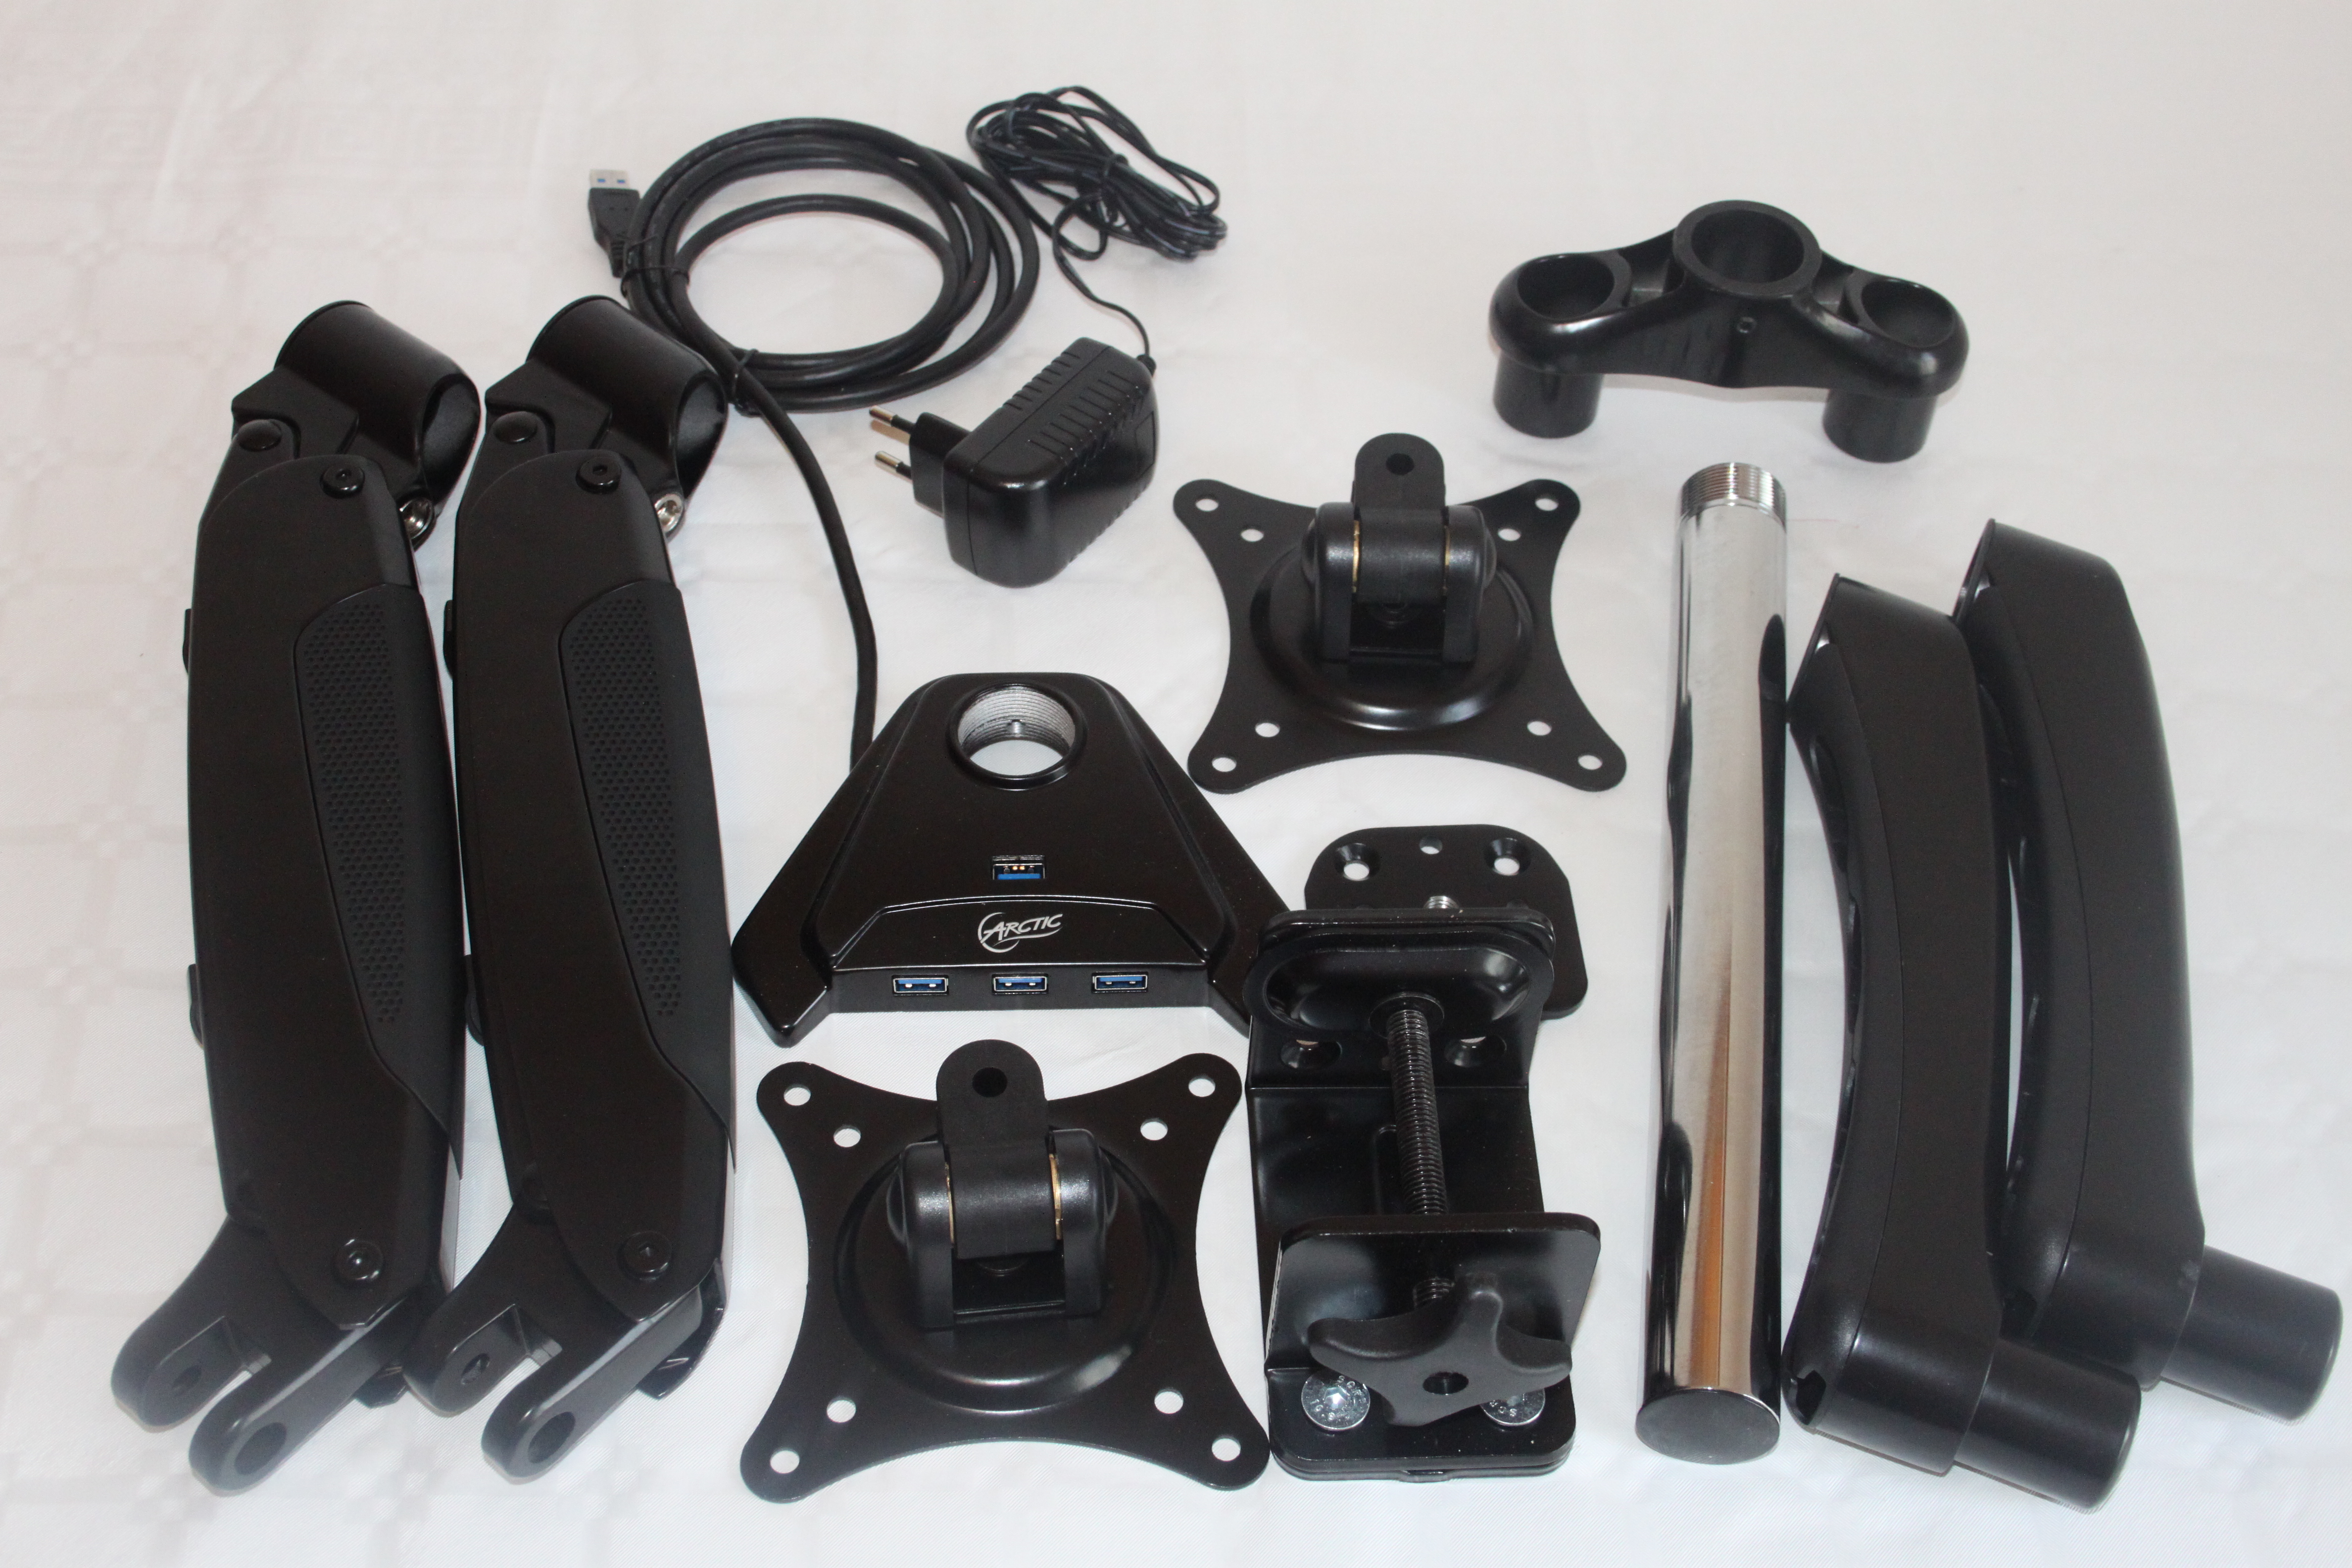
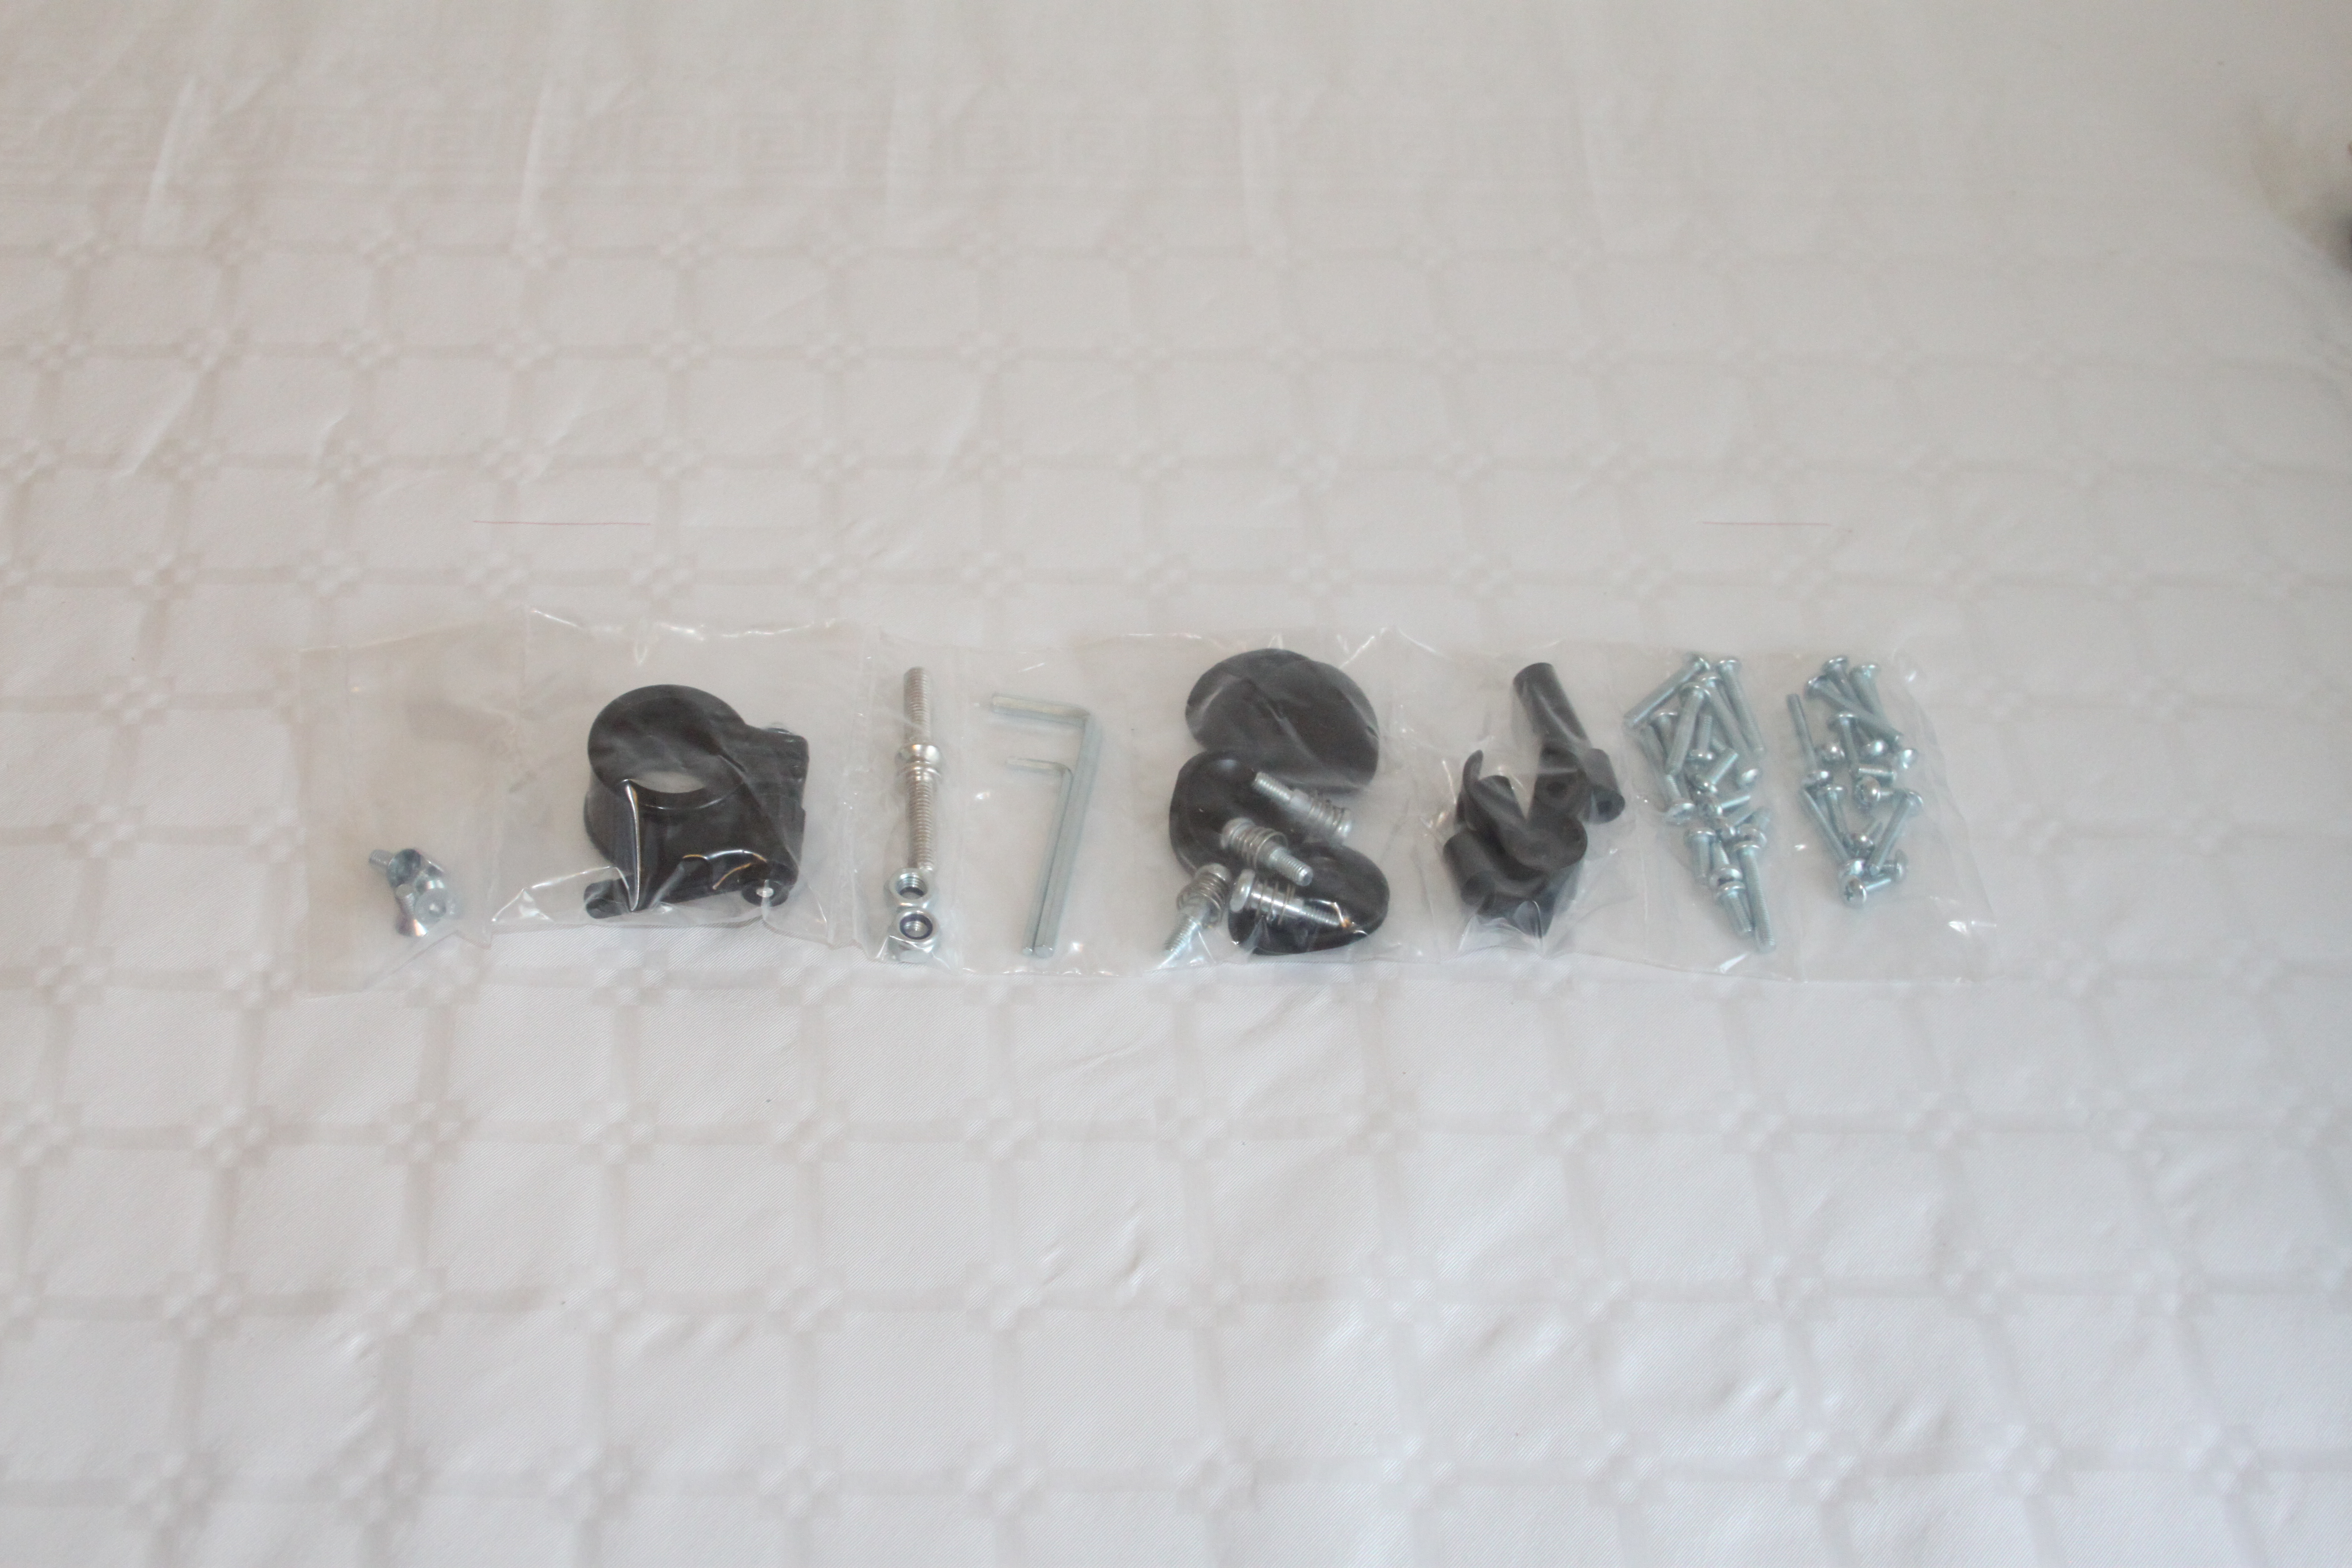
- Artic
- Cablemod
- Blacknoise
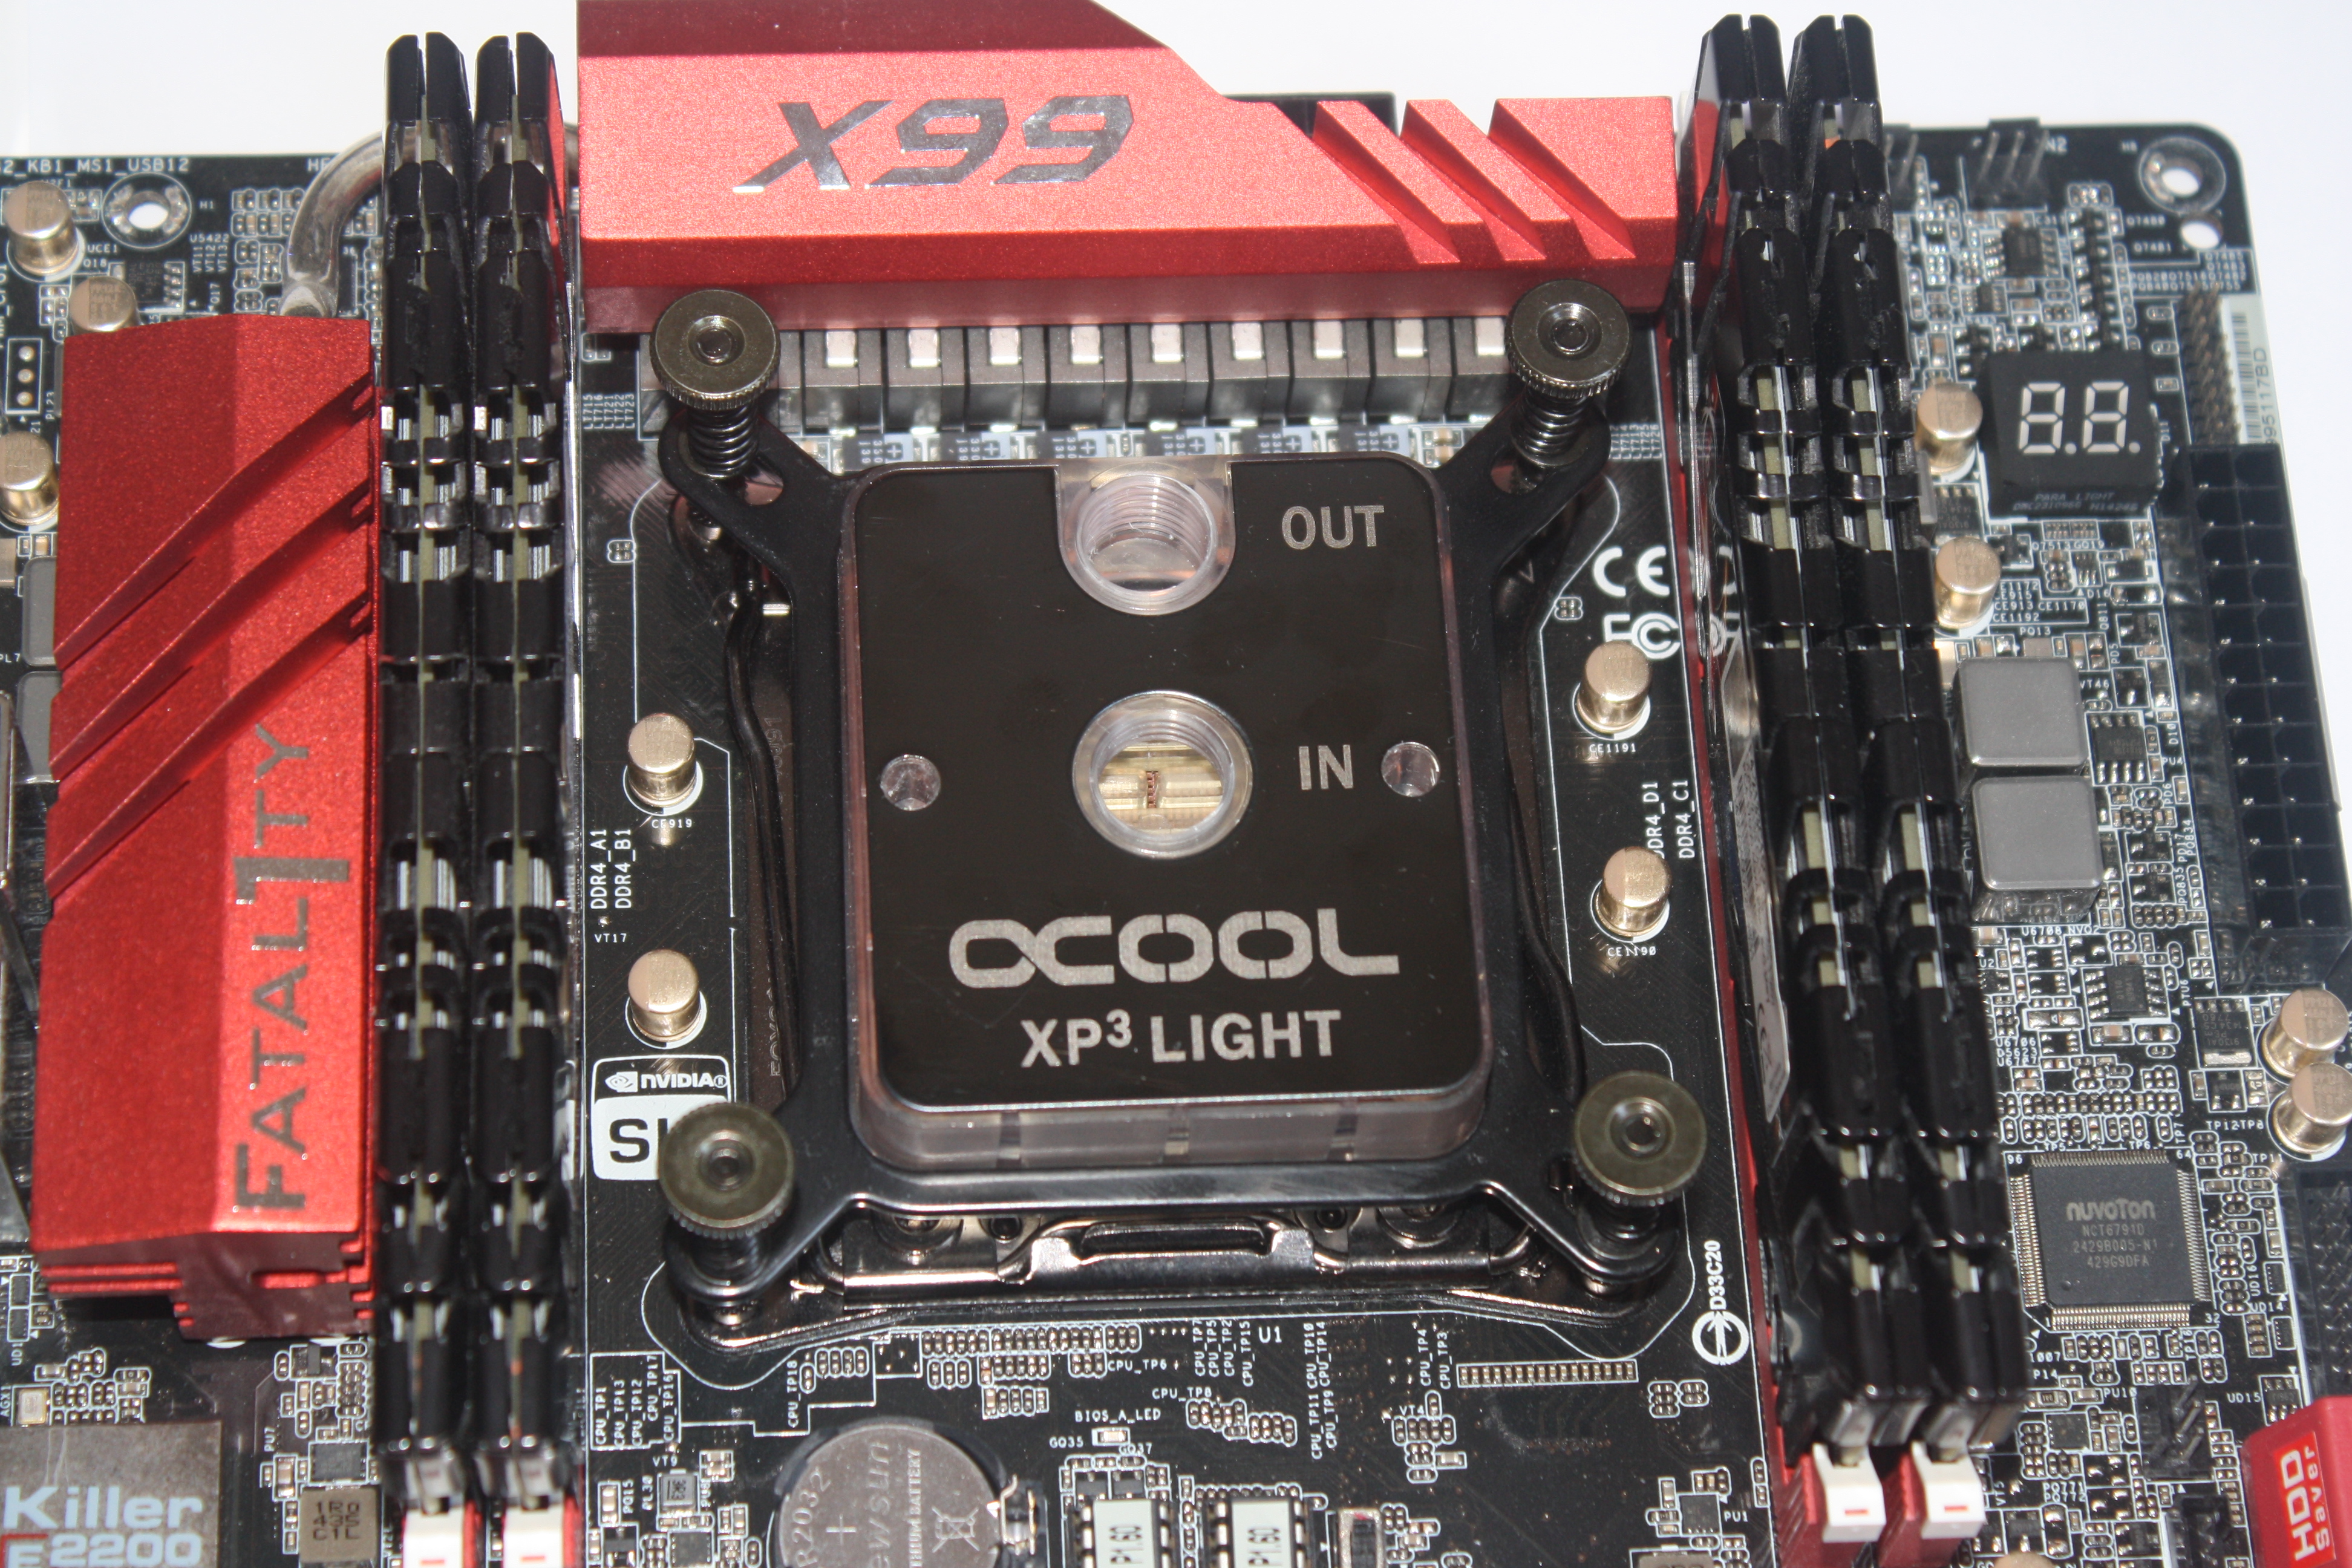
The pc specs:
- 5820k
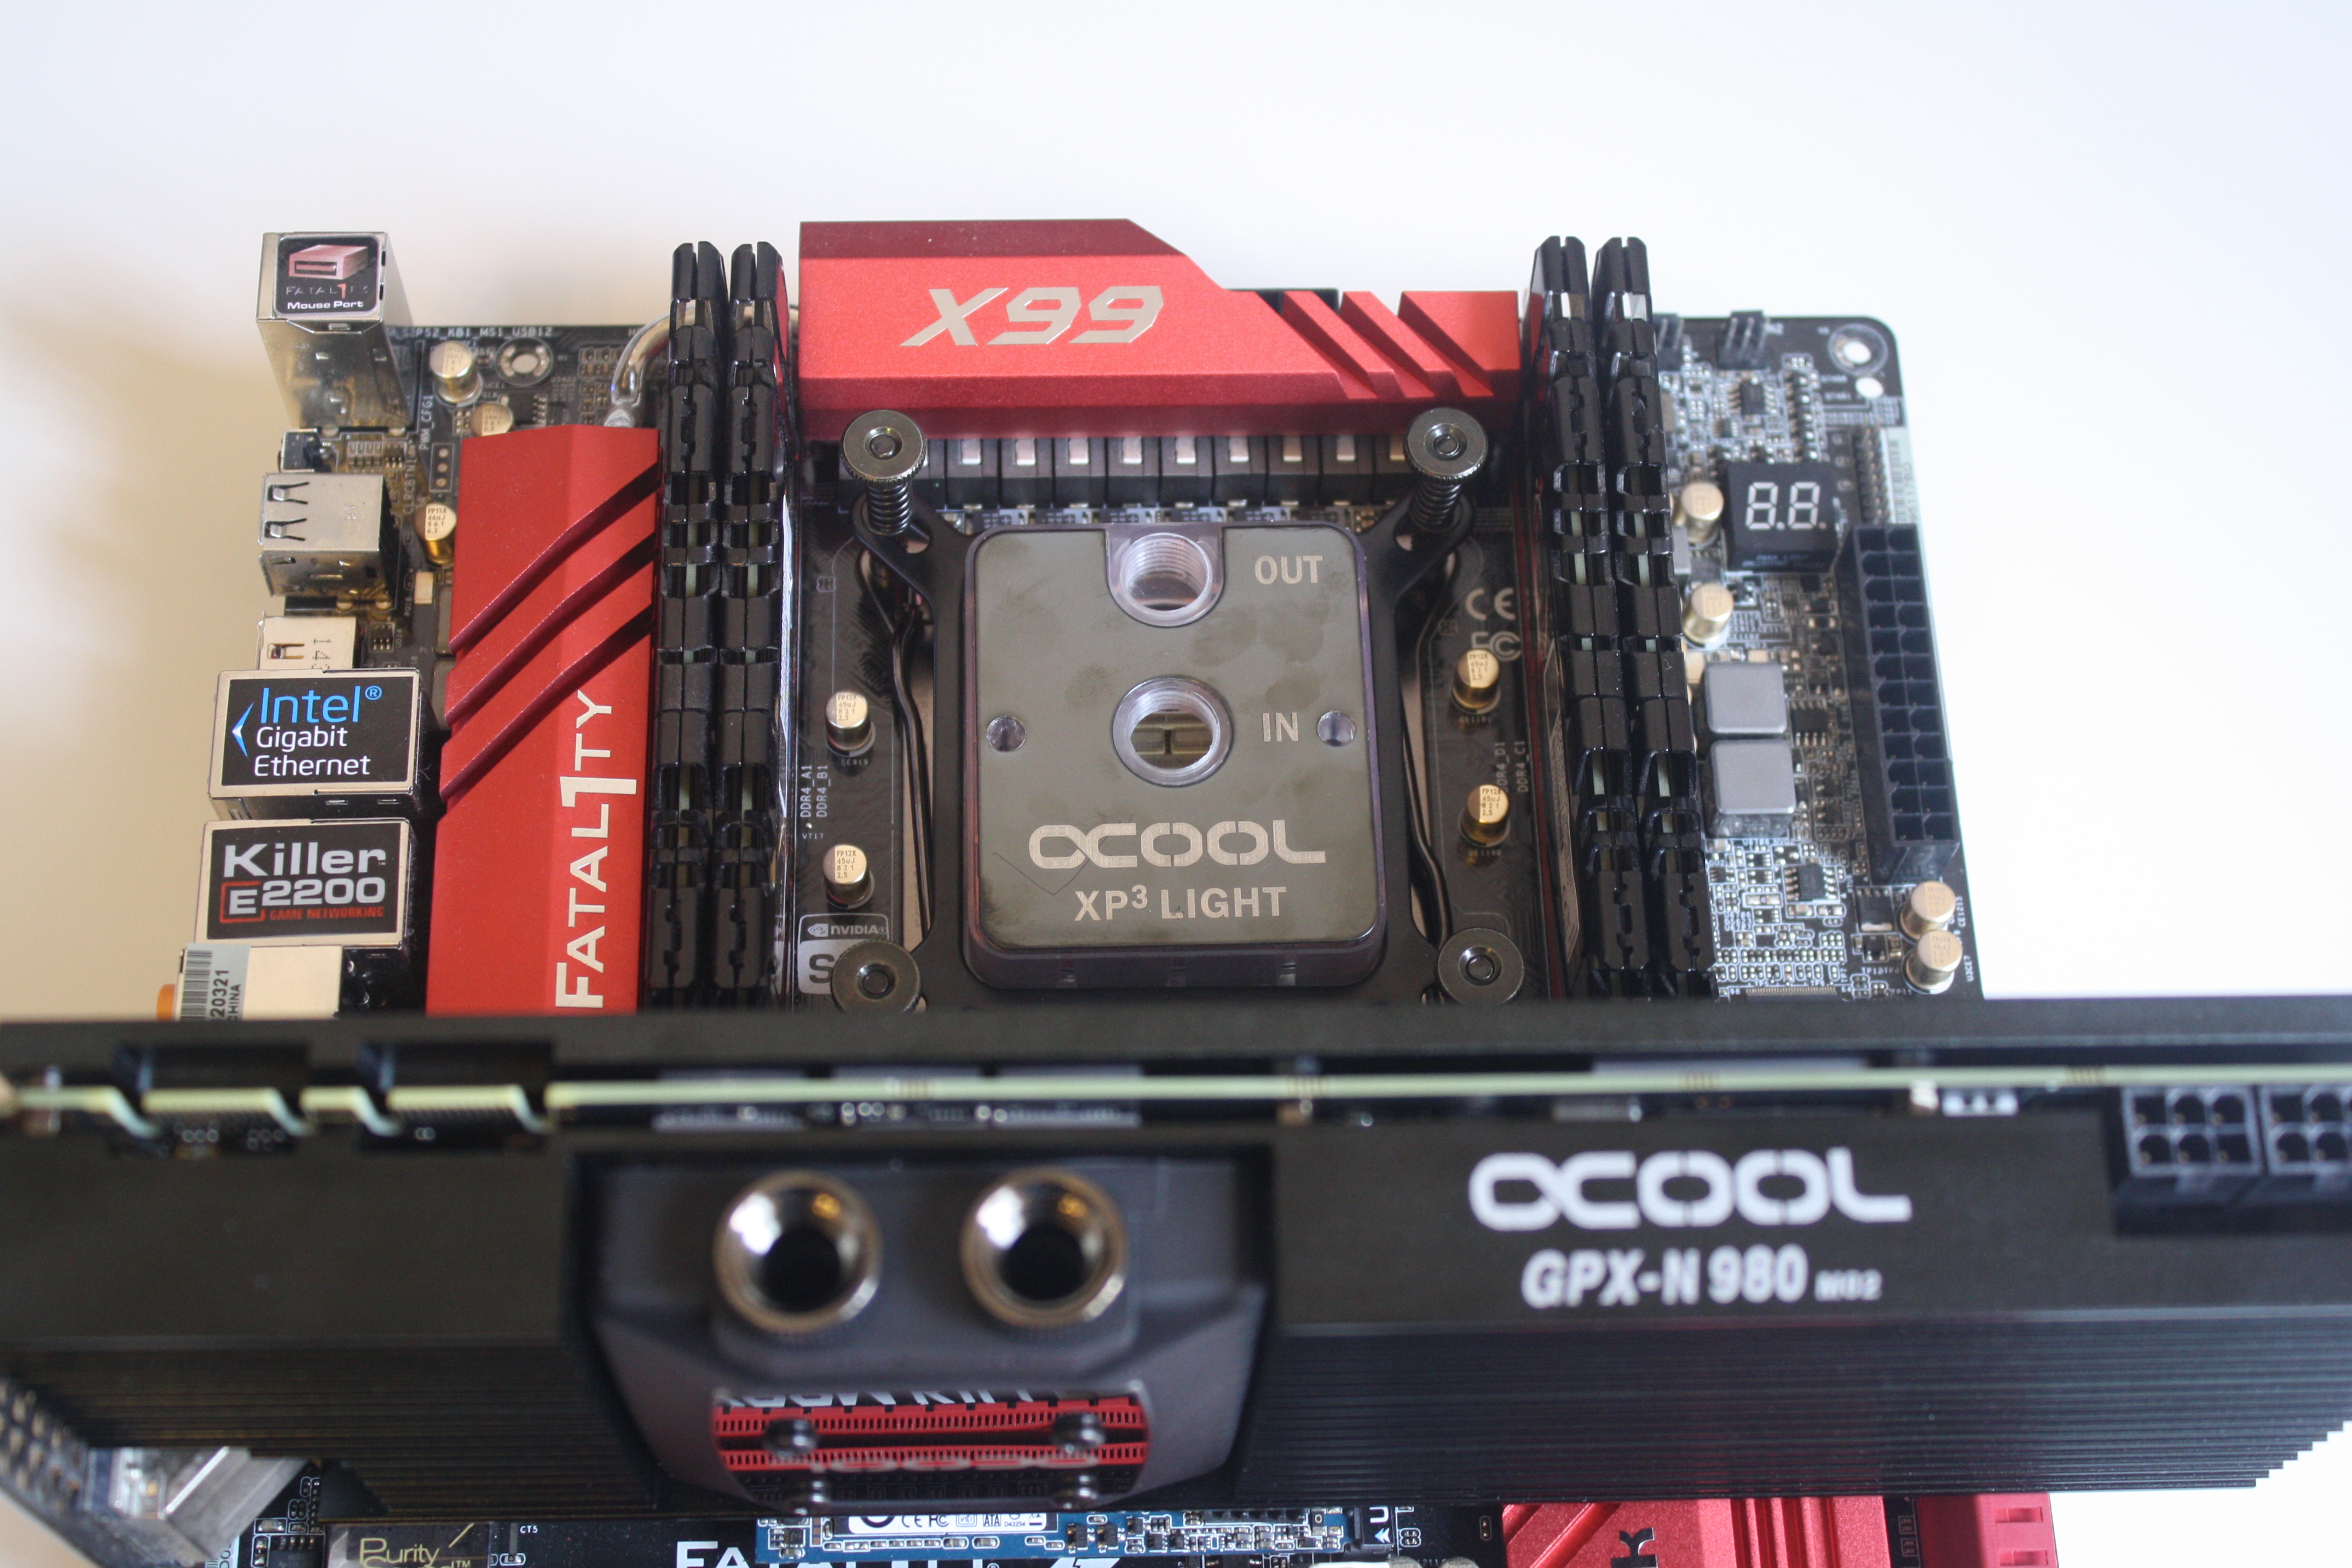
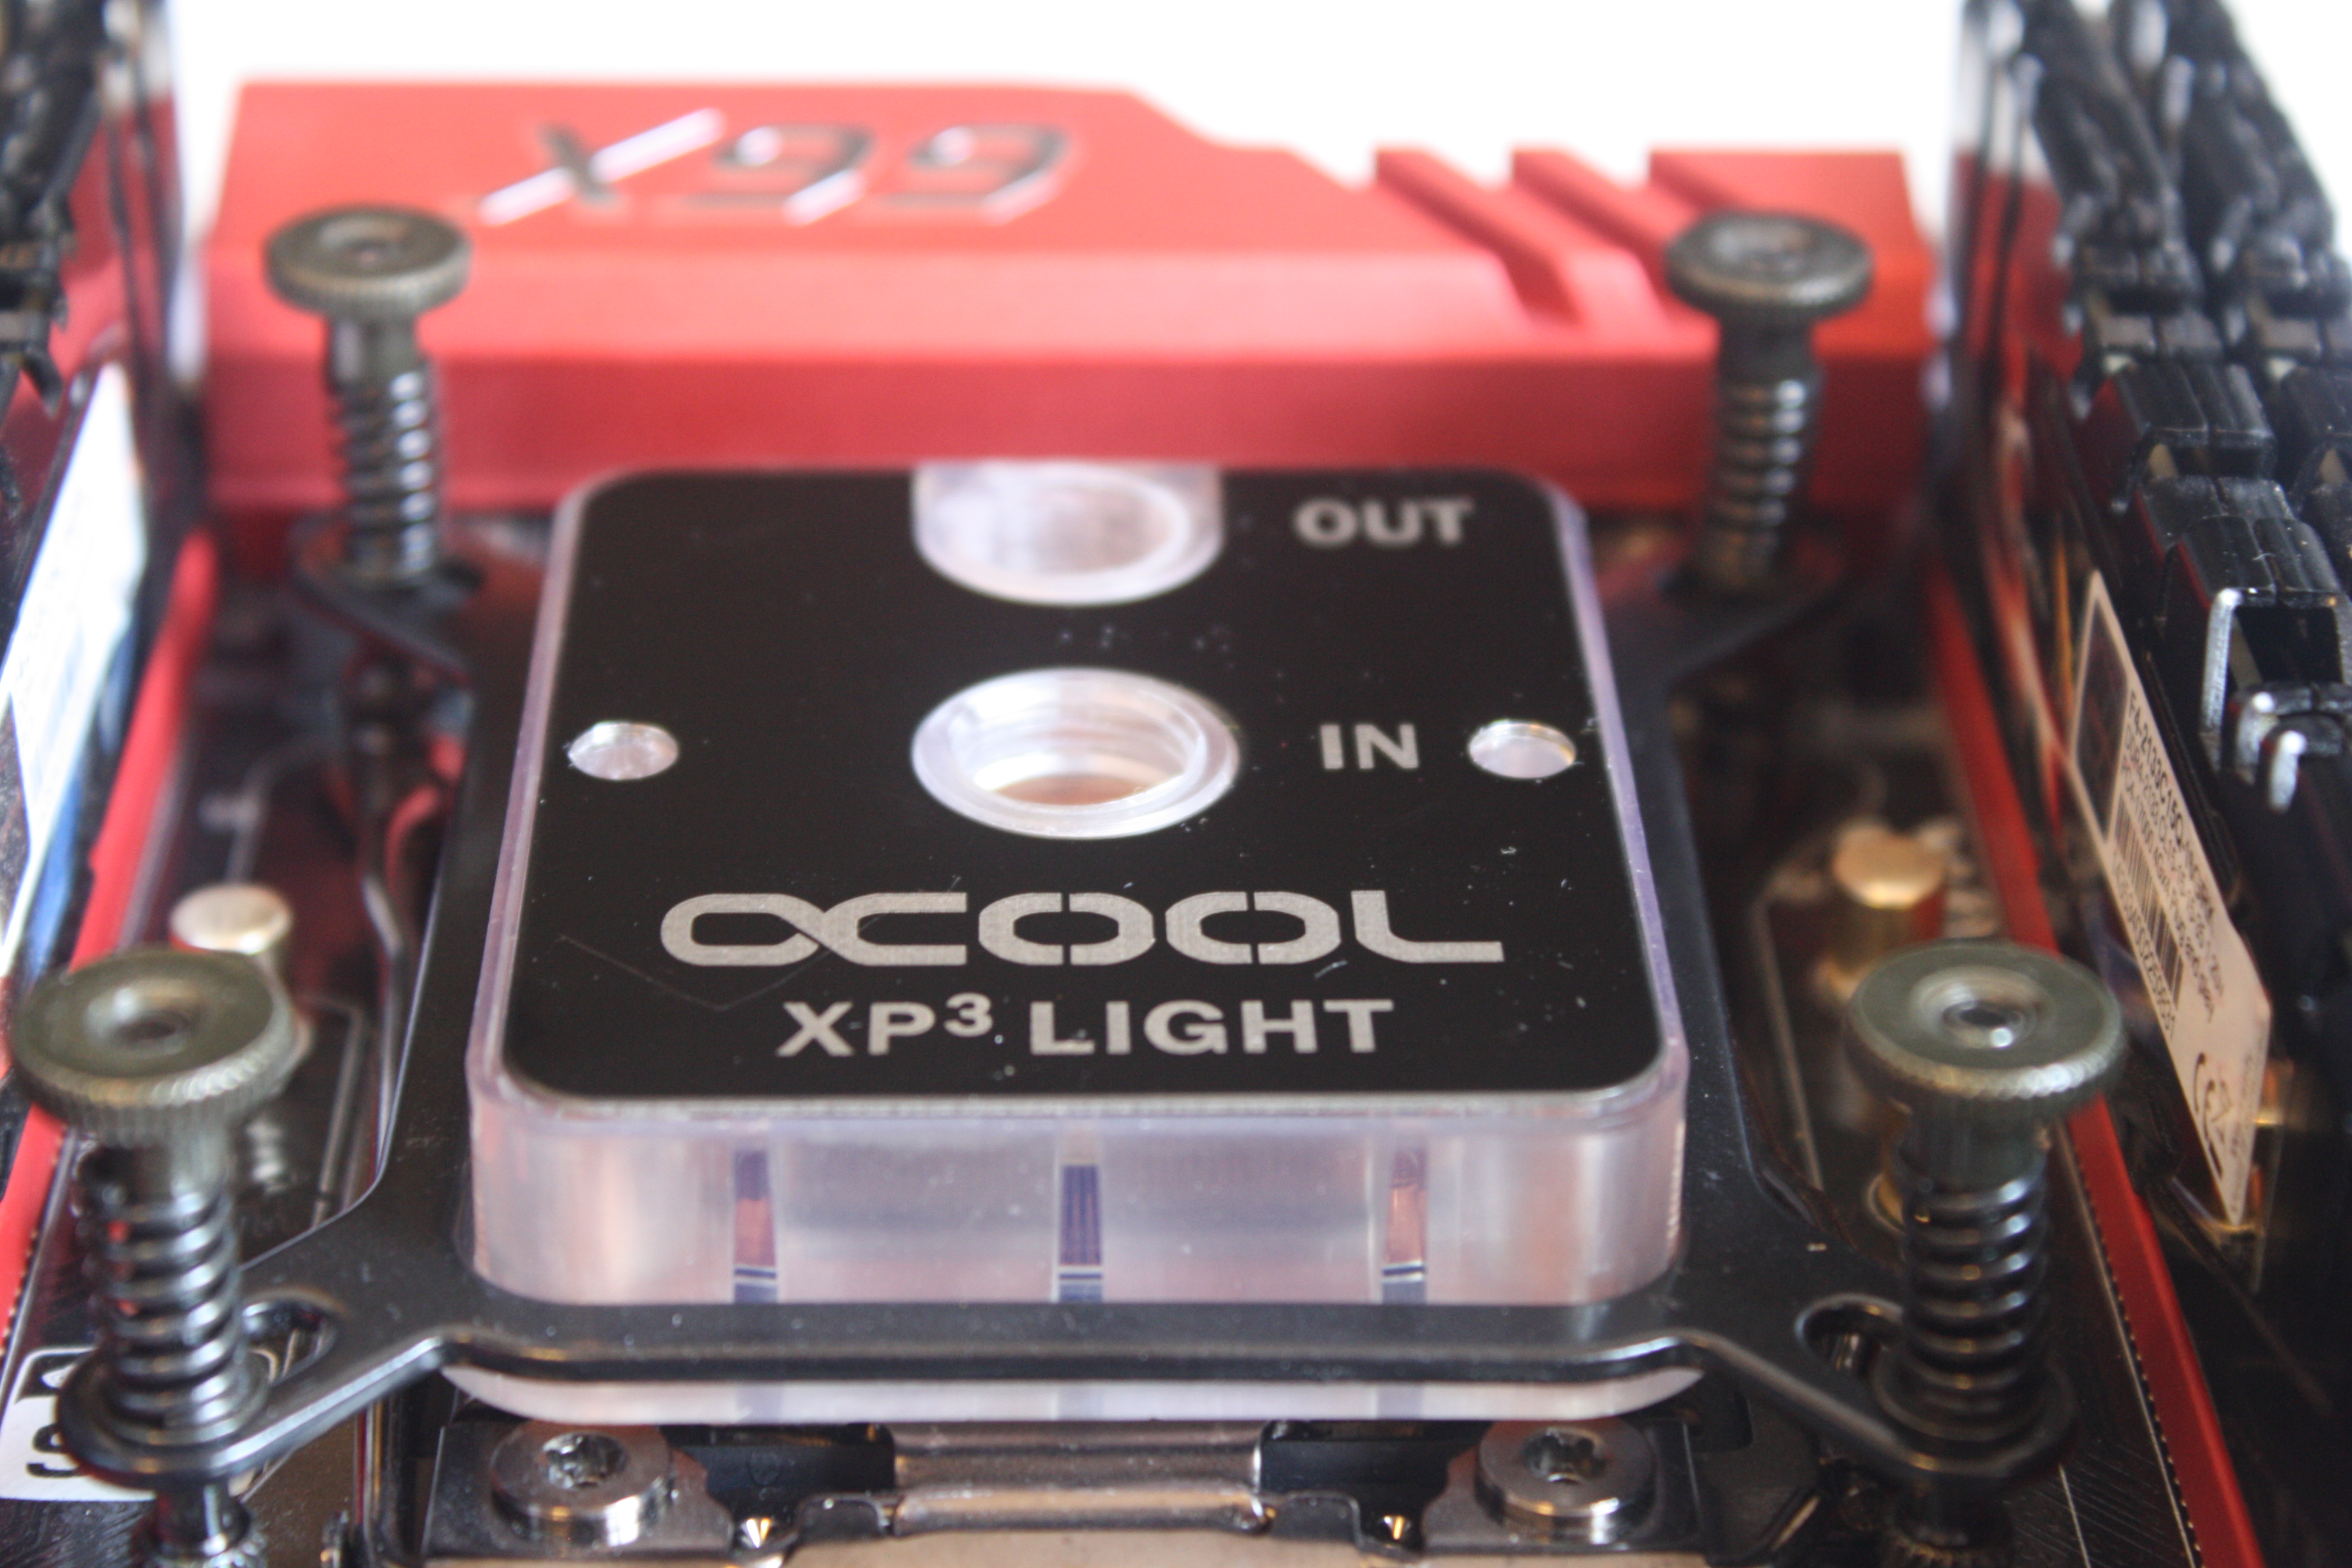
- asrock x99m fatality killer
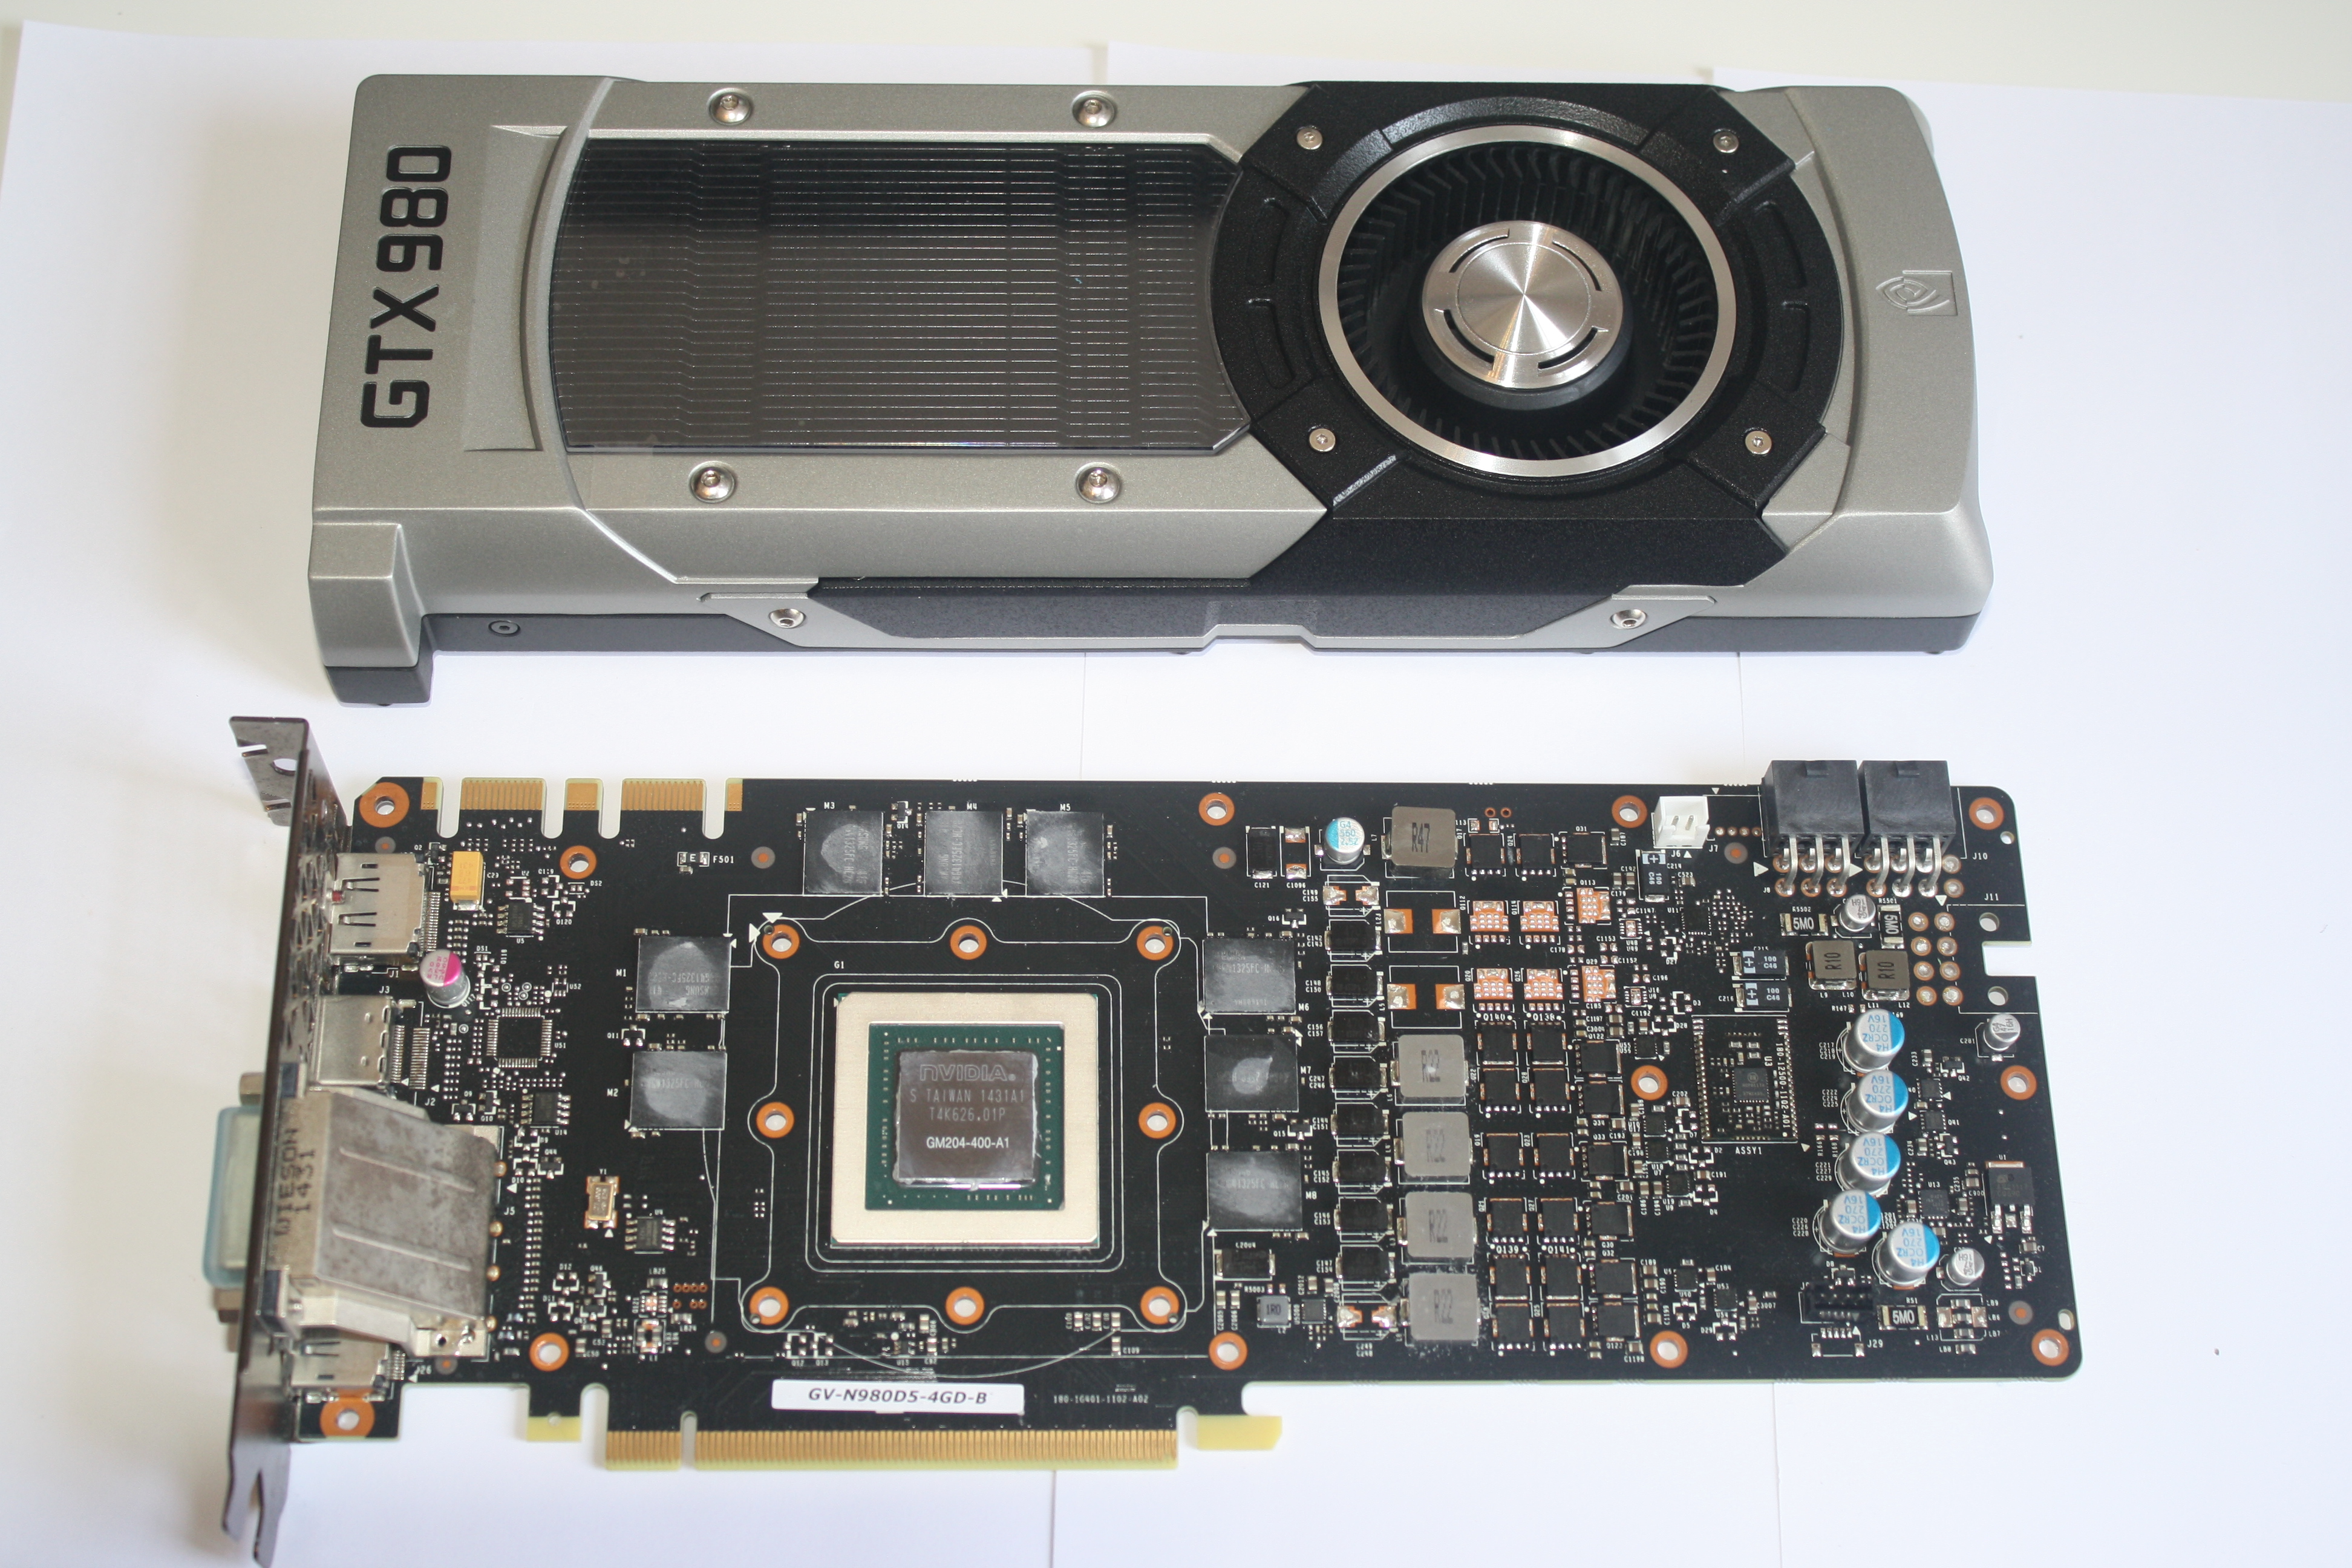
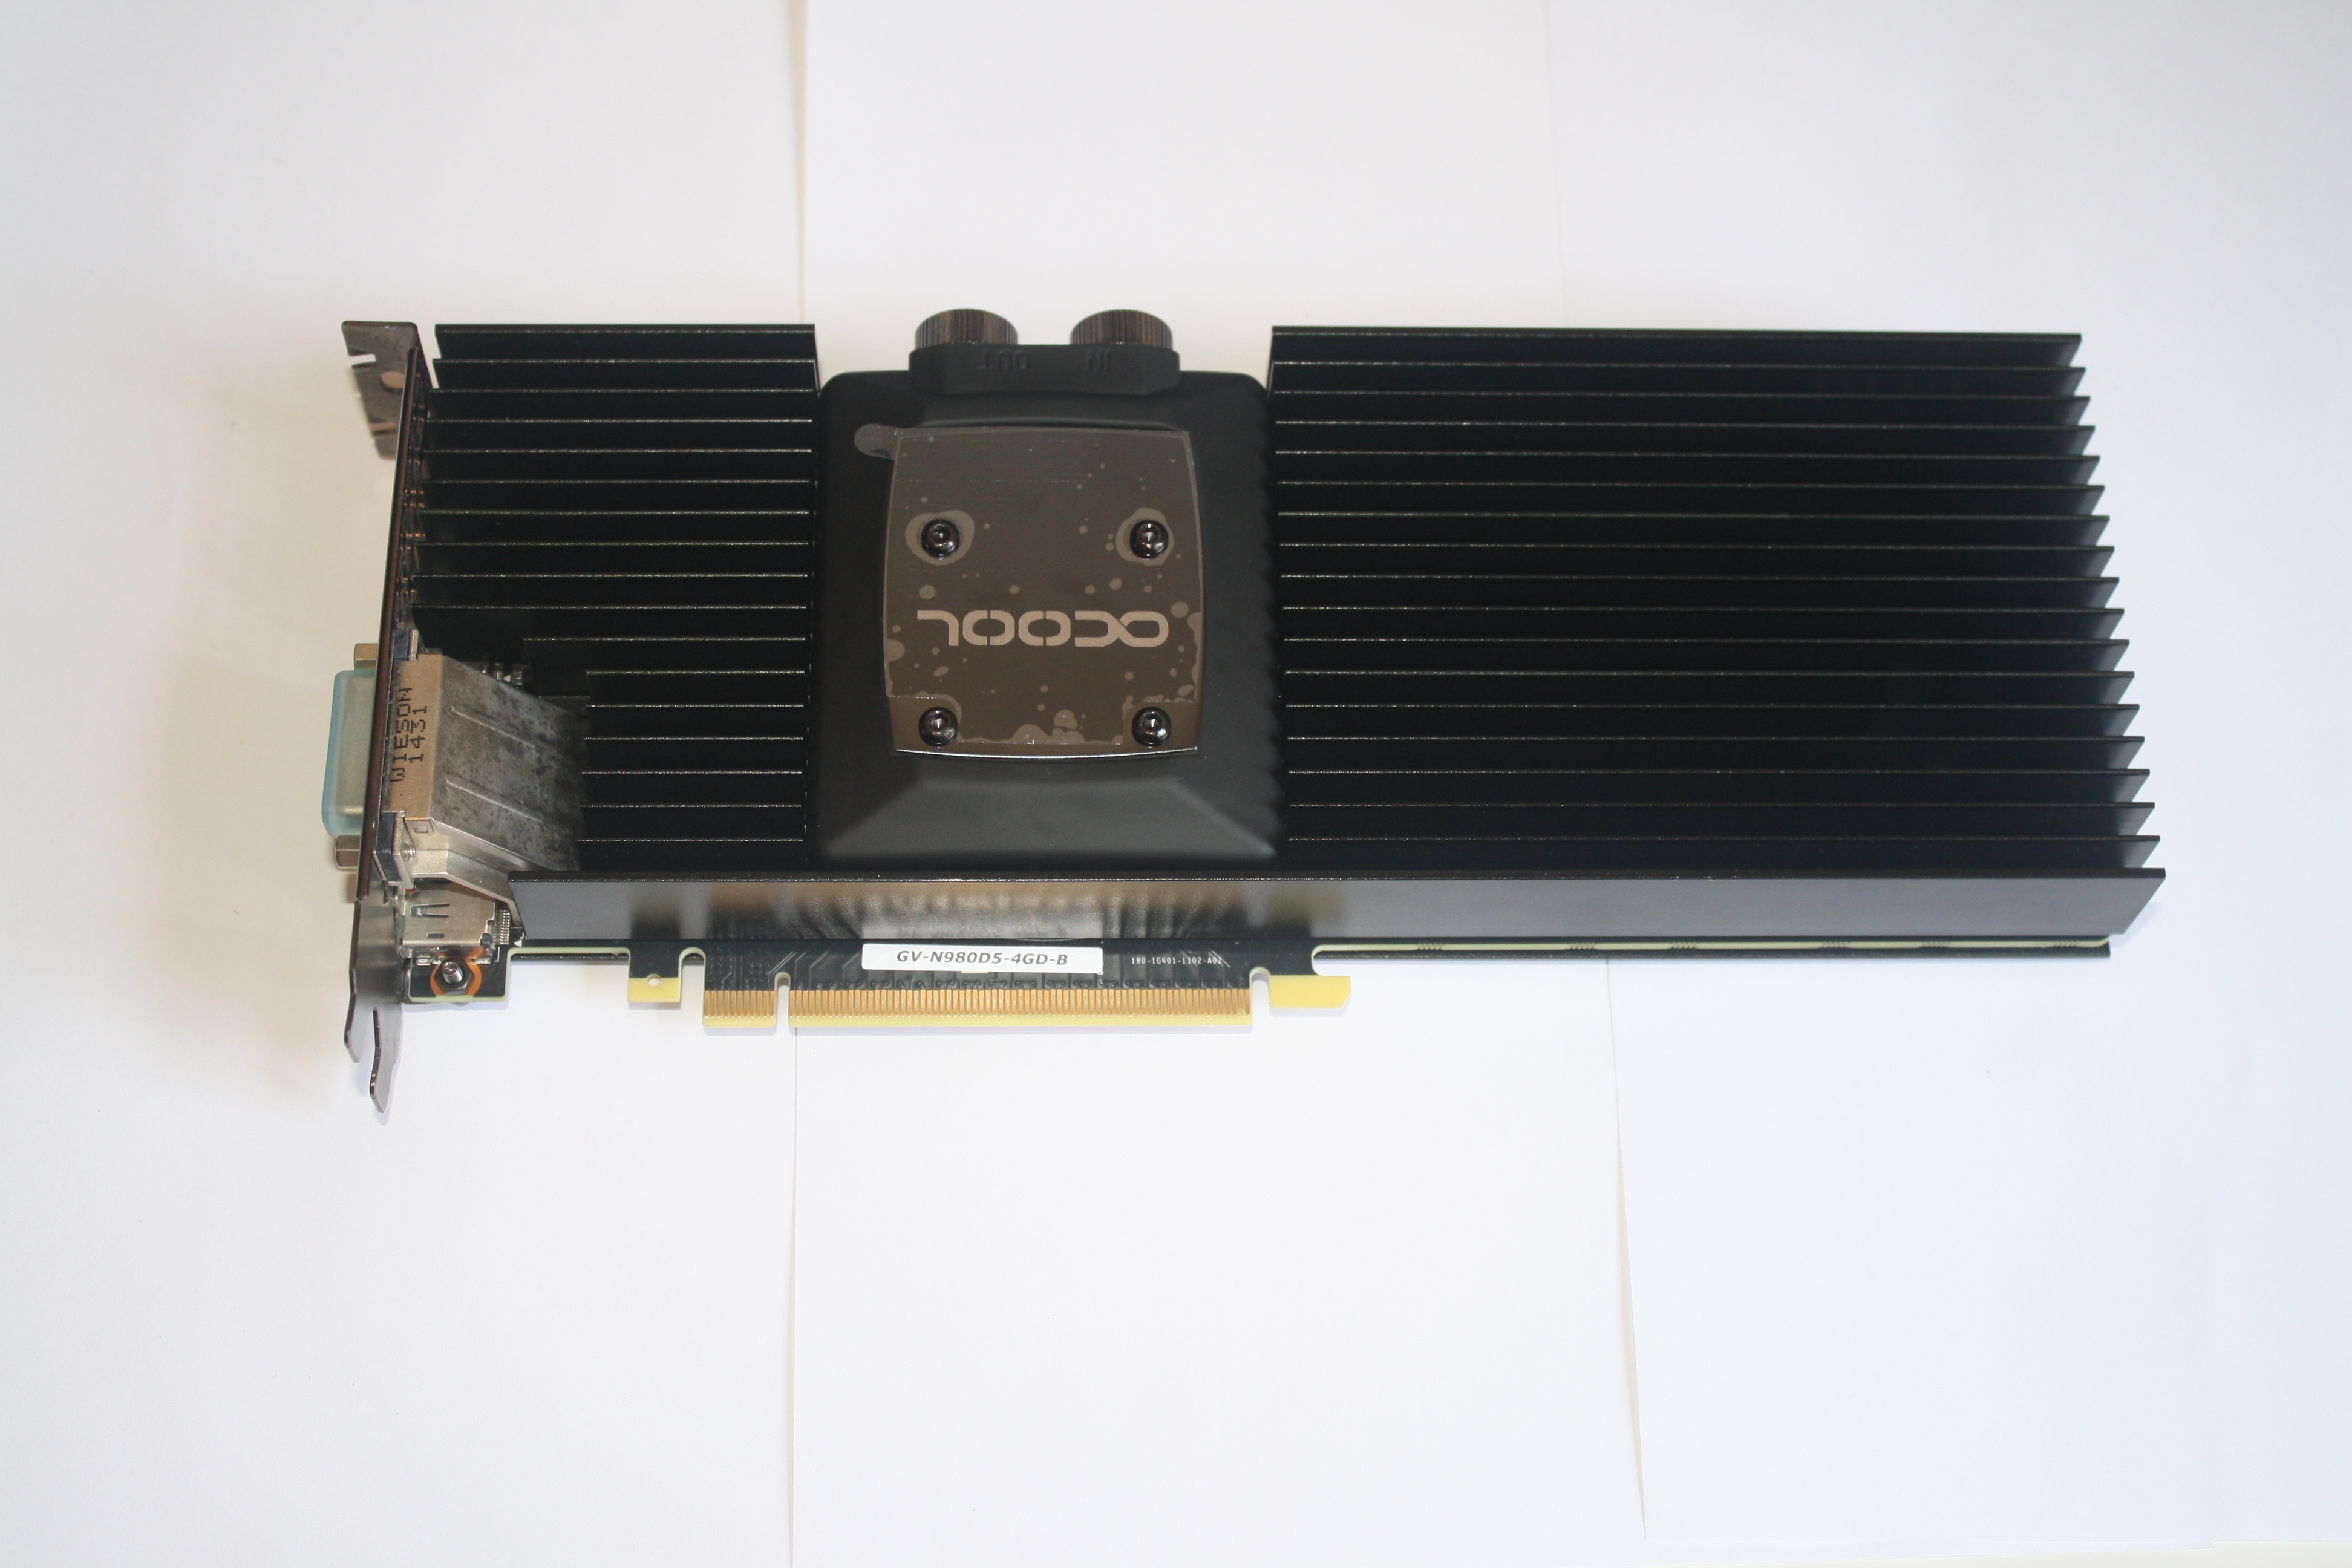
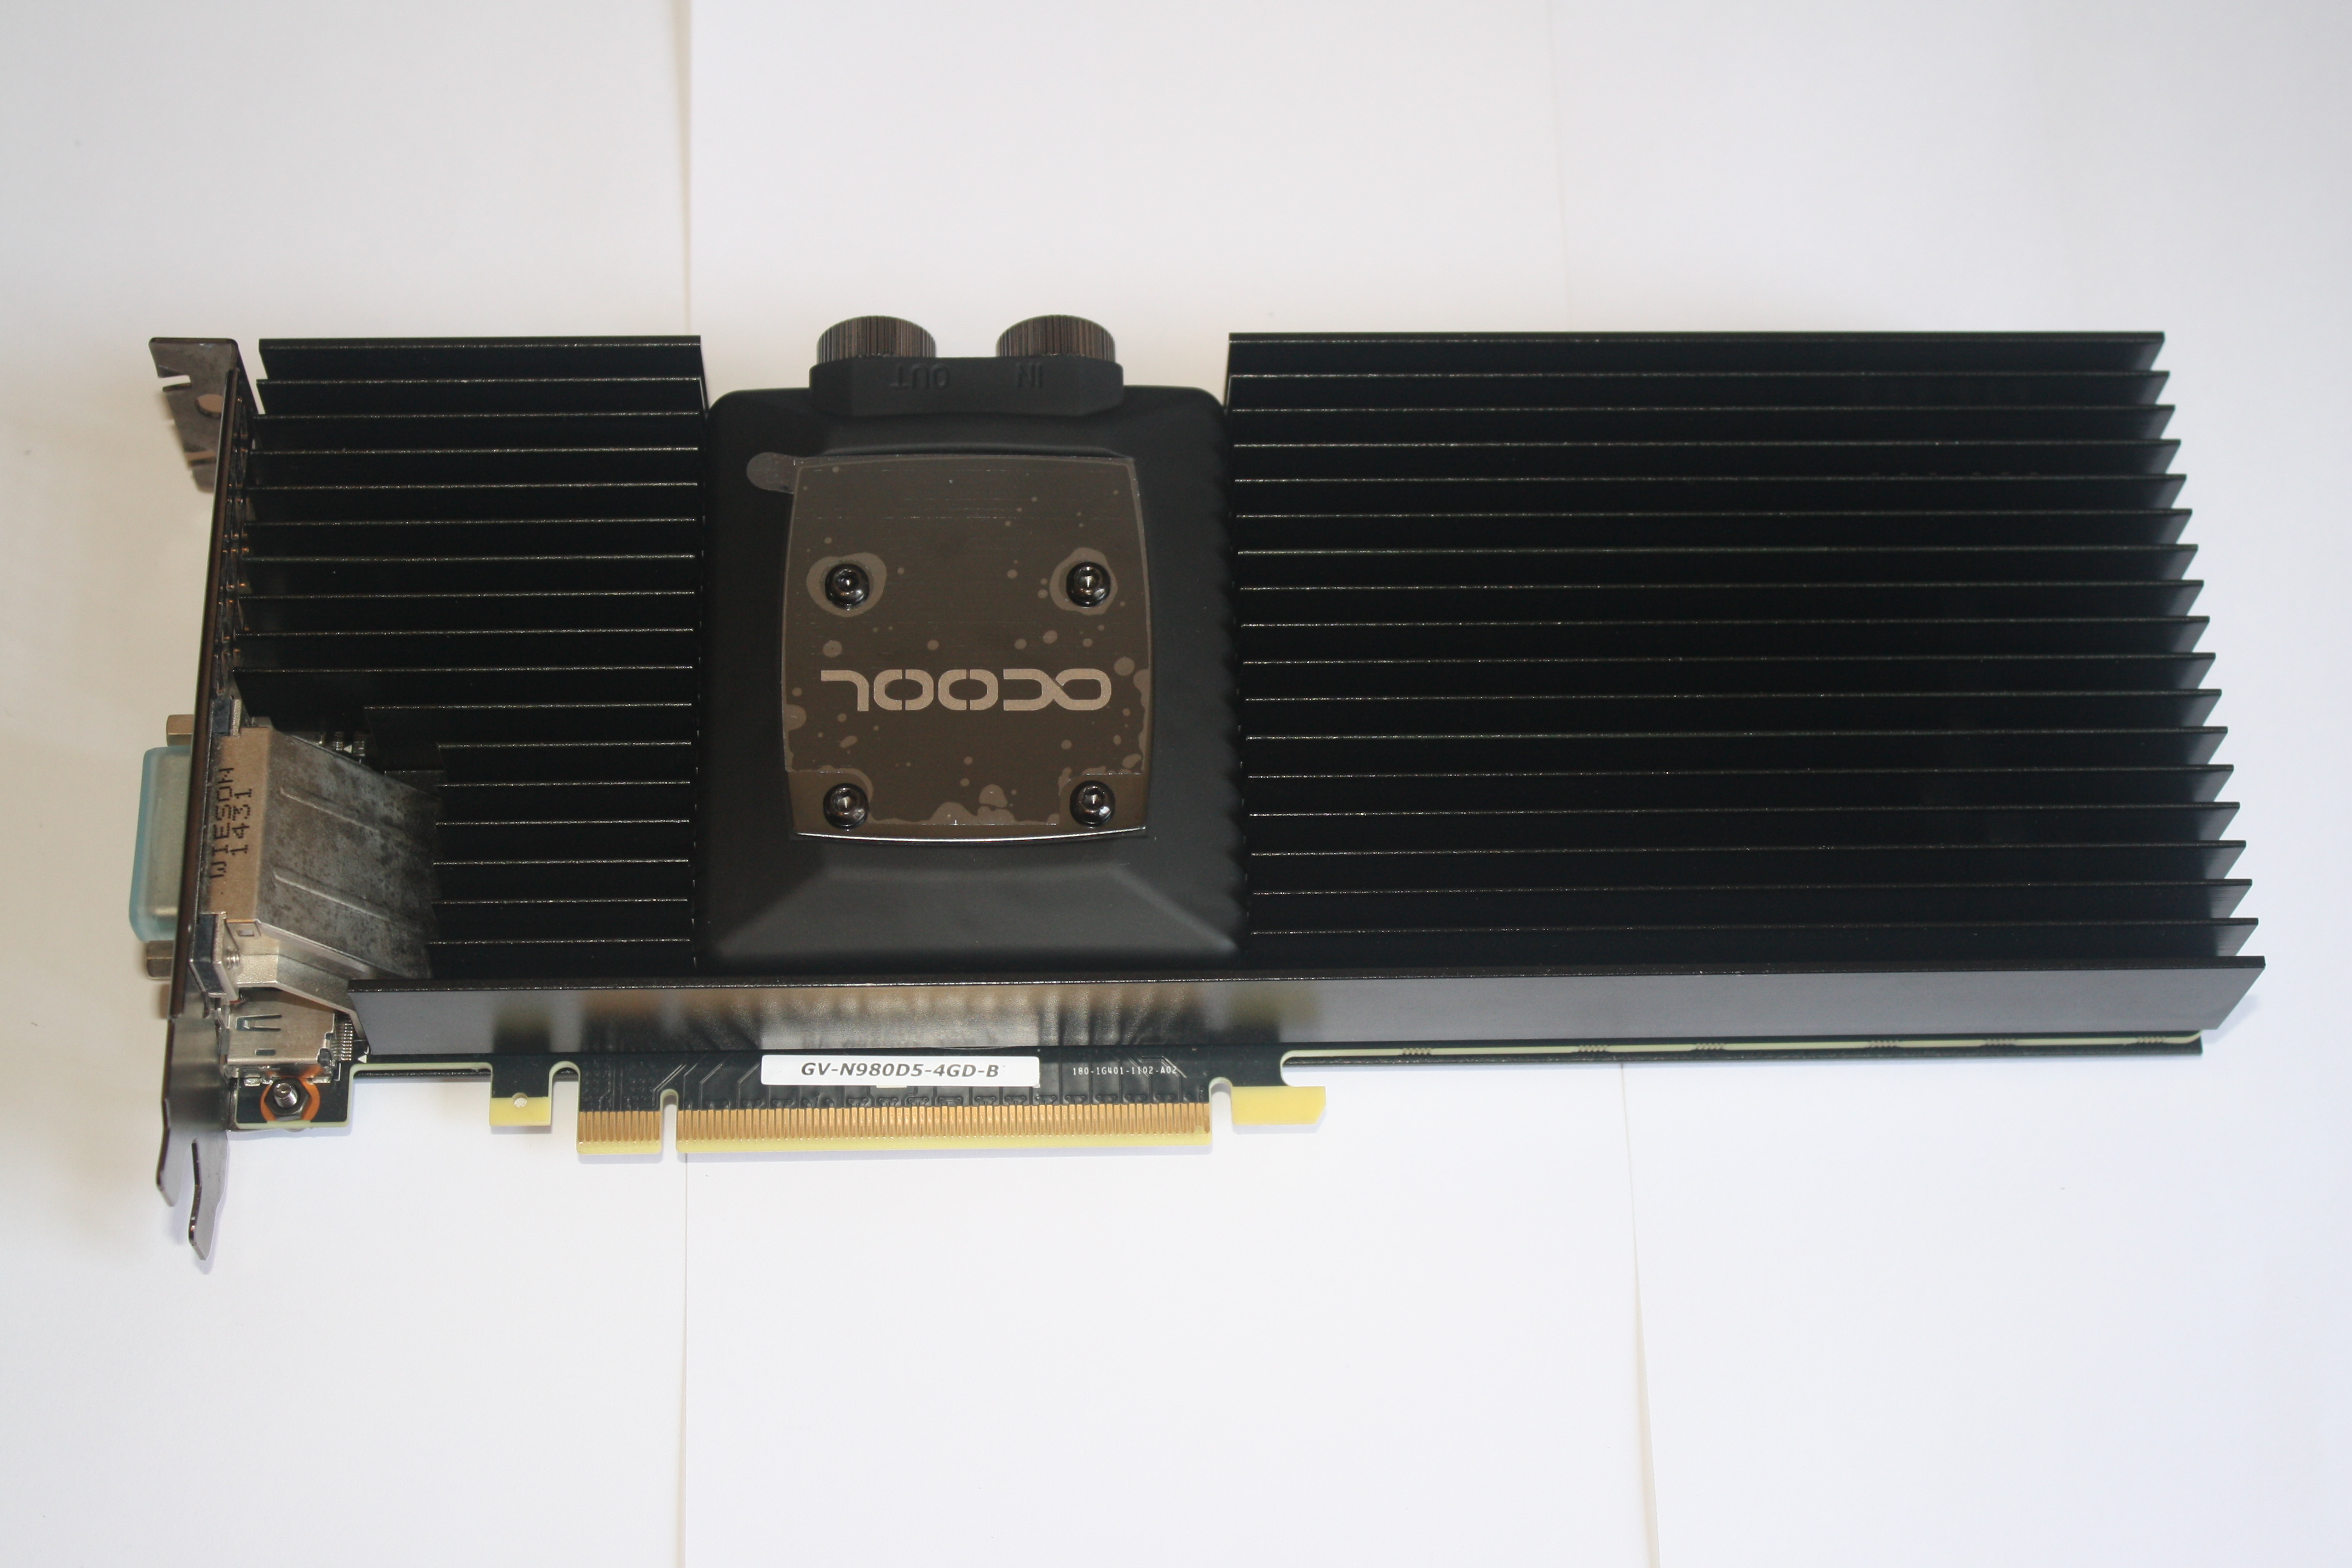
- gigabyte gtx 980
- 16gb ram ddr4 2133mhz
- ssd 120 ultra M.2
- 1 tb hdd 2.5" x2 units
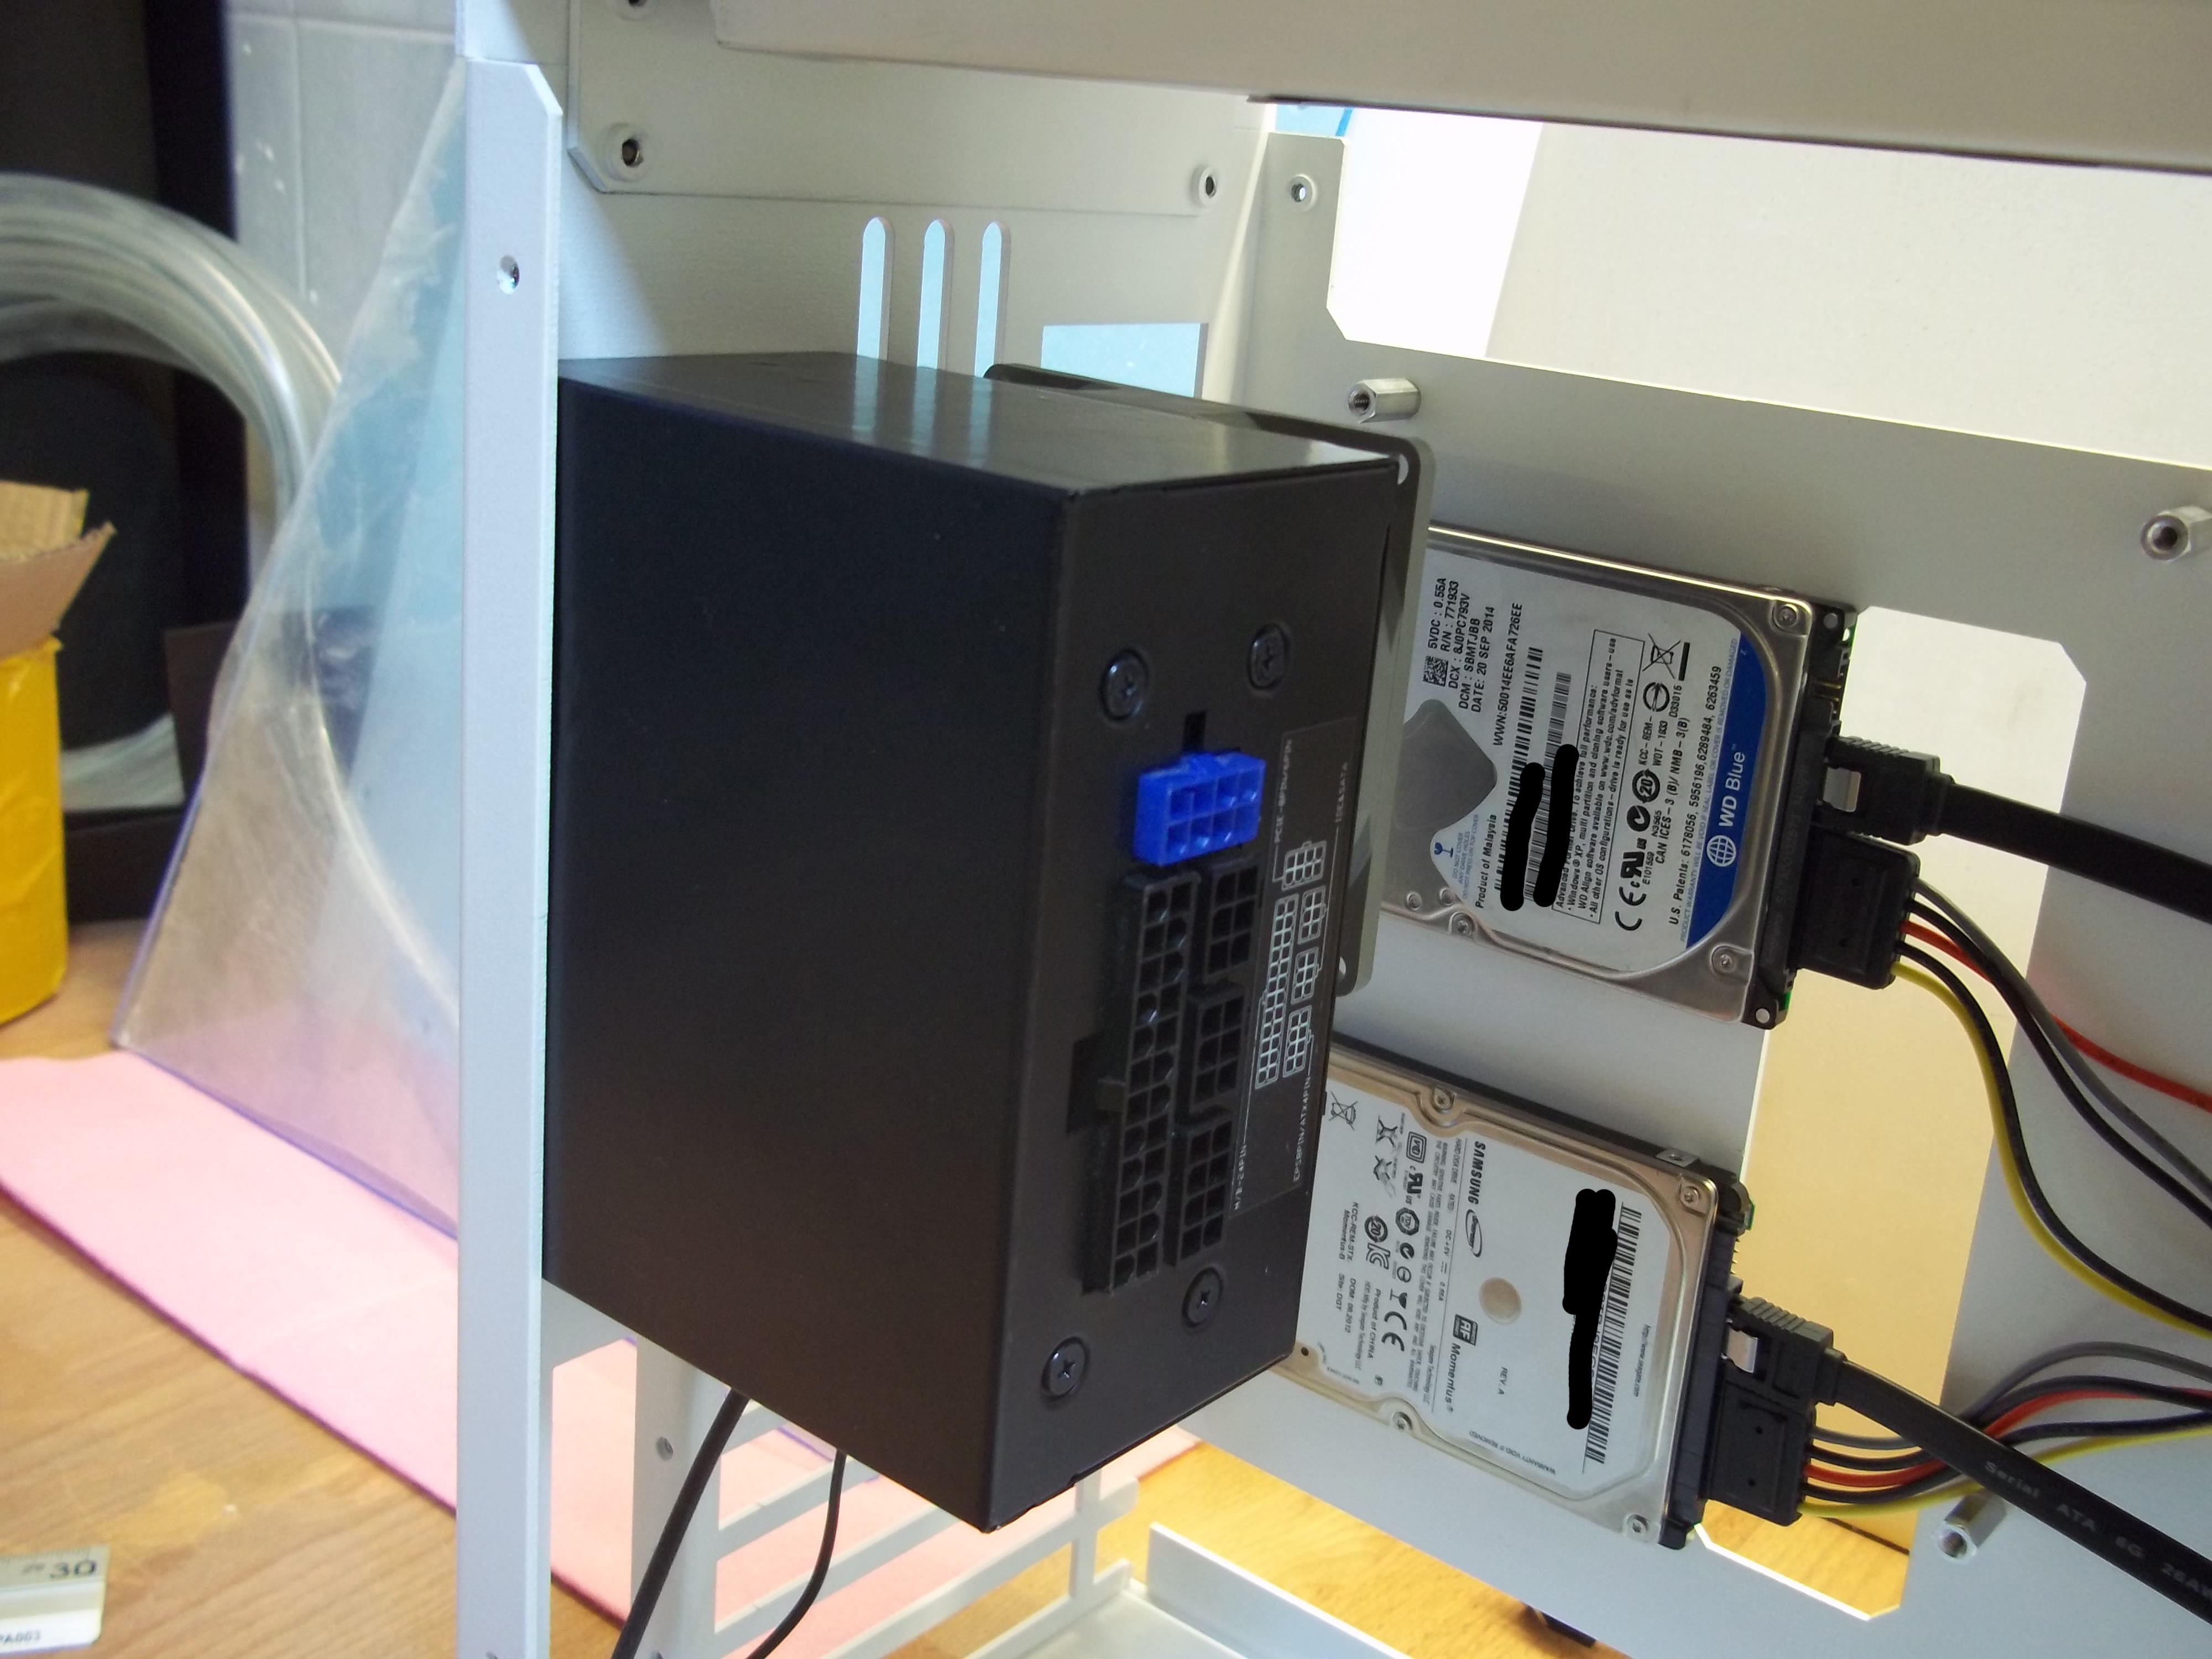
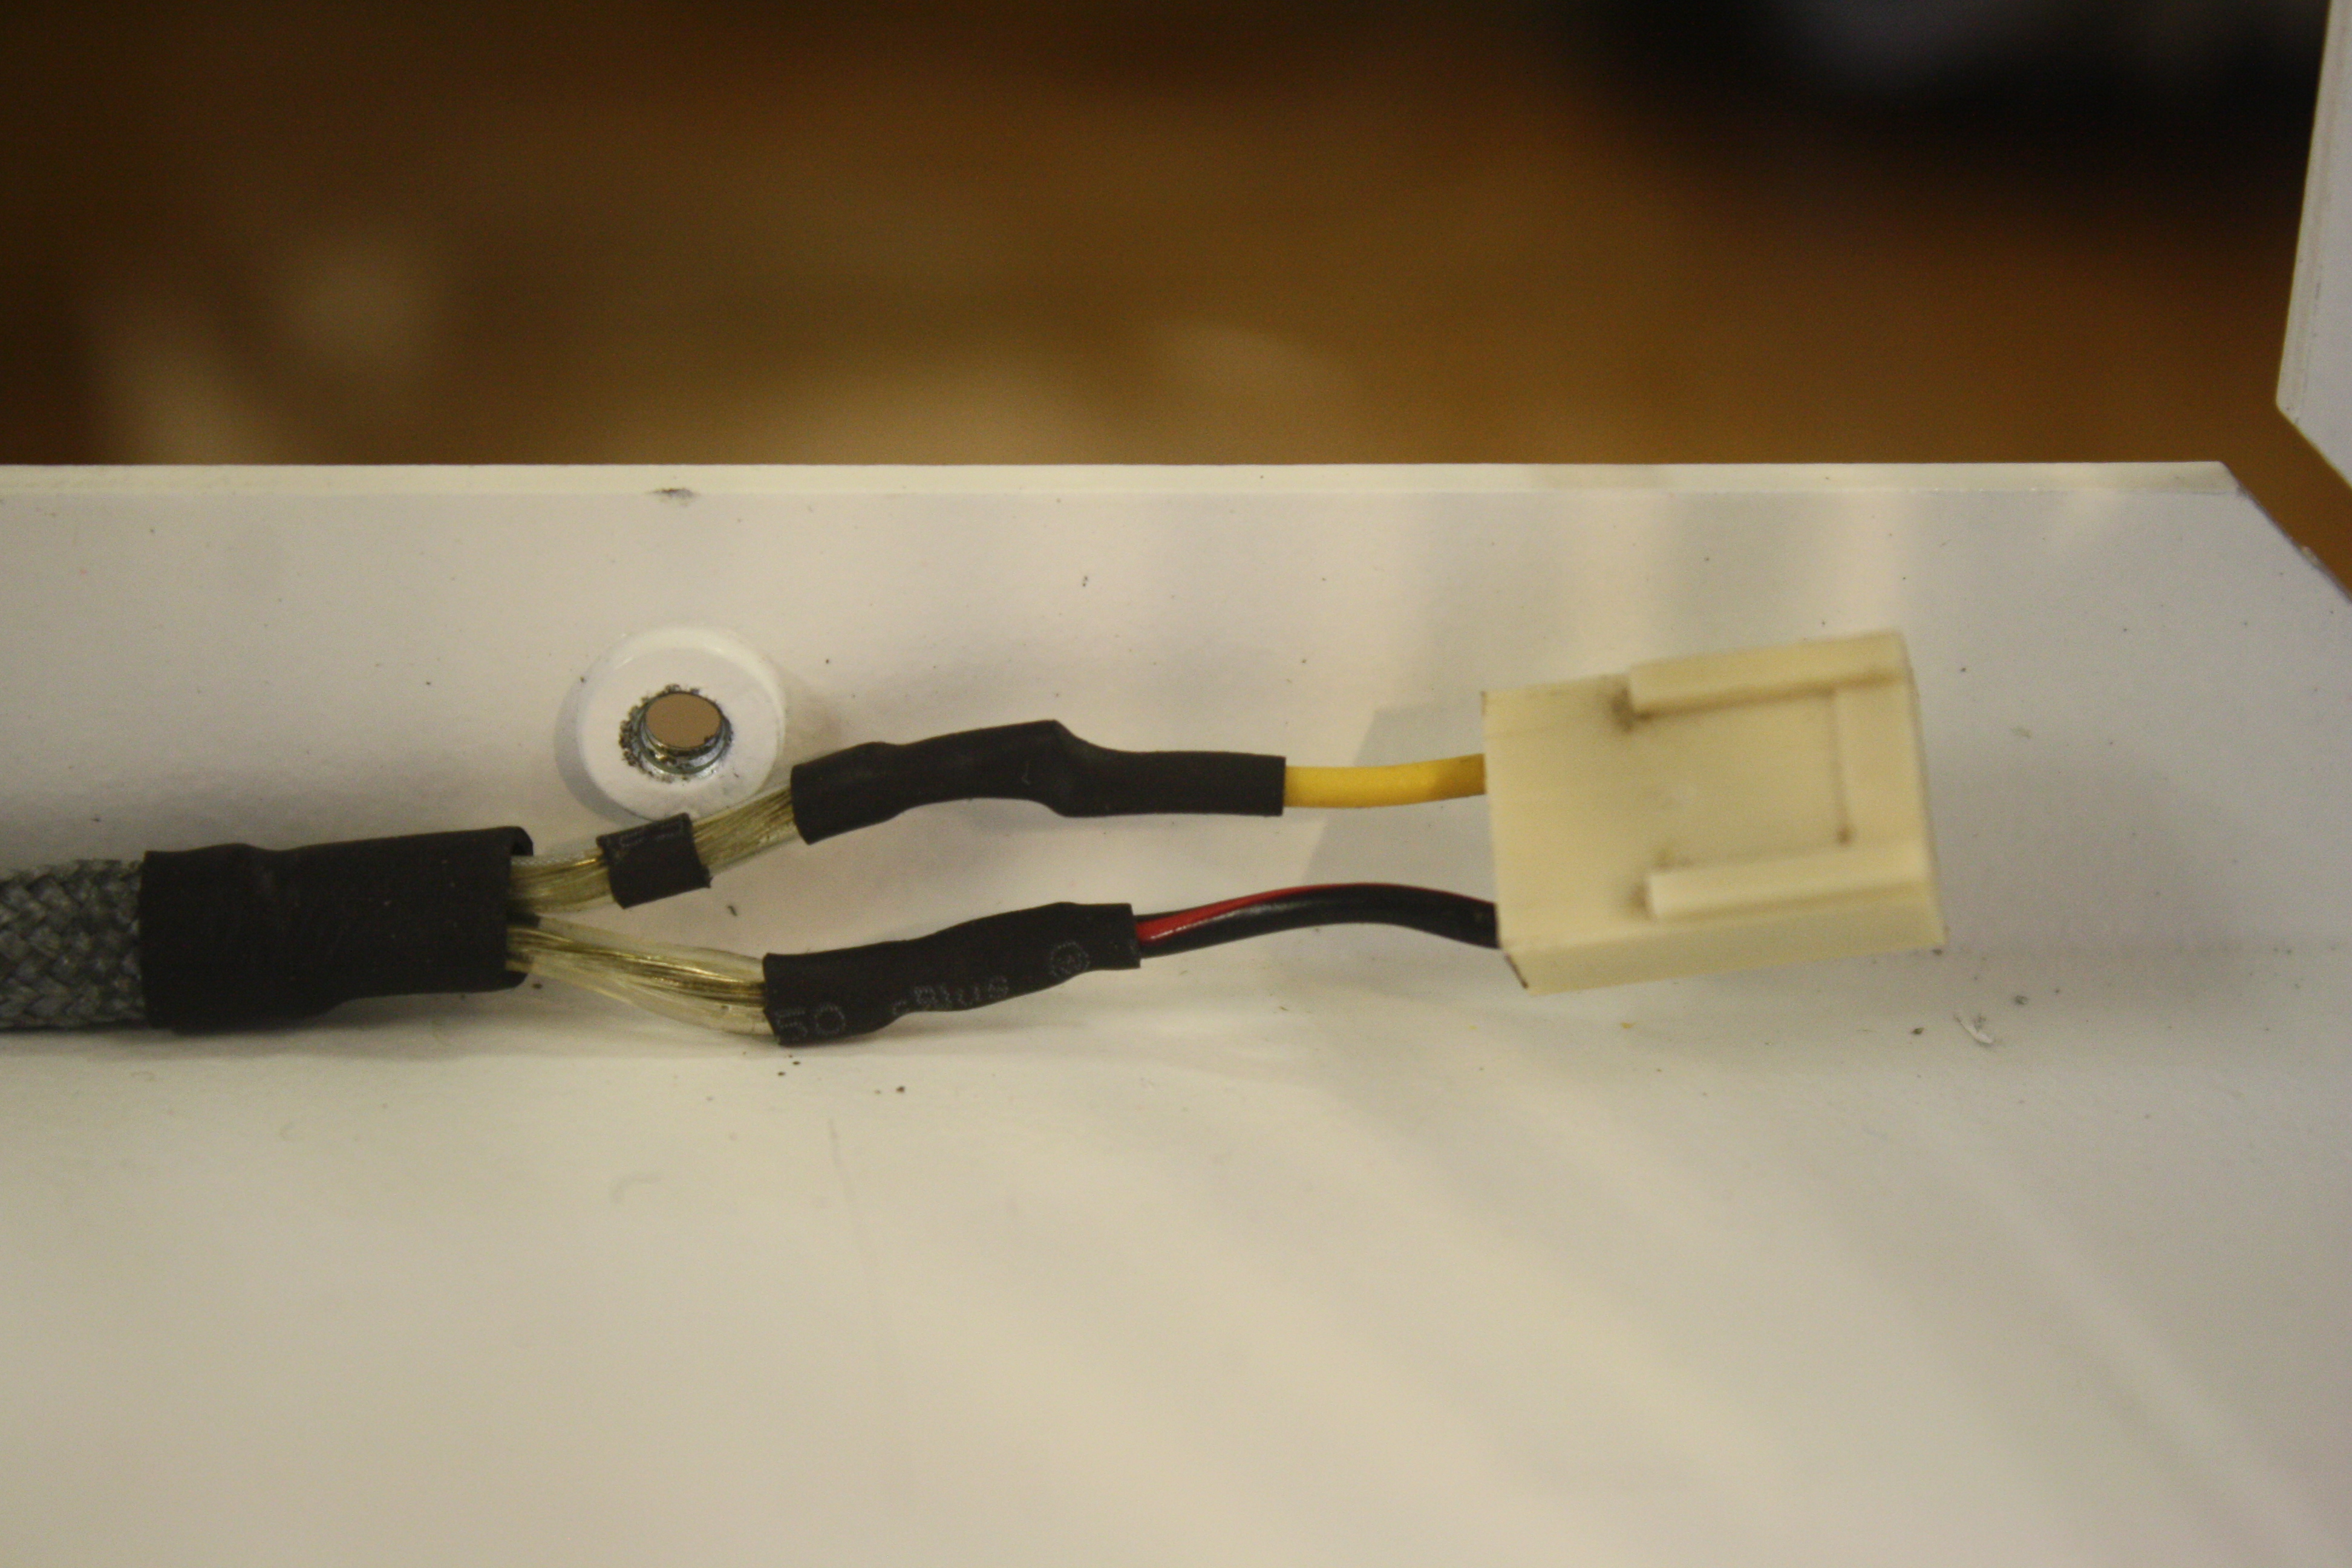
- Silverstone sx600-G FanMod noctua & custom cables
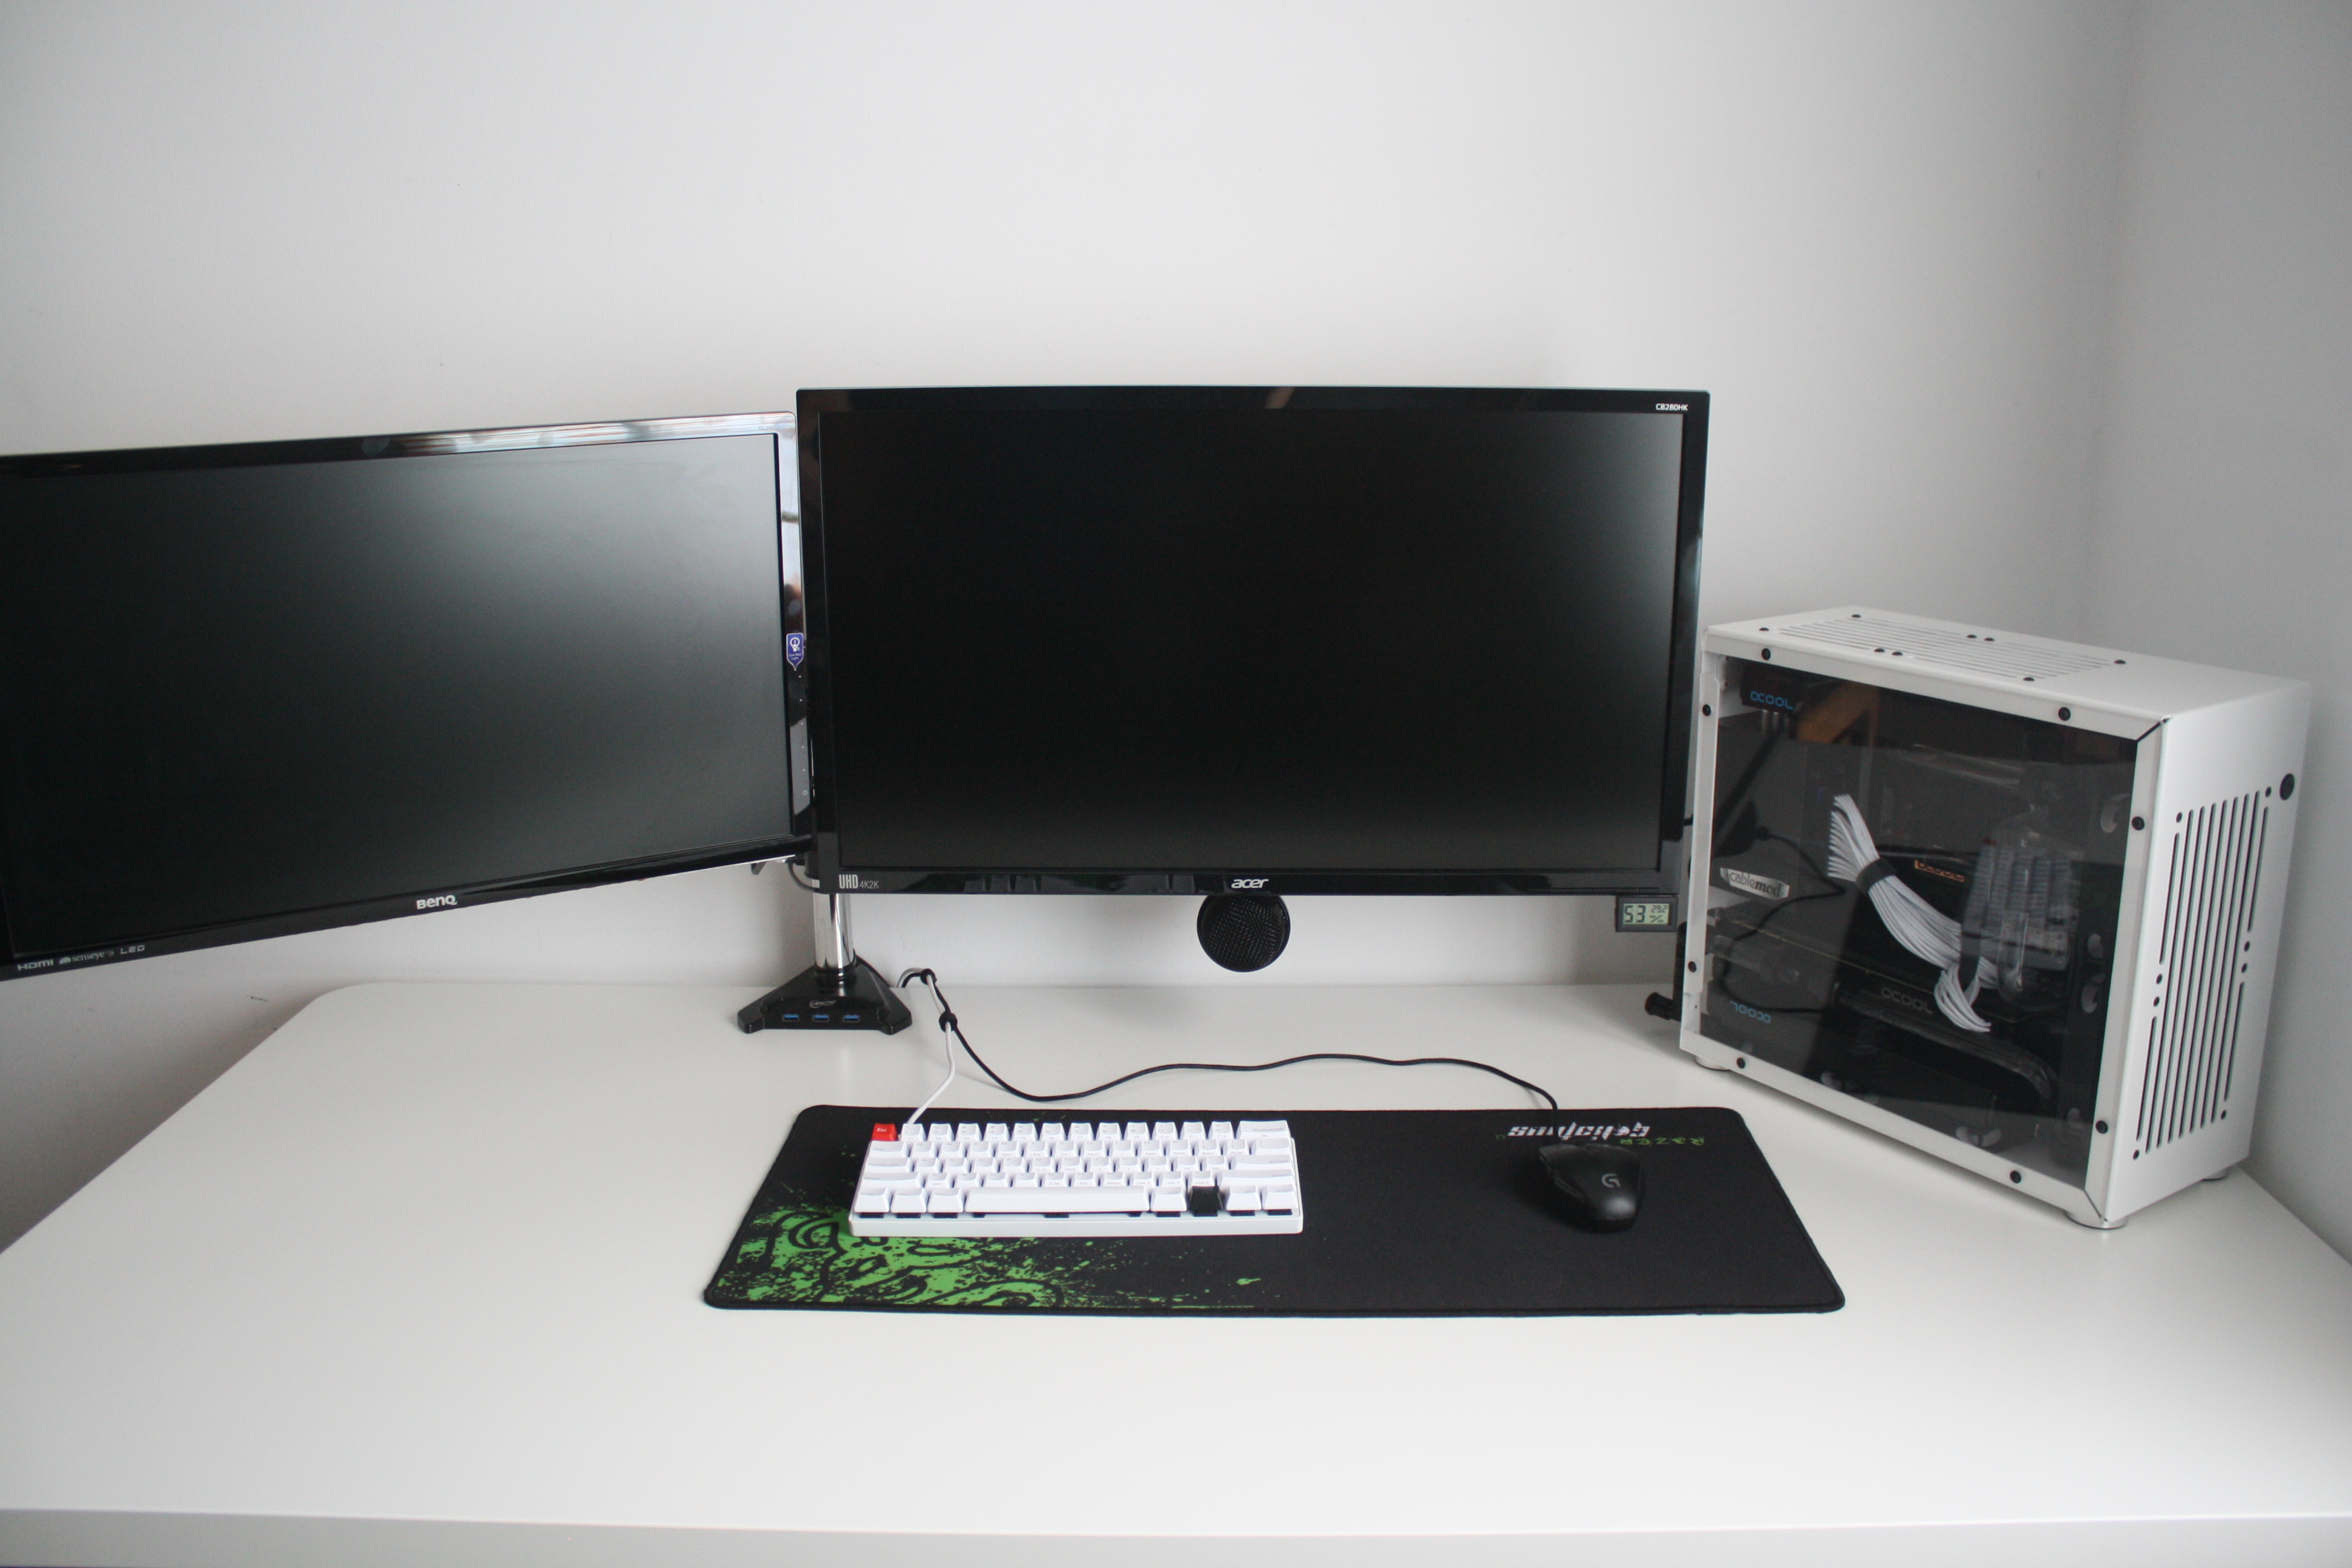
Peripherals:
- logitech g502
- vortex pok3r LED mod
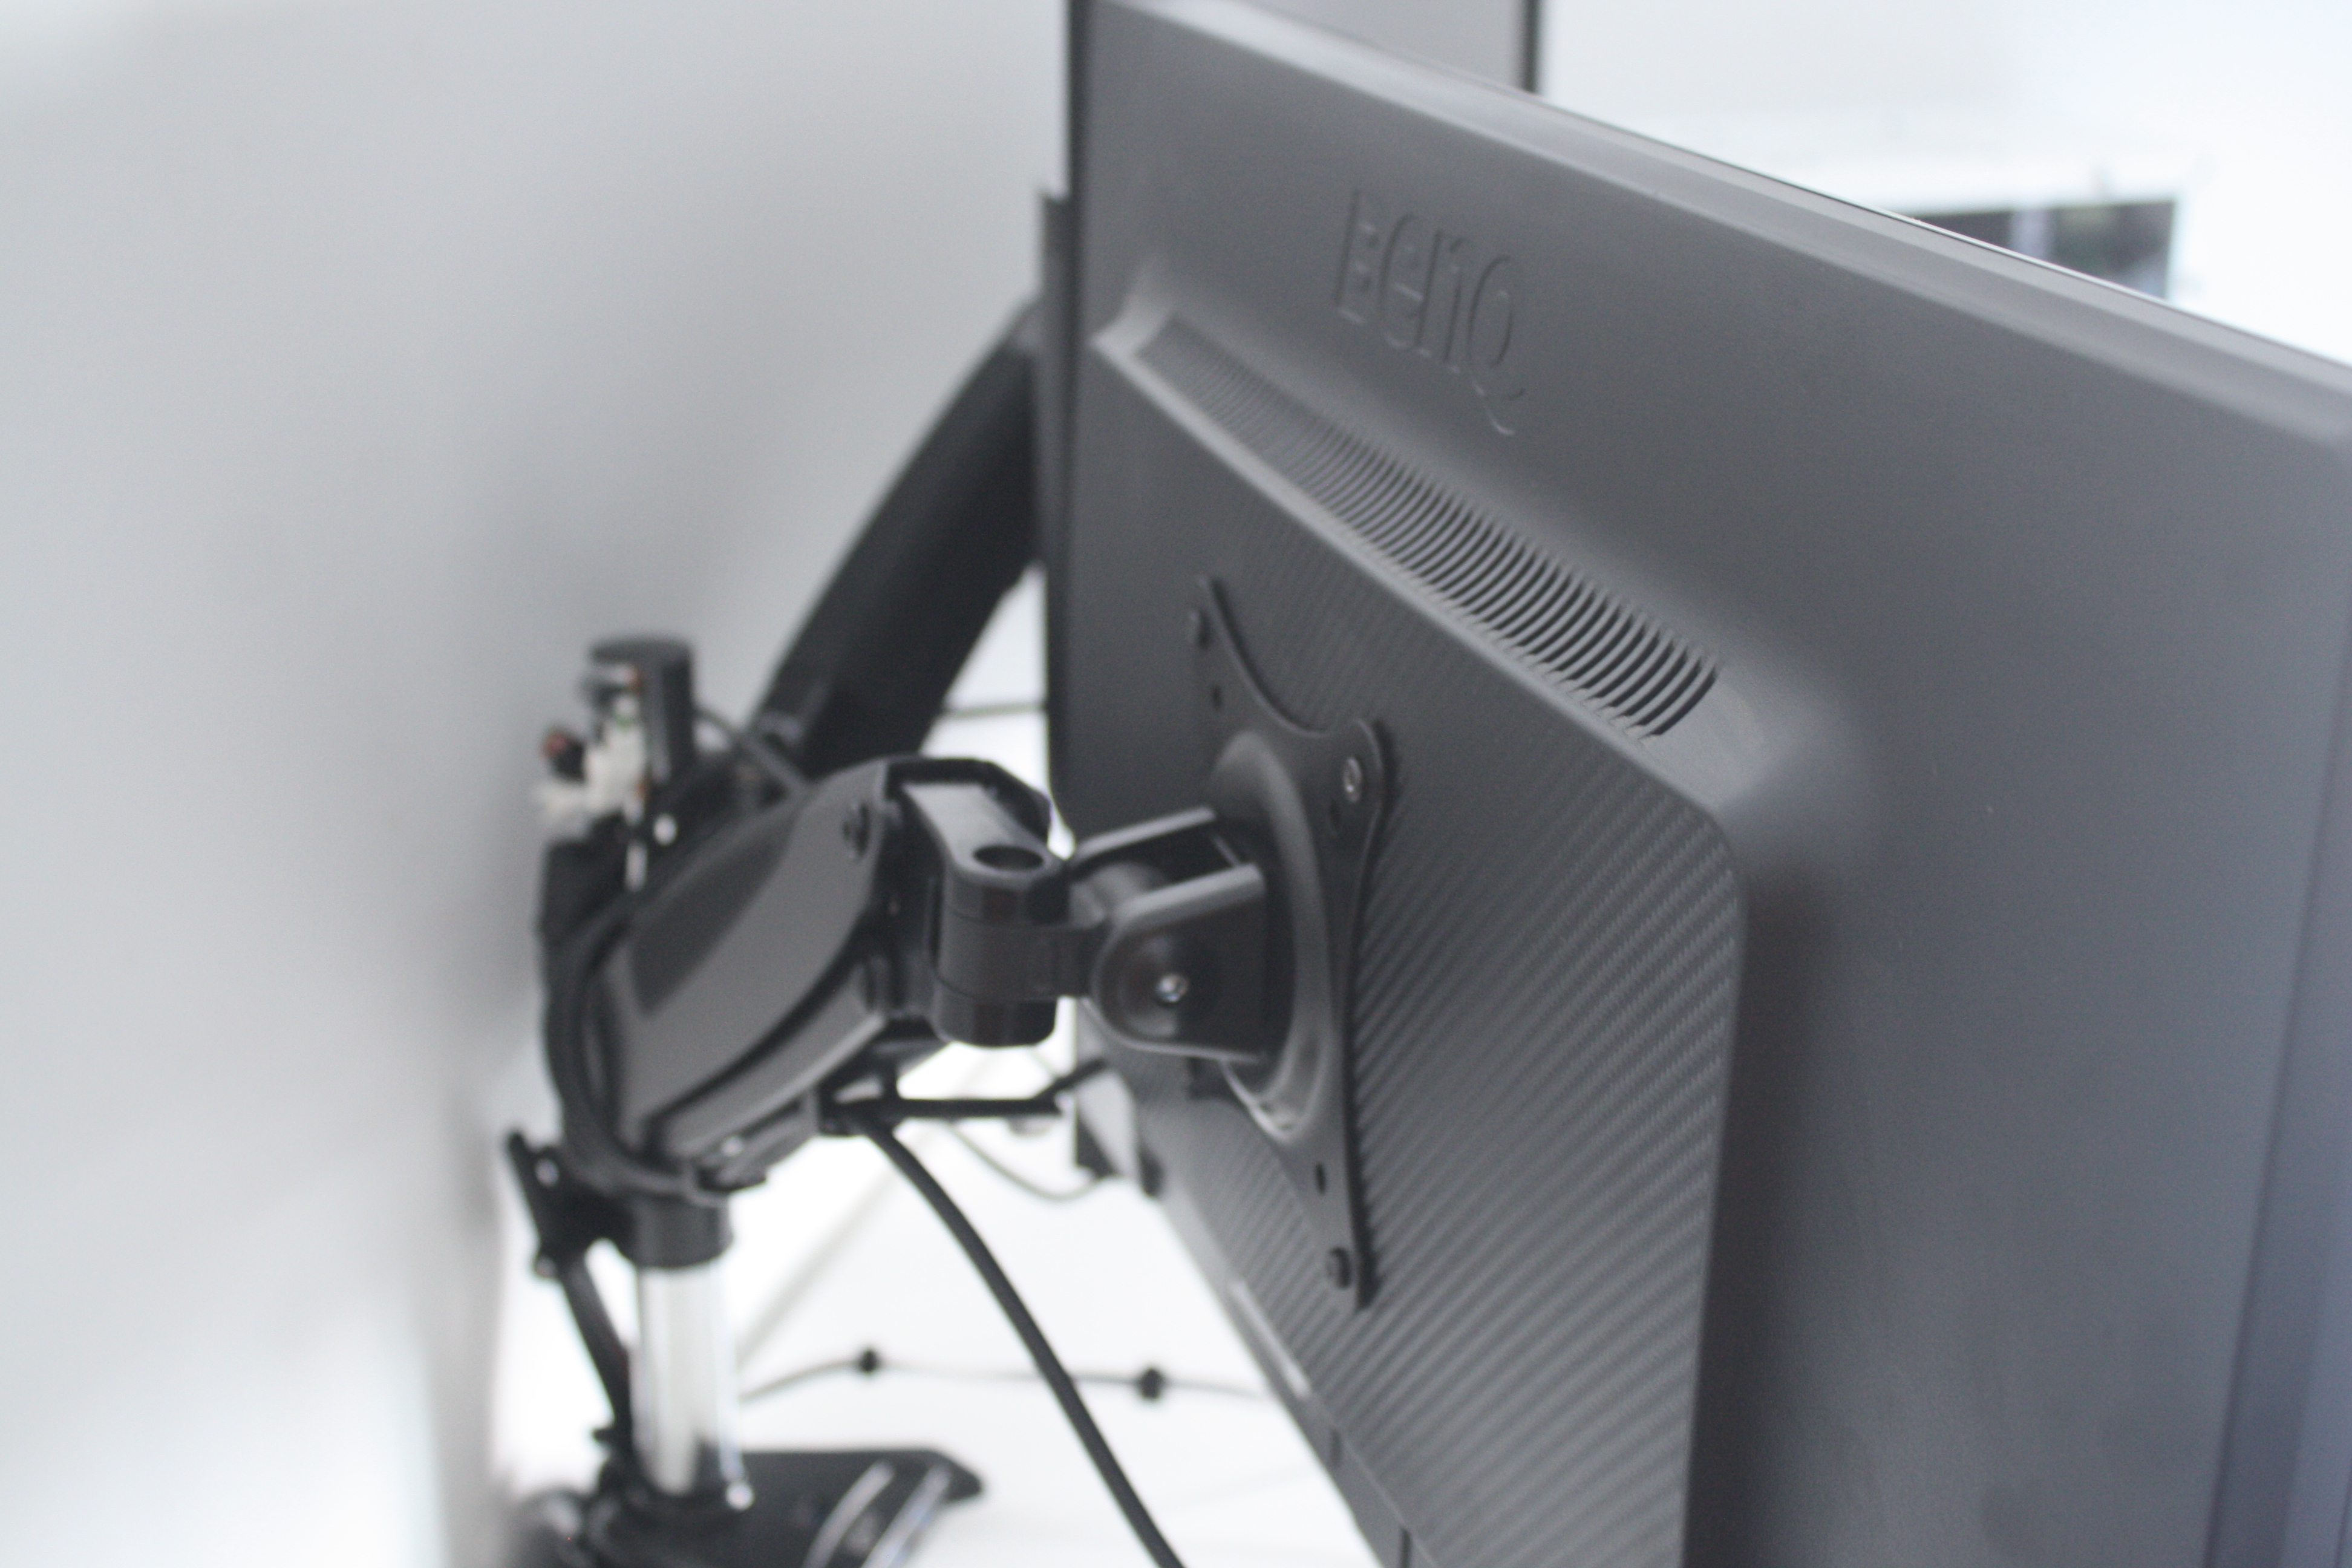
- BenQ XL2730Z
- Benq GL2460 (second)
- Asus xonar u7 echelon
- SuperLux HD681EVO
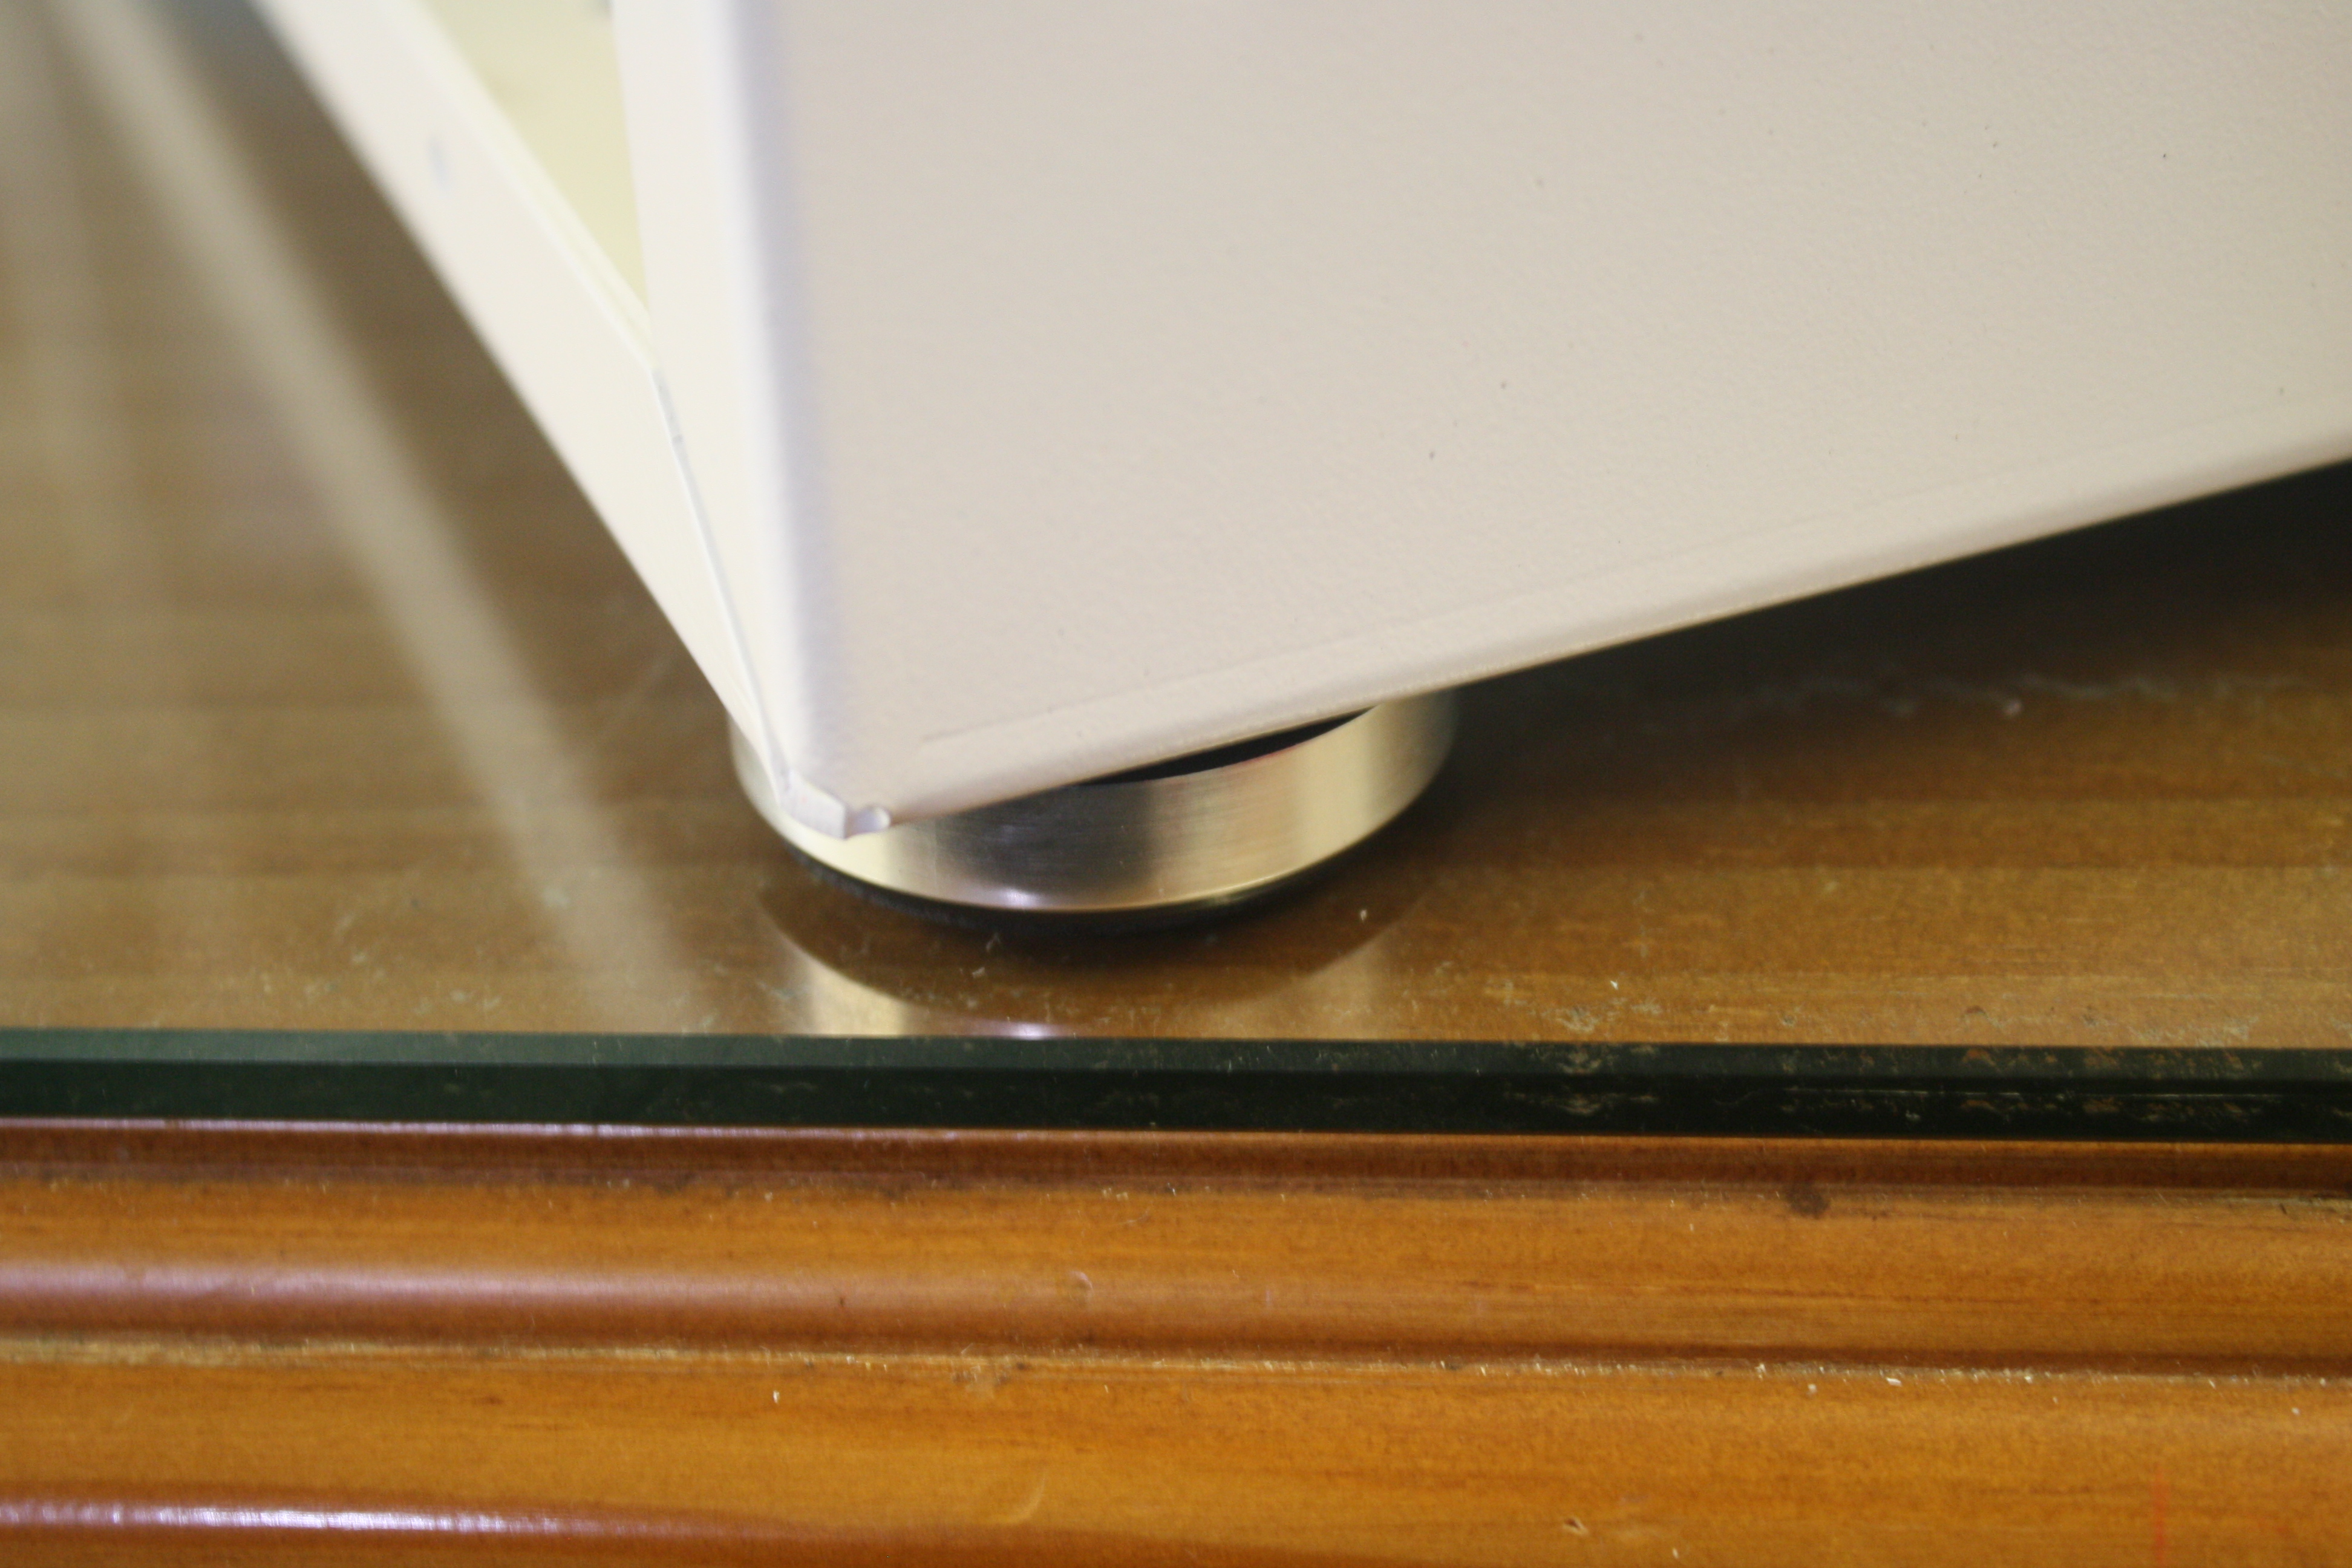
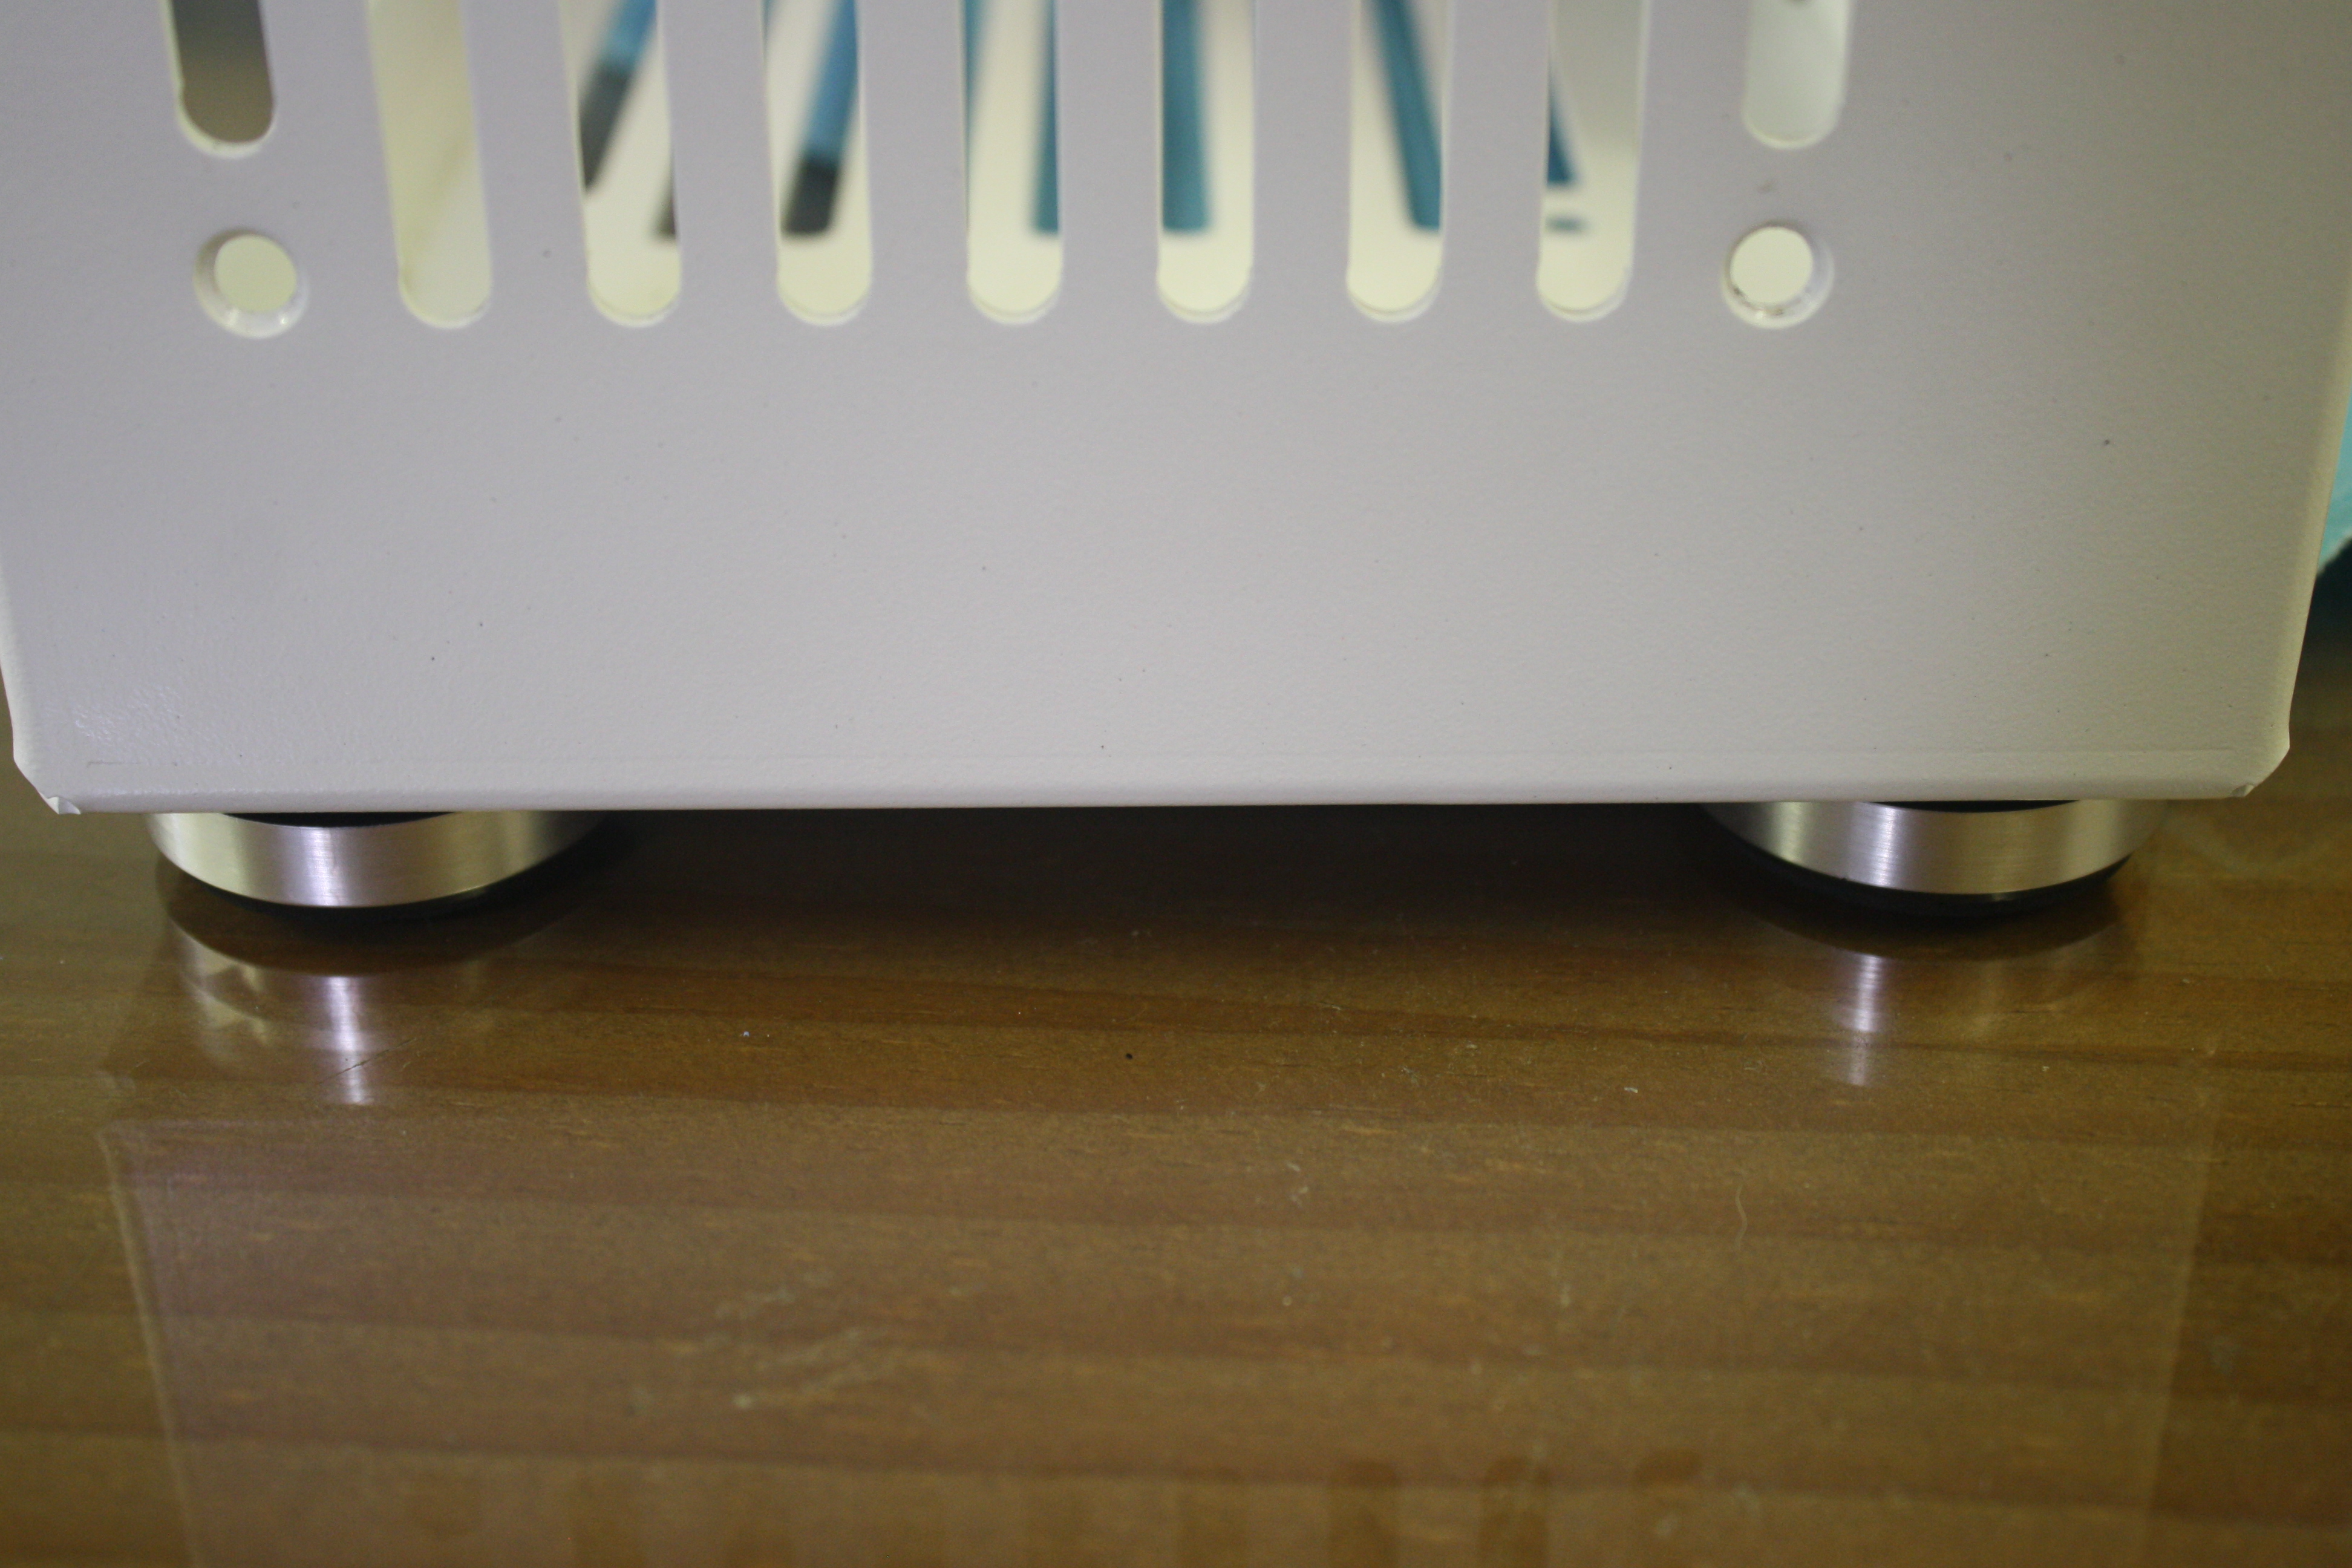
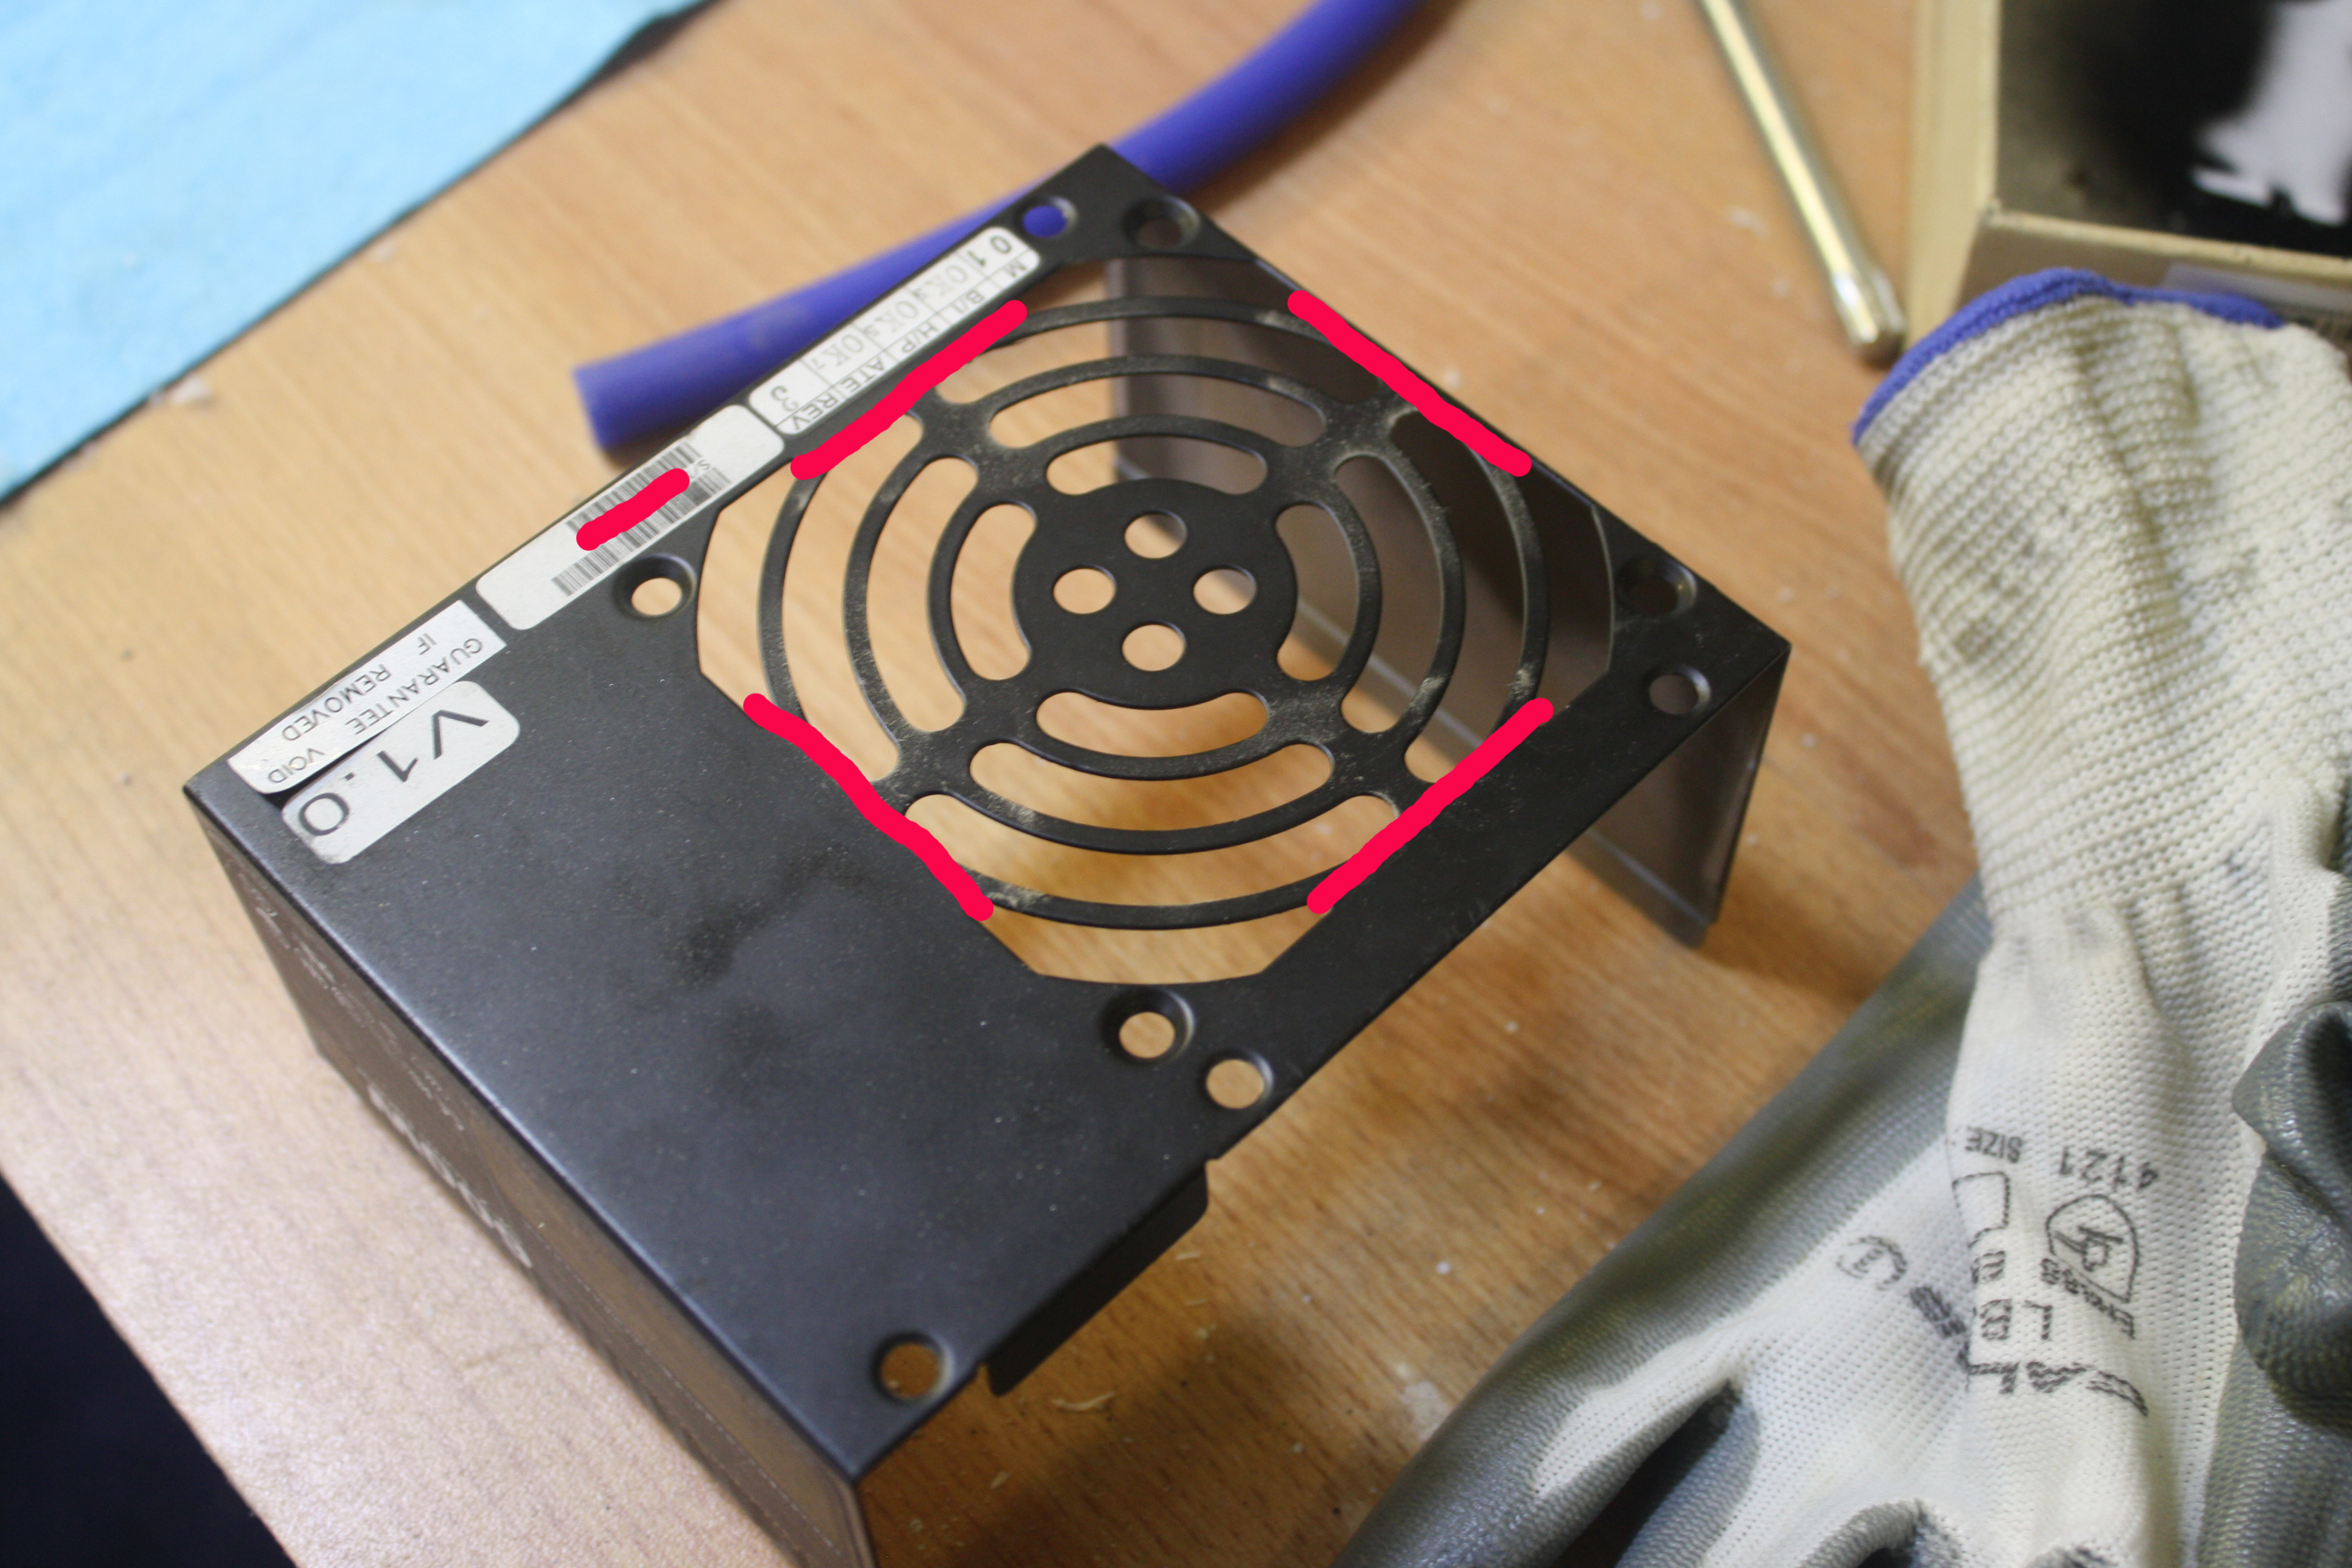
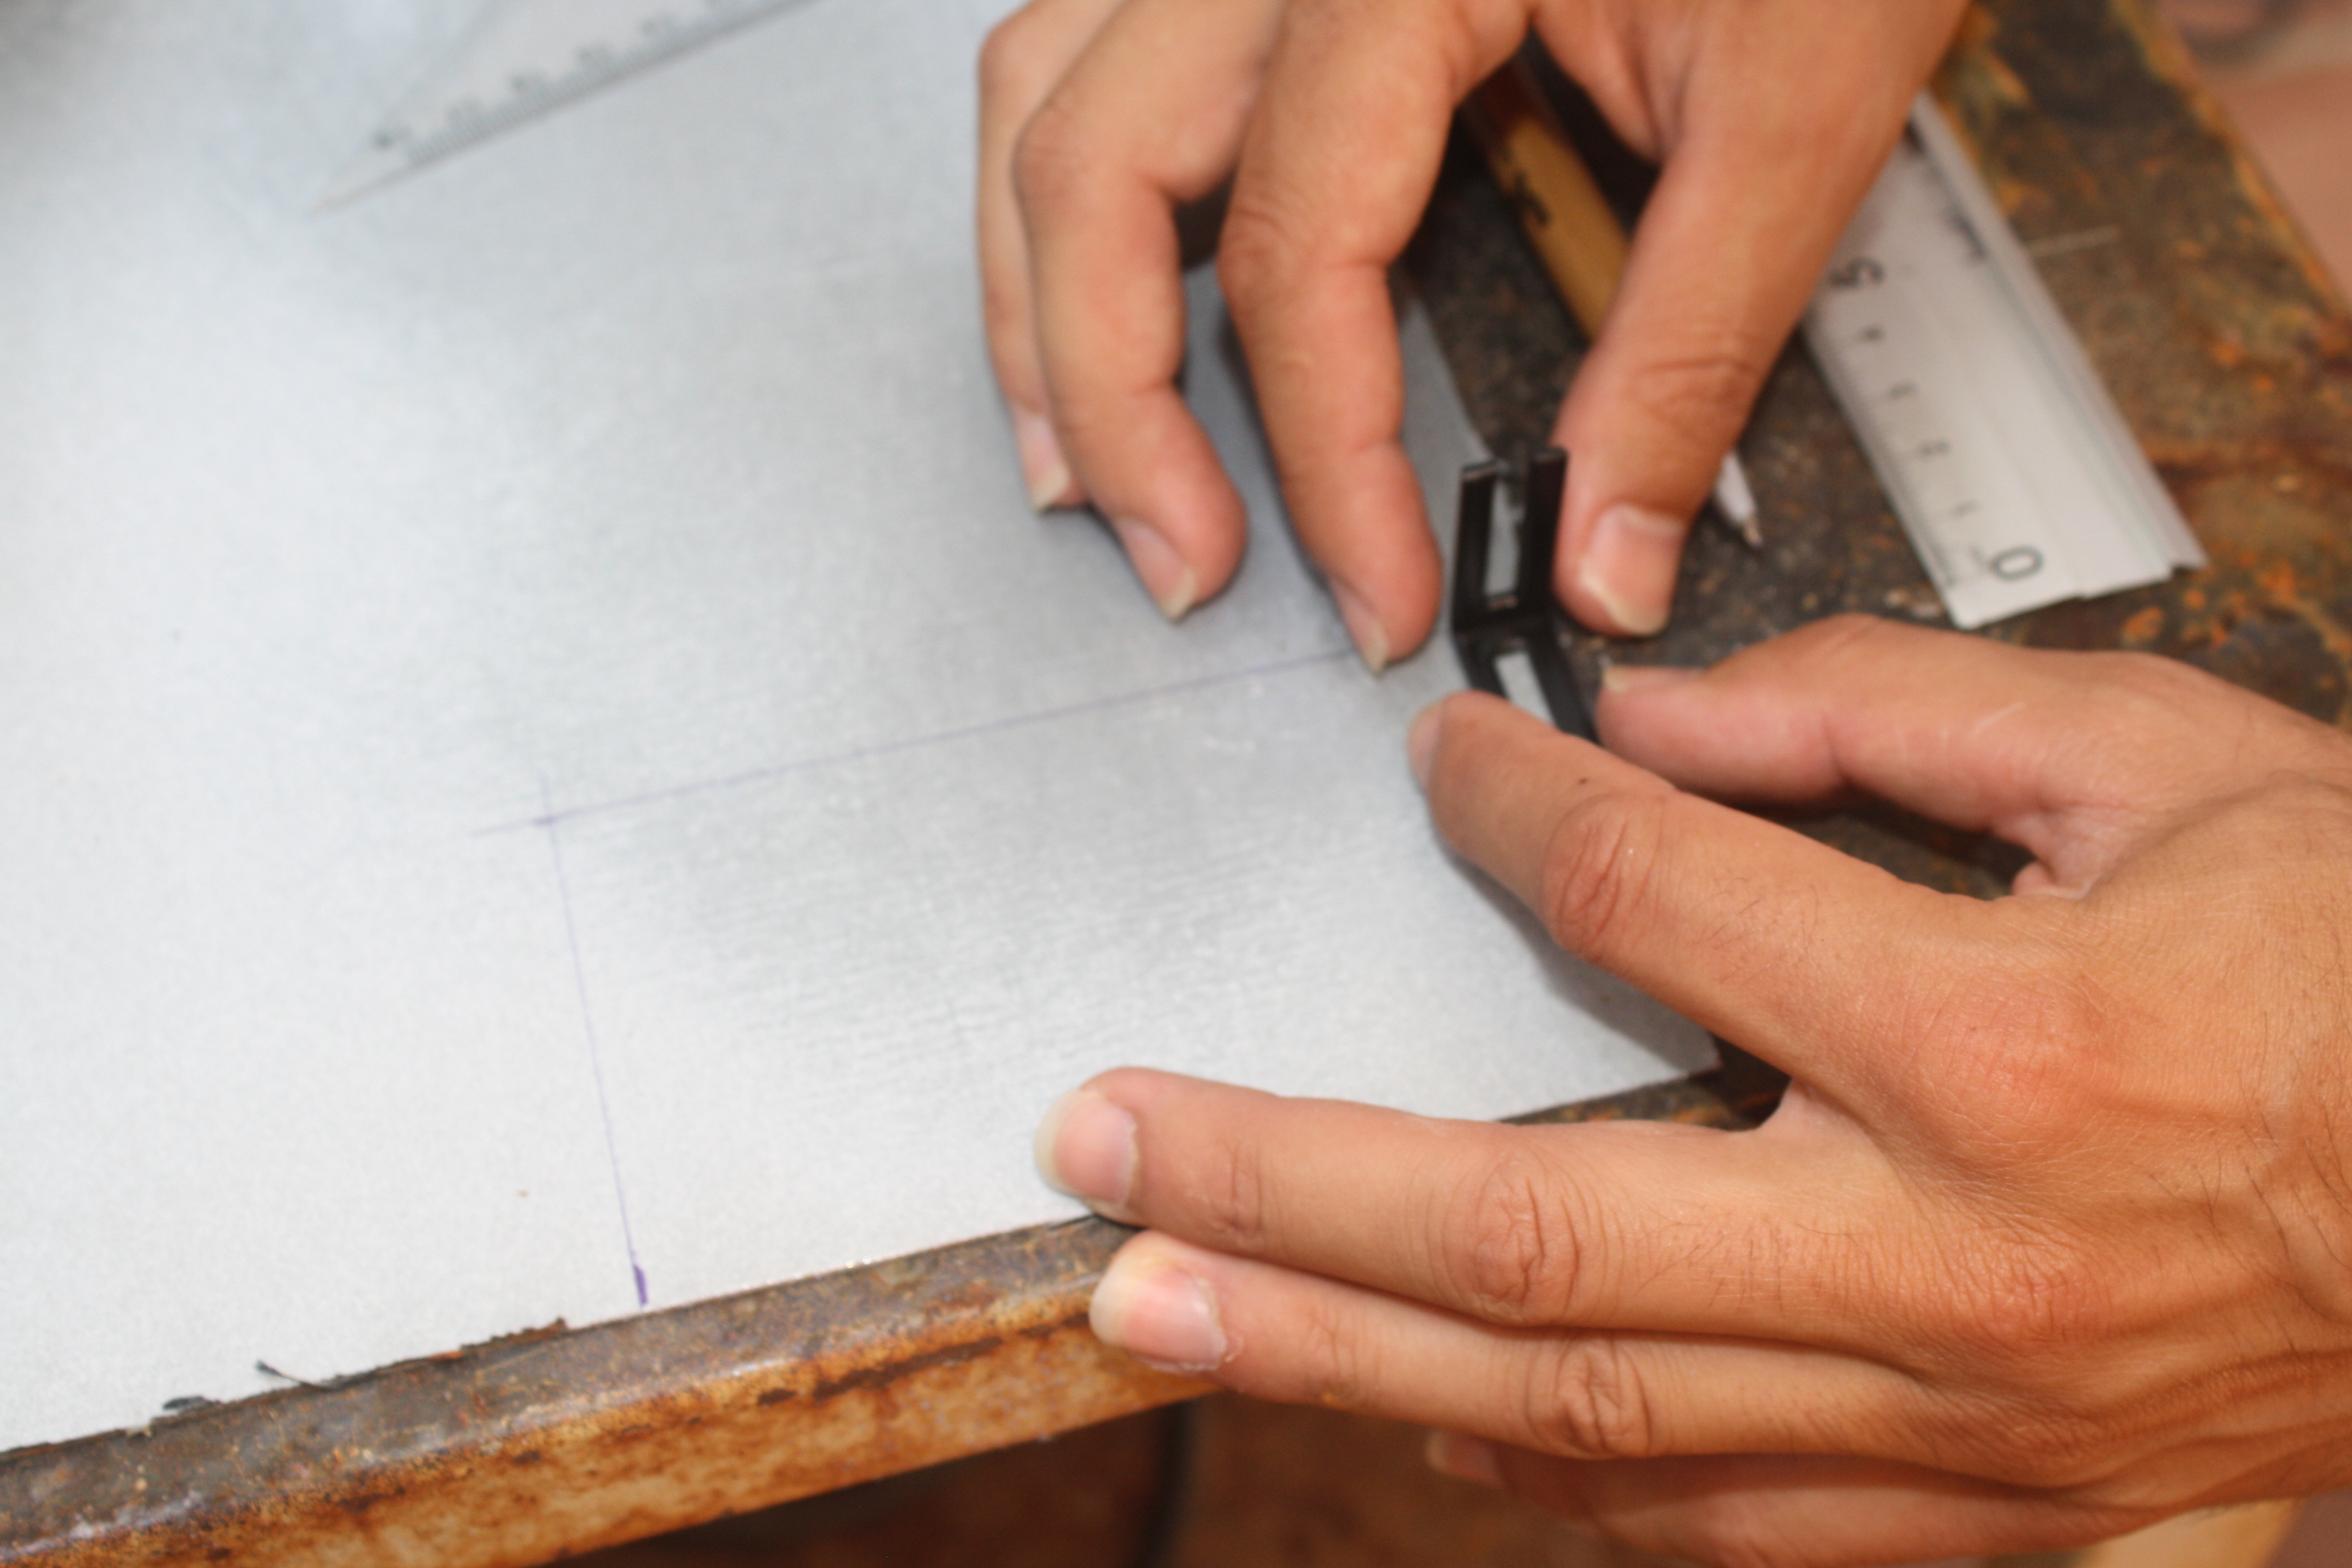
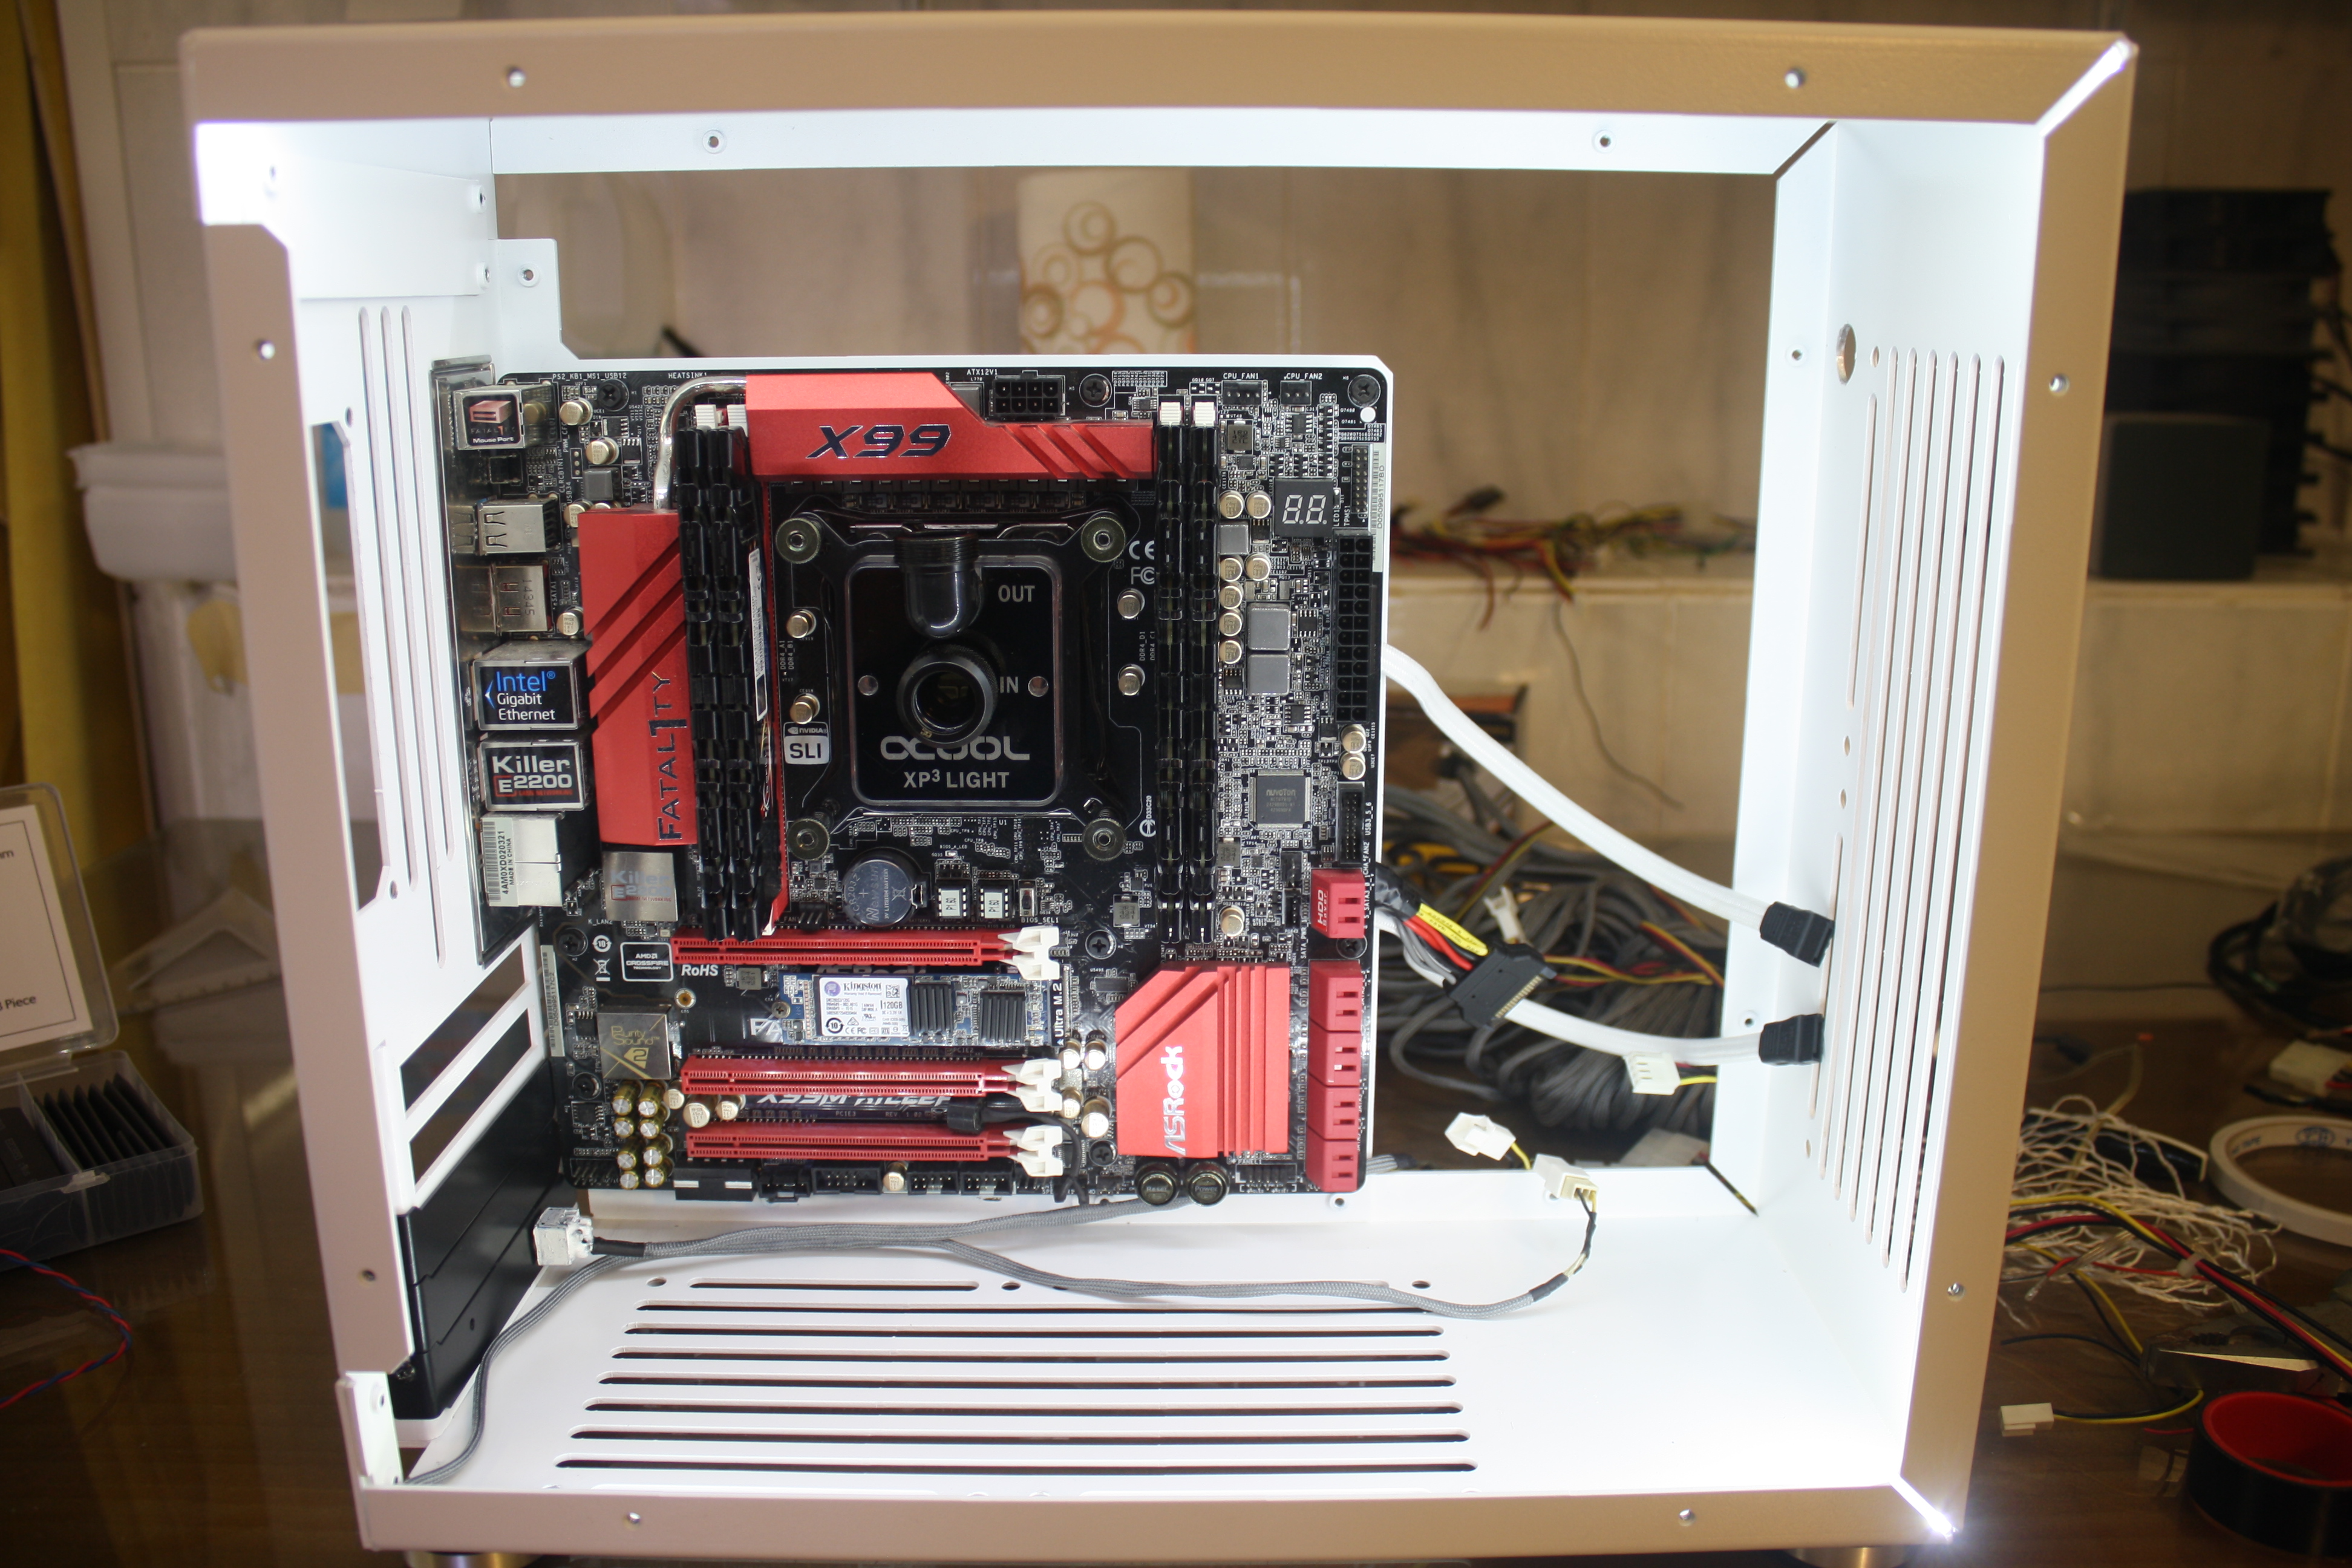
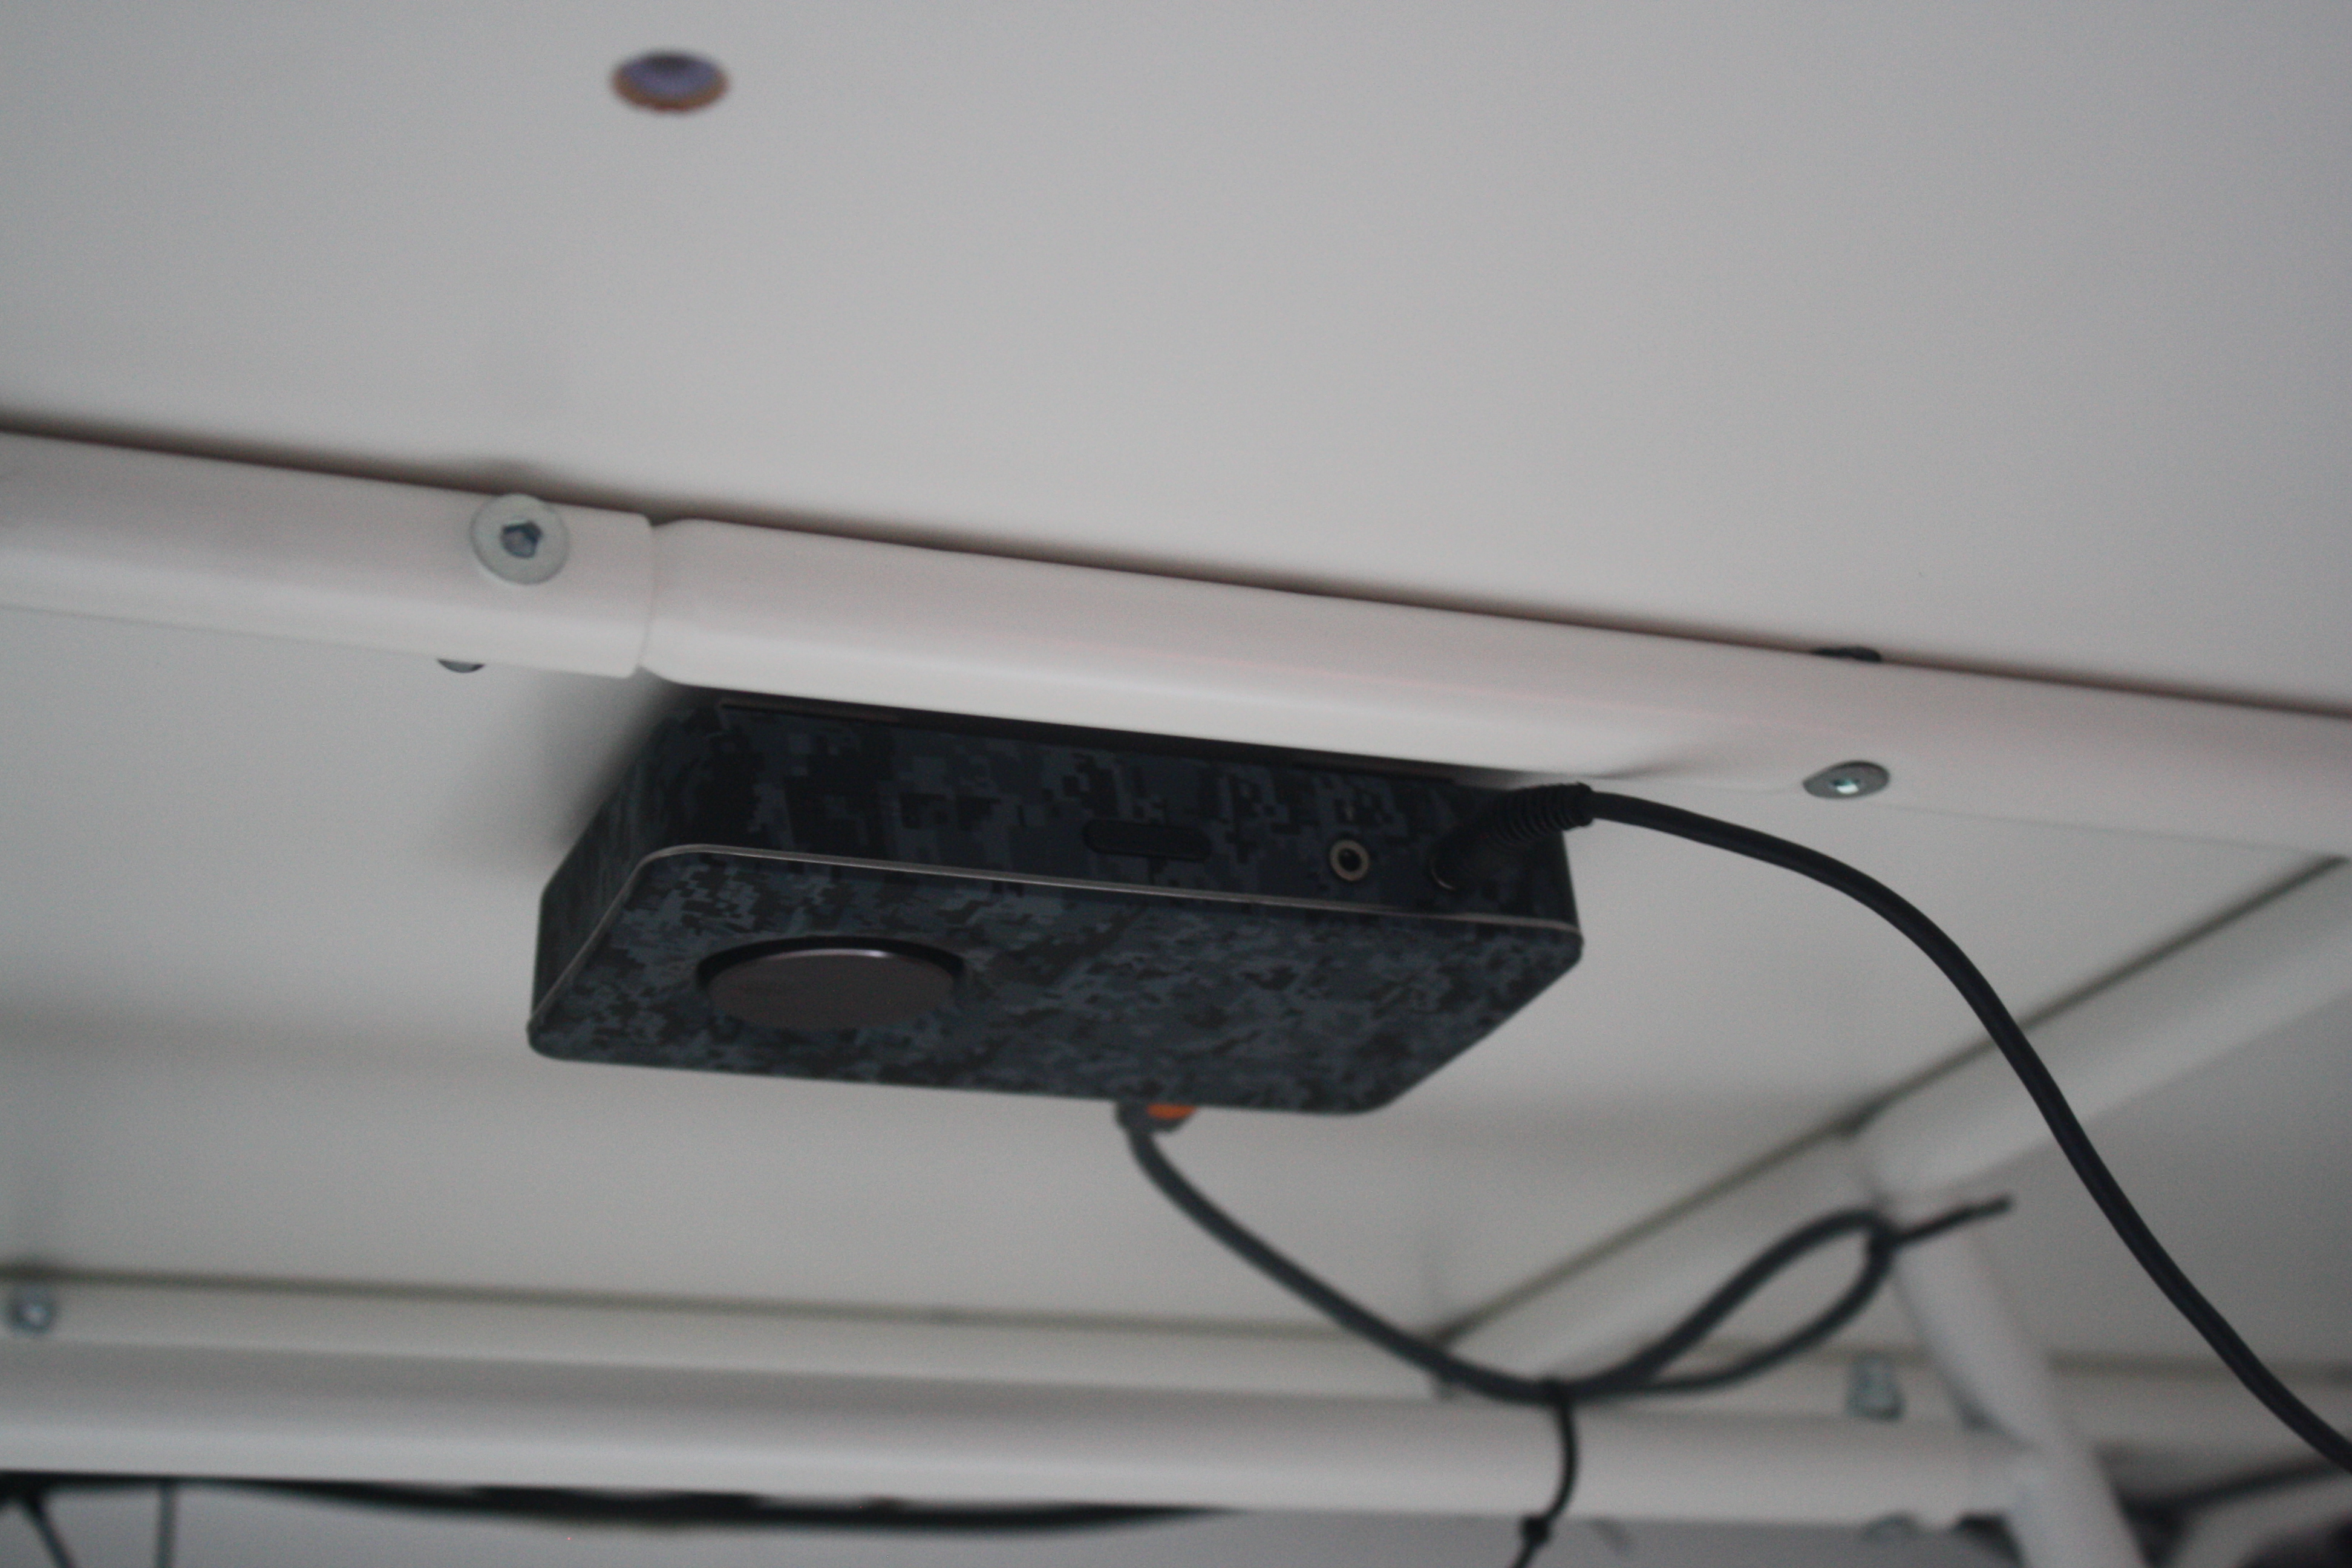
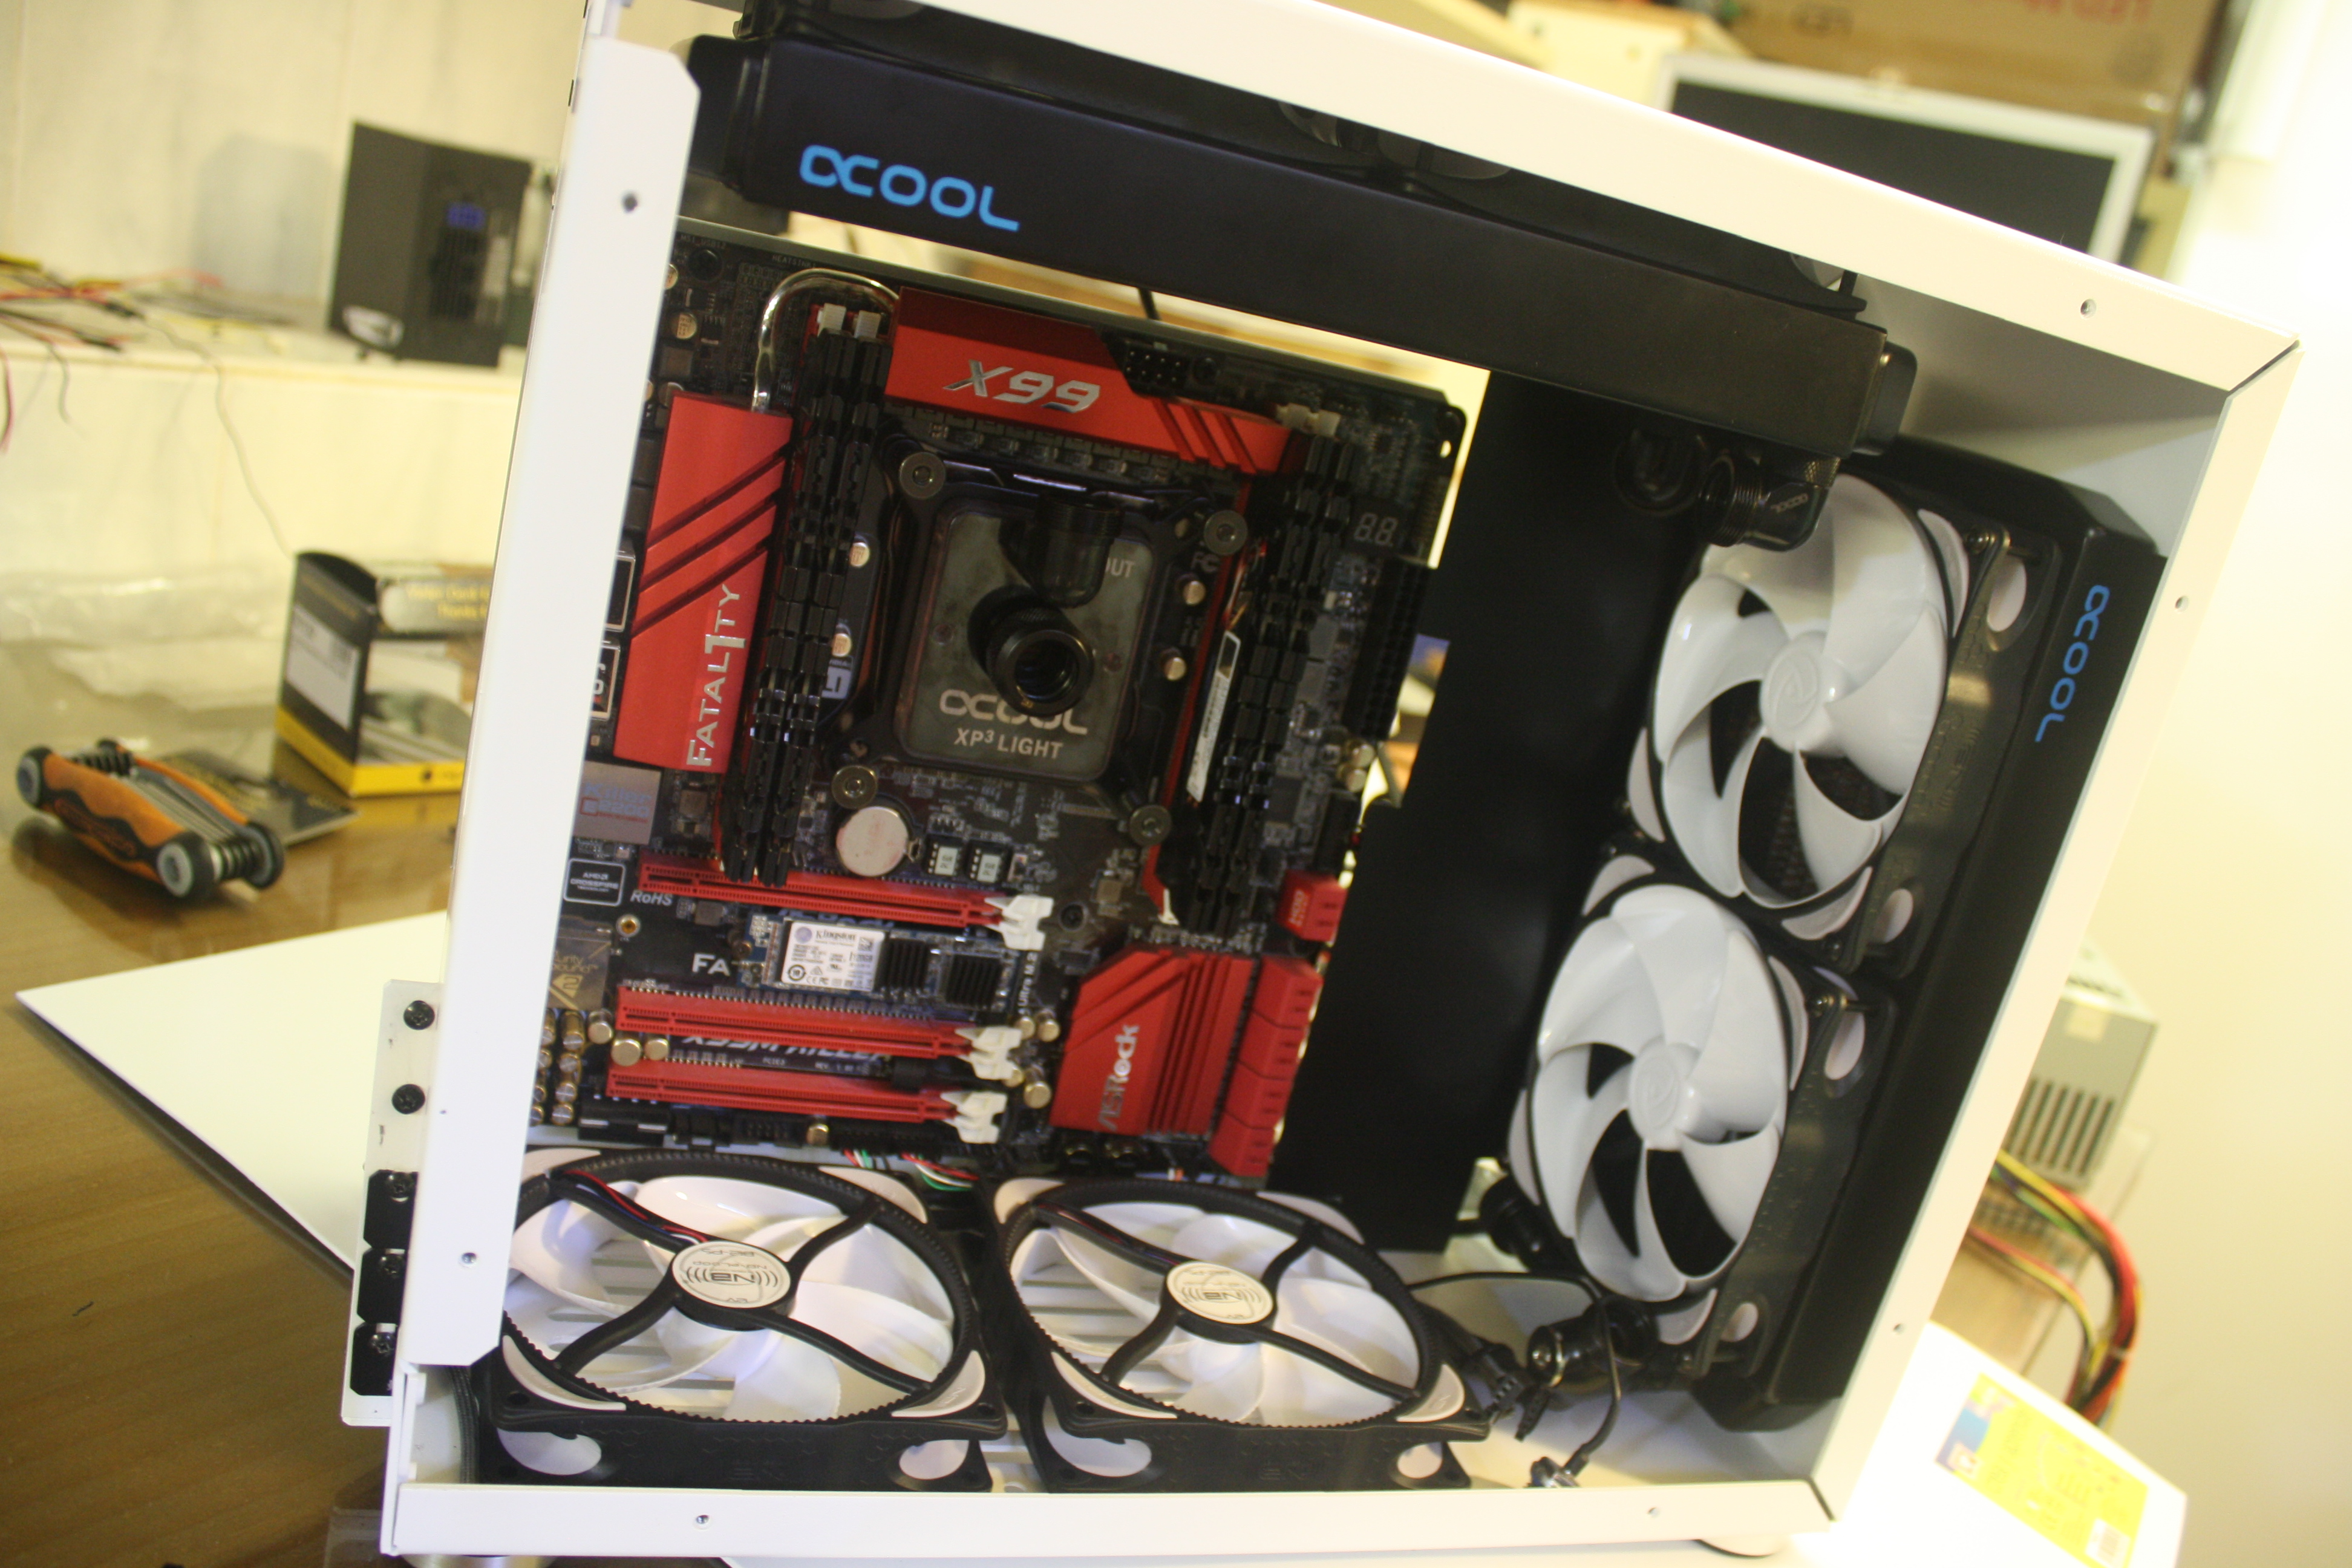
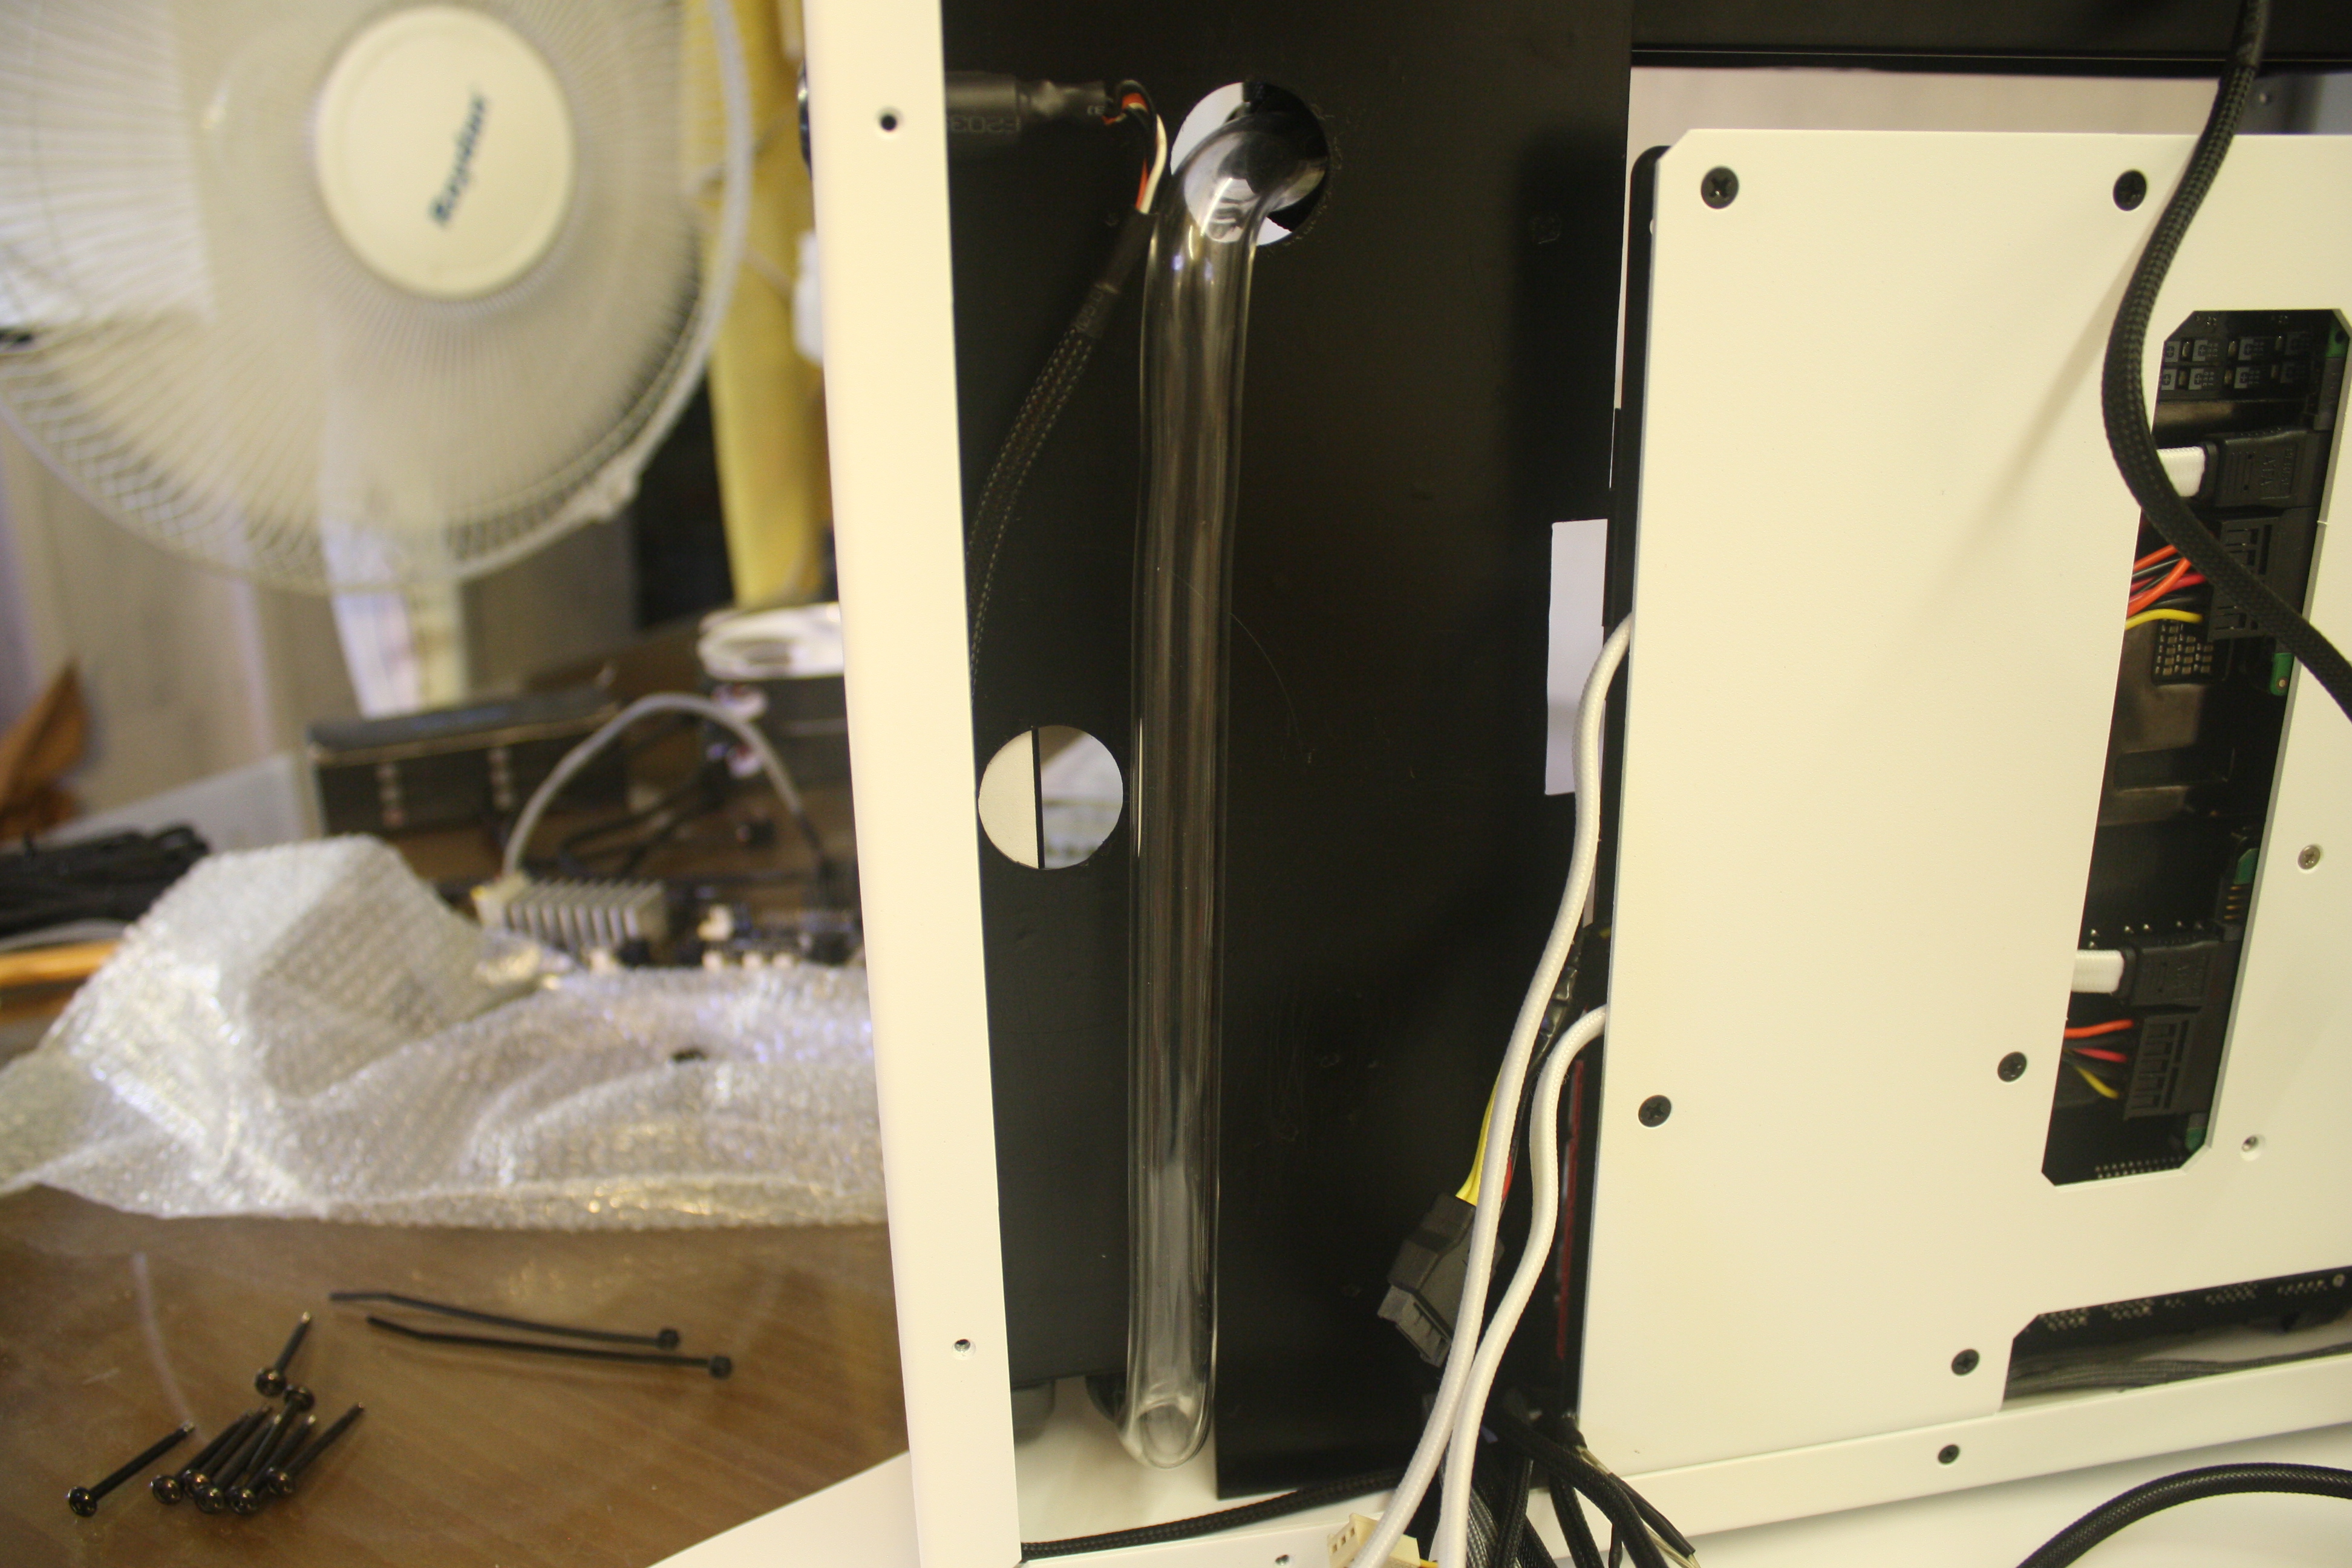
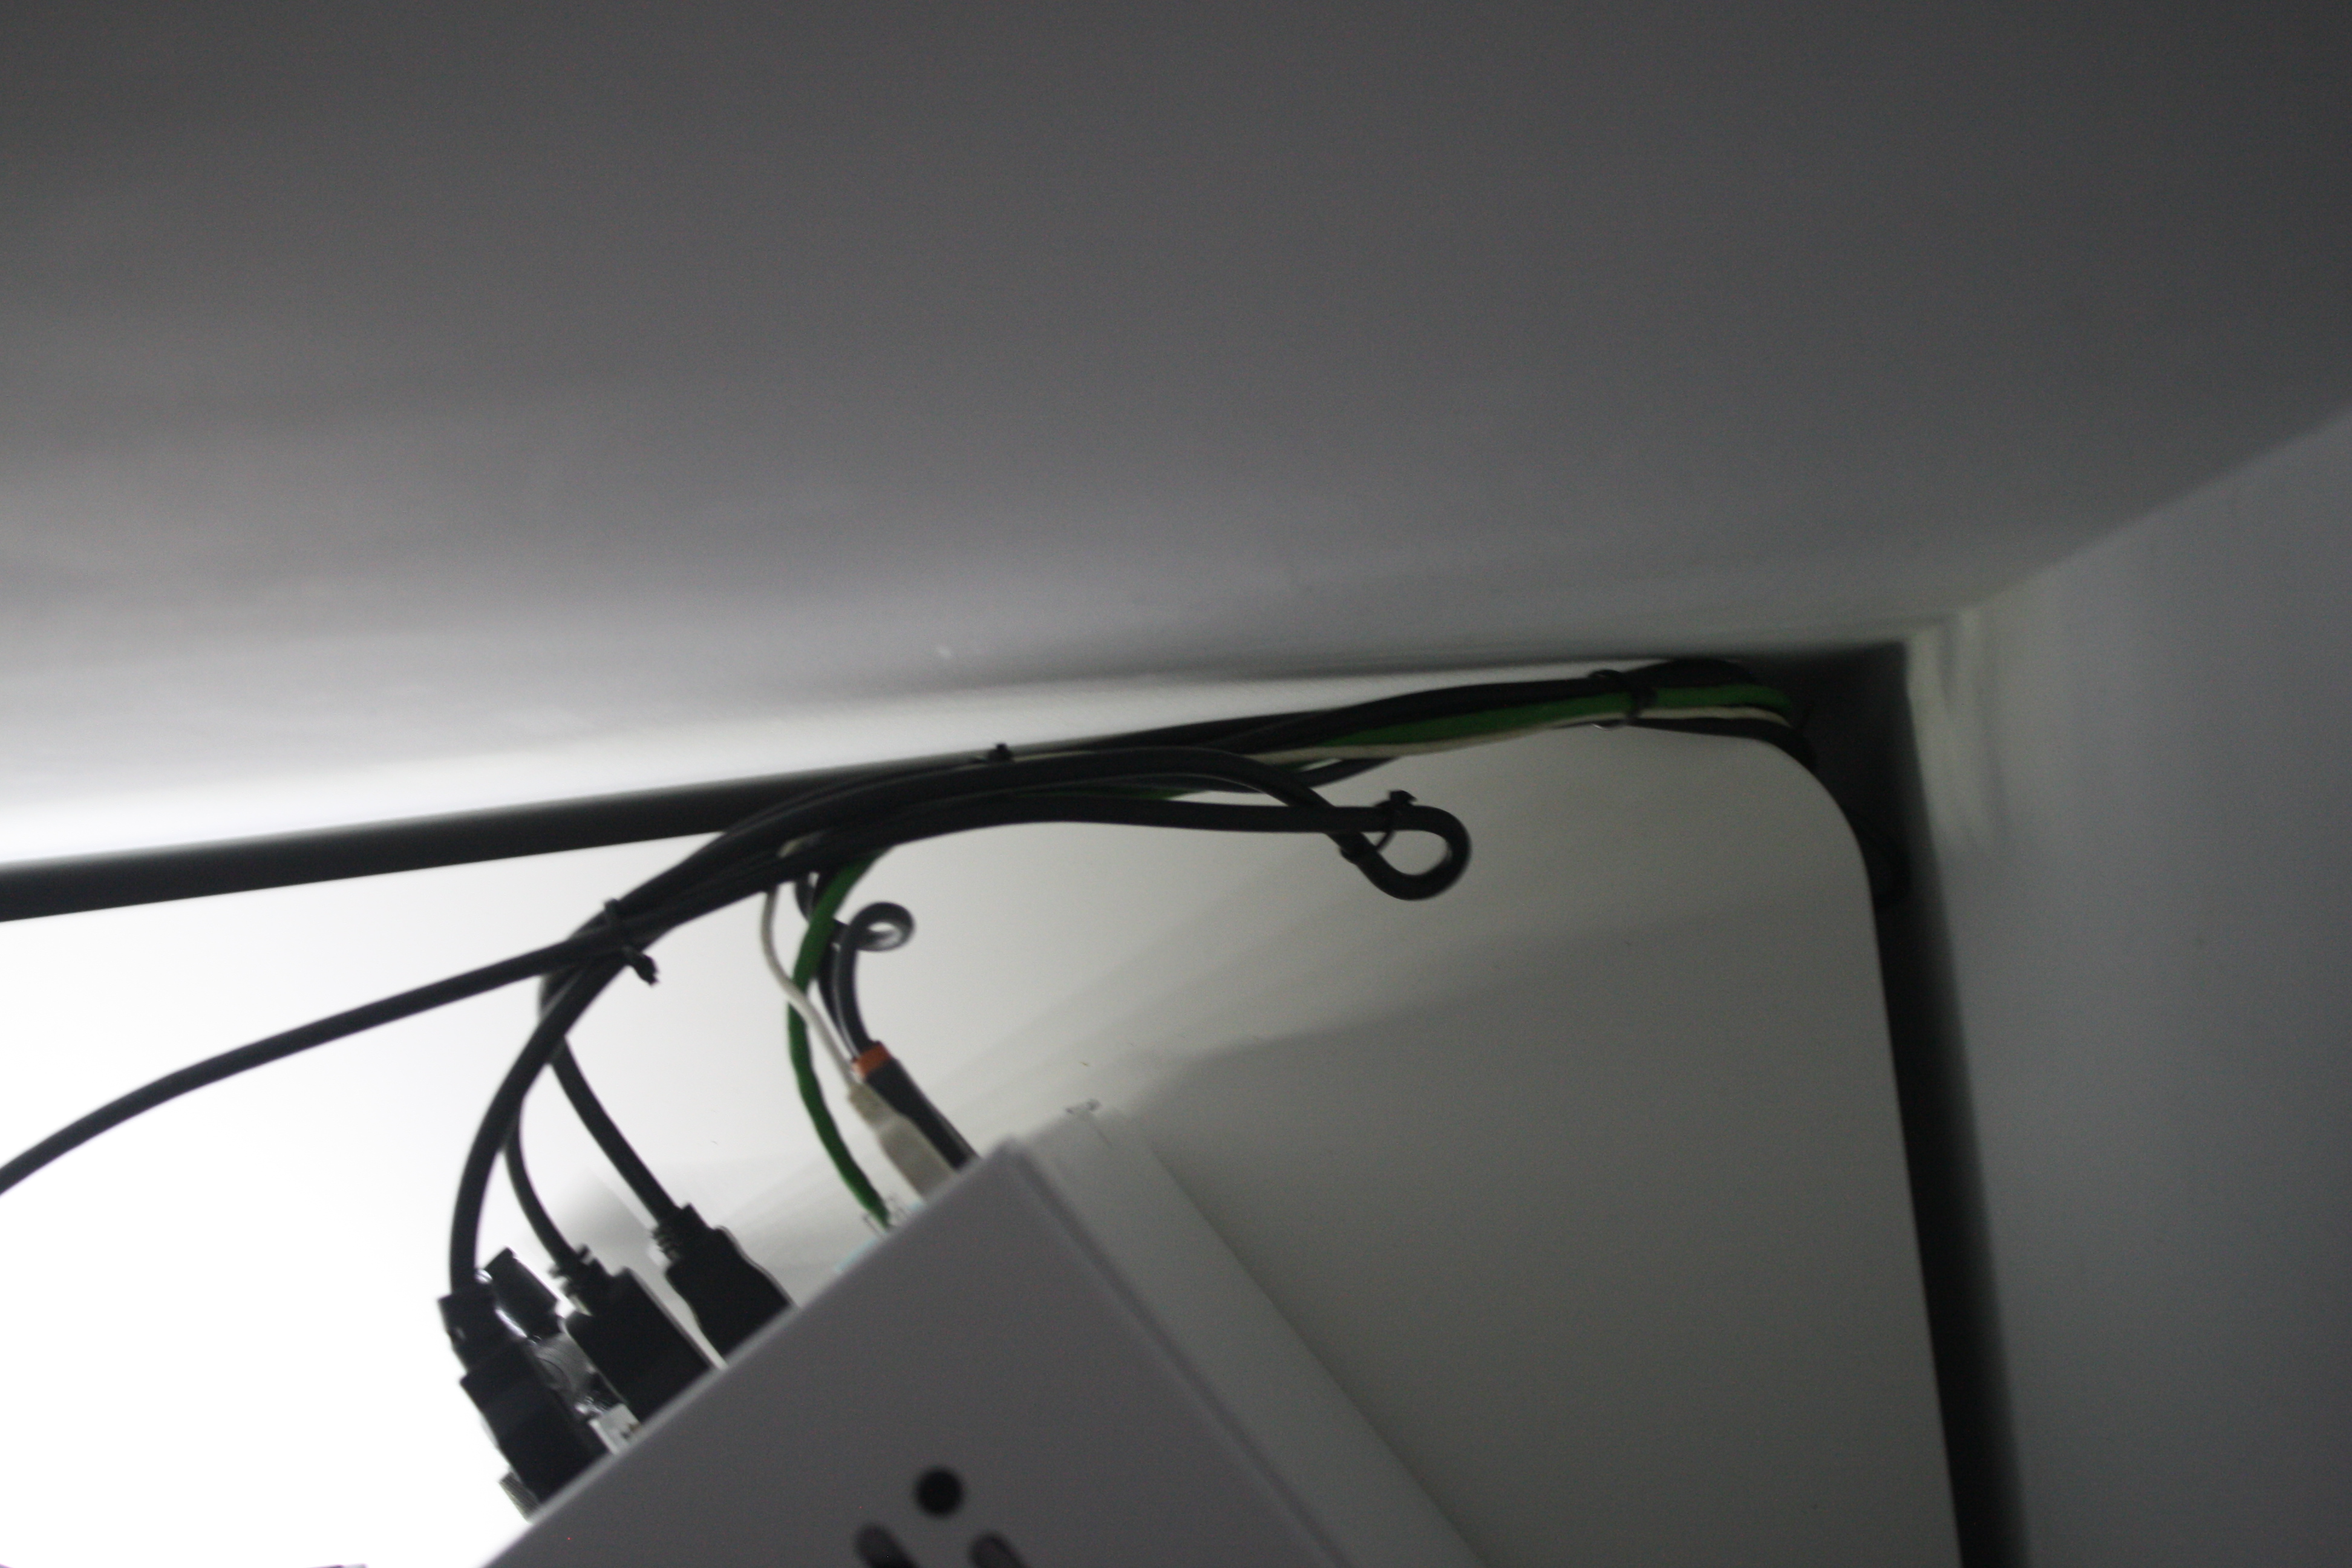
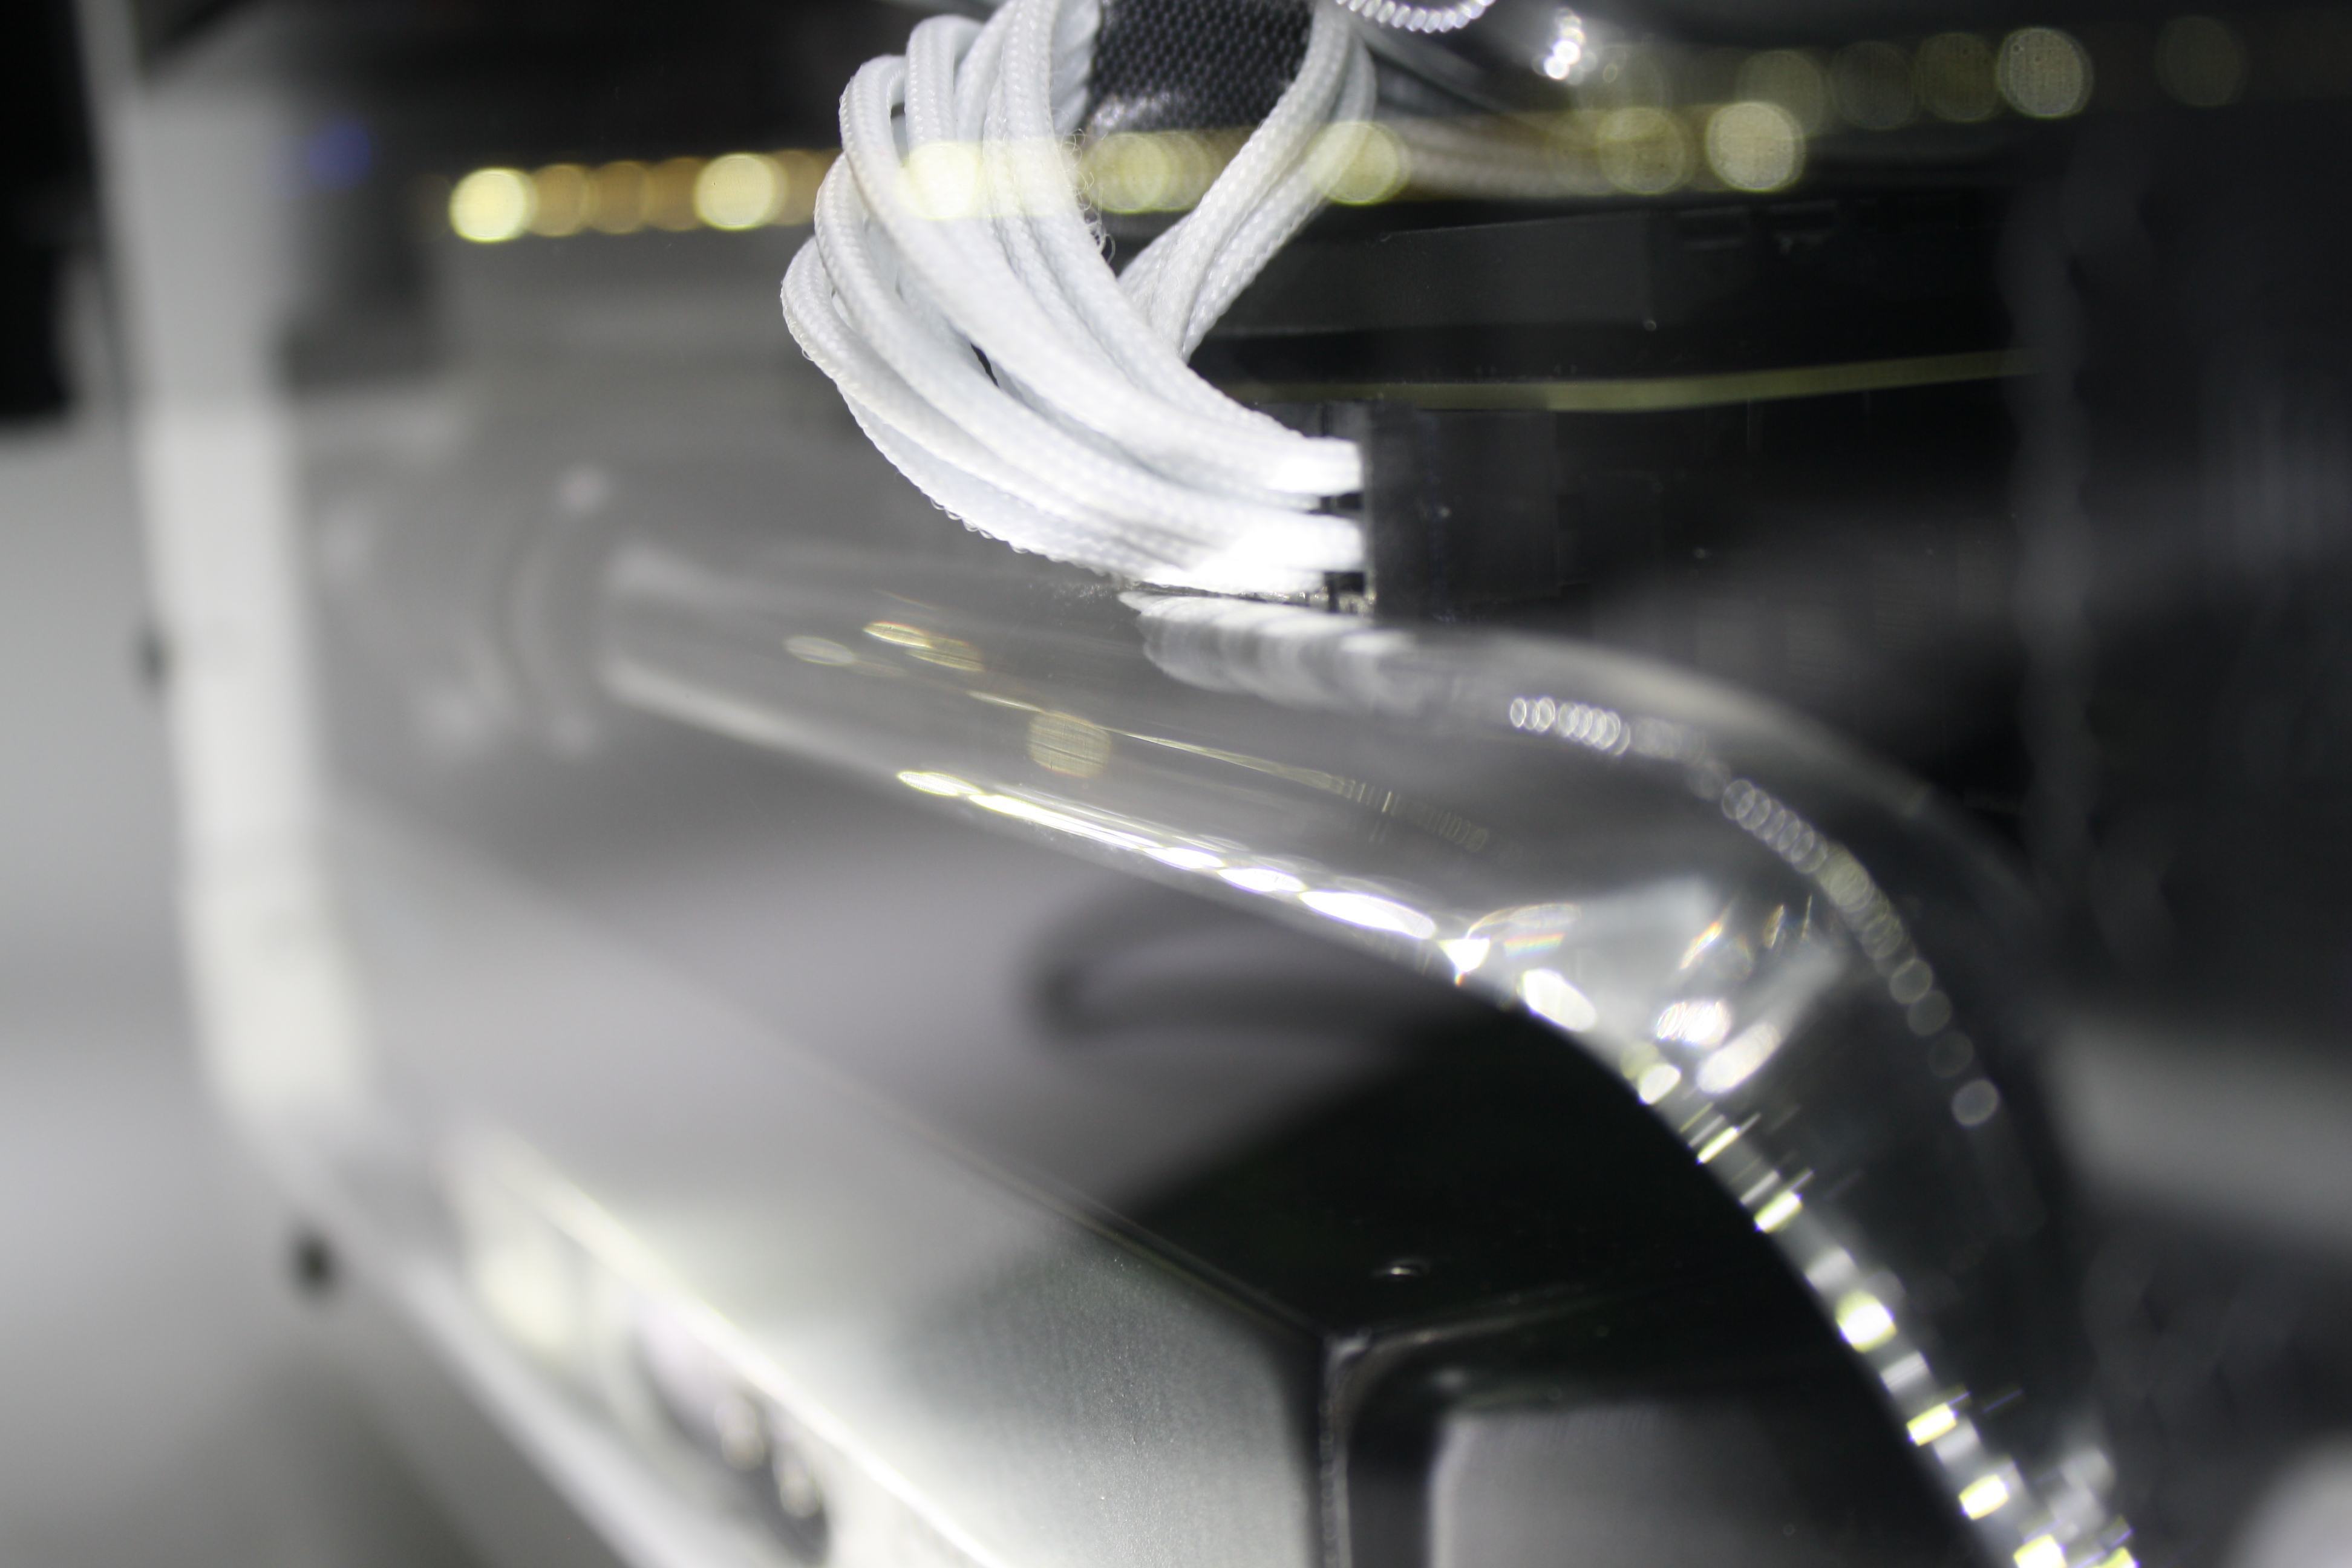
The provisional status of the equipment is this:
I will update the post as soon I progress in the project
Thanks!
http://www.overclock.net/t/1580191/...age-still-accepting-orders/0_30#post_24597594
The case only has 20 liters volumen and I will use acrylic (16/12), 3 radiators, gpu and cpu (x99) with waterblocks, ddc pump with top/res combo, aquaero 5LT and custom sleev.
The following companies are sponsoring my project:
- Alphacool
- Artic
- Cablemod
- Blacknoise
The pc specs:
- 5820k
- asrock x99m fatality killer
- gigabyte gtx 980
- 16gb ram ddr4 2133mhz
- ssd 120 ultra M.2
- 1 tb hdd 2.5" x2 units
- Silverstone sx600-G FanMod noctua & custom cables
Peripherals:
- logitech g502
- vortex pok3r LED mod
- BenQ XL2730Z
- Benq GL2460 (second)
- Asus xonar u7 echelon
- SuperLux HD681EVO
The provisional status of the equipment is this:
I will update the post as soon I progress in the project
Thanks!