 7
7
Lian Li Strimer Plus 24-pin & 8-pin Review
(7 Comments) »Introduction
I would like to thank Lian Li for supplying the review sample.

Lian Li presented the Strimer ATX extension cable as a way to offer enthusiasts yet another way to light up a system in a unique fashion. We used it in the Lian Li OC-O11 review as a little additional tidbit and today get to look at the Strimer Plus series, which does not only improve on the original, but also expands the product line from the lone 24-pin ATX variant to a dual 8-pin cable for you to also light up the power delivery to your GPU.
Packaging and Contents
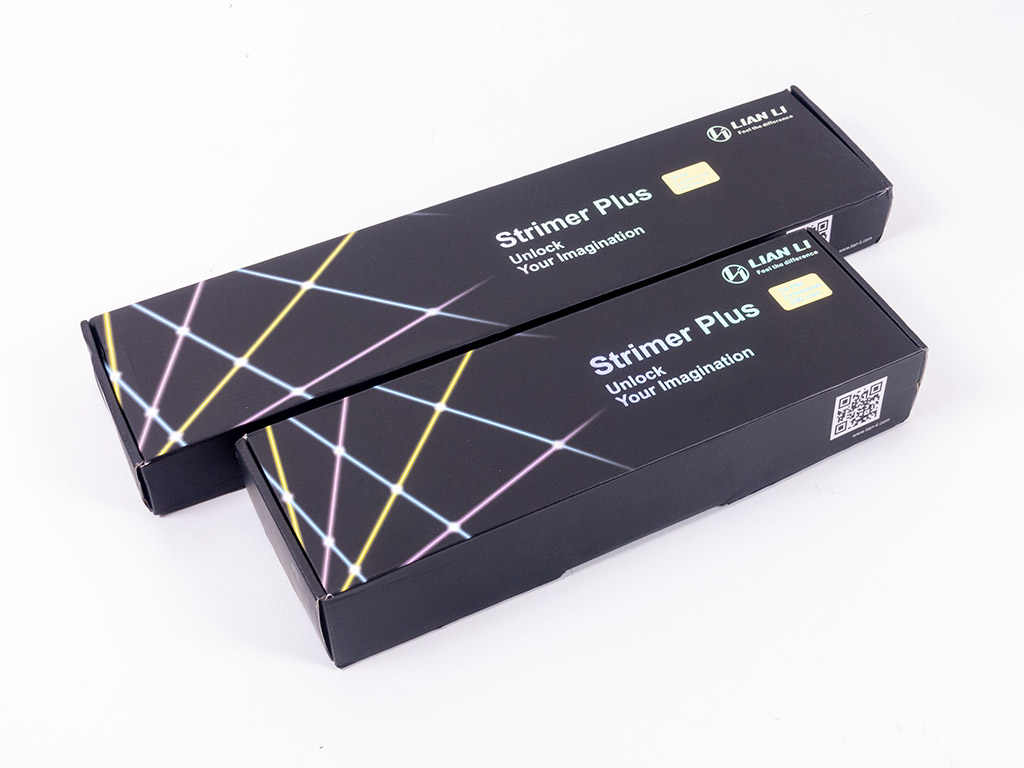
The Strimer Plus cables come in a compact black box with some printed elements on it that are shiny, and the differently sized packages mention which variant of the cable you will get as well.
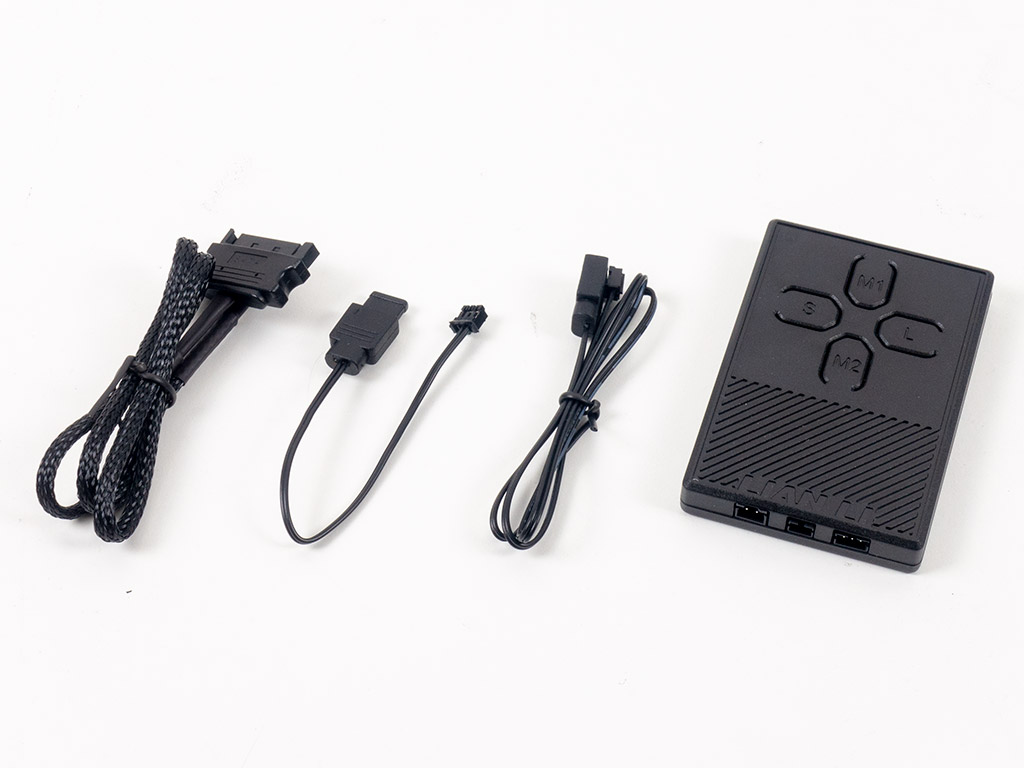

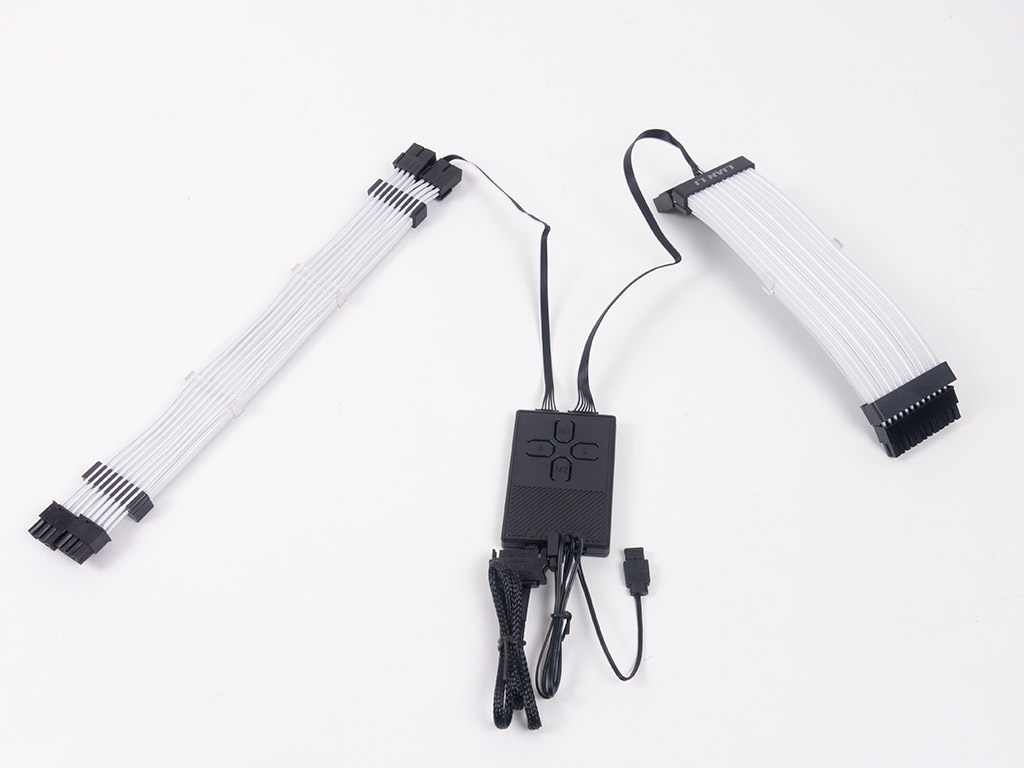
Out of the box, focusing on the 24-pin Strimer Plus as it is the main unit you would want to start with, it ships with all the cables to connect the separate control unit to power as well as your motherboard and even extend the system beyond these special LED cables. Unlike the original Strimer, which utilized a PCI bracket with a built-in controller, you get a standalone unit with buttons in the Strimer Plus. The manual for both units is the same and covers all the necessary information to get it up and running.

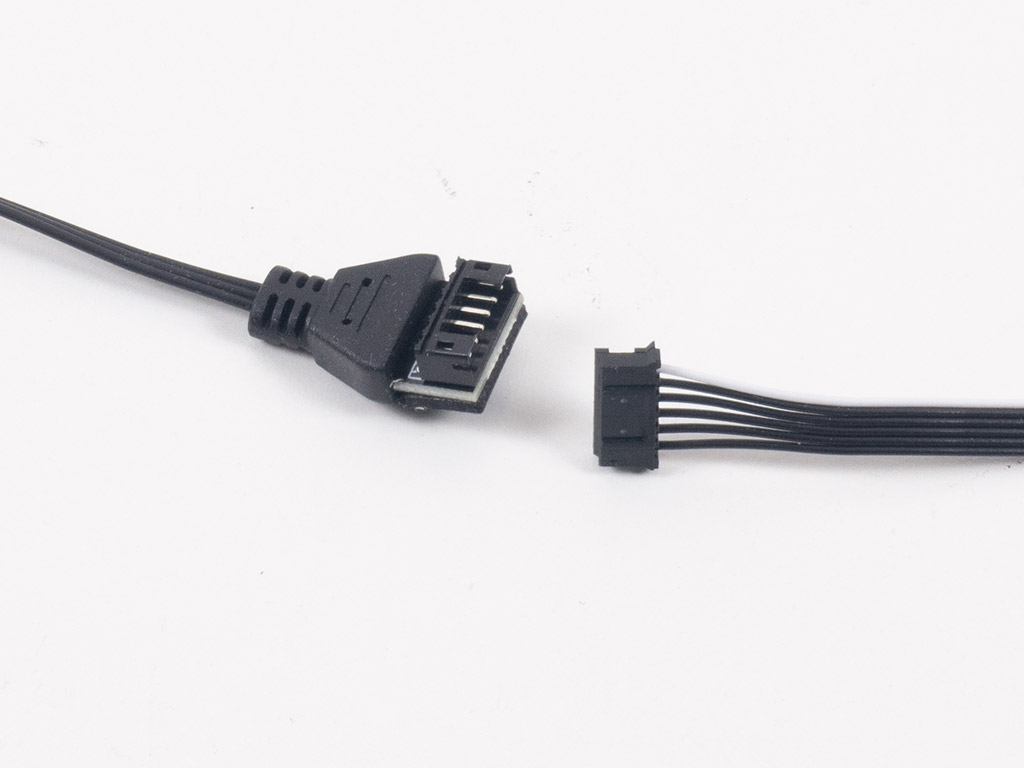
Looking at the contents of the 8-pin GPU power Strimer Plus, all you get next to the manual is a cable to directly connect it to your motherboard should you not have gone with the 24-pin unit and thus don't have the RGB controller mentioned above.
A Closer Look


Similar to the original Strimer, the Plus variant utilizes a white extension cable on which the soft, individual strands sit which then light up thanks to the connector on one end. Also, while the first version had multiple clear plastic clips to hold it in place, the Strimer Plus keeps the individual strips free of any unsightly bits and pieces.


The same can be said for the 8-pin variant, which ships with two 6+2 pin connectors, so you will be able to use it with any of the potent GPUs out there these days. The ribbon cable to power the lights is skinnier on this unit because the more compact cable requires less LEDs.
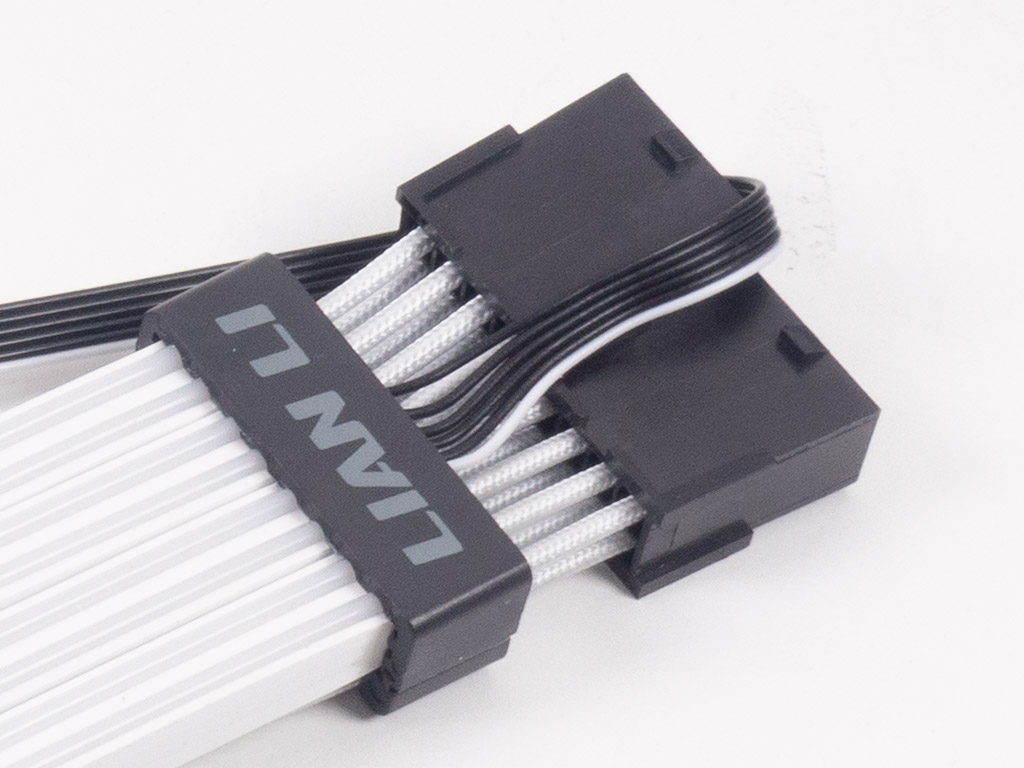
The main connector is branded Lian Li on the Strimer Plus units, and the cable extrudes from the middle on the side, which means you should run into no problems with cable management, either.

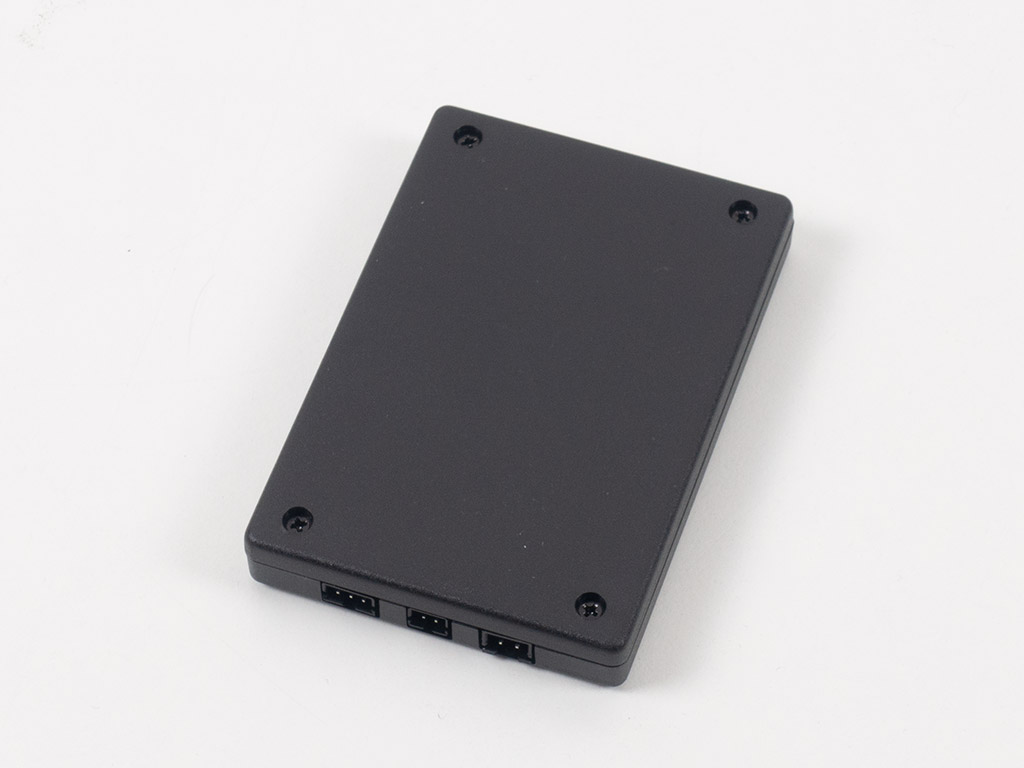

The controller is now more elaborate than the original, allowing more control over the lighting effects. You have two sets of effects you can trigger with M1 and M2, while the S button adjusts the speed of the animation and the L button its brightness. After removing the four screws of the housing, you can take a look at the pretty bare PCB. That said, it comes with more ICs than the original Strimer PCB. I would have loved magnets inside the housing to easily slap the unit onto the metal frame of a case. Pair that with a way to pass-through the cables from the controller to the back of the case (along with slightly longer power/LED leads), just so users have the option to easily access animations on the fly. As it stands now, you will have to open the chassis, or use motherboard control to do so.
The system connects to the device in a clear fashion, so there is no way to mistakenly plug a cable into the wrong location. Both Strimer Plus plugs go into the top, and the bottom connections are for SATA power and LED data I/O.
Our Patreon Silver Supporters can read articles in single-page format.
Apr 24th, 2024 03:24 EDT
change timezone
Latest GPU Drivers
New Forum Posts
- Which new games will you be buying? (307)
- The TPU UK Clubhouse (24773)
- What phone you use as your daily driver? And, a discussion of them. (1456)
- Sexy Mechanical Keyboard Thread (486)
- Is there a technical reason that Windows 11 doesn't have built into it battery charge limitation? (38)
- ROG Strix LC III 360 ARG AIO What should the pump speed be? (3)
- Official Board Game Discussion (14)
- Random blue screen from winload.efi error (0xc000000e) (0)
- What's your latest tech purchase? (20327)
- need help with motherboard/ ram compability certainty (15)
Popular Reviews
- Fractal Design Terra Review
- Corsair 2000D Airflow Review
- Thermalright Phantom Spirit 120 EVO Review
- Minisforum EliteMini UM780 XTX (AMD Ryzen 7 7840HS) Review
- ASUS GeForce RTX 4090 STRIX OC Review
- NVIDIA GeForce RTX 4090 Founders Edition Review - Impressive Performance
- ASUS GeForce RTX 4090 Matrix Platinum Review - The RTX 4090 Ti
- MSI GeForce RTX 4090 Suprim X Review
- MSI GeForce RTX 4090 Gaming X Trio Review
- Gigabyte GeForce RTX 4090 Gaming OC Review
Controversial News Posts
- Sony PlayStation 5 Pro Specifications Confirmed, Console Arrives Before Holidays (116)
- NVIDIA Points Intel Raptor Lake CPU Users to Get Help from Intel Amid System Instability Issues (106)
- AMD "Strix Halo" Zen 5 Mobile Processor Pictured: Chiplet-based, Uses 256-bit LPDDR5X (101)
- US Government Wants Nuclear Plants to Offload AI Data Center Expansion (98)
- Windows 10 Security Updates to Cost $61 After 2025, $427 by 2028 (84)
- Developers of Outpost Infinity Siege Recommend Underclocking i9-13900K and i9-14900K for Stability on Machines with RTX 4090 (84)
- TechPowerUp Hiring: Reviewers Wanted for Motherboards, Laptops, Gaming Handhelds and Prebuilt Desktops (77)
- Intel Realizes the Only Way to Save x86 is to Democratize it, Reopens x86 IP Licensing (70)