 4
4
Antec GX500 Review
Value & Conclusion »Assembly

Installing the motherboard within the Antec GX500 bears no surprises. There is a good amount of space around the CPU cooler, so you should be able to reach all the connectors. The cable routing holes are in good locations since the full-width ATX board does not cover any up.

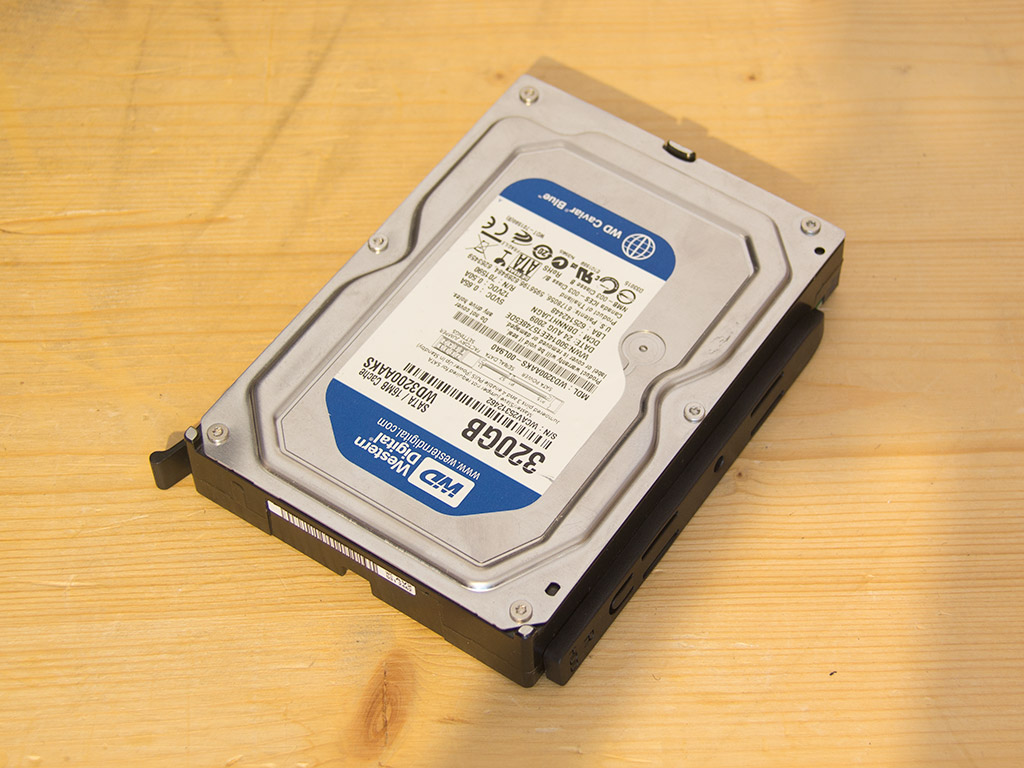
Installing a 3.5" drive within the GX500 does not require any screws, but you have to prepare the rails first. Antec included a few foam rings you have to apply yourself, which takes a bit of fiddling, and while the end result may be as intended, I can't see these work well as an anti-vibration measure. Once filled, simply place the drive into the appropriate location. The right rail is, interestingly enough, shorter than the one on the left.


Upon sliding the drive into place, it became obvious why. The hard-drive cage is close enough to the front to make any rail extending past the HDD inaccessible, which also means that the unit is only held in place by the left rail. You can luckily sink a single screw into either side of the HDD cage. Those who will never move the chassis can rest easy, but consider sinking two screws into the drive if you happen to move your chassis around.
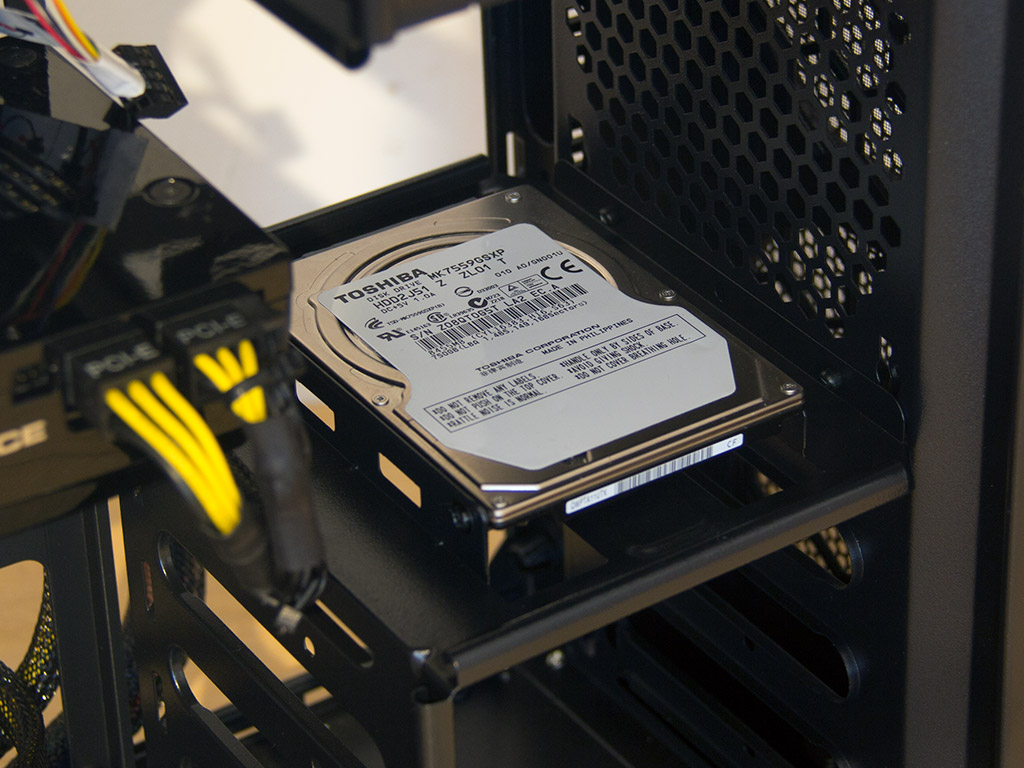
Placing a 2.5" drive or SSD within the GX500 is quite easy, but I suggest you do so before installing any graphics cards, especially if you intend to install a dual-GPU configuration. Little screws will hold a drive in place on one side, and there are metal pins on the mounting possibility toward the front of the chassis, which is, all in all, quite sufficient in securing your drive.
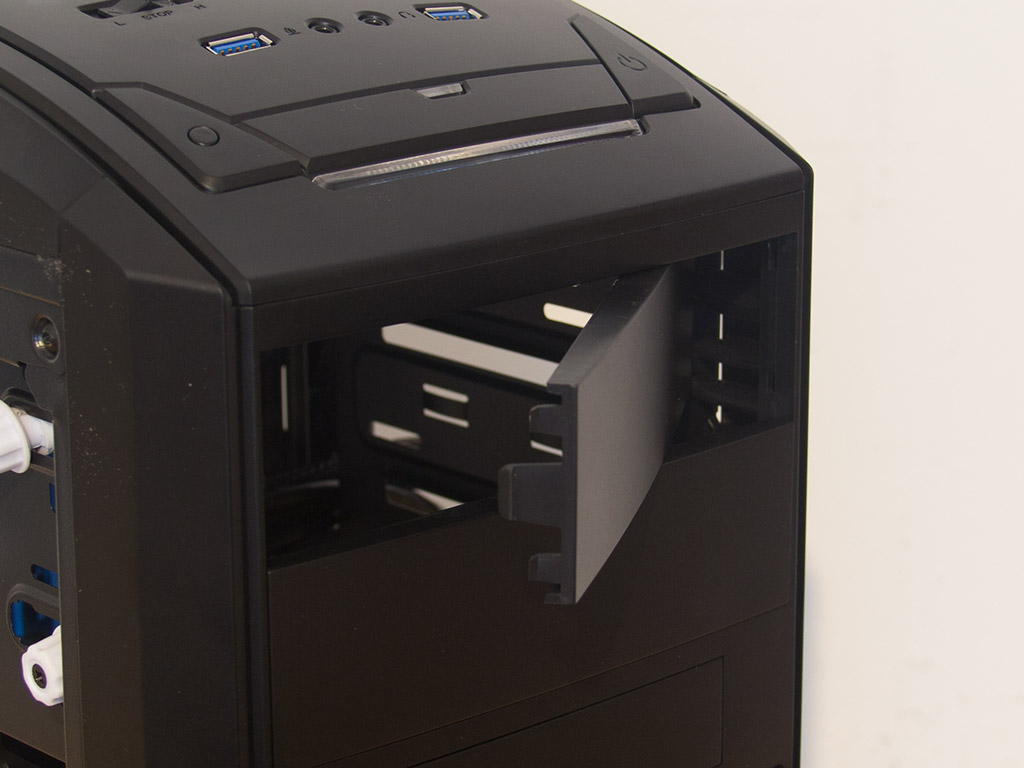


Installing an optical drive requires no tools as you only have to remove the cover from within to slide the drive into place; secure it by lining it up with the white thumbscrews and twisting them into the drive. Since this is essentially like using traditional screws, the drive will now hold in place just as well.

I have been using this optical drive - it is a Blu-Ray & HD-DVD combo - with all of my case reviews over the past 4 years and have not run into many issues, but it nearly did not fit into the GX500 as the rear of the drive looms over the installed motherboard's edge. Those using longer drives may, as such, run into installed on-board components.

Installing the PSU is quite easy - just put it into place and use the included screws and a traditional screwdriver. There is plenty of space for even larger units.
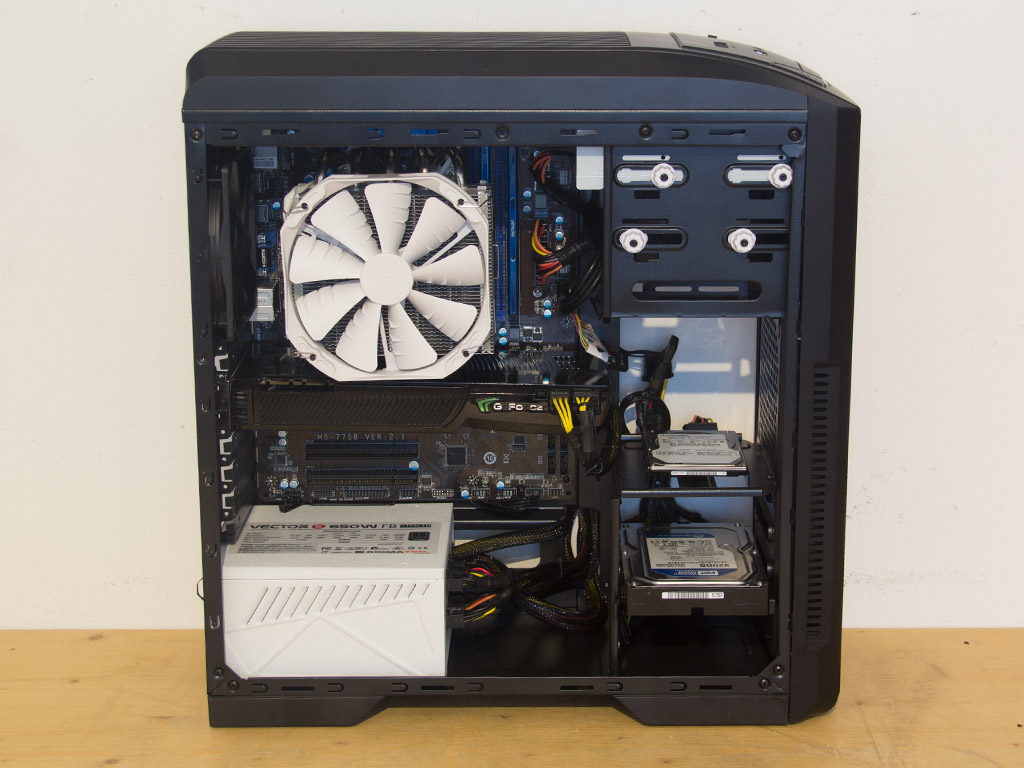

With everything installed, you can still see a bit of the cable mess. This is simply due to the fact that I had to move a few cables to the hard-drive area to fit the side panel back onto the case after I finished installing everything. In hindsight, I could have used a zip tie to bunch the PSU cables right at the base up better, which would have helped a bit. You could also place the 3.5" hard drive into the bay at the very bottom to hide some cables underneath instead of behind it.
Finished Looks

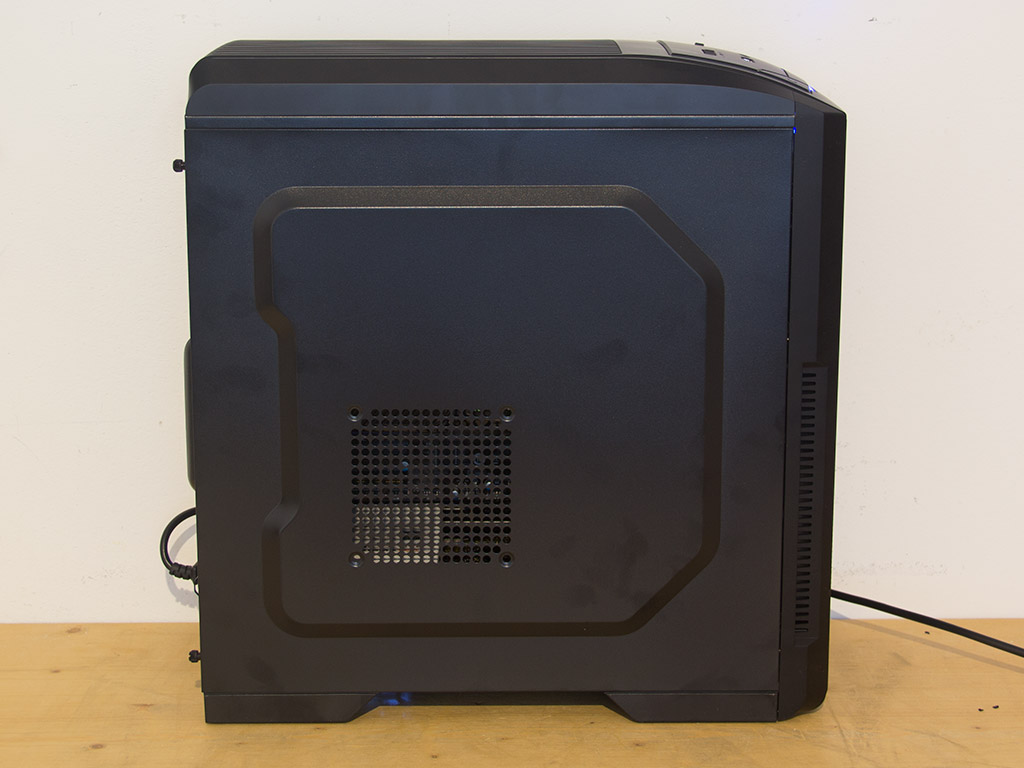
With the panels back on the GX500 and the system turned on, the backlit strip in the front lights up in quite a bright blue. The basic fan controllers do work well, but I wonder how much power they can deliver before they are overpowered. Antec unfortunately does not mention anything on the matter anywhere.

My black ODD fits into the GX500 well, and peeking into the chassis shows that the PSU is situated right underneath the side panel's air vent, which should not be an issue as the vent actually cools the expansion slots and the lower half of the motherboard perfectly.
Apr 24th, 2024 18:06 EDT
change timezone
Latest GPU Drivers
New Forum Posts
- Is there a technical reason that Windows 11 doesn't have built into it battery charge limitation? (41)
- Best SSD for system drive (75)
- How are MX330 and İ5 1135G7 ? (9)
- GTX 1070 Ti - TDP Issues - Always Power Throttling (1)
- Will a RTX 4070 TI super bottleneck a Ryzen 9 7950X3D? (55)
- 3DMARK "LEGENDARY" (189)
- TPU's Nostalgic Hardware Club (18462)
- Meta Horizon OS (14)
- im new to throttelstop and i think i messed it up by copying others any hints would be very much aprreciated (0)
- Is It The 1080 TI The Best GPU Ever? (214)
Popular Reviews
- Fractal Design Terra Review
- Thermalright Phantom Spirit 120 EVO Review
- Corsair 2000D Airflow Review
- Minisforum EliteMini UM780 XTX (AMD Ryzen 7 7840HS) Review
- ASUS GeForce RTX 4090 STRIX OC Review
- NVIDIA GeForce RTX 4090 Founders Edition Review - Impressive Performance
- ASUS GeForce RTX 4090 Matrix Platinum Review - The RTX 4090 Ti
- MSI GeForce RTX 4090 Gaming X Trio Review
- MSI GeForce RTX 4090 Suprim X Review
- Gigabyte GeForce RTX 4090 Gaming OC Review
Controversial News Posts
- Sony PlayStation 5 Pro Specifications Confirmed, Console Arrives Before Holidays (116)
- NVIDIA Points Intel Raptor Lake CPU Users to Get Help from Intel Amid System Instability Issues (106)
- AMD "Strix Halo" Zen 5 Mobile Processor Pictured: Chiplet-based, Uses 256-bit LPDDR5X (101)
- US Government Wants Nuclear Plants to Offload AI Data Center Expansion (98)
- Windows 10 Security Updates to Cost $61 After 2025, $427 by 2028 (84)
- Developers of Outpost Infinity Siege Recommend Underclocking i9-13900K and i9-14900K for Stability on Machines with RTX 4090 (84)
- TechPowerUp Hiring: Reviewers Wanted for Motherboards, Laptops, Gaming Handhelds and Prebuilt Desktops (78)
- Intel Realizes the Only Way to Save x86 is to Democratize it, Reopens x86 IP Licensing (70)