 0
0
Antec ISK110 VESA Mini-ITX Desktop Review
Value & Conclusion »Assembly


Placing the ITX mainboard is actually not as easy as you may think. The case's compact size does not give you much room to work with. The board did drop into place unharmed though - with a bit of nudging and squeezing. You better wire as much as you can in advance, but connecting everything is possible even if you do not.
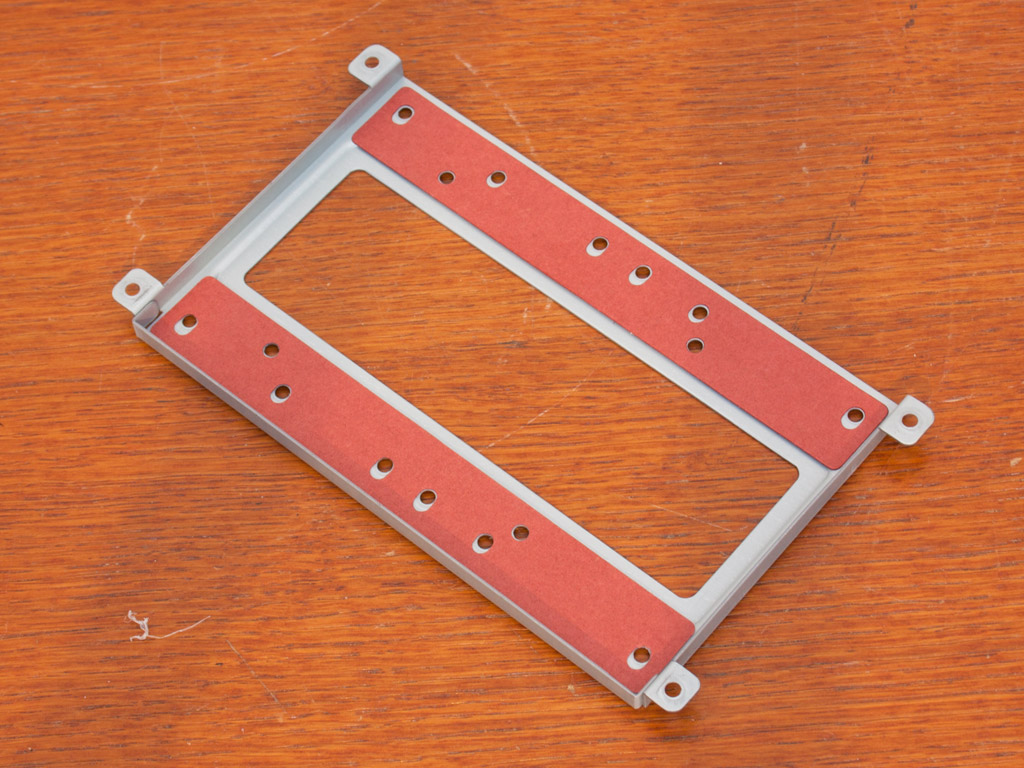
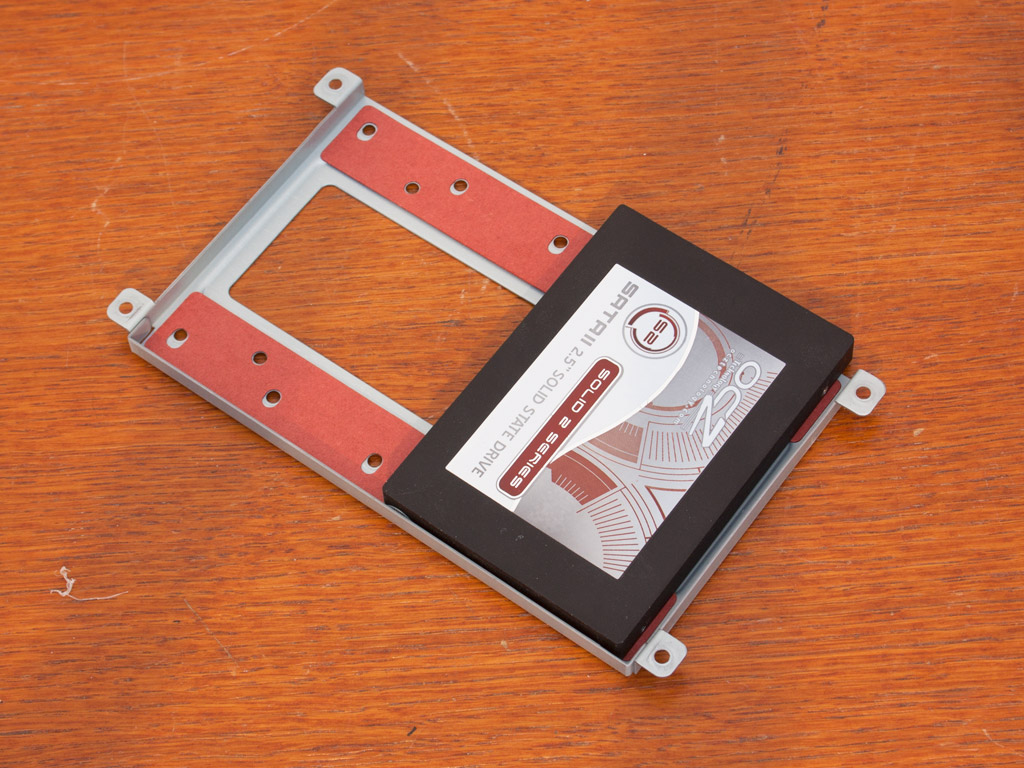

You may go ahead and actually install the hard drive before putting the board down, but I sought to show you what it would be like to fill out the bays as a, for example, future upgrade. The metal parts need to be lined with the separately included stickers as an insulating barrier once the tray has been taken off. Once in place, simply screw the hard drive down and put the whole contraption back into place.
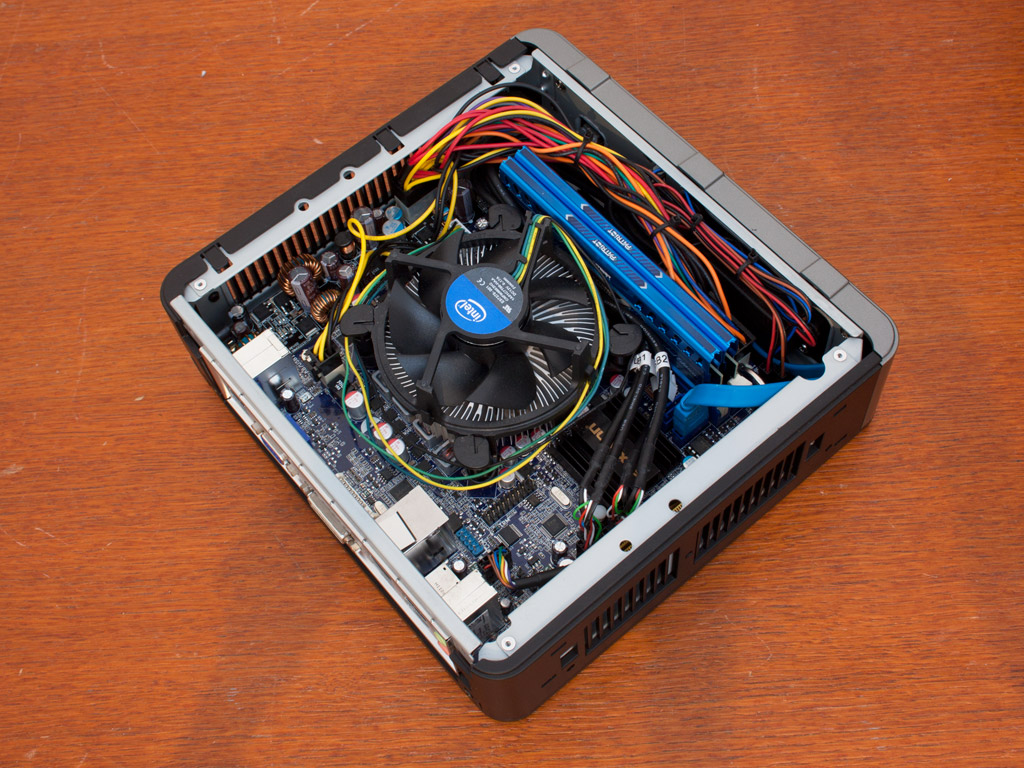
With everything installed, the ISK110 VESA is quite full, but the tall memory helps in keeping the mess created by the cables away from the center of the mini-ITX board. OEM coolers from both Intel and AMD should easily fit, but small enough aftermarket ones will be tough to find.
Finished Looks


The biggest difference between the ISK 100 and the ISK110 VESA becomes evident once everything has been assembled and after the cover has been put back in place. Thanks to the extruded metal mesh cover and removal of the fan, it can now hold more than just Intel Atoms or AMD Fusion based systems. You can clearly see that it tilts back a bit once the stand is screwed onto the chassis. This gives you easier access to the connectors at the front while also pushing down cables coming out the back, which helps in hiding them.


A blue power LED lights up once the system is turned on. Everything is where you would expect it to be in the rear, but having the PSU plug at the bottom of the device would have been nice.
Apr 25th, 2024 11:13 EDT
change timezone
Latest GPU Drivers
New Forum Posts
- Free Games Thread (3767)
- Only EDP Other in Core? (0)
- RTX 4070 vs RTX 4070 Ti power scaling (7)
- Meta Horizon OS (19)
- Rare GPUs / Unreleased GPUs (1876)
- i7-12800HX Overheating Issues (4)
- Low GPU FPS, gets fixed only after restart (15)
- Last game you purchased? (257)
- Alphacool CORE 1 CPU block - bulging with danger of splitting? (7)
- Ghost of Tsushima PC Port !!!! (14)
Popular Reviews
- Fractal Design Terra Review
- Thermalright Phantom Spirit 120 EVO Review
- Corsair 2000D Airflow Review
- Minisforum EliteMini UM780 XTX (AMD Ryzen 7 7840HS) Review
- ASUS GeForce RTX 4090 STRIX OC Review
- NVIDIA GeForce RTX 4090 Founders Edition Review - Impressive Performance
- ASUS GeForce RTX 4090 Matrix Platinum Review - The RTX 4090 Ti
- MSI GeForce RTX 4090 Suprim X Review
- MSI GeForce RTX 4090 Gaming X Trio Review
- Gigabyte GeForce RTX 4090 Gaming OC Review
Controversial News Posts
- Sony PlayStation 5 Pro Specifications Confirmed, Console Arrives Before Holidays (116)
- NVIDIA Points Intel Raptor Lake CPU Users to Get Help from Intel Amid System Instability Issues (106)
- AMD "Strix Halo" Zen 5 Mobile Processor Pictured: Chiplet-based, Uses 256-bit LPDDR5X (101)
- US Government Wants Nuclear Plants to Offload AI Data Center Expansion (98)
- Windows 11 Now Officially Adware as Microsoft Embeds Ads in the Start Menu (90)
- Developers of Outpost Infinity Siege Recommend Underclocking i9-13900K and i9-14900K for Stability on Machines with RTX 4090 (85)
- Windows 10 Security Updates to Cost $61 After 2025, $427 by 2028 (84)
- AMD's RDNA 4 GPUs Could Stick with 18 Gbps GDDR6 Memory (82)