 3
3
BitFenix Ronin Review
Assembly & Finished Looks »A Closer Look - Inside
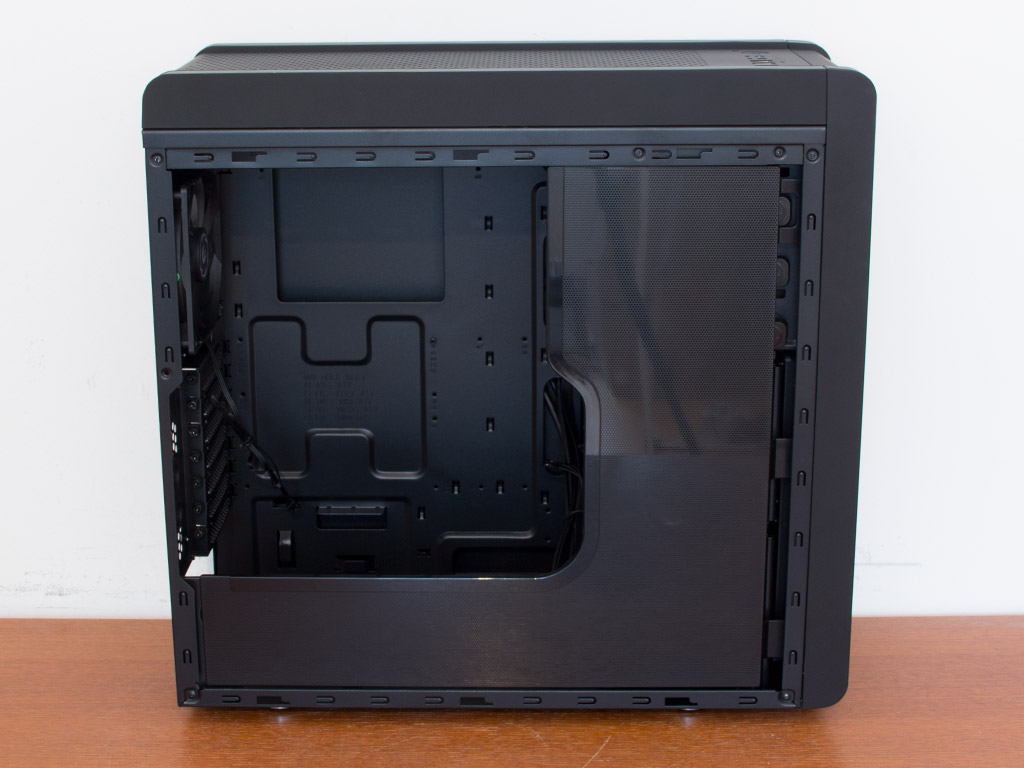


To access the interior of the chassis, simply remove the two thumbscrews holding the side panel in place. The panel comes off easily enough. One can now clearly see the secondary cover within the chassis. While it is made of plastic, BitFenix gave it a bit of visual texture to make it stand out. I could see the company offer up some customizability by selling colored variants of the internal cover as an accessory. The interior looks much more traditional once this cover is removed.


Openings in the tray allow for basic cable management and there is around 20 mm worth of space to hide any unwanted leads behind the motherboard tray. Rubber grommets covering the holes in the motherboard tray would have been nice, but none of the cables should turn into eye sores as they blend in well against the black interior of the chassis.
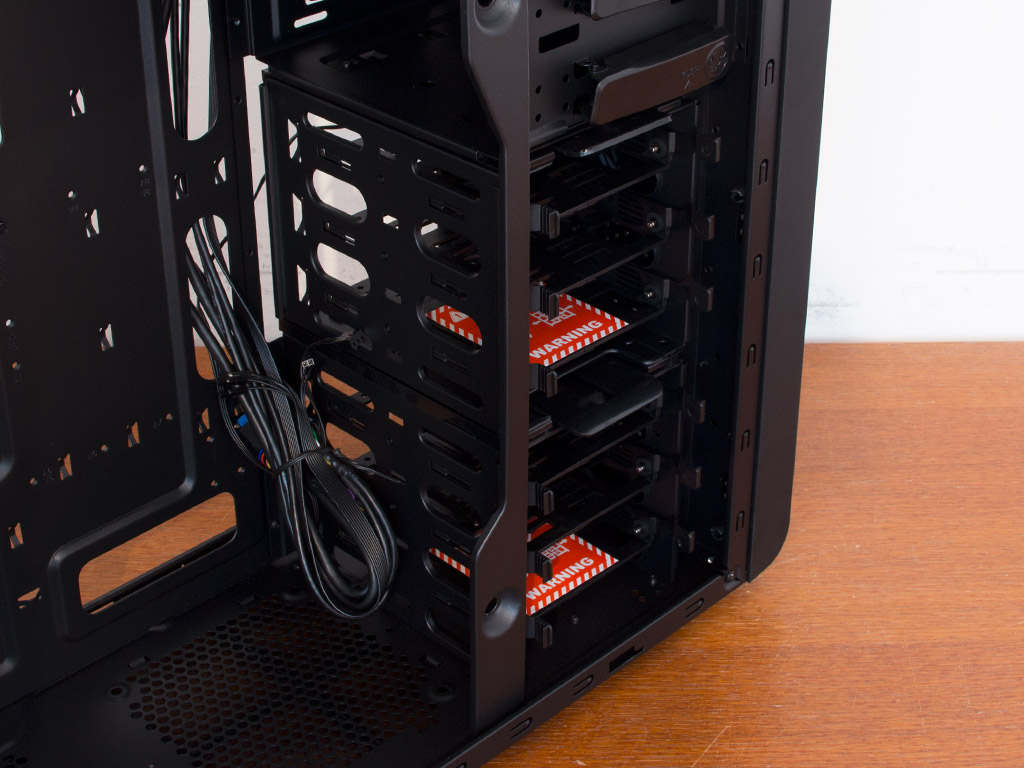

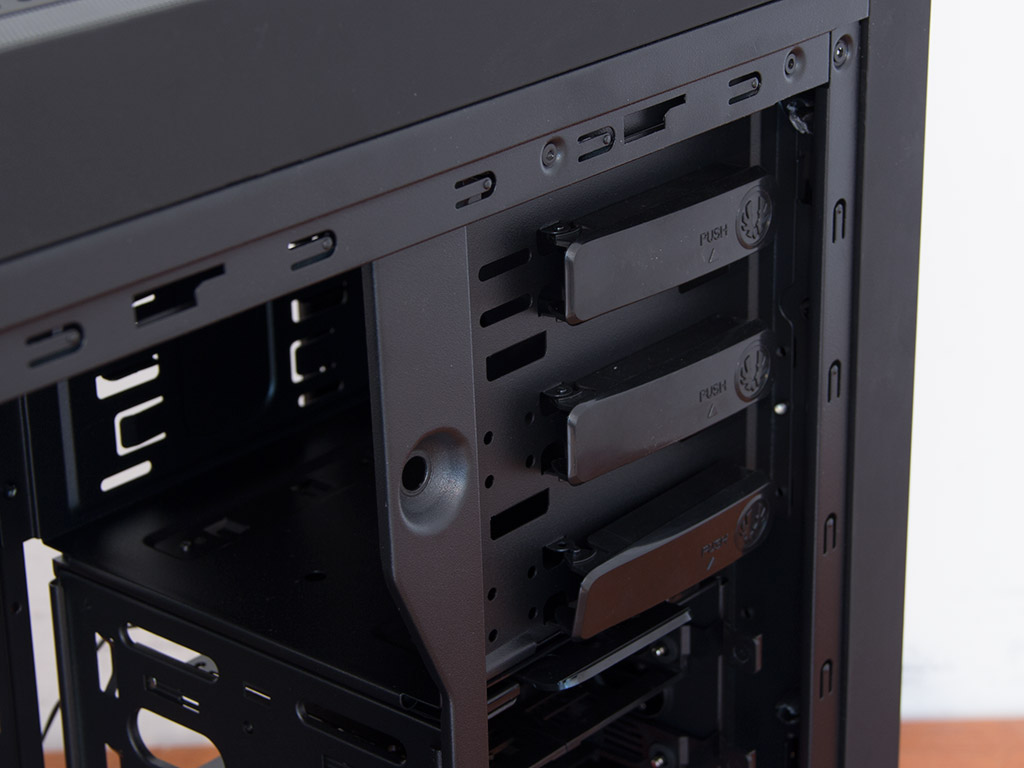
The Ronin can hold a total of six 2.5" or 3.5" hard drives between its two cages. You may remove the top cage if you happen to have very long graphics cards or require the space for a pump or reservoir. Above that are the three external drive bays, each featuring a plastic locking mechanism. While this is nice, experiences with past cases have shown that this locking system does not hold a drive well enough.
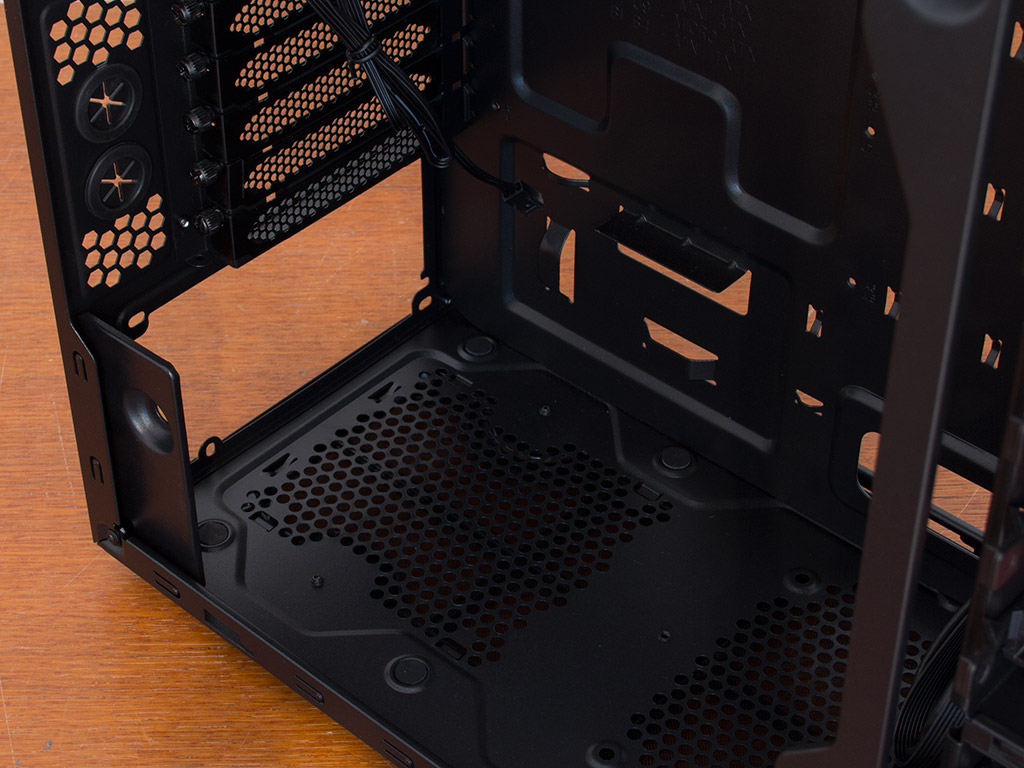

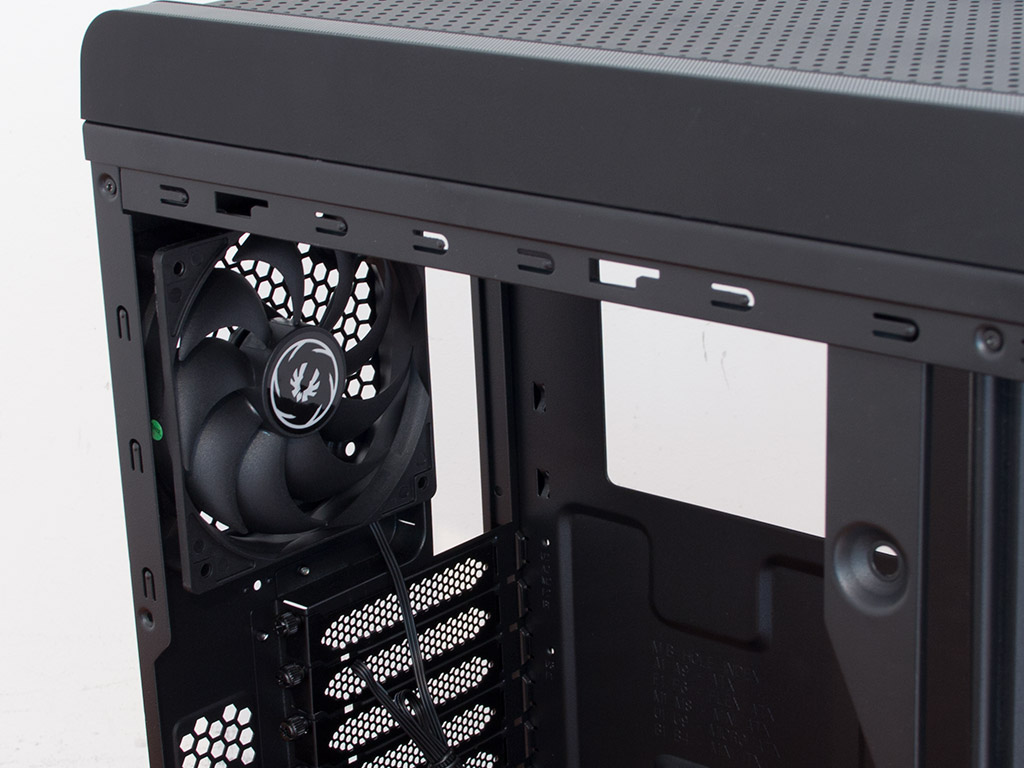
Turning our focus to the rear, we have the aforementioned PSU bay on the bottom. Four foam pads there are supposed to stop any vibrations on the spot. Above that are the seven standard motherboard expansion bays, with each cover held in place by a thumbscrew. The pre-installed 120 mm fan pushes air out the back and comes with a 3-pin motherboard header. As this is an actual retail fan you can buy, it comes with all-black cables, which is good to see in an all-black case.

One of the bigger structural changes to the Shinobi is in the ceiling of the Ronin. It now offers much better compatibility to water-cooling setups and allows both 240 or 280 mm radiators to be installed. Thanks to the thicker top, placing the fans above the frame also saves space.


All the I/O and case cables have been sleeved black, which means that there is not a single colored wire present to disturb the all-black interior. None of the connectors are anything out of the ordinary, so you should have no trouble getting everything hooked up to the motherboard of your choice.
Apr 25th, 2024 14:12 EDT
change timezone
Latest GPU Drivers
New Forum Posts
- What phone you use as your daily driver? And, a discussion of them. (1474)
- Black screen after muting (2)
- What are you playing? (20527)
- How to check flatness of CPUs and coolers - INK and OPTICAL INTERFERENCE methods (111)
- Alphacool CORE 1 CPU block - bulging with danger of splitting? (11)
- Ghetto Mods (4321)
- Random blue screen from winload.efi error (0xc000000e) (2)
- Meta Horizon OS (20)
- WCG Daily Numbers (12497)
- Share your AIDA 64 cache and memory benchmark here (2917)
Popular Reviews
- Fractal Design Terra Review
- Thermalright Phantom Spirit 120 EVO Review
- Corsair 2000D Airflow Review
- Minisforum EliteMini UM780 XTX (AMD Ryzen 7 7840HS) Review
- ASUS GeForce RTX 4090 STRIX OC Review
- NVIDIA GeForce RTX 4090 Founders Edition Review - Impressive Performance
- ASUS GeForce RTX 4090 Matrix Platinum Review - The RTX 4090 Ti
- MSI GeForce RTX 4090 Suprim X Review
- MSI GeForce RTX 4090 Gaming X Trio Review
- Gigabyte GeForce RTX 4090 Gaming OC Review
Controversial News Posts
- Sony PlayStation 5 Pro Specifications Confirmed, Console Arrives Before Holidays (116)
- NVIDIA Points Intel Raptor Lake CPU Users to Get Help from Intel Amid System Instability Issues (106)
- AMD "Strix Halo" Zen 5 Mobile Processor Pictured: Chiplet-based, Uses 256-bit LPDDR5X (101)
- Windows 11 Now Officially Adware as Microsoft Embeds Ads in the Start Menu (98)
- US Government Wants Nuclear Plants to Offload AI Data Center Expansion (98)
- AMD's RDNA 4 GPUs Could Stick with 18 Gbps GDDR6 Memory (85)
- Developers of Outpost Infinity Siege Recommend Underclocking i9-13900K and i9-14900K for Stability on Machines with RTX 4090 (85)
- Windows 10 Security Updates to Cost $61 After 2025, $427 by 2028 (84)