 15
15
CM Storm Stryker Review
Assembly & Finished Looks »A Closer Look - Inside

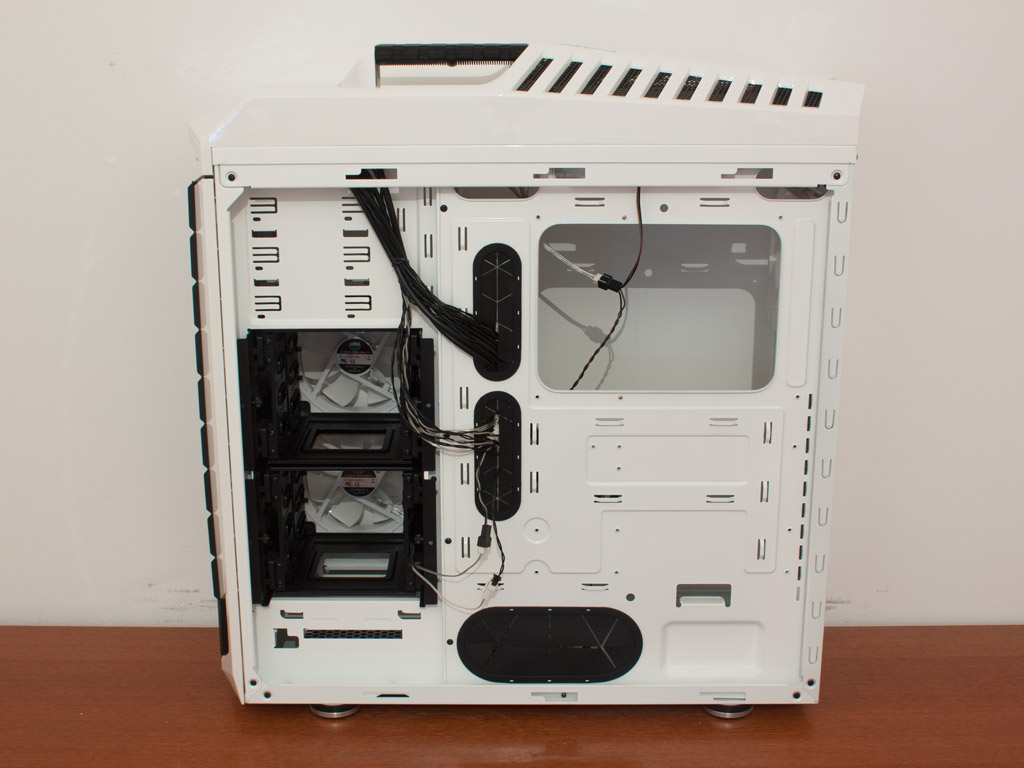

Cooler Master has not only created a unique outer shell, but also a very functional interior. The overall quality feels very good and there is a large opening in the mainboard tray to give you clear access to the underside of the mainboard. Interestingly enough, the metal mesh parts are double layered. This is the first time I have seen this, but this is intended to keep as much dust out of the chassis as possible.

A little contraption on the floor of the chassis allows you to install four 2.5 inch hard drives regardless of the actual hard drive bays. These utilize normal screws to hold such units in place as we will see later on.


At first sight the 3.5 inch bays look like side cooled ones with the drives behind the fans, with their side to the front of the chassis. These are actually two 4-in-3 cages, and can hold up to eight hard drives in total. Due to an extremely clever design, you may rotate the entire trio of 5.25 inch bays, so that these face the front of the chassis. Doing so requires some work, as you have to remove the respective cage, then the panels and reinstall everything in reverse order, turned 90 degrees.


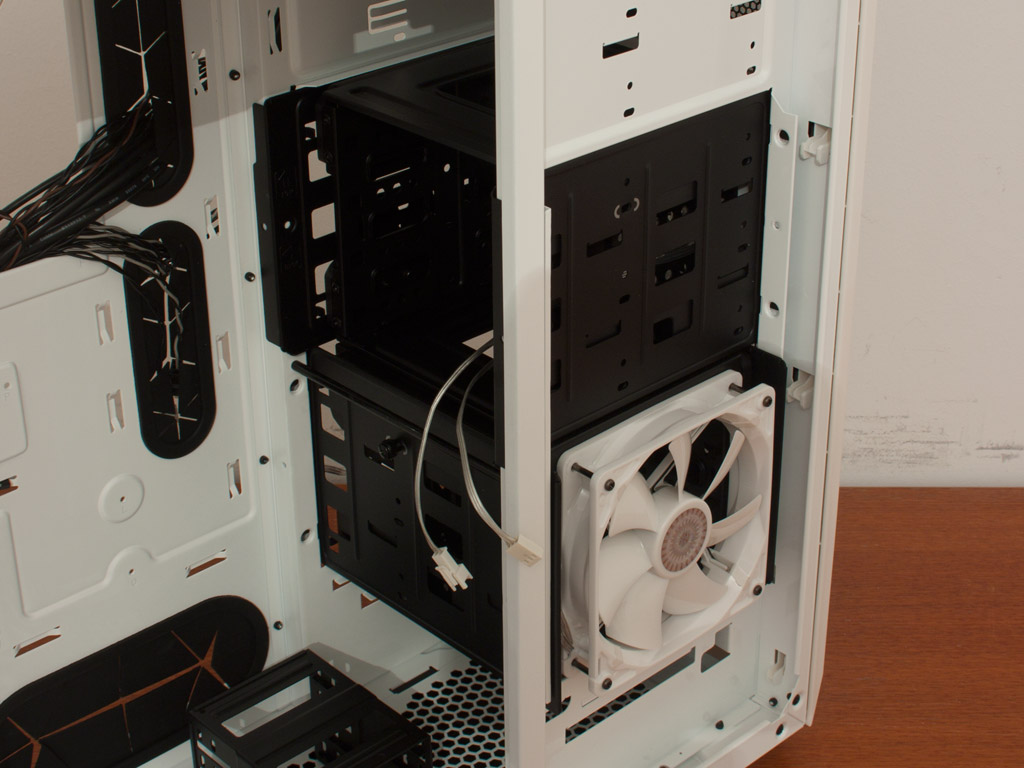

Even so you may still use the 4-in-3 cage by simply sliding it in the front of the chassis. There is enough space to replace the front cover. You may repeat this entire procedure with the lower set & cage as well. This means that the CM Storm Stryker is extremely versatile offering both internal layouts without any limitations - a first for a chassis. Above the hard drive bays are three fixed 5.25" variants. These face the front and are quite basic, but should get the job done.

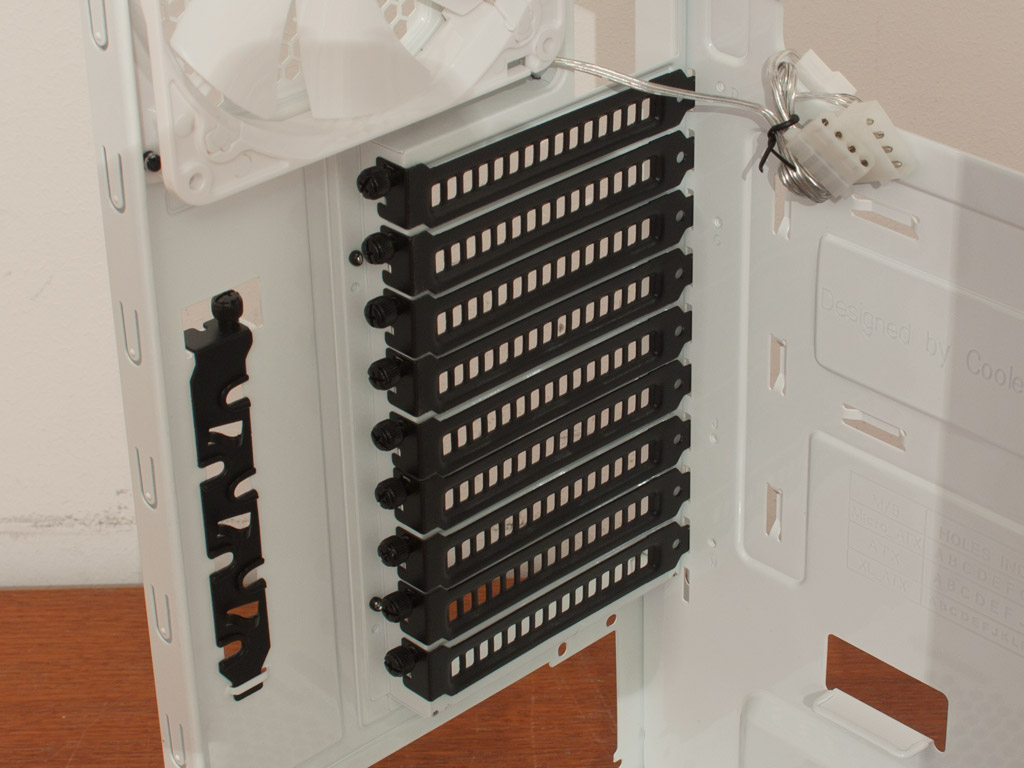

Turning our focus to the rear of the chassis, things are mostly traditional. A PSU is mounted on the bottom of the Stryker, with nine expansion slots above this bay. This is enough space even for XL-ATX mainboards. On top of that there is a tenth slot, to the left of these with the special cover allowing you to route cables through it, keeping your mouse and keyboard save from thieves in your absence. All the way on top, there is a 140 mm fan to pull hot air out of chassis.

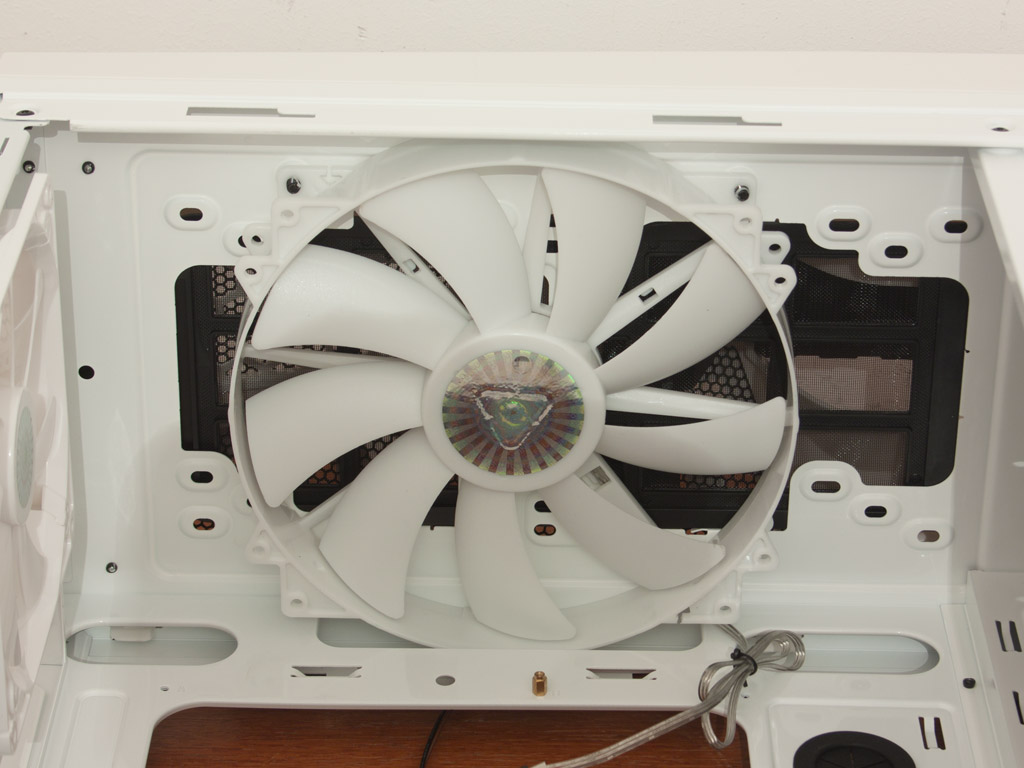
Cooler Master has designed the chassis with roughly 20 mm of space behind the mainboard tray. this should be enough to route all the cables here and some tough love when closing things up. There is also a fourth fan in the ceiling of the chassis. This one is 200 mm in size and also pulls air out of the chassis.


Before we dive into the assembly process, let us take a look at the cables. All of them are black or sleeved in the color of the chassis, so you can go for a clean and nice look right off the bat. The connectivity for the I/O and the case is of the standard variety, but Cooler Master has also included the functionality to toggle the fan LED by using special connectivity. The fan controller itself is powered by a single Molex connector and feeds a total of four cooling units.
Apr 25th, 2024 11:54 EDT
change timezone
Latest GPU Drivers
New Forum Posts
- Milestones (13873)
- WCG Daily Numbers (12496)
- TPU's Rosetta Milestones and Daily Pie Thread (1859)
- ThrottleStop 9.6 Voltage won't change (4)
- Folding Pie and Milestones!! (9008)
- Making Audio Enhancers Work on Windows (2649)
- Random blue screen from winload.efi error (0xc000000e) (1)
- which new soundcard or which 4.1 speakers kits ? (10)
- Alphacool CORE 1 CPU block - bulging with danger of splitting? (8)
- Free Games Thread (3767)
Popular Reviews
- Fractal Design Terra Review
- Thermalright Phantom Spirit 120 EVO Review
- Corsair 2000D Airflow Review
- Minisforum EliteMini UM780 XTX (AMD Ryzen 7 7840HS) Review
- ASUS GeForce RTX 4090 STRIX OC Review
- NVIDIA GeForce RTX 4090 Founders Edition Review - Impressive Performance
- ASUS GeForce RTX 4090 Matrix Platinum Review - The RTX 4090 Ti
- MSI GeForce RTX 4090 Suprim X Review
- MSI GeForce RTX 4090 Gaming X Trio Review
- Gigabyte GeForce RTX 4090 Gaming OC Review
Controversial News Posts
- Sony PlayStation 5 Pro Specifications Confirmed, Console Arrives Before Holidays (116)
- NVIDIA Points Intel Raptor Lake CPU Users to Get Help from Intel Amid System Instability Issues (106)
- AMD "Strix Halo" Zen 5 Mobile Processor Pictured: Chiplet-based, Uses 256-bit LPDDR5X (101)
- US Government Wants Nuclear Plants to Offload AI Data Center Expansion (98)
- Windows 11 Now Officially Adware as Microsoft Embeds Ads in the Start Menu (93)
- AMD's RDNA 4 GPUs Could Stick with 18 Gbps GDDR6 Memory (85)
- Developers of Outpost Infinity Siege Recommend Underclocking i9-13900K and i9-14900K for Stability on Machines with RTX 4090 (85)
- Windows 10 Security Updates to Cost $61 After 2025, $427 by 2028 (84)