 16
16
Danger Den Torture Rack Review
Hardware installation »Unpacking & assembly


The case arrived in a brown box, inside, everything was very well packed. And I really do mean very, very well packed – the panels rest on dampening foam, additionally, each panel is packed separately in plastic wrap. Furthermore, each panel is covered from one side with paper. This prevents it from getting scratched, and makes handling easier. Two pairs of white gloves are provided, so you don’t get your fingerprints on the case. As you can see, everything needed for assembly is split up into zip-loc bags that are clearly labeled. This makes installation a lot easier. Danger Den also gives you a very nice vandal-proof switch to power on your PC.


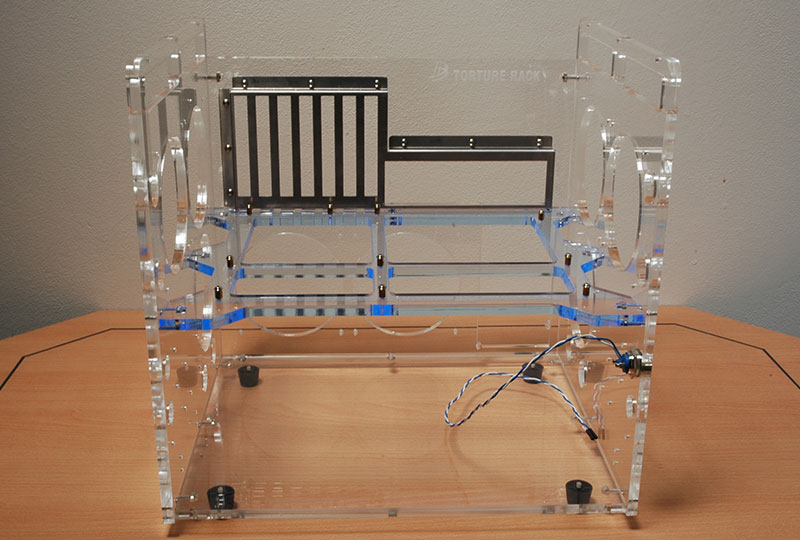
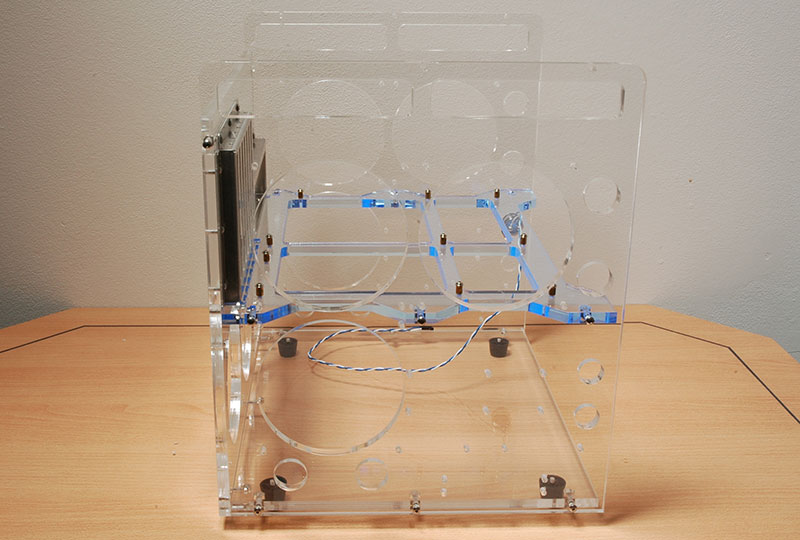


Assembly of the case was relatively easy and took about 1 hour. There was a slight issue with one of the screws on the I/O Shield, as it didn’t fit (the hole on the metal shield would not align with the one in the motherboard tray.) Now, one screw probably wouldn’t make a difference, but just to be sure I took a file and enlarged the screw hole on the metal shield – then, everything was OK. Also, there is a mistake in the instructions, which suggested the use of screws in bag 15 instead of those clearly labeled “I/O shield” Following my intuition, I used the I/O shield screws without any problems. Before you even begin assembling the case, do yourself a favor though – head out to a DIY store and purchase a proper screwdriver. All of the screws provided with the case have the same head, so one screwdriver will do. Being in Europe, I ended up using a 2.5mm hex screwdriver, which fit the screw heads fine. The only time I needed to use the allen wrench was when screwing in the bottom three screws on the I/O shield. I also recommend not to throw away the packaging, as it comes in handy when you assemble the case. I used the box as support during assembly as you can see in one of the pictures above.

As the picture above shows, most of the time, you do not screw into the acrylic directly. Instead, Danger Den has designed a clever system, where you place the screw into the acrylic and secure it on the opposite end with a nut. This should yield less stress on the panels.
Once you assemble the whole case, it is necessary to loosen all of the screws, and get all the panels aligned (getting someone to help you makes this process much, much easier).
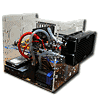
Then, you’re ready to install all of the hardware!
Apr 24th, 2024 04:08 EDT
change timezone
Latest GPU Drivers
New Forum Posts
- What's your latest tech purchase? (20328)
- The TPU UK Clubhouse (24775)
- Serious bug in PHP reported! (3)
- ThrottleStop 9.6 Voltage won't change (2)
- Which new games will you be buying? (307)
- What phone you use as your daily driver? And, a discussion of them. (1456)
- Sexy Mechanical Keyboard Thread (486)
- Is there a technical reason that Windows 11 doesn't have built into it battery charge limitation? (38)
- ROG Strix LC III 360 ARG AIO What should the pump speed be? (3)
- Official Board Game Discussion (14)
Popular Reviews
- Fractal Design Terra Review
- Corsair 2000D Airflow Review
- Thermalright Phantom Spirit 120 EVO Review
- Minisforum EliteMini UM780 XTX (AMD Ryzen 7 7840HS) Review
- ASUS GeForce RTX 4090 STRIX OC Review
- NVIDIA GeForce RTX 4090 Founders Edition Review - Impressive Performance
- ASUS GeForce RTX 4090 Matrix Platinum Review - The RTX 4090 Ti
- MSI GeForce RTX 4090 Suprim X Review
- MSI GeForce RTX 4090 Gaming X Trio Review
- Gigabyte GeForce RTX 4090 Gaming OC Review
Controversial News Posts
- Sony PlayStation 5 Pro Specifications Confirmed, Console Arrives Before Holidays (116)
- NVIDIA Points Intel Raptor Lake CPU Users to Get Help from Intel Amid System Instability Issues (106)
- AMD "Strix Halo" Zen 5 Mobile Processor Pictured: Chiplet-based, Uses 256-bit LPDDR5X (101)
- US Government Wants Nuclear Plants to Offload AI Data Center Expansion (98)
- Windows 10 Security Updates to Cost $61 After 2025, $427 by 2028 (84)
- Developers of Outpost Infinity Siege Recommend Underclocking i9-13900K and i9-14900K for Stability on Machines with RTX 4090 (84)
- TechPowerUp Hiring: Reviewers Wanted for Motherboards, Laptops, Gaming Handhelds and Prebuilt Desktops (77)
- Intel Realizes the Only Way to Save x86 is to Democratize it, Reopens x86 IP Licensing (70)