 19
19
Fractal Design CORE 3000 Review
Value & Conclusion »Assembly
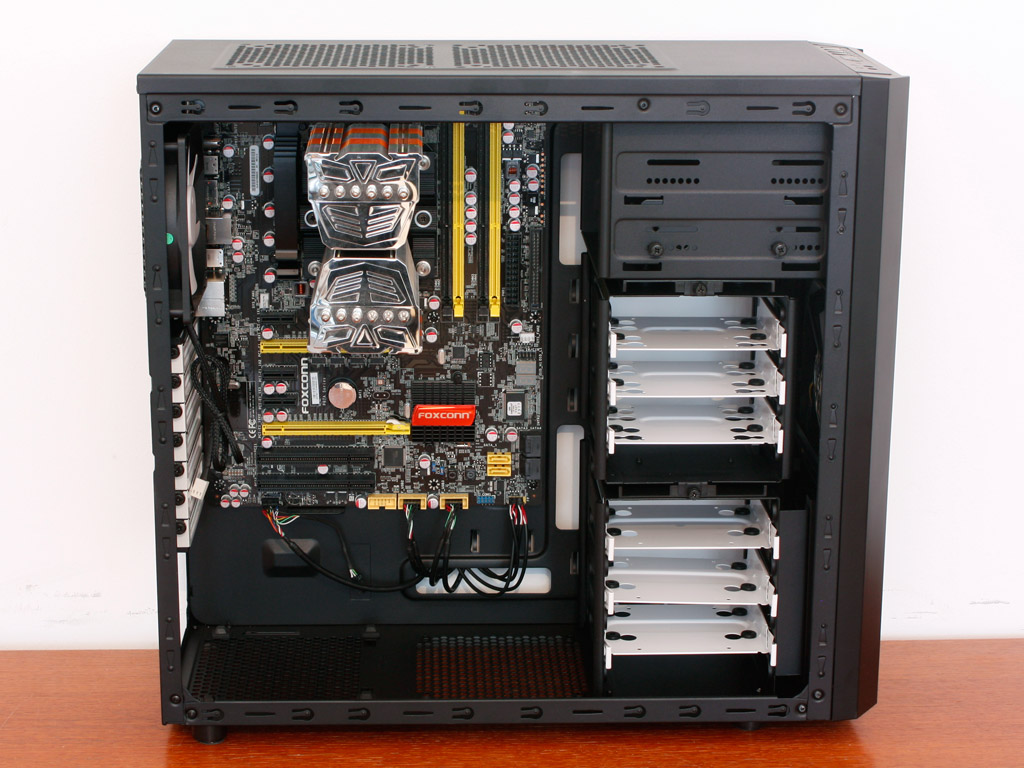
Installing the mainboard is done by traditional means. The board fits well and as you can see there is enough space for the large Prolimatech Super Mega, so you should be able to employ most high performance coolers without worry. The small but lengthy openings to the right of the board should suffice to keep things fairly tidy within the CORE 3000.


To install the hard drive, Fractal Design has employed the same method as with the Define series of cases. Simply pull the white tray out and secure the 2.5 or 3.5 inch drive with the supplied screws. Thanks to the rubber lining, you won't have to worry about any vibrations from this area either. Then, slide the drive into the slot of your choice until it snaps into place. While you won't need to worry about it sliding out during transport, Fractal also gives you the option to screw the tray down with a single thumb screw.


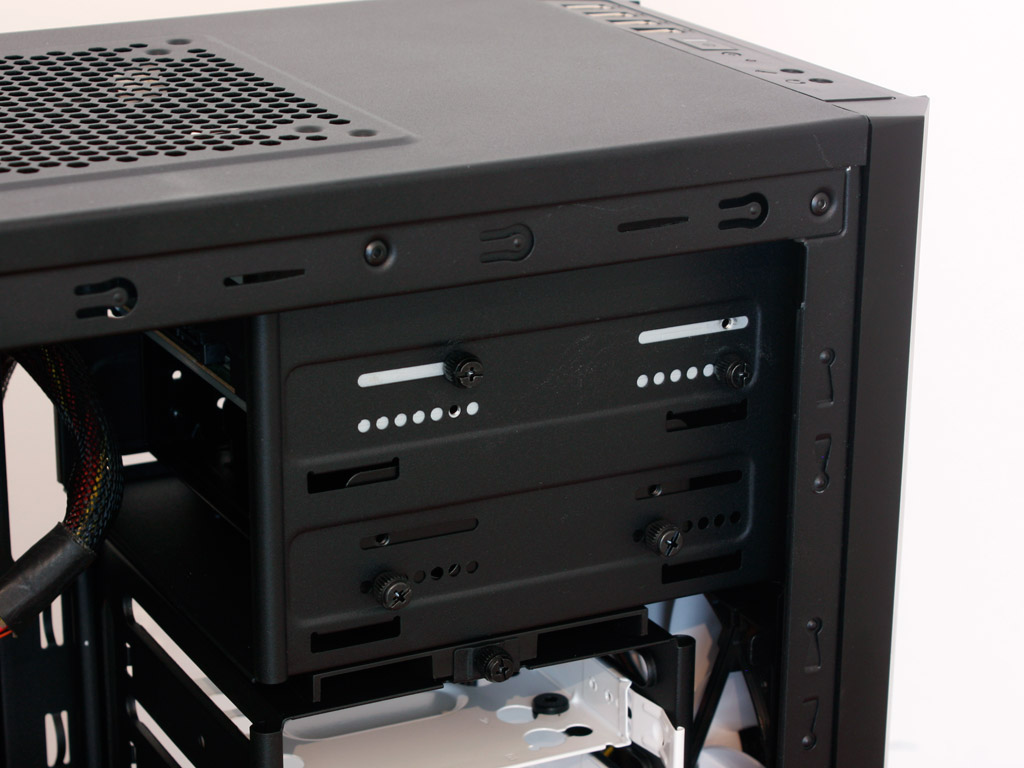
Before we install the optical drive, you have to remove the panel and then the drive bay cover. Turns out the fans are not attached to the frame of the chassis, but to the front. As you can see there is another 140 mm spot below the pre-installed cooling unit. Once the bay is free, simply slide the ODD into place and secure it with the supplied thumb screws. Even though I have used the bottom bay, the drive does not extend beyond the drive bay walls, so you should also be able to use the top bay, if your radiator is not too thick and the optical drive is not too long.

Installing the power supply is nothing out of the ordinary. The foam lining makes sure that no vibrations are passed on from the PSU to the rest of the chassis. You are free to install a long unit as well since there is plenty of space. Such a power supply will cover the bottom air intake for that optional floor fan though. Even tough the unit used is not very long, the bottom fan spot is already unusable, as it would interfere with the modular cable system of the power supply.


Once everything is installed, you can see that the case makes it really easy in terms of cable management. Everything can be routed and hidden quite well. Even when filling the chassis to the rim you should be able to keep things nice and tidy. Thanks to the space between the mainboard tray and the side of the chassis, you should be able to hide most of the mess here, but you will end up having to force the side panel back on here most likely.
Finished Looks


Once everything is done and the side panels are back in place, the Fractal Design CORE 3000 makes a cool, understated impression. Thanks to the sharp, straight design, the case should still look cool in a few years time. The optical drive lines up perfectly with the mesh parts of the front panel.

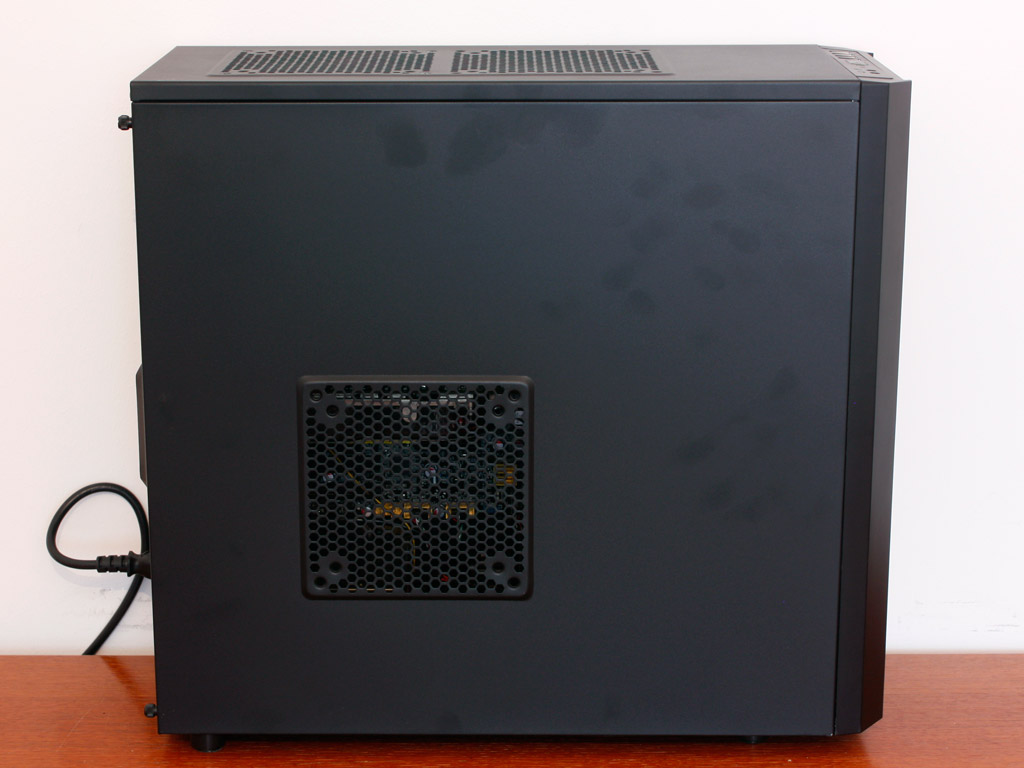
Turning the CORE 3000 around, all areas of the chassis are clearly visible and accessible. The white elements of the fan can clearly be seen spinning. The cooling units within the chassis are actually not too loud, thanks to the use of the mainboard running them nice and slow.
Apr 25th, 2024 16:00 EDT
change timezone
Latest GPU Drivers
New Forum Posts
- Alphacool CORE 1 CPU block - bulging with danger of splitting? (15)
- What are you playing? (20528)
- What software are you using to monitor CPU temps during gaming session? (11)
- What phone you use as your daily driver? And, a discussion of them. (1480)
- Black screen after muting (4)
- Will a RTX 4070 TI super bottleneck a Ryzen 9 7950X3D? (59)
- How to check flatness of CPUs and coolers - INK and OPTICAL INTERFERENCE methods (111)
- Ghetto Mods (4321)
- Random blue screen from winload.efi error (0xc000000e) (2)
- Meta Horizon OS (20)
Popular Reviews
- Fractal Design Terra Review
- Thermalright Phantom Spirit 120 EVO Review
- Corsair 2000D Airflow Review
- Minisforum EliteMini UM780 XTX (AMD Ryzen 7 7840HS) Review
- ASUS GeForce RTX 4090 STRIX OC Review
- NVIDIA GeForce RTX 4090 Founders Edition Review - Impressive Performance
- ASUS GeForce RTX 4090 Matrix Platinum Review - The RTX 4090 Ti
- MSI GeForce RTX 4090 Suprim X Review
- MSI GeForce RTX 4090 Gaming X Trio Review
- Gigabyte GeForce RTX 4090 Gaming OC Review
Controversial News Posts
- Sony PlayStation 5 Pro Specifications Confirmed, Console Arrives Before Holidays (116)
- NVIDIA Points Intel Raptor Lake CPU Users to Get Help from Intel Amid System Instability Issues (106)
- Windows 11 Now Officially Adware as Microsoft Embeds Ads in the Start Menu (103)
- AMD "Strix Halo" Zen 5 Mobile Processor Pictured: Chiplet-based, Uses 256-bit LPDDR5X (101)
- US Government Wants Nuclear Plants to Offload AI Data Center Expansion (98)
- AMD's RDNA 4 GPUs Could Stick with 18 Gbps GDDR6 Memory (86)
- Developers of Outpost Infinity Siege Recommend Underclocking i9-13900K and i9-14900K for Stability on Machines with RTX 4090 (85)
- Windows 10 Security Updates to Cost $61 After 2025, $427 by 2028 (84)