 10
10
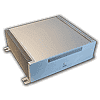
Impactics C3LH & K.I.S.S.S. passive HTPC Review
Performance & Noise Level »Assembly


Since we received the unit pre-assembled, but there is currently no one offering it in such a manner, we have ripped it apart completely to give you an idea about what awaits you if you were to buy it yourself. As you can see, the interior of the bare case is grey. Turns out there is a whole bunch of parts which you will have to assemble to create a fully passive system. We counted 15 parts to the cooling assembly, not counting screws and small parts like springs. According to Impactics the cooling blocks are produced in Germany, not in Taiwan, which is a reason for the somewhat high price tag - which results in precision and higher quality. The PSU DC-DC converter is very compact and features a single 24-pin Mainboard connector, a P4 4-pin plug, one Molex, one SATA and one FDD connector. The cables are soldered to the PCB so you cannot simply unplug the ones you do not need.


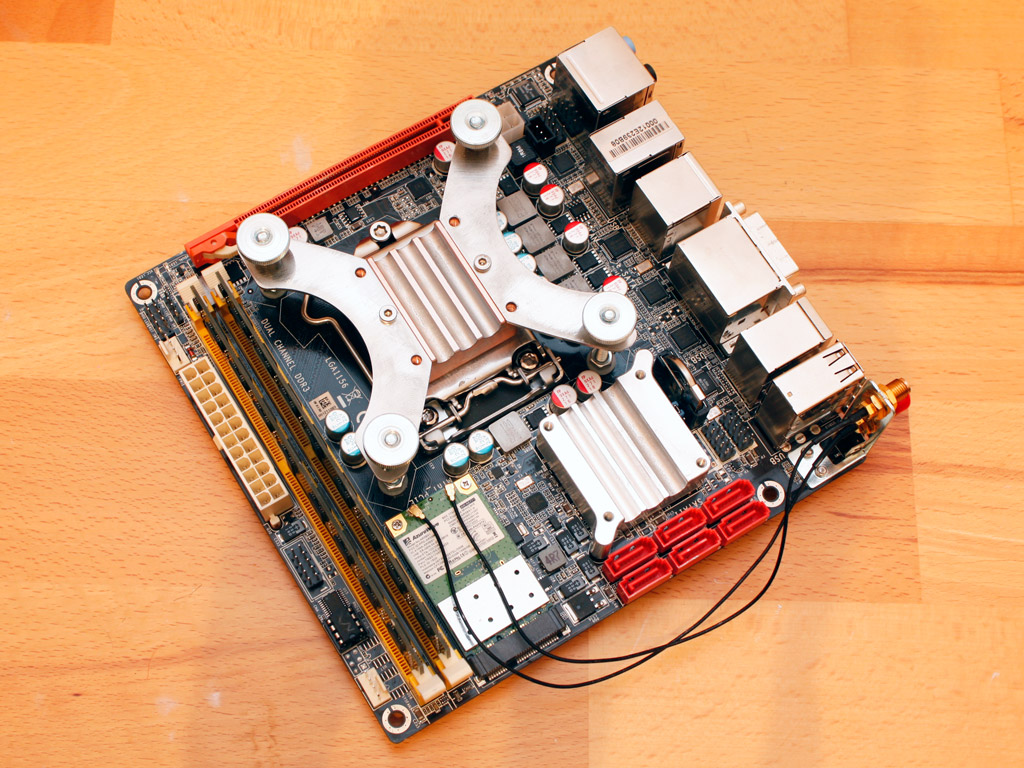
First, you have to prepare the mainboard. A solid metal plate and a foam spacer are the backbone of the entire cooling system. Four long screws with washers under and above the mainboard are used to secure this plate and act as mounts to screw the cooling block down on. A separate all Aluminum cooling block is screwed down with two normal screws unto the H55 chipset. It features three grooves to run heatpipes from, but you will only end up using a single one. The last step to prepare the mainboard for assembly is done by screwing in the solid copper block with the butterfly shaped metal parts. Four springs exert the pressure unto this contraption to generate good, solid contact with the CPU. This block also has three grooves for heatpipes, all of which will be used, as the i3 530 certainly requires more heat dissipation than an Atom based system for example. Just make sure the block, which is square has been placed on the CPU correctly, so that the grooves face in the right direction.

Before installing the mainboard, you need to screw the DC-DC converter PCB into place. Then you can insert the mini-ITX board and screw it down at the four corners.

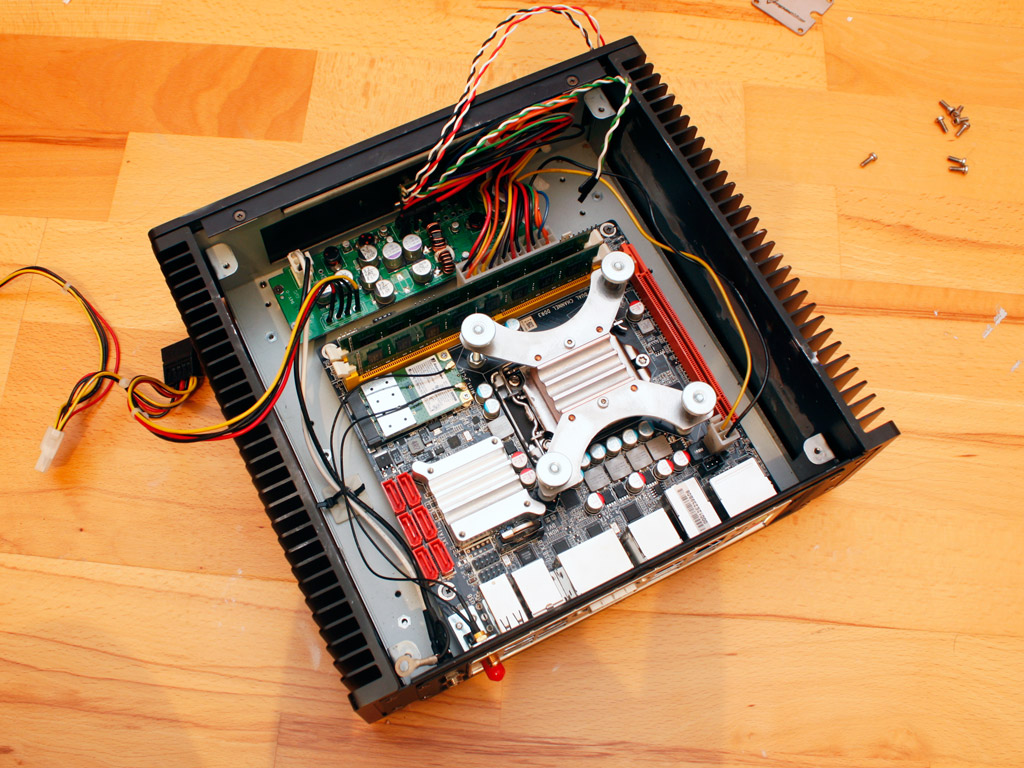
The next step is probably the messiest one, as you need to make sure that all heatpipes are covered in thermal paste in the right locations. On top of that all the Copper and Aluminum spacers have to make good contact with the sides of the chassis, which act as giant heatsinks, meaning that you will also need to cover these with thermal paste. That said, be prepared to use a lot of it and to make a fair mess in the process - I did.


The heatpipes are pushed down unto the CPU block and chipset block with the use of the stainless steel plates. They make excellent contact with them due to the pressure and the applied thermal grease.


These heatpipes in turn are then connected to the exterior of the chassis with more thermal paste and the help of the metal clips which screw right into the side panel fins and exert great pressure. For the CPU three heat pipes are used, attached to Copper on both ends, while a single heatpipe takes care of cooling for the H55 chipset, attached to Aluminum blocks on both ends. These heatpipes also cover some of the SATA ports for example, but due to the compact nature of this system we only require two, which are free of any obstructions.

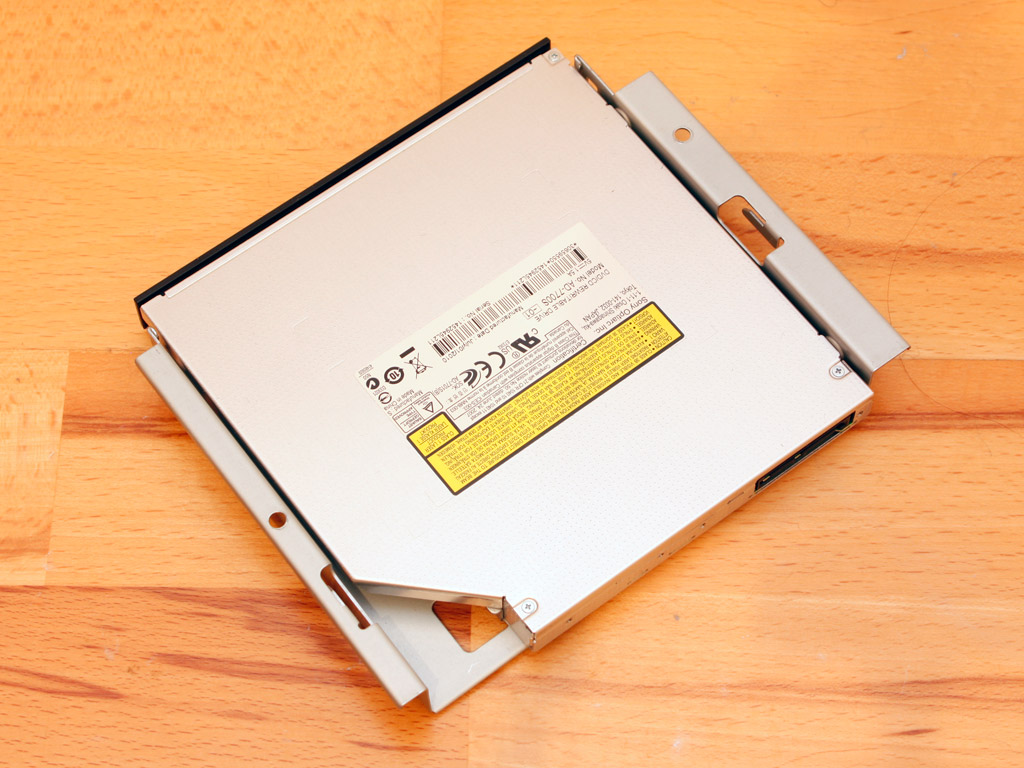
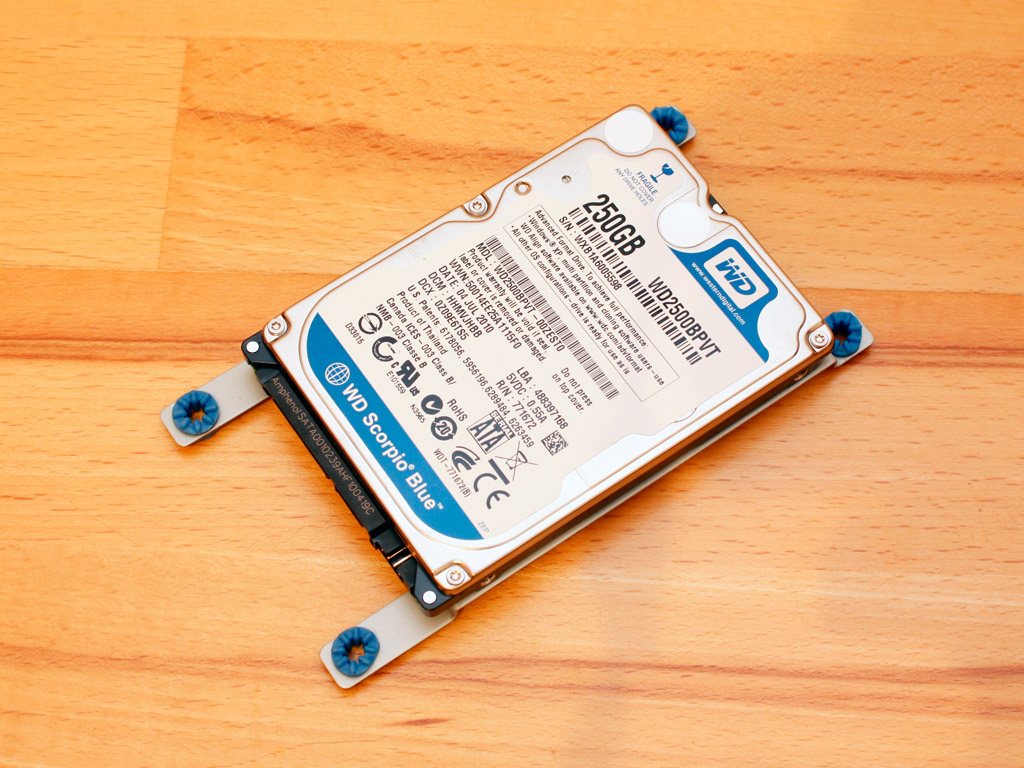
Once the cooling is installed, I suggest you turn on the system and watch the temperatures in the BIOS first, just to make sure it all works well. Any wrong installation should show with high temperatures at this point. This saves you the trouble of having to take off the drives if something did not work out. These units are placed onto the top frame, with the ODD being secured by four tiny screws and the hard drive sitting on rubber feet, eliminating any vibrations.
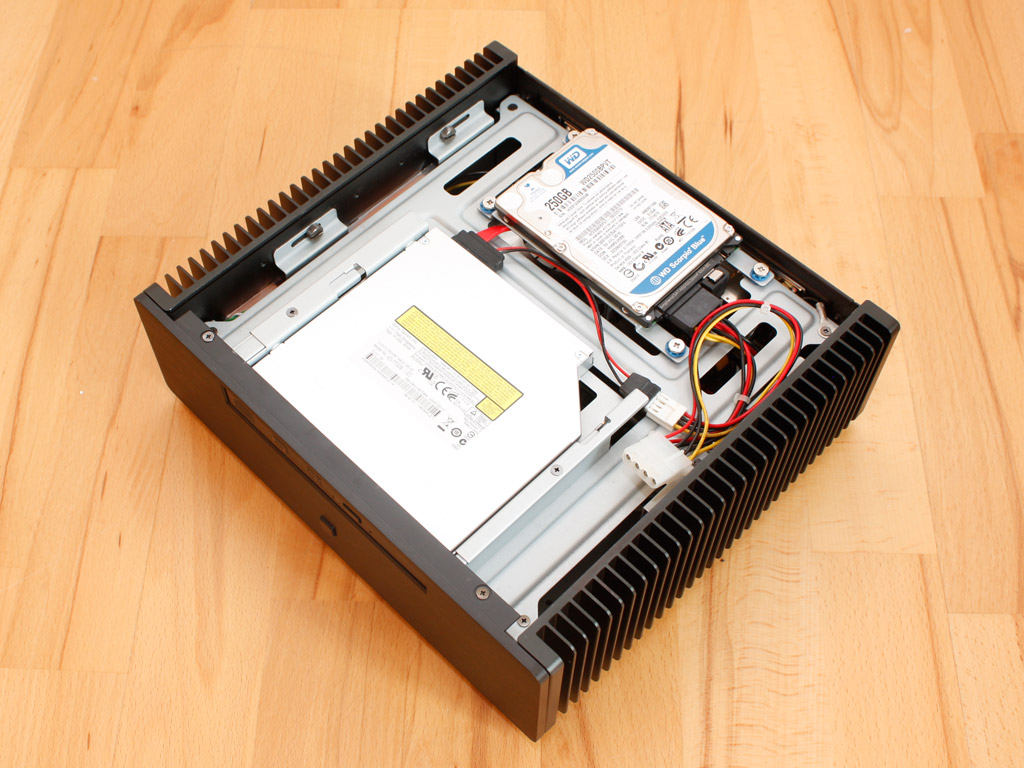
Once the top frame is placed unto the rest of the system, you can no longer reach things like the LED connectors or memory slots - another reason for a trial run before closing things up.
Apr 19th, 2024 13:15 EDT
change timezone
Latest GPU Drivers
New Forum Posts
- Cabinet with focus on exhaust fans (under 100 euros) (2)
- Should the CDPR make the Fallout 5 instead? (31)
- 2022-X58/1366 PIN Motherboards NVME M.2 SSD BIOS MOD Collection (650)
- First computer build for my son (16)
- Can't find rx 580 2048sp vbios (5)
- I7-8750H + GTX 1050ti Laptop drops performance periodically (1)
- Simple measurement of RADIATOR PERFORMANCE (41)
- [Official] Meta Quest 3 (45)
- What can be changed in a VBIOS file? (PCI vendor etc) (1)
- Do these speakers match with this (1)
Popular Reviews
- Horizon Forbidden West Performance Benchmark Review - 30 GPUs Tested
- PowerColor Radeon RX 7900 GRE Hellhound Review
- Fractal Design Terra Review
- Corsair 2000D Airflow Review
- Thermalright Phantom Spirit 120 EVO Review
- Minisforum EliteMini UM780 XTX (AMD Ryzen 7 7840HS) Review
- Creative Pebble X Plus Review
- FiiO KB3 HiFi Mechanical Keyboard Review - Integrated DAC/Amp!
- ASUS GeForce RTX 4090 STRIX OC Review
- NVIDIA GeForce RTX 4090 Founders Edition Review - Impressive Performance
Controversial News Posts
- Sony PlayStation 5 Pro Specifications Confirmed, Console Arrives Before Holidays (110)
- NVIDIA Points Intel Raptor Lake CPU Users to Get Help from Intel Amid System Instability Issues (102)
- US Government Wants Nuclear Plants to Offload AI Data Center Expansion (98)
- Windows 10 Security Updates to Cost $61 After 2025, $427 by 2028 (82)
- Developers of Outpost Infinity Siege Recommend Underclocking i9-13900K and i9-14900K for Stability on Machines with RTX 4090 (82)
- TechPowerUp Hiring: Reviewers Wanted for Motherboards, Laptops, Gaming Handhelds and Prebuilt Desktops (72)
- Intel Realizes the Only Way to Save x86 is to Democratize it, Reopens x86 IP Licensing (70)
- AMD Zen 5 Execution Engine Leaked, Features True 512-bit FPU (63)