 17
17
Lian Li PC-Q11 Mini-ITX Review
Assembly & Finished Looks »A Closer Look - Inside

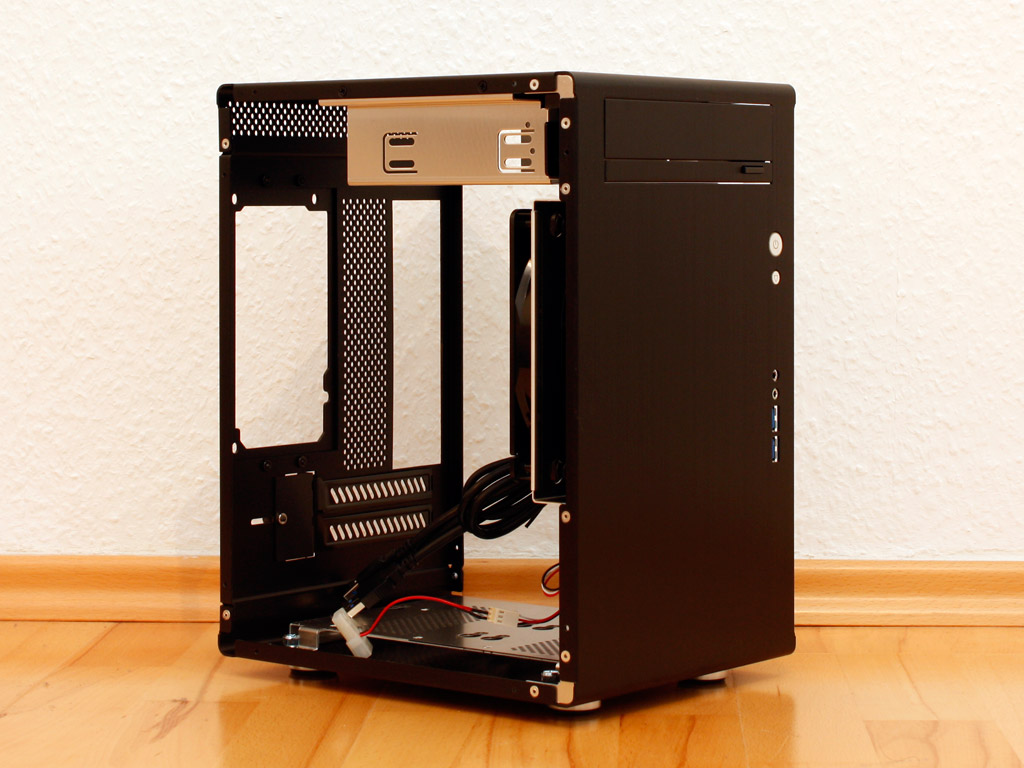
To gain access to the interior you will have to remove eight small screws on each side panel. Upon taking the first one off, we can take a first look at the general layout. Without saying much, you can see that there are some obvious differences between the Q07 and Q11 - but more on that in a second. Just like its predecessor, you have to remove the other side panel as well, as this one is a mainboard tray and thus allows you to secure the mini-ITX board without the confines of the chassis itself. Once both sides are taken off, we are left with a bare chassis. If you look closely, you will see that Lian Li has used two pieces of aluminum to form the Q11. One for the back and another one which spans the top, front and flooring of the chassis.


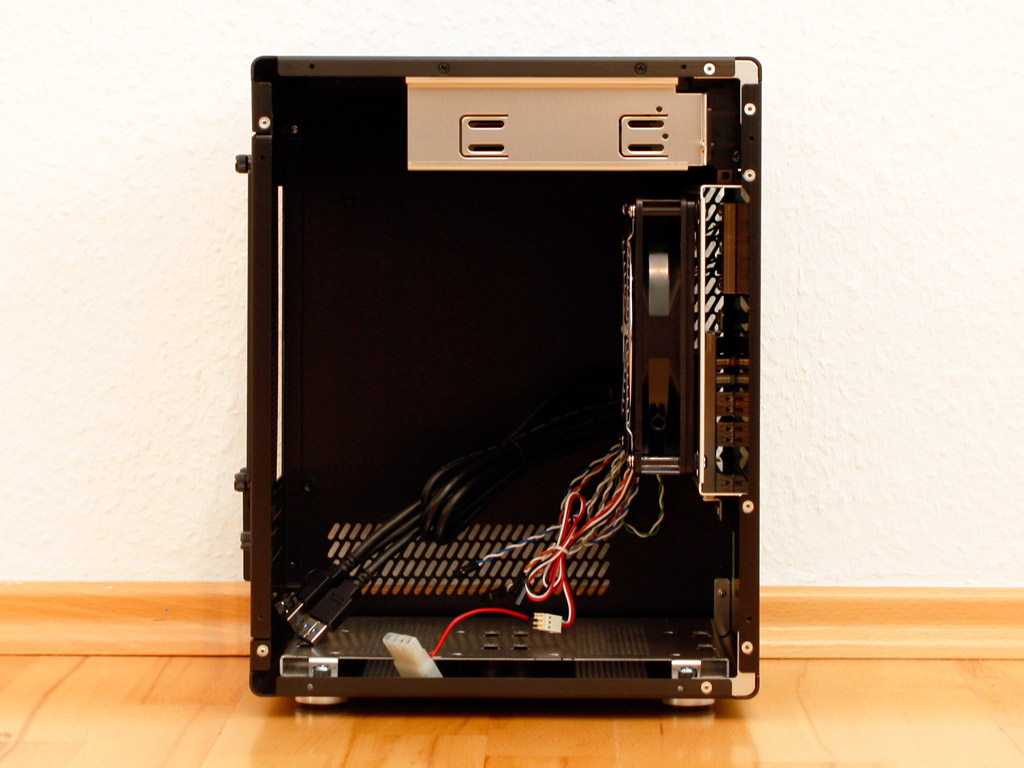
The optical bay has also been changed in comparison with the Q07. The underside is now completely solid, which adds stability to the entire chassis. A large 140 mm fan is responsible for the entire active air flow within the chassis. It pulls cold air in through the air vents on the side panel. To do so, Lian Li has used an Aluminum piece to create some space between the fan and the front of the chassis. Such an approach has some advantages and drawbacks. First off, it allows for a solid and closed design of the entire front of the chassis - which is strong point for HTPCs and the dust built-up should not be visible from the outside, as it is pulled in and held back on the filter of the fan, so you won't have to clean the metal mesh of the case regularly. On the other side, it takes up some extra space within the already small chassis and you will have a hard time removing the fan for cleaning once everything is put together and the chassis is filled. We have taken out the fan and are happy to report, that it is mounted with rubber spacers, to stop any vibration from being passed unto the frame of the chassis.
Lian Li made the Q11 taller for one specific reason: to fit more drives within the chassis. It has also designed a new aperture in the process which allows you to use two 2.5 inch and two 3.5 inch drives at the same time - for a total of four hard drives. With SSDs becoming more and more popular, this is a great idea. To make sure that the traditional hard drives to not cause any vibrations, Lian Li has included their special screws which are rubber mounted - similar to those used on the front intake fan.


Before diving into the installation, let us take a quick look at the internal cables. To connect the buttons and LEDs, Lian Li supplies the traditional connectors. Only the power LED uses a three-pin plug with an empty slot in the middle instead of two separated pins, while most modern mainboards only supply two pins for this light. So you will have to take some scissors and cut the plug in half and I doubt you or Lian Li will be happy if you happen to destroy the connector in the process. As mentioned before, the USB 3.0 connectivity is realized by simply routing the cables through the case out the back of the chassis, while the front audio utilizes the standard mainboard header. The single fan comes with a mainboard header attached to a Molex adapter for maximum flexibility.
Apr 25th, 2024 11:25 EDT
change timezone
Latest GPU Drivers
New Forum Posts
- Folding Pie and Milestones!! (9007)
- Making Audio Enhancers Work on Windows (2649)
- Random blue screen from winload.efi error (0xc000000e) (1)
- which new soundcard or which 4.1 speakers kits ? (10)
- Alphacool CORE 1 CPU block - bulging with danger of splitting? (8)
- Free Games Thread (3767)
- Only EDP Other in Core? (0)
- RTX 4070 vs RTX 4070 Ti power scaling (7)
- Meta Horizon OS (19)
- Rare GPUs / Unreleased GPUs (1876)
Popular Reviews
- Fractal Design Terra Review
- Thermalright Phantom Spirit 120 EVO Review
- Corsair 2000D Airflow Review
- Minisforum EliteMini UM780 XTX (AMD Ryzen 7 7840HS) Review
- ASUS GeForce RTX 4090 STRIX OC Review
- NVIDIA GeForce RTX 4090 Founders Edition Review - Impressive Performance
- ASUS GeForce RTX 4090 Matrix Platinum Review - The RTX 4090 Ti
- MSI GeForce RTX 4090 Suprim X Review
- MSI GeForce RTX 4090 Gaming X Trio Review
- Gigabyte GeForce RTX 4090 Gaming OC Review
Controversial News Posts
- Sony PlayStation 5 Pro Specifications Confirmed, Console Arrives Before Holidays (116)
- NVIDIA Points Intel Raptor Lake CPU Users to Get Help from Intel Amid System Instability Issues (106)
- AMD "Strix Halo" Zen 5 Mobile Processor Pictured: Chiplet-based, Uses 256-bit LPDDR5X (101)
- US Government Wants Nuclear Plants to Offload AI Data Center Expansion (98)
- Windows 11 Now Officially Adware as Microsoft Embeds Ads in the Start Menu (90)
- Developers of Outpost Infinity Siege Recommend Underclocking i9-13900K and i9-14900K for Stability on Machines with RTX 4090 (85)
- Windows 10 Security Updates to Cost $61 After 2025, $427 by 2028 (84)
- AMD's RDNA 4 GPUs Could Stick with 18 Gbps GDDR6 Memory (83)