 2
2
Mapower MAP-KC31 eSATA & USB 2.0 HDD Review
Performance »A Closer Look

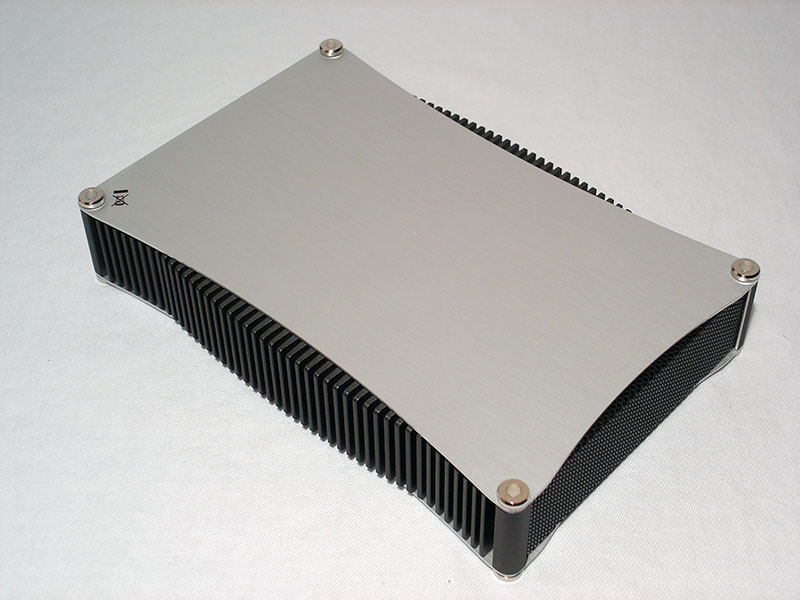
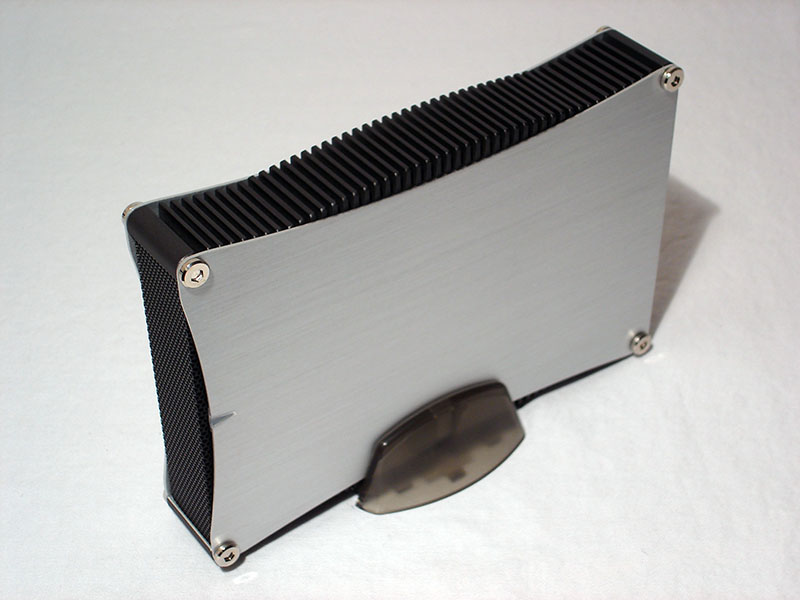
The case itself is really easy on the eyes having a simplistic look. The brushed aluminum finish is really pleasing with the black fins on the sides, which provide subtle accents to the rest of the enclosure. Four hexagonal head bolts can be seen on both the top and the undersides of the enclosure that keep everything held together snugly.


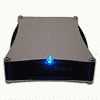
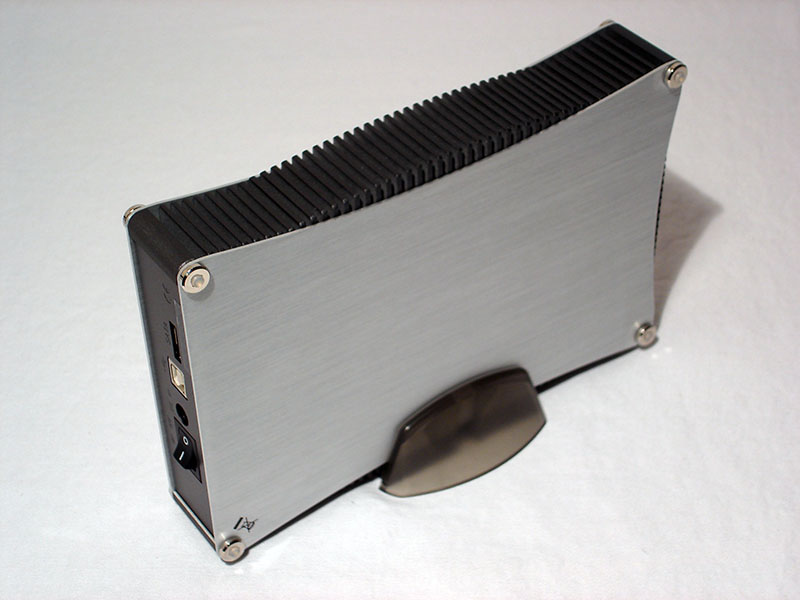
On the bottom you will notice a plastic "foot" in each of the four bolts. These will keep the enclosure from scratching the surface it is placed on as well as providing a means to absorb light hard drive vibrations. On the front face is a metal mesh cover along with the power and hard drive activity LED indicator. On the rear can be found the power switch and power supply jack. Also for this particular model are included the USB port as well as the faster eSATA port.
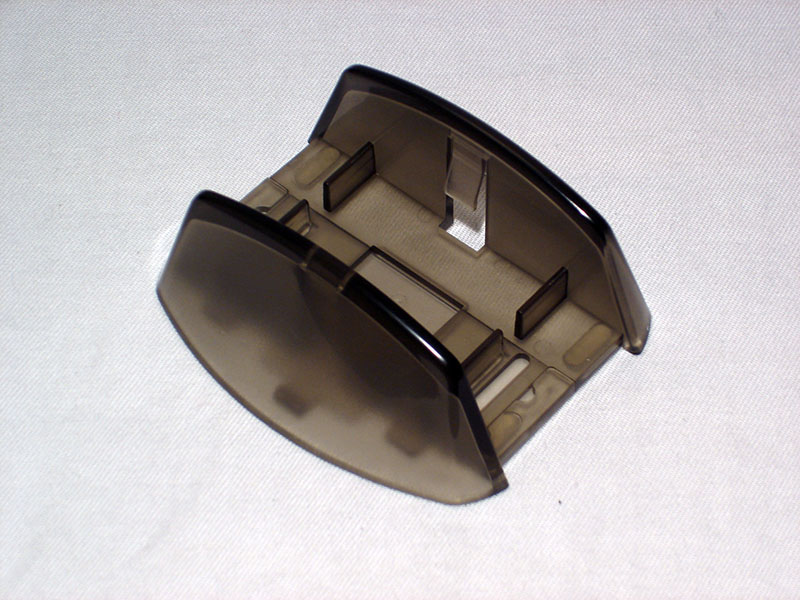


The stand is made of very sturdy plastic and is very easy to attach to the enclosure. Simply slide the sides of the stand apart and insert the enclosure aligning the fins where you see fit. Then simply slide the sides of the stand back together snapping the enclosure in a sturdy position. The footprint of the stand is plenty and keeps the enclosure balanced very well. The only thing I find odd is the color choice for the stand. Opaque brown does not compliment the enclosure at all. Perhaps black or charcoal would have been a better choice. However the stand serves its function well despite the look.
Installation


Using the included hex key tool we will unscrew the four retaining bolts from the topside of the enclosure. When removing the top panel please be careful as to not accidentally pull the LED cable that is connected to the PCB inside and possibly bending the pins.


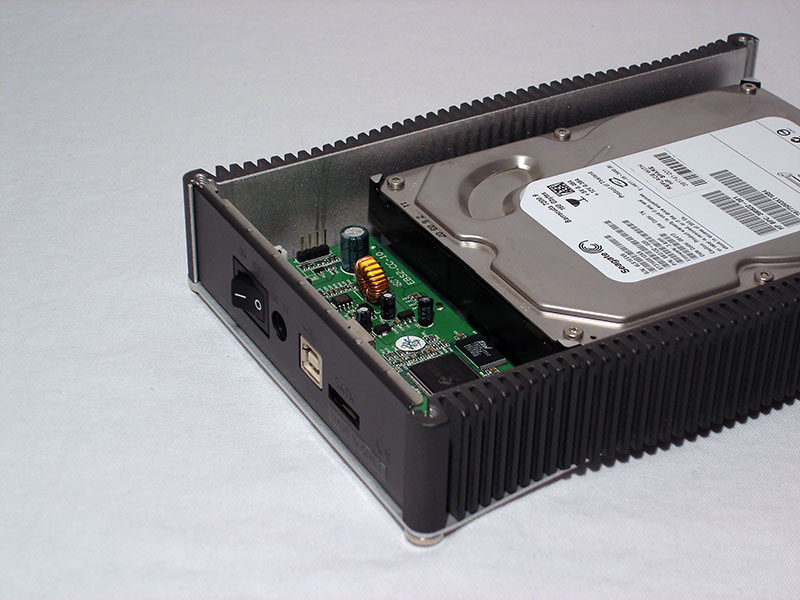
The PCB itself is green in color and is secured to the enclosure by four small screws. Here you can get a glimpse of all of the ports as well as the connections to the hard drive itself.


In order to secure the hard drive we need to first remove the front mesh panel by lifting it straight upward and out of the grooved corners. We will repeat the process with the rear panel and lower mounting plate.


Now it is time to align the hard drive with the connections located on the PCB. Simply slide it to the rear until it is locked in place.


Flipping the entire unit over we will now fasten the hard drive to the mounting plate with the four screws that were provided to us. We will install in reverse order by aligning the rear panel with the grooves in both corners and slowly allowing it to seat itself.


With the hard drive and rear panel in place we need to reinstall the front panel the same way. Simply slide it into the grooves and allow it to seat itself properly. When installing the top panel do not forget to plug the LED cable back into the PCB. Then attach the four retaining bolts accordingly.
Finished Look


Apr 17th, 2024 21:15 EDT
change timezone
Latest GPU Drivers
New Forum Posts
- Your PC ATM (34480)
- Free Games Thread (3764)
- Why do i have such a huge Thread(?) usage imbalance (7)
- The TPU UK Clubhouse (24722)
- Sold my a working PSU that I have been using, but buyer says it sparked at the outlet when he plugged it in and asking for a possible refund (8)
- Gigabyte gpu model differences? (25)
- What's your latest tech purchase? (20252)
- FINAL FANTASY XIV: Dawntrail Official Benchmark (43)
- What are you playing? (20450)
- Dell Poweredge t610 into gaming pc (62)
Popular Reviews
- Horizon Forbidden West Performance Benchmark Review - 30 GPUs Tested
- PowerColor Radeon RX 7900 GRE Hellhound Review
- ASUS GeForce RTX 4090 Matrix Platinum Review - The RTX 4090 Ti
- Fractal Design Terra Review
- Corsair 2000D Airflow Review
- Minisforum EliteMini UM780 XTX (AMD Ryzen 7 7840HS) Review
- Creative Pebble X Plus Review
- FiiO KB3 HiFi Mechanical Keyboard Review - Integrated DAC/Amp!
- ASUS GeForce RTX 4090 STRIX OC Review
- NVIDIA GeForce RTX 4090 Founders Edition Review - Impressive Performance
Controversial News Posts
- Sony PlayStation 5 Pro Specifications Confirmed, Console Arrives Before Holidays (105)
- NVIDIA Points Intel Raptor Lake CPU Users to Get Help from Intel Amid System Instability Issues (102)
- US Government Wants Nuclear Plants to Offload AI Data Center Expansion (98)
- Windows 10 Security Updates to Cost $61 After 2025, $427 by 2028 (82)
- Developers of Outpost Infinity Siege Recommend Underclocking i9-13900K and i9-14900K for Stability on Machines with RTX 4090 (82)
- TechPowerUp Hiring: Reviewers Wanted for Motherboards, Laptops, Gaming Handhelds and Prebuilt Desktops (70)
- Intel Realizes the Only Way to Save x86 is to Democratize it, Reopens x86 IP Licensing (70)
- AMD Zen 5 Execution Engine Leaked, Features True 512-bit FPU (63)