 13
13
NZXT Phantom 820 Review
Value & Conclusion »Assembly

Installing the motherboard is done by traditional means with the use of black spacers and black screws. There is a lot of space around the full ATX motherboard since the Phantom 820 can also hold the larger XL-ATX variant. HPTX users are, unfortunately, out of luck.
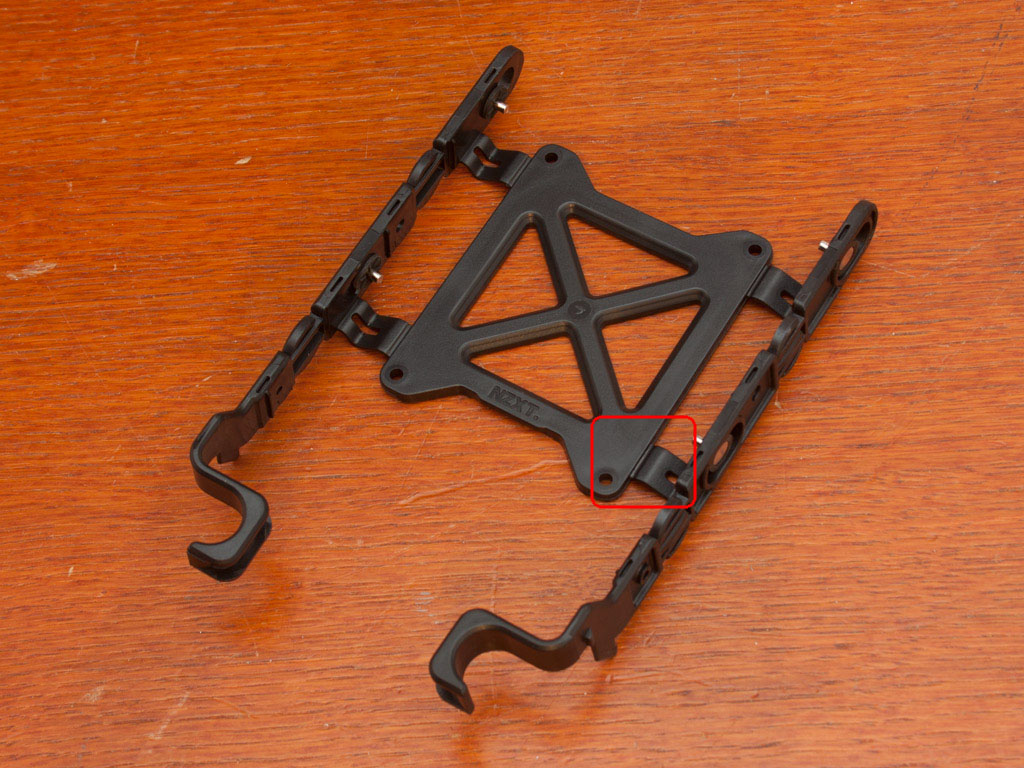


NZXT has redesigned the hard-drive trays and has made them look pretty cool in the process. They are, unfortunately, quite weak and break easily along the edge I highlighted; that is, if you squeeze the tray too hard in order to pull it out of the bay. On top of that, our sample - one of the first to roll off the assembly line - did not ship with screws long enough to install 2.5" drives into the trays. NZXT has been made aware of both issues, and they will fix these issues with their retail product, which will arrive at the end of November.
Filling the tray with a 3.5" drive is easy, and it only takes a bit of craftiness with your fingers to get the pins to sink into the drive properly. Once ready, simply slide the tray back into the bay of your choice, and you are ready to go.


Thanks to the sliding lock-mechanism of the front cover, you will have your optical drive inside the external bay within seconds. The black, screw-less locking mechanism does hold the drive in place, but allows for quite a bit of wiggle room. I suggest using a screw or two to stop it from vibrating while in use.

The power supply needs to be installed with the supplied black screws. There is plenty of space - even for the longest power supply units.


Once everything is in place, there is still plenty of room for extras like water-cooling tubes, reservoirs, and radiators. Power users should be quite happy with a case like this. All the cables are easily hidden behind the motherboard tray, but I did spend some extra time on tidying things up a bit. There are, thanks to multiple hooks for use with zip ties, many options to make the best of this space.
Finished Looks
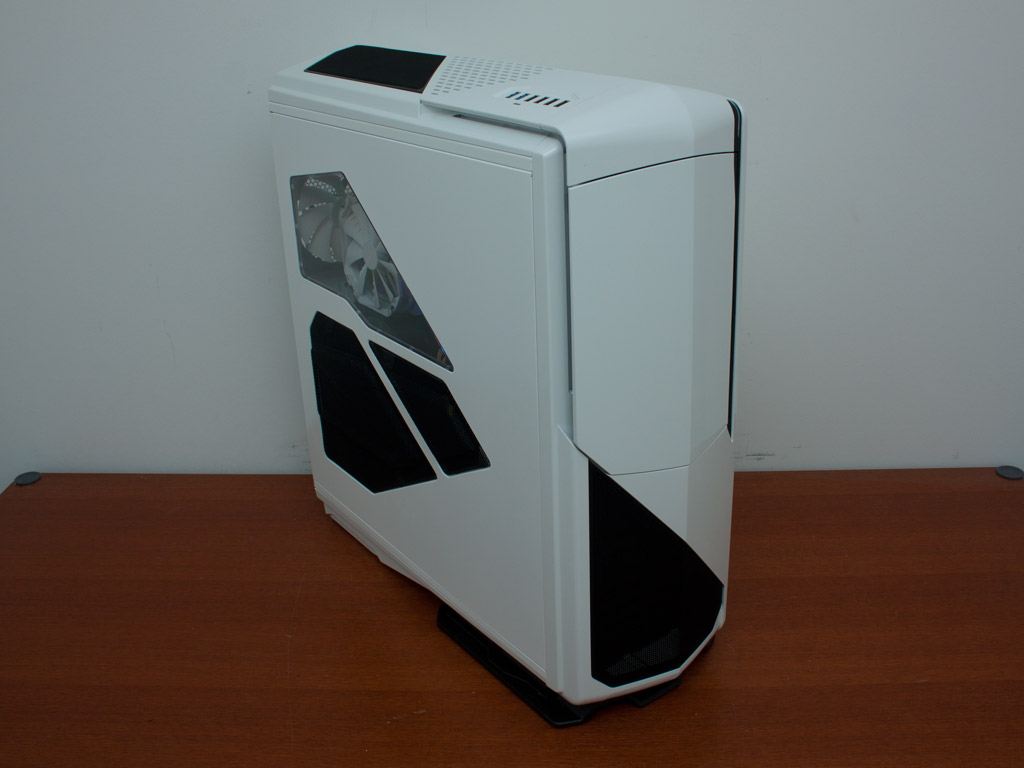


There are, before we go all crazy with LED lights, four general options: turning the multi-color LEDs off, only turning LEDs inside the chassis on, turning the LEDs on the front on, or simply turning everything off.


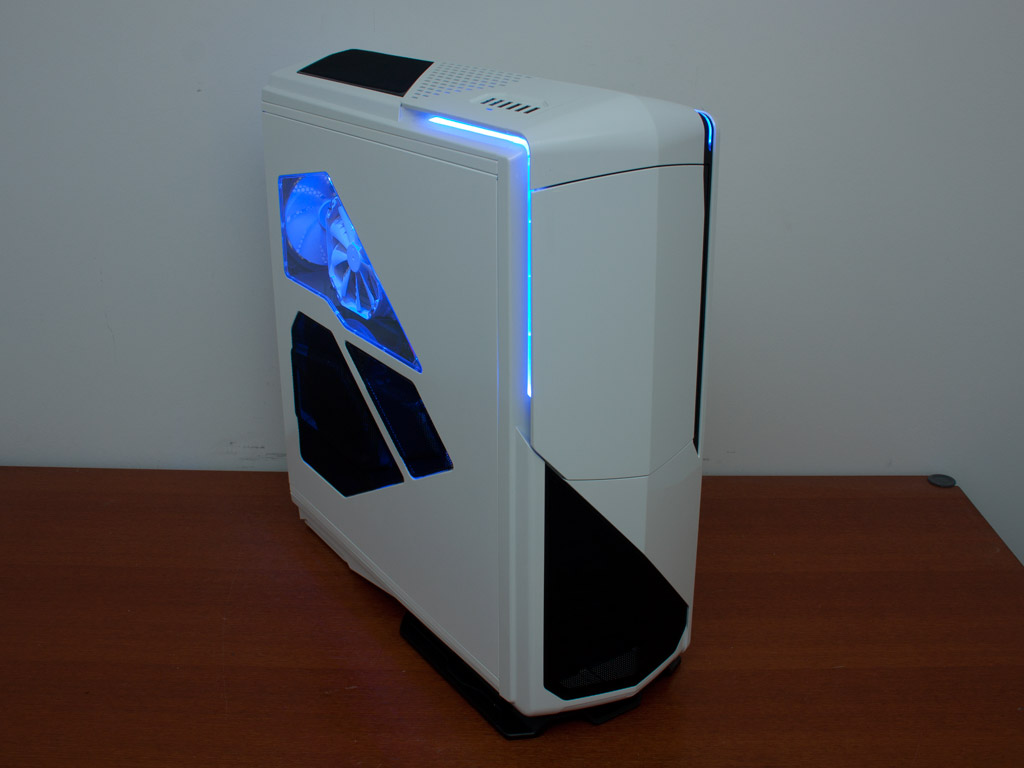
I will – just because I can - use different colors on each of the following shots. The front of the chassis look great with blue LEDs, and the drives behind the door are easily accessible as the panel stays open on its own.

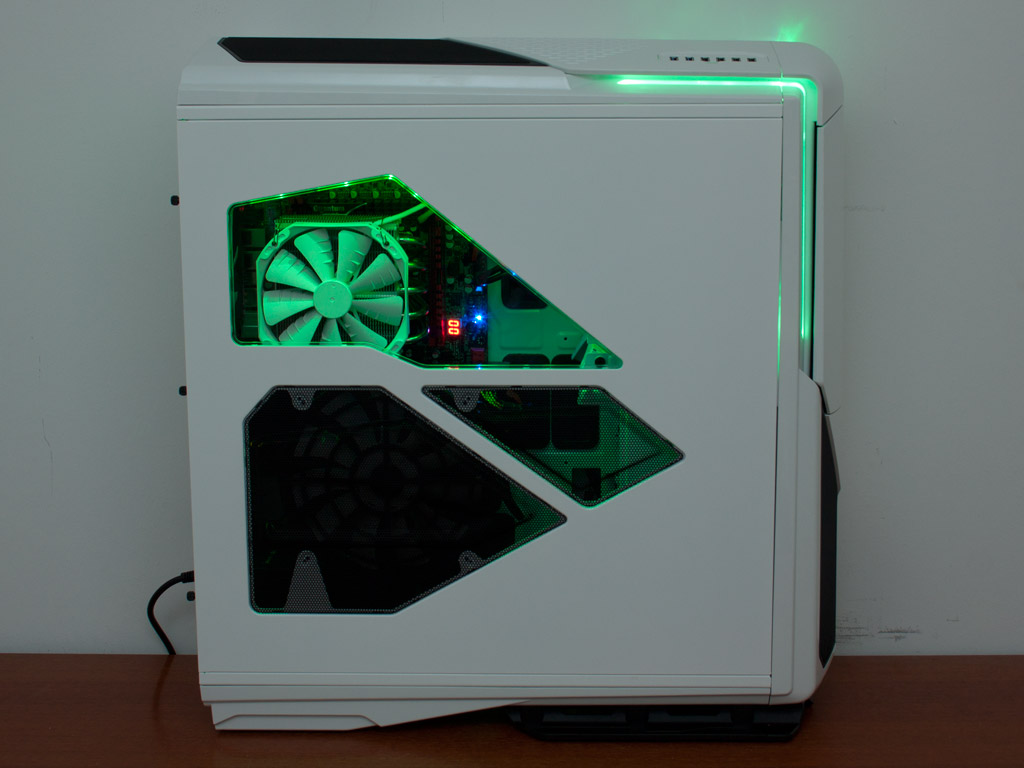
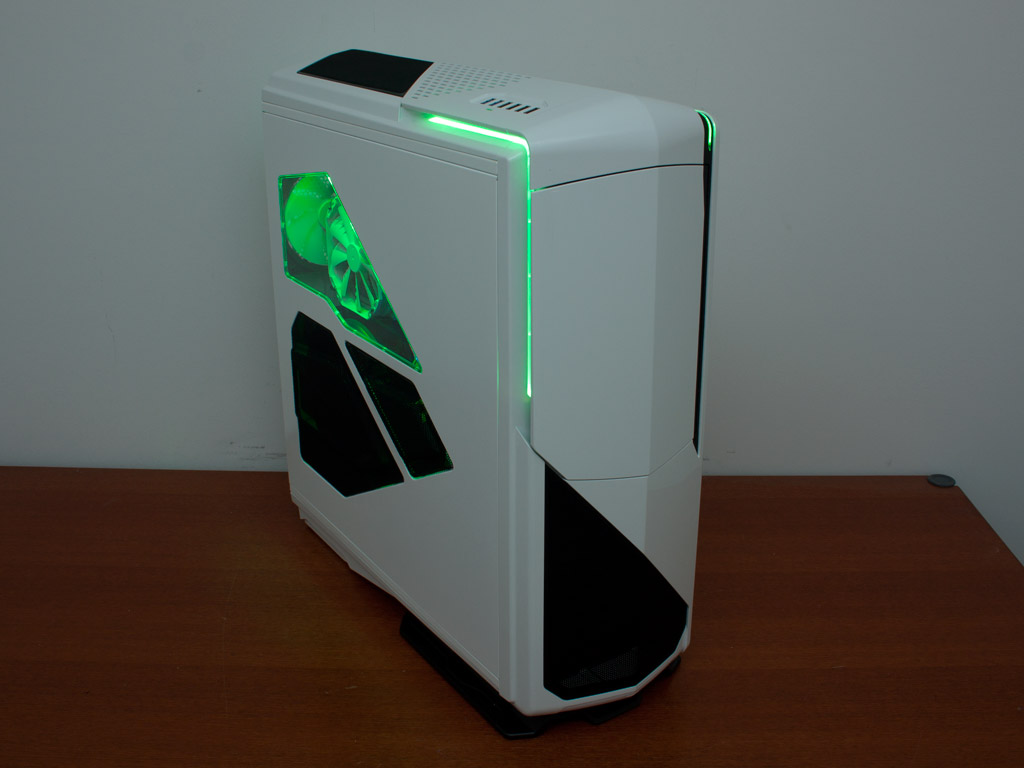
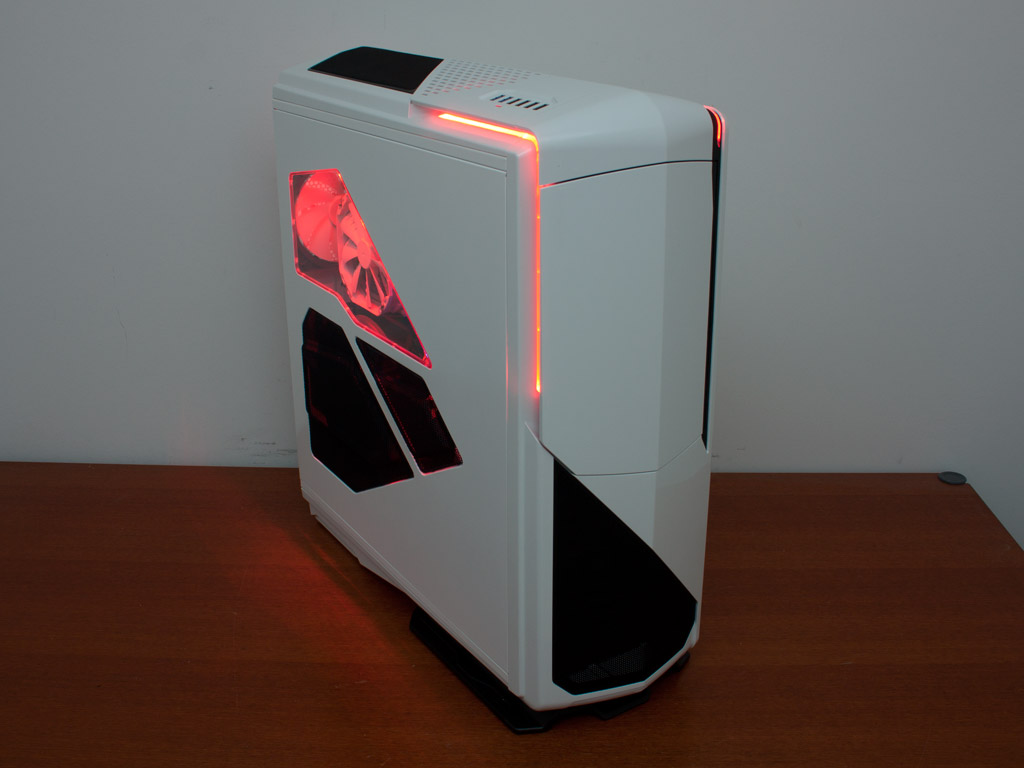
Turning the case around, now with red and green LEDs, the chassis makes a great impression. The white LEDs in the rear really do light up all the areas of the chassis with a plethora of plugs, which would, for example, easily allow you to find what you are looking for at a dark LAN party.


Even the LED controller lights up in the selected color with separate white LEDs denoting which channels have been selected. Turning the surrounding lights completely off, the case makes a pretty cool impression - even in pink. Its rear-lighting elements really look great in complete darkness.
But wait, that is not all. Below are just a few possibilities of the RGB based LED within the HUE system. There are so many possibilities, and all of them look spiffy in their own way.
Color Gallery:


Apr 19th, 2024 09:17 EDT
change timezone
Latest GPU Drivers
New Forum Posts
- Gigabyte gpu model differences? (60)
- Should the CDPR make the Fallout 5 instead? (29)
- Do you use Linux? (239)
- Linus watercools (28)
- [GPU-Z Test Build] Driver unsigned warning on Windows 7/8 (4)
- [GPU-Z Test Build] Resizable BAR shows as "Yes" when Supported but Disabled (26)
- XFX RX560 1024 shaders 16 CU 4GB from Aliexpress (7)
- AMD RX 7000 series GPU Owners' Club (1066)
- 5.1 or 7.1 software solutions (0)
- First computer build for my son (11)
Popular Reviews
- Horizon Forbidden West Performance Benchmark Review - 30 GPUs Tested
- PowerColor Radeon RX 7900 GRE Hellhound Review
- Fractal Design Terra Review
- Corsair 2000D Airflow Review
- Thermalright Phantom Spirit 120 EVO Review
- Minisforum EliteMini UM780 XTX (AMD Ryzen 7 7840HS) Review
- Creative Pebble X Plus Review
- FiiO KB3 HiFi Mechanical Keyboard Review - Integrated DAC/Amp!
- ASUS GeForce RTX 4090 STRIX OC Review
- NVIDIA GeForce RTX 4090 Founders Edition Review - Impressive Performance
Controversial News Posts
- Sony PlayStation 5 Pro Specifications Confirmed, Console Arrives Before Holidays (110)
- NVIDIA Points Intel Raptor Lake CPU Users to Get Help from Intel Amid System Instability Issues (102)
- US Government Wants Nuclear Plants to Offload AI Data Center Expansion (98)
- Windows 10 Security Updates to Cost $61 After 2025, $427 by 2028 (82)
- Developers of Outpost Infinity Siege Recommend Underclocking i9-13900K and i9-14900K for Stability on Machines with RTX 4090 (82)
- TechPowerUp Hiring: Reviewers Wanted for Motherboards, Laptops, Gaming Handhelds and Prebuilt Desktops (71)
- Intel Realizes the Only Way to Save x86 is to Democratize it, Reopens x86 IP Licensing (70)
- AMD Zen 5 Execution Engine Leaked, Features True 512-bit FPU (63)