 8
8
Rosewill Tachyon 1000 W Review
A Look Inside & Component Analysis »Packaging


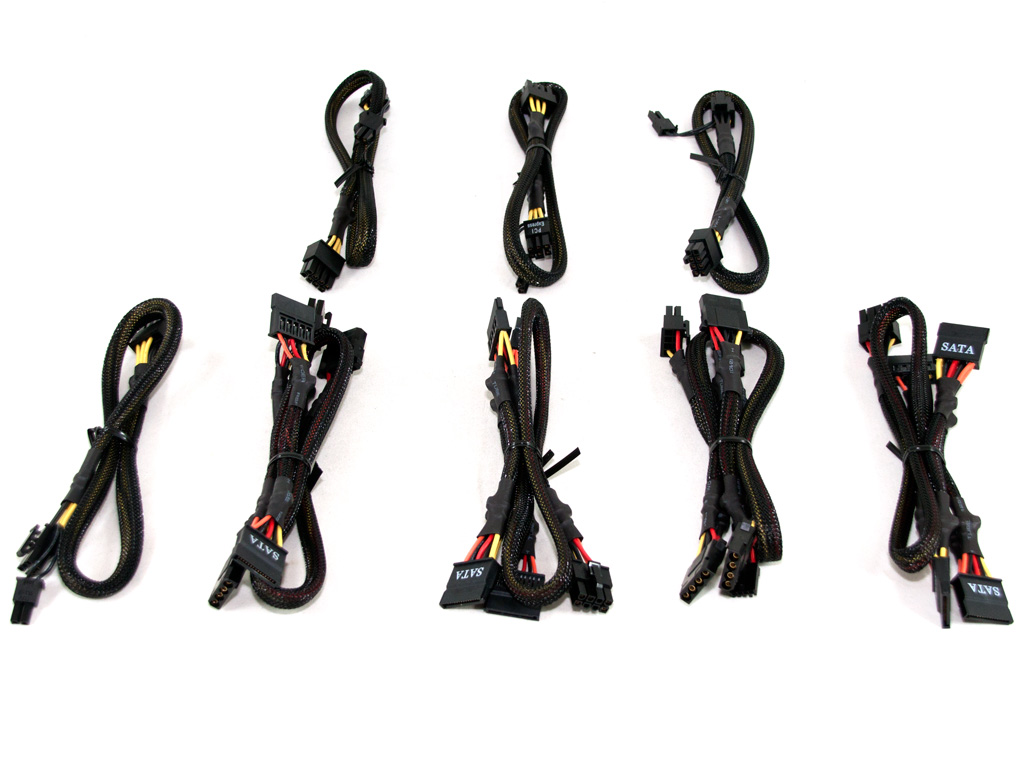
The Tachyon comes in a sturdy cardboard box with a carrying handle on top. The box's graphics design is nothing to write home about, and most of the front's real estate is occupied by a photo of the PSU with the fan-grill in the foreground. On the left side are badges for the unit's Platinum efficiency, the five-year warranty, and its modular cables, along with a description of the series and its capacity. The sides of the package only have an illustration of the series' name and Rosewill's logo.


A brief feature list with descriptions, a table of available connectors, and four more tables giving the power specifications on all Tachyon PSUs can be found on the rear side of the package. There is also an over-sized Platinum efficiency badge on this side; just to show off the high efficiency of the unit.
Contents


The PSU is meticulously protected by packing foam and is, on top of that, wrapped in a plastic bag. Next to it resides the pouch that holds all modular cables and the rest of the bundle.


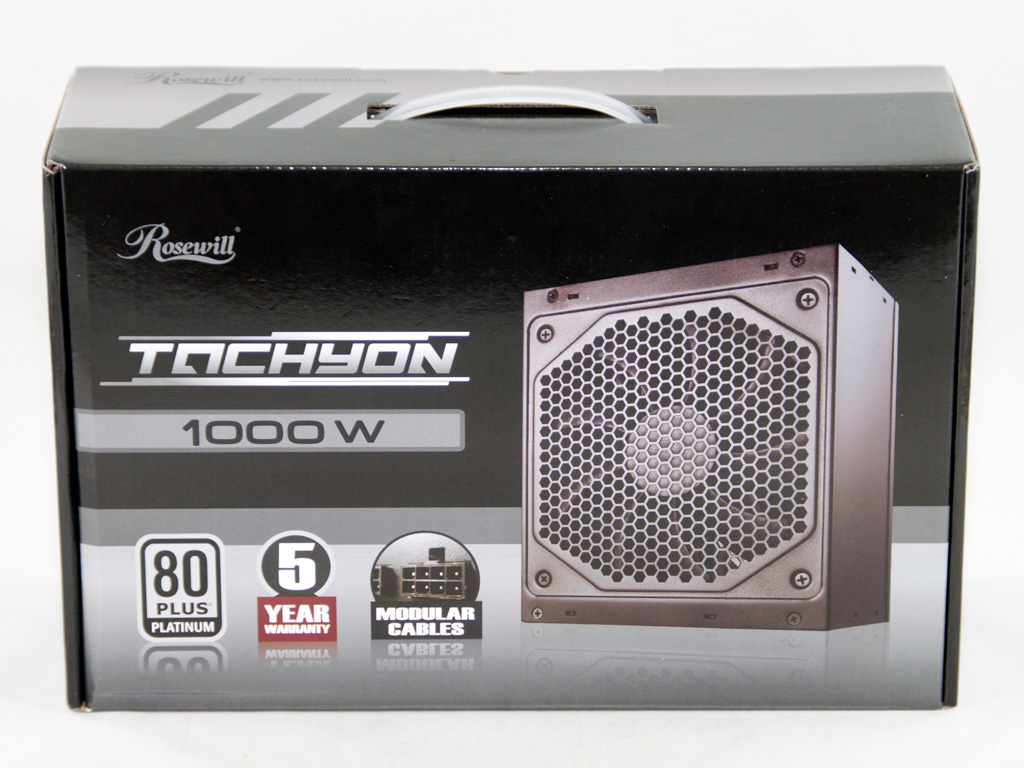
The bundle includes the necessary modular cables, a set of fixing bolts, several zip ties for cable-management purposes, a user's manual, and an AC power cord.
Exterior


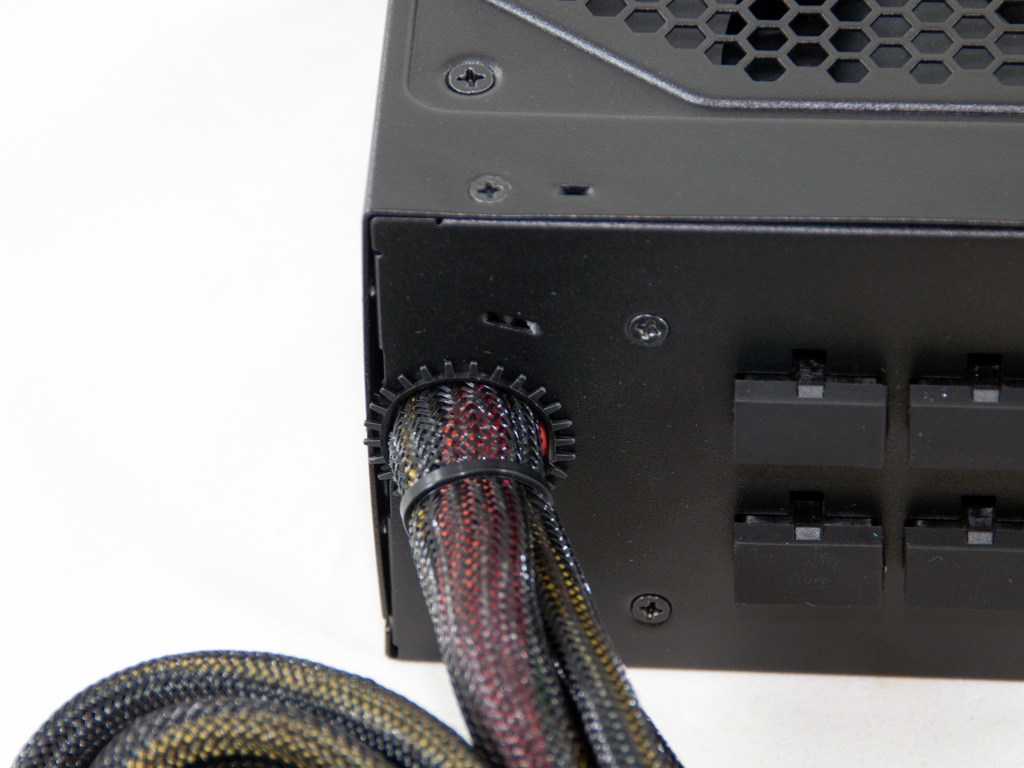


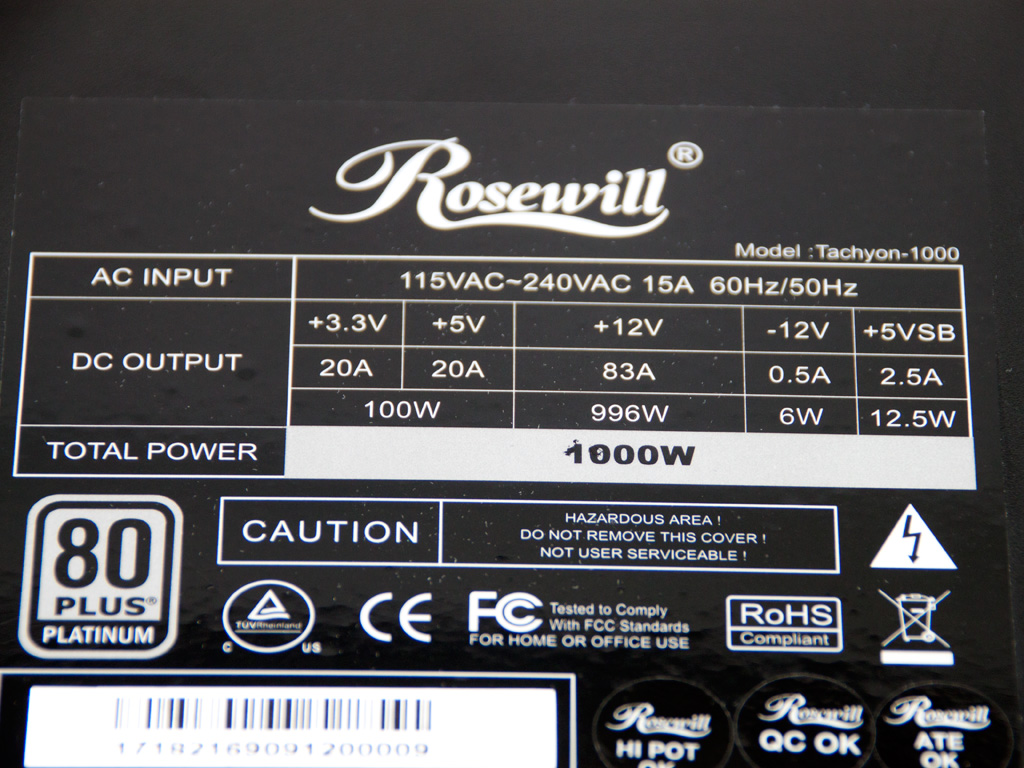


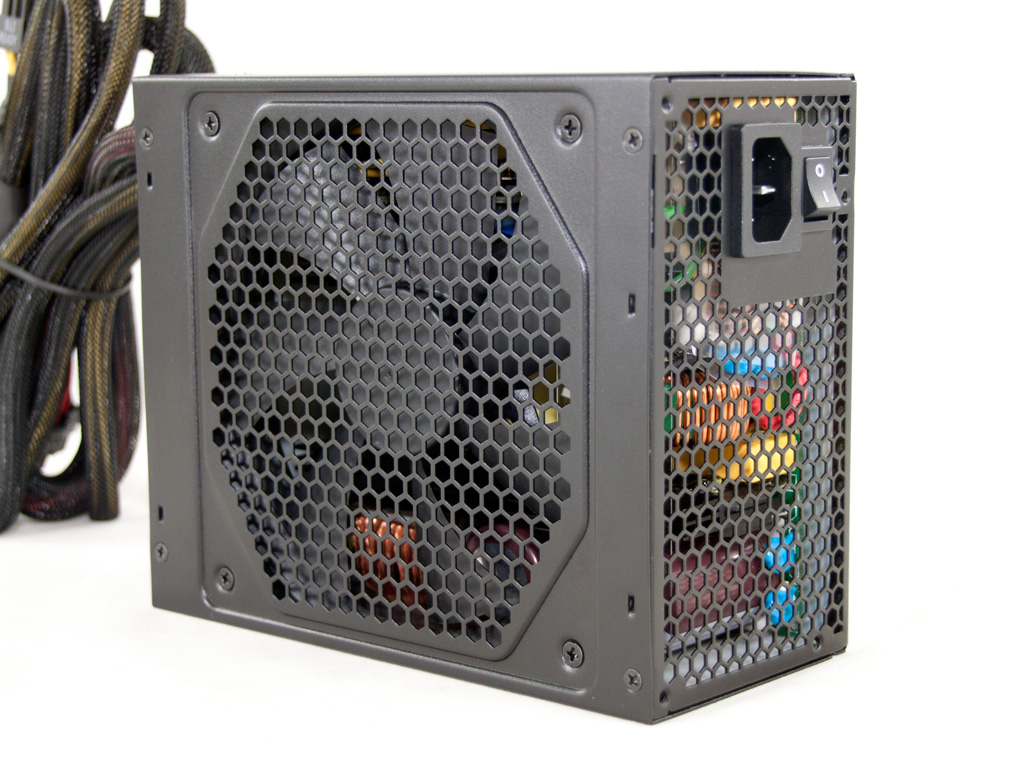

The PSU features a black coating-finish that is fingerprint prone and not very scratch resistant. To be frank, we highly prefer double-layered texture coatings for high-end PSUs, given they are are fairly scratch resistant and look nicer. The classic honeycomb-mesh is used at the front, and the on/off rocker switch is installed under the AC receptacle, so it won't be easily accessible if you install the PSU with the fan facing up. The sides are not equipped with any decals and the same applies to the fan grill's center. This grants the PSU a nice and clean look some users will like; others may not appreciate the total absence of decals as much. At the rear, the modular sockets are covered by silicone caps, and all of them have the same number of pins, which allows you to connect any of the provided modular cables to any socket. Finally, the specifications label is installed on the bottom side, and the native cables are, as you can glean from the last of the above photos, fully sleeved back into the housing.
Apr 24th, 2024 08:50 EDT
change timezone
Latest GPU Drivers
New Forum Posts
- Official Board Game Discussion (16)
- EK seems to be having major issues (33)
- What phone you use as your daily driver? And, a discussion of them. (1464)
- What's your latest tech purchase? (20333)
- My computer setup - Request for opinions (15)
- Is It The 1080 TI The Best GPU Ever? (205)
- Wanted to get the drift what your opinion is on this topic (0)
- Looking to build another system (0)
- Core i5-6300U (10)
- Which one to choose from these 3 laptops offer? (21)
Popular Reviews
- Fractal Design Terra Review
- Corsair 2000D Airflow Review
- Thermalright Phantom Spirit 120 EVO Review
- Minisforum EliteMini UM780 XTX (AMD Ryzen 7 7840HS) Review
- ASUS GeForce RTX 4090 STRIX OC Review
- NVIDIA GeForce RTX 4090 Founders Edition Review - Impressive Performance
- ASUS GeForce RTX 4090 Matrix Platinum Review - The RTX 4090 Ti
- MSI GeForce RTX 4090 Gaming X Trio Review
- MSI GeForce RTX 4090 Suprim X Review
- Gigabyte GeForce RTX 4090 Gaming OC Review
Controversial News Posts
- Sony PlayStation 5 Pro Specifications Confirmed, Console Arrives Before Holidays (116)
- NVIDIA Points Intel Raptor Lake CPU Users to Get Help from Intel Amid System Instability Issues (106)
- AMD "Strix Halo" Zen 5 Mobile Processor Pictured: Chiplet-based, Uses 256-bit LPDDR5X (101)
- US Government Wants Nuclear Plants to Offload AI Data Center Expansion (98)
- Windows 10 Security Updates to Cost $61 After 2025, $427 by 2028 (84)
- Developers of Outpost Infinity Siege Recommend Underclocking i9-13900K and i9-14900K for Stability on Machines with RTX 4090 (84)
- TechPowerUp Hiring: Reviewers Wanted for Motherboards, Laptops, Gaming Handhelds and Prebuilt Desktops (78)
- Intel Realizes the Only Way to Save x86 is to Democratize it, Reopens x86 IP Licensing (70)