 12
12
Synology RT1900ac Wireless Router Review
Storage & Printer Settings »Network Center - Status


Network Center is SRM's Control Panel. You can do many things through its group of options, and we will mention them in the following paragraphs. The first tab is dubbed "Status" and contains the WAN address if you are connected to the Internet, along with some interesting graphs for upload and download speeds, or system resources. You can also quickly check on the router's Wi-Fi channels or enable or disable them here if you want.
Network Center - Wireless


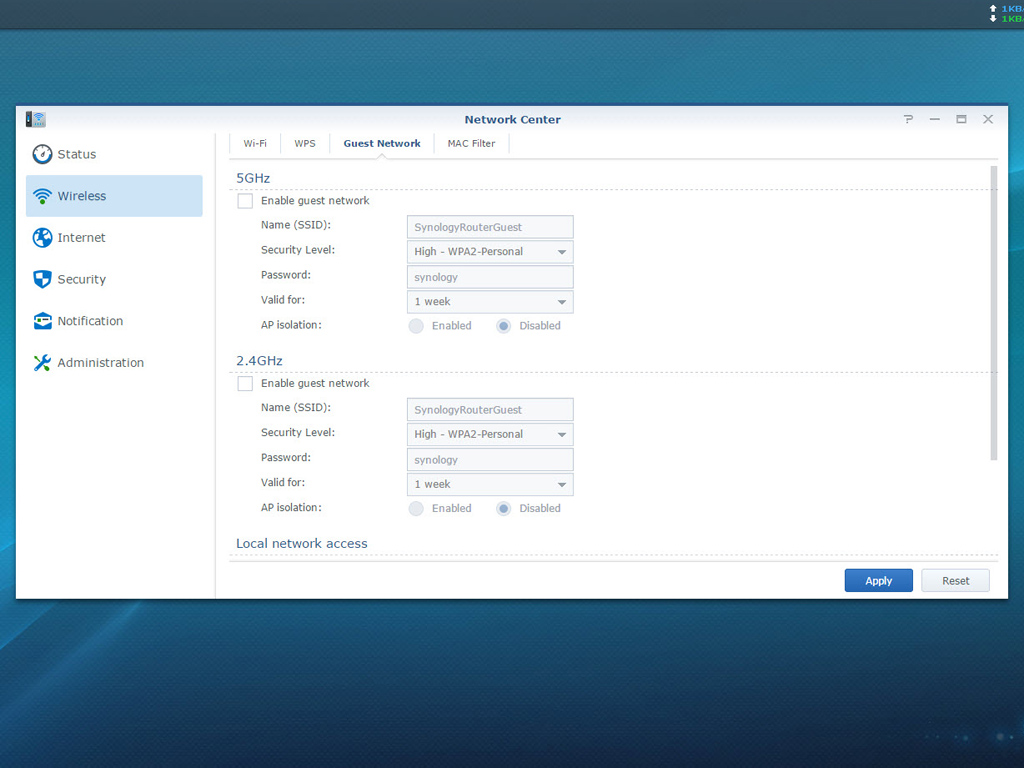

The Wireless menu provides you with options that have to do with the Wi-Fi connection. There are options to change the password, wireless mode, and name (SSID), or enable or disable the WPS and guest network and create MAC filtering rules.
The Wi-Fi tab and its advanced options give you access to several interesting options, including transmit power, which should be set to high for optimal wireless performance. You had also better disable PMF support if you have older Wi-Fi clients since "PMF" stands for Protected Management Frames.

This is a crucial setting if you want to attach a USB 3.0 storage device to the router and have it working at full speed.
Network Center - Internet


Use the Internet tab and its options to pick the connection type and set any VPN settings, including IPv6. QuickConnect and DDNS support can also be enabled here.

The port-forwarding rules can be updated or created in this tab.

You can also create port-triggering rules.

DMZ, or demilitarized zone, is a part of your network that is directly exposed to the Internet or other external networks. This means that everything that is set up as a DMZ host doesn't have a firewall protecting it.

IPv6 tunneling allows IPv6 to work with existing IPv4 network structures.

Network Center - Local Network


You can connect 3G or 4G dongles to the router in order to provide a backup connection for when the normal connection is down.
Network Center - Parental Control


These parental control settings allow you to protect children from inappropriate sites, while monitoring usage by device and application. You can set web-filters or create an Internet access schedule you can add connected devices to.
Network Center - Traffic Control


Traffic control allows for how much of the network's bandwidth each connected client occupies to be controlled. You can also ban devices or enhance the Wi-Fi signal for some specific devices through the beamforming function, or set high and low priorities for clients or set a custom upload and download speed limit for each.
Network Center - Security

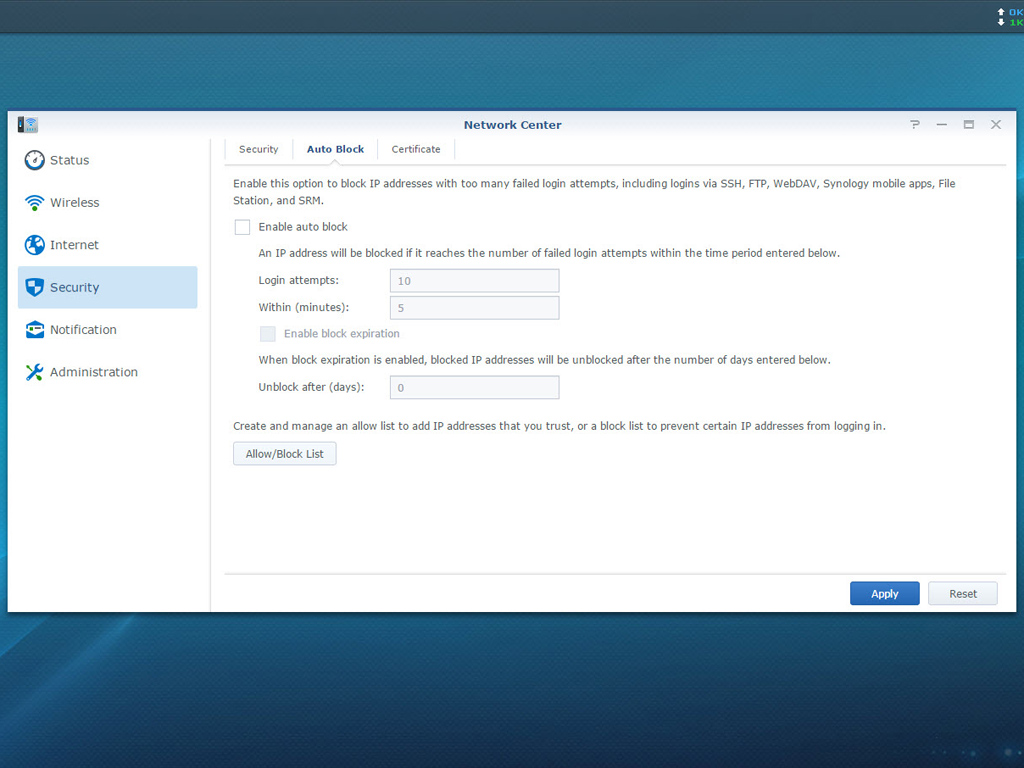

As you can imagine, the security menu is very important. There are some interesting options here, along with an auto-block function to prevent brute force attacks over the login page.
Network Center - Notifications


You can setup notifications to receive information on when the router's status changes. These notifications can be sent via email or through SMS messages. You are also able to pick notifications for various events.
Network Center - Administration


The Administration menu allows you to set the router's operational mode. The three available modes are Wireless router, Wireless AP, and Wireless Client. We must note here that setting the router to Wireless AP mode will hide the Network Center, Local Network, Traffic Control, and Parental Control tabs.
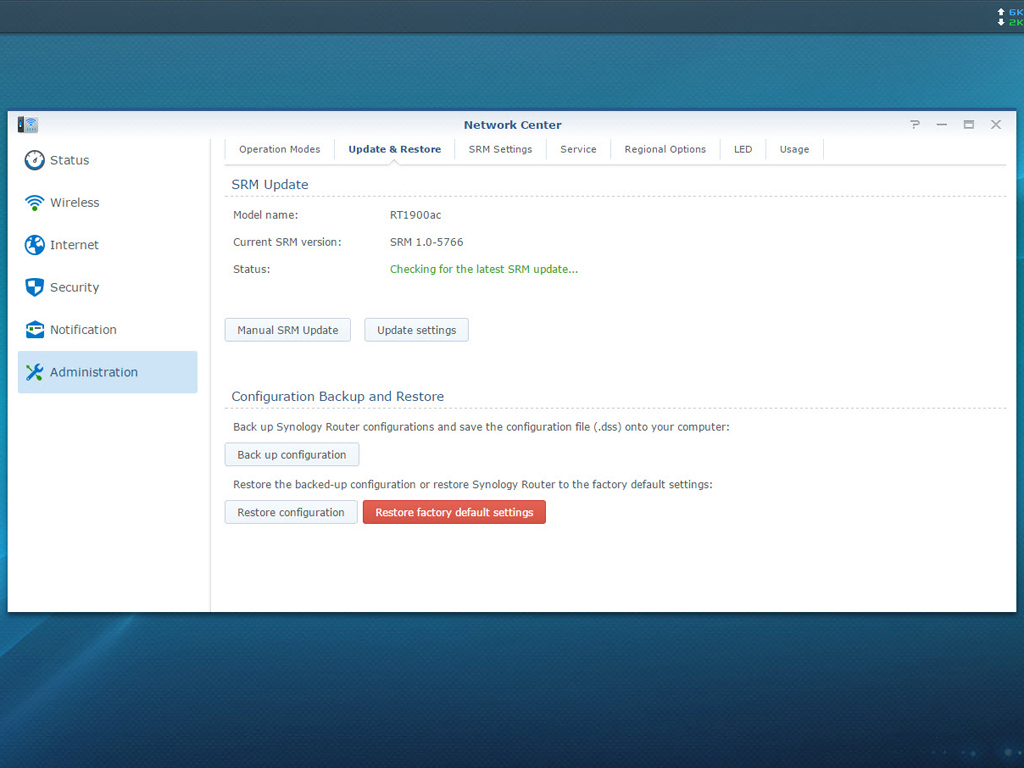
Also use these options to update SRM and back up or restore the router's configuration. The SRM Setting's tab allows you to set the server's name and default port. We advice you to enable Windows Networking Discovery if you want a Windows network to be able to discover the router.
In the service tab is the SSH service, which advanced users might find useful. The last three tabs have to do with the regional options, LED indicators, and usage-information-sharing feature.
SRM Update


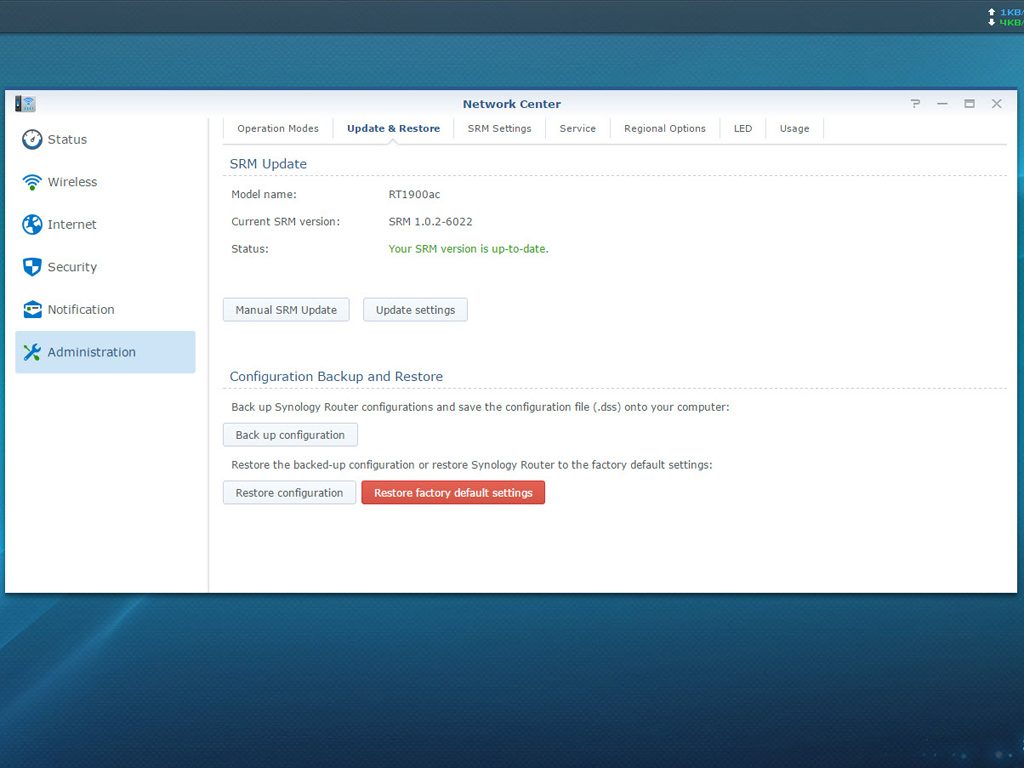
Updating the router's firmware is a piece of cake. You will be notified once a new SRM version is available for download and will only have to download and install it. The whole procedure only takes a couple clicks and lasts no longer than 10 minutes. Your current configuration won't be lost.
Apr 25th, 2024 07:00 EDT
change timezone
Latest GPU Drivers
New Forum Posts
- Last game you purchased? (255)
- (Anti) SFF fun house (352)
- Core i5-6300U (16)
- Share your AIDA 64 cache and memory benchmark here (2916)
- What phone you use as your daily driver? And, a discussion of them. (1472)
- What's your latest tech purchase? (20338)
- Meta Horizon OS (16)
- Alphacool CORE 1 CPU block - bulging with danger of splitting? (4)
- The TPU UK Clubhouse (24786)
- Github comments used to push malware via Microsoft repo urls (3)
Popular Reviews
- Fractal Design Terra Review
- Thermalright Phantom Spirit 120 EVO Review
- Corsair 2000D Airflow Review
- Minisforum EliteMini UM780 XTX (AMD Ryzen 7 7840HS) Review
- ASUS GeForce RTX 4090 STRIX OC Review
- NVIDIA GeForce RTX 4090 Founders Edition Review - Impressive Performance
- ASUS GeForce RTX 4090 Matrix Platinum Review - The RTX 4090 Ti
- MSI GeForce RTX 4090 Suprim X Review
- MSI GeForce RTX 4090 Gaming X Trio Review
- Gigabyte GeForce RTX 4090 Gaming OC Review
Controversial News Posts
- Sony PlayStation 5 Pro Specifications Confirmed, Console Arrives Before Holidays (116)
- NVIDIA Points Intel Raptor Lake CPU Users to Get Help from Intel Amid System Instability Issues (106)
- AMD "Strix Halo" Zen 5 Mobile Processor Pictured: Chiplet-based, Uses 256-bit LPDDR5X (101)
- US Government Wants Nuclear Plants to Offload AI Data Center Expansion (98)
- Windows 11 Now Officially Adware as Microsoft Embeds Ads in the Start Menu (84)
- Windows 10 Security Updates to Cost $61 After 2025, $427 by 2028 (84)
- Developers of Outpost Infinity Siege Recommend Underclocking i9-13900K and i9-14900K for Stability on Machines with RTX 4090 (84)
- AMD's RDNA 4 GPUs Could Stick with 18 Gbps GDDR6 Memory (80)