 2
2
Thecus N2200 Review
Installation »Packaging


The box itself is what you'd expect from any box. Slightly larger than the item itself and filled with pictures, features and specifications of the item you can expect to find inside.
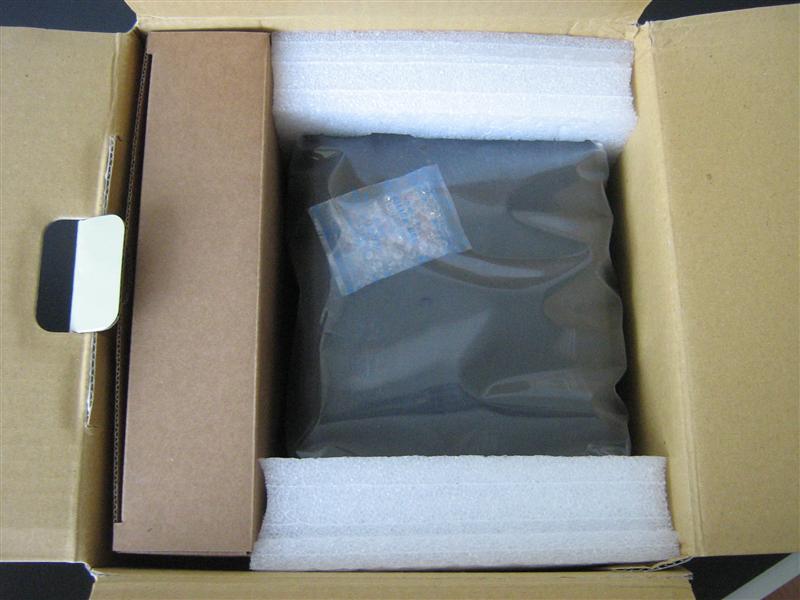

Opening the box reveals that the box indeed isn't much larger than required. On the side is a box with accessories and protected by foam and a plastice bag is the N2200 itself.
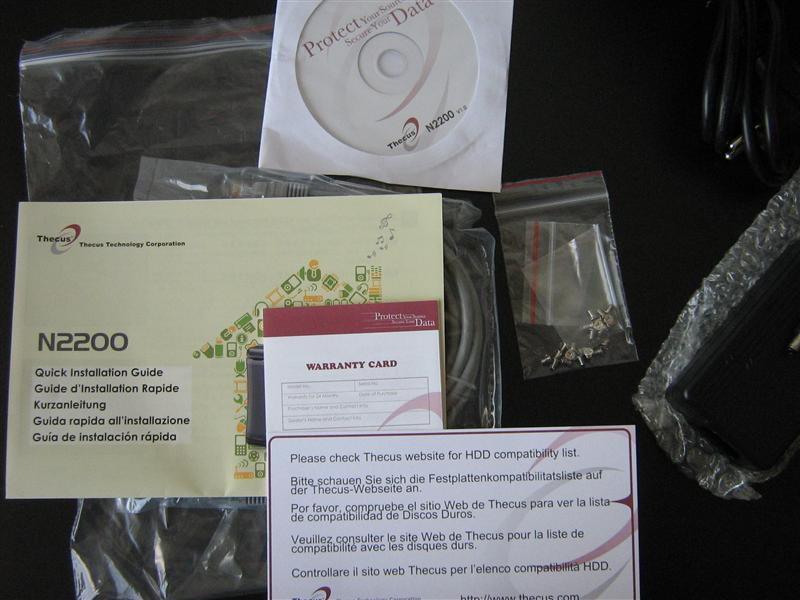
In the accessories box you'll find what you need to get started. A short UTP cable, screws to mount the harddrives to their brackets, a power adapter, a driver/utility disk, a quick start guide and a warranty card.
The unit


When unpacking the N2200 the first thing I noticed is the size, it's quite small. It's about as deep as the 3.5" harddisks that go in it and about 1.5x as wide, the PCB itself is right between the disks. The design is simple, the front contains a simple display showing the status of various things like the network connection and the harddrives (basically connected or not and activity).
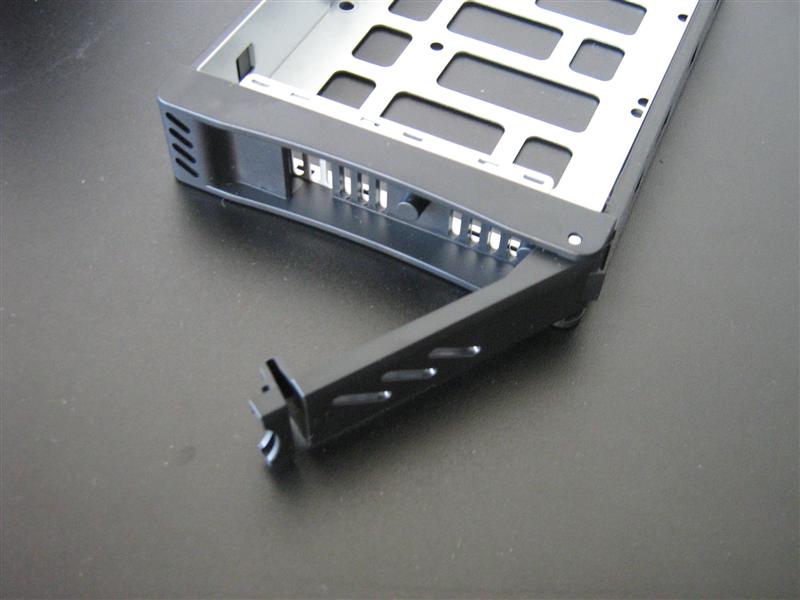
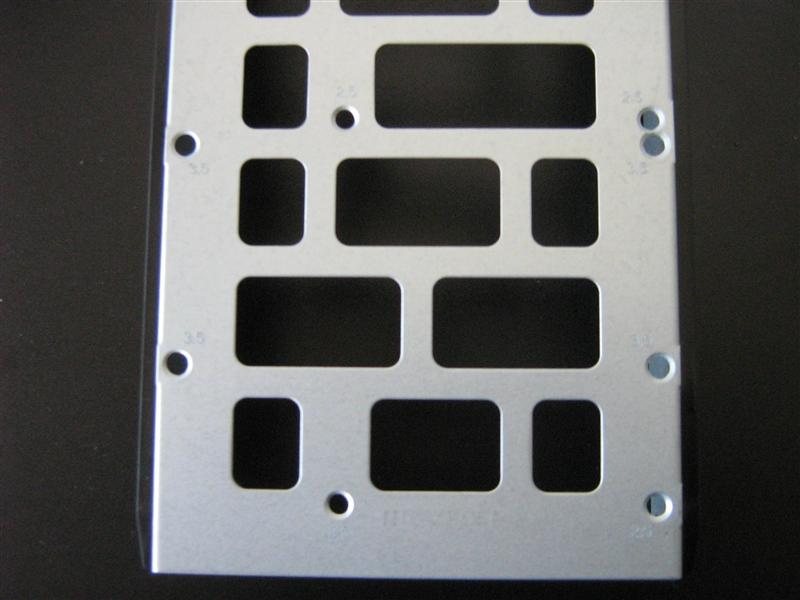
The harddrives are mounted on simple trays using the included screws. It is possible to mount both 2.5" and 3.5" drives. Though I imagine that in most cases 3.5" disks will be used.
The inside

When removing the back cover you can see the fan, the back of the SATA connectors and some additional screws. You won't see much of the device itself. Removing the four screws allows you to take off the whole housing as the back is stuck to the PCB which slides into the housing.

The PCB itself is rather boring, nothing can be upgraded and there is no fancy hardware. Just a SoC that does not require any cooling, two SATA connectors and some other random chips. The design is simple and effective. End-users can't do much to break it.
Apr 25th, 2024 18:29 EDT
change timezone
Latest GPU Drivers
New Forum Posts
- Core PL1 + GPU PL1 + Ring EDP OTHER (7)
- How to check flatness of CPUs and coolers - INK and OPTICAL INTERFERENCE methods (112)
- Best SSD for system drive (78)
- Which new games will you be buying? (314)
- TPU's Nostalgic Hardware Club (18464)
- Post your Cinebench 2024 score (450)
- Ubuntu 24.04 LTS released (2)
- Dell Workstation Owners Club (3054)
- im new to throttelstop and i think i messed it up by copying others any hints would be very much aprreciated (2)
- Ryzen Owners Zen Garden (7243)
Popular Reviews
- Fractal Design Terra Review
- Thermalright Phantom Spirit 120 EVO Review
- Corsair 2000D Airflow Review
- Minisforum EliteMini UM780 XTX (AMD Ryzen 7 7840HS) Review
- ASUS GeForce RTX 4090 STRIX OC Review
- NVIDIA GeForce RTX 4090 Founders Edition Review - Impressive Performance
- ASUS GeForce RTX 4090 Matrix Platinum Review - The RTX 4090 Ti
- MSI GeForce RTX 4090 Suprim X Review
- MSI GeForce RTX 4090 Gaming X Trio Review
- Gigabyte GeForce RTX 4090 Gaming OC Review
Controversial News Posts
- Sony PlayStation 5 Pro Specifications Confirmed, Console Arrives Before Holidays (117)
- Windows 11 Now Officially Adware as Microsoft Embeds Ads in the Start Menu (106)
- NVIDIA Points Intel Raptor Lake CPU Users to Get Help from Intel Amid System Instability Issues (106)
- AMD "Strix Halo" Zen 5 Mobile Processor Pictured: Chiplet-based, Uses 256-bit LPDDR5X (101)
- US Government Wants Nuclear Plants to Offload AI Data Center Expansion (98)
- AMD's RDNA 4 GPUs Could Stick with 18 Gbps GDDR6 Memory (87)
- Developers of Outpost Infinity Siege Recommend Underclocking i9-13900K and i9-14900K for Stability on Machines with RTX 4090 (85)
- Windows 10 Security Updates to Cost $61 After 2025, $427 by 2028 (84)