 14
14
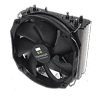
Thermalright True Spirit 140 Direct Review
Finished Looks »Installation


Installing the Thermalright True Spirit 140 Direct is honestly fairly easy even with all the small bits and pieces needed. First, assemble the backplate with the mylar film using the included screws and proper plastic washers. With the backplate ready, position it on the motherboard and use the screw nuts to hold it firmly in place.
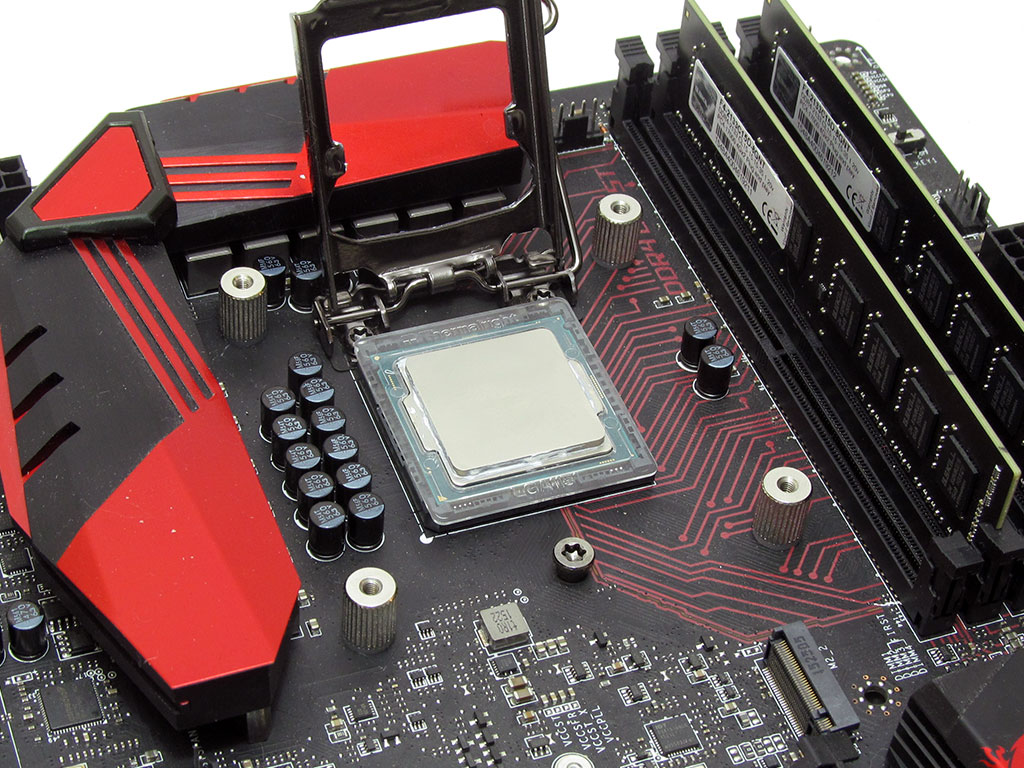


Next, position the LGA 1151 spacer on the CPU if using that platform. Make sure to install the spacer properly since it has a set orientation, so pay close attention to that step. Once in place, close the retention mechanism. Now, secure the mounting plate to the screw nuts and apply some thermal paste. Keep in mind that you will want to fill the gaps with an HDT cooler, which means the usual pea-size method will not work well. Filling the gaps on the cooler's base with thermal paste first tends to work best, paired with a few small dots on the CPU itself.


With that done, secure the tower to the mounting plate and attach the fan.
The mounting hardware included with the Thermalright cooler is relatively straightforward, but does consist of a lot of small parts. My only gripe is that the fan clips and rubber vibration pads are a bit awkward. In terms of difficulty, I would rate its installation an 8 on a scale of 1 (hardest) to 10 (easiest). If the fan clips were less finicky and the rubber mounts were pre-installed, I would bump it up to a 9, but those being such minor issues, they are nothing to get bent out of shape over.
Apr 25th, 2024 01:20 EDT
change timezone
Latest GPU Drivers
New Forum Posts
- (Anti) SFF fun house (349)
- Github comments used to push malware via Microsoft repo urls (1)
- What's your latest tech purchase? (20337)
- The Official Linux/Unix Desktop Screenshots Megathread (694)
- XFX RX470 8GB no video and error 43 (27)
- Cinebench crashed my PC. My Wi-Fi stopped working, and I keep getting a "Please wait" screen when I boot up my PC. (31)
- im new to throttelstop and i think i messed it up by copying others any hints would be very much aprreciated (1)
- Aida64 cache mem OC (7)
- I am getting artifacting when I change Windows security settings. Is my GPU failing, or is this just a Windows issue? (10)
- Is there a technical reason that Windows 11 doesn't have built into it battery charge limitation? (42)
Popular Reviews
- Fractal Design Terra Review
- Thermalright Phantom Spirit 120 EVO Review
- Corsair 2000D Airflow Review
- Minisforum EliteMini UM780 XTX (AMD Ryzen 7 7840HS) Review
- ASUS GeForce RTX 4090 STRIX OC Review
- NVIDIA GeForce RTX 4090 Founders Edition Review - Impressive Performance
- ASUS GeForce RTX 4090 Matrix Platinum Review - The RTX 4090 Ti
- MSI GeForce RTX 4090 Suprim X Review
- MSI GeForce RTX 4090 Gaming X Trio Review
- Gigabyte GeForce RTX 4090 Gaming OC Review
Controversial News Posts
- Sony PlayStation 5 Pro Specifications Confirmed, Console Arrives Before Holidays (116)
- NVIDIA Points Intel Raptor Lake CPU Users to Get Help from Intel Amid System Instability Issues (106)
- AMD "Strix Halo" Zen 5 Mobile Processor Pictured: Chiplet-based, Uses 256-bit LPDDR5X (101)
- US Government Wants Nuclear Plants to Offload AI Data Center Expansion (98)
- Windows 10 Security Updates to Cost $61 After 2025, $427 by 2028 (84)
- Developers of Outpost Infinity Siege Recommend Underclocking i9-13900K and i9-14900K for Stability on Machines with RTX 4090 (84)
- TechPowerUp Hiring: Reviewers Wanted for Motherboards, Laptops, Gaming Handhelds and Prebuilt Desktops (78)
- AMD's RDNA 4 GPUs Could Stick with 18 Gbps GDDR6 Memory (74)