 2
2
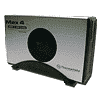
Thermaltake Max 4 Active Cooling Enclosure Review
Performance »Assembly
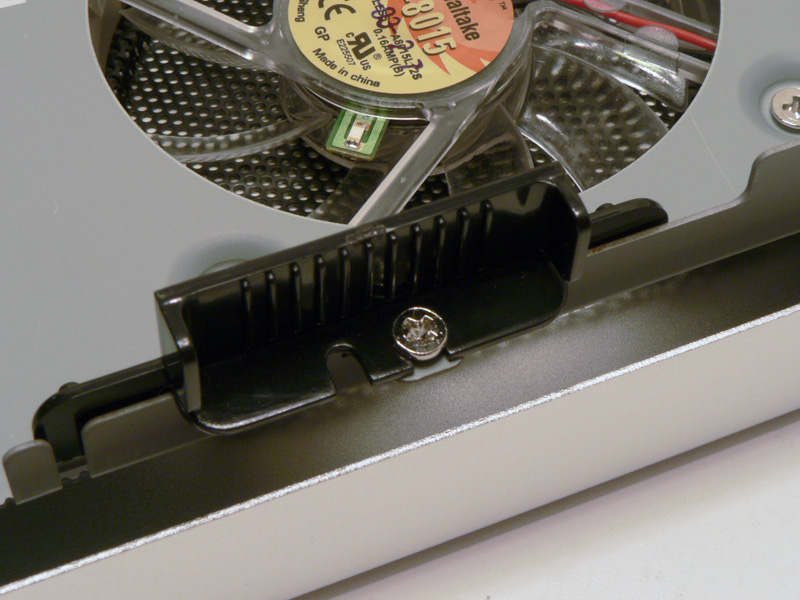

To install a hard disk drive in the Thermaltake Max 4, the right side cover needs to be removed by taking out the four screws as shown earlier. There are two black plastic mounting tabs inside the unit, with one on each side. Removing the single screw from each one allows the tabs to come free.

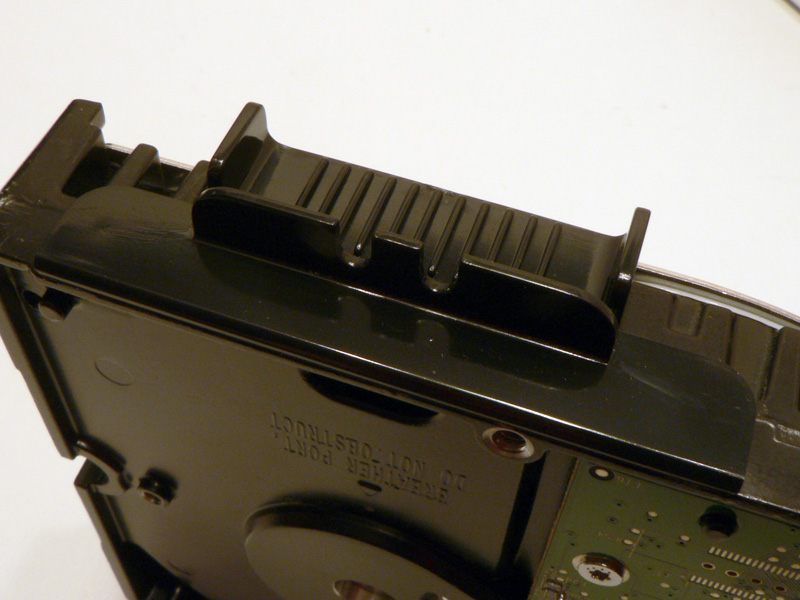
The drive being installed in the Max 4 is a Western Digital Raptor. Place one mounting tab on each side of the drive, inserting the small round bumps on each of the tabs into the screw holes on the side of the drive. Since the tabs do not stay in by themselves, they must be held in place until the next step is complete.

Lay the drive down on top of the open chassis. While holding on to the drive and the tabs, slide both of them toward the PCB until the connection is made and the screw holes line up under the mounting tabs.


Insert the two screws through the mounting tabs and tighten the screws until they are snug. The connection may not seat completely, but there should be sufficient contact.

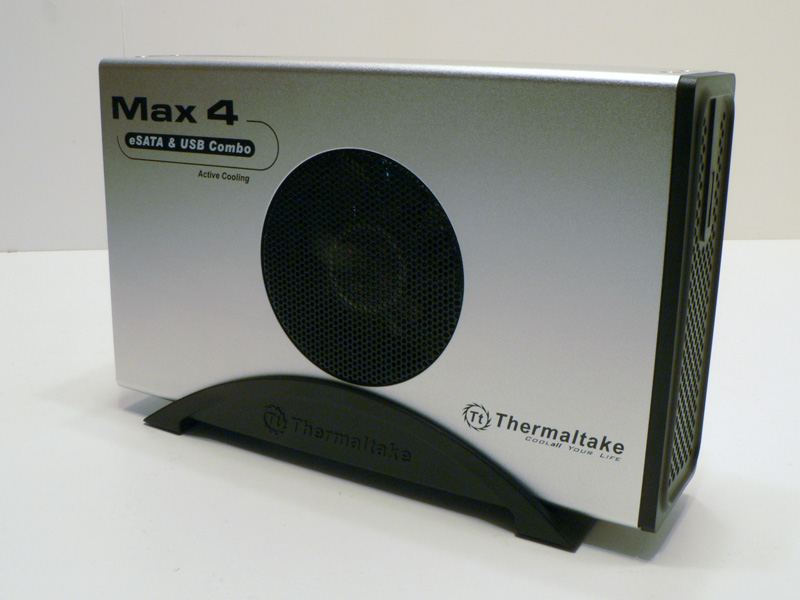
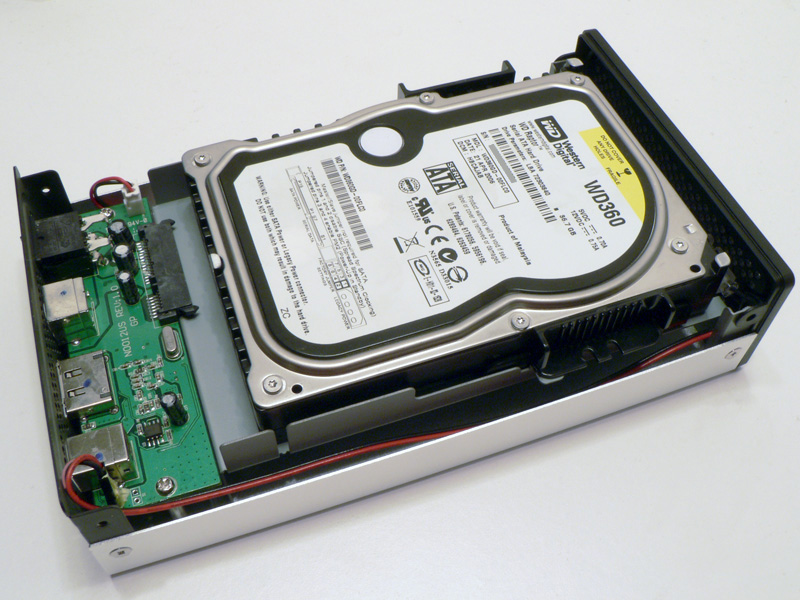
Place the right side panel back on and replace the four screws to hold everything together. Set the assembled enclosure on top of the black plastic stand to place it upright.
Apr 19th, 2024 22:53 EDT
change timezone
Latest GPU Drivers
New Forum Posts
- I just succesfully baked DDR4 (74)
- GPU-Z reporting wrong ReBar info for RTX 20 series (2)
- Official Board Game Discussion (4)
- Roccat Kone AIMO has developed a double left click, when I click it once. Any fix out there? (37)
- Cinebench crashed my PC. My Wi-Fi stopped working, and I keep getting a "Please wait" screen when I boot up my PC. (8)
- USB C to USB A hub (43)
- XFX RX580 stock Bios (8)
- Your PC ATM (34488)
- 2 questions about Oculus Quest 3 (0)
- Liquidextasy waterblocks (50)
Popular Reviews
- Horizon Forbidden West Performance Benchmark Review - 30 GPUs Tested
- Fractal Design Terra Review
- Corsair 2000D Airflow Review
- Thermalright Phantom Spirit 120 EVO Review
- Minisforum EliteMini UM780 XTX (AMD Ryzen 7 7840HS) Review
- Creative Pebble X Plus Review
- FiiO KB3 HiFi Mechanical Keyboard Review - Integrated DAC/Amp!
- ASUS GeForce RTX 4090 STRIX OC Review
- NVIDIA GeForce RTX 4090 Founders Edition Review - Impressive Performance
- ASUS GeForce RTX 4090 Matrix Platinum Review - The RTX 4090 Ti
Controversial News Posts
- Sony PlayStation 5 Pro Specifications Confirmed, Console Arrives Before Holidays (111)
- NVIDIA Points Intel Raptor Lake CPU Users to Get Help from Intel Amid System Instability Issues (102)
- US Government Wants Nuclear Plants to Offload AI Data Center Expansion (98)
- AMD "Strix Halo" Zen 5 Mobile Processor Pictured: Chiplet-based, Uses 256-bit LPDDR5X (84)
- Windows 10 Security Updates to Cost $61 After 2025, $427 by 2028 (82)
- Developers of Outpost Infinity Siege Recommend Underclocking i9-13900K and i9-14900K for Stability on Machines with RTX 4090 (82)
- TechPowerUp Hiring: Reviewers Wanted for Motherboards, Laptops, Gaming Handhelds and Prebuilt Desktops (72)
- Intel Realizes the Only Way to Save x86 is to Democratize it, Reopens x86 IP Licensing (70)