 0
0
Thermaltake Overseer RX-I Review
Assembly 6 Finished Looks »A Closer Look - Inside

Before we dive into the interior, it seems like the chassis we received was mistreated a bit. As you can see in the image above it damaged in multiple areas while the panel itself had quite a few scratches. My guess is, that it was forced unto the chassis or some sort of pressure was exerted in the side panel at the factory. Two signs point to this Mr. Watson: the perfectly fine outer packaging which shows no signs of bad handling and the fact that the one, broken off, corner of the window was found within the case itself.
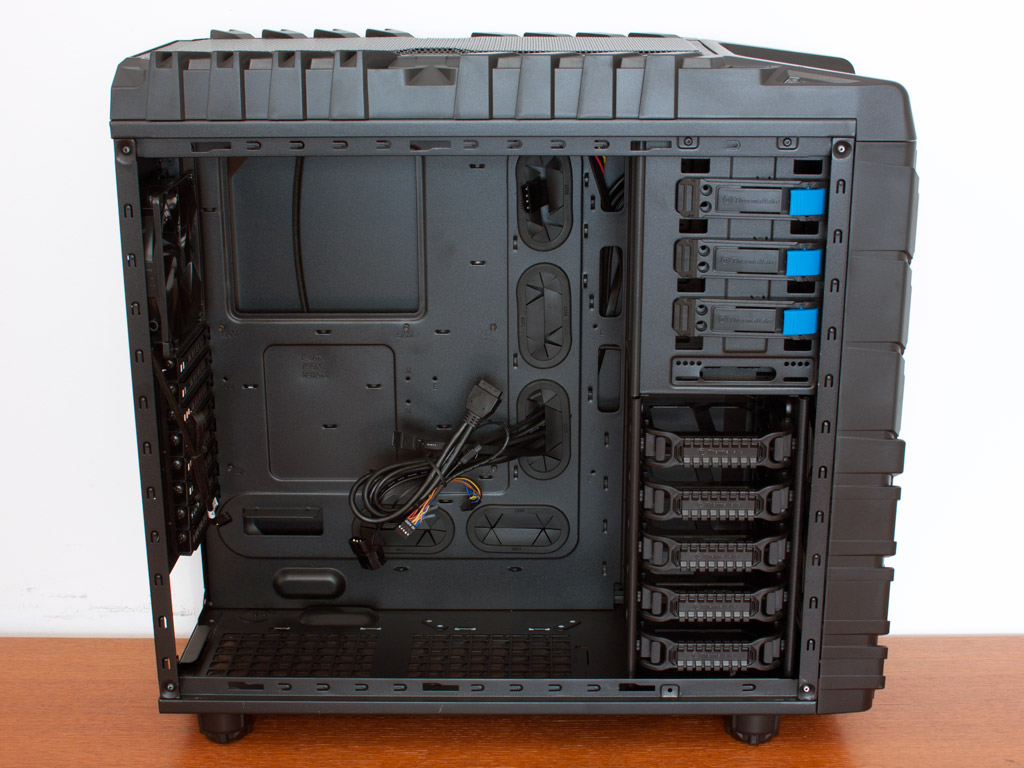

To gain access to the insides, simply remove the pair of thumb screws holding each panel in place. As is the case with the exterior, Thermaltake has also painted the interior in black. There are multiple openings in the motherboard tray to route cables through - each covered by rubber grommets. A large one allows you to access the CPU cooler backplate without having to disassemble the entire system.
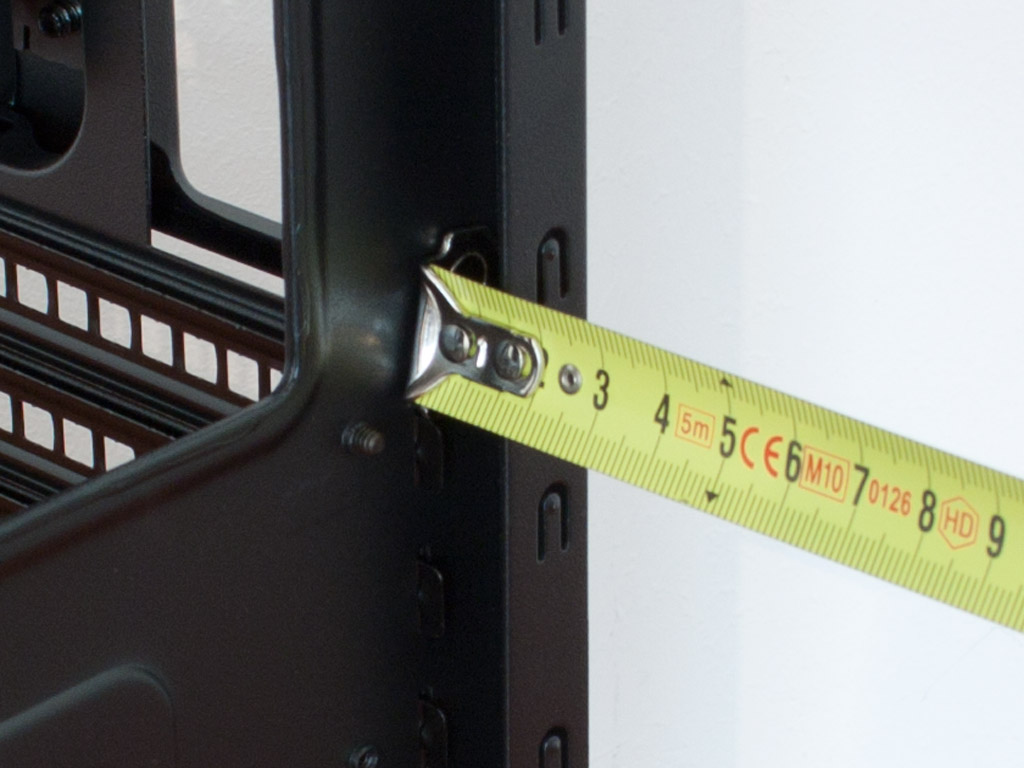
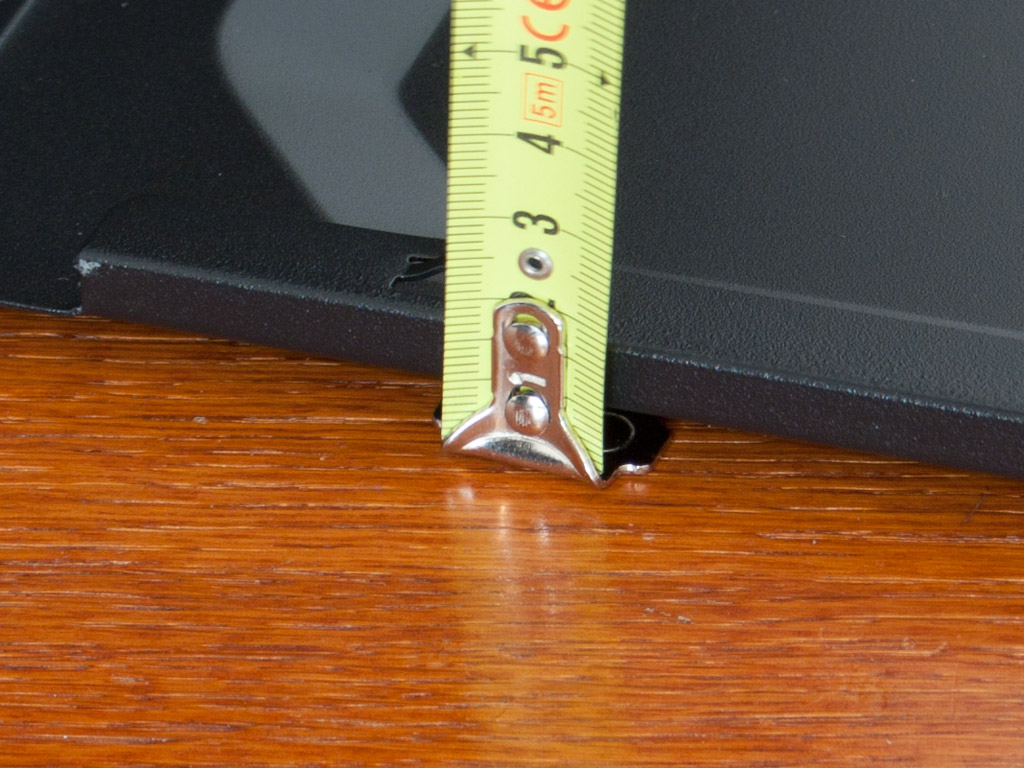
There is very little space behind the motherboard tray, with 1 cm. Luckily, there is another 1 cm available because of the extrusion of the side panel.

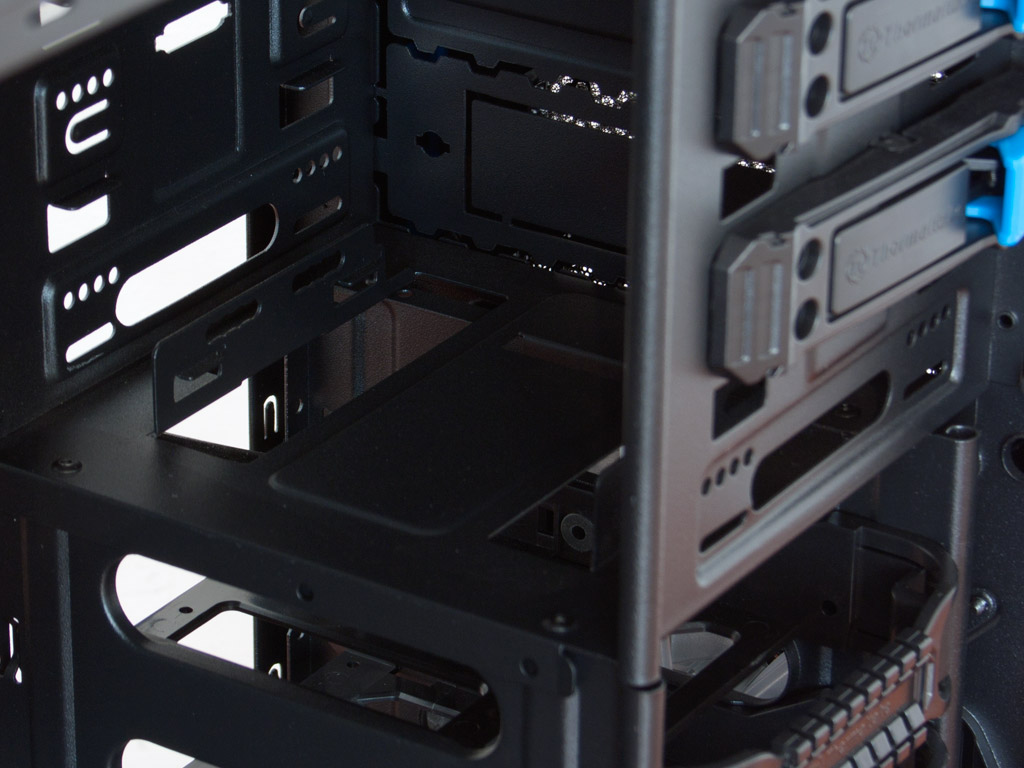

Just like in the Chaser, the Overseer packs individual trays for up to five hard drives. Unlike the ones in the Chaser, these are simpler as they lack the locking mechanism. Above that is the external 3.5 inch bay and the three 5.25 inch ones. These are equipped with three screwless locks, similar to those found on other modern cases. These snap into place automatically and should work quite well.


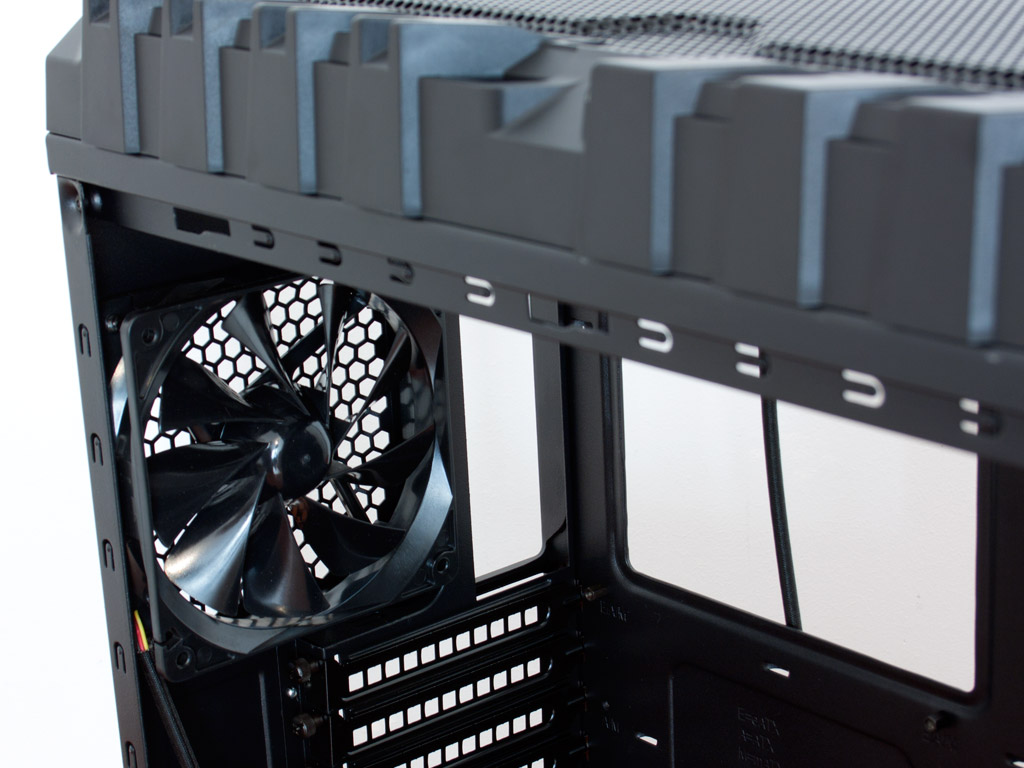
In the rear the PSU bay is noticeably different than other Thermaltake cases. Finally, the company has done away with the honestly - and I say this in the most loving and positive way - incredibly annoying support bar, which one was forced to remove to install the power supply. Above that are the eight motherboard expansion slots, with individual covers which are held in place by black thumb screws. The 120 mm exhaust fan is of that special shape which tends to be quieter than traditional OEM variants.


You may also install an additional 120 or 140 mm unit in the floor of the Overseer, while there is already a single 200 mm unit in the ceiling, with the possibility to add another one next to it. Due to the shape of these, a radiator will not fit here so you are left to use air cooling within this chassis.
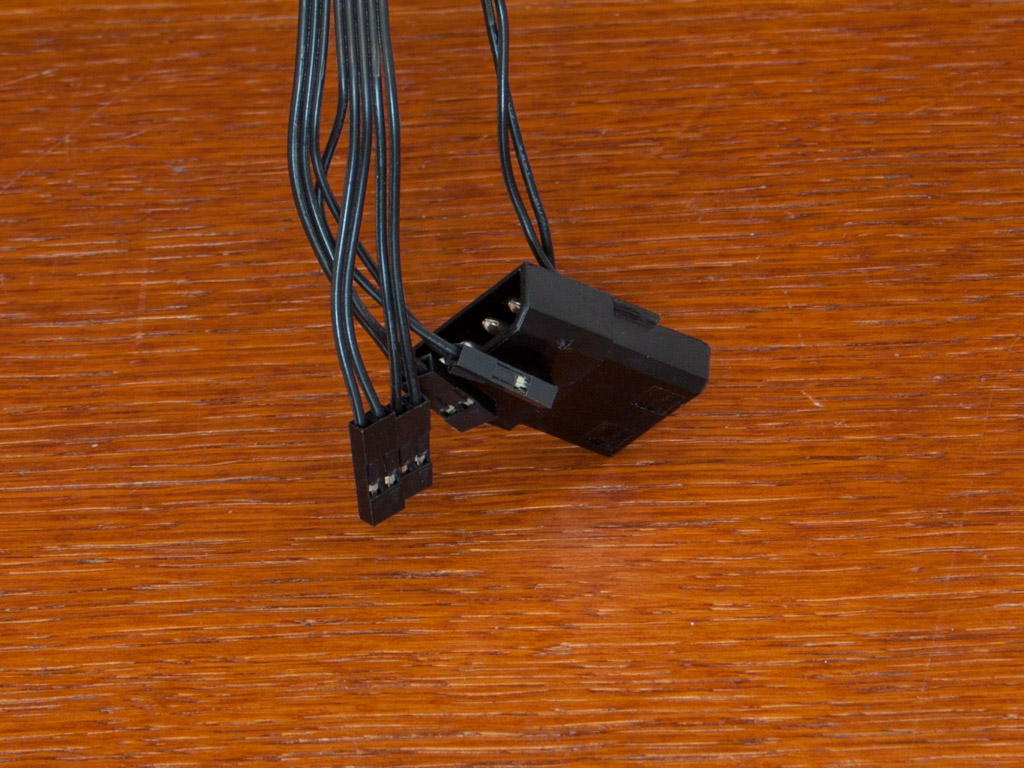

Before we start with the assembly process, let us take a quick look at the cables. All of them are black to go with the rest of the chassis. The case cables are nothing out of the ordinary, with the exception of the SATA power plug for the HDD dock, as it utilizes a Molex connector. Thermaltake has also chosen to use an internal 20-pin for the USB 3.0 connectivity, thus I would have liked to see an adapter to attach this to the USB 2.0 headers as part of the contents.
Apr 16th, 2024 00:50 EDT
change timezone
Latest GPU Drivers
New Forum Posts
- Undervolting Dell XPS 14 9440 is it possible? (3)
- CPU exceeding maximum turbo speeds (5)
- Strange behaviour with my i5 1235u HP laptop after Windows reinstall (5)
- Is it possible that the atmosphere is losing less of its "shield" capabilities due to more and more jets/rockets puncturing it daily? (9)
- Cyberpunk 2077 Game Discussion (2114)
- Dell Workstation Owners Club (3046)
- Outer Worlds getting boring (4)
- FINAL FANTASY XIV: Dawntrail Official Benchmark (27)
- Battery swap for cyberpower UPS (36)
- New pc old gpu intense mouse lag in every aspect (83)
Popular Reviews
- Horizon Forbidden West Performance Benchmark Review - 30 GPUs Tested
- PowerColor Radeon RX 7900 GRE Hellhound Review
- Galax GeForce RTX 4070 Super EX Review
- Fractal Design Terra Review
- ASUS GeForce RTX 4090 Matrix Platinum Review - The RTX 4090 Ti
- Corsair 2000D Airflow Review
- Minisforum EliteMini UM780 XTX (AMD Ryzen 7 7840HS) Review
- Creative Pebble X Plus Review
- FiiO KB3 HiFi Mechanical Keyboard Review - Integrated DAC/Amp!
- ASUS GeForce RTX 4090 STRIX OC Review
Controversial News Posts
- NVIDIA Points Intel Raptor Lake CPU Users to Get Help from Intel Amid System Instability Issues (102)
- US Government Wants Nuclear Plants to Offload AI Data Center Expansion (98)
- Developers of Outpost Infinity Siege Recommend Underclocking i9-13900K and i9-14900K for Stability on Machines with RTX 4090 (82)
- Sony PlayStation 5 Pro Specifications Confirmed, Console Arrives Before Holidays (80)
- Windows 10 Security Updates to Cost $61 After 2025, $427 by 2028 (79)
- TechPowerUp Hiring: Reviewers Wanted for Motherboards, Laptops, Gaming Handhelds and Prebuilt Desktops (70)
- Intel Realizes the Only Way to Save x86 is to Democratize it, Reopens x86 IP Licensing (70)
- AMD Zen 5 Execution Engine Leaked, Features True 512-bit FPU (63)