 9
9
Thermaltake TMG AT2 Review
Performance »Installation
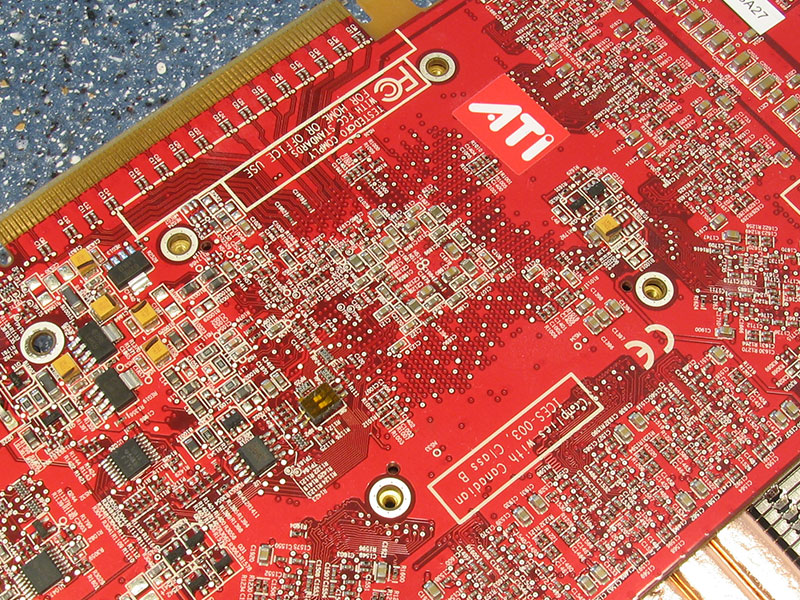
The installation is very straightforward and is basically the same as you would mount the stock cooler. The instruction manual is nicely illustrated and easy to understand.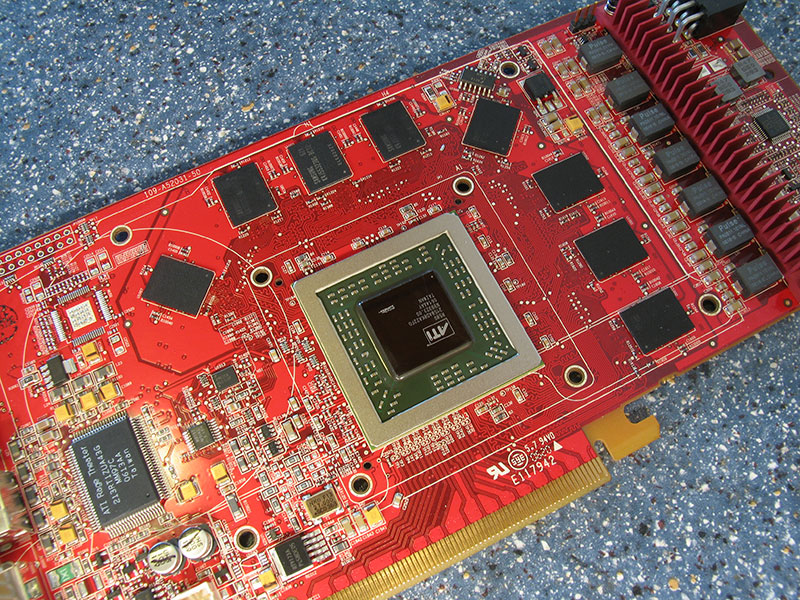
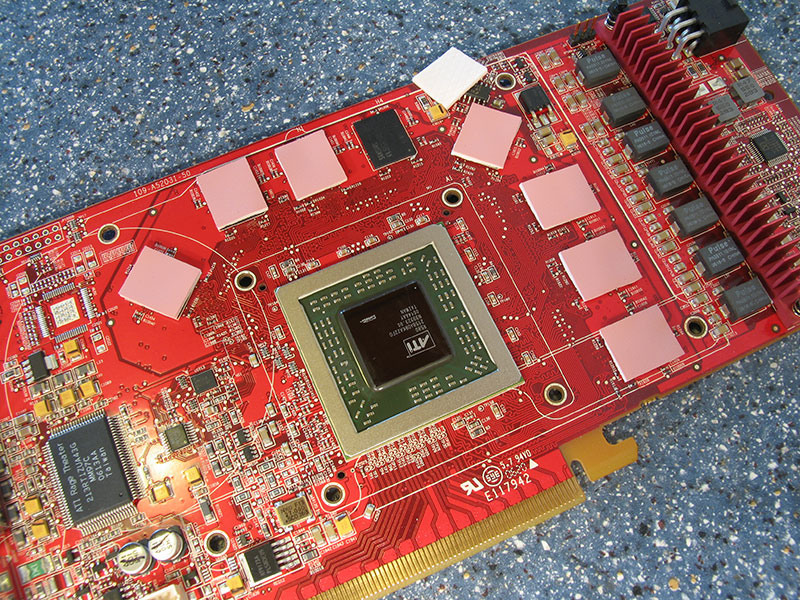
First you have to attach the thermal pads to ensure good contact between heatsink base and the memory chips.
The pads are made from some soft rubber material, a bit like chewing gum. Once attached they sit there safely, yet they can be reused, even though they get squished a bit during installation.
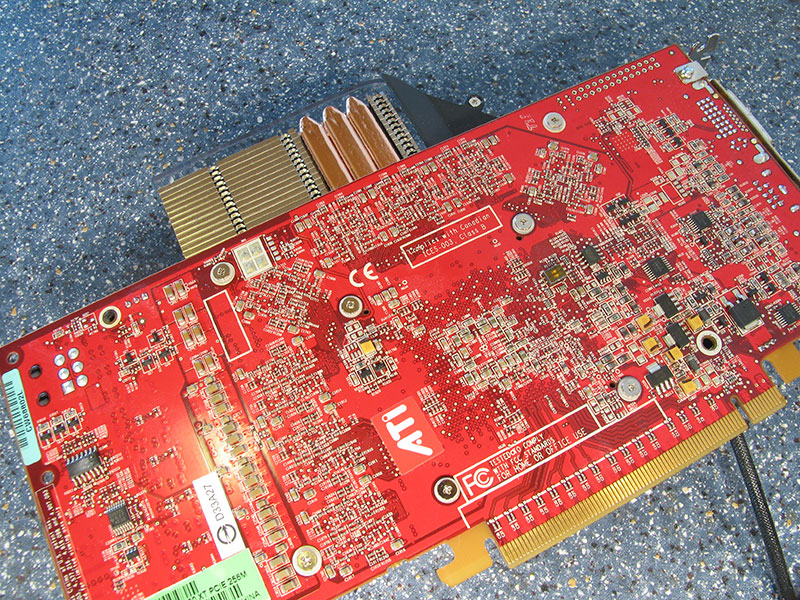
After putting thermal paste on the core you put the cooler on top of it. I found it easier to put the cooler on the back and then put down the card on top of that.
Make sure the holes align.
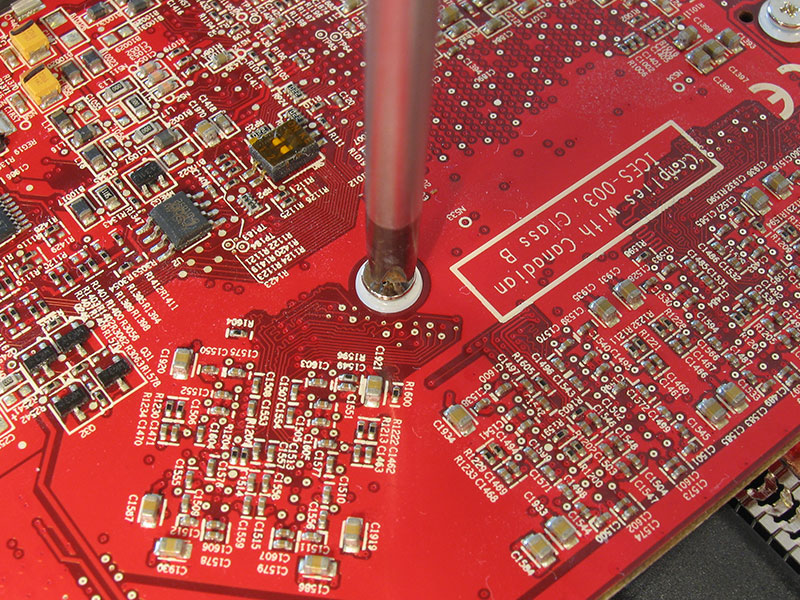
Now screw in the four screws around the GPU core. Do not tighten them yet, just make sure all four screws are in their threads first. Next tighten the screws by taking one or two turns with the screwdriver, then going to the next screw. This ensures that the mounting pressure gets balanced evenly on the core.
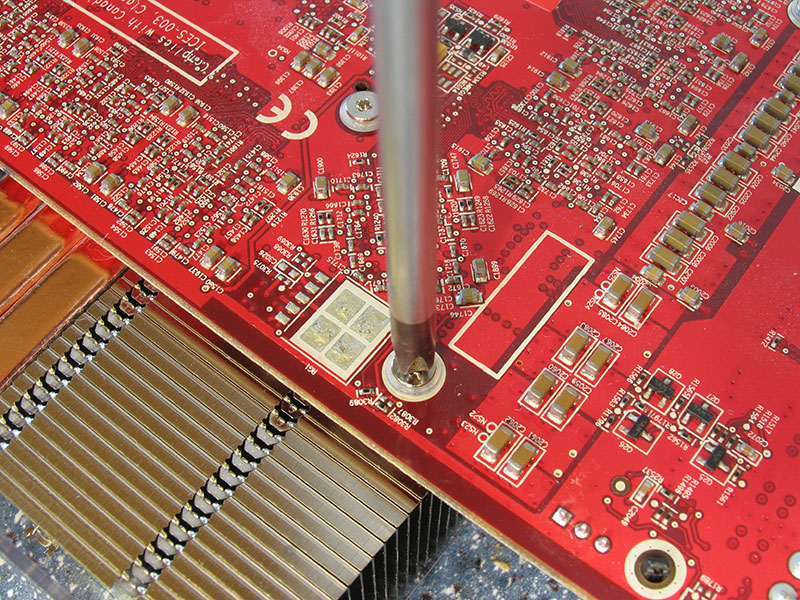
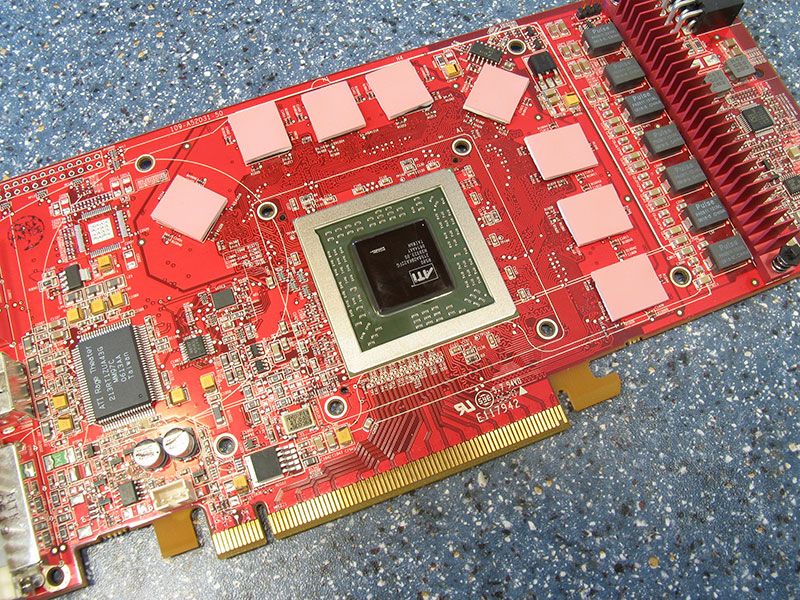
Screw down the outer screws.
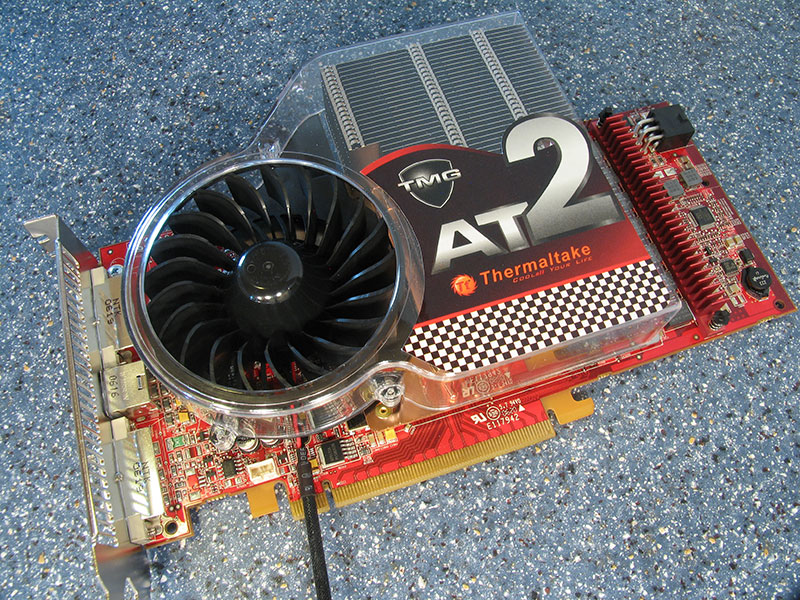
And finished! Very easy installation indeed.
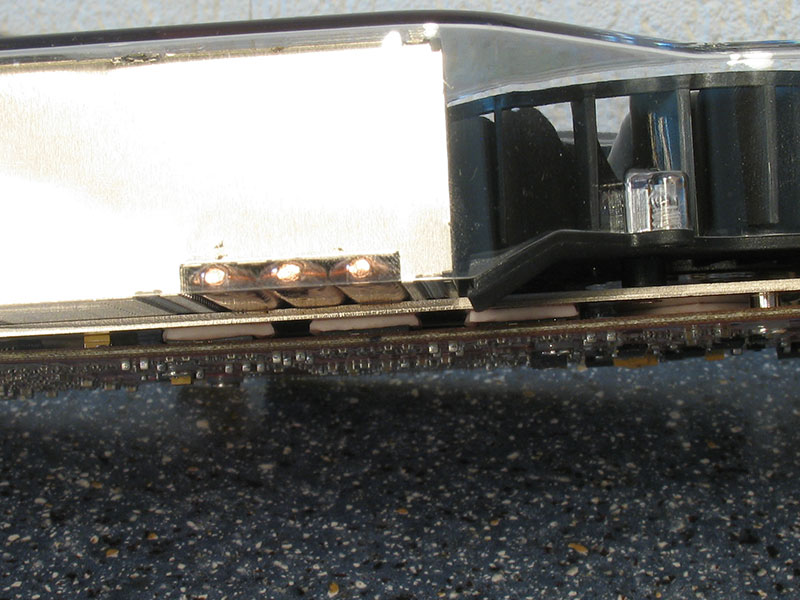
All memory thermal pads are compressed slightly, which means that the cooler makes good contact with the memory chips.
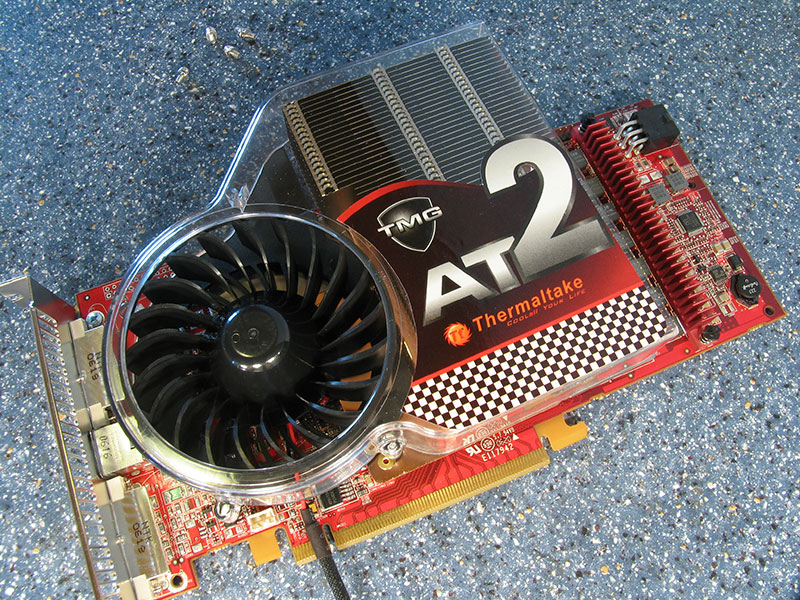
The heatsink sticks out a bit over the heatsink, 3 cm to be exact. In normal cases this should not affect you, for small form factor cases this could become a problem.
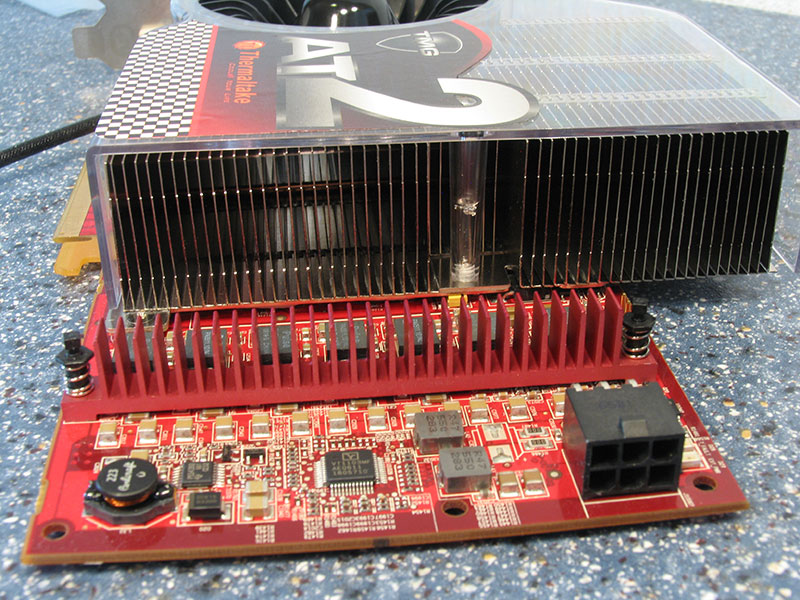
While the air is getting sucked in, it flows over the voltage regulator heatsink, helping a little bit with cooling.
Apr 25th, 2024 07:44 EDT
change timezone
Latest GPU Drivers
New Forum Posts
- Bizarre Throttlestop issue (6)
- (Anti) SFF fun house (353)
- Core i5-6300U (17)
- Last game you purchased? (255)
- Share your AIDA 64 cache and memory benchmark here (2916)
- What phone you use as your daily driver? And, a discussion of them. (1472)
- What's your latest tech purchase? (20338)
- Meta Horizon OS (16)
- Alphacool CORE 1 CPU block - bulging with danger of splitting? (4)
- The TPU UK Clubhouse (24786)
Popular Reviews
- Fractal Design Terra Review
- Thermalright Phantom Spirit 120 EVO Review
- Corsair 2000D Airflow Review
- Minisforum EliteMini UM780 XTX (AMD Ryzen 7 7840HS) Review
- ASUS GeForce RTX 4090 STRIX OC Review
- NVIDIA GeForce RTX 4090 Founders Edition Review - Impressive Performance
- ASUS GeForce RTX 4090 Matrix Platinum Review - The RTX 4090 Ti
- MSI GeForce RTX 4090 Suprim X Review
- MSI GeForce RTX 4090 Gaming X Trio Review
- Gigabyte GeForce RTX 4090 Gaming OC Review
Controversial News Posts
- Sony PlayStation 5 Pro Specifications Confirmed, Console Arrives Before Holidays (116)
- NVIDIA Points Intel Raptor Lake CPU Users to Get Help from Intel Amid System Instability Issues (106)
- AMD "Strix Halo" Zen 5 Mobile Processor Pictured: Chiplet-based, Uses 256-bit LPDDR5X (101)
- US Government Wants Nuclear Plants to Offload AI Data Center Expansion (98)
- Windows 11 Now Officially Adware as Microsoft Embeds Ads in the Start Menu (86)
- Windows 10 Security Updates to Cost $61 After 2025, $427 by 2028 (84)
- Developers of Outpost Infinity Siege Recommend Underclocking i9-13900K and i9-14900K for Stability on Machines with RTX 4090 (84)
- AMD's RDNA 4 GPUs Could Stick with 18 Gbps GDDR6 Memory (80)