• Welcome to TechPowerUp Forums, Guest! Please check out our forum guidelines for info related to our community.
  • The forums have been upgraded with support for dark mode. By default it will follow the setting on your system/browser. You may override it by scrolling to the end of the page and clicking the gears icon.

Computer Station

Joined
Jan 30, 2016
Messages
27 (0.01/day)
Location
Alberta, Canada
Hey everyone,

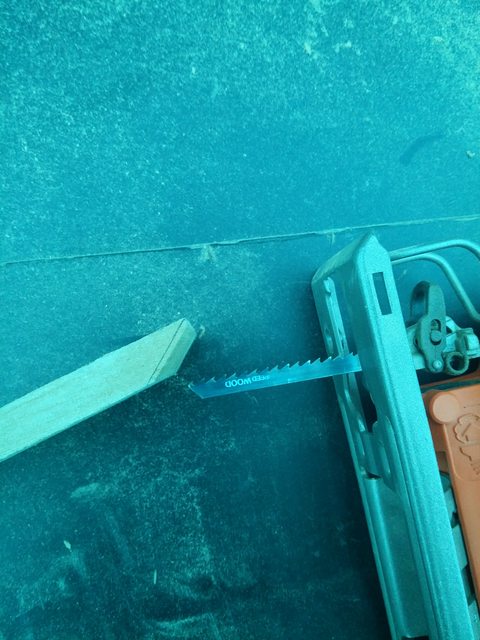
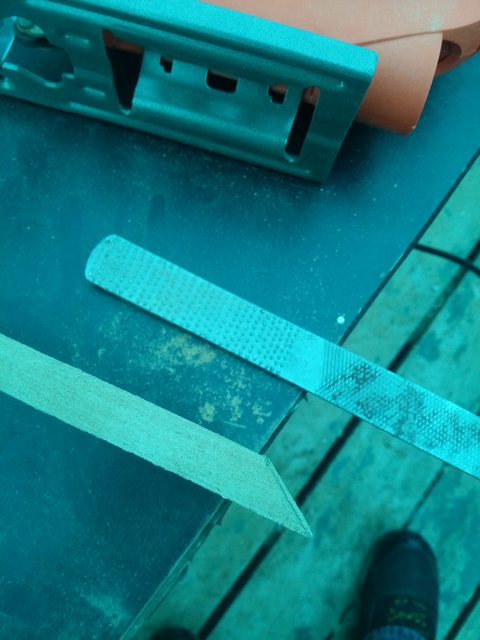
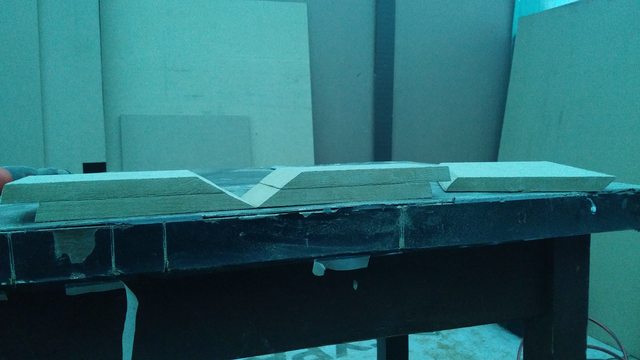
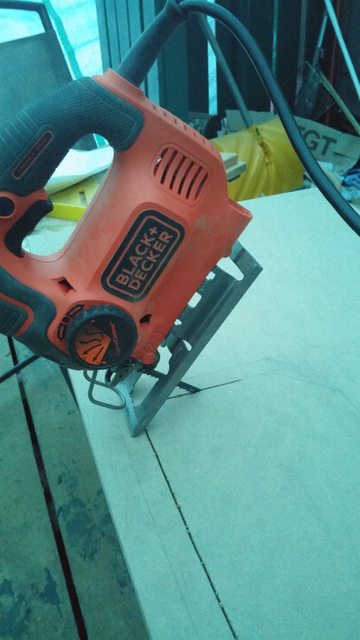
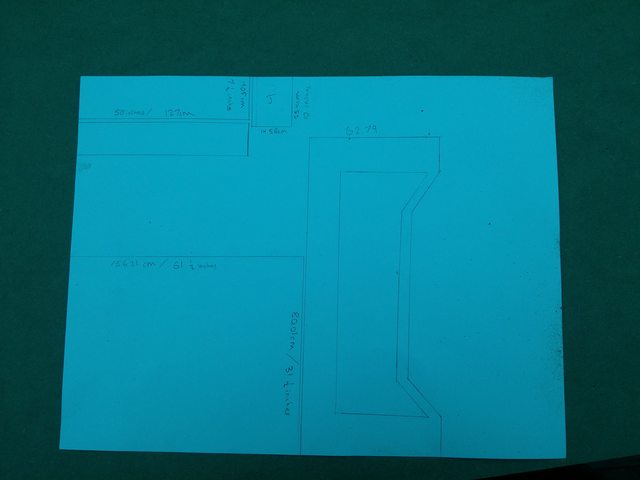
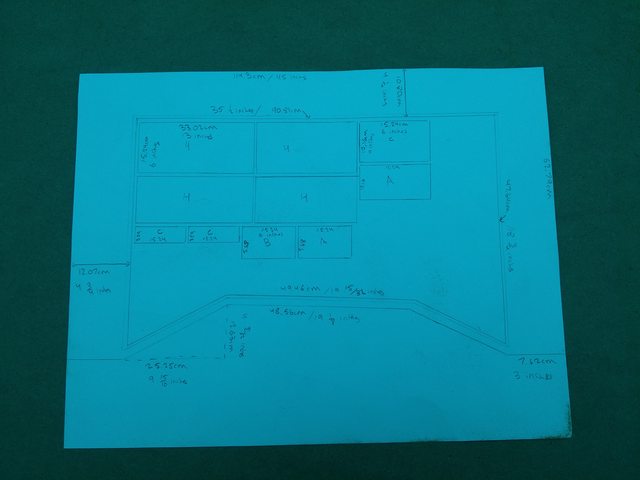
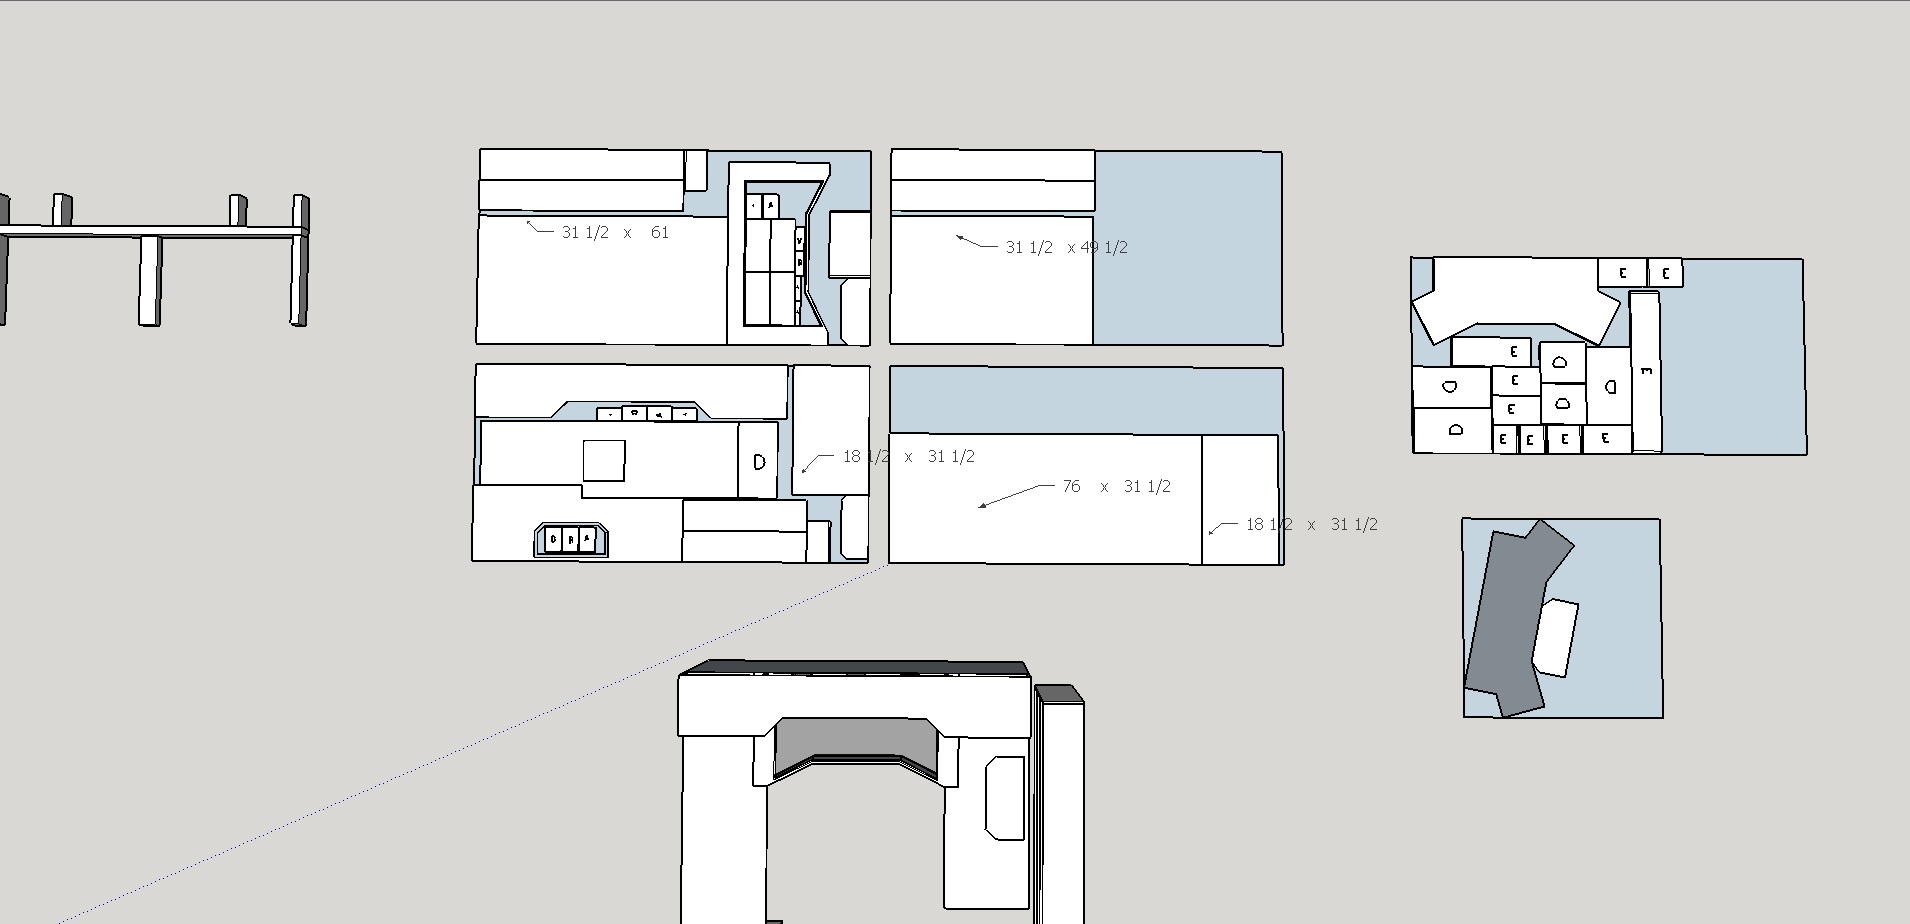
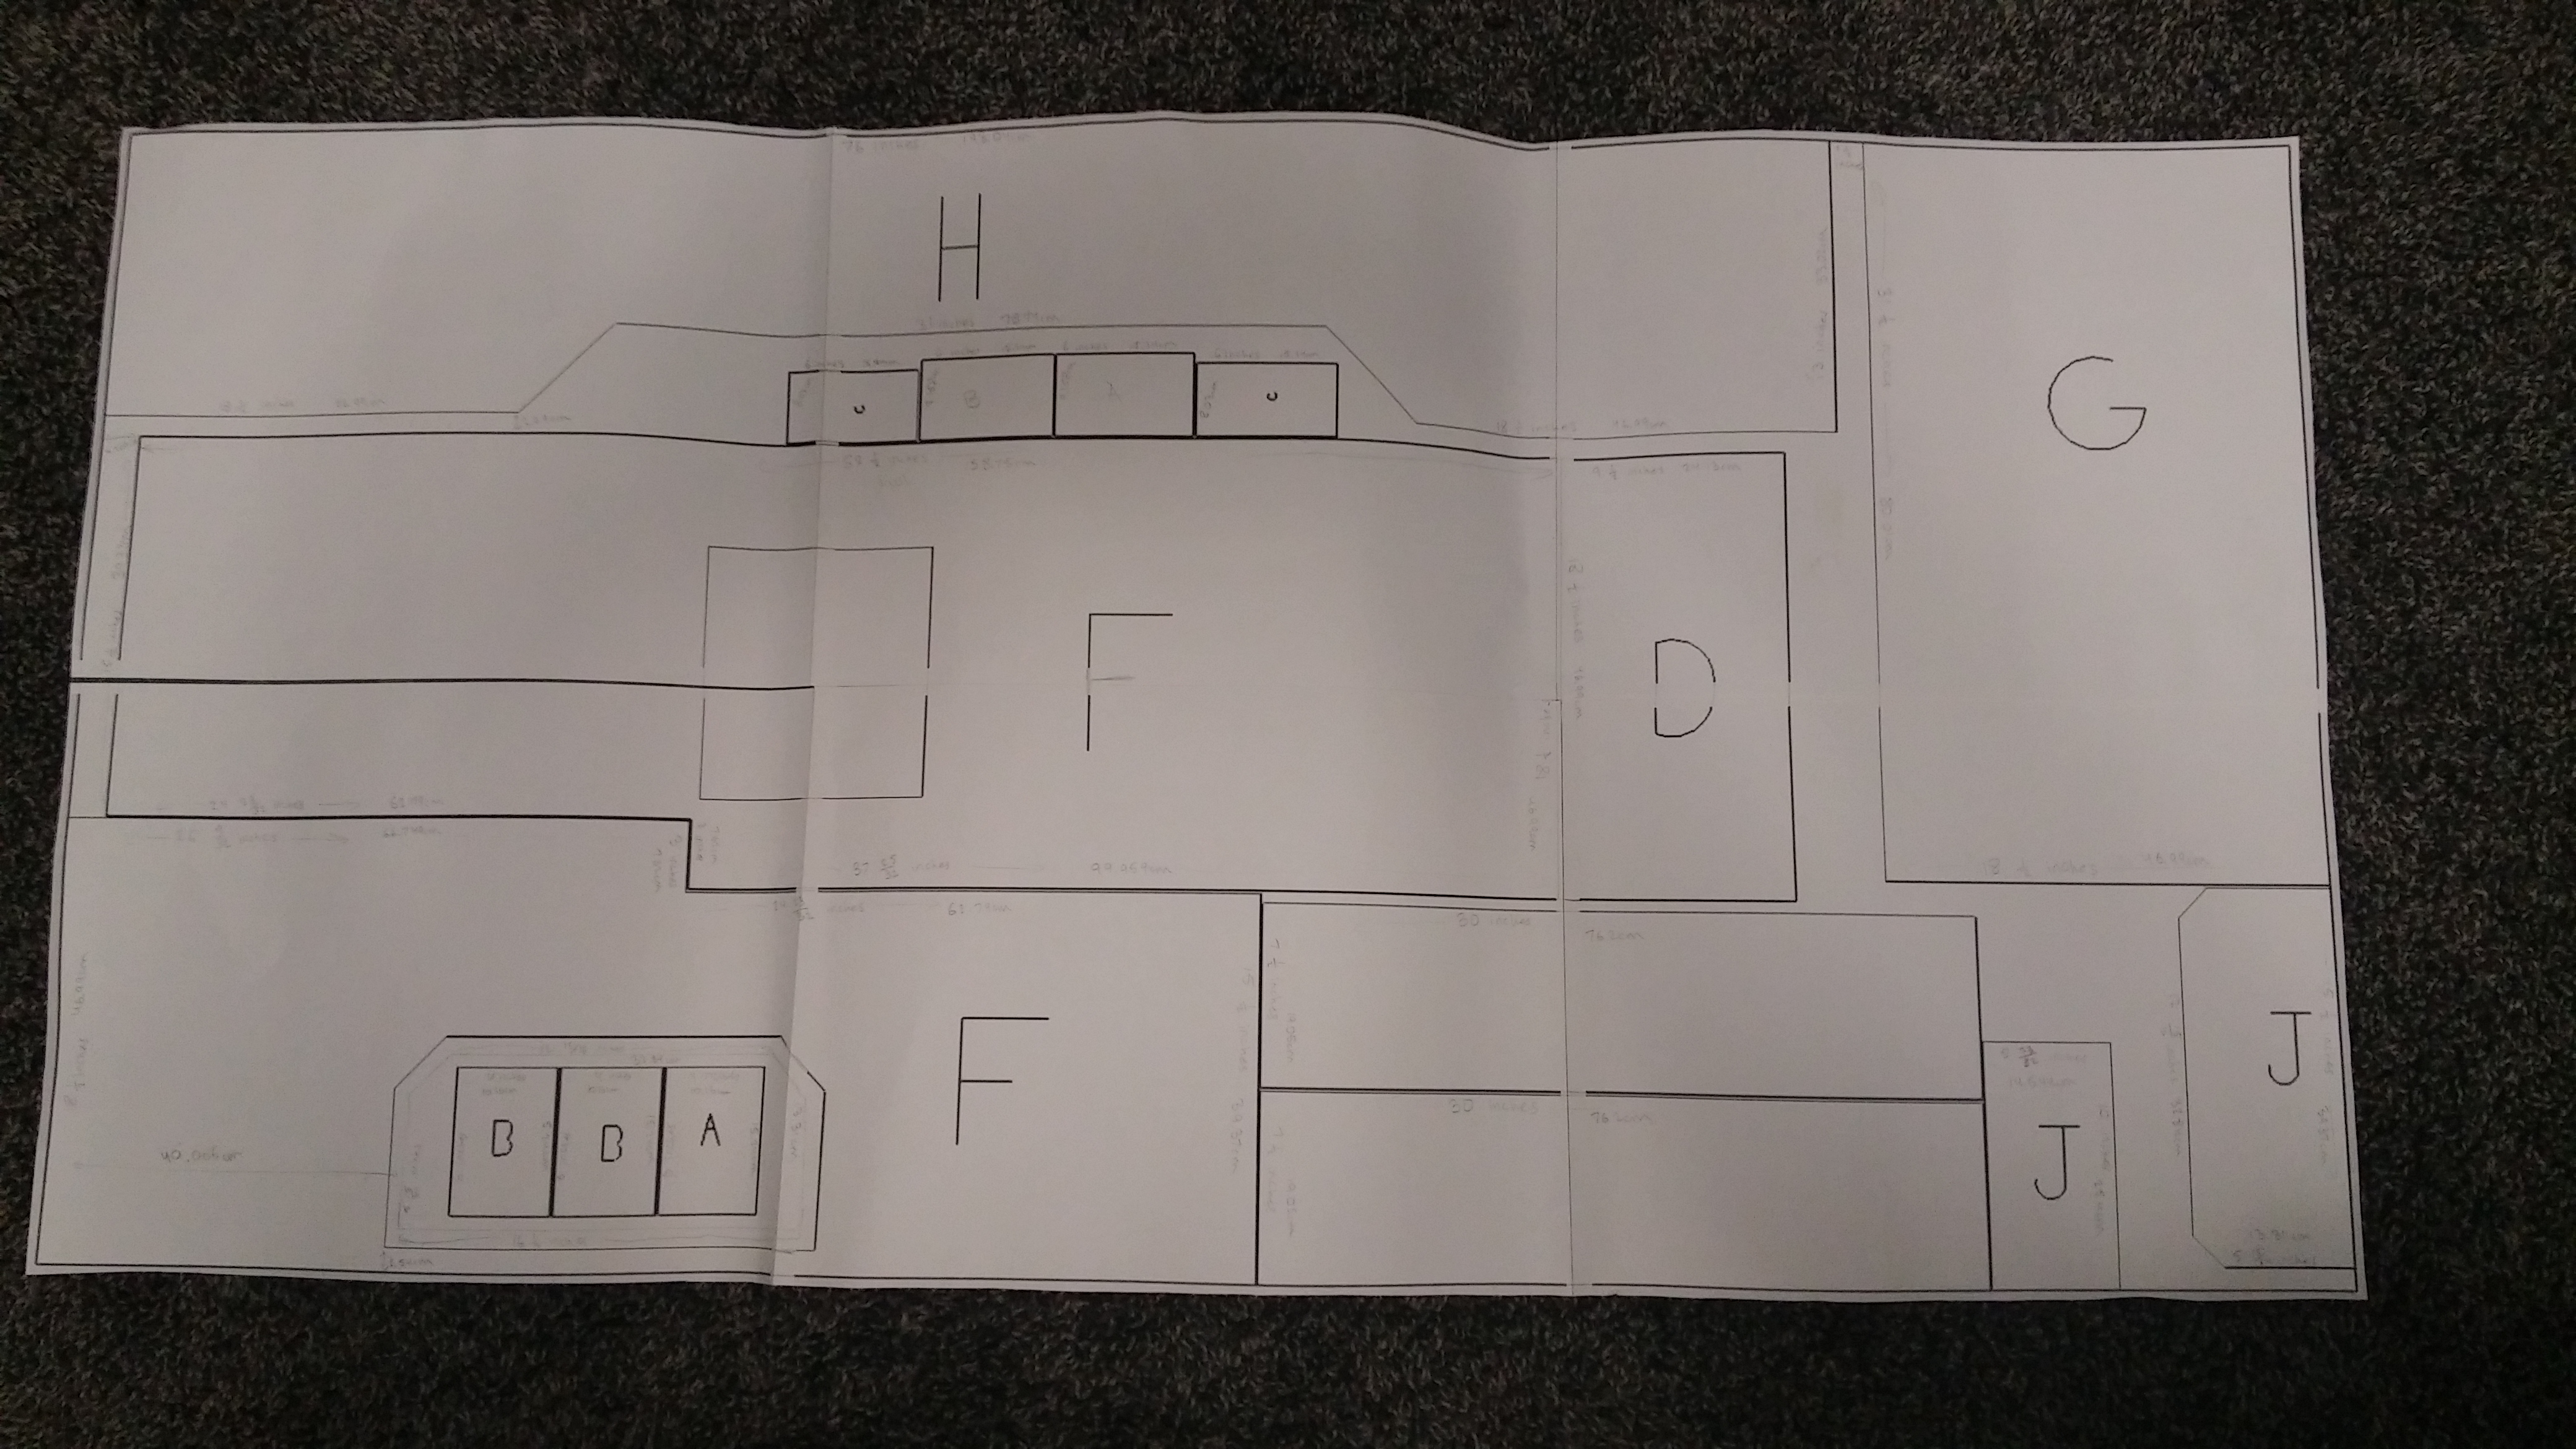
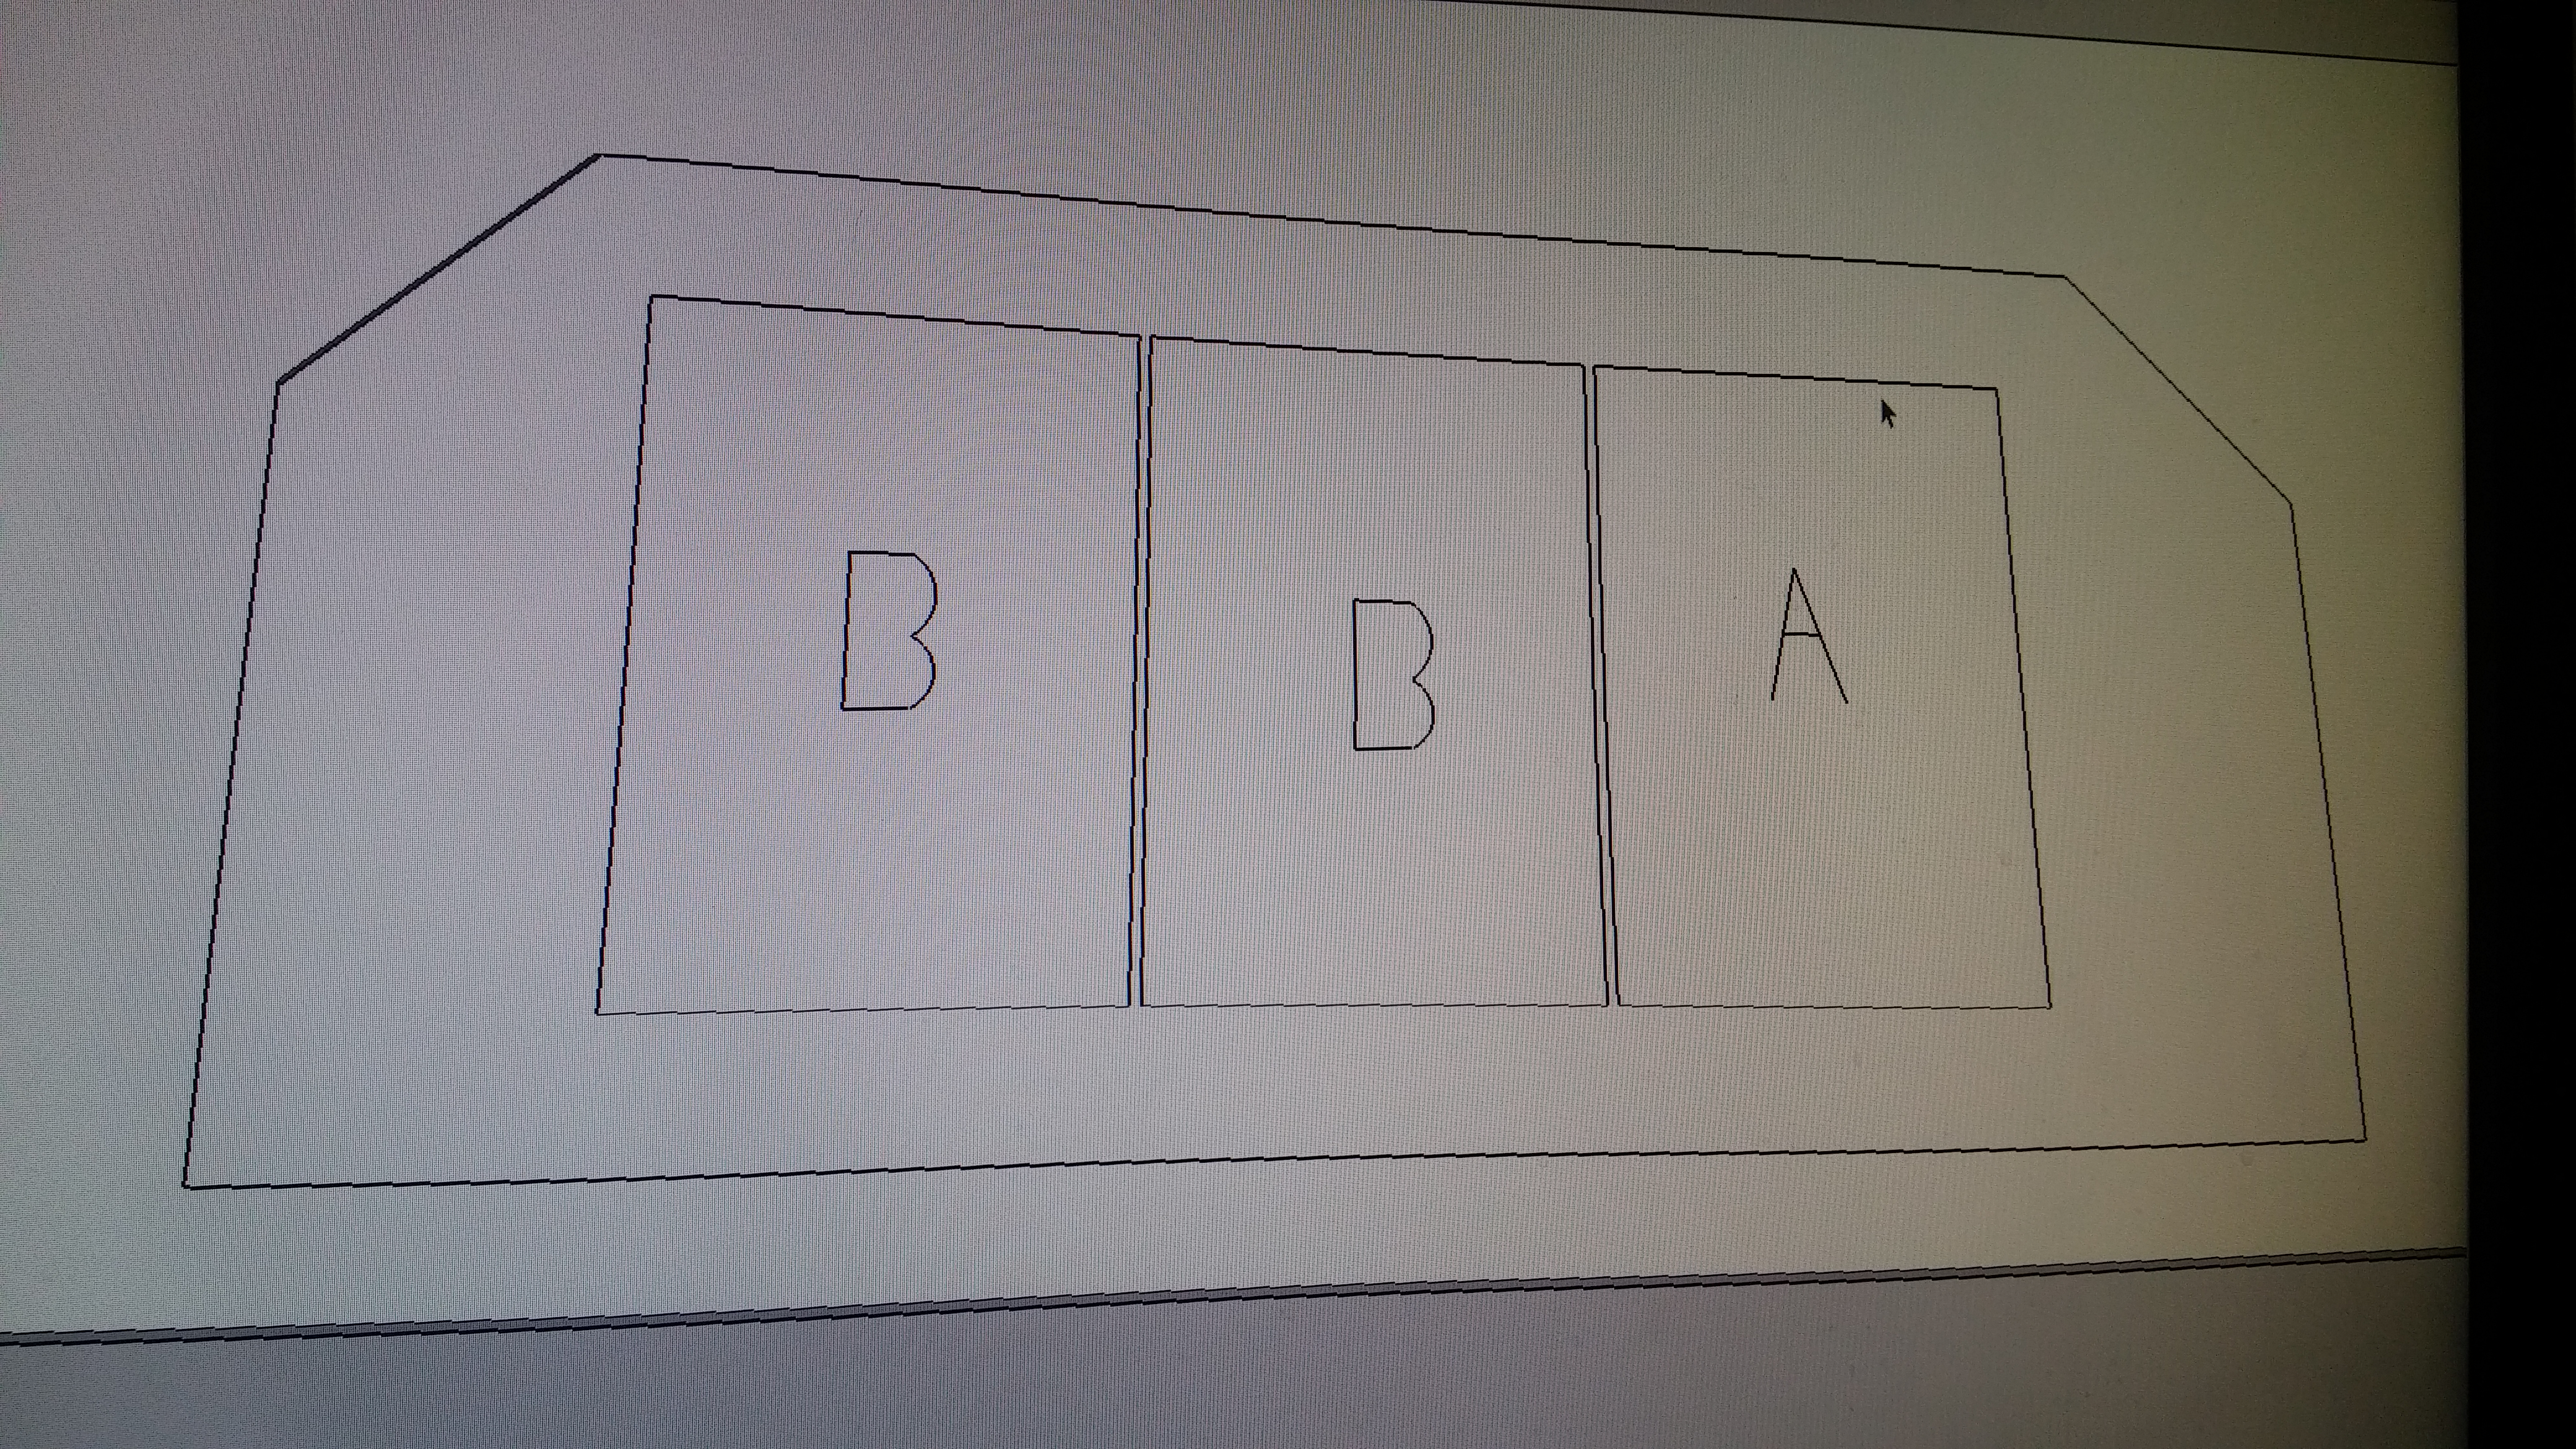
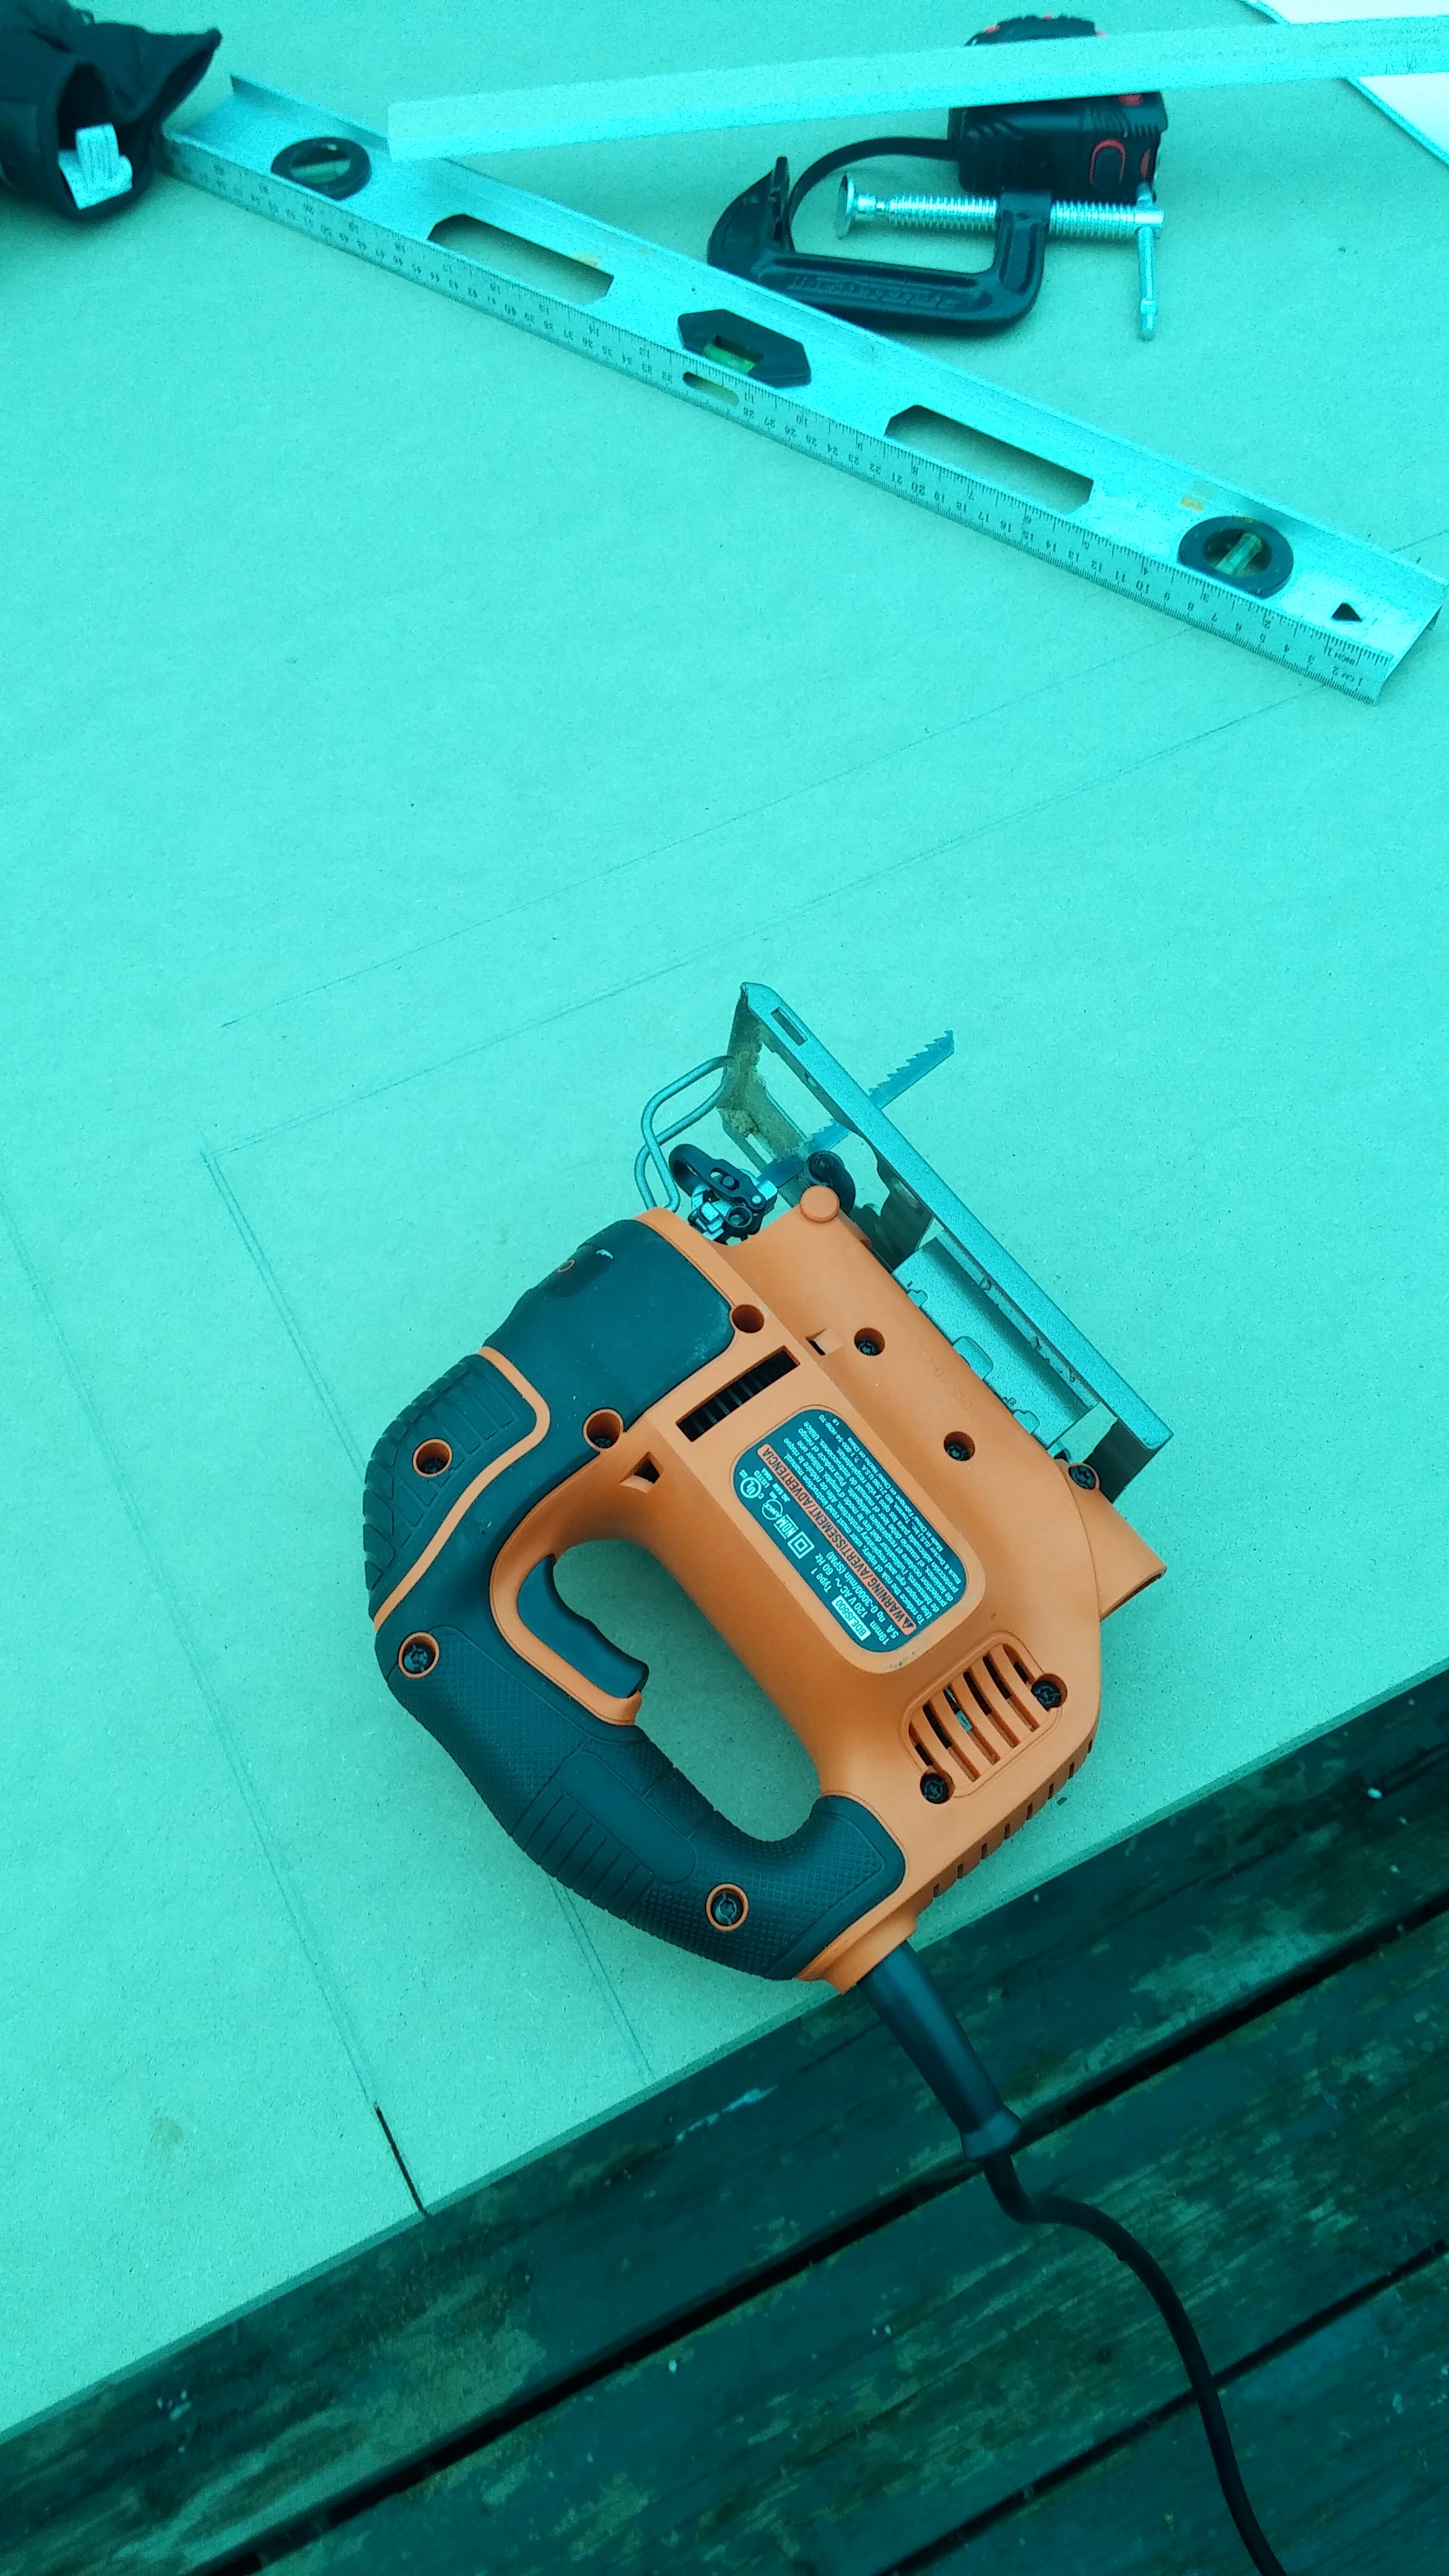
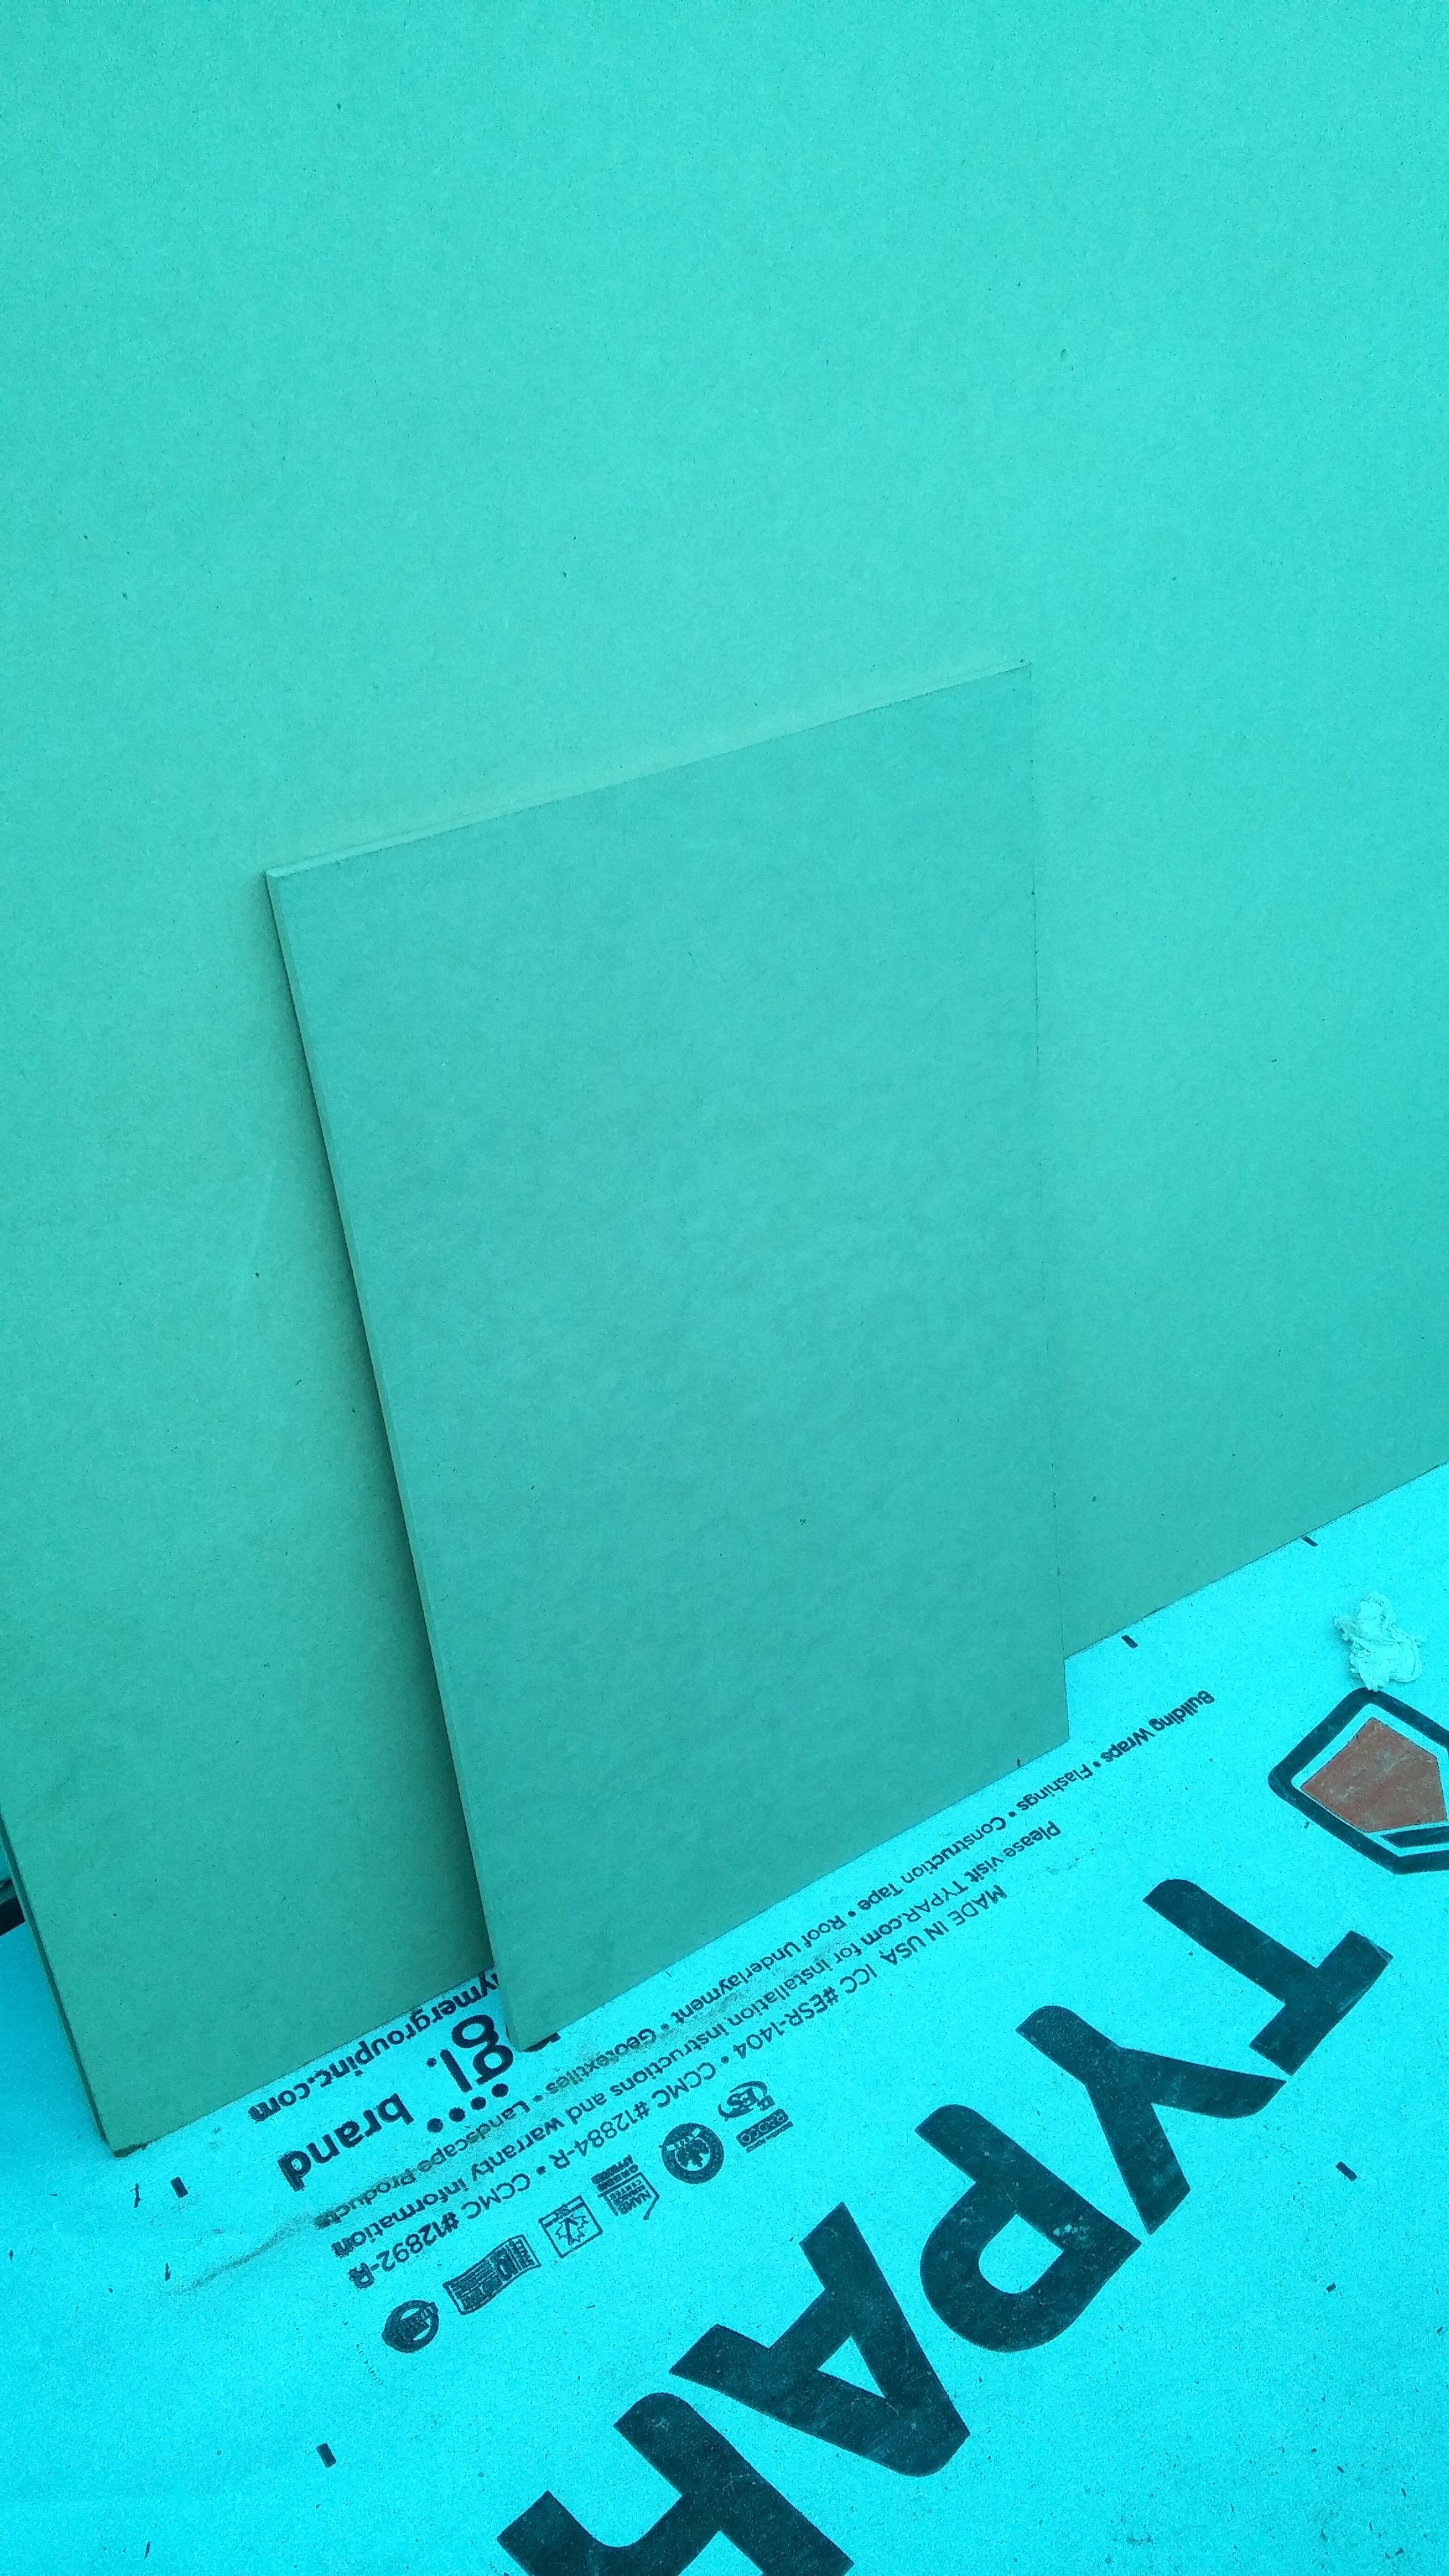
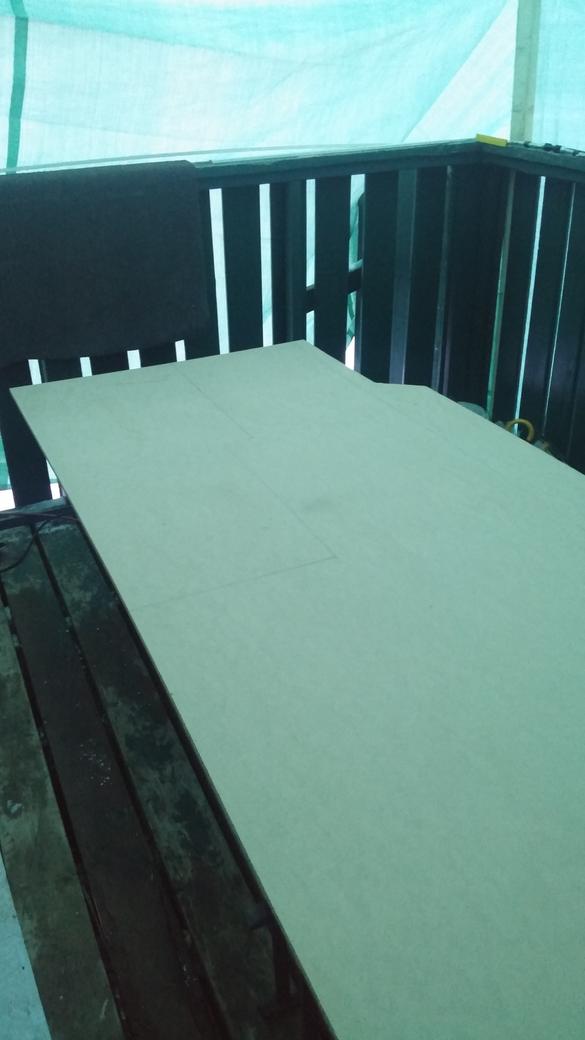
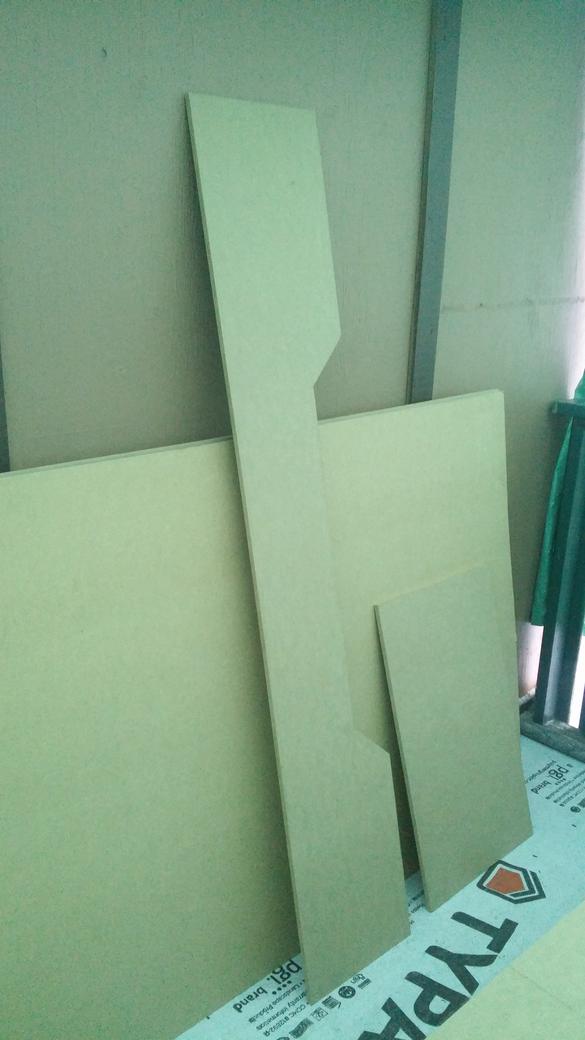
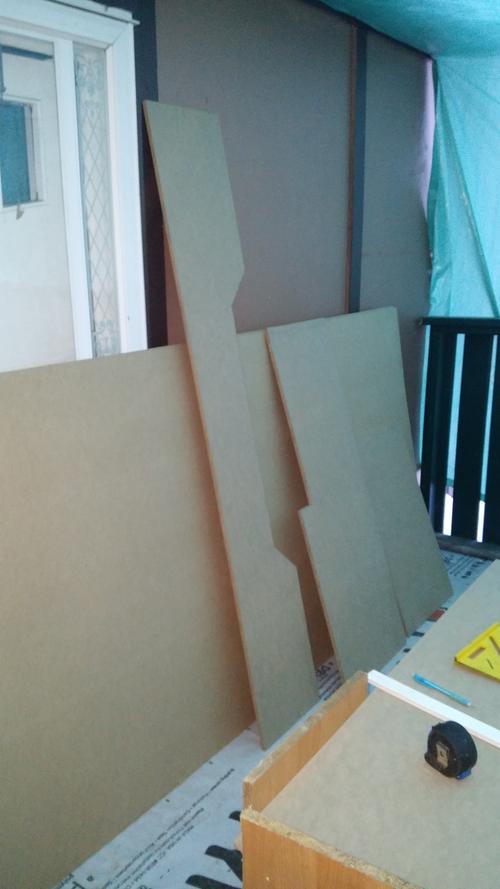
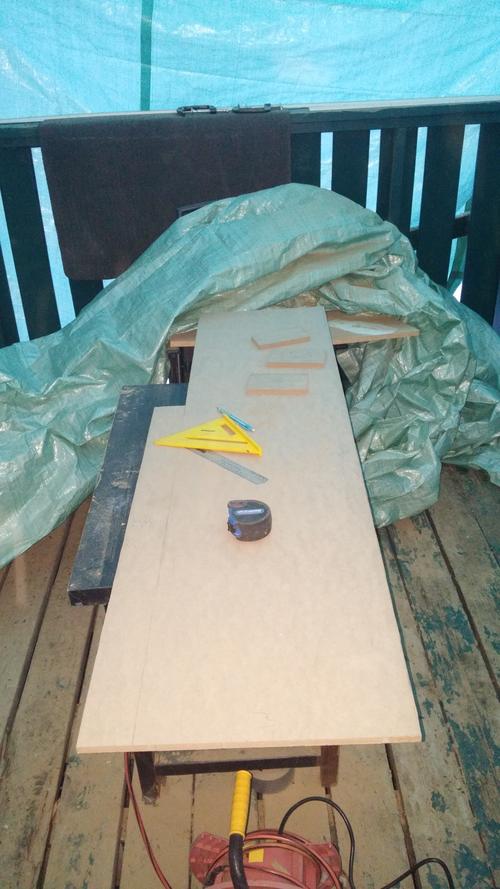
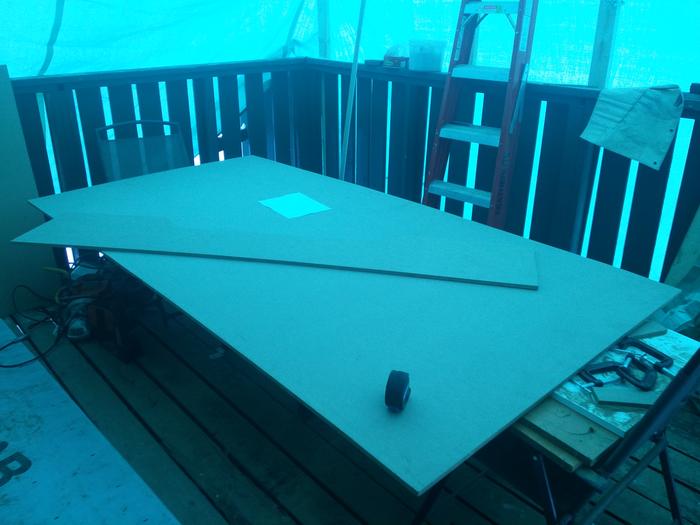
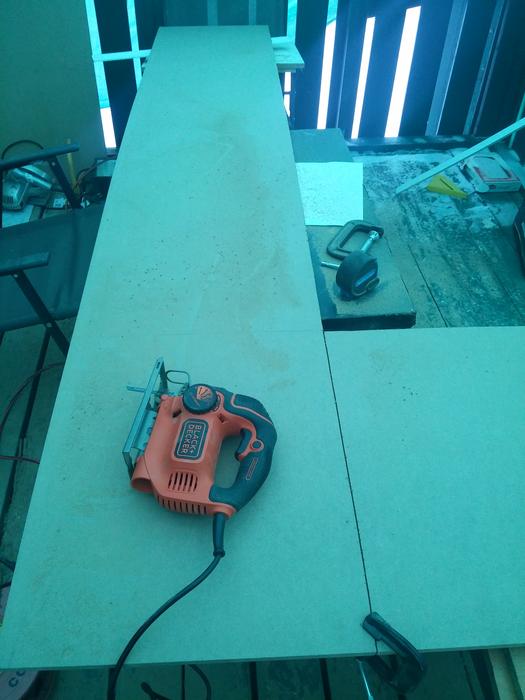
I've decided, now that I'm finally done first semester and exams are over, I would try something new. The table I'm currently using I've owned for several years, and I'm starting to get sick of it, it's inefficient for my needs, it doesn't fit with the rest of my room, and it's not cool enough!!! So what I have for you today is something I've been working on for quite some time now, with several prototypes and re-edits. This table has been designed to fit perfectly in the space I want to, and hopefully will make things look a lot nicer. This is really my first build to this size, so I hope you guys enjoy and if you have any questions or suggestions, feel free to join me!
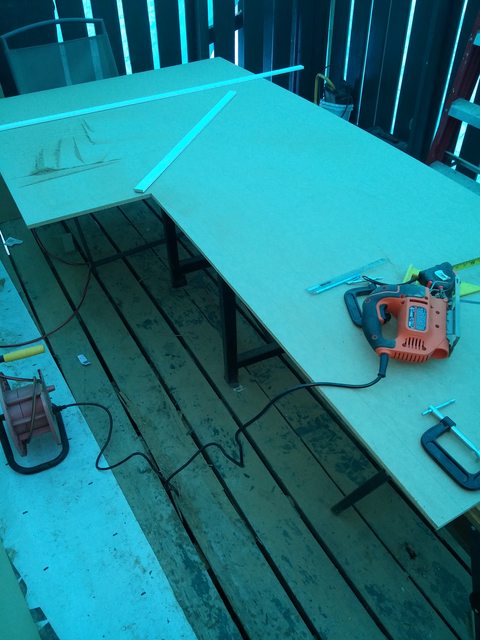
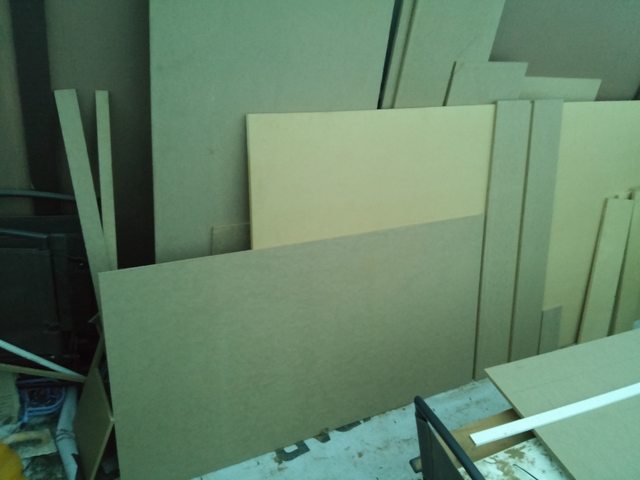
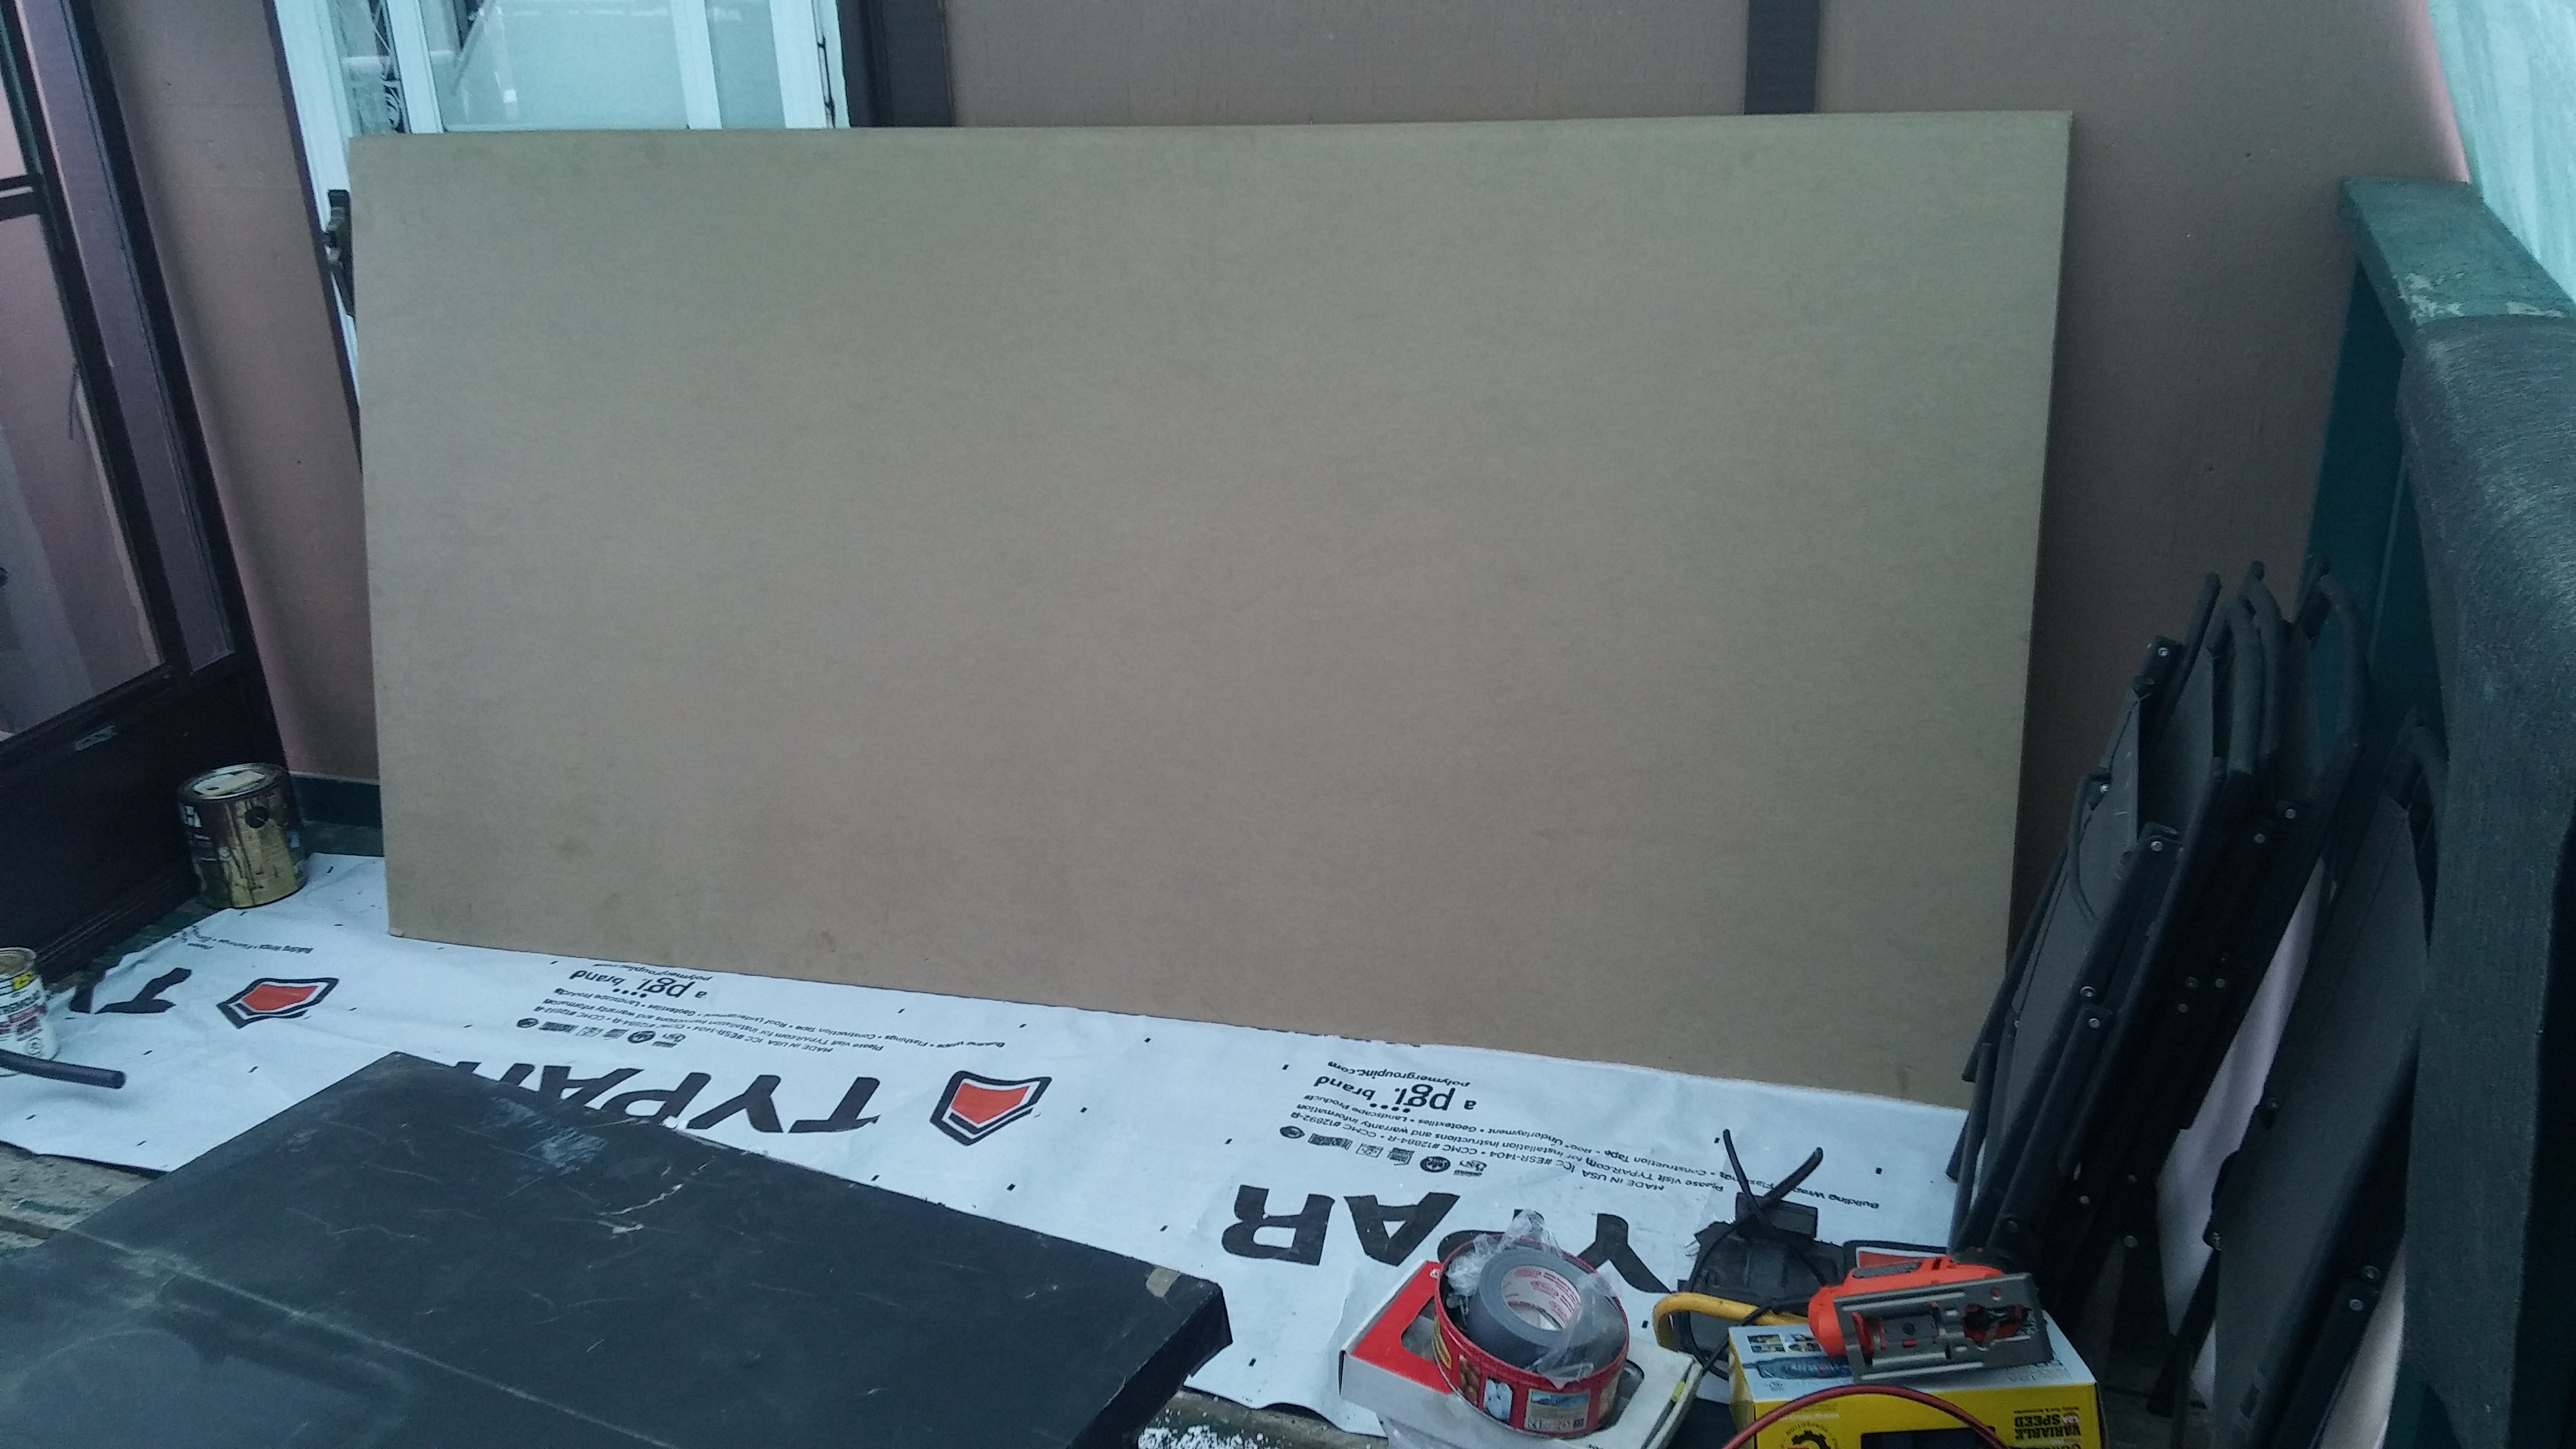
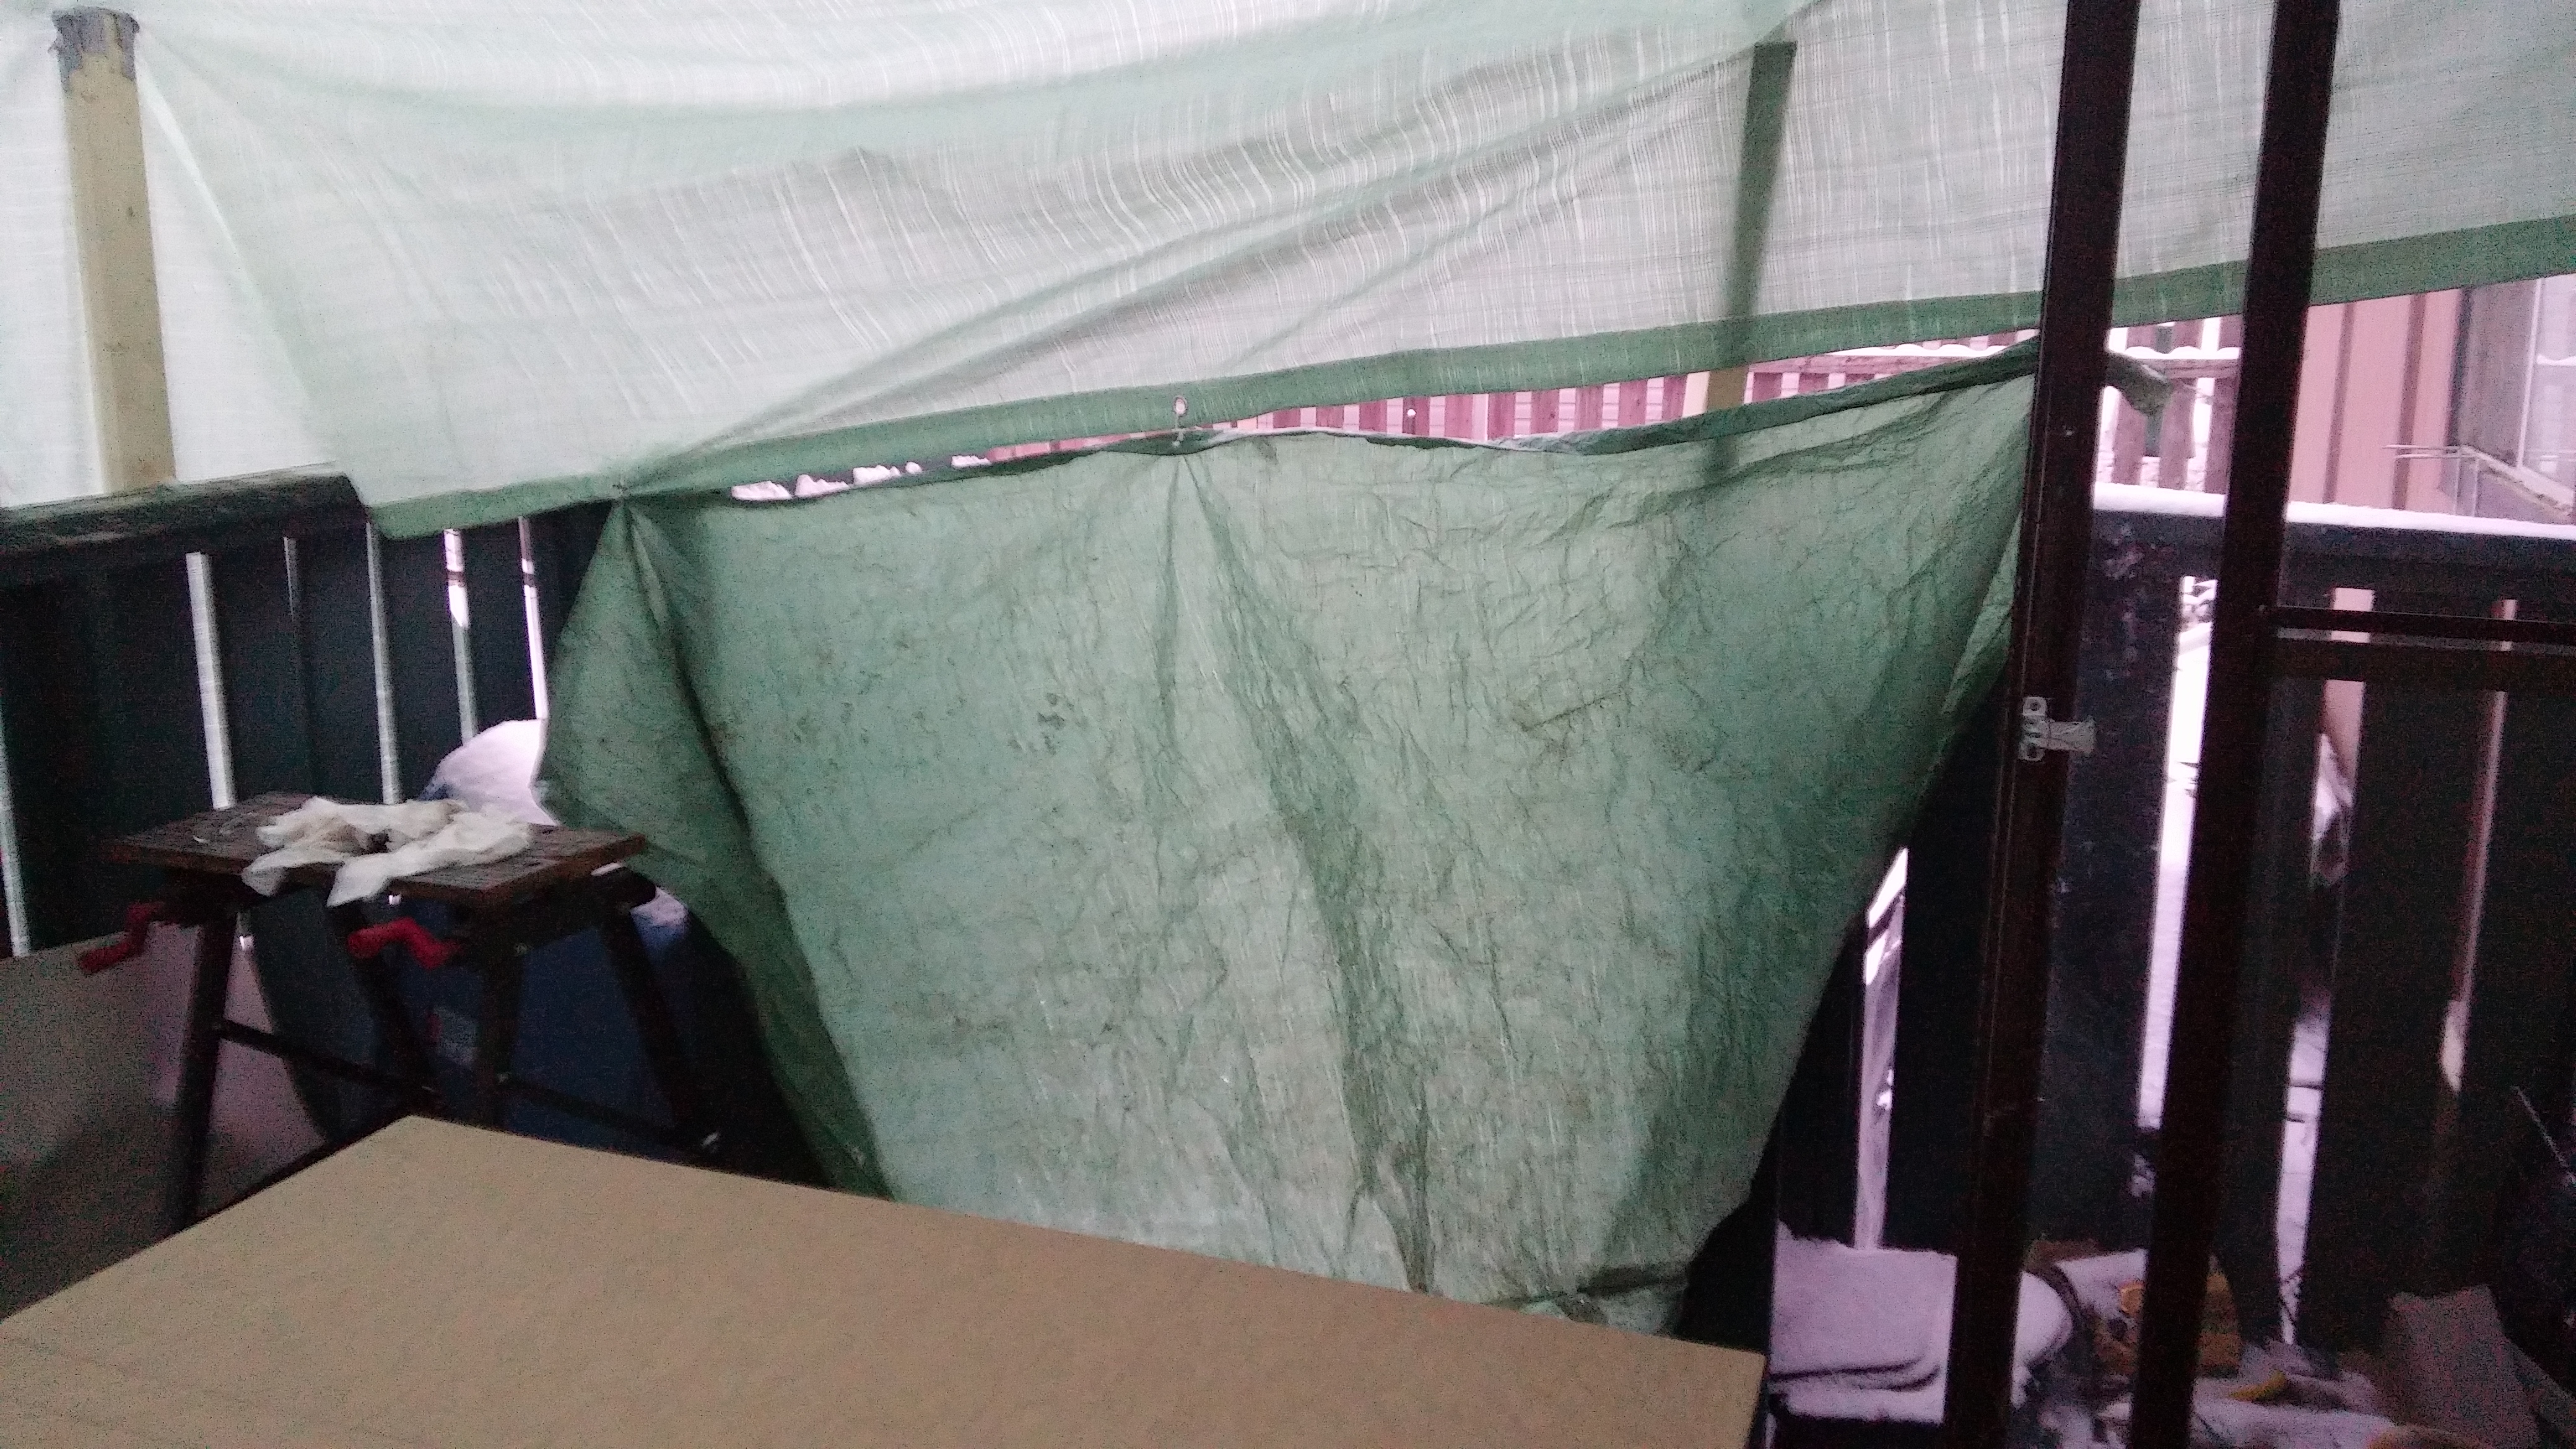
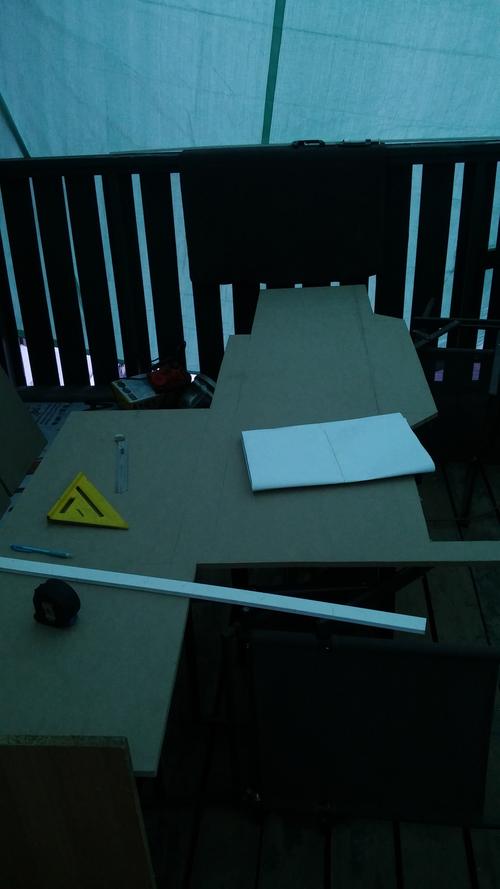
now.jpg

Current work area

Computer station.jpg

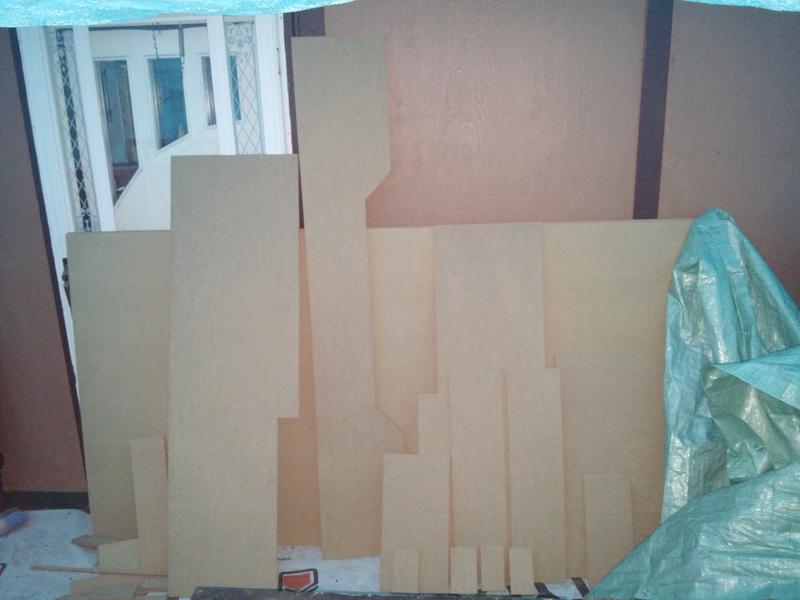
The completed station

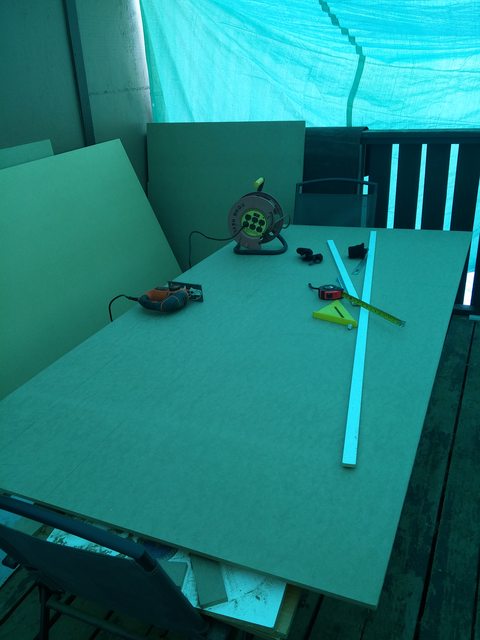
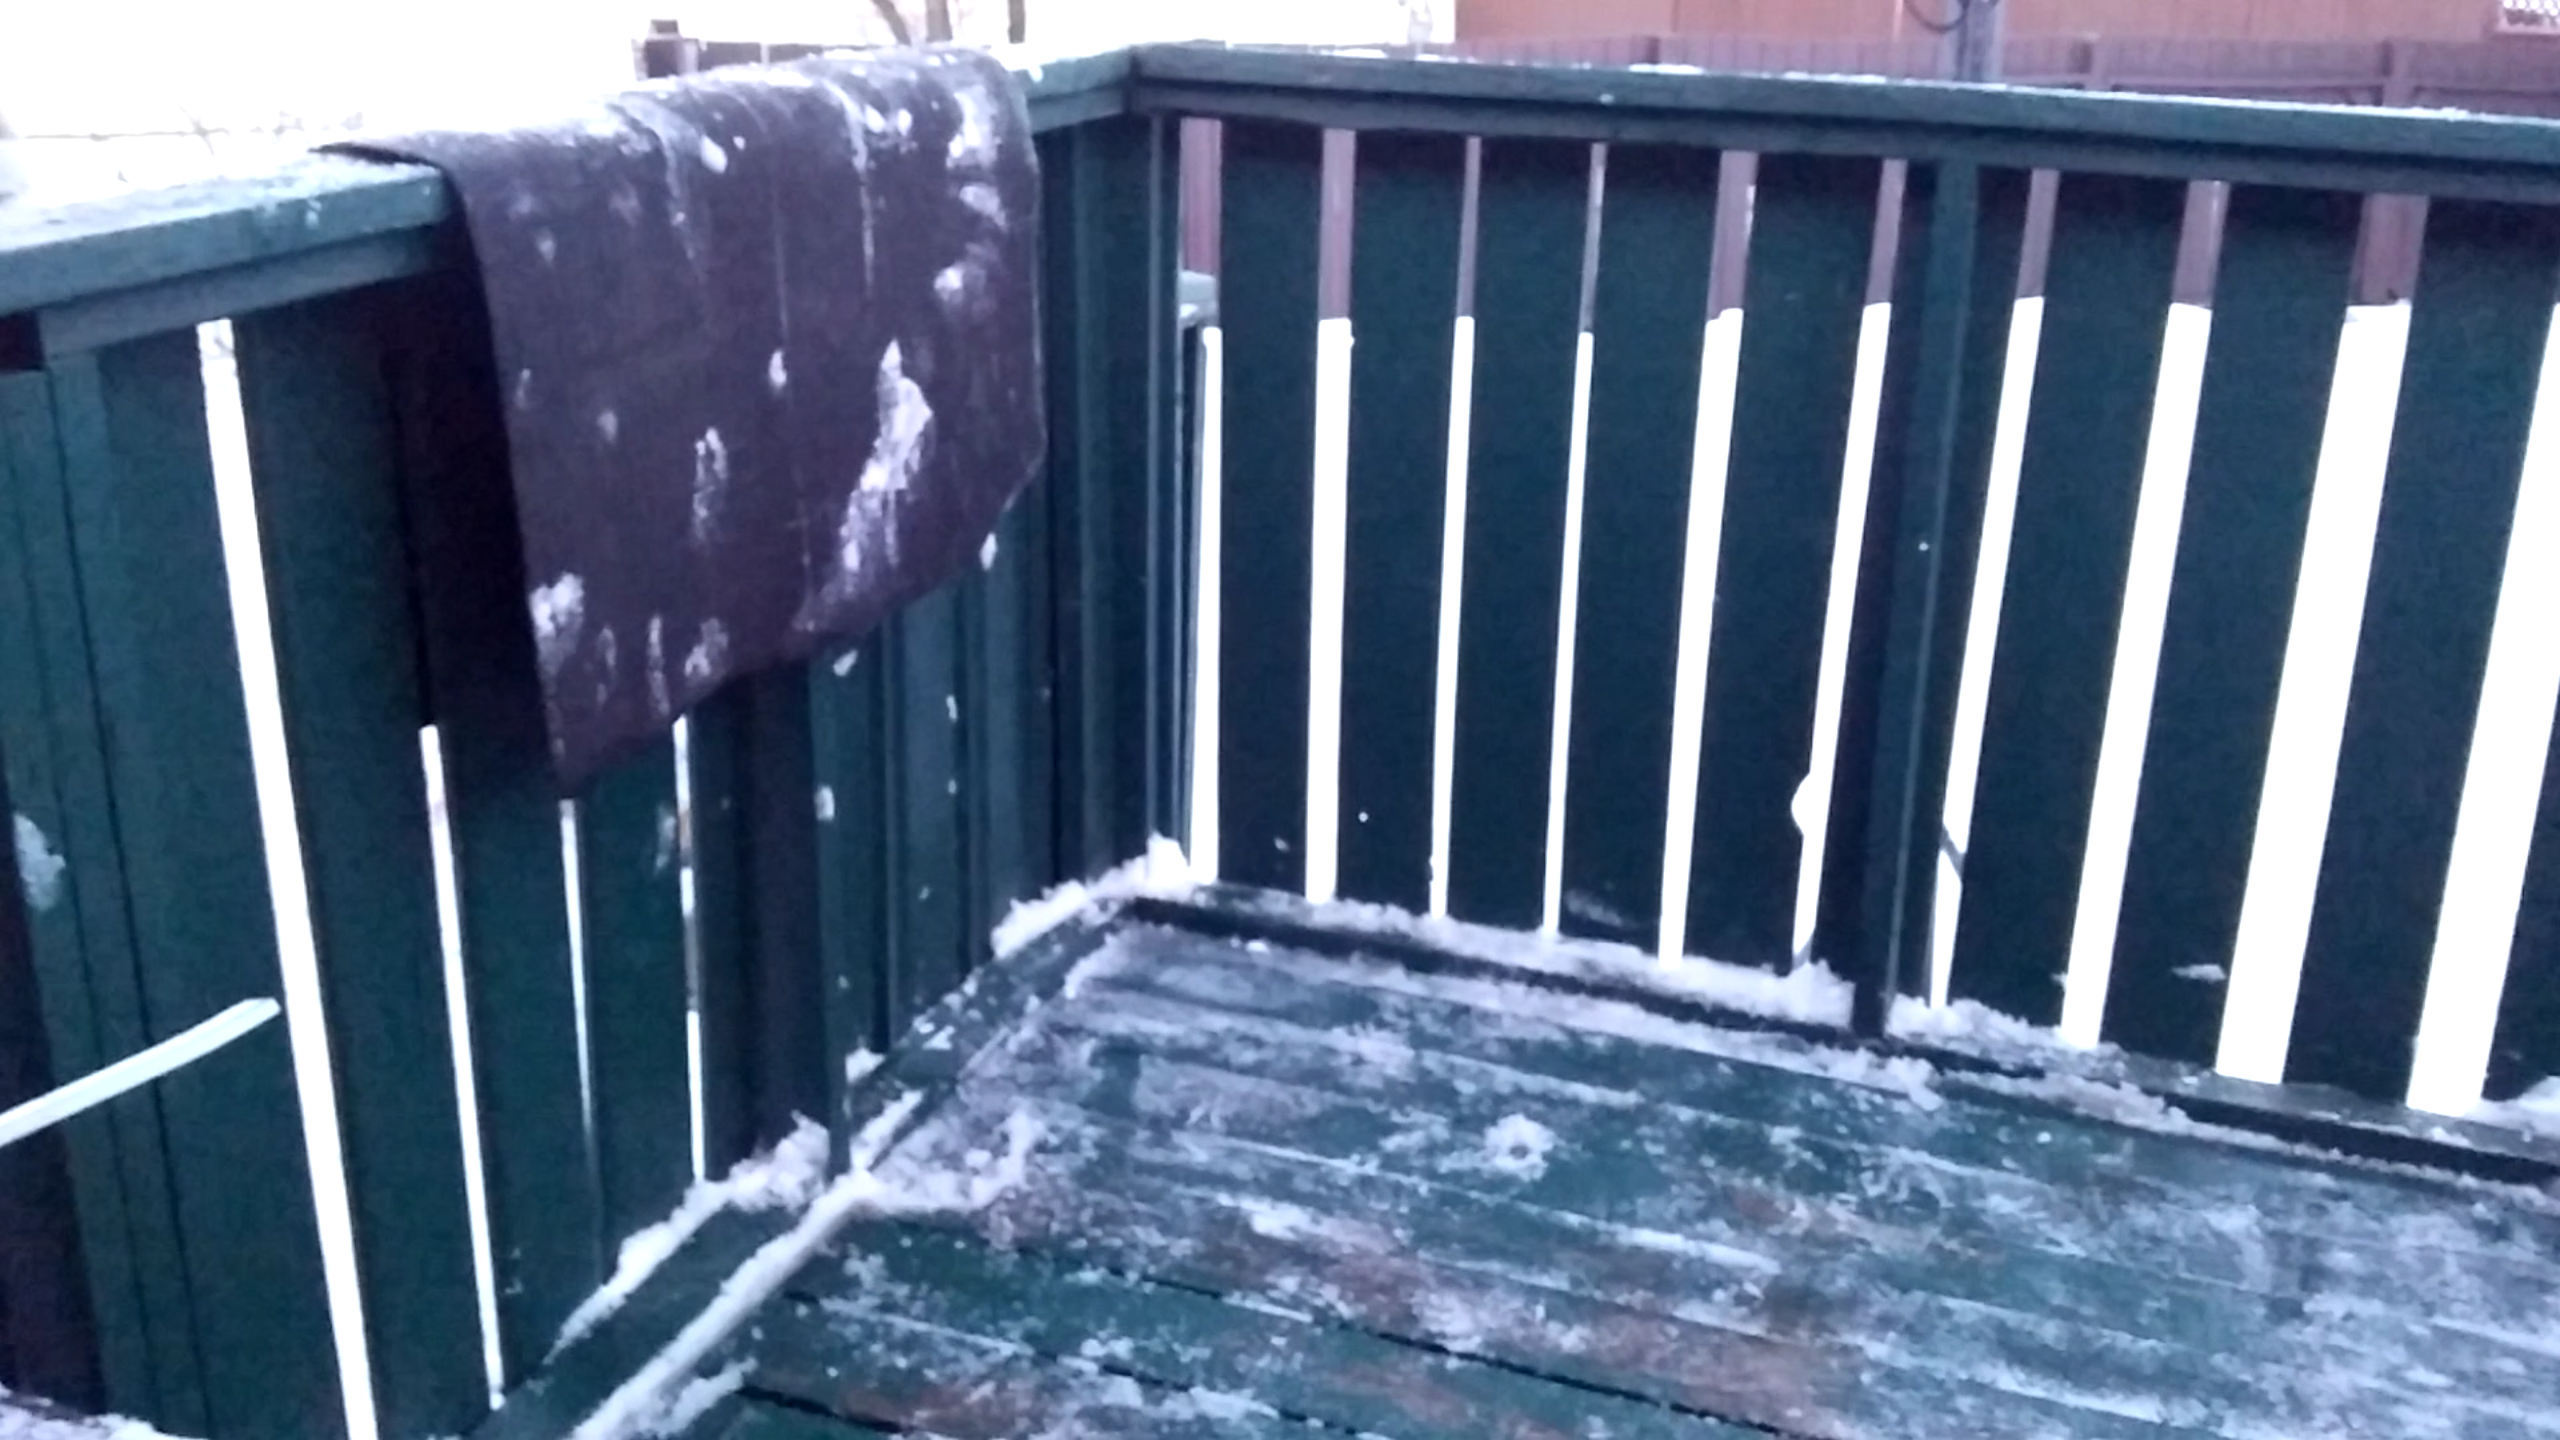
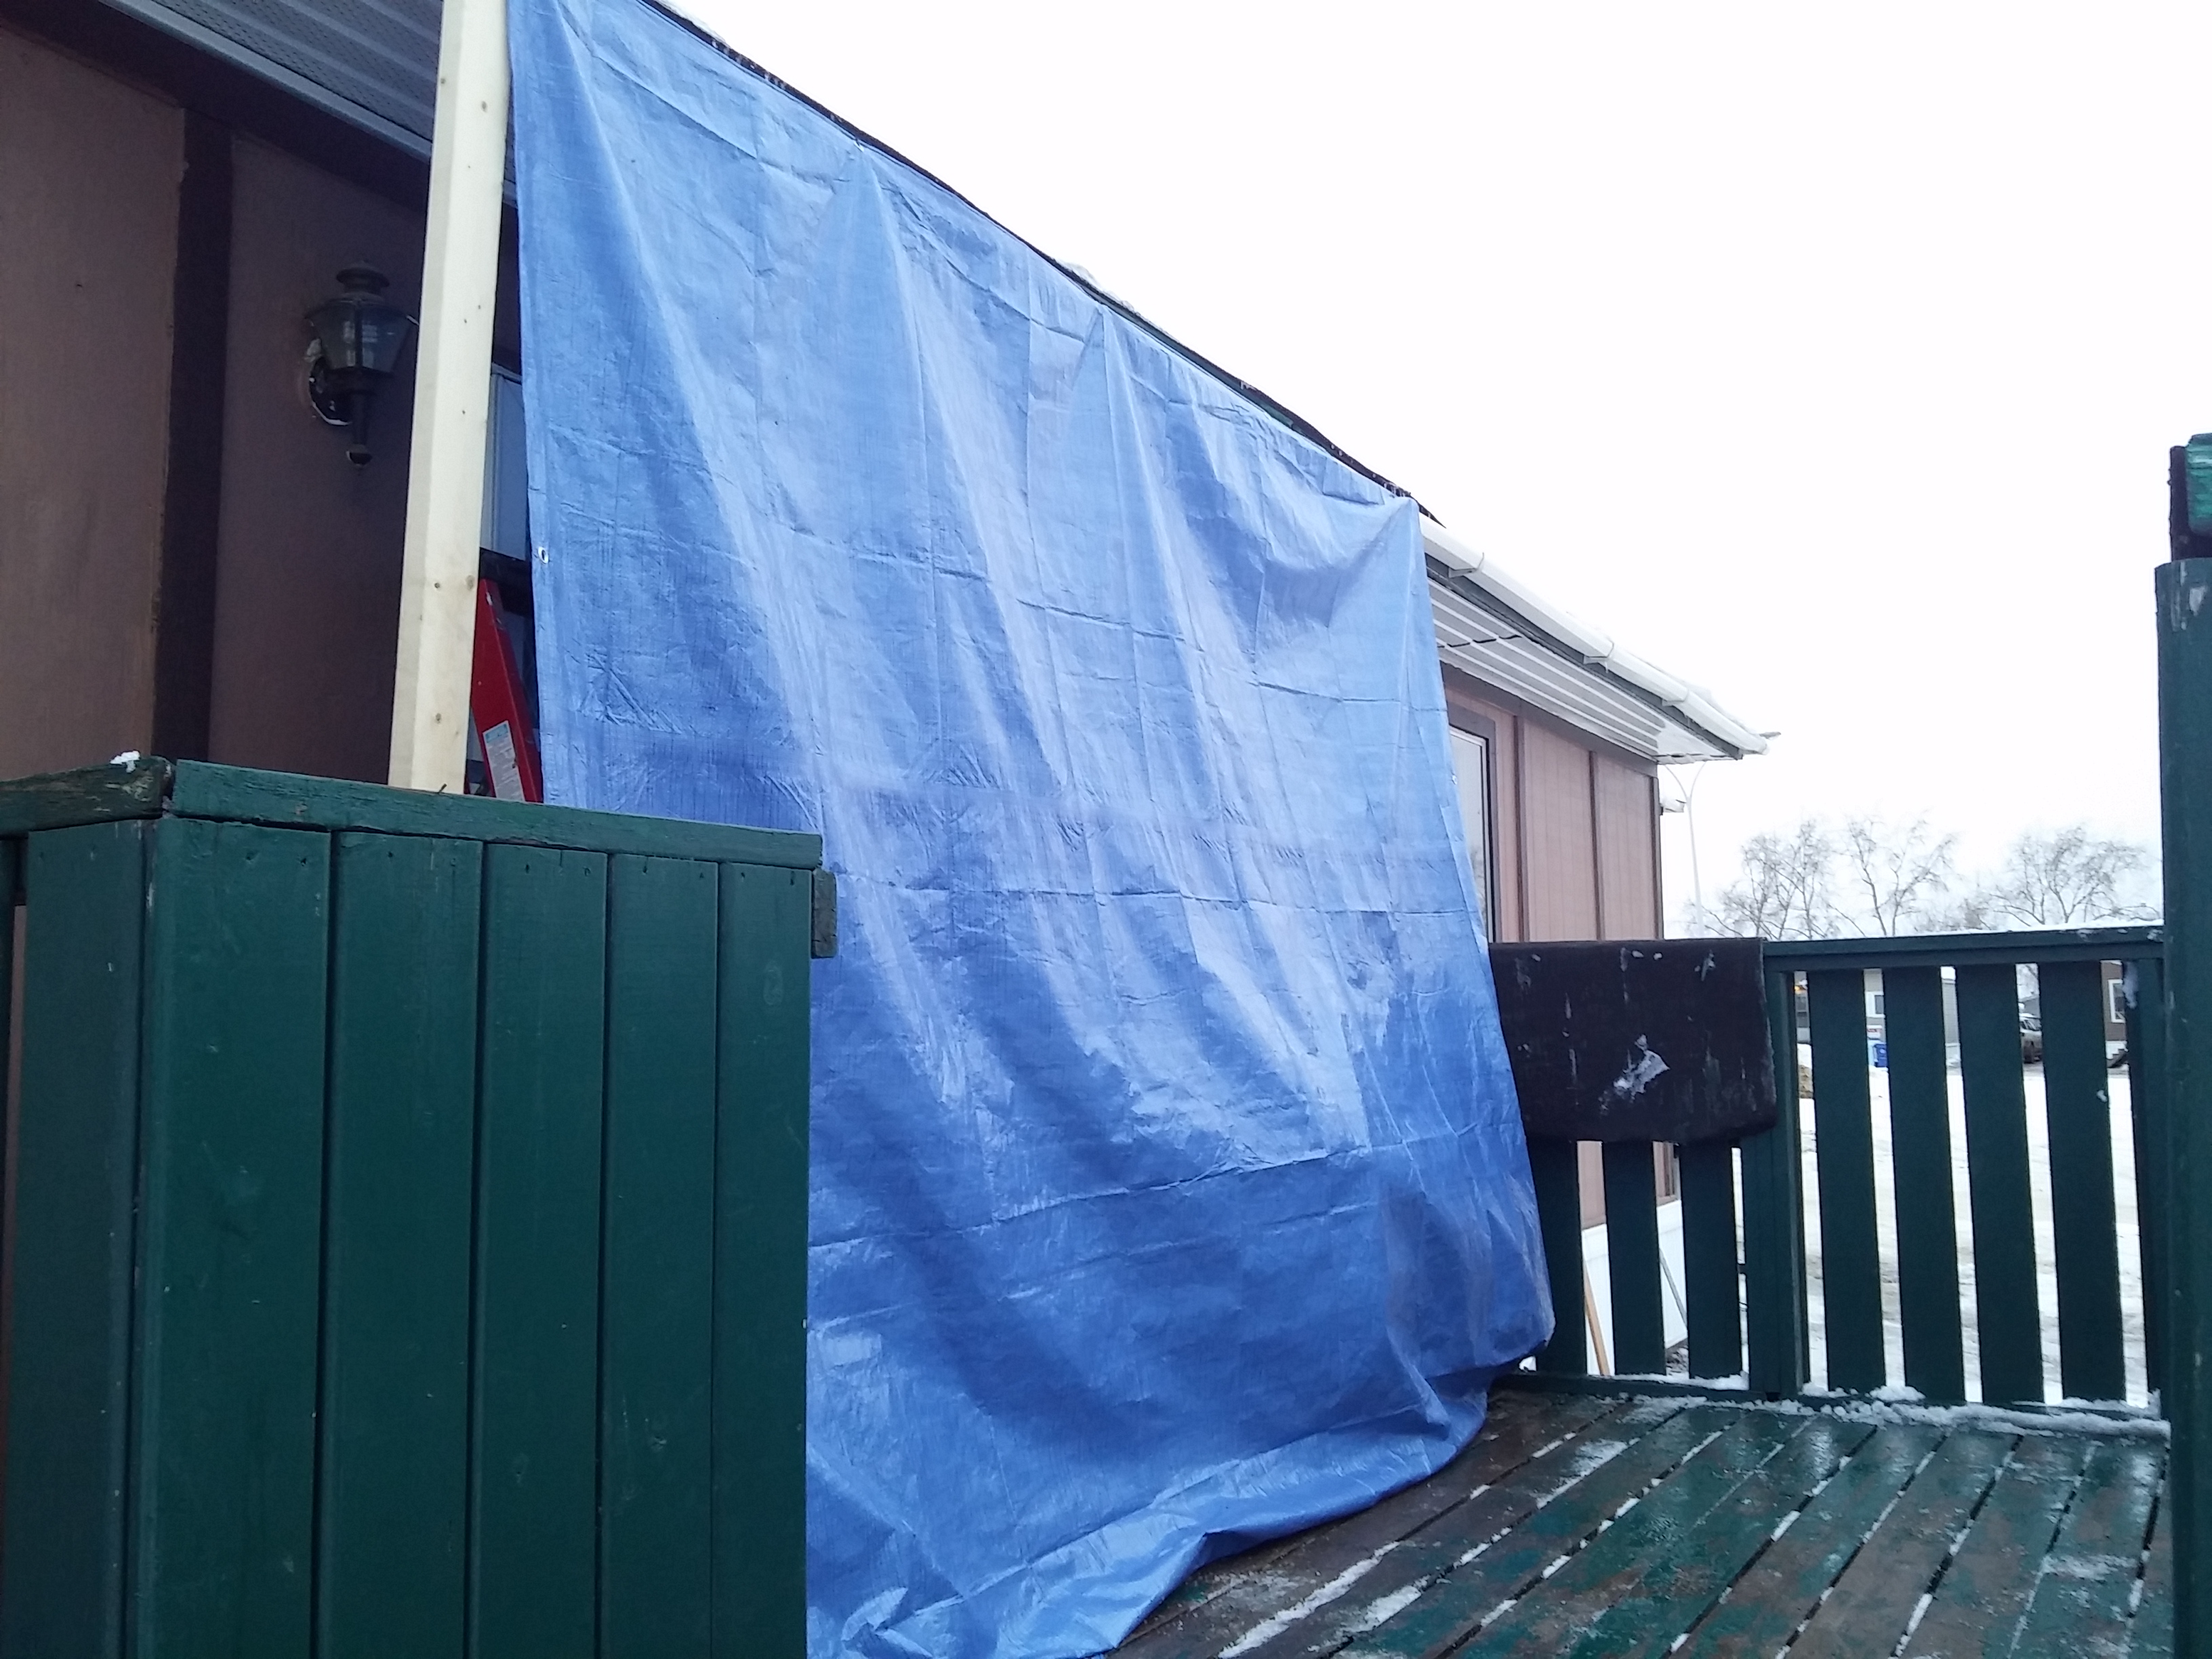
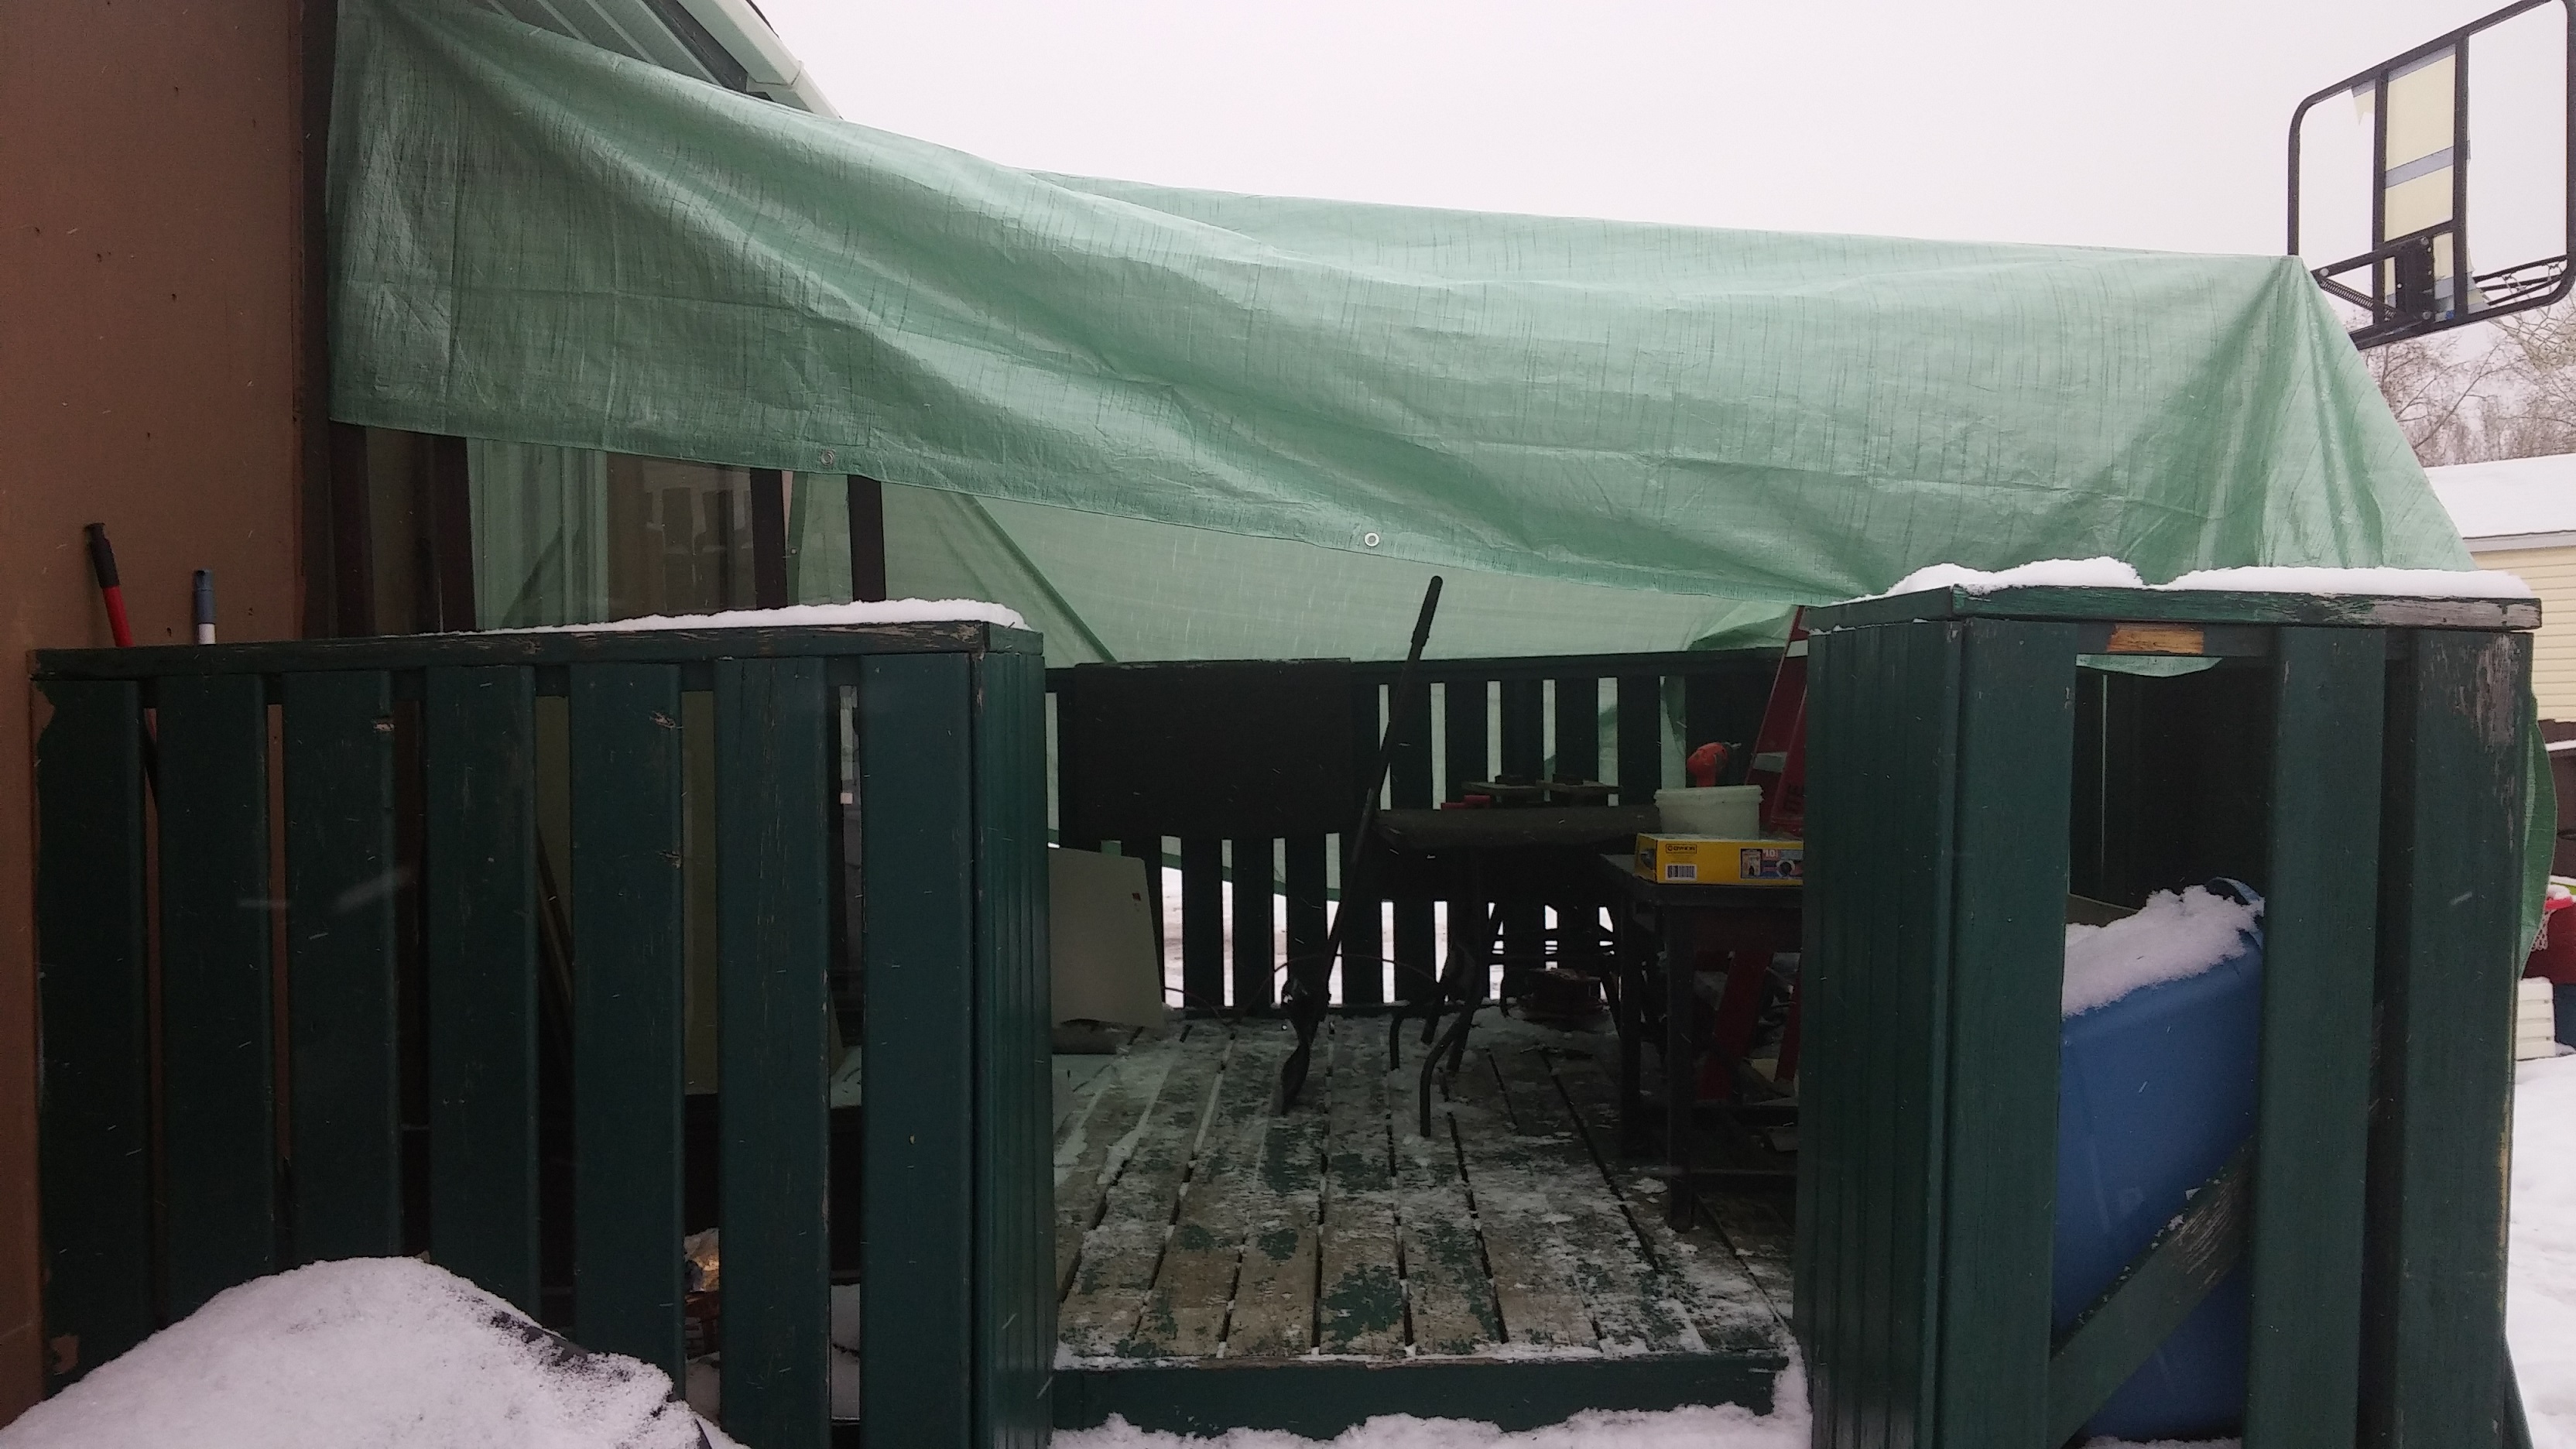
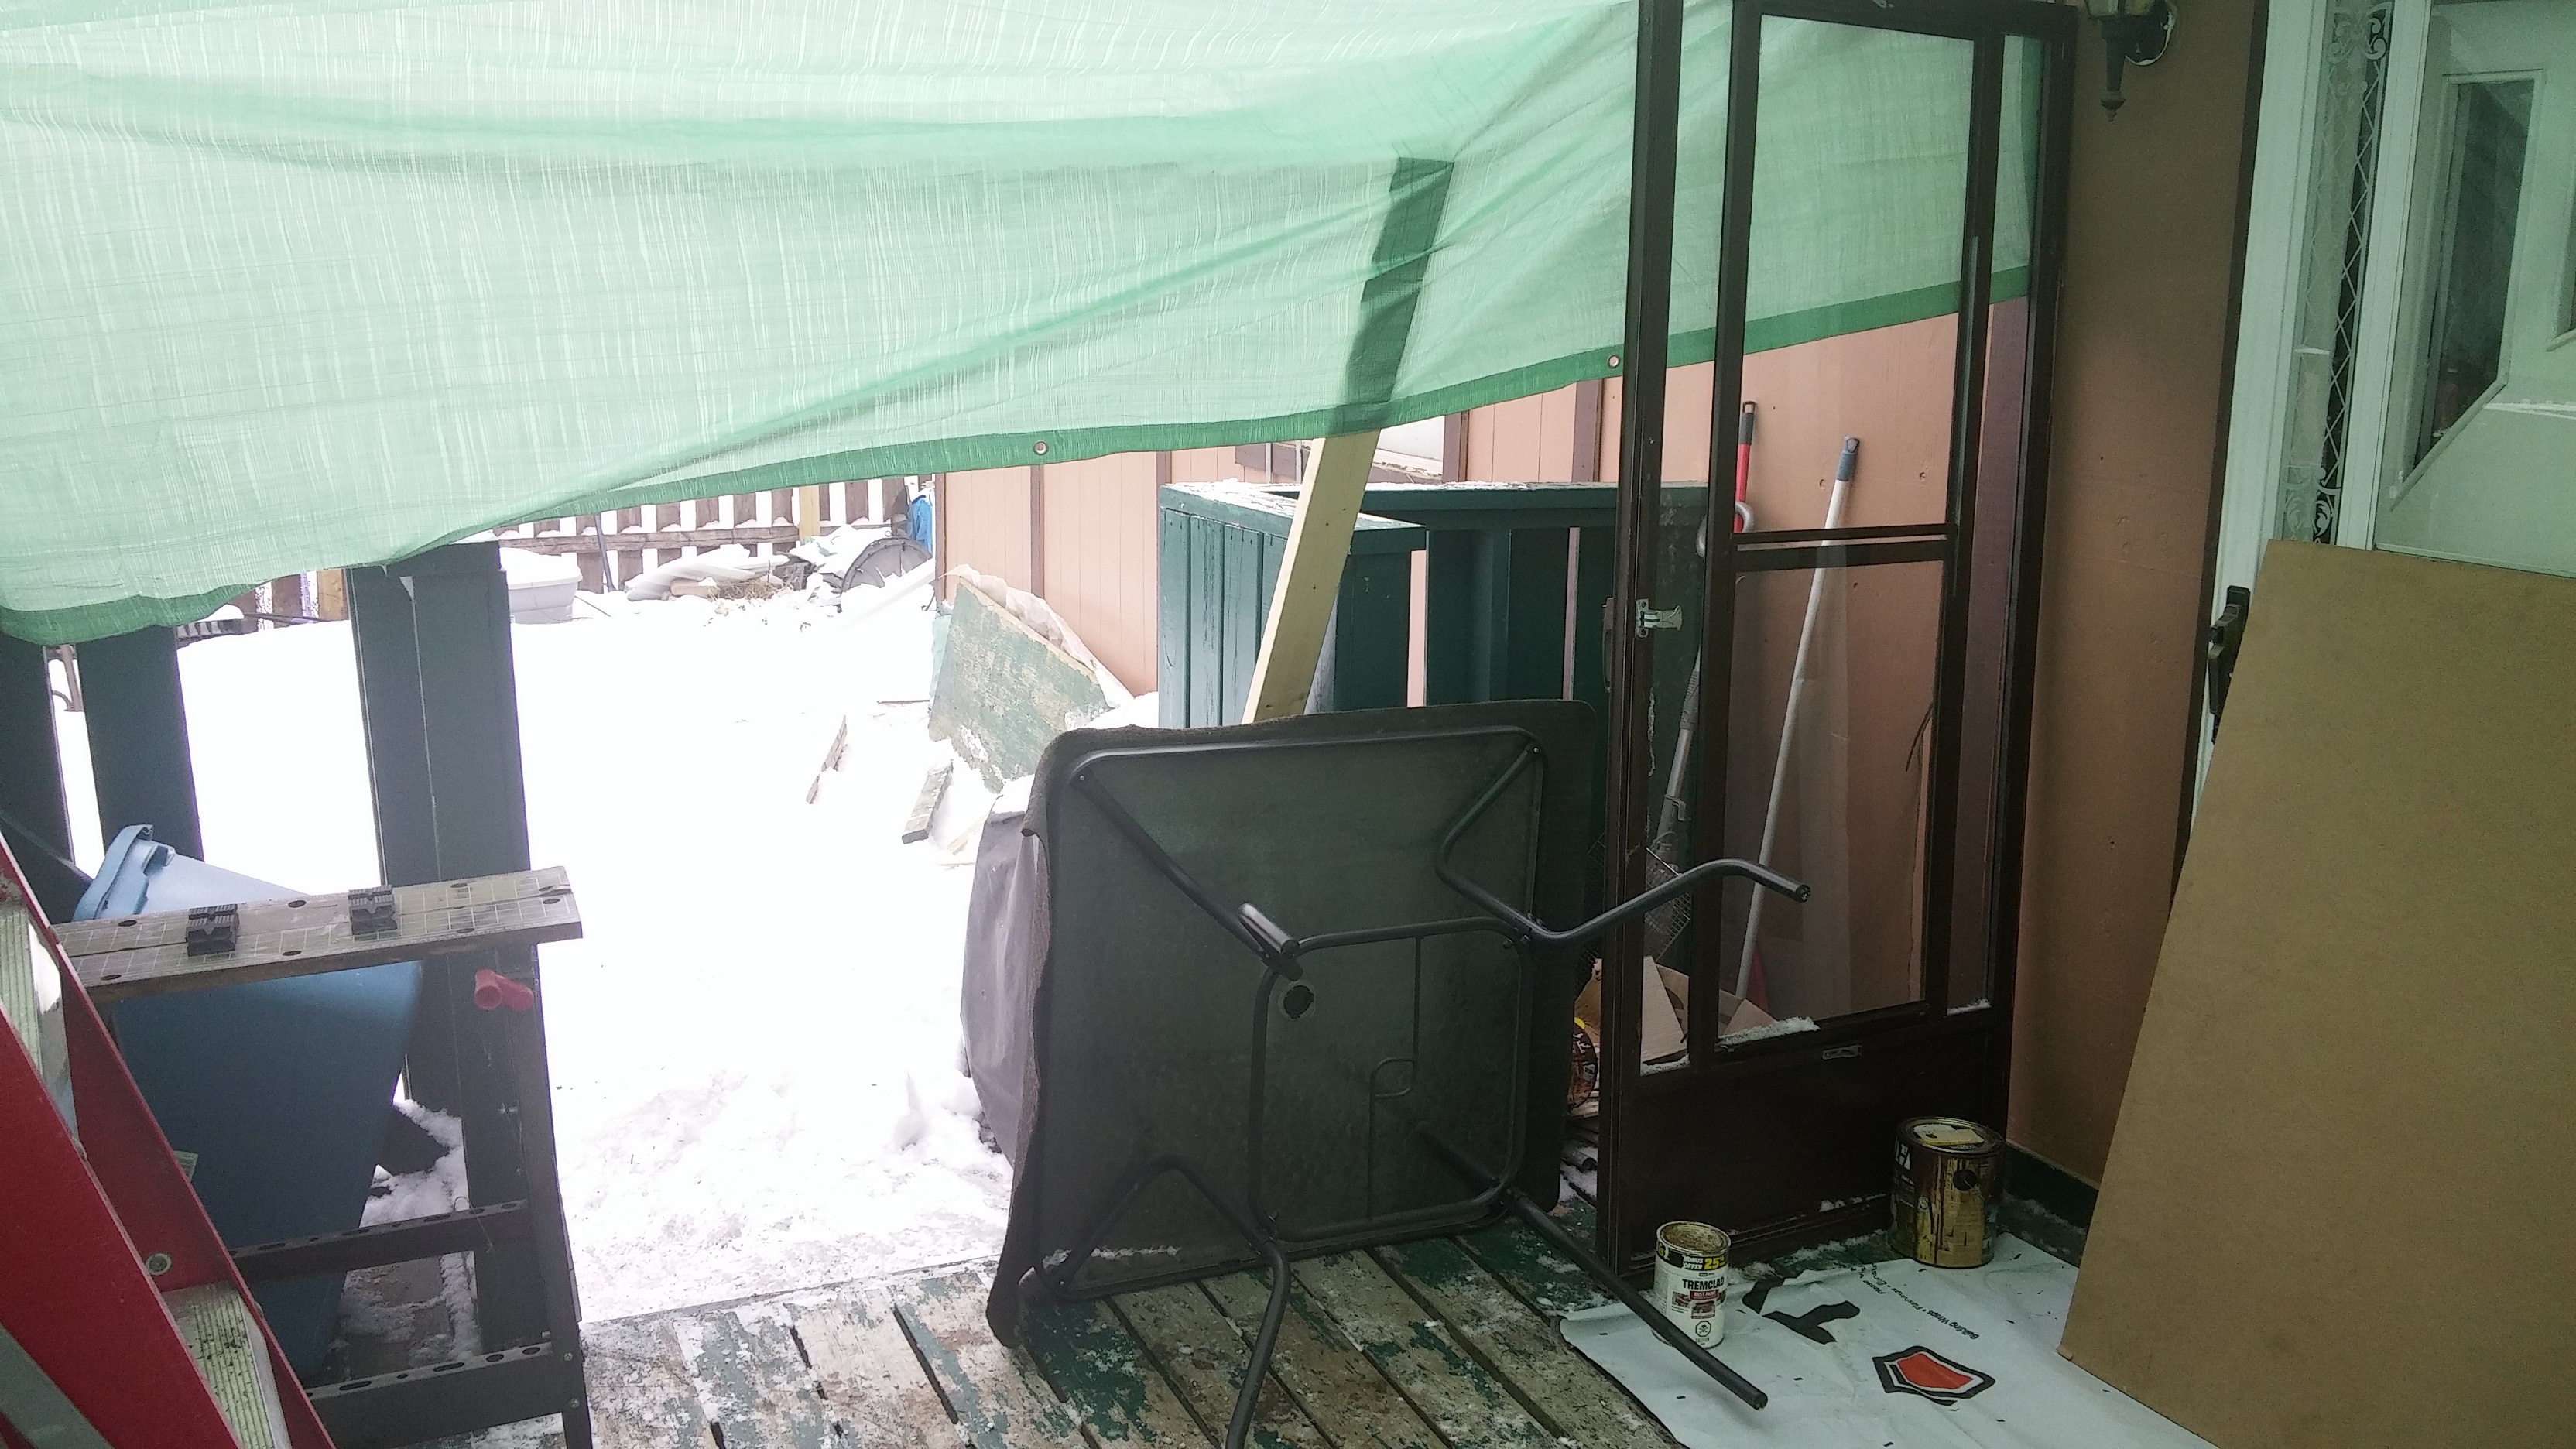
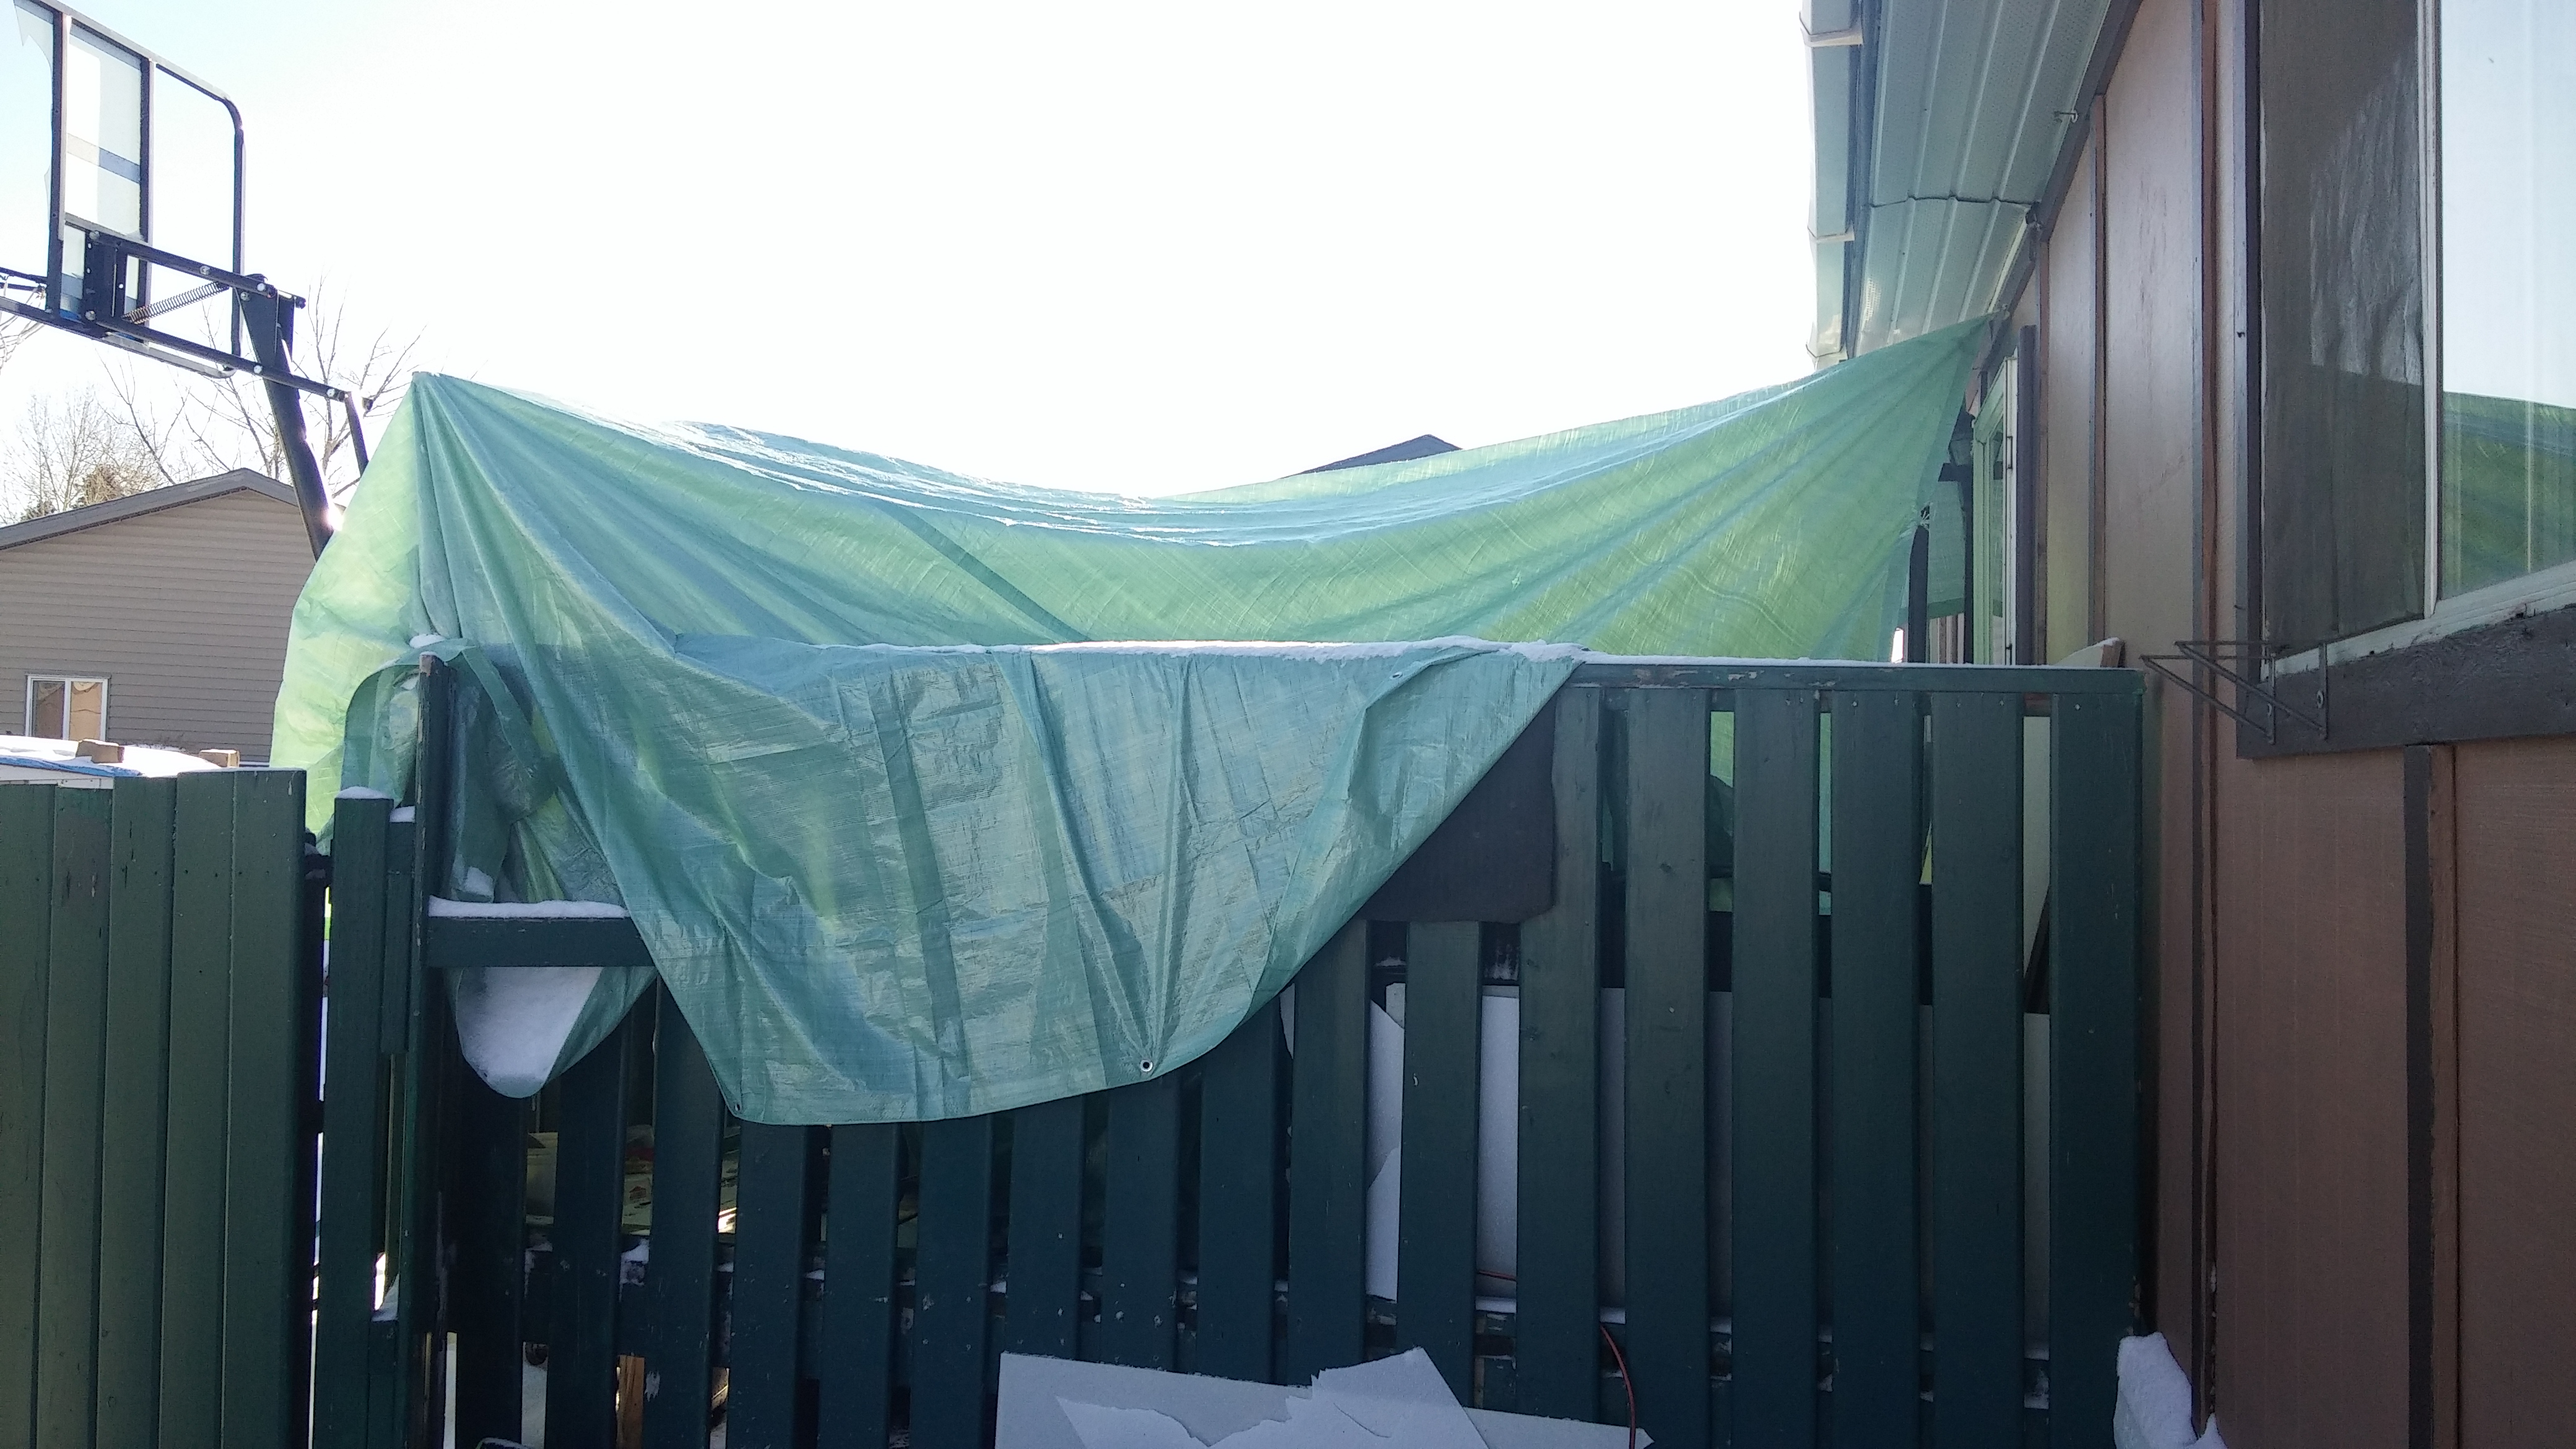
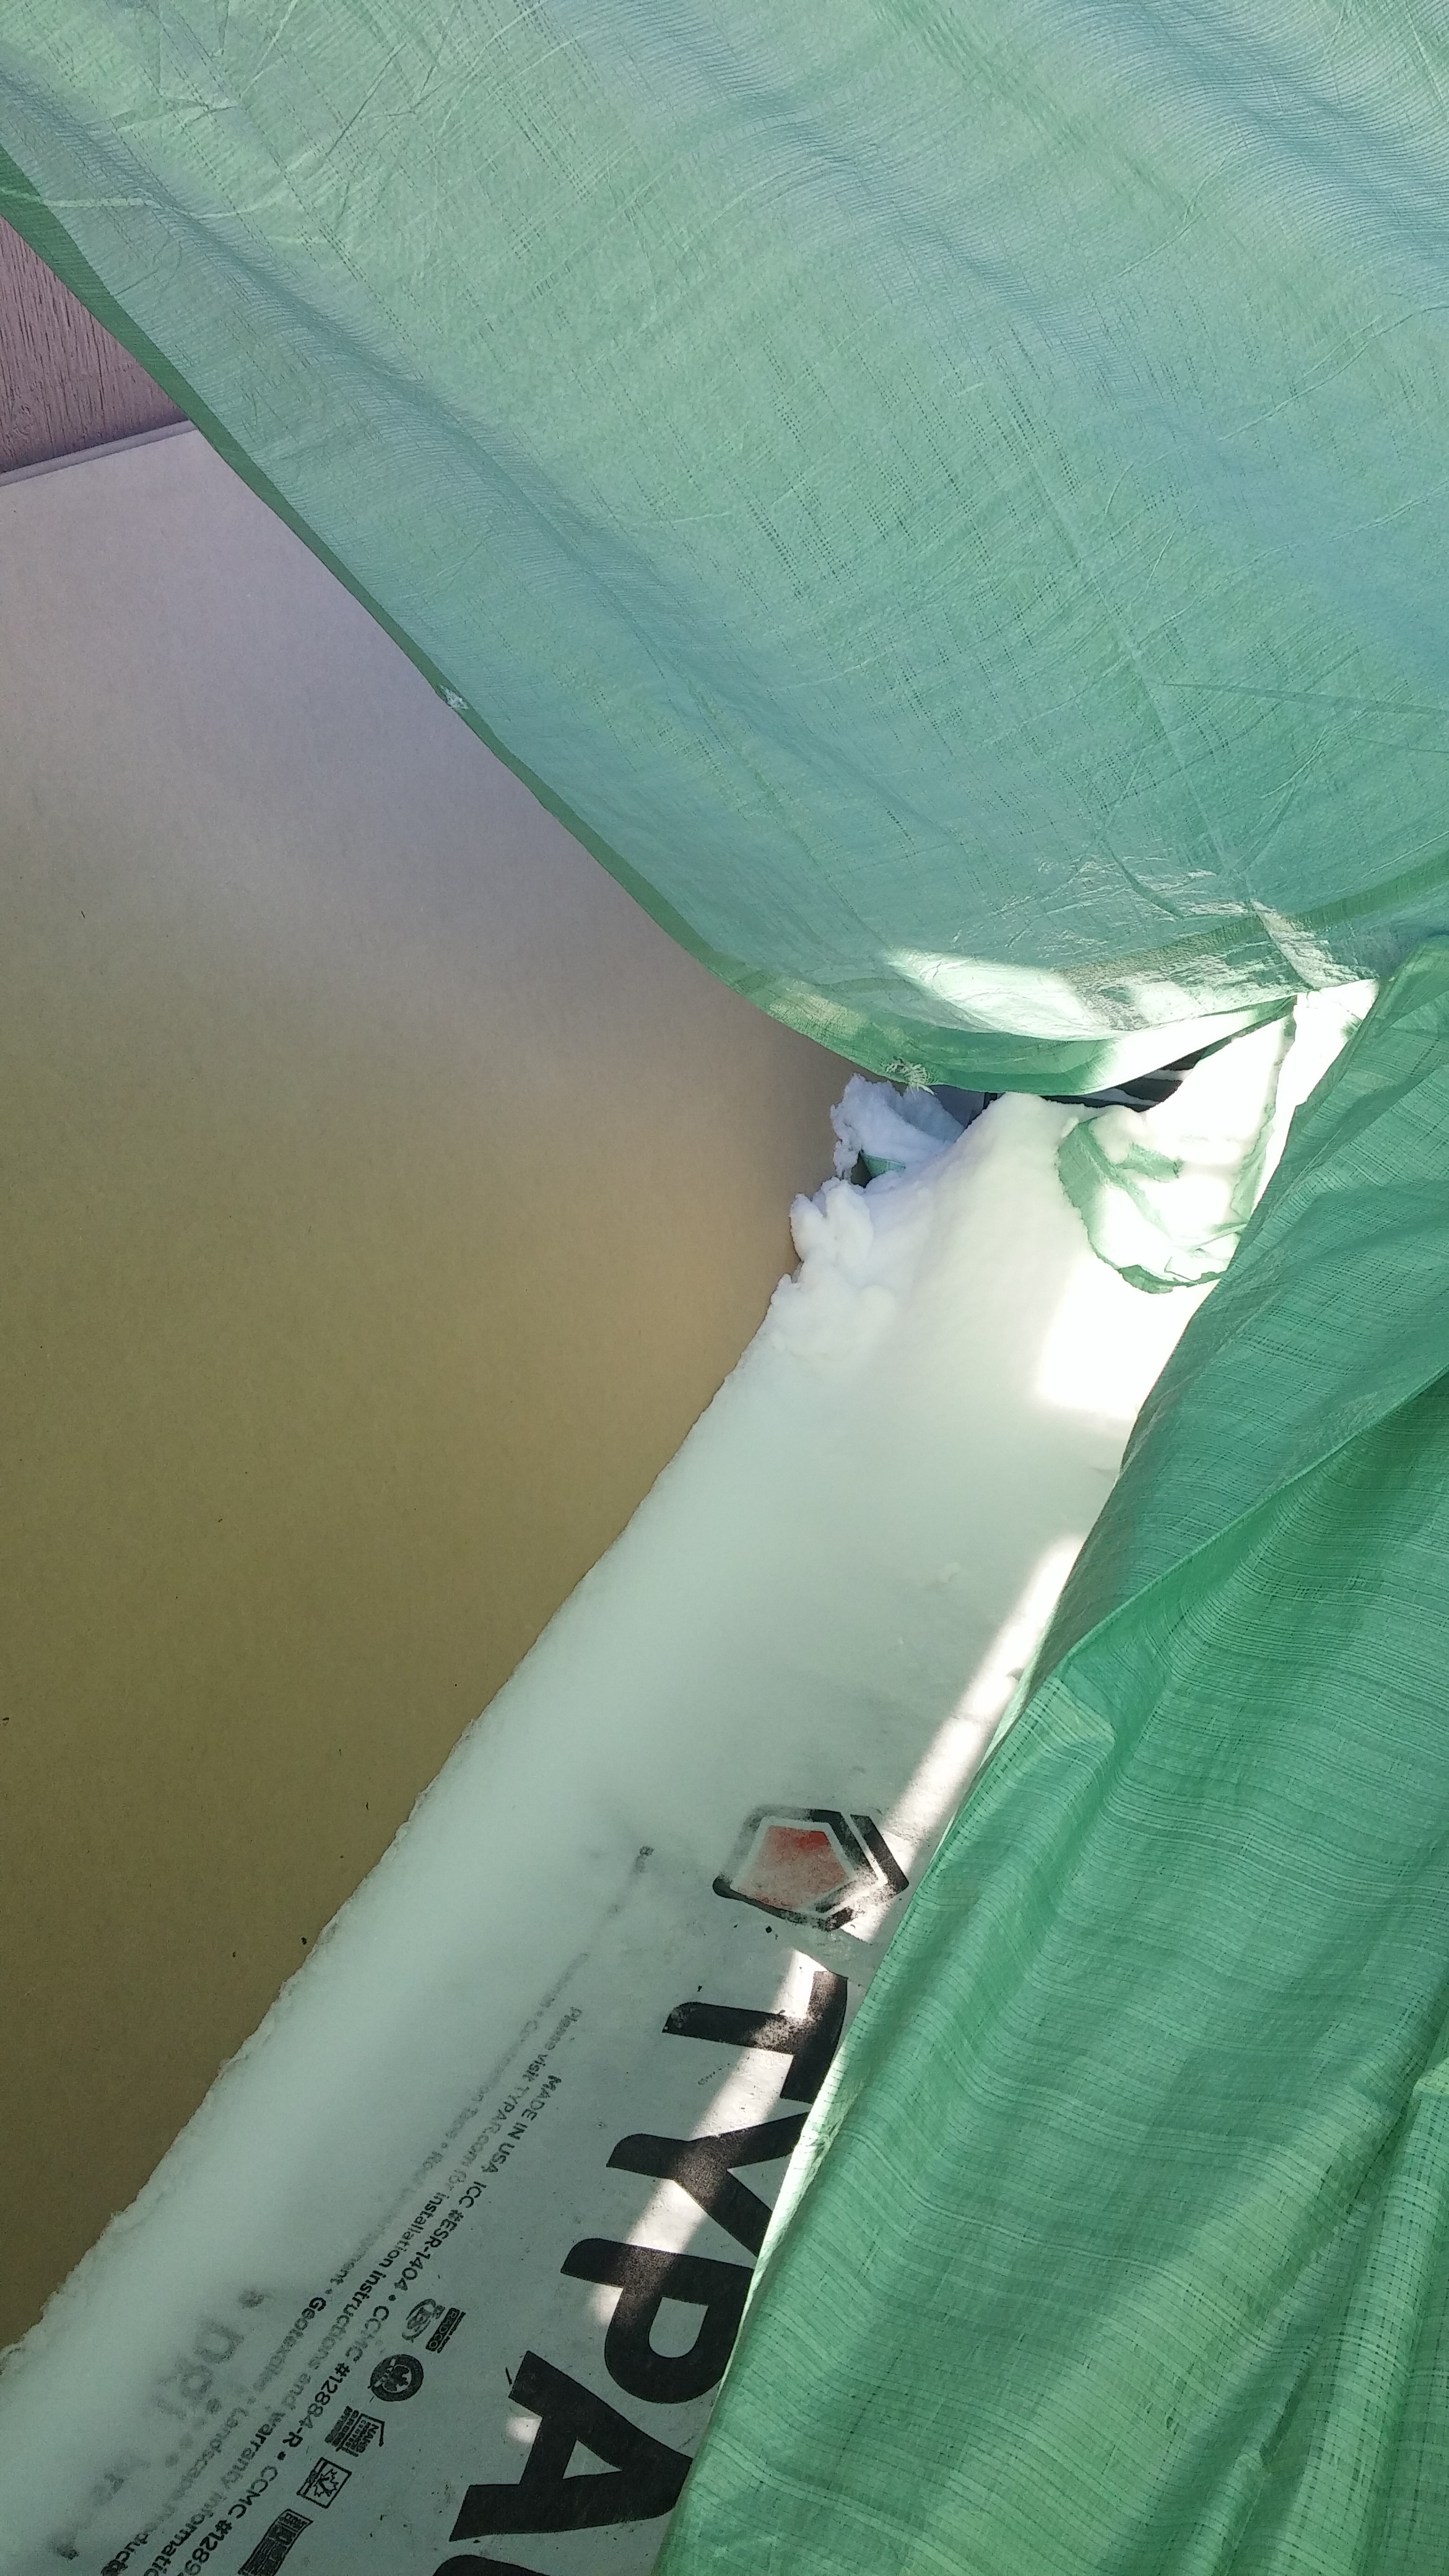
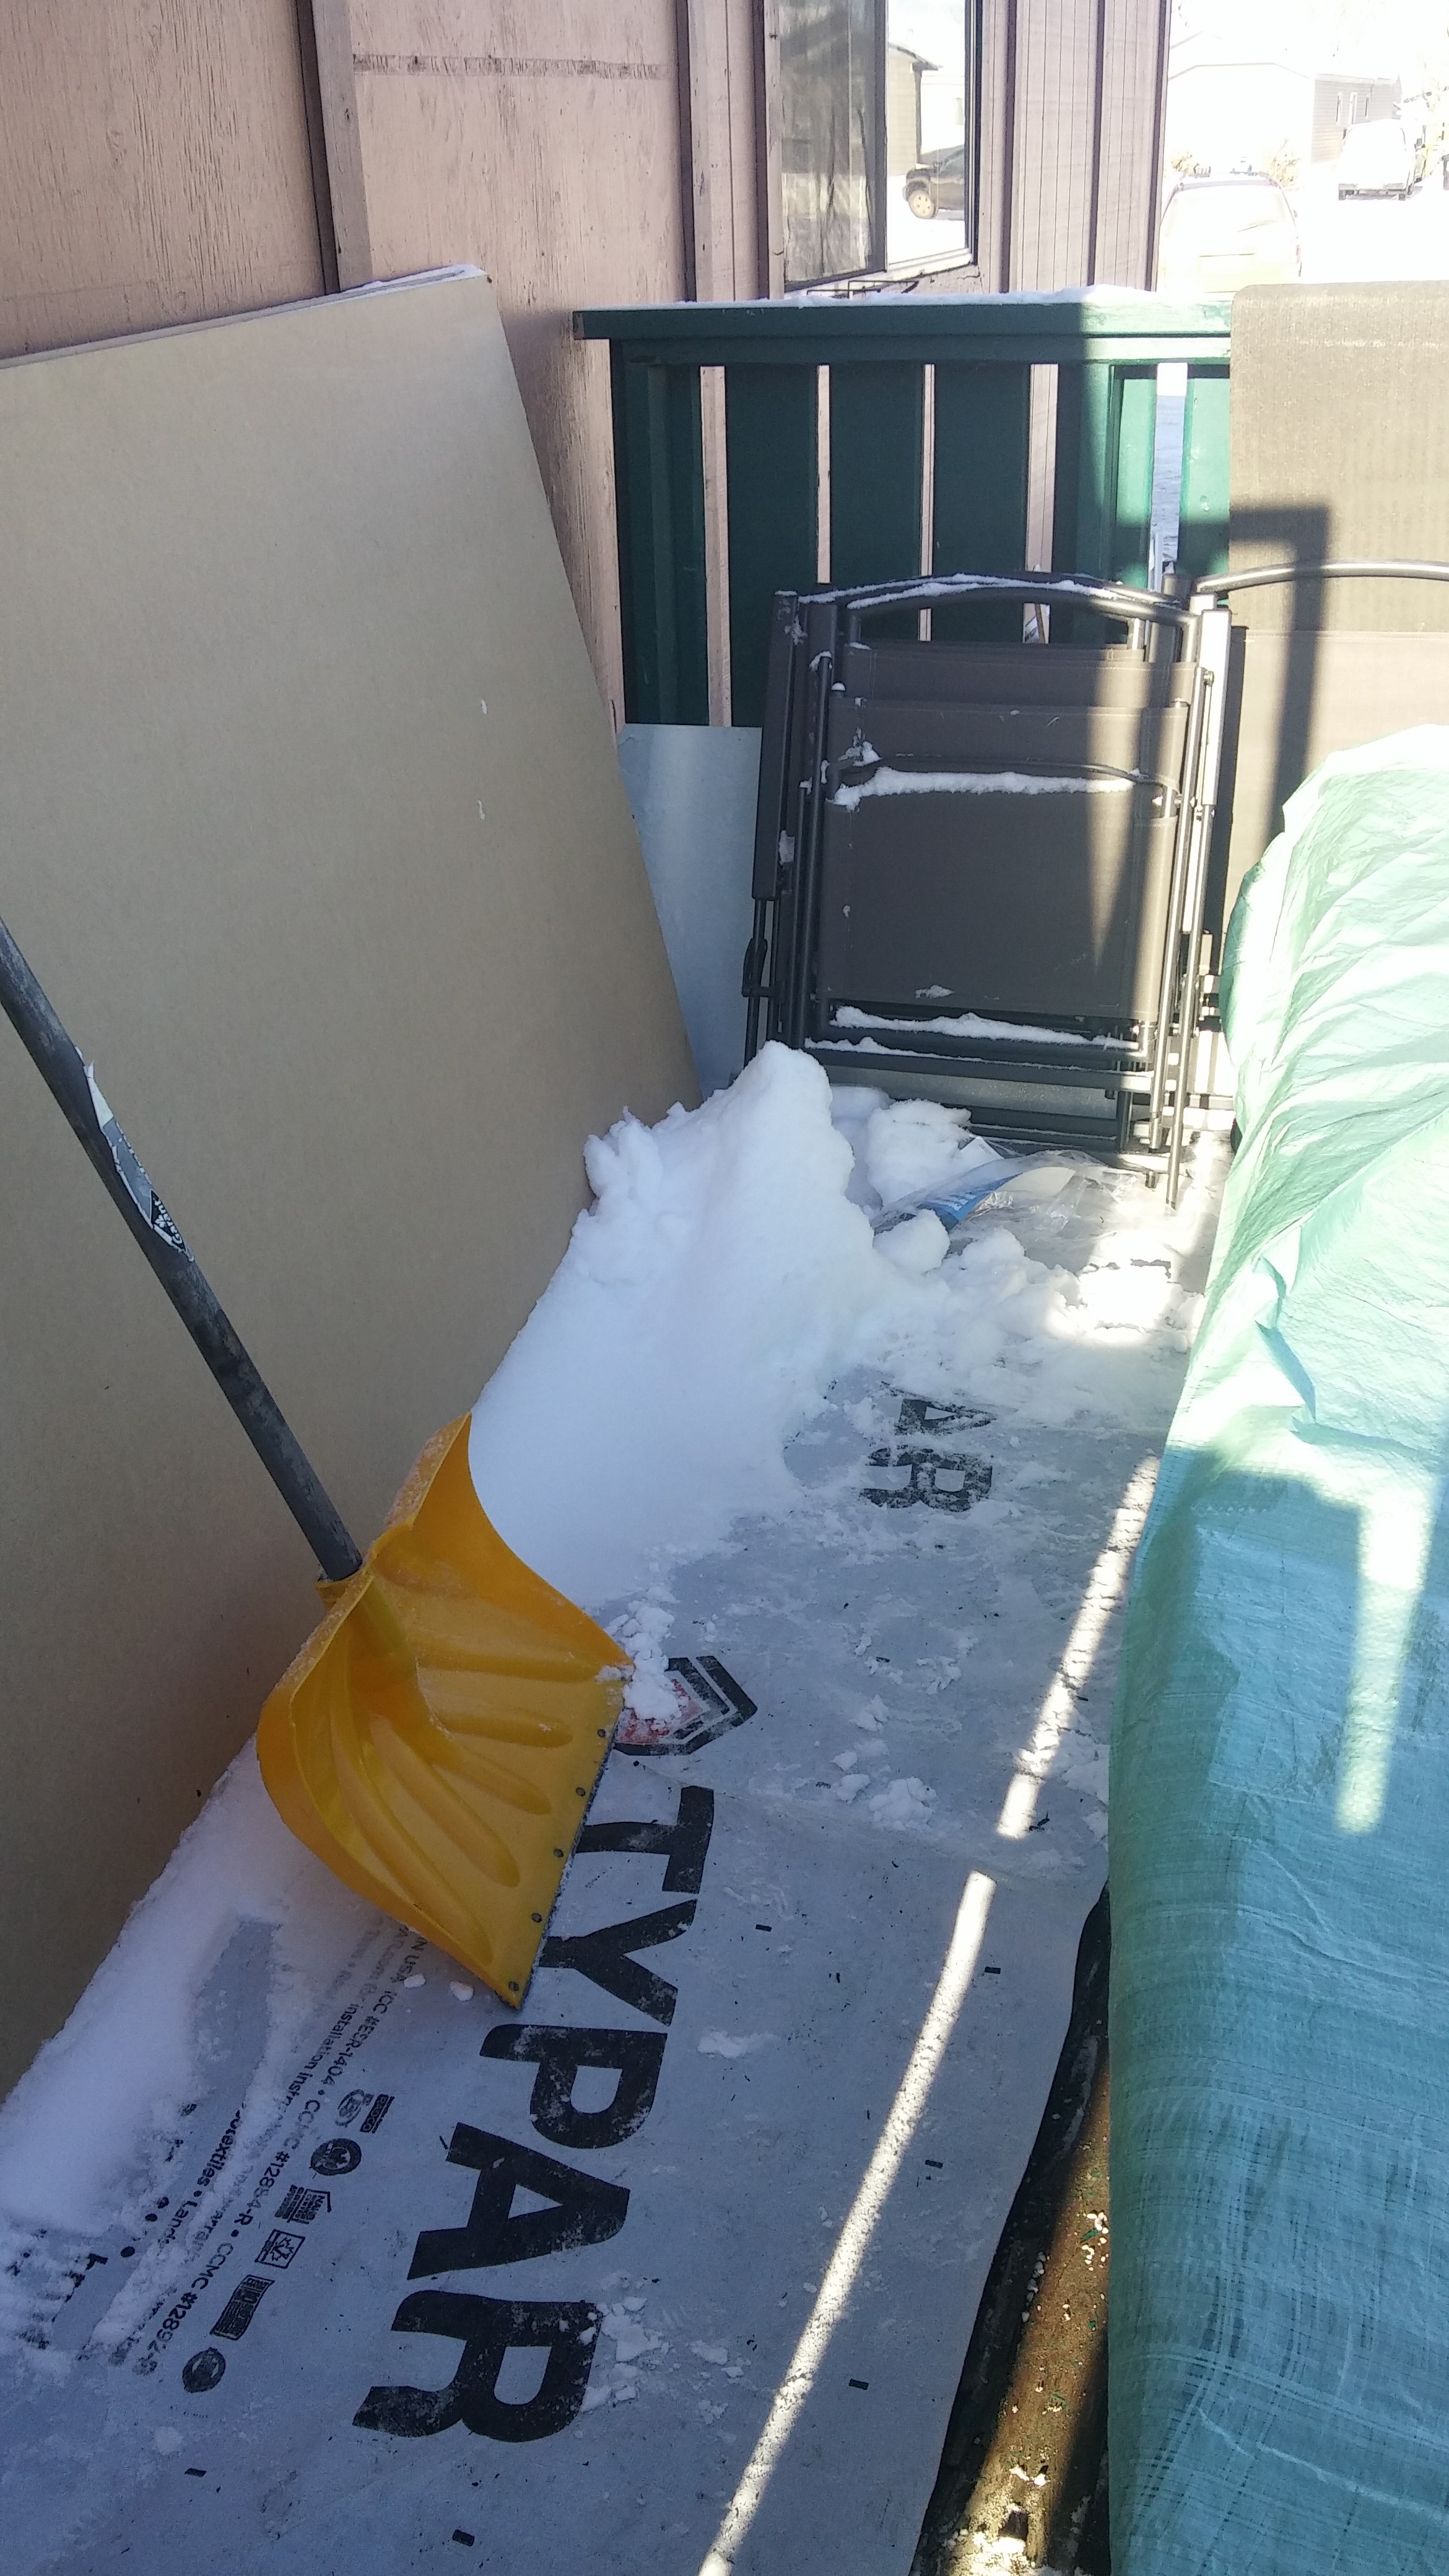
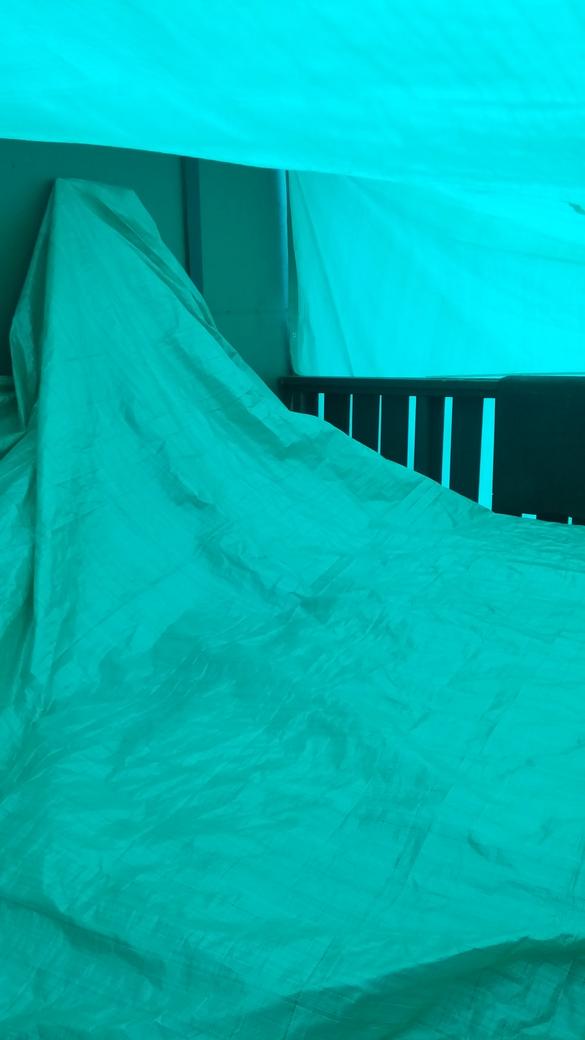
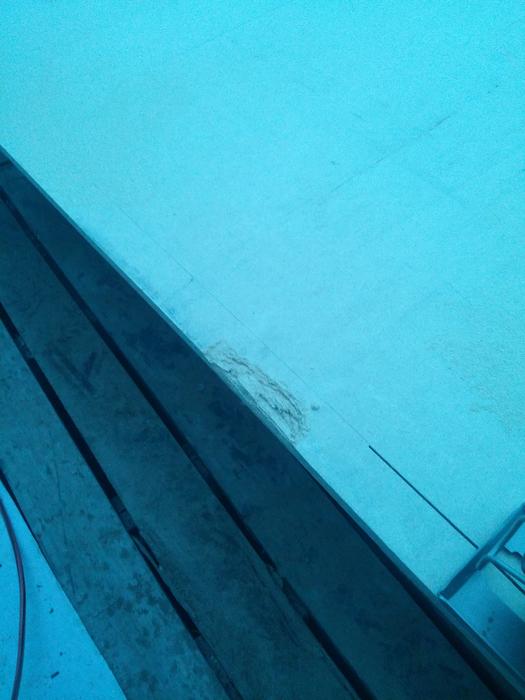
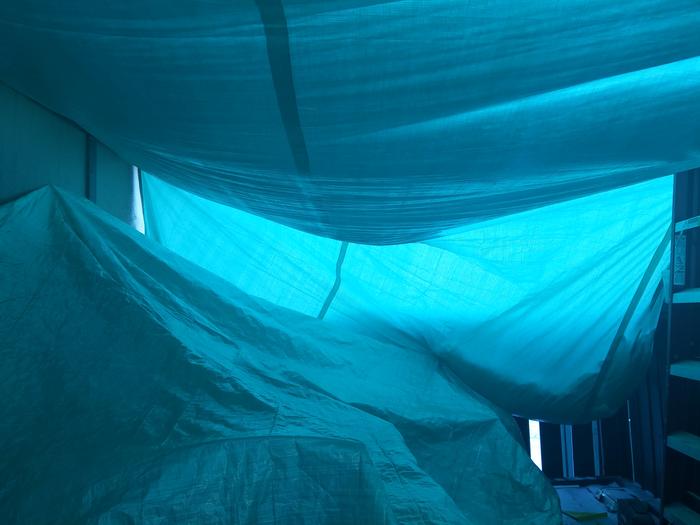
The table will not be going in the same place where it is now. I would show you where it would go, but it's kind of a mess right now
 
Build all your components into the desk with a glass top!
 
The past couple days have been kind of messy. Because of the fact that I live in Canada, Alberta to be specific, it gets cold. Very cold. And snowy as well. Since I don't have a work shed or any secure area of the sort, I have had to create my own

First thing first, I had to get rid of all the snow


Then, I set up a tarp to cover the area, because I was expecting more snow to come
This tarp wasn't big enough for my liking so I got a bigger one


Unfortunately, I didn't do a good first job and it was very windy that night, so it came loose. There was snow too
sad.png

I tried again in the morning, cleaned up the snow, and tried different ways of hooking it into place, so hopefully it should be strong enough now


I'm hoping to get started on the actual building portion very soon

Wish me luck!
 
thanks for reminding why i dont want to live in canada lol
cold enough here in the us around lake michigan.
looking pretty good to me thus far!
 
thanks for reminding why i dont want to live in canada lol
cold enough here in the us around lake michigan.
looking pretty good to me thus far!

Can't beat the free health care though ;)
I love Canada, but the place I live in, it's pretty meh. A pretty small town couple hours north of Edmonton, but hey! Leonardo DiCaprio visited to call us out on the oil sands :laugh:.
Not a lot to do around here, especially with the weather.
Hopefully this Summer will be a good one
Thank you by the way!
 
So I finally got some time today to go out and get some work done. I only have about 2 hours of sunlight left after I get home from class, so I wasn't able to do much.
Over the weekend I did a mini project again and printed out a bit of a "blueprint" guideline for one of the boards, it's six pieces of printer paper taped together with the schematics on them. The printer didn't print on the margins as much as I hoped it would, so I had to fill out quite a bit. The taping job could have been better too, but it printed unevenly.


This contains most of the main parts I need, which is why it's first
I know this is more work, as I could just take the image of the plan on a laptop or something, but I decided I might as well try something new, have a little fun. Why not! This whole project is about new experiences anyways. If this works well, I'll do it for the rest of the sheets


I moved a sheet onto a table, which was quite hard to do alone


The light you see in the back is more for warmth than light, it was incredibly cold today.
I had to put up more tarp to cover the stairs area (you can see in the previous pictures), as more snow, wind, and coldness were coming in than I would like
Because of the cold and having to set up the tarp I couldn't do much sketching, but hopefully I'll get more done tomorrow as the stuff I had to waste time on is done with now.
 
Worked on marking out the lines for the table a bit. There was another thing that came up today as well though that took away a bit of my time, I noticed there was an error in the original planning!
sad.png


It's a bit hard to describe, but there were a few problems. Some angles for a couple pieces were off, and one piece didn't fit as it should. Haven't completely fixed the last one yet, but it's going to be one of the last pieces cut out, so I can take some time if I need to


Here's the cover I was talking about in the last post. It's not much, but when it's 20 below freezing, and you have to find something that will cover it in the first place, it's much more difficult.


I'm going to Edmonton tomorrow morning, so I won't have time to do anything over the weekend unfortunately
sad.png
I was looking forward to it. I'll probably work on it again on Monday, as we'll be coming back Sunday night
 
I like this thread already....my kind of guy/gal.

A belated welcome to TPU...from me.
 
So I came back from Edmonton last night and, unsurprisingly, it had snowed in my area
sad.png

It was too dark in the moment to assess the damage, and I was too tired, so I just let it go until tomorrow morning

The snow had caused the tarp to become too heavy and was unable to hold itself, causing the rings to rip


covering my planks with snow
sad.png

Its a good thing it's cold, and I'm glad this happened sooner than later, because snow doesn't damage the wood, melted snow or rain. So this was actually, even though it's a waste of time, a good thing
That's twice I've had to fix the tarp, so this time I decided to use an even bigger one, and support the rings by folding the edges three or four times over themselves


This one completely covered everything, which I'm really happy about

After going through so many repair jobs and obstacles, I finally decided that I would have to make at least some progress, so I cut out one of the pieced I had finished marking out

It's a very simple piece, but it gave me a good idea on what settings to use for the jigsaw (which I bought for this), and how it would turn out
Hopefully I'm done with the setbacks and can start making some real progress in the coming days
 
The new tarp I've put up seems to be holding together well, but I haven't pinned down the opposite sides to ensure it doesn't rip again, so I have to clear the top of snow and ice every time I get to work. It's a huge tarp so nothing splashes onto the inside, and a little bit of cleaning at the beginning is a great trade off to ensure it doesn't rip
QuQYsRv.jpg

The next piece I had sketched out is my monitor stand. This was a huge one, and having to do it alone is quite tricky so I will most likely be getting help for the rest of the big pieces.
19WEd1w.jpg

It turned out pretty good and all the dimensions seem to be what they are supposed to be. Two pieces down! I'm getting better at using the saw, so cutting should begin taking less and less time, and I will be able to cut more out. Drawing out the lines seems like it will take the most time, but as I get more practice at it I am getting faster and learning new techniques as well
ftwBeFN.jpg

I decided that, just to be safe, I would cover everything up. You can never be too careful, even if it requires a little more effort.
I apologize for the lack of content, I'll try to take more pictures if I can, and if anyone has any suggestions, feel free to let me know!
 
measure twice and cut once! go as slow as you can without burning wood.

i use to use a ceramic tile saw a lot on my knees carrying around a huge water container. you dont want to see what happens if you run out of water mid cut :eek:

needless to say you should wear eye protection and something a lot of people dont realize is that its bad to use any spinning tool with gloves on.. i seen someone get a finger ripped off.
 
The thing that impresses me most about this is you're doing this in the cold of a Canadian winter.
 
measure twice and cut once! go as slow as you can without burning wood.

i use to use a ceramic tile saw a lot on my knees carrying around a huge water container. you dont want to see what happens if you run out of water mid cut :eek:

needless to say you should wear eye protection and something a lot of people dont realize is that its bad to use any spinning tool with gloves on.. i seen someone get a finger ripped off.
More like measure 100 times and right before cutting measure it a few more times :laugh:
I'm taking it slow, it would be nice to get it done fast but this it's safer and will yield better results this way I hope
Thanks for the tips, don't want to imagine those scenarios you've given:eek: and especially don't want to be caught victim to them either!
 
The thing that impresses me most about this is you're doing this in the cold of a Canadian winter.
It's freezing here it's true, but hopefully by the end of this you'll change your mind about it being the most impressive part ;)
Got a few surprises I'm holding back too until the end
 
Felt I was posting too often with too little to the update so I've held back for a few days, but I feel I've done enough for a new post
It's been incredibly cold, reaching down to -30 or so, so I had to skip a day that I could work on the table as well
8T7y8M9.jpg

jys3rXr.jpg

Yo8sz2F.jpg

s6NFvPc.jpg

I've finished cutting out all but 4 of the parts, which are inside of another piece for which the measurements have still not been corrected, so for now I'm basically done cutting out all the parts from this sheet!
I still have to make the angles on a lot of these pieces but I'm debating on leaving that to after cutting out all the pieces from the sheets.
 
New update for you guys. Been working for the past couple days, skipping some days as well because of the cold and snow. Also, I have some good news and some bad news. Let's start with the bad

First of all, it's not all that bad lol. I have finally run out of wood sheets to cut and will have to go to buy more, but the rear door of our car is not opening so going to have to figure something out for that.
Now the good, I have cut out enough pieces (as I planned) to begin a test build of the main areas of the table! I might get started with that tomorrow, or maybe tomorrow will be for getting more wood, I haven't decided yet

ginqZzI.jpg

One of the sheets was damaged like this on two of the edges, so instead of cutting around or keeping it, I just decided to trim that part off

xwjx8mX.jpg

the first side

Sbakfh7.jpg

and the next

I didn't end up taking as many pictures as I though I did, so this is all I have for the day I worked on this sheet


PCH9Ov3.jpg

This happens almost ever other day, but I'm posting a picture today because it hasn't been this heavy and stayed up before

j13TIb1.jpg

got it all cleared out and placed a new (and the final) sheet onto the table. The smaller piece you see on top I was just using to make straight lines

m6mGA7i.jpg

the final cut of the last sheet

OxAzqTE.jpg

and all the pieces I have cut out so far! The long one laying horizontally at the bottom isn't actually a piece, I just couldn't' find anywhere else to put it because it's too tall.


That's all I have for this update! Hopefully I should be doing a lot more soon. Also, let me know if you guys prefer more frequent updates, with the stuff I completed that day. Or would you like less frequent updates with progress over a course of a couple days or a week.
 
That's all I have for this update! Hopefully I should be doing a lot more soon. Also, let me know if you guys prefer more frequent updates, with the stuff I completed that day. Or would you like less frequent updates with progress over a course of a couple days or a week.


post it when you can Dude.

I admire your spirit and your choice of winter clothing. The thermometer dipped to minus 2 degrees here the other night so i put 2 pairs of socks on :peace:.


Have you ever travelled in Asia or Africa ? They have pretty good techniques for carrying oversized loads on vehicles if you cant solve your car problems.

pb-110301-motorcycle-jb.photoblog900.jpg


:toast:
 
post it when you can Dude.

I admire your spirit and your choice of winter clothing. The thermometer dipped to minus 2 degrees here the other night so i put 2 pairs of socks on :peace:.


Have you ever travelled in Asia or Africa ? They have pretty good techniques for carrying oversized loads on vehicles if you cant solve your car problems.

View attachment 72267

:toast:

Will do, that works for me.
My winter clothing isn't anything special, I'm working with my hood off and my jacket open most of the time lol. And my spirit is mostly coming from the fact that I reallyy want the end result as soon as possible (the table), so I need to keep putting in time. Also, I'm having fun
Here I am wishing the temperature would rise to minus two, I've been working in around the -5 to -15 range most of the time, some days I get lucky like I did today, was warmer than -5

Being South Asian myself, I'm very familiar with pictures like that. Bringing the wood home like that would be a possibility if the roads didn't get so bad during the winter and it wasn't so far lol
 
I could barely get to sleep last night because of how eager I was to get started on working on this again, yesterday was too cold to work. Today I decided to try something new, something I would have to do eventually and didn't have any certain idea on how it would go. I decided to make the angled edges on all the pieces (I have cut so far) that need them.

I wasn't sure how I was going to do this. My jigsaw only had the option to cut 45 and 22.5 degree angles, and the ones I need are much more odd. I also thought about using the circular saw which has the ability to cut any angle between 0 and 45 degrees, but it was too cumbersome to work with, especially on small 6 inch by 4 inch-ish pieces.
I figured I would try again with the jigsaw because it would probably be the easiest. I put the long edge of the piece on the table, and left the piece hanging over a bit. I then took the jigsaw, holding it vertically, and followed the line I had made for the angle
QG4wfIxl.jpg

This was good, but not good enough. The piece was shaking a lot as I cut, and I didn't want to risk getting any closer
So then I figured I should just file the rest down
7iZAAafl.jpg

This allowed for more precision with less risk, but it took a long time finishing up all the pieces this way.
p8RQE64l.jpg

In the end I managed to cut them all out to my satisfaction, hopefully they line up well enough with the pieces they will be joined to

I had some time left until sundown so I decided to quickly do one more thing before heading back inside
I had to cut out a "hole" from another piece
iYFPY6ql.jpg

My level of skill at performing insertion cuts is improving as well
OkMFsDLl.jpg

Managed to get the piece cut right as the sun had almost set, so I had to use the camera flash to take this picture
bIpiyfTl.jpg

And with the piece removed
I'm planning on going to get more sheets tomorrow, but we'll see how that goes or if I end up doing something else.
 
Managed to find some time to go out today and get 2 more sheets of MDF, and then had a little left over to start cutting one of them out
qKmDhJGl.jpg


Didn't have time to print out a bigger copy, so quickly made a sketch of one of the boards
7pGcxpml.jpg


Same piece of the sheet, but moved to the whole backside because of its complexity
LygQ4eOl.jpg


8i4B60Zl.jpg


Got 3 pieces cut out and some of the next sketched before the sun was beginning to set
C2YTcu6l.jpg


And everything I have so far
xW8PIcll.jpg


You may remember that a post or two ago I said I had enough to make a test build of the table.
Wellll
I may have missed a piece
BUT I HAVE IT NOW I CAN MAKE IT I PROMISE
Don't know when I'll actually get to it though lol, don't have a lot of room outside
We'll see how it goes
 
You need a mitre box

imgres.jpg


Mine cost 3 quid.

ooops, just checked your pic, i thought you were cutting 2x1 but it was edge on the chipboard. I am even more impressed now.


Keep up the good work........:rockout:
 
Last edited:
You need a mitre box

View attachment 72340

Mine cost 3 quid.

ooops, just checked your pic, i thought you were cutting 2x1 but it was edge on the chipboard. I am even more impressed now.


Keep up the good work........:rockout:
I saw one of these a while back and completely forgot about it. But yeah as you noticed, my pieces are weirdly sized as well and everything has to be done manually! I figured out an easier way to do this though, took a picture for the next update. Cut down my time from 5-15 minutes per piece down to less than 5.
 
Back
Top