ThermalMIke
Thermaltake Rep
- Joined
- Apr 25, 2014
- Messages
- 11 (0.00/day)
| System Name | SunkisTt |
|---|---|
| Processor | 4770K |
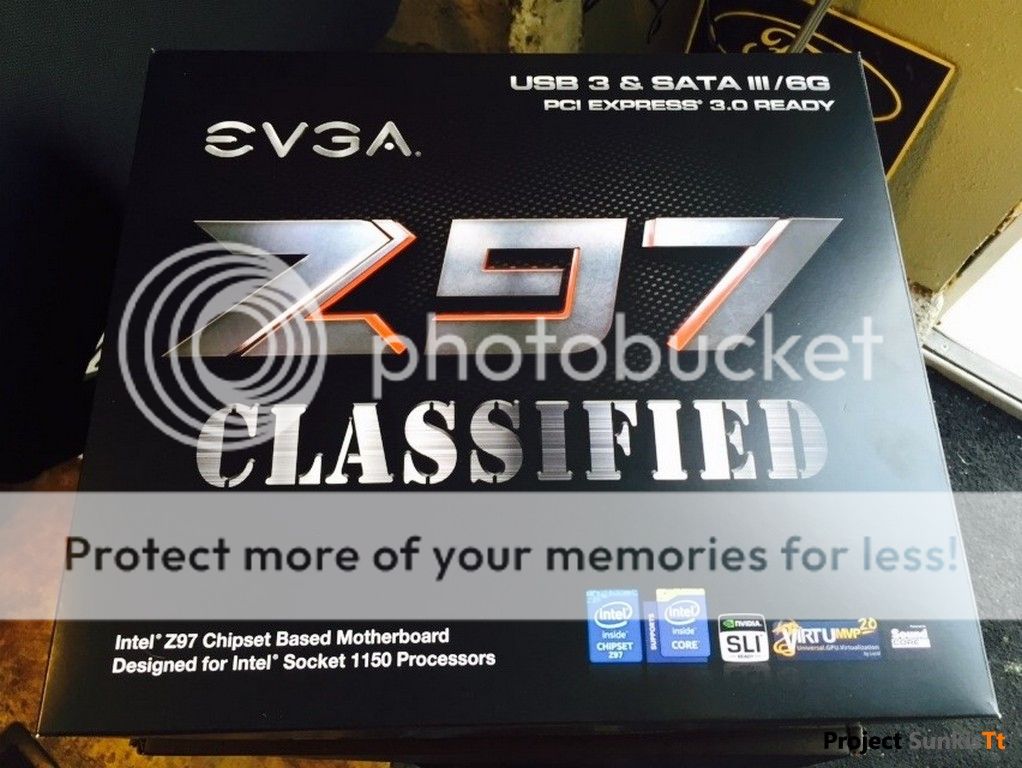
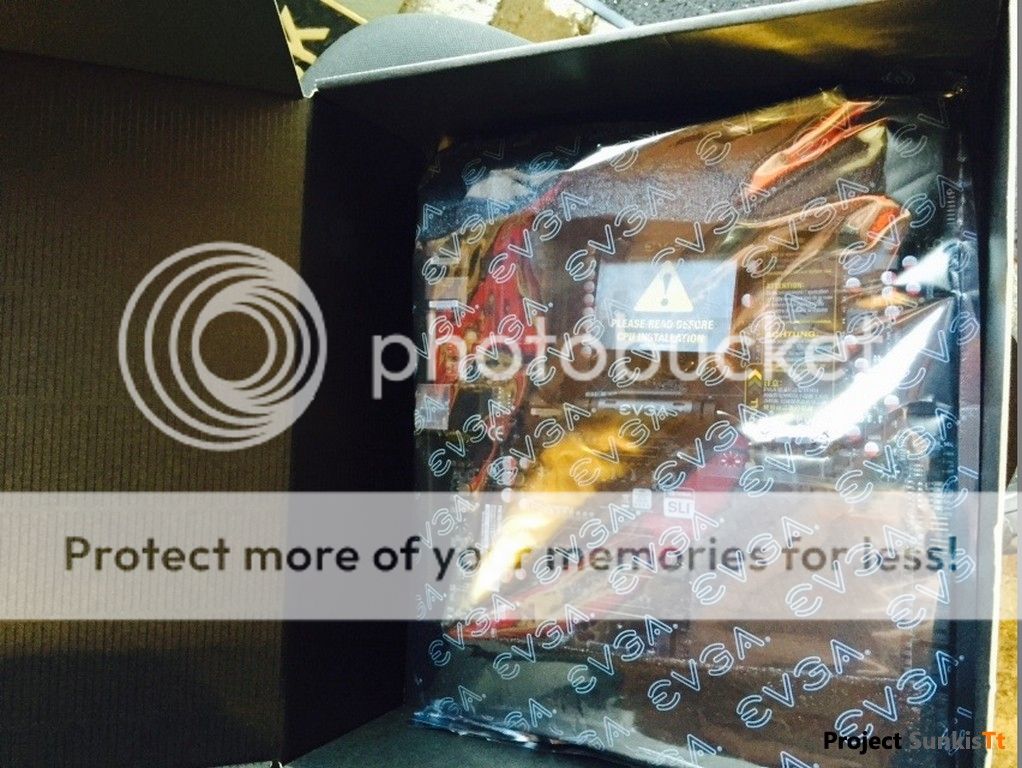
| Motherboard | EVGA Z97 Classified |
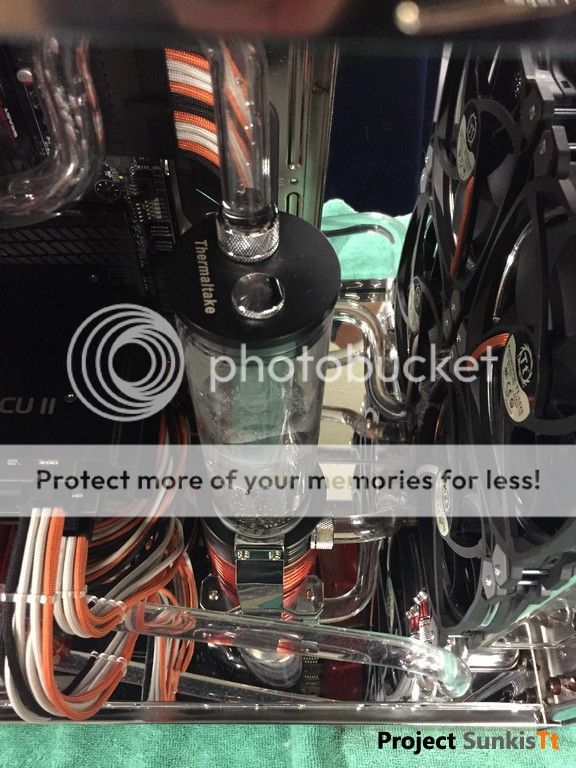
| Cooling | Thermaltake Pacific DIY LCS CPU/GPU System |
| Memory | TBD |
| Video Card(s) | (2)ASUS Strix GTX 970 in SLI |
| Storage | (2) Samsung Evo 256GB SSD in RAID 0 |
| Display(s) | ACER XB270H G-SYNC 144Hz |
| Case | Thermaltake Core V71 |
| Audio Device(s) | on-board |
| Power Supply | Thermaltake Toughpower Grand 1200W Platinum |
| Mouse | Tt eSPORTS Ventus X |
| Keyboard | Tt eSPORTS Poseidon Z |
Hey everyone!
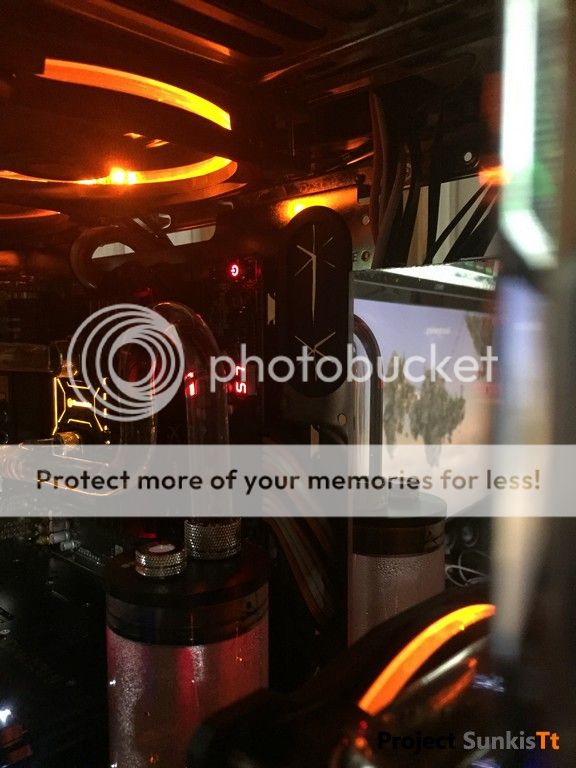
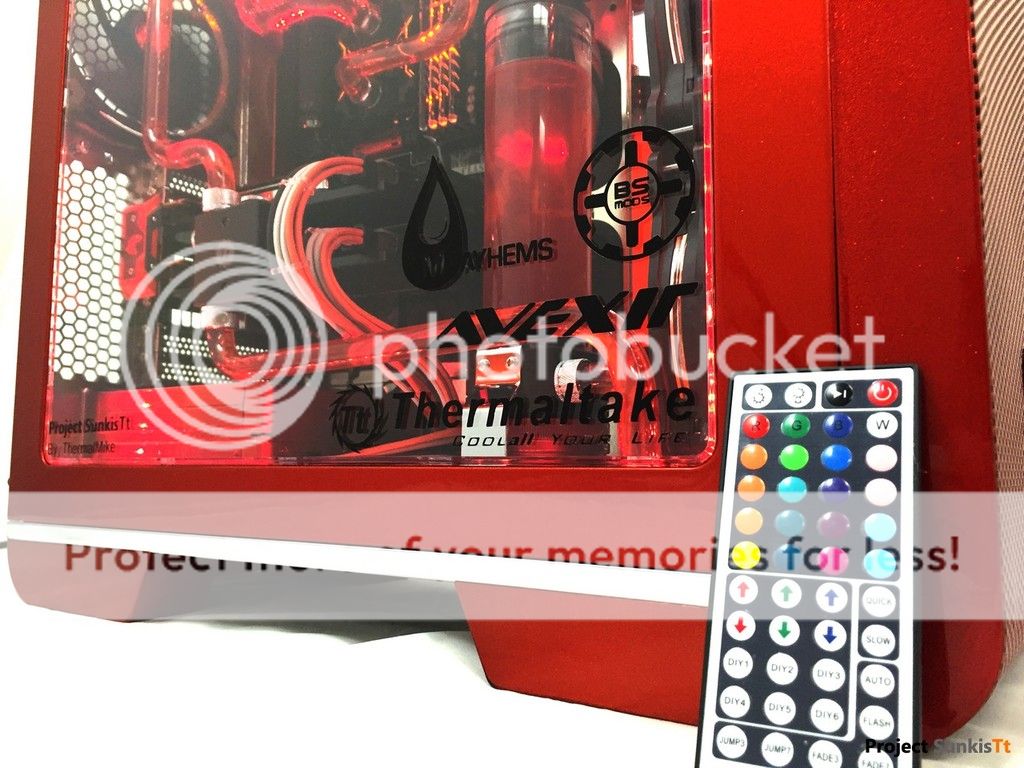
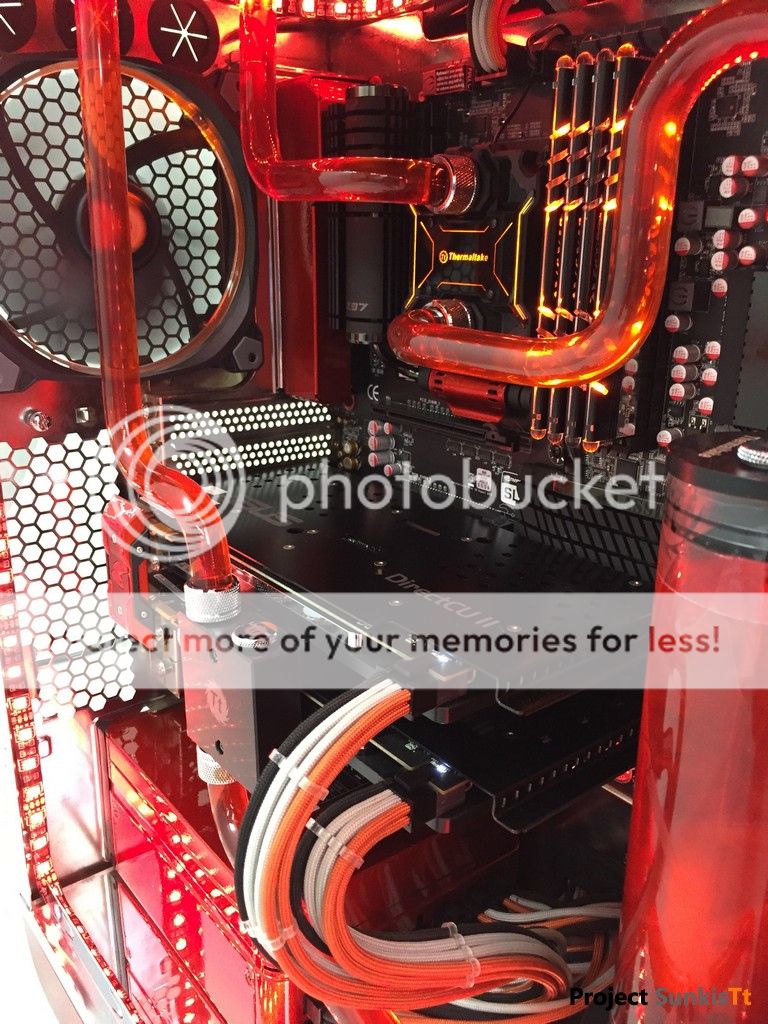
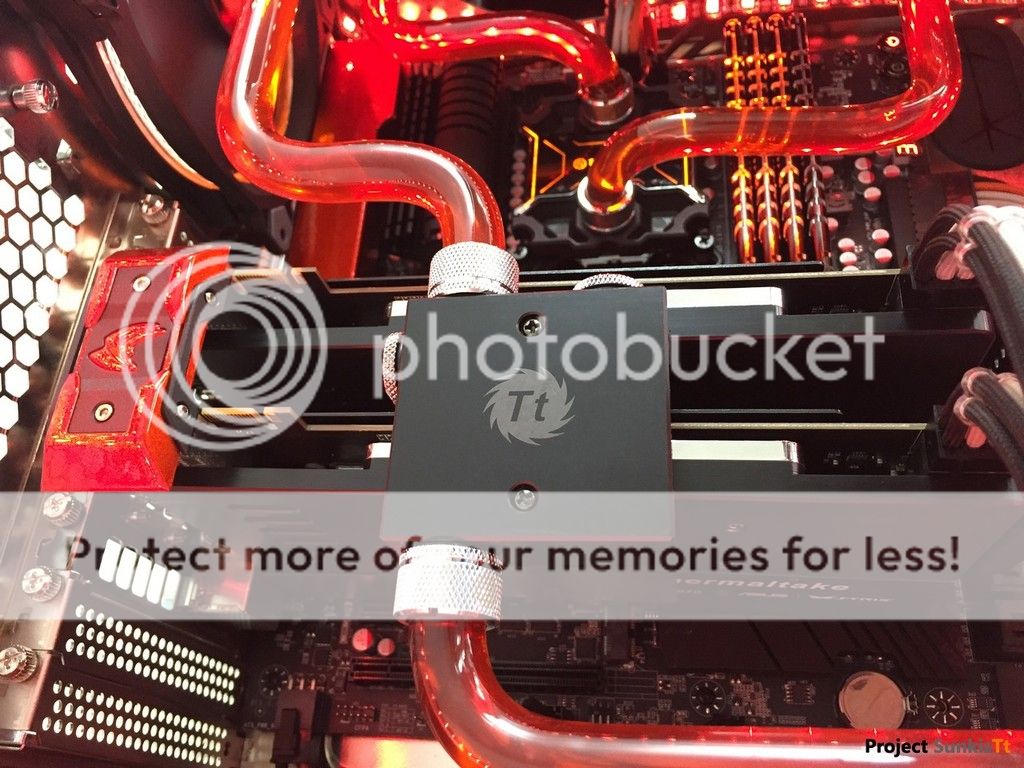
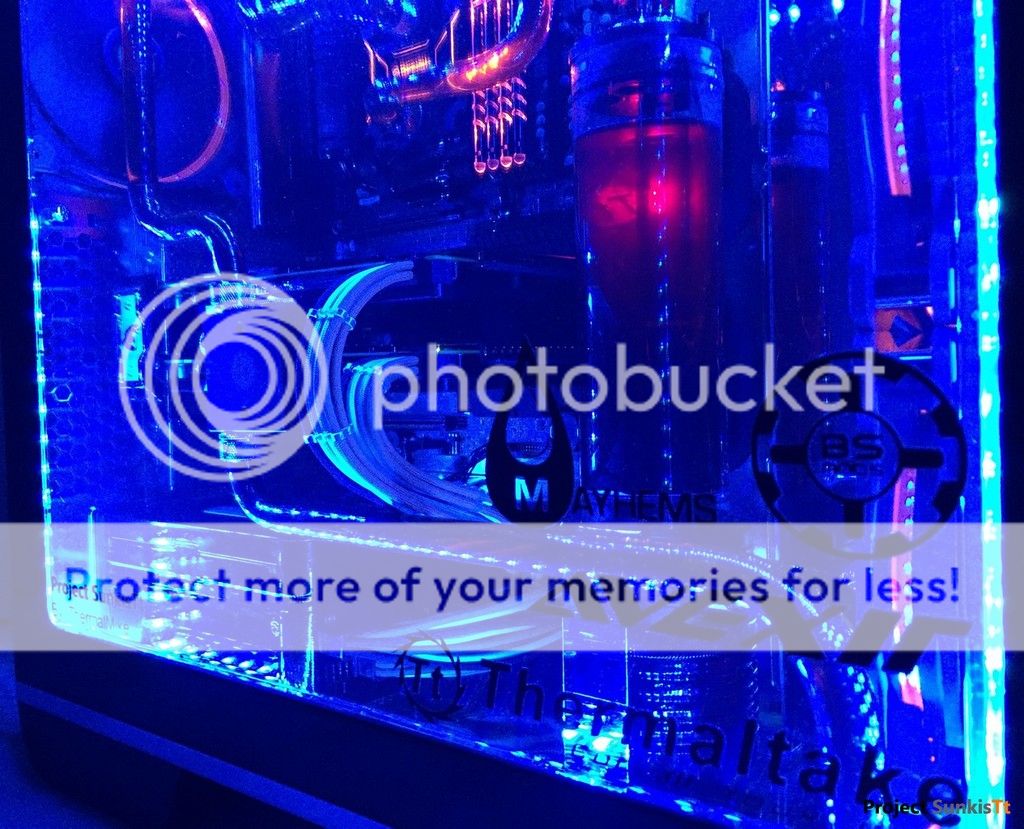
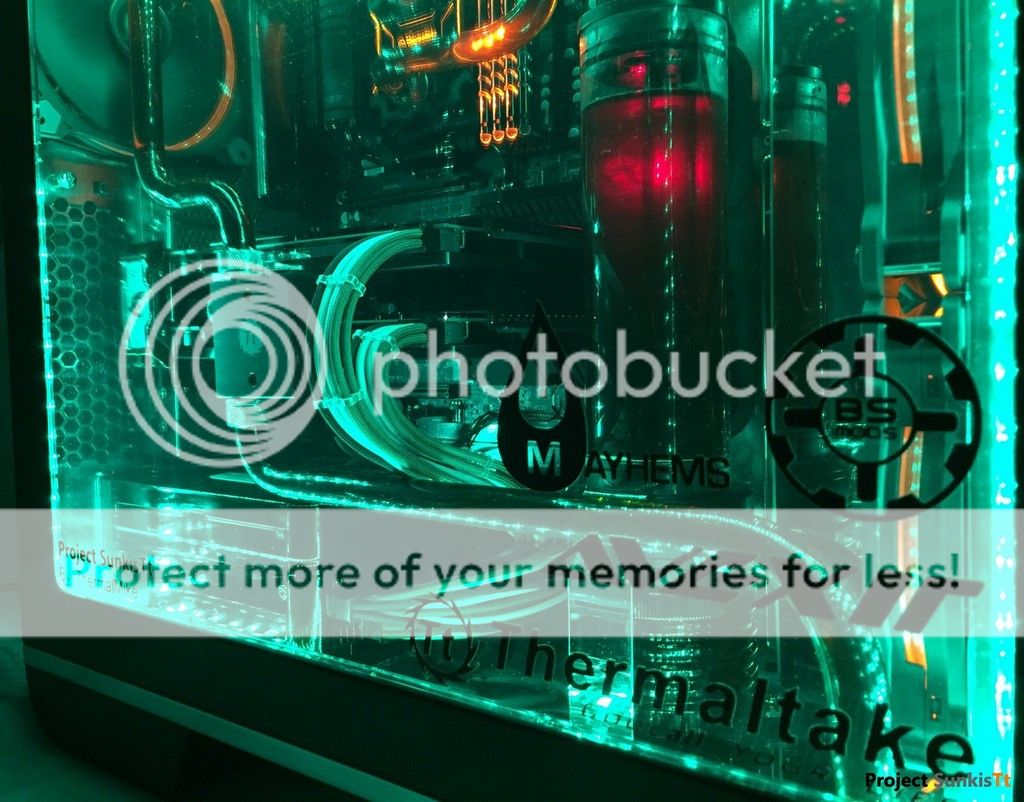
Name is Mike Fierheller, I have been an enthusiast for many years and have been working in the PC industry for 10 years. I really wanted to show something that both I would enjoy as well as show off some new liquid cooling components Thermaltake has been introducing this year from the New Pacific Series.
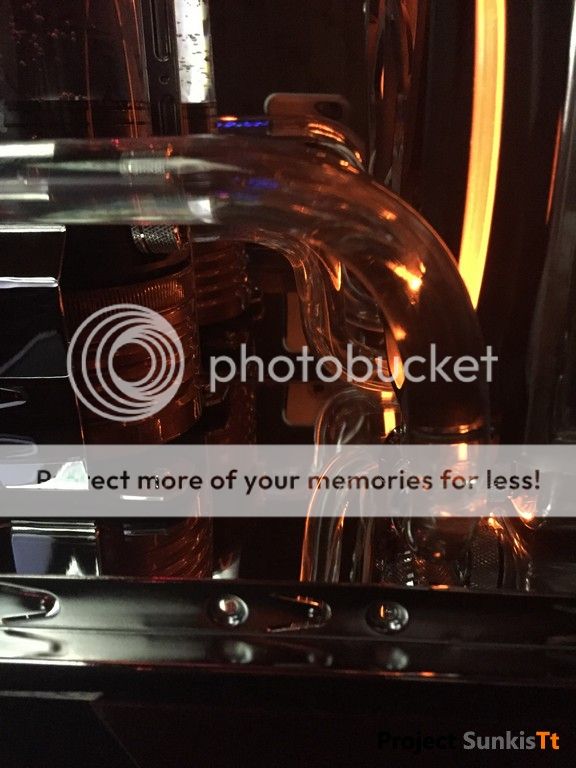
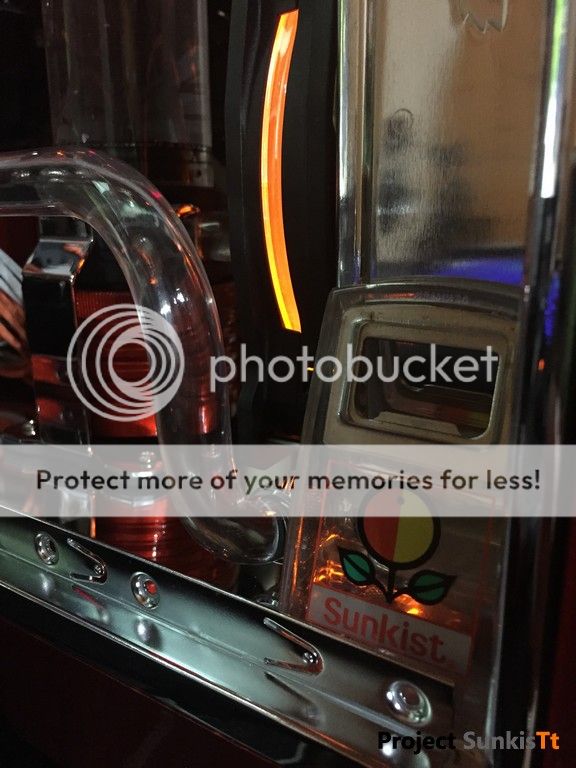
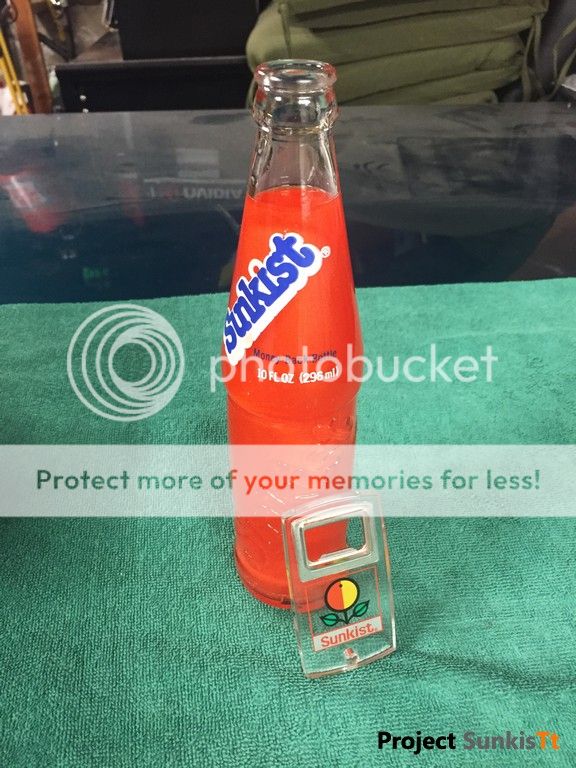
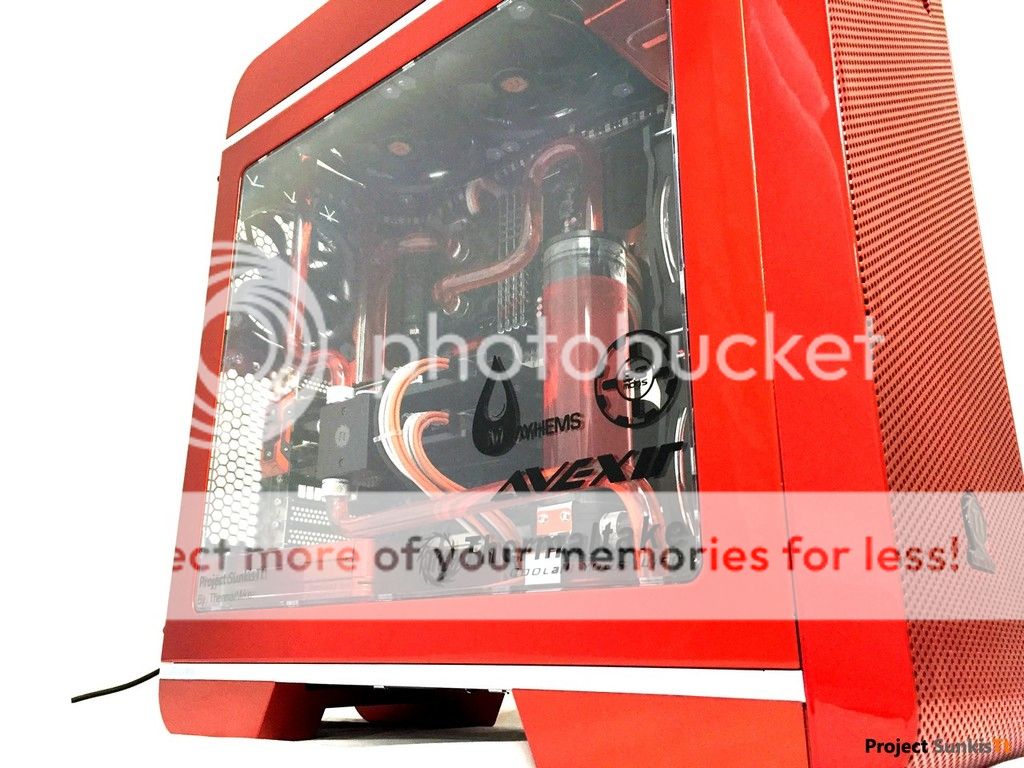
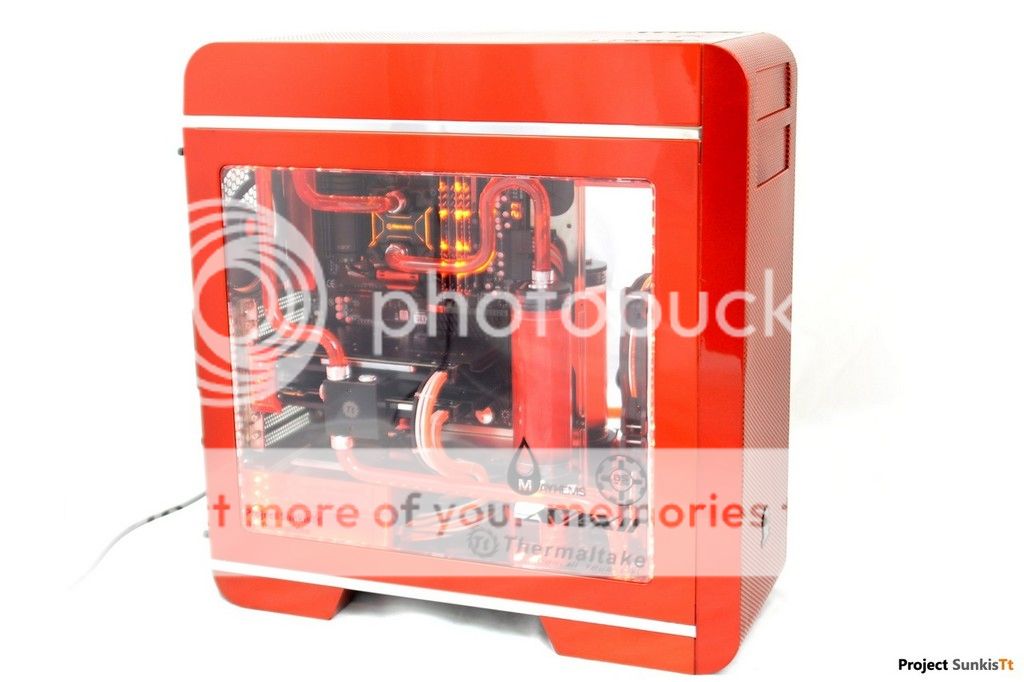
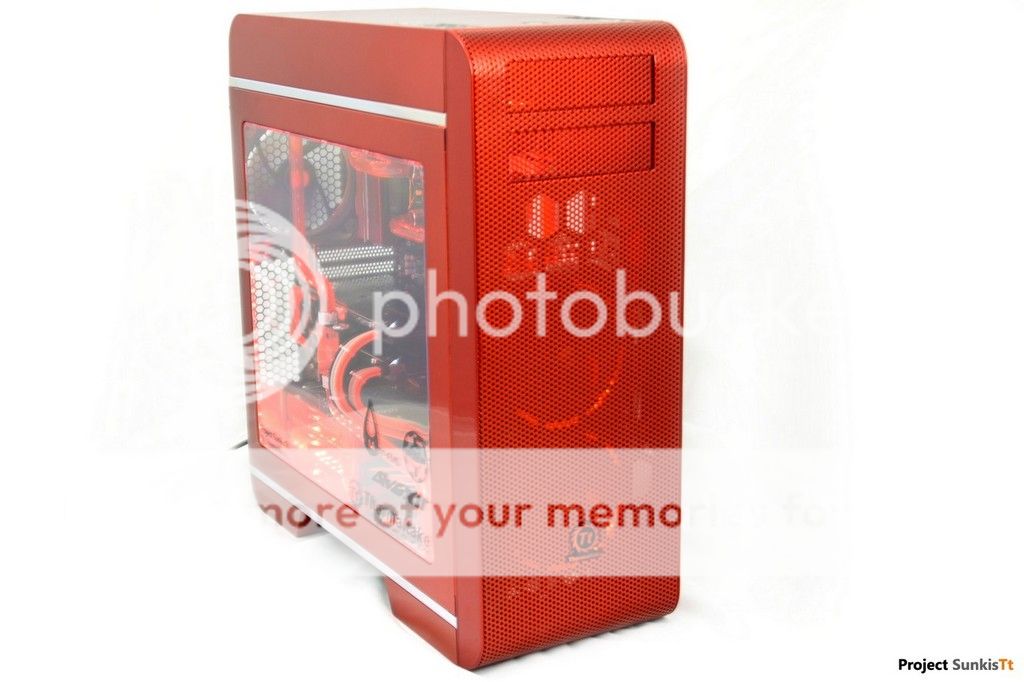
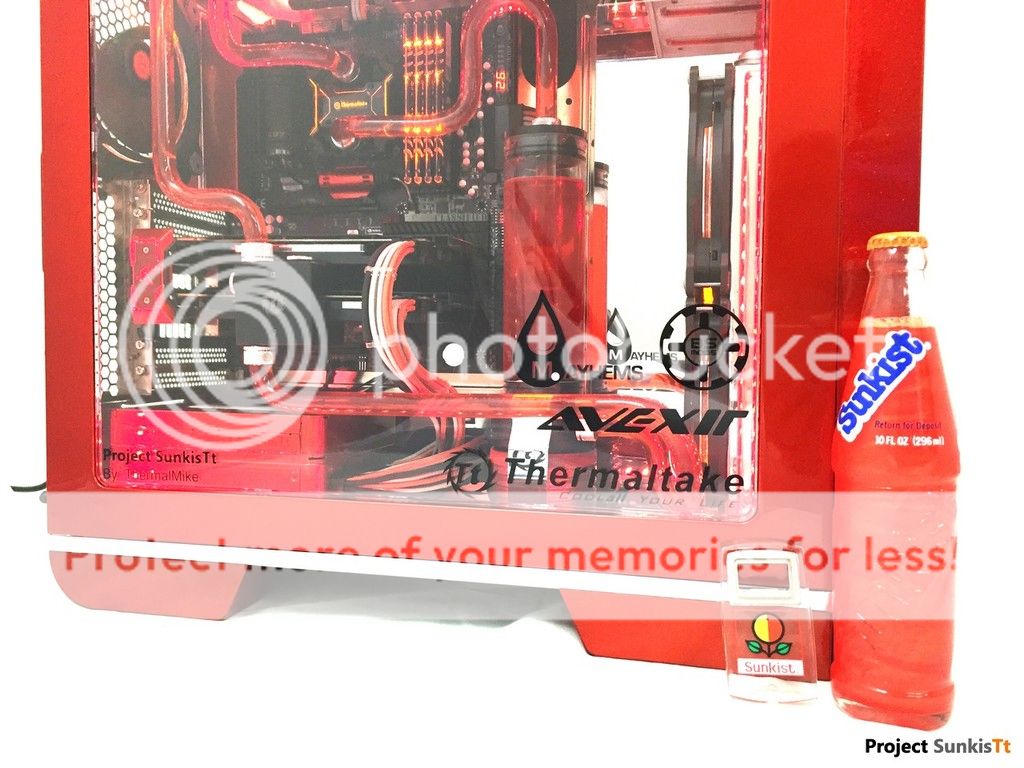
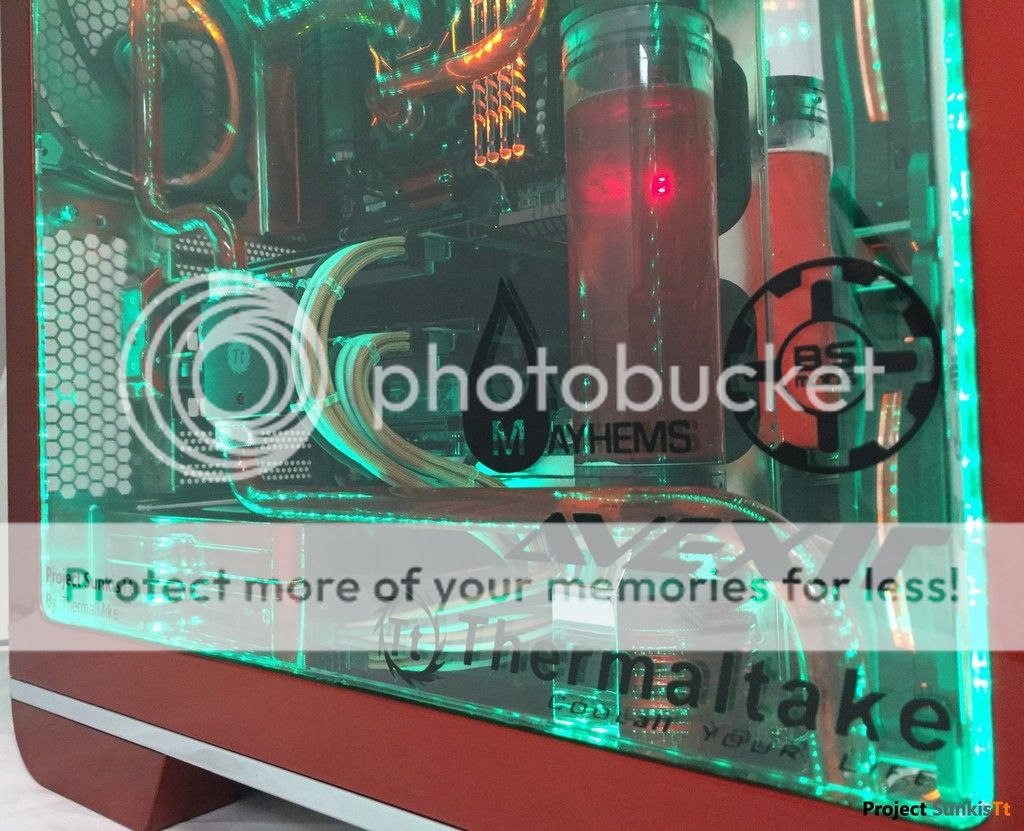
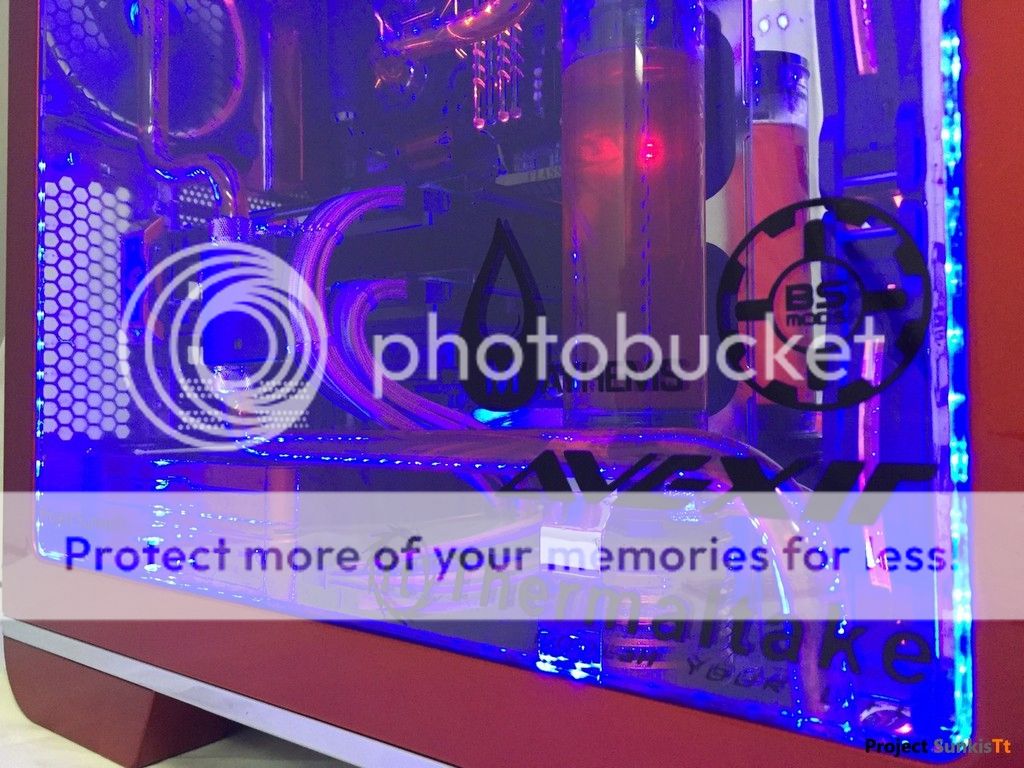
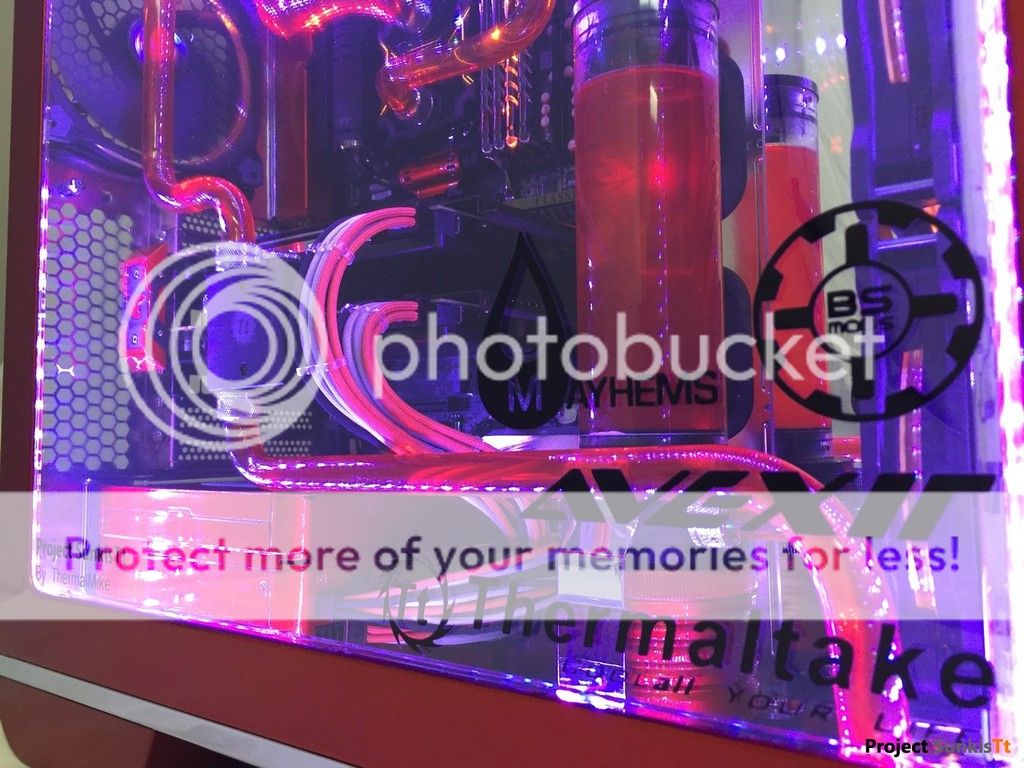
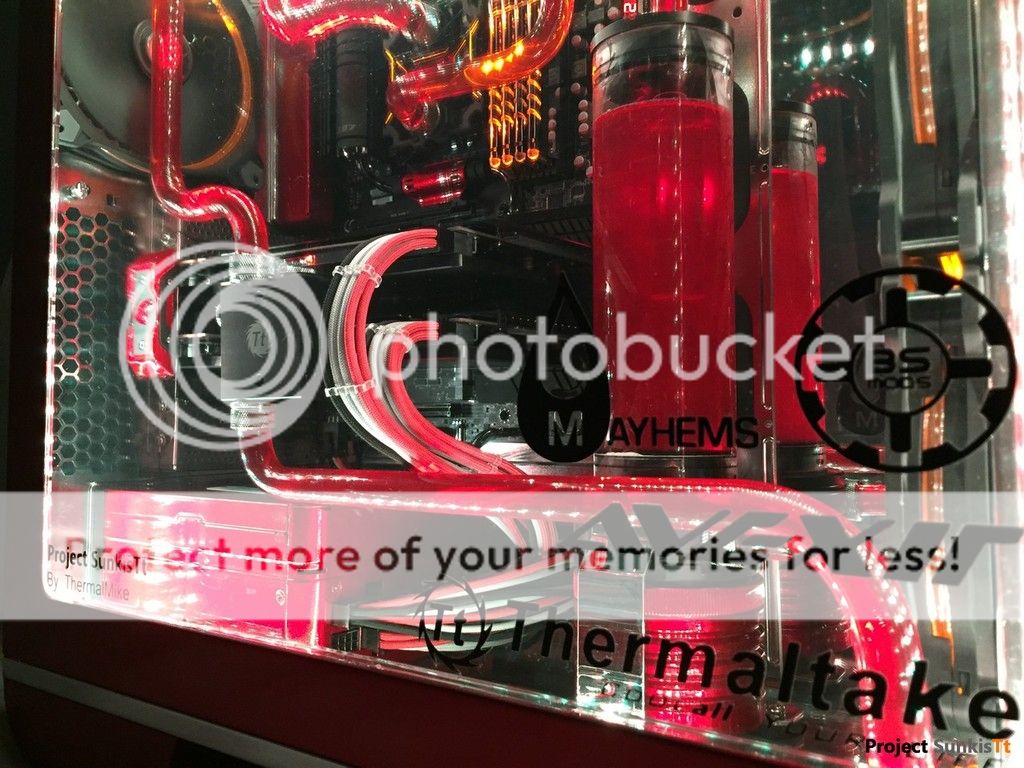
Project SunkisTt
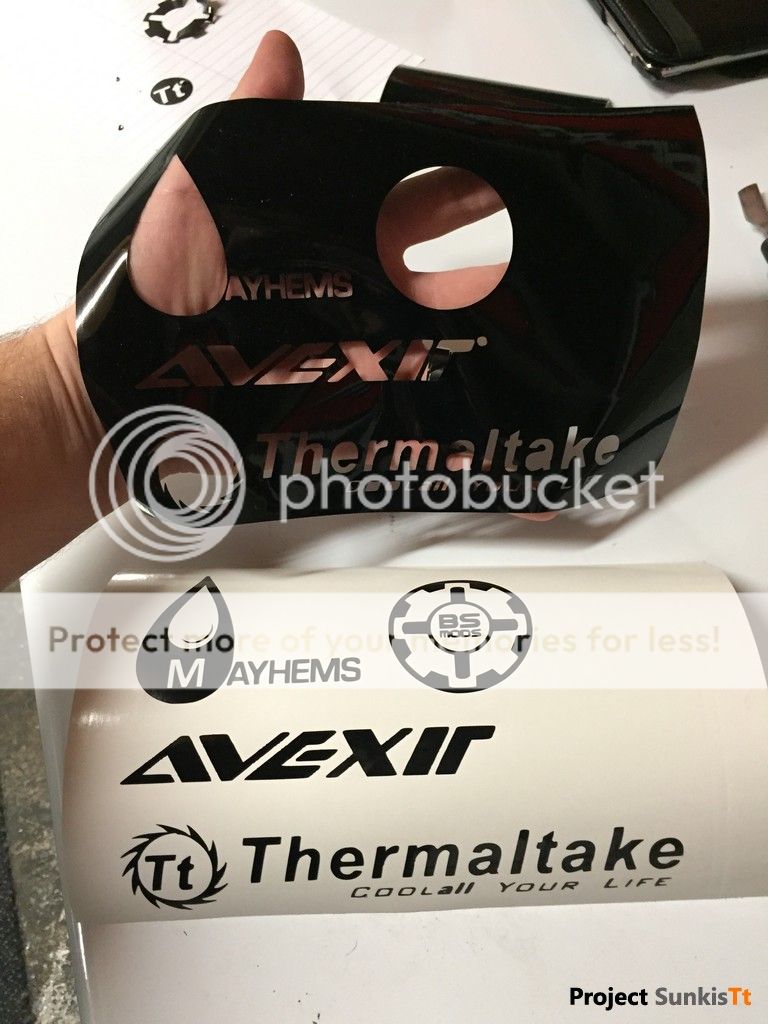
Thank you to my Sponsors:
Thermaltake

Avexir

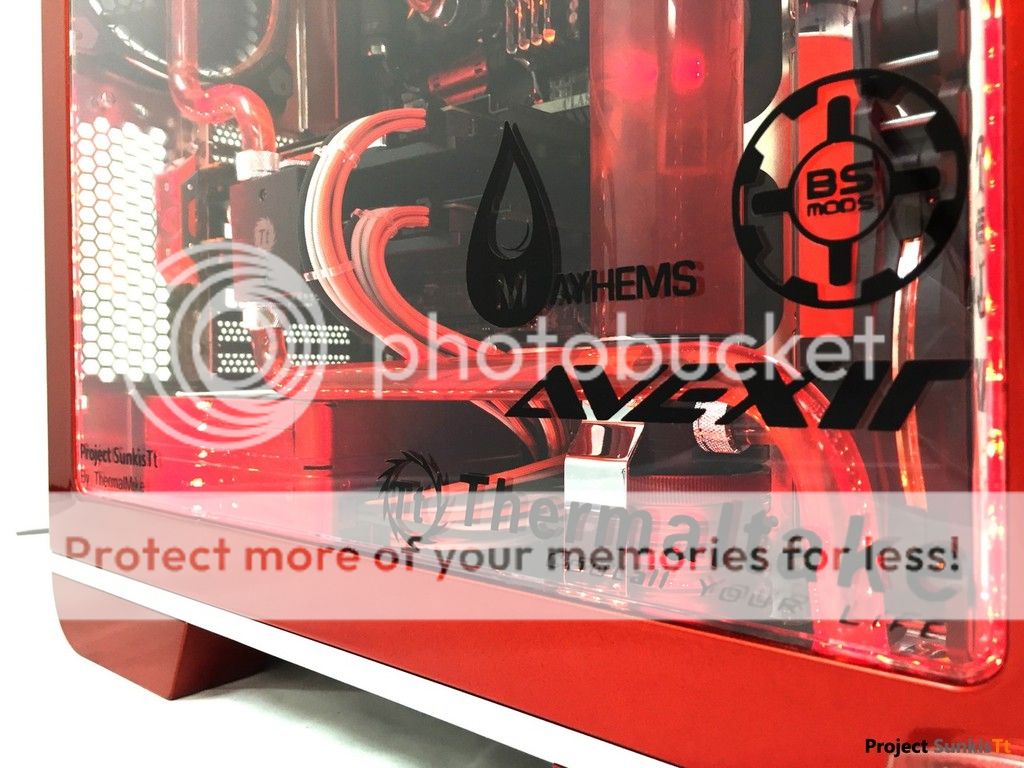
BS Mods

Mayhems

Parts List:
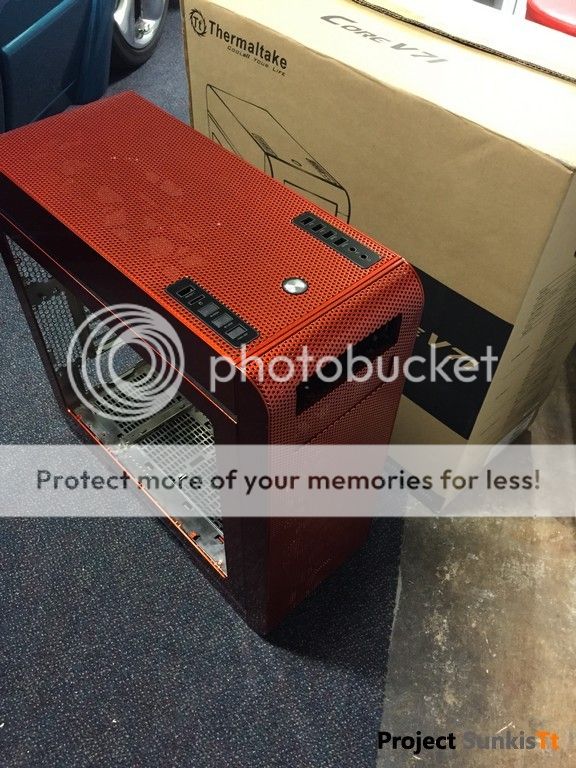
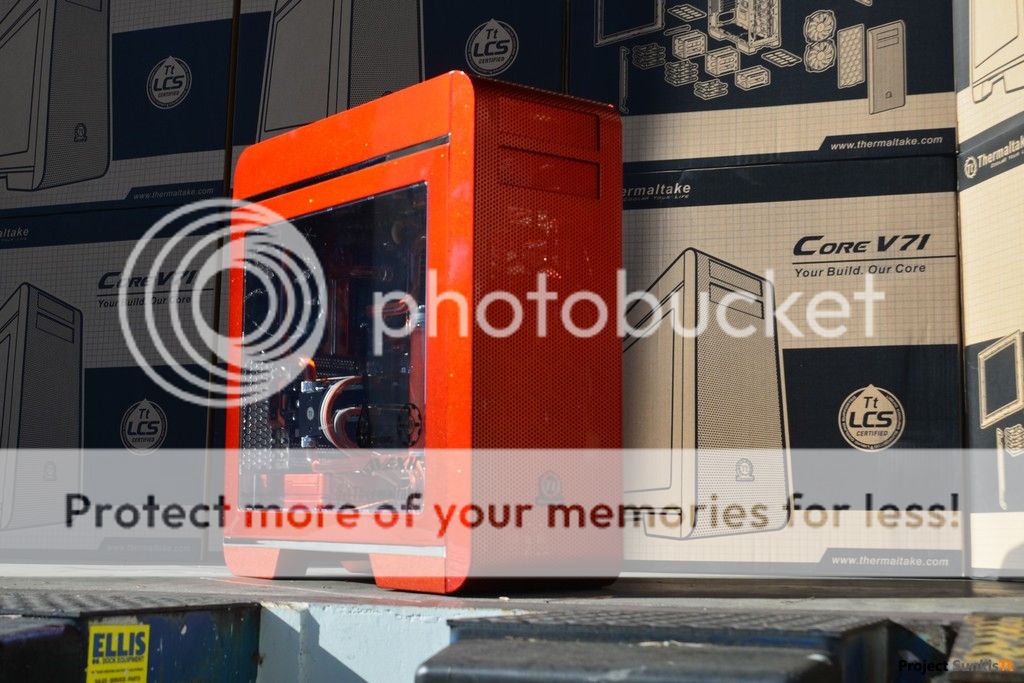
Case: Thermaltake Core V71
CPU: Intel Core i7 4770K
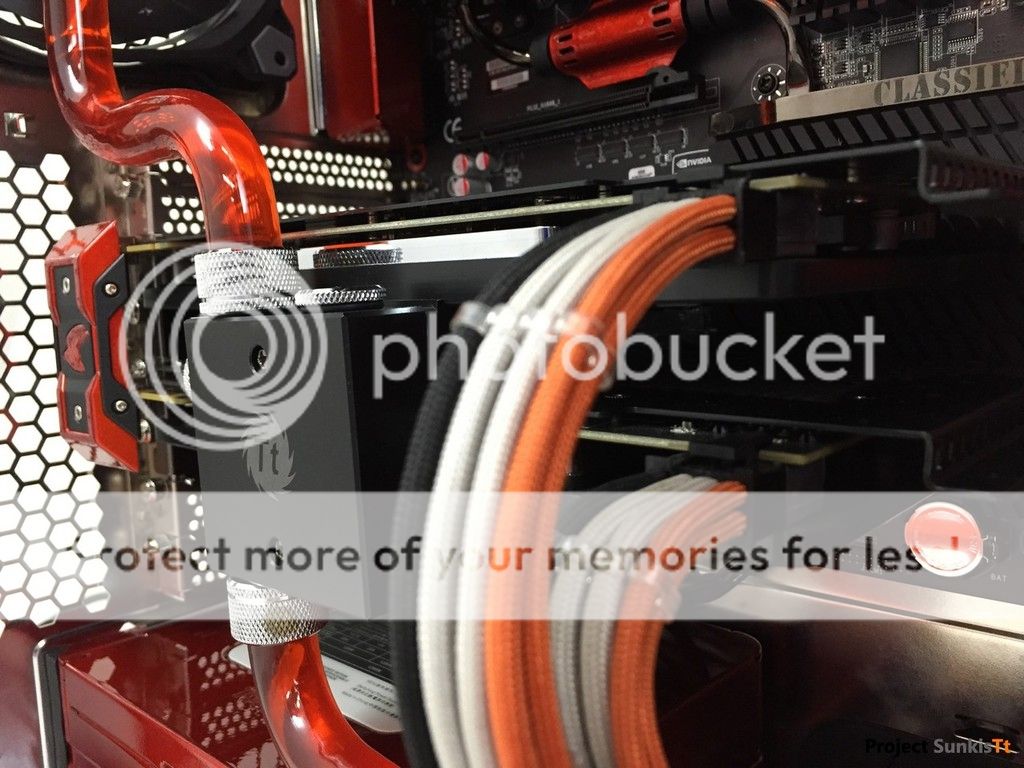
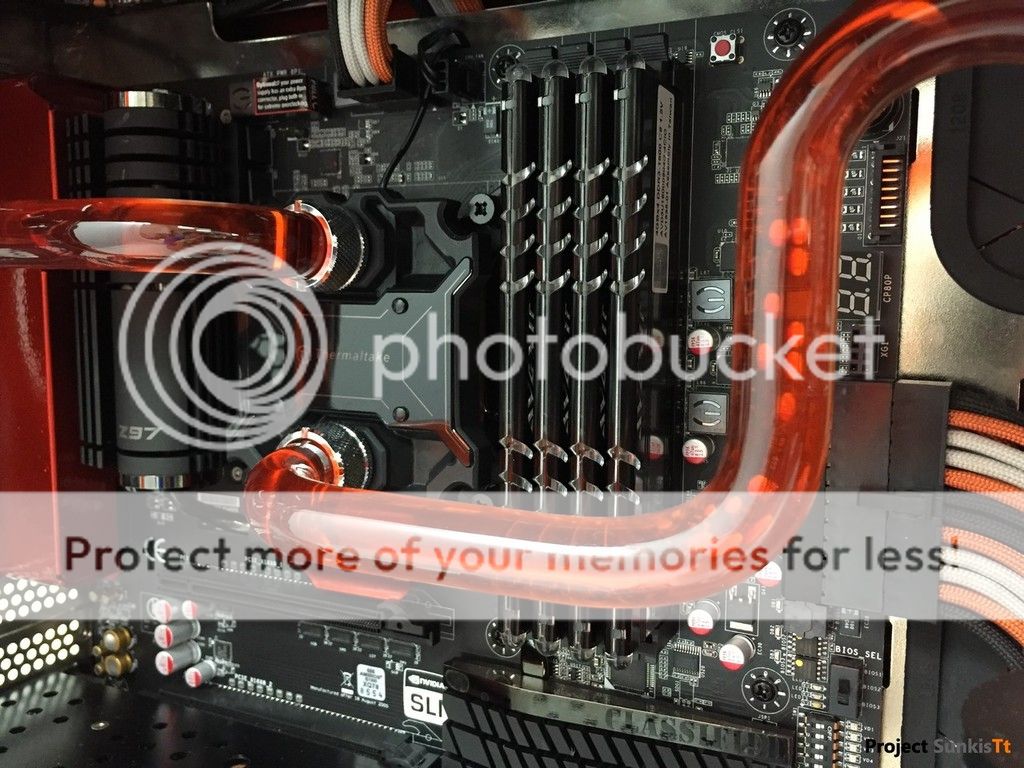
Motherboard: EVGA Z97 Classified
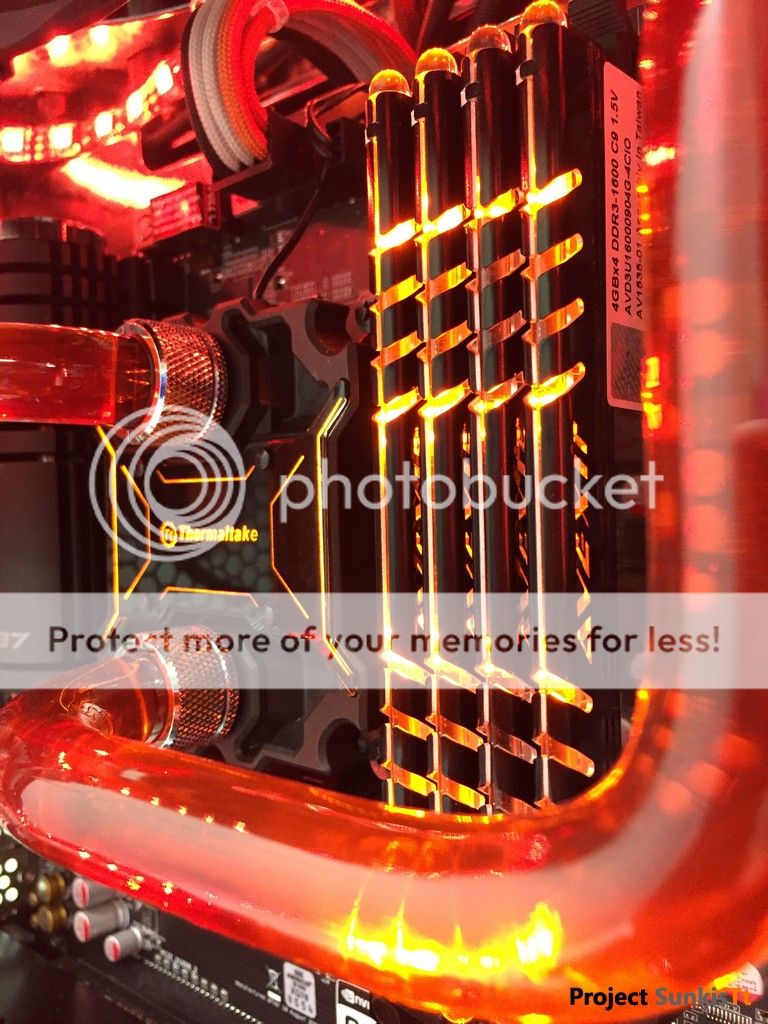
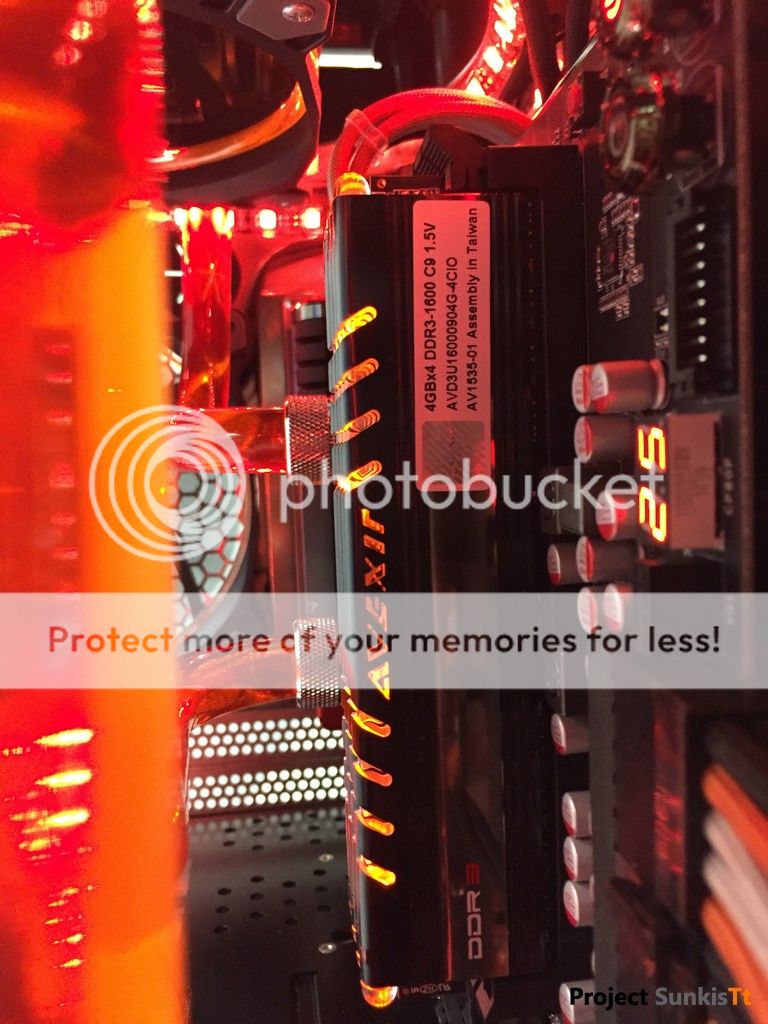
RAM: Avexir Core Series 4GB x4 DDR3-1600 C9
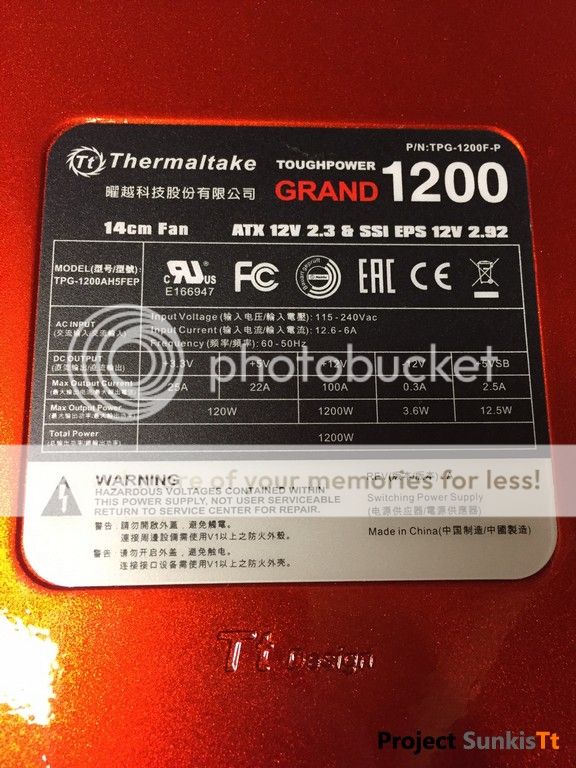
PSU: Thermaltake Toughpower Grand Platinum 1200W
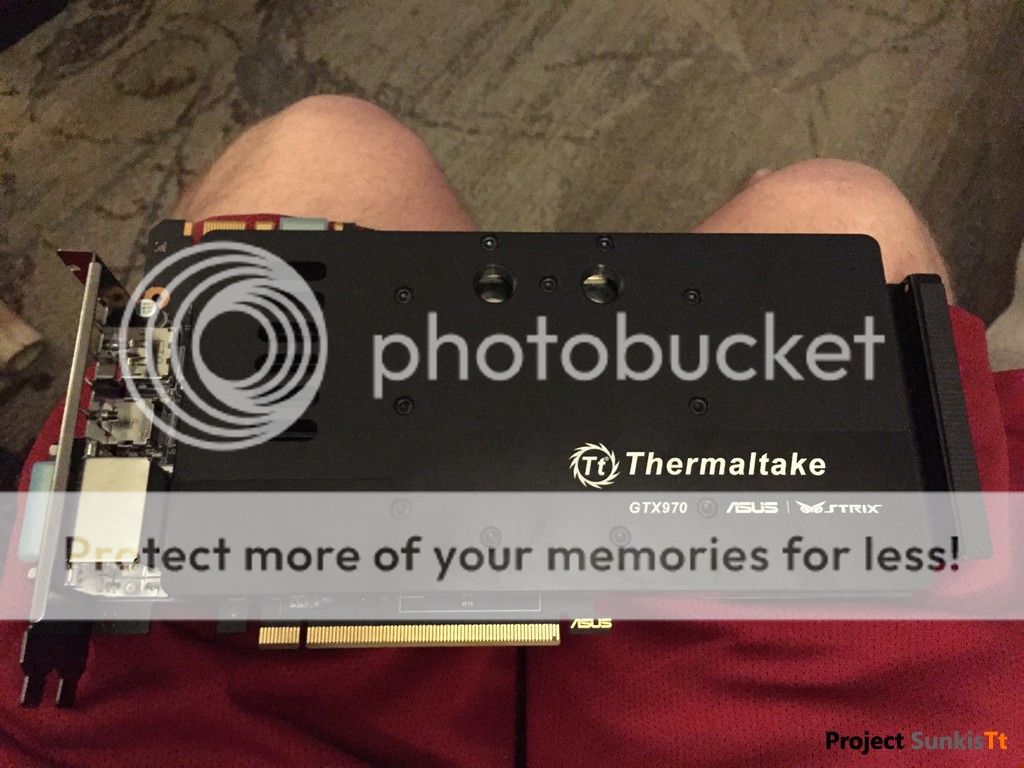
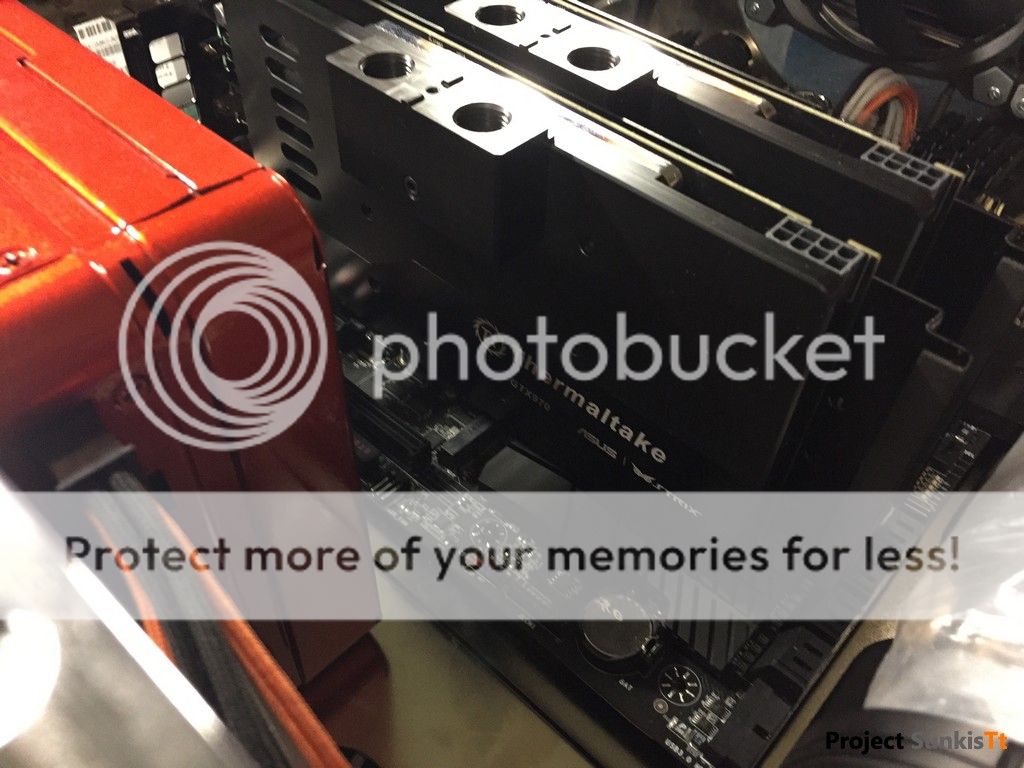
GPU: ASUS Strix GTX 970's (2x)
SSD: Samsung Evo 256GB (2x) -RAID 0
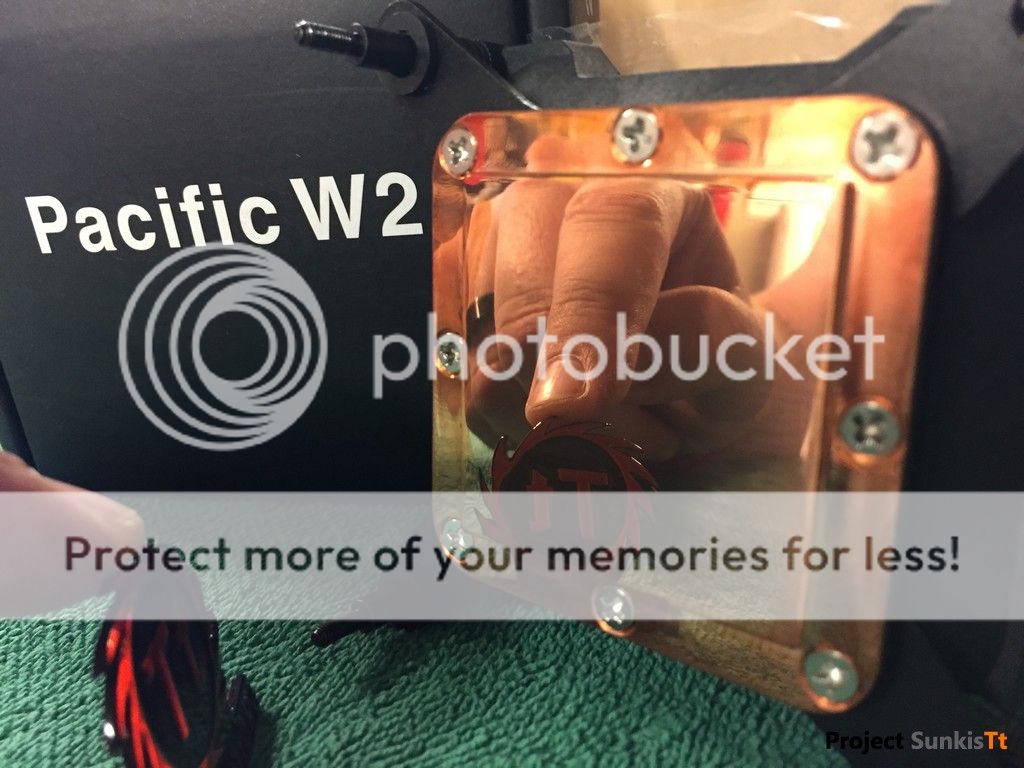
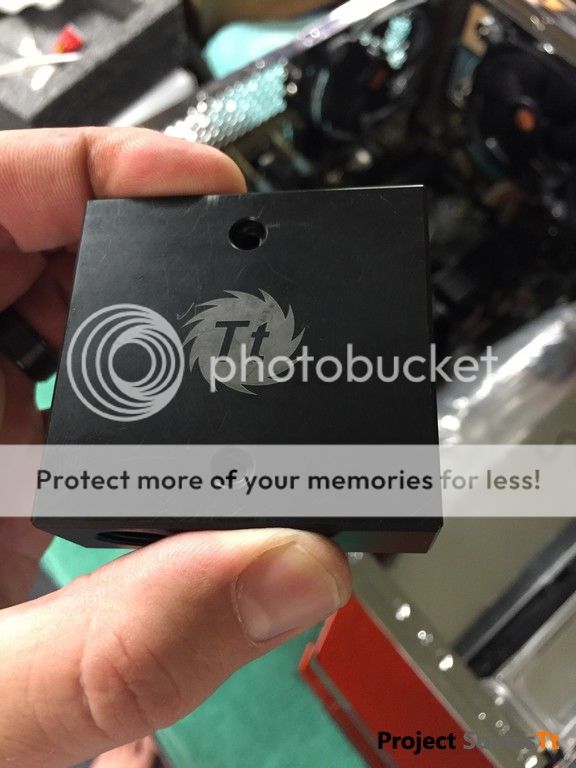
CPU Waterblock: Thermaltake Pacific W2
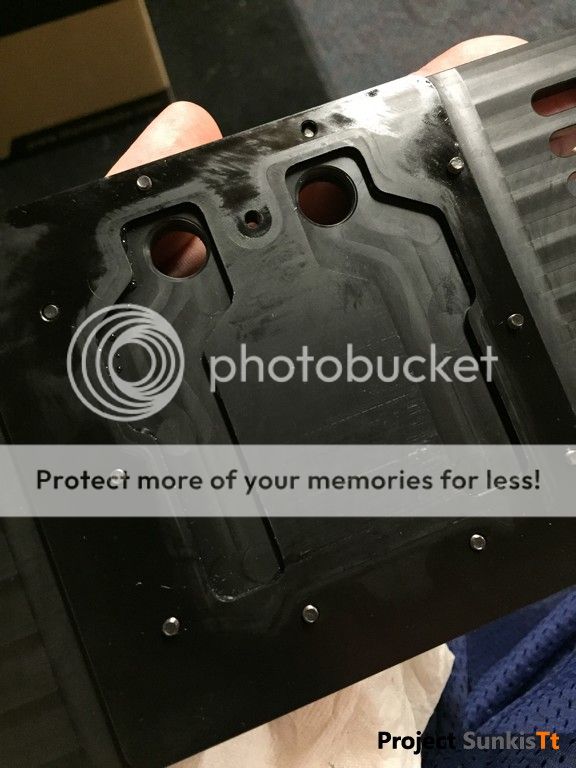
GPU Waterblock: Thermaltake Pacific ASUS Strix GPU Block (2x)
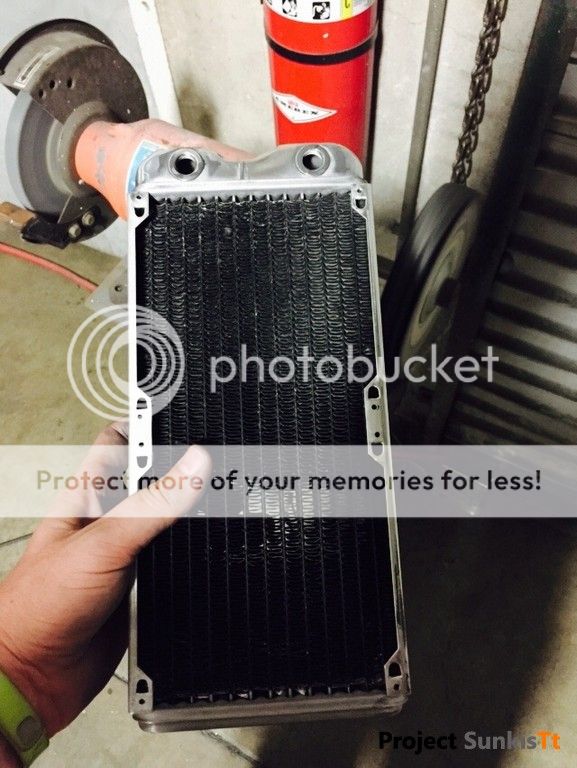
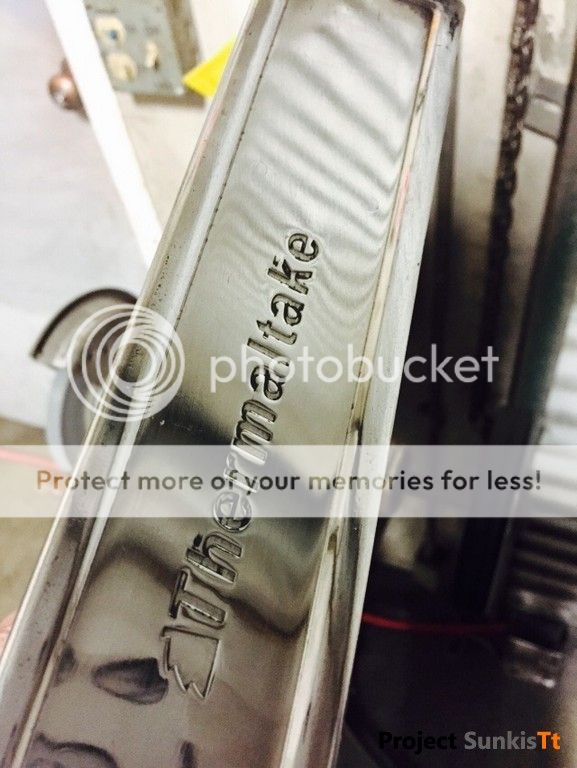
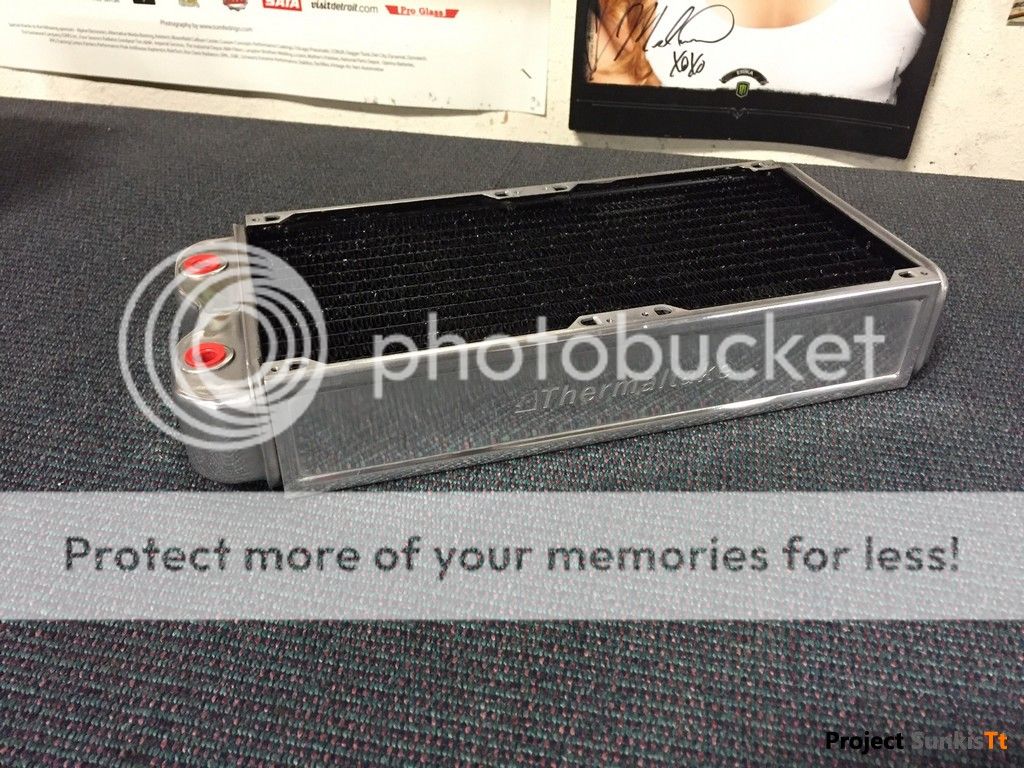
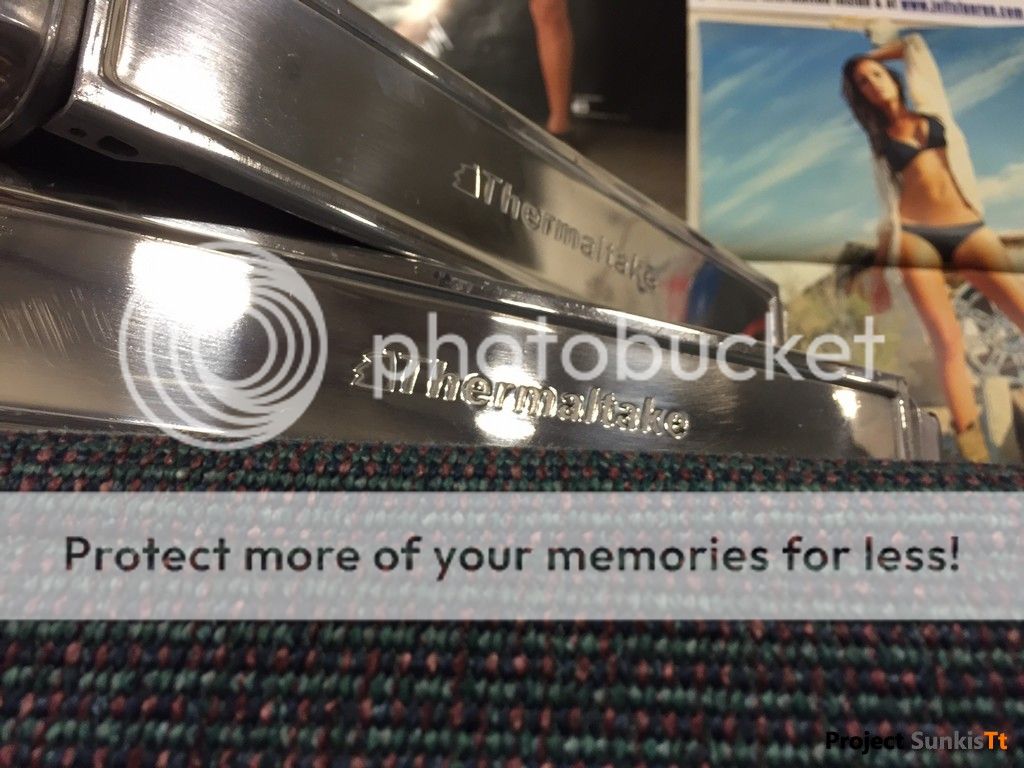
Radiator: Thermaltake Pacific RL 280 (2x)
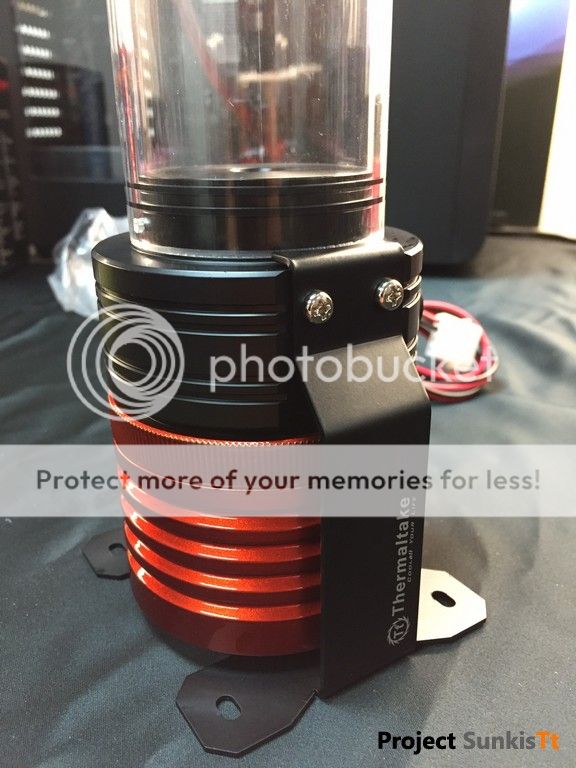
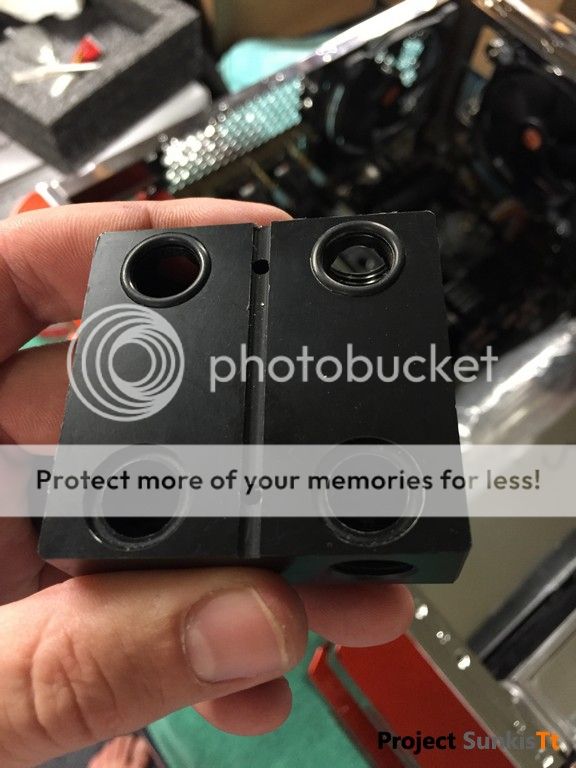
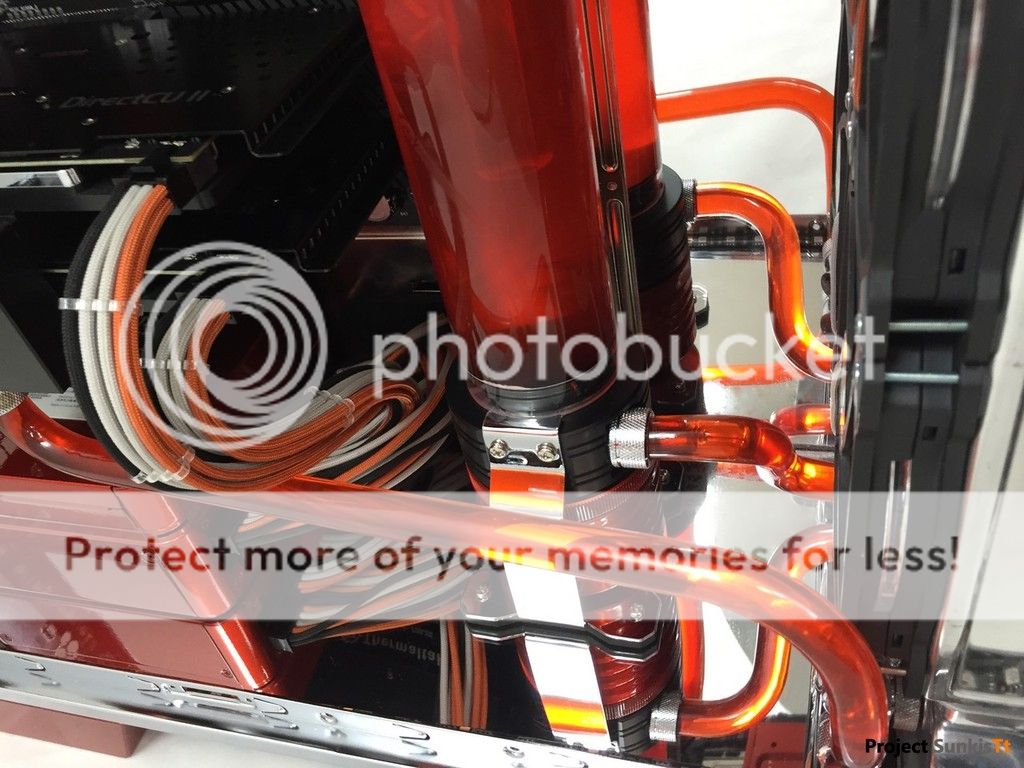
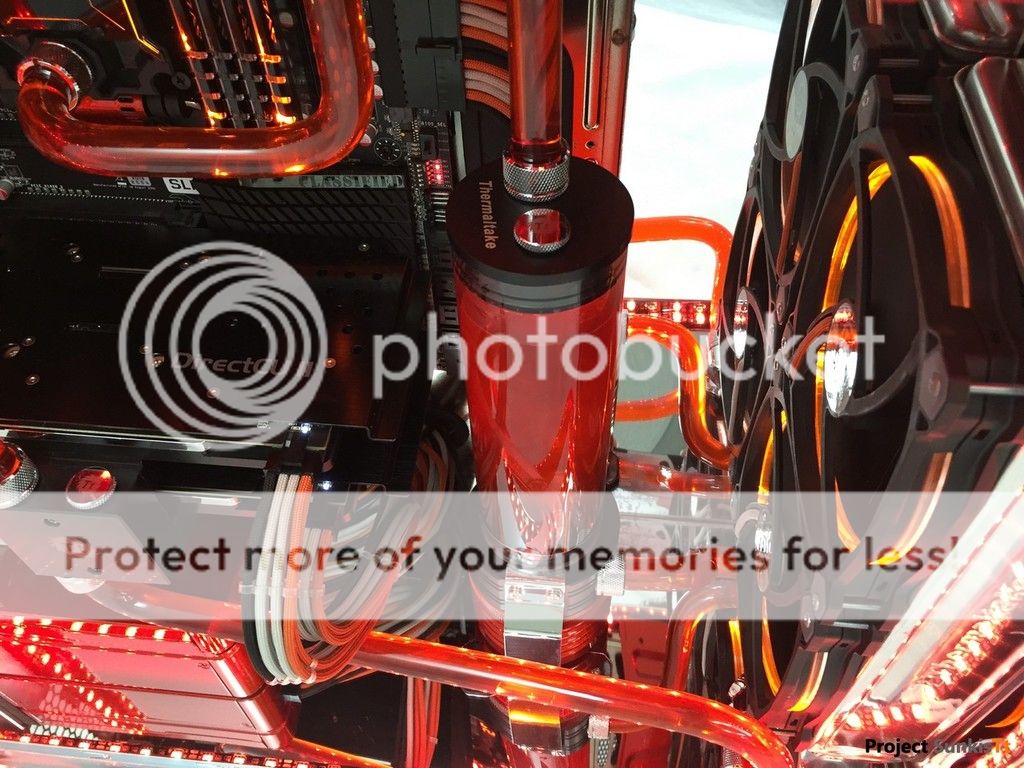
Pump/Res: Thermaltake Pacific PT40-D5 w/ Mod Kit
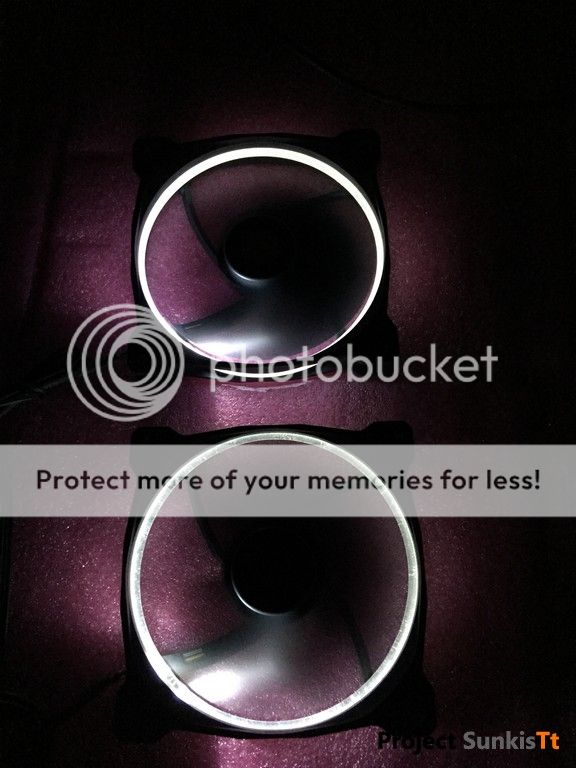
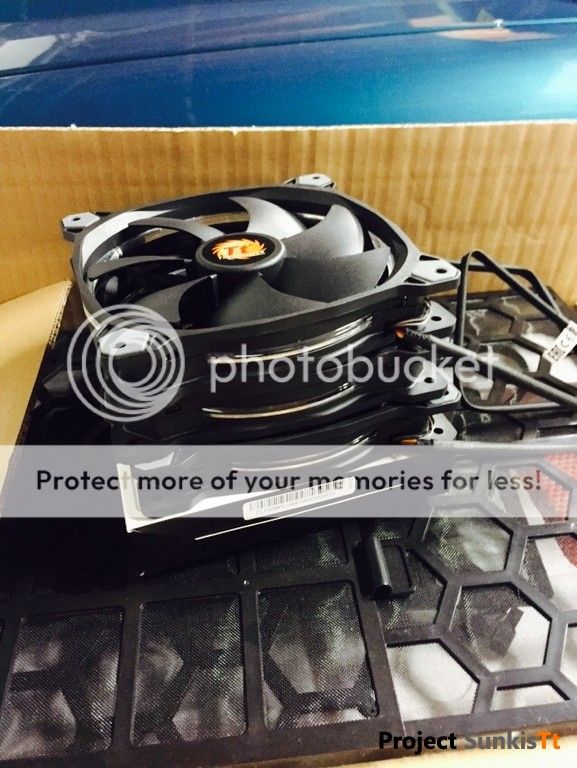
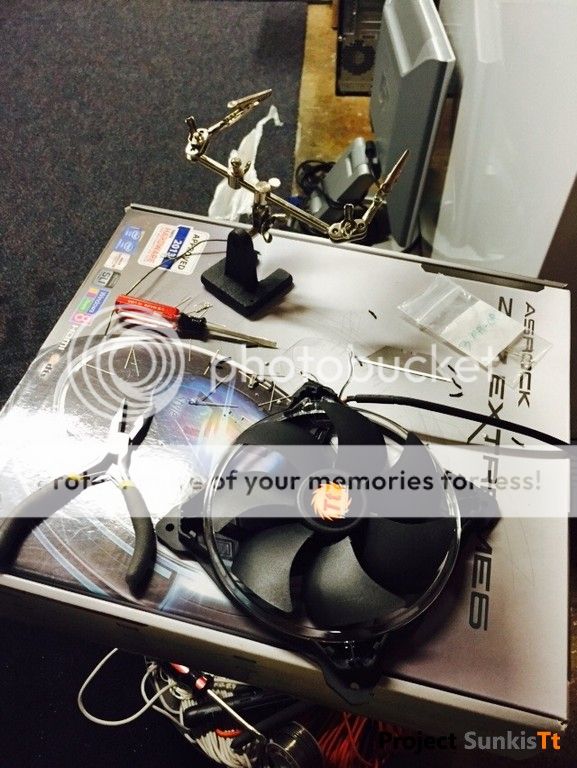
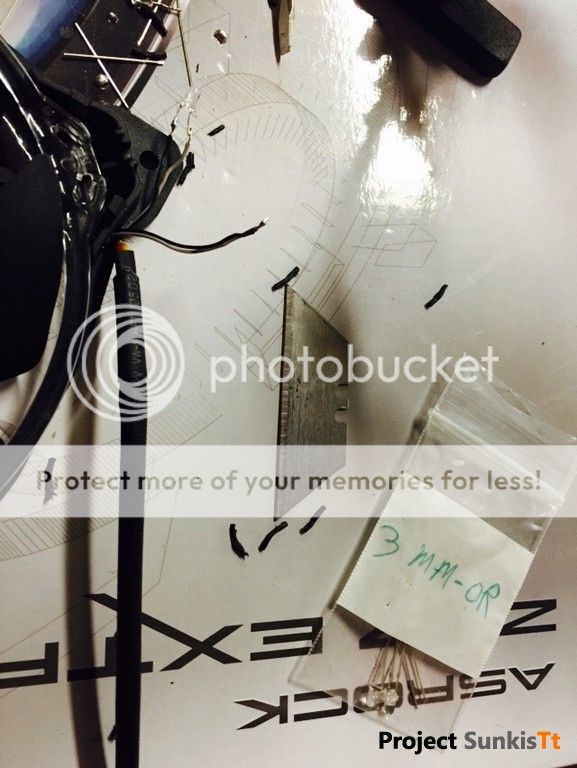
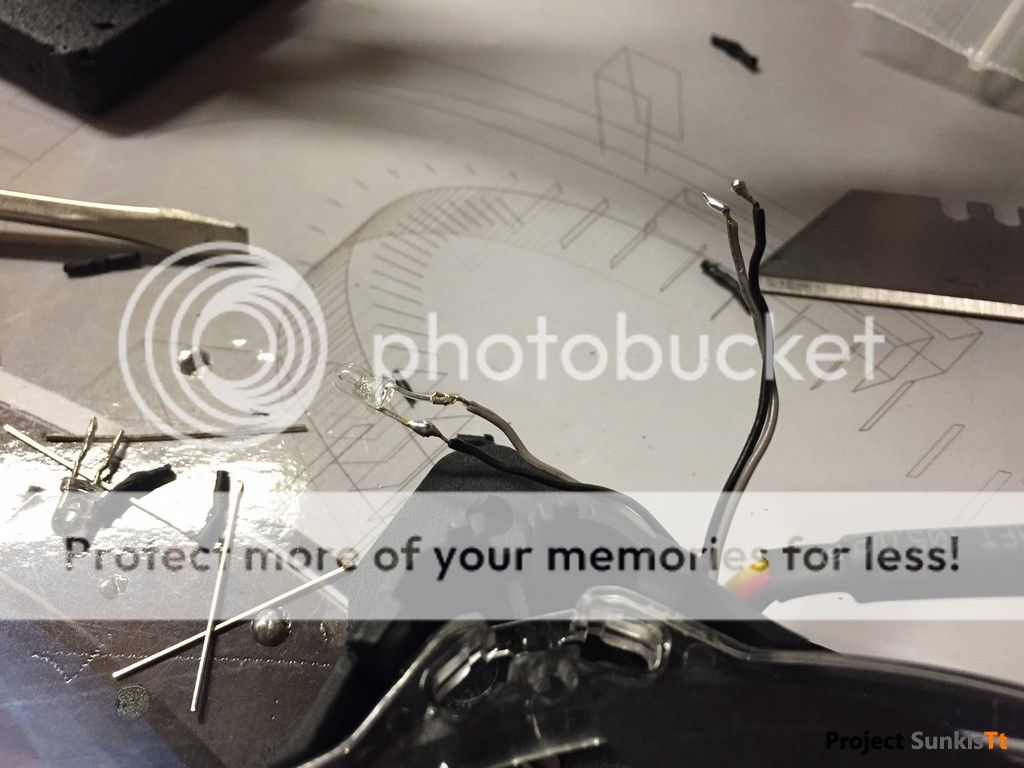
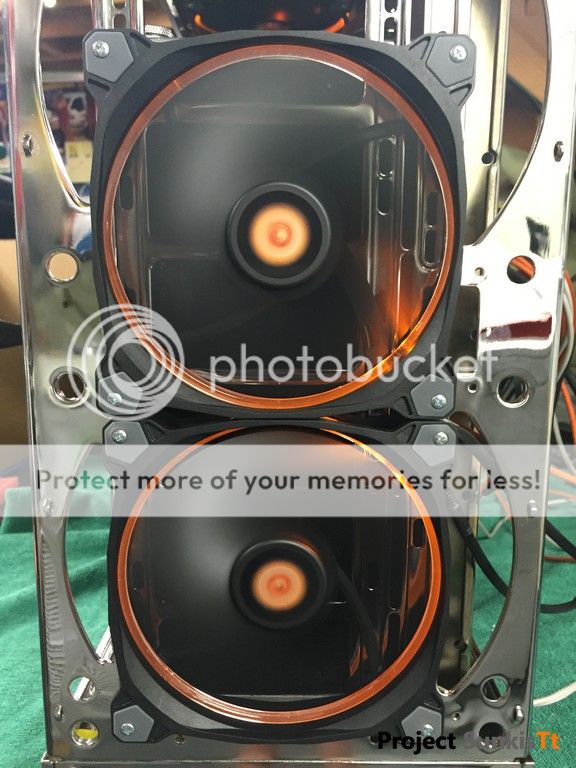
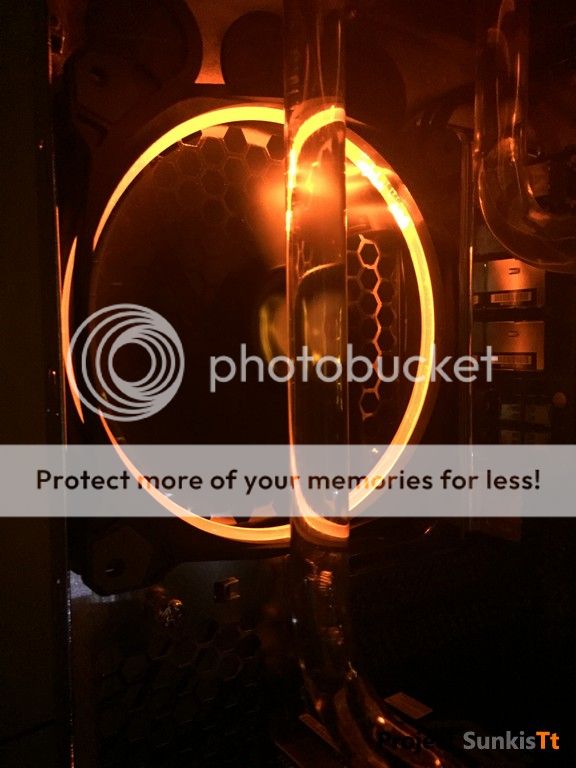
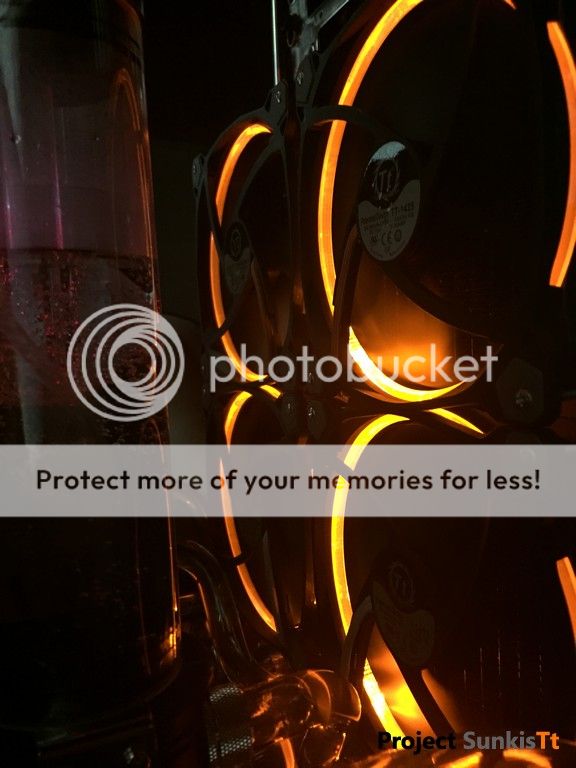
Fans: Riing 140mm White (7x) - LED modded Orange
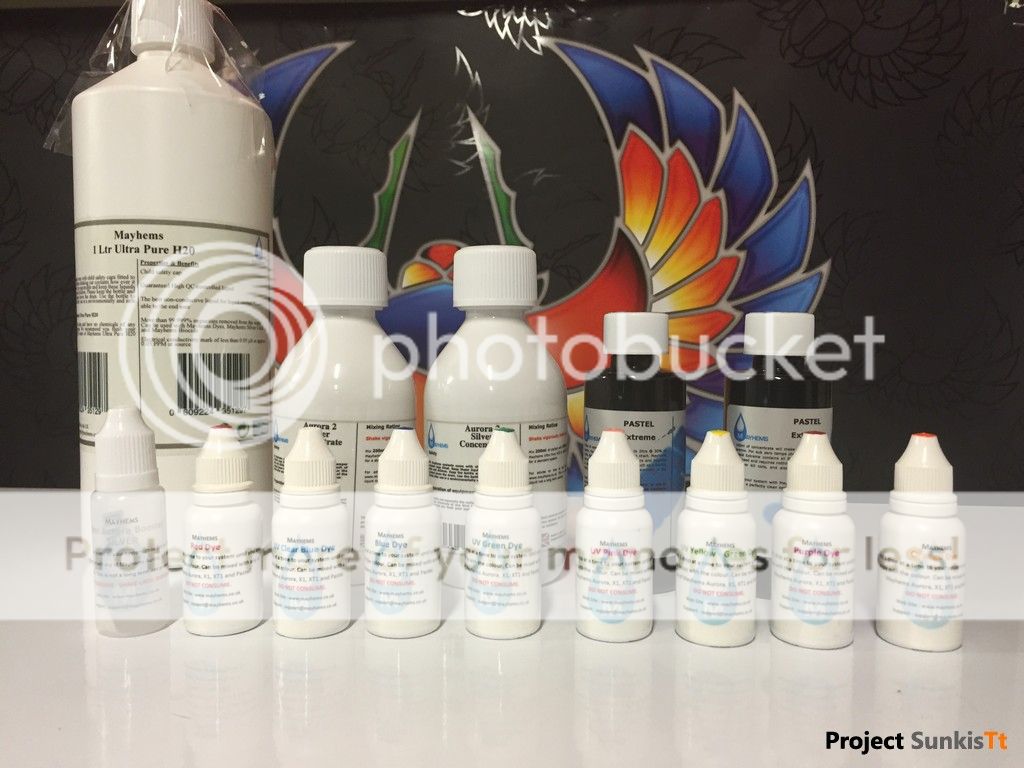
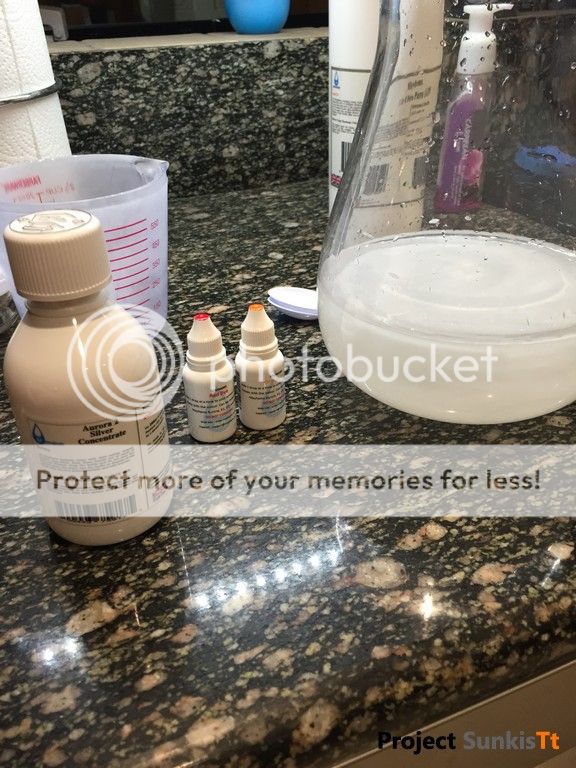
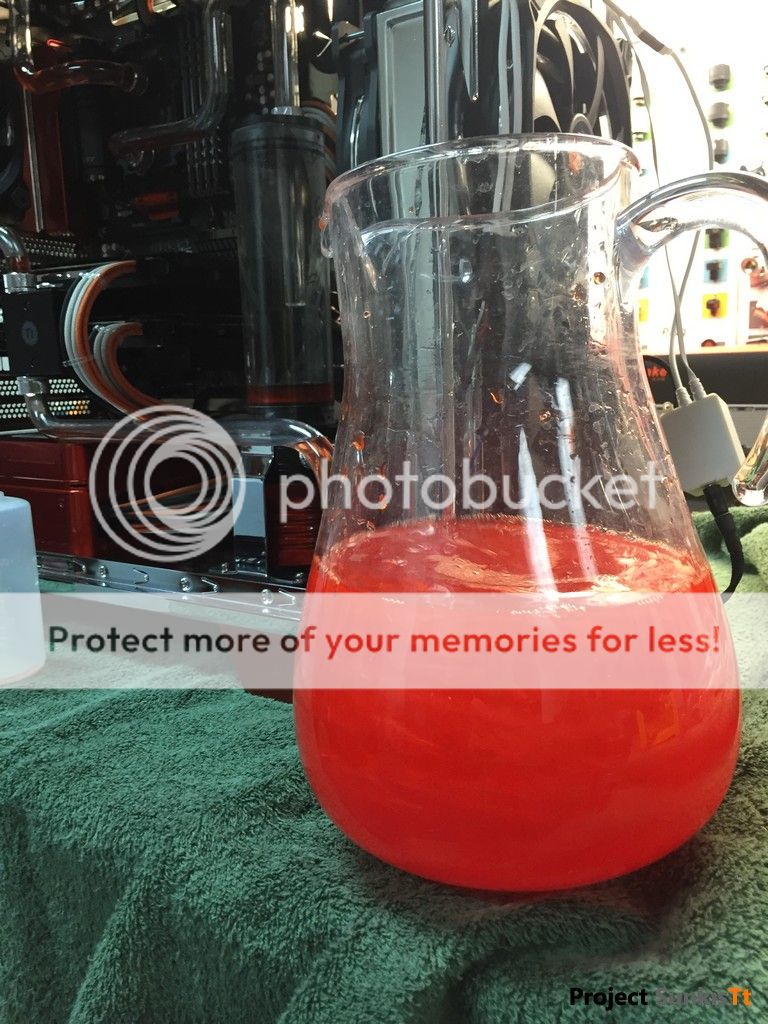
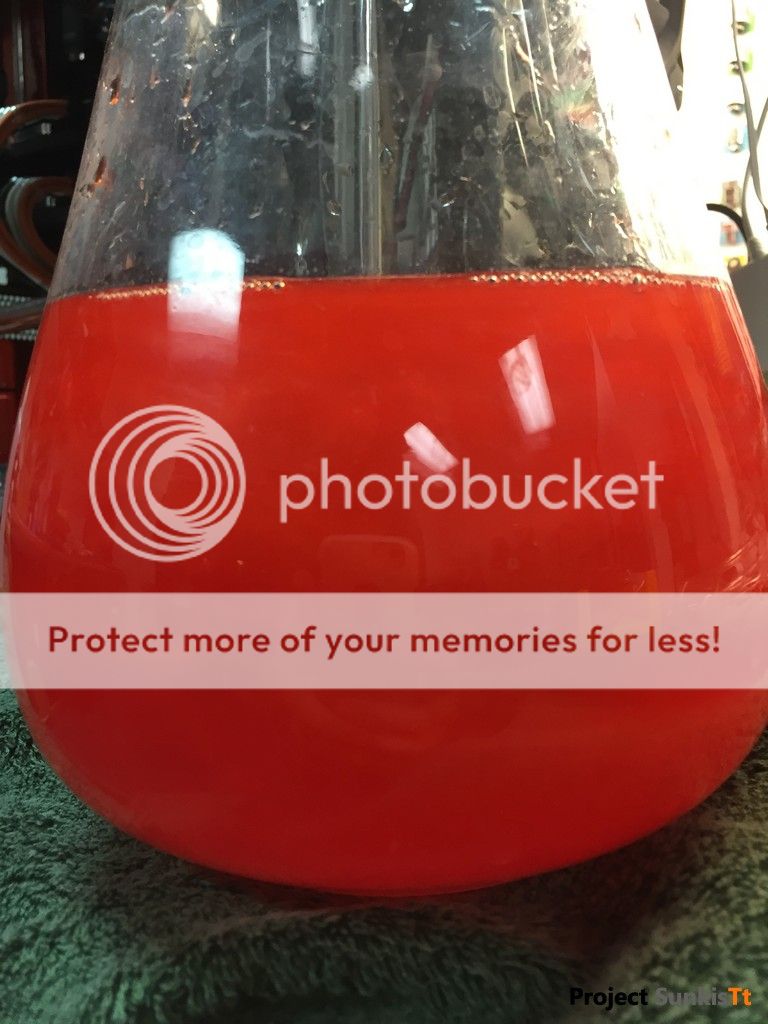
Coolant: Mayhems Aurora 2 (Custom Orange/Red)
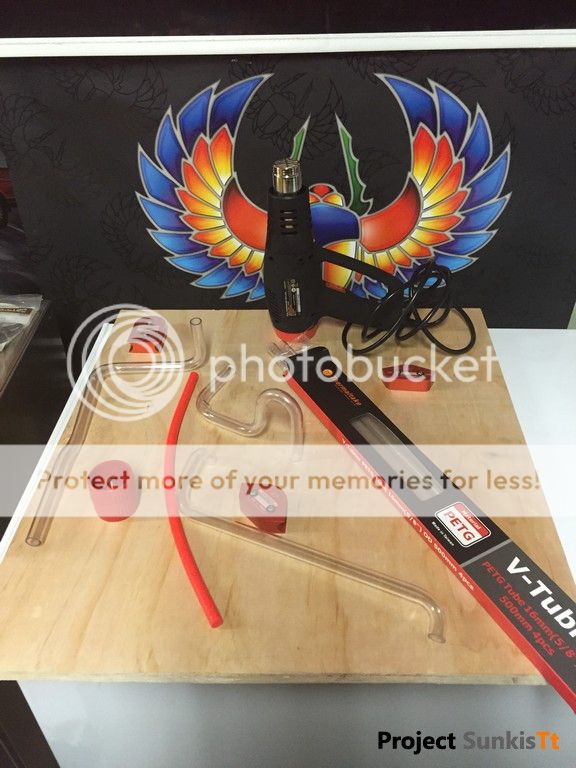
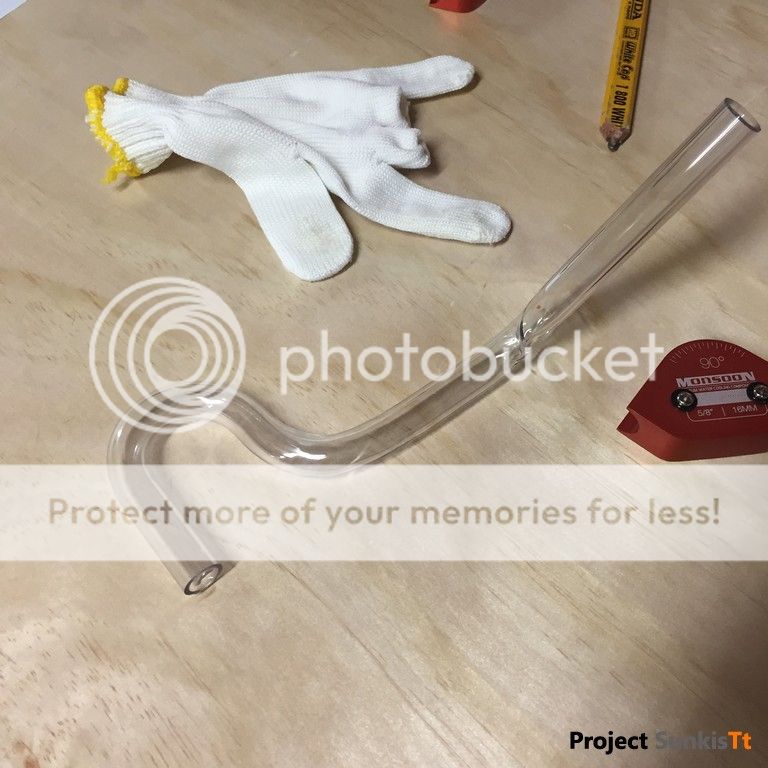
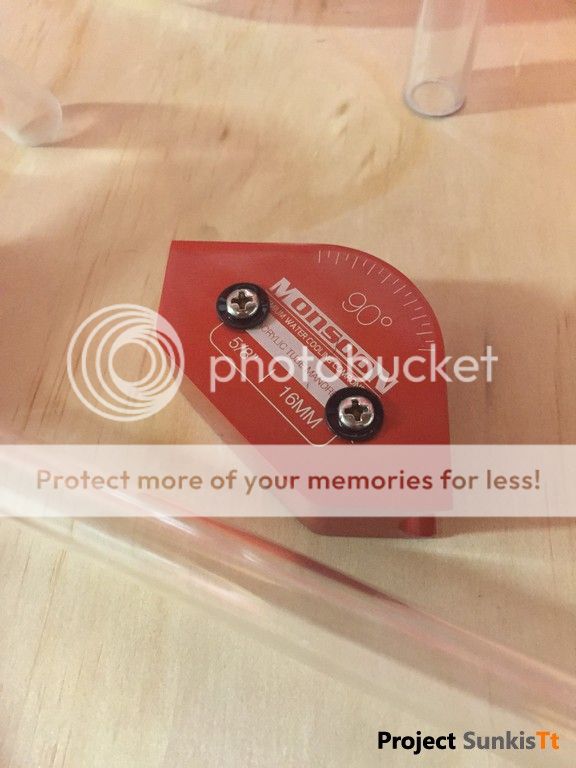
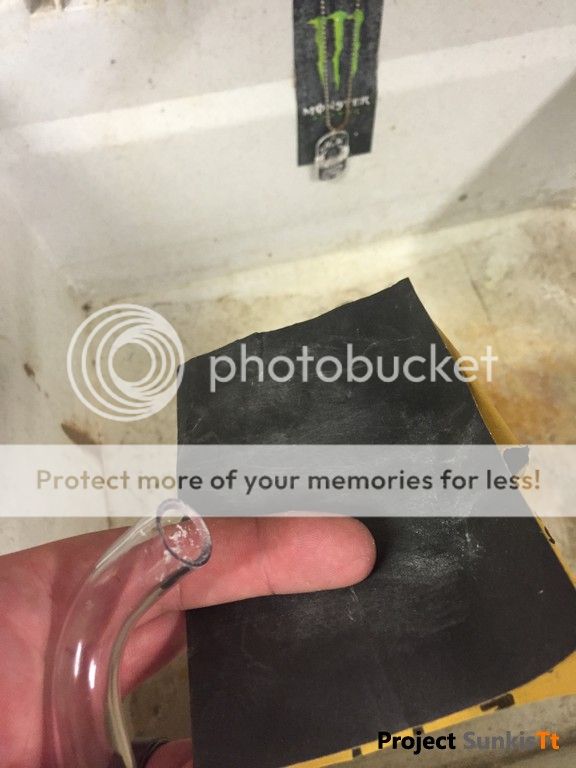
Tubing: Thermaltake Pacific PETG 16mm
Fittings: (Chrome)
Thermaltake Pacific G 1/4 PETG 16mm (9x)
Thermaltake Pacific G 1/4 Stop Plug (8x)
Thermaltake Pacific G 1/4 90 Degree (1x)
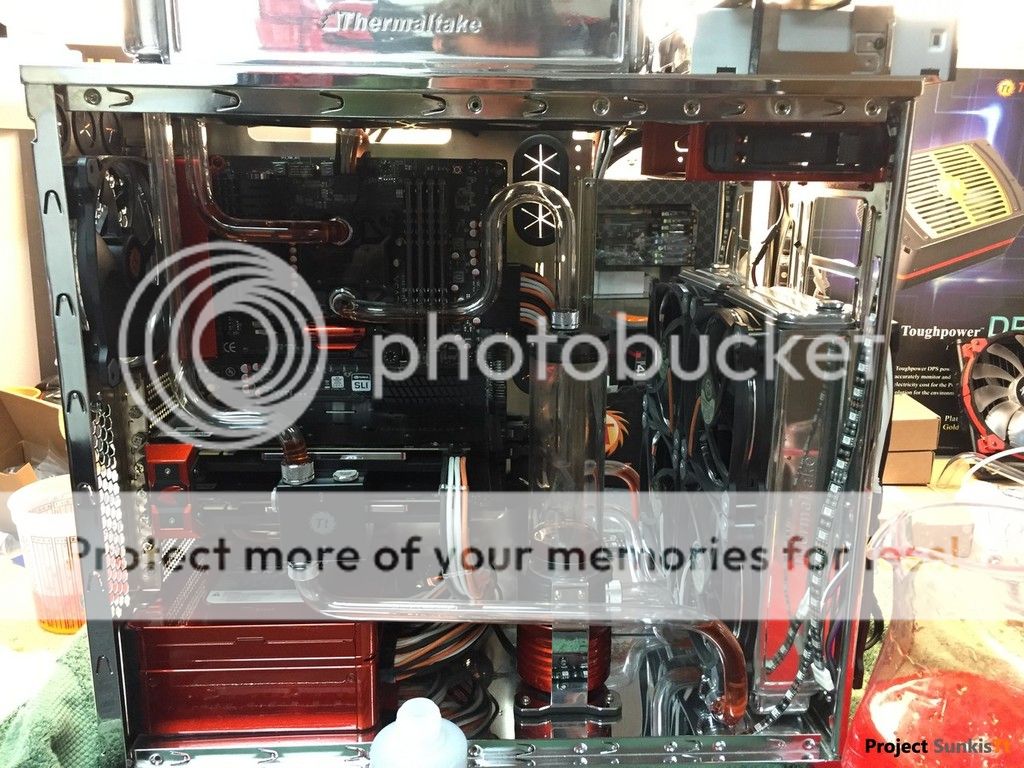
The Build
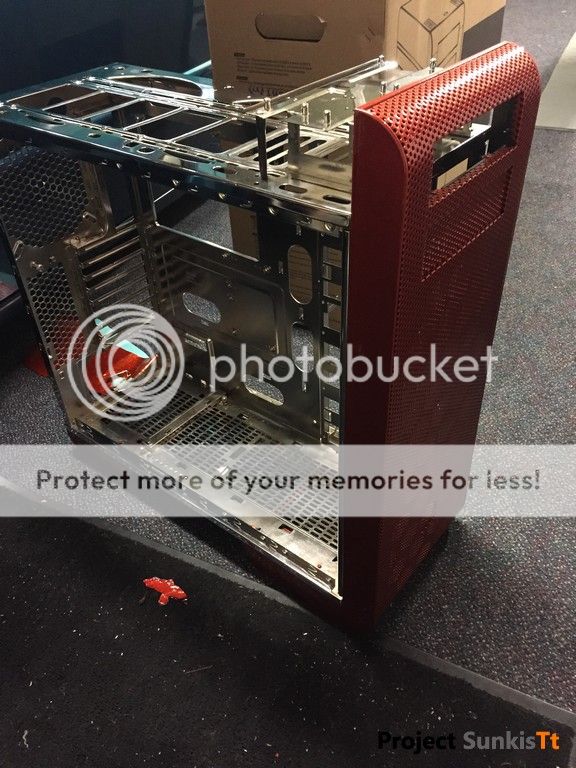
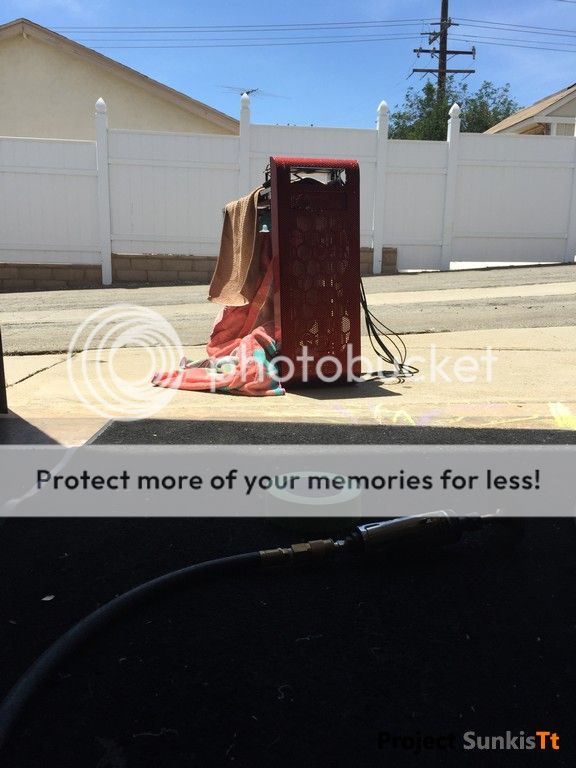
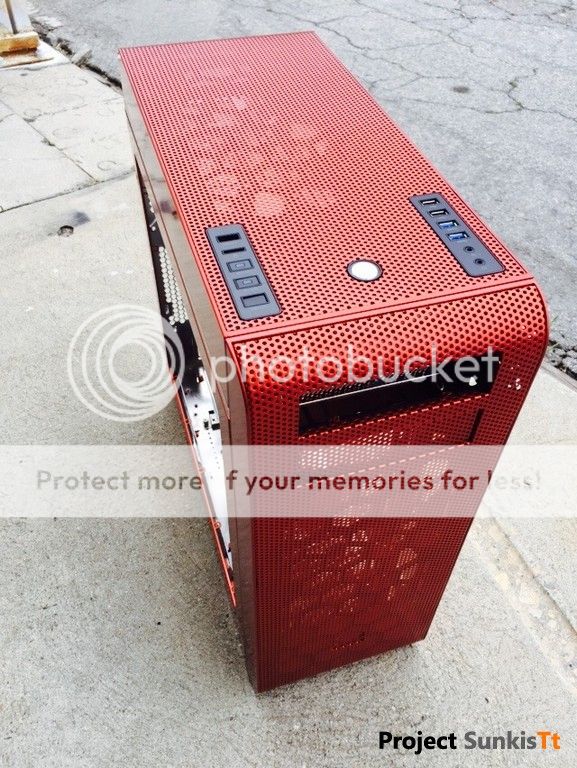
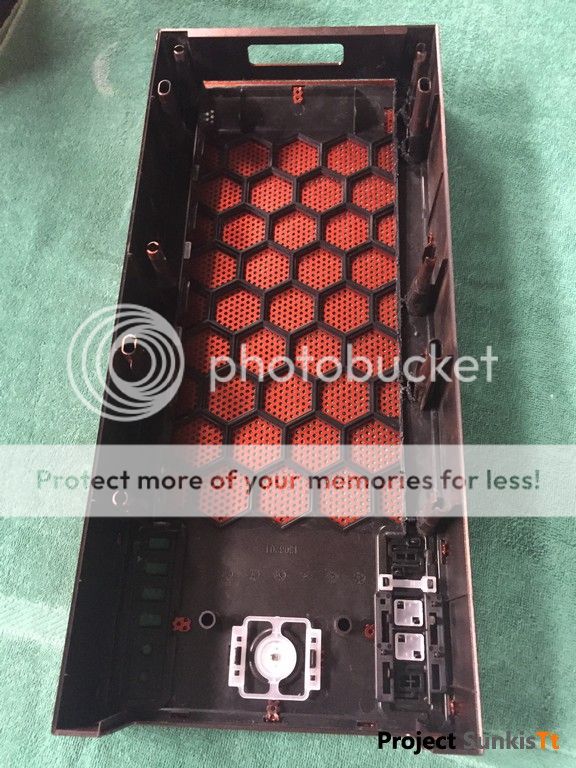
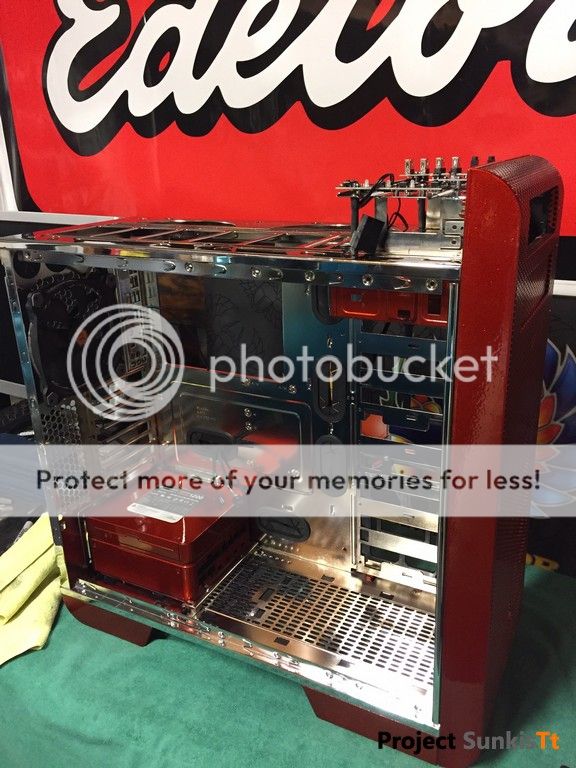
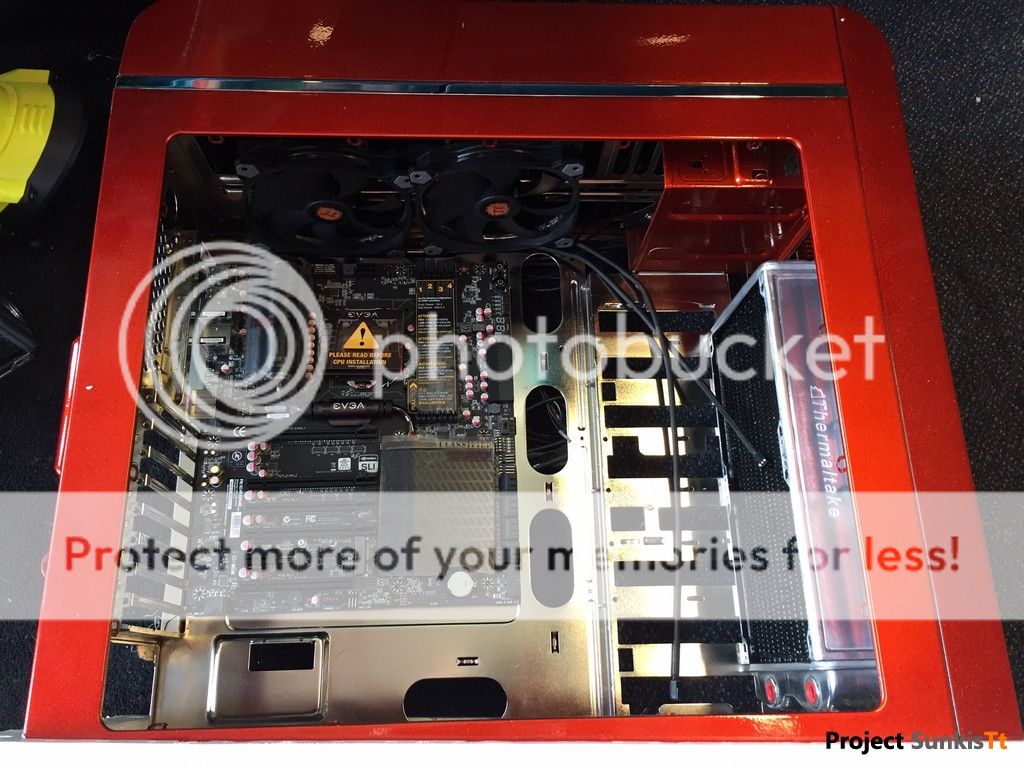
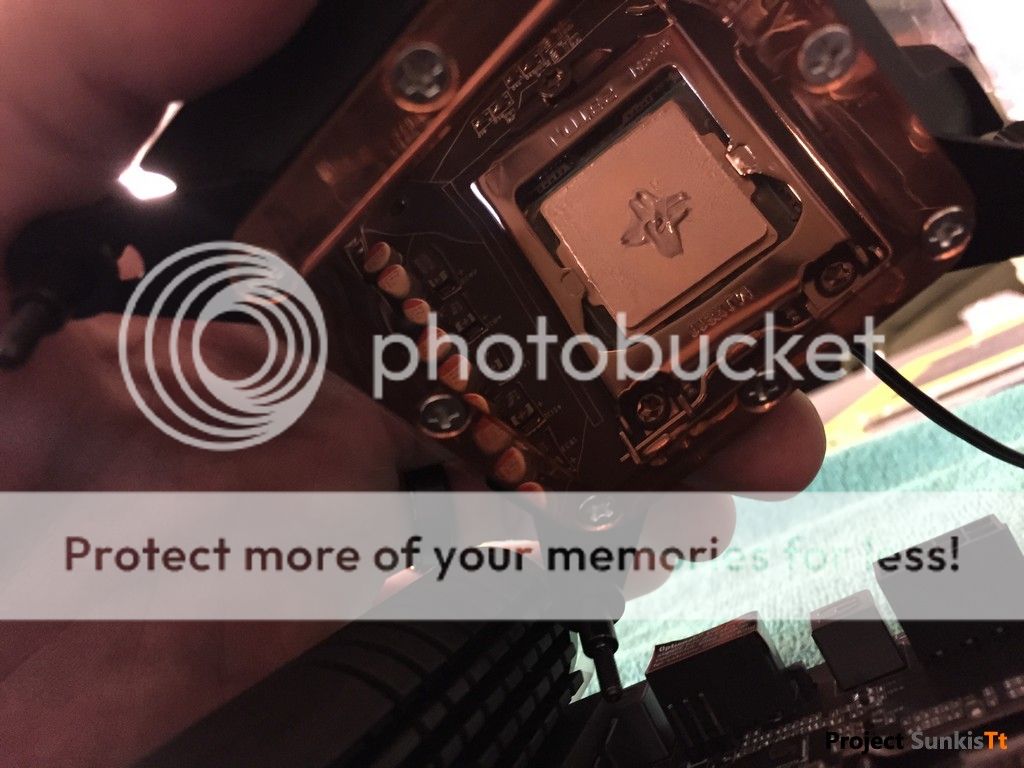
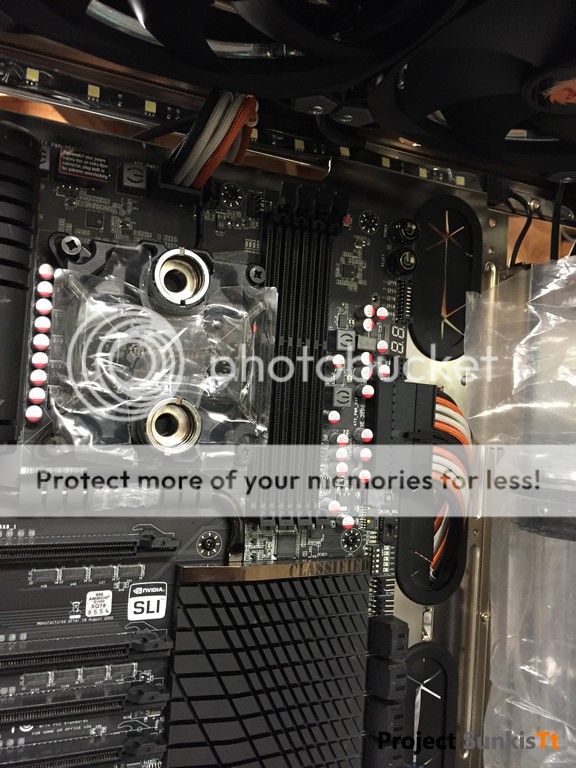
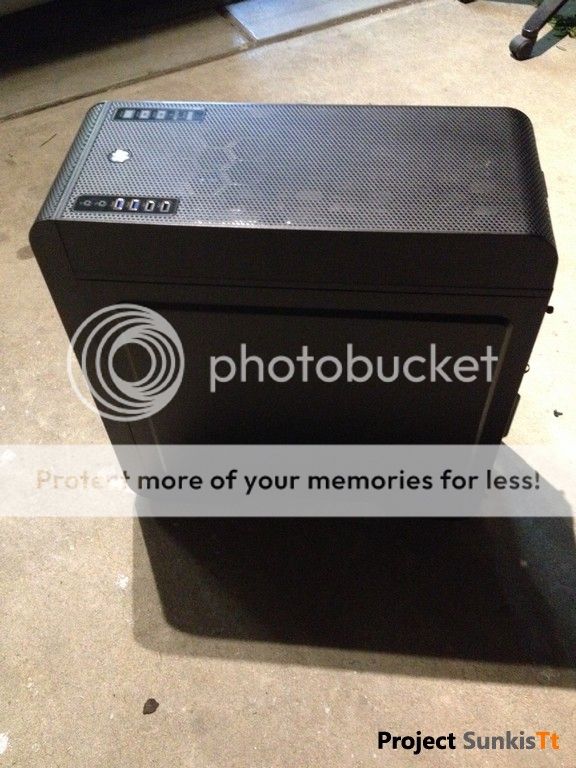
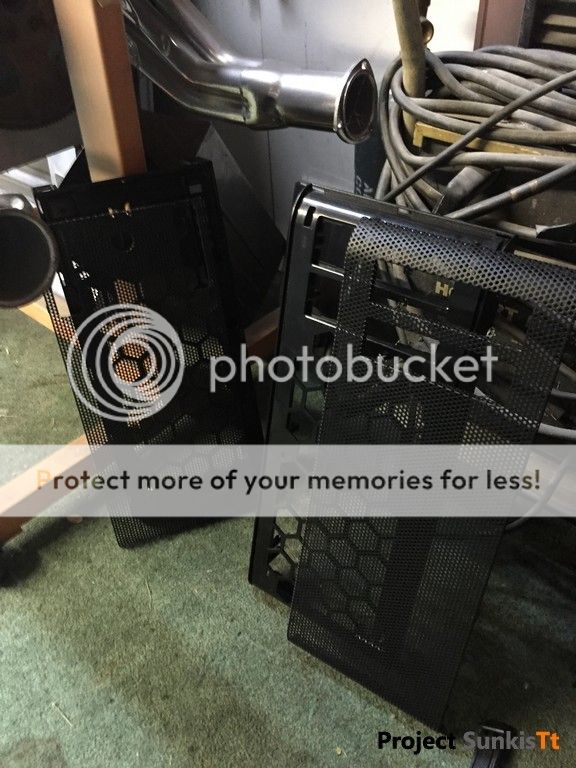
First had to take a look at the chassis, see what options I had available and to be honest, I had a lot of them. I started off by stripping the case apart, I had big plans for the chassis frame and for this I had to remove every piece of plastic from it.


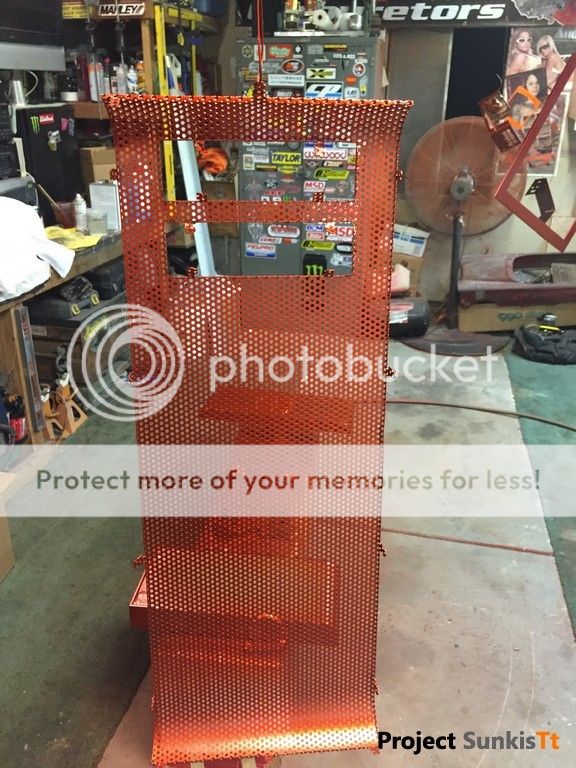
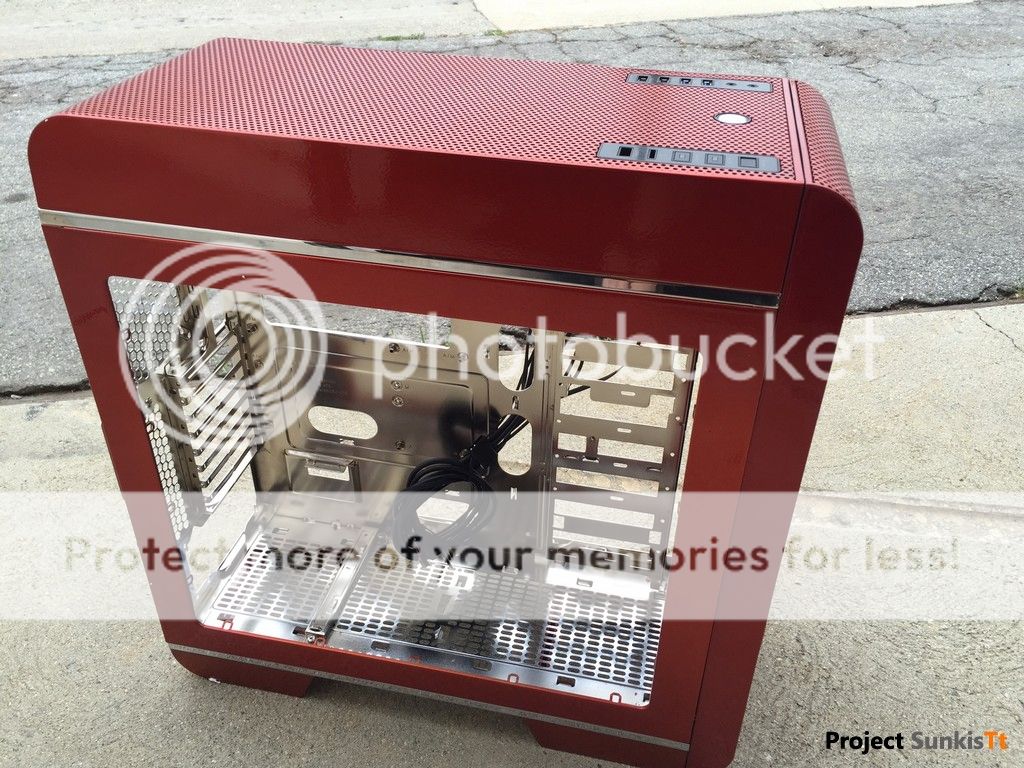
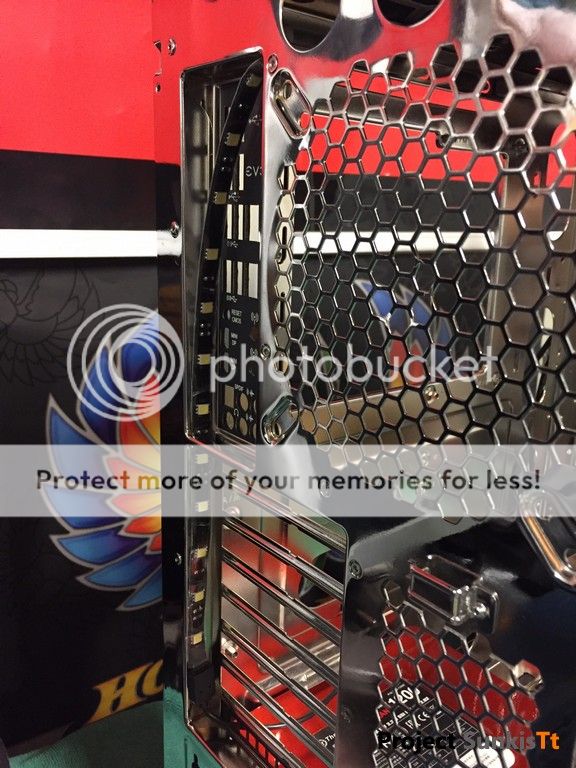
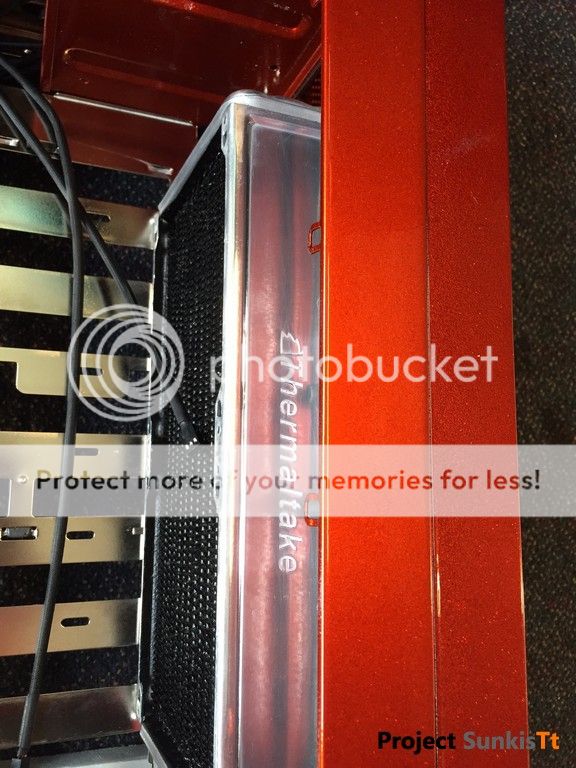
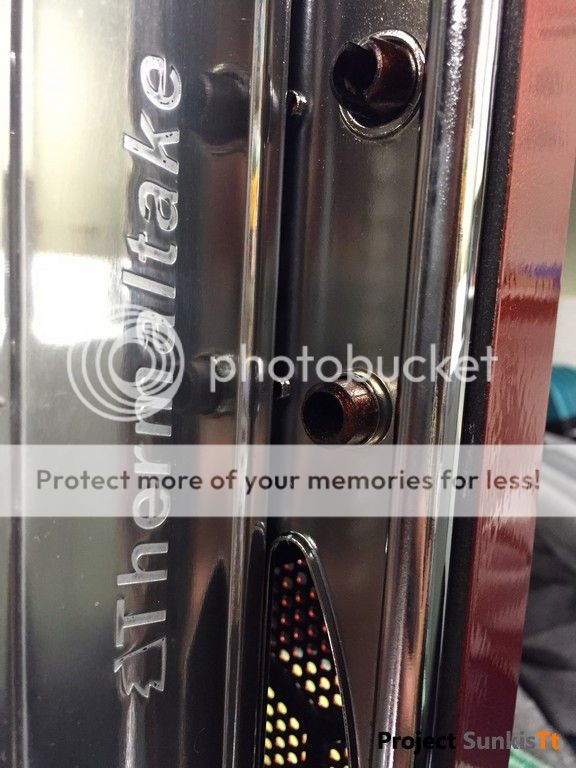
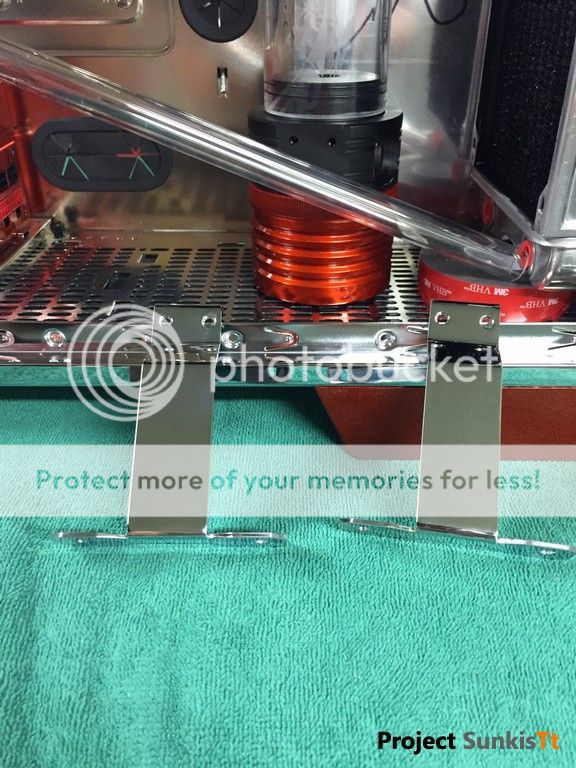
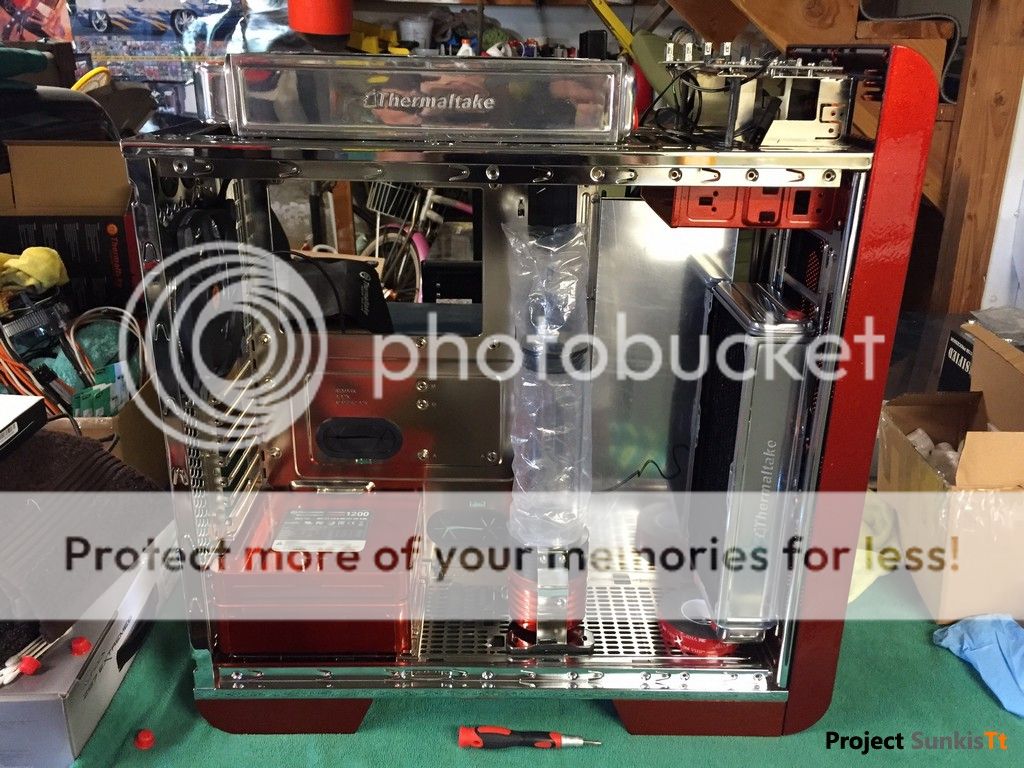
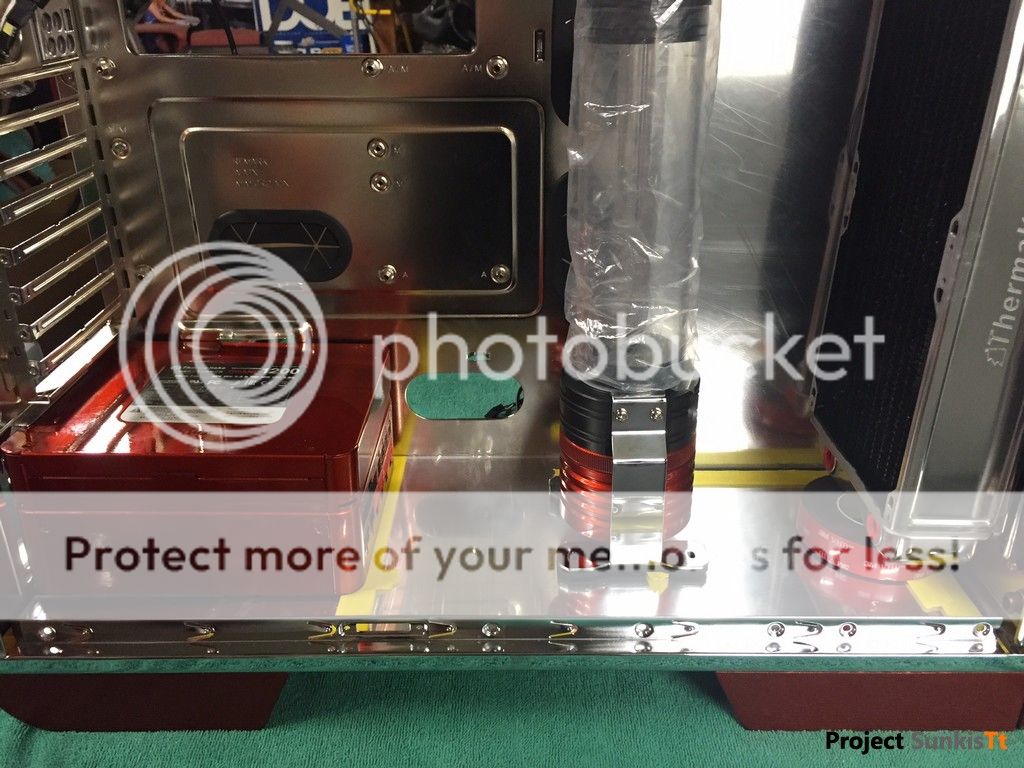
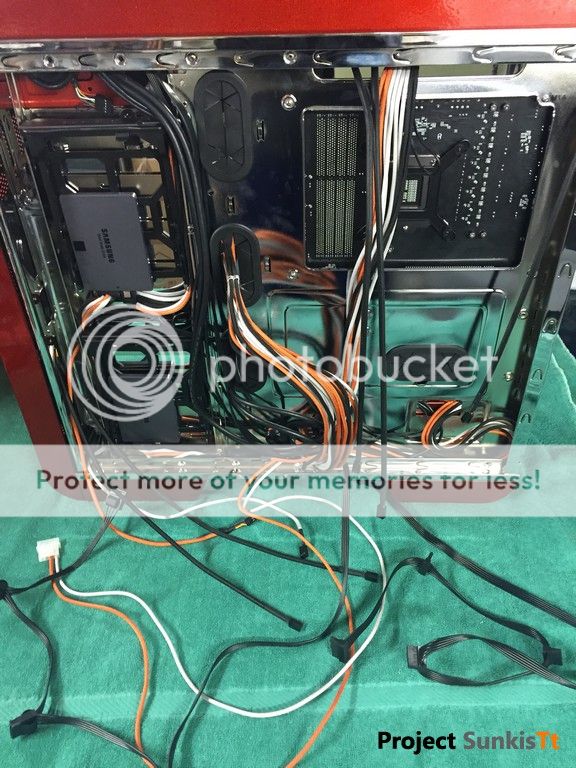
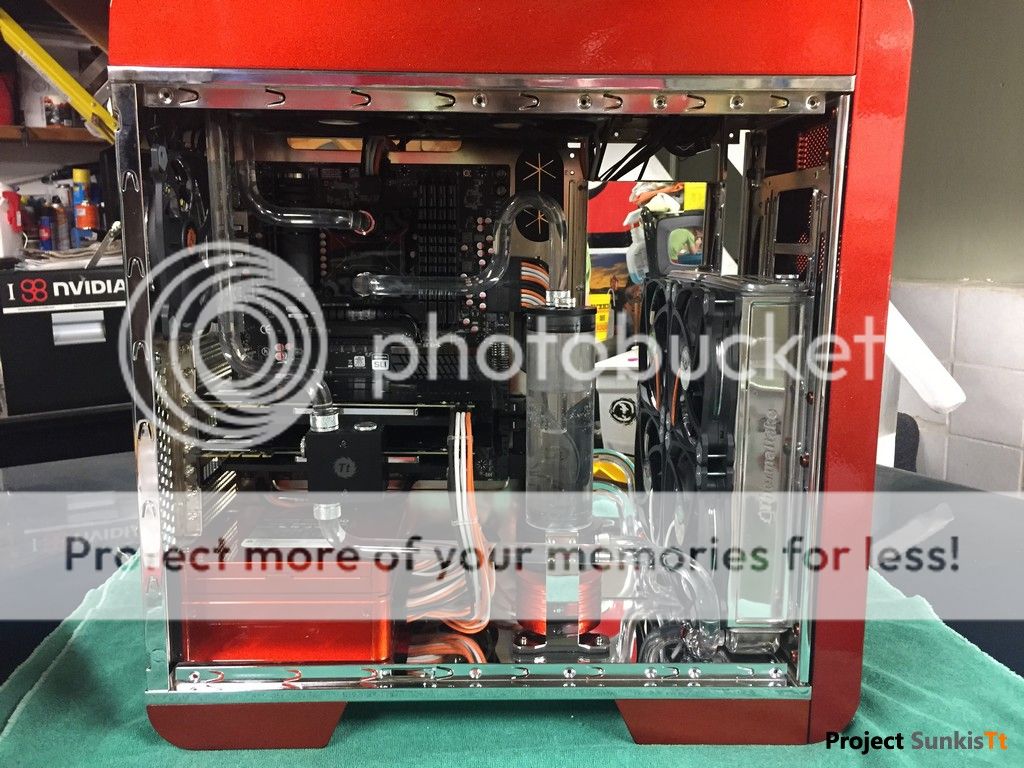
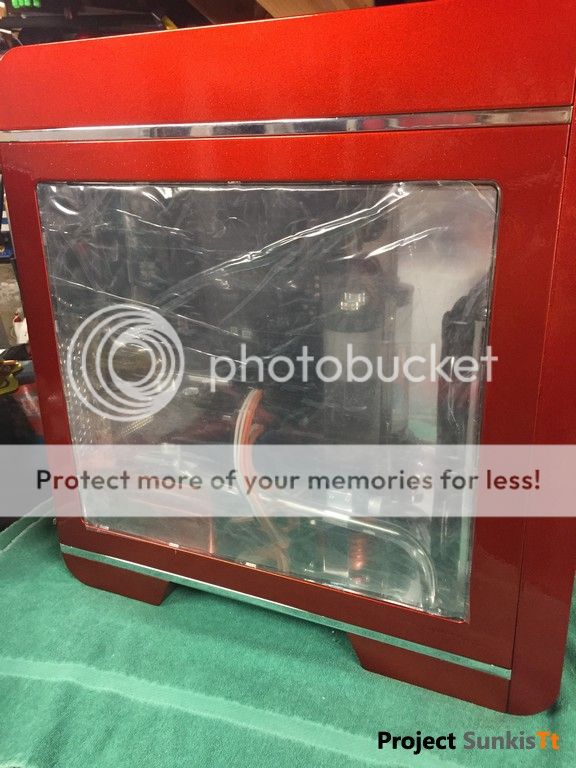
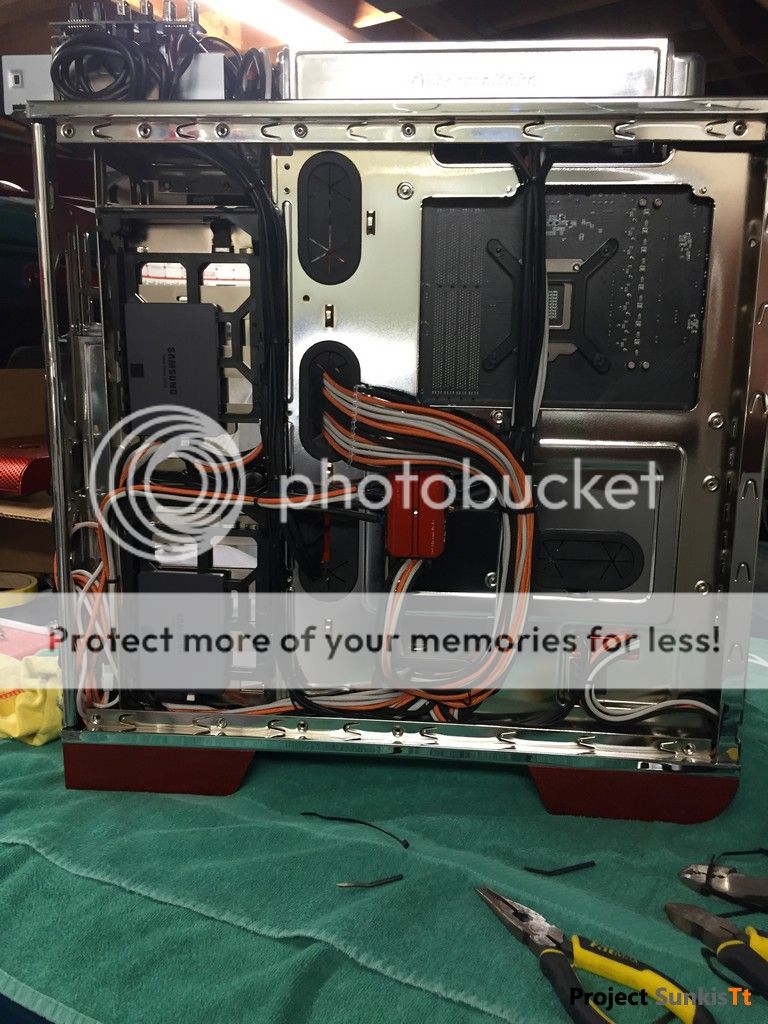
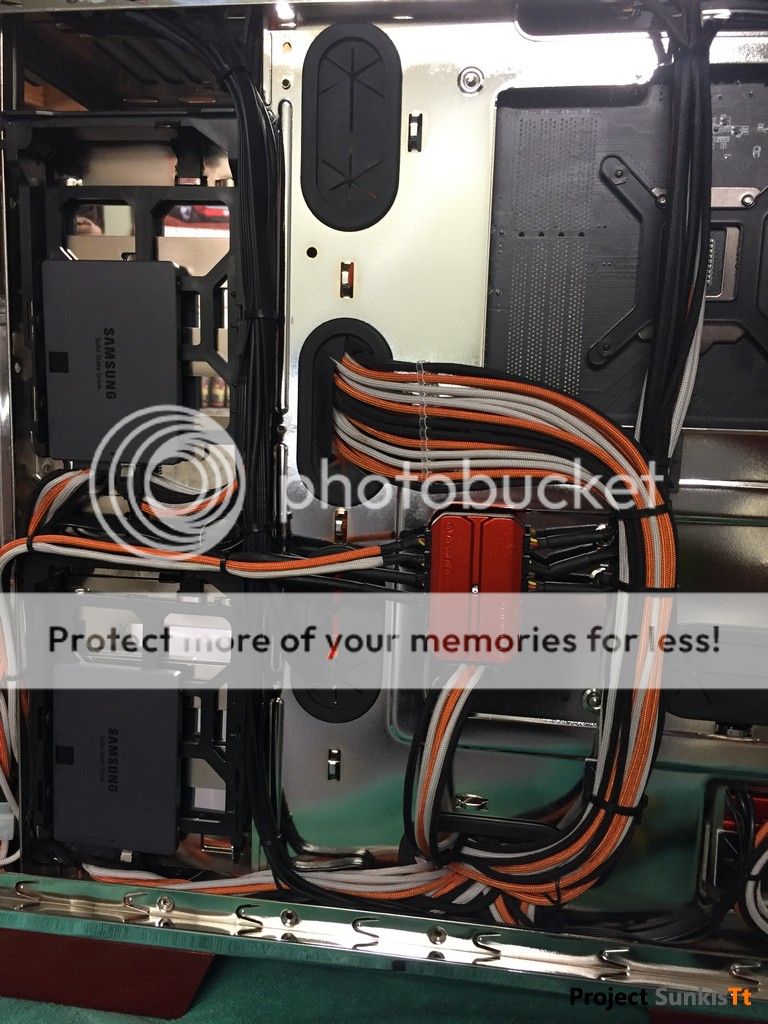
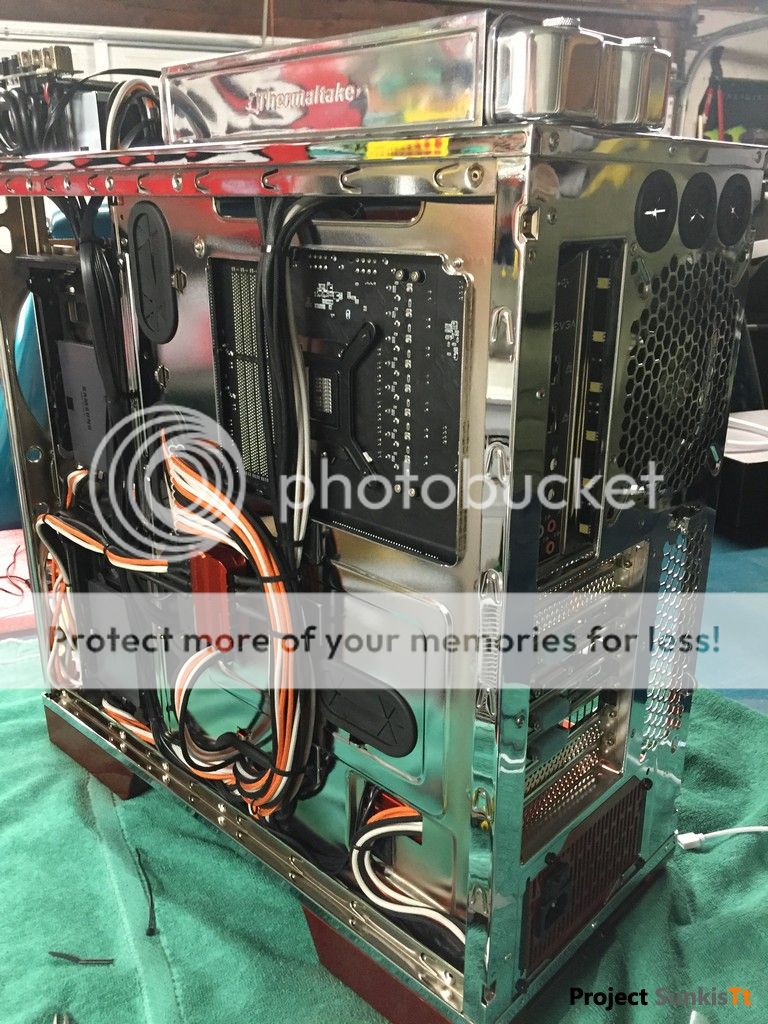
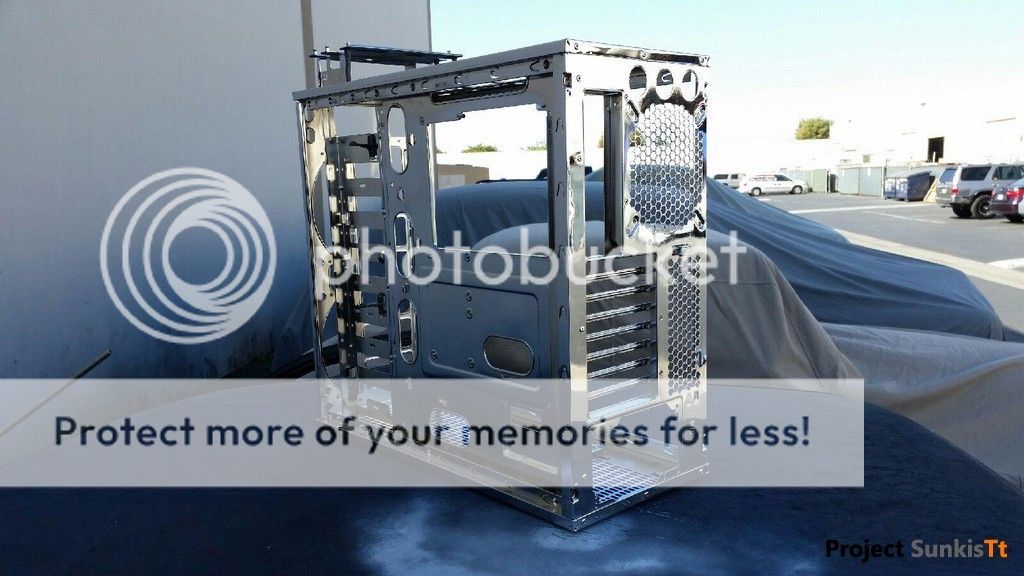
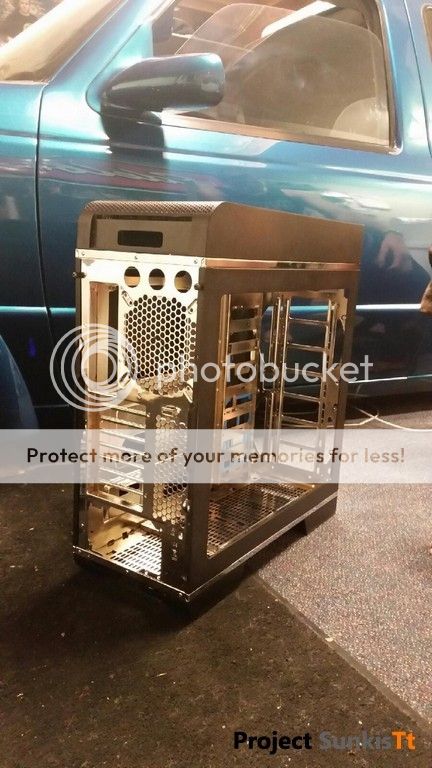
I then had a good friend help me locate a Chromer that could do this kind of detail work as well as the time it takes for something like this. About 1 month later, I received back my freshly chromed Core V71 Frame and the project took off from there!
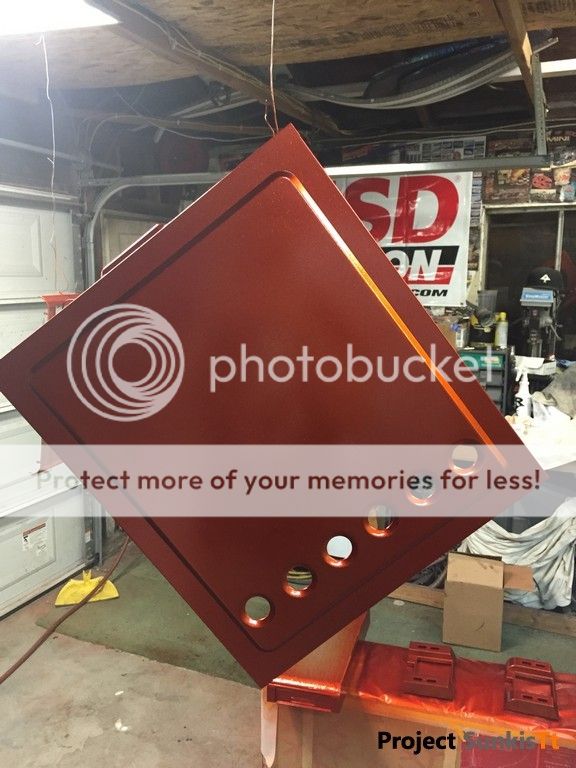
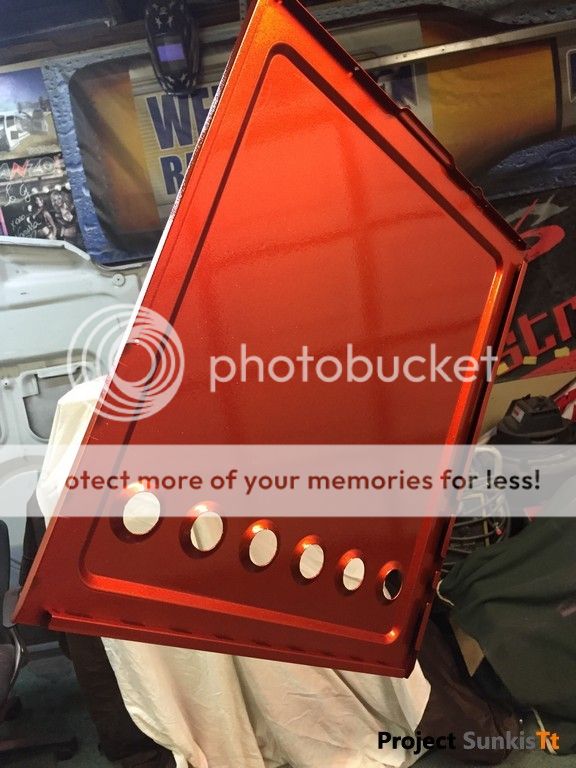
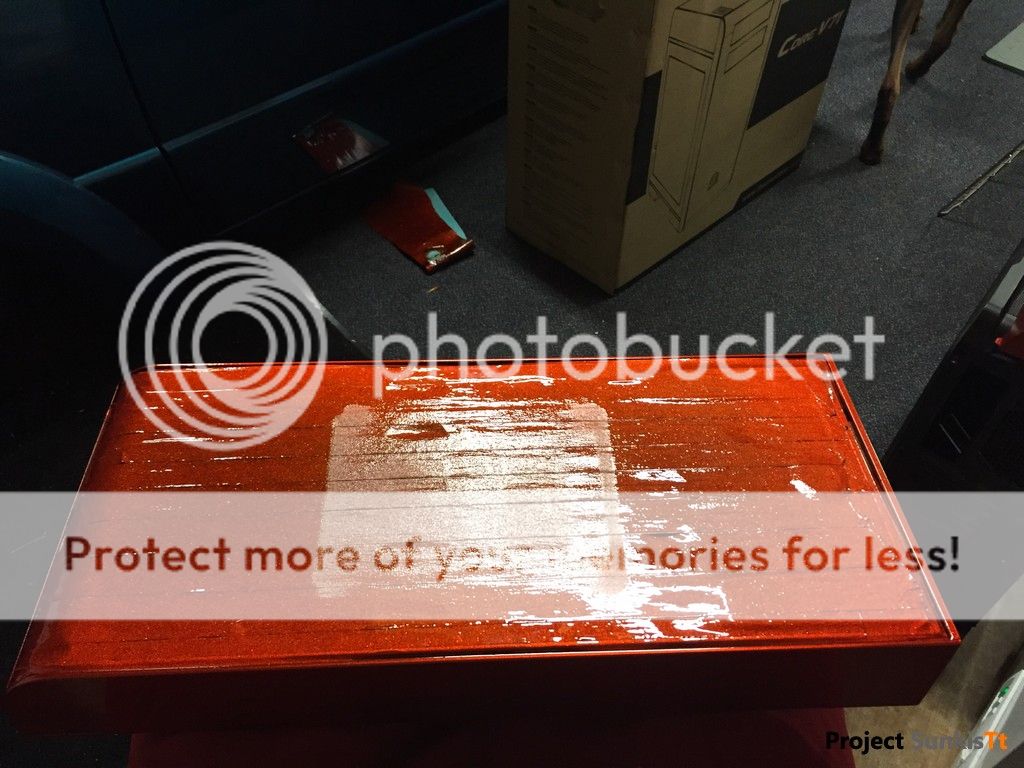
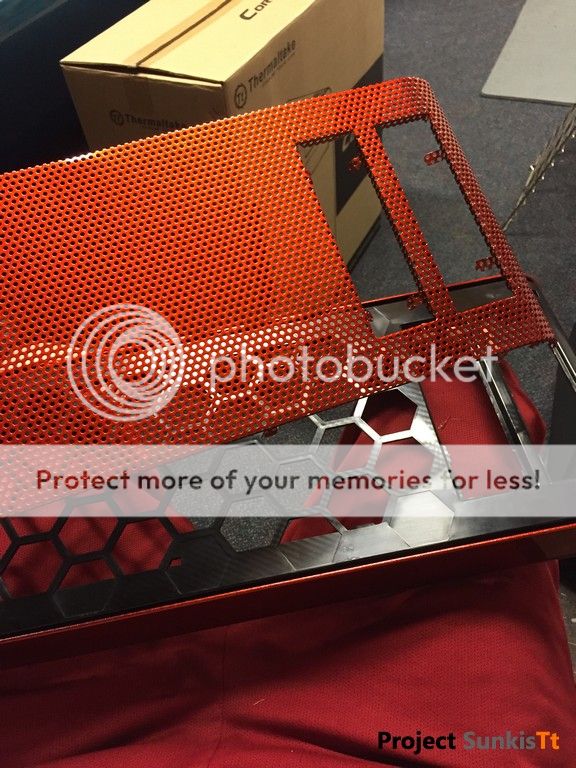
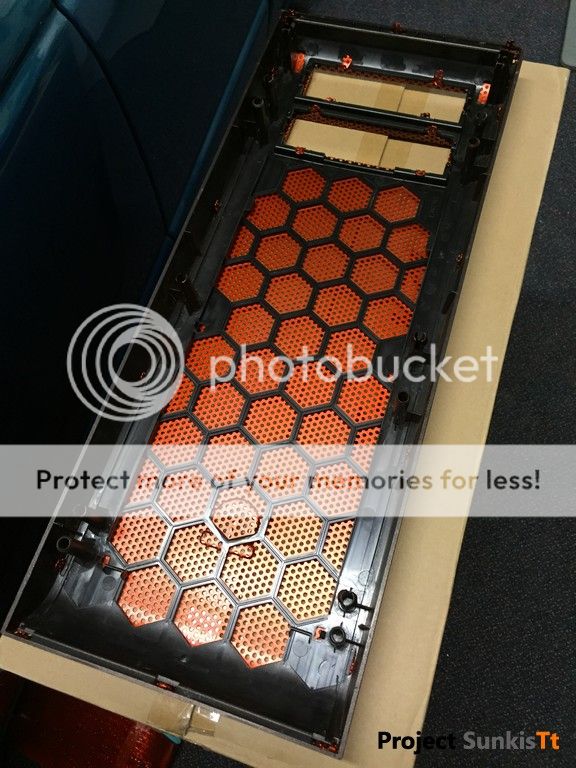
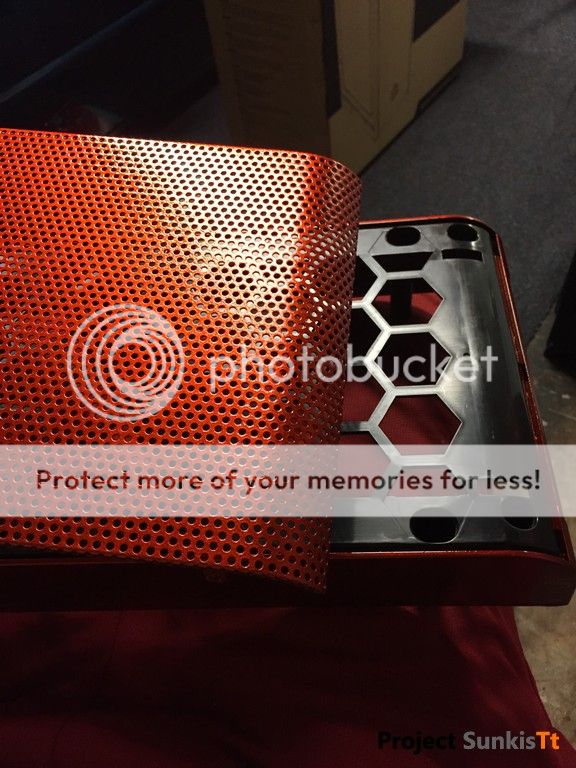
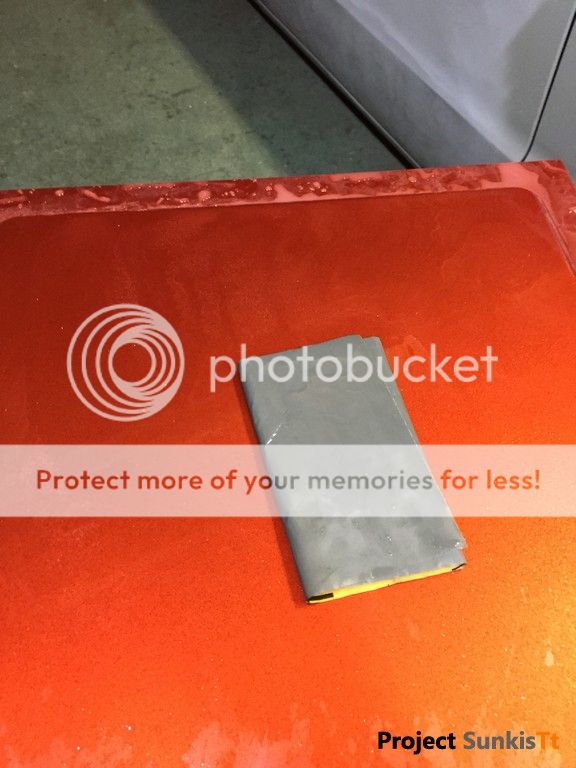
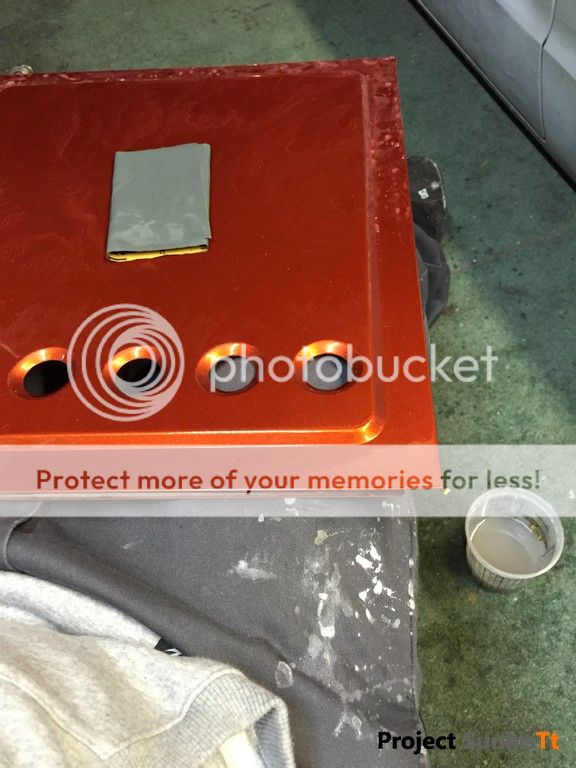
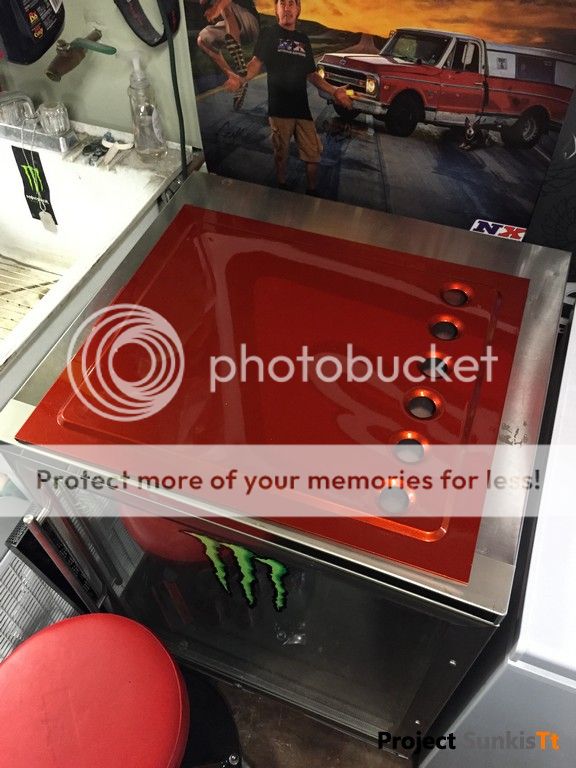
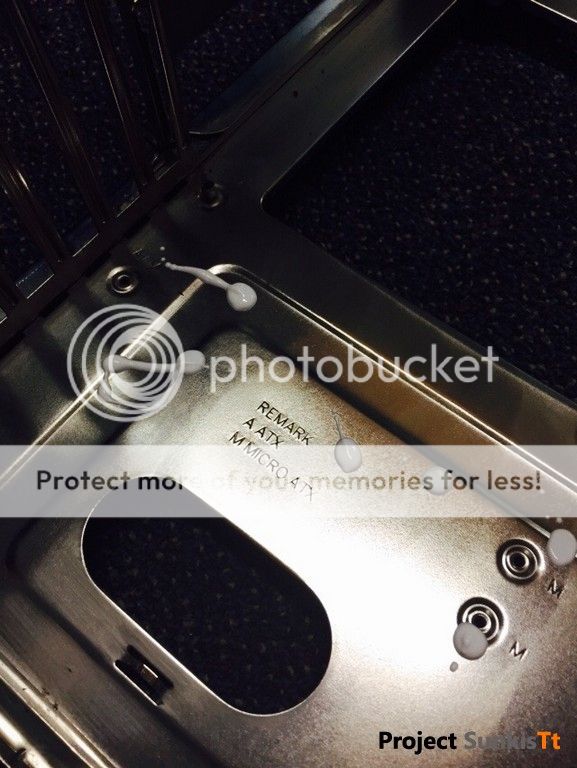
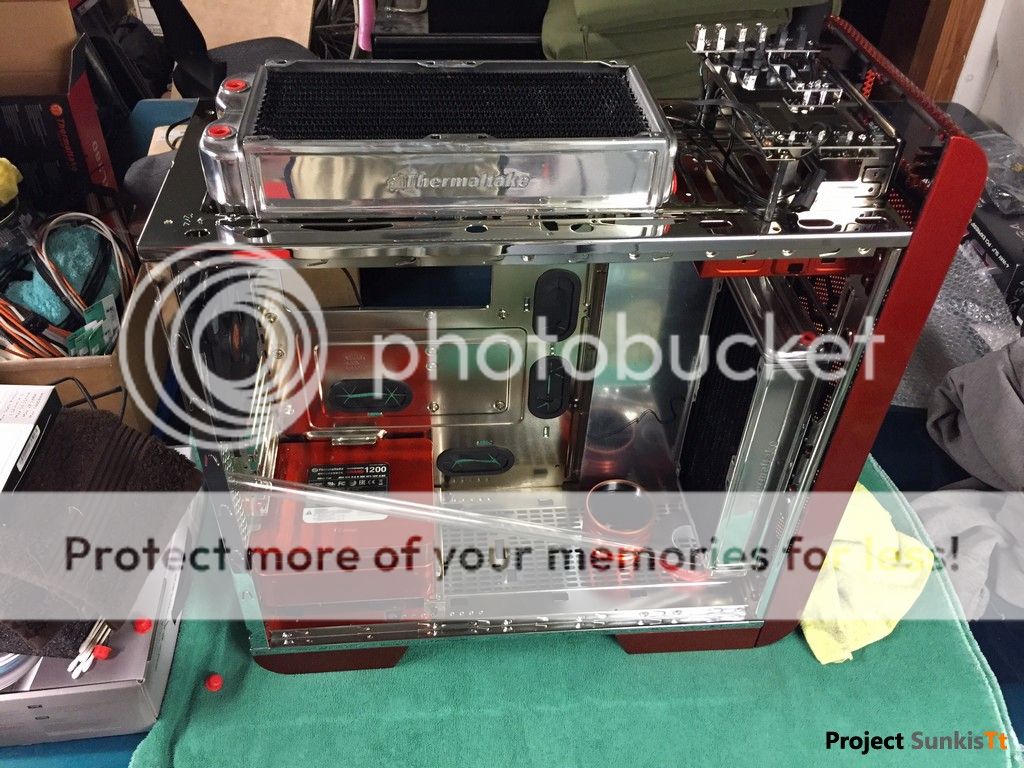
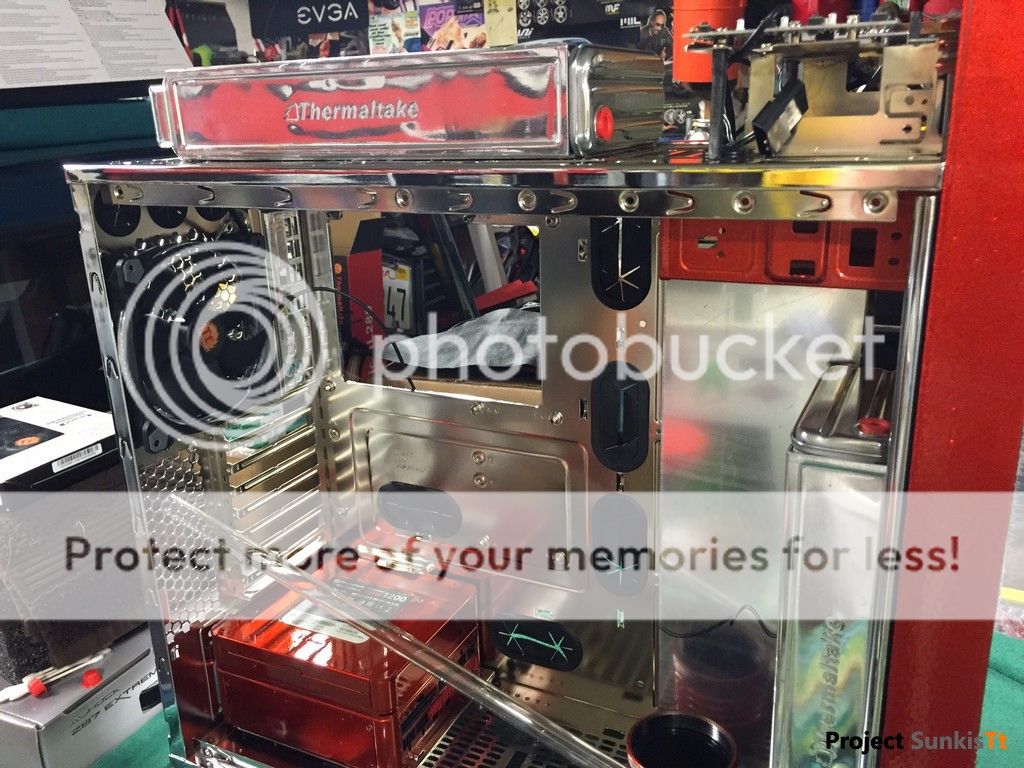
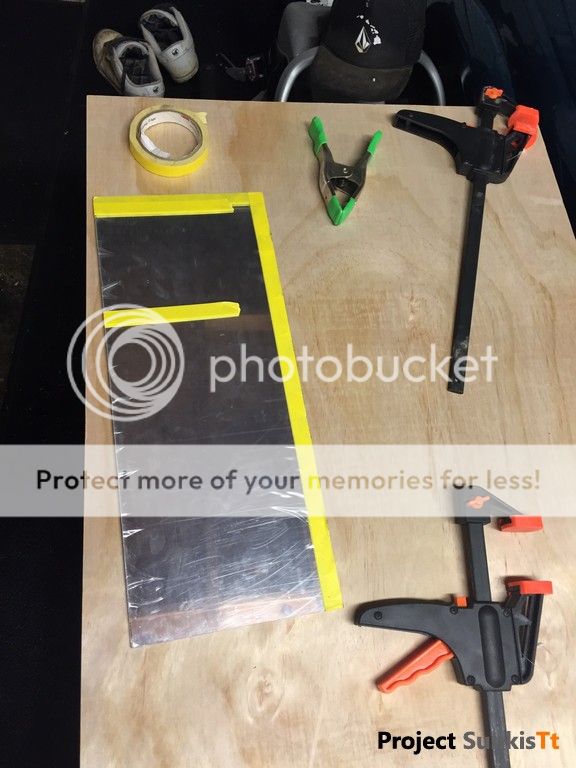
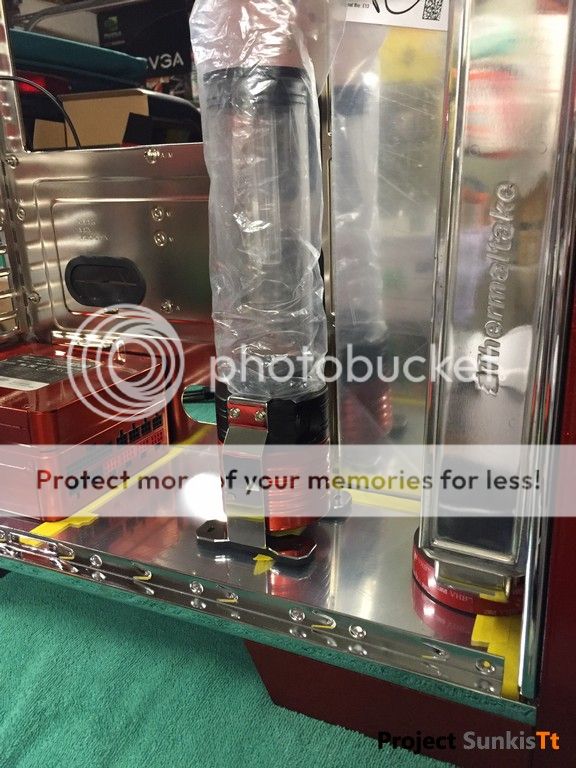
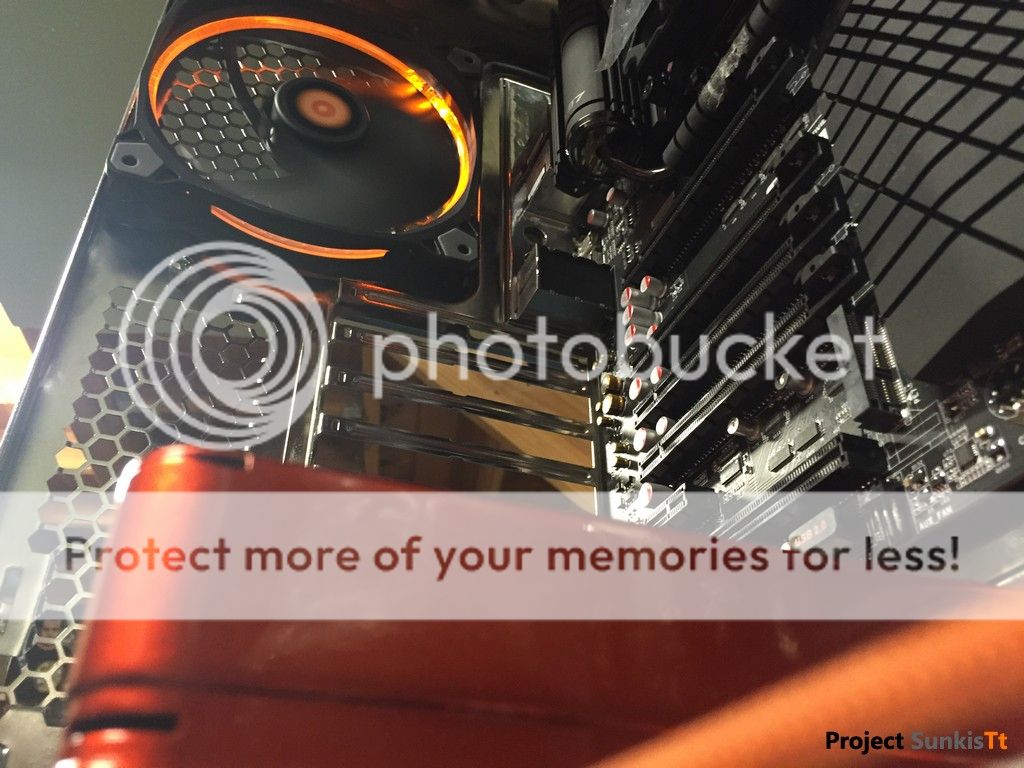
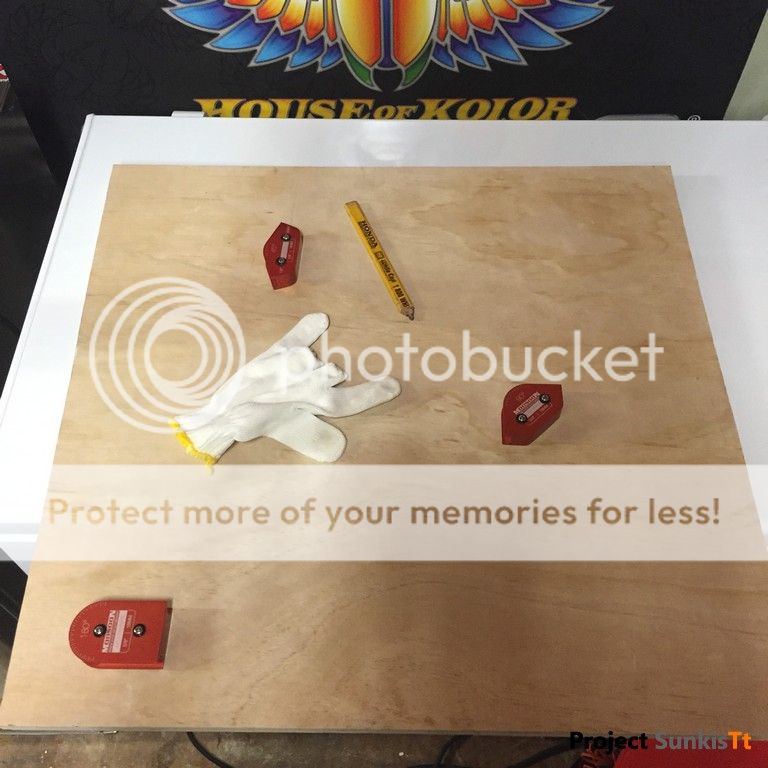
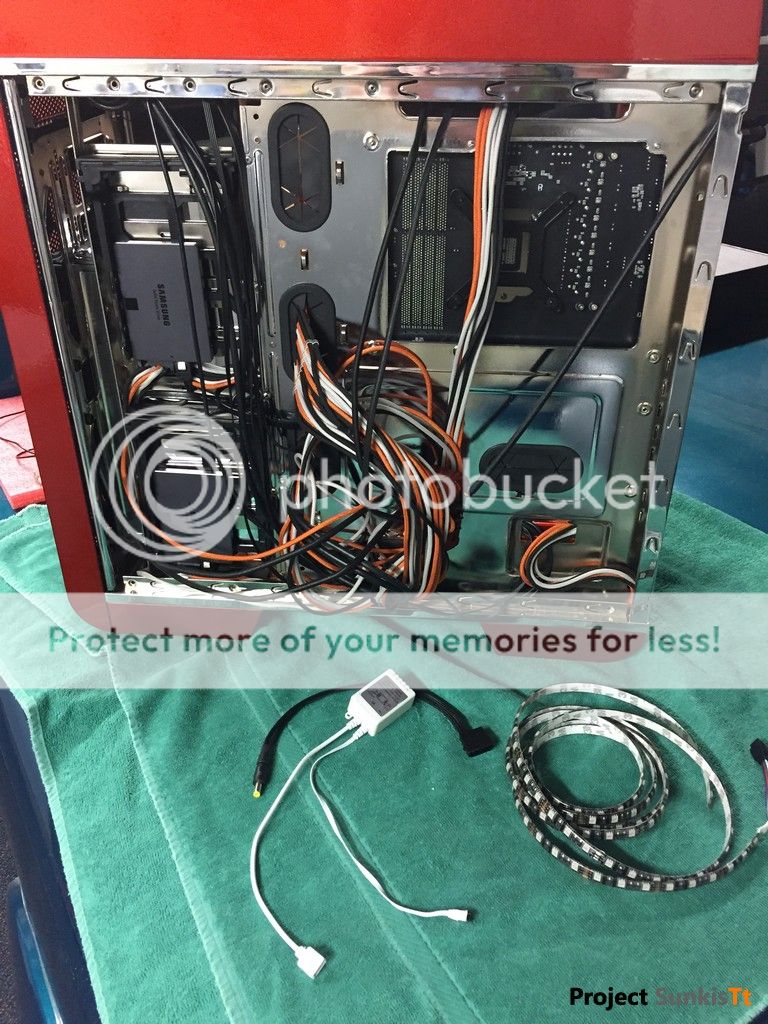
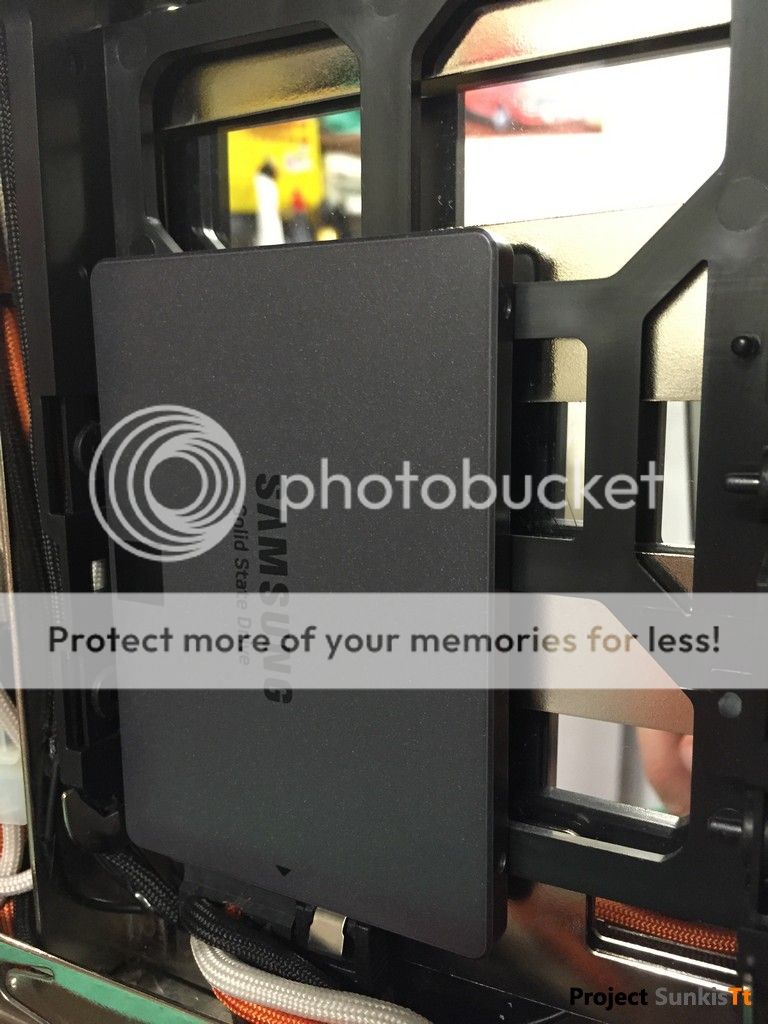
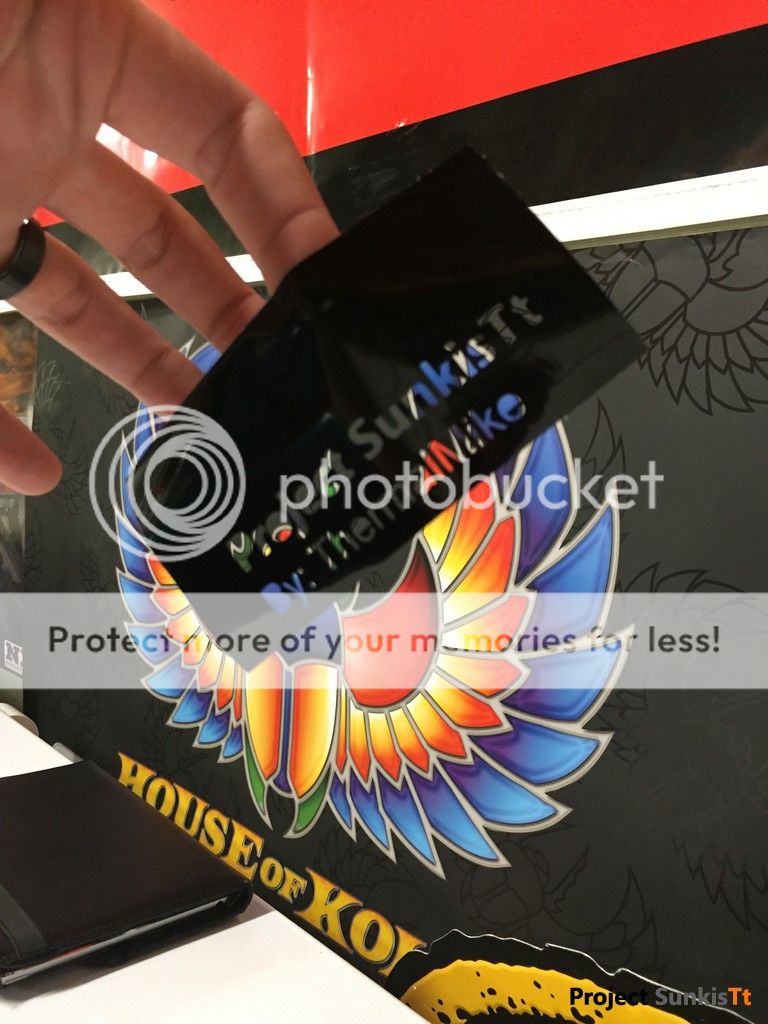
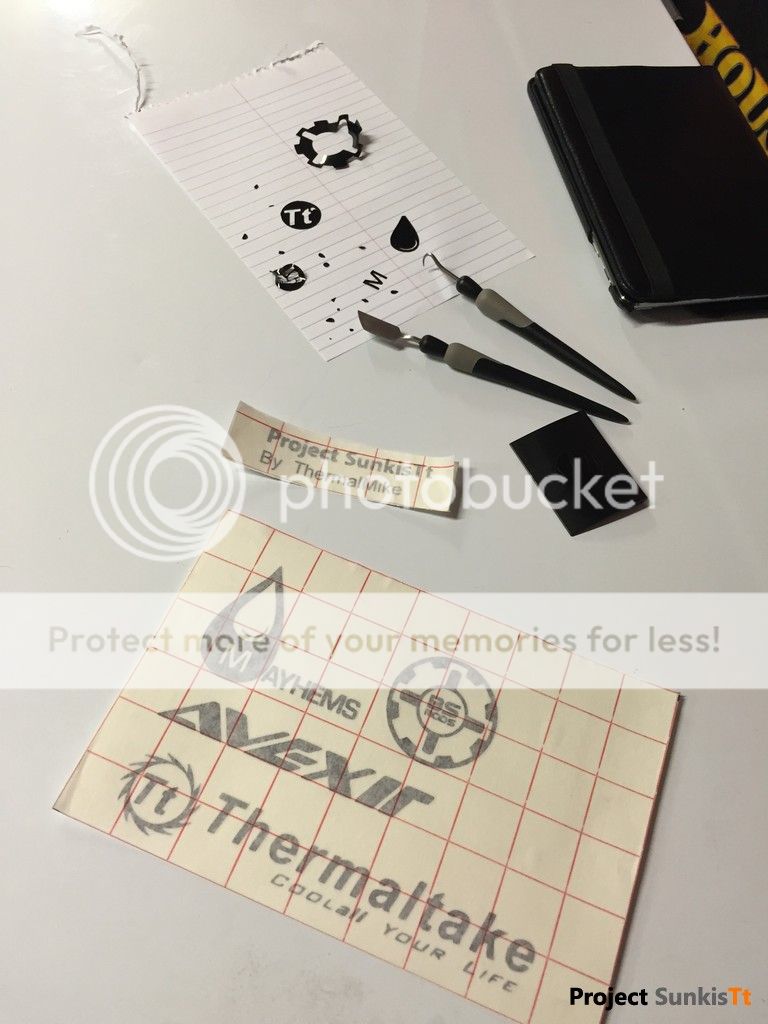
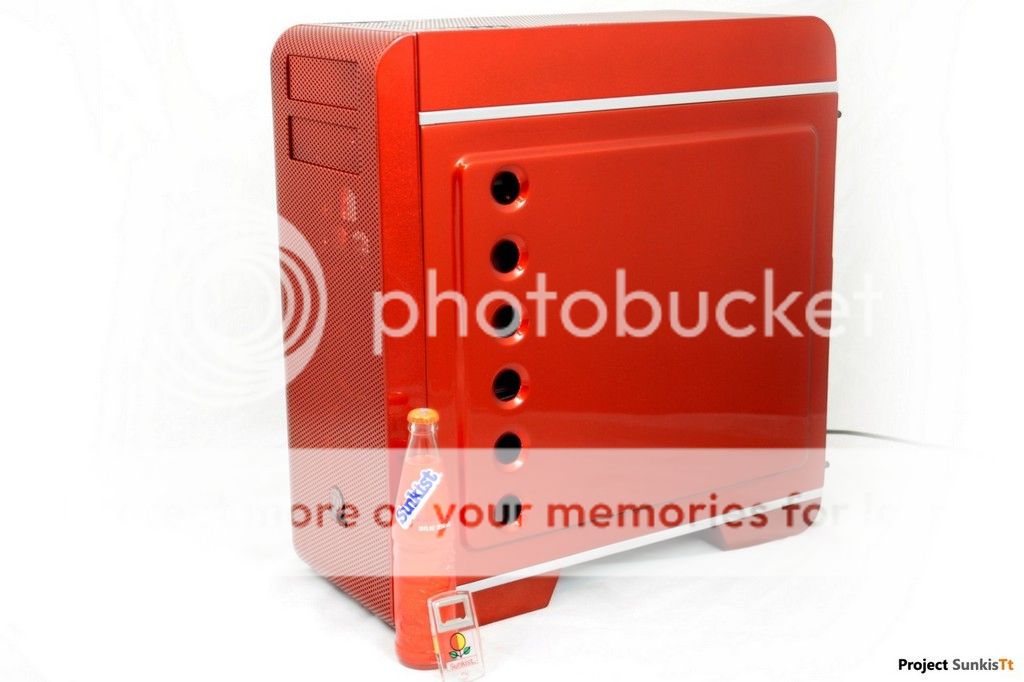
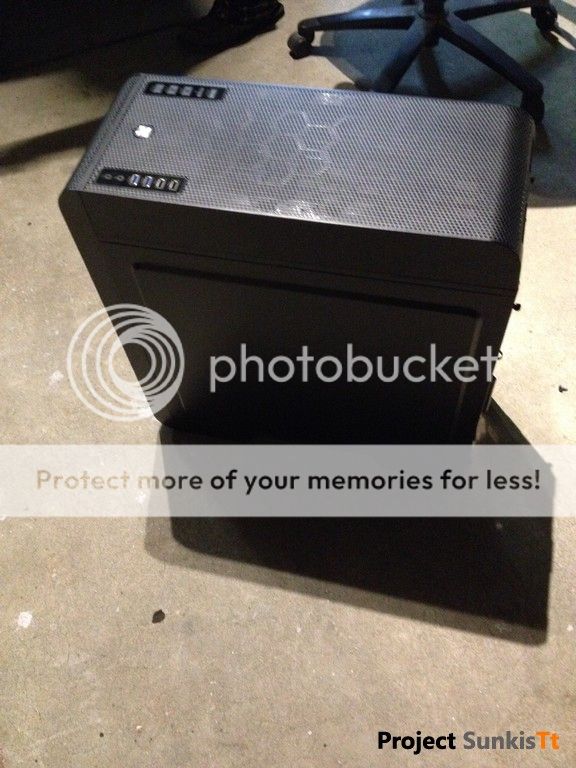
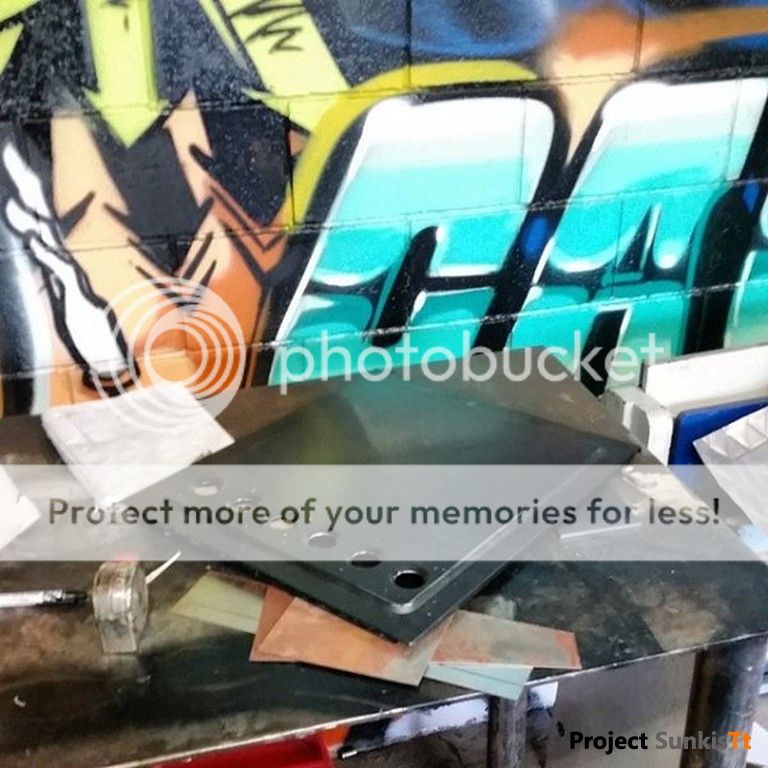
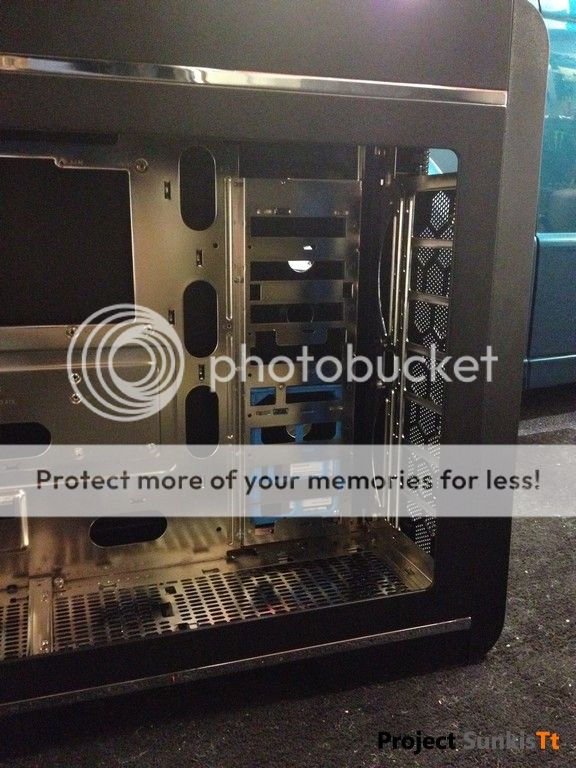
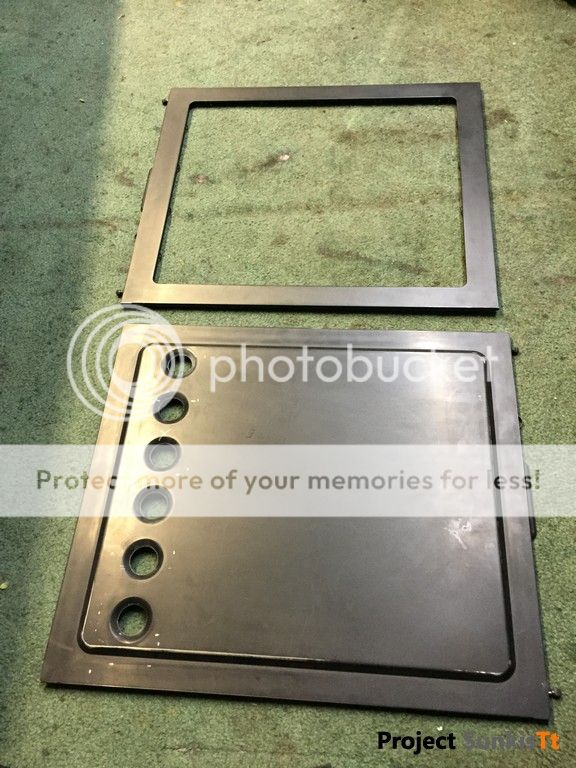
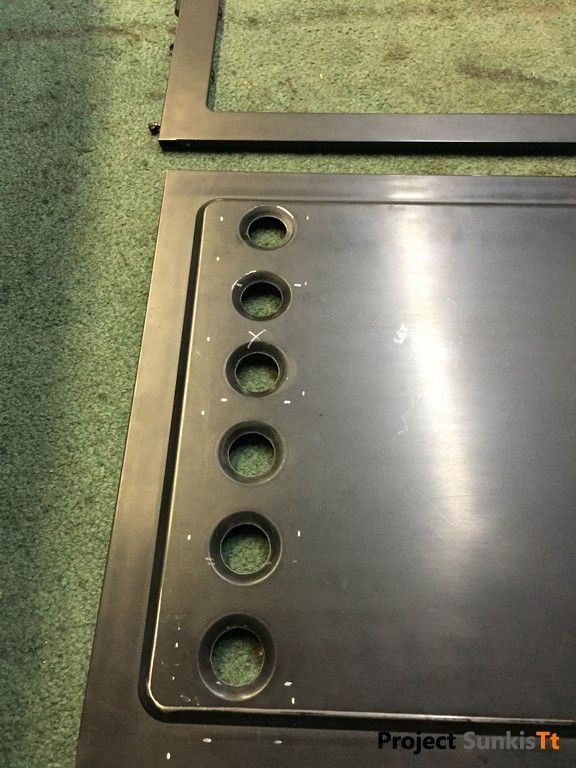
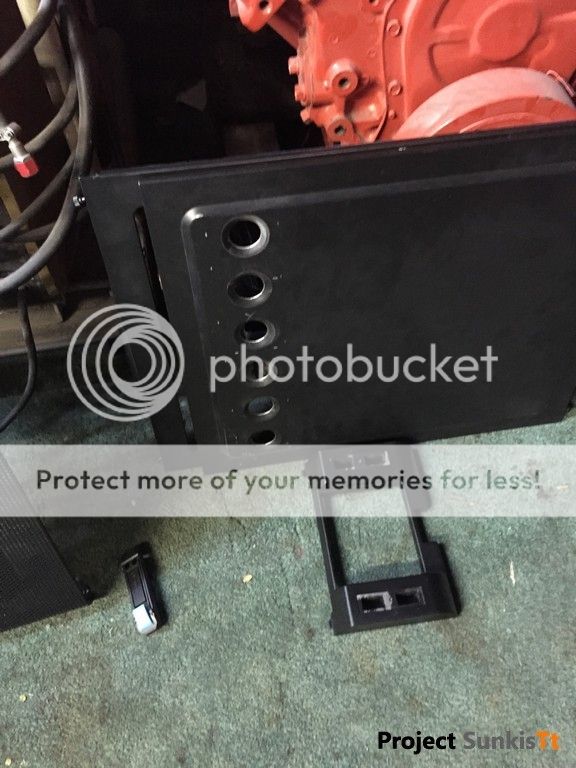
While I was waiting for the frame to come back from Chrome, I had some ideas to show off the Dual SSD's I planned to install on the backpanel side and decided to go with a dimple die effect using a 1.5 in die with .25 in roll on it, here is the results.
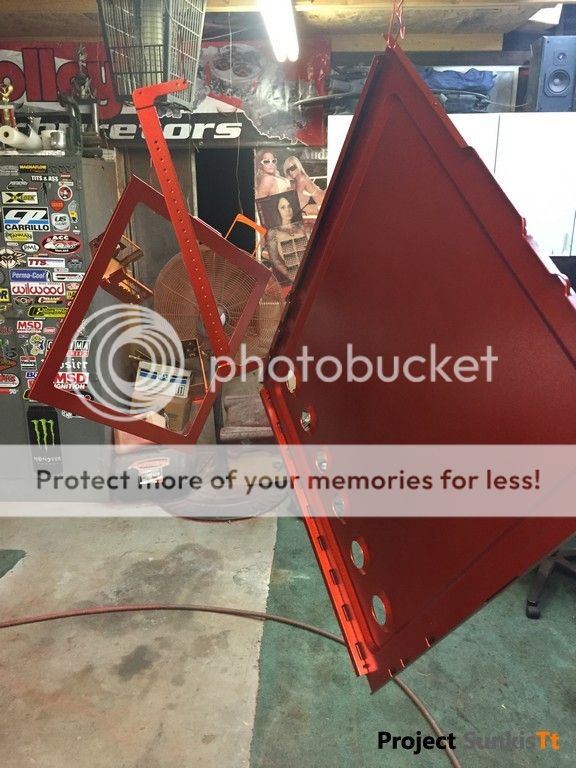
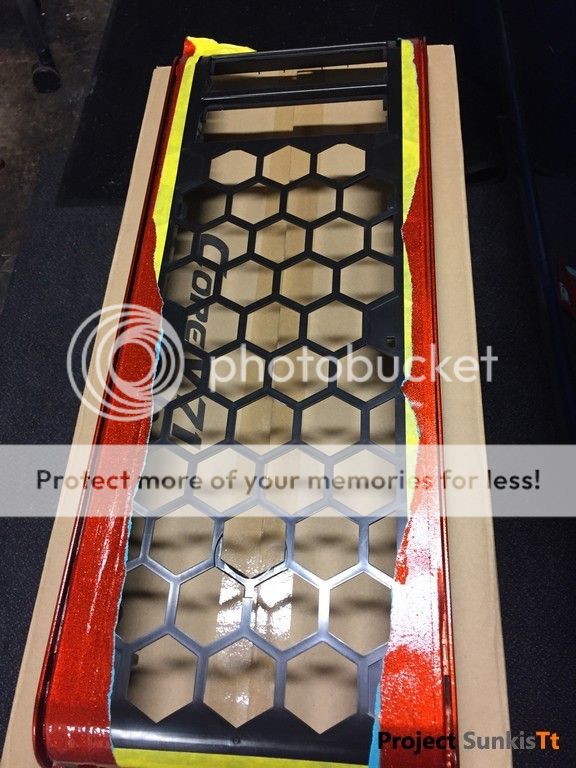
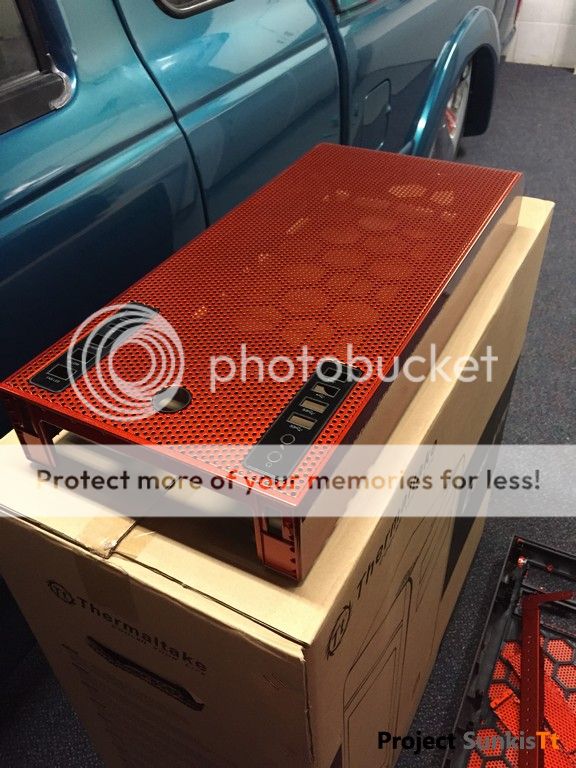
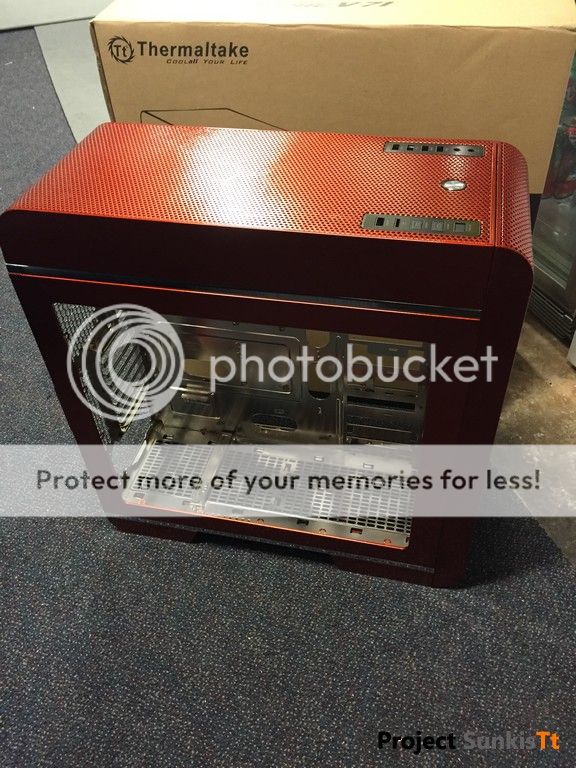
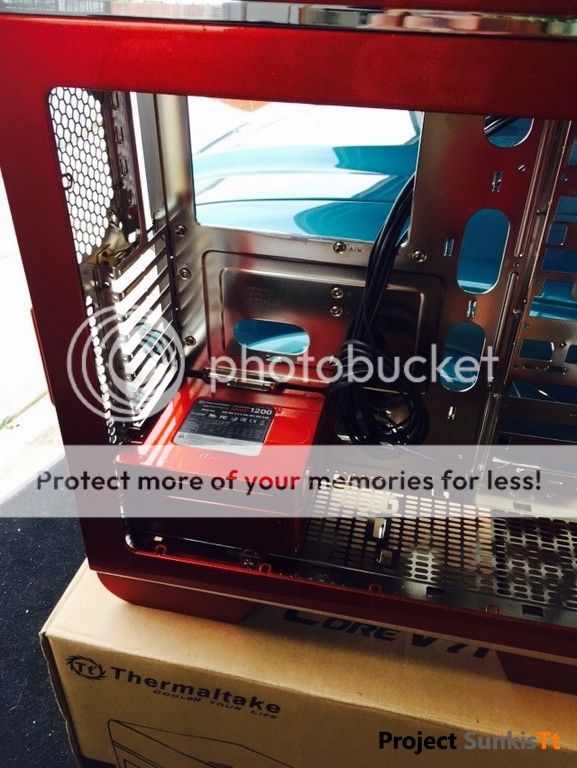
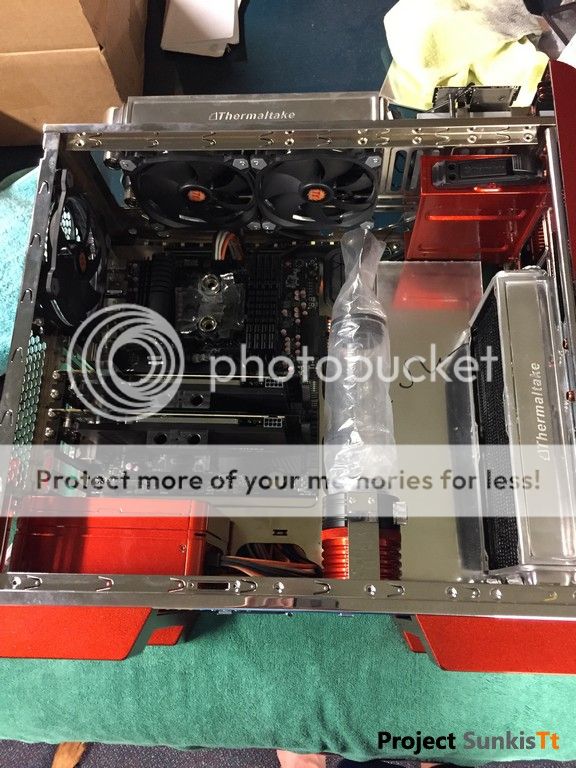
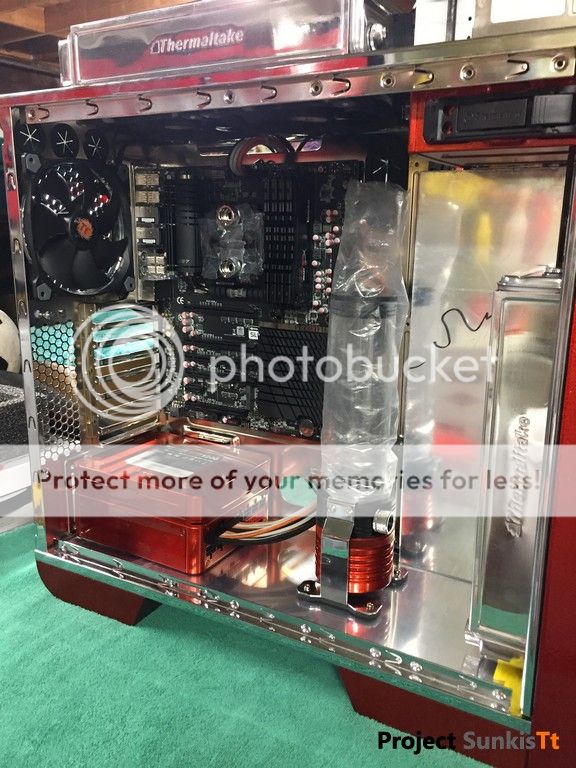
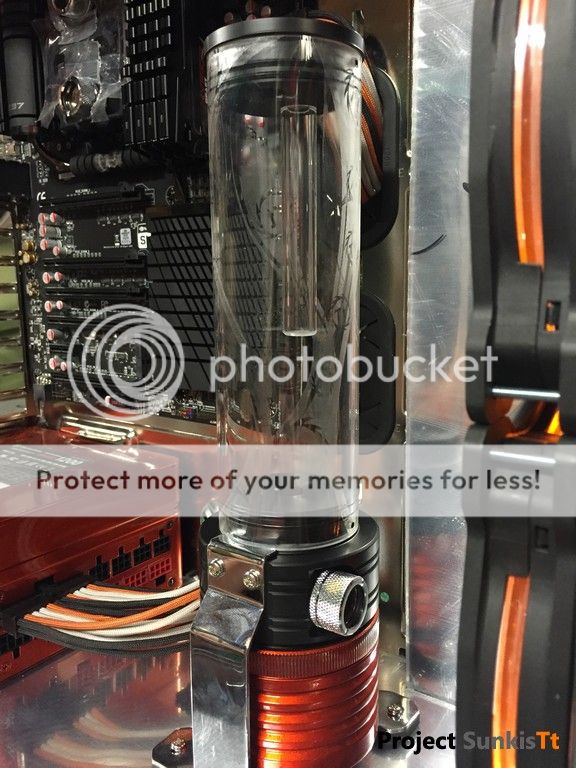
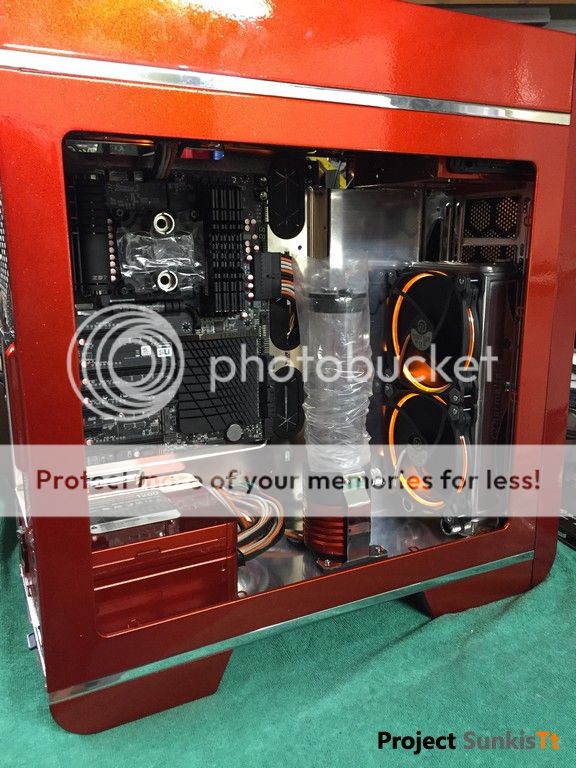
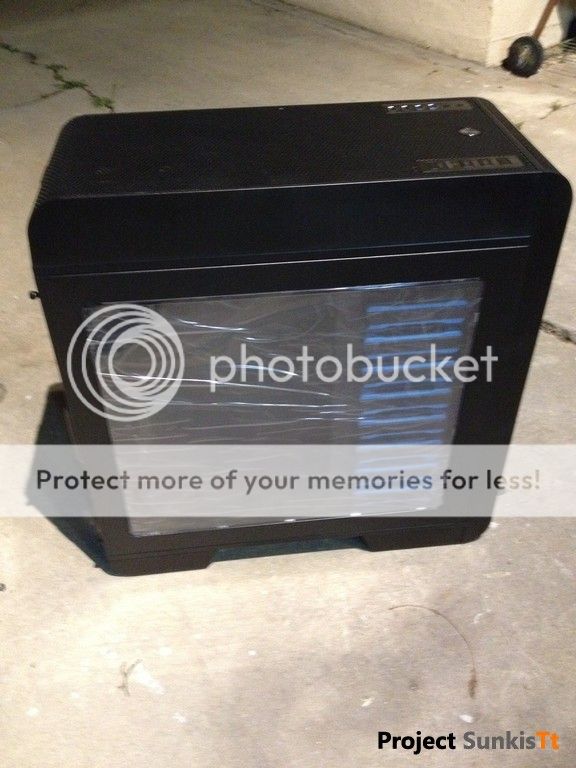
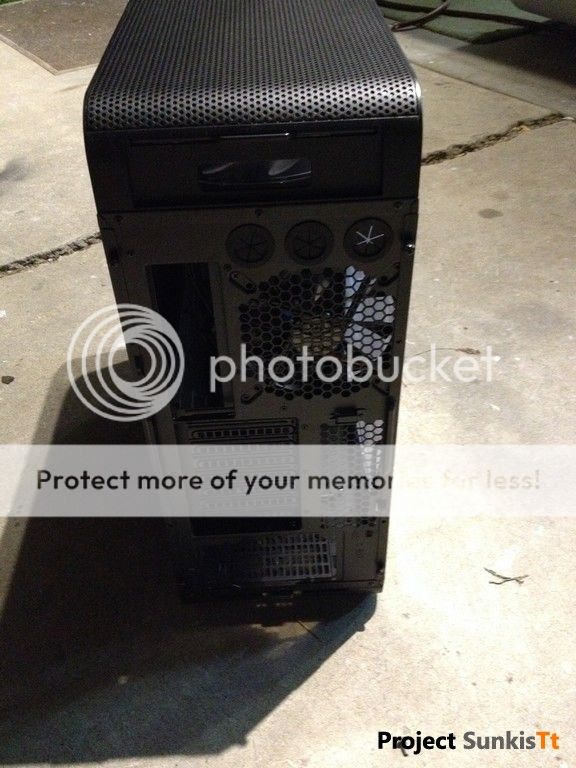
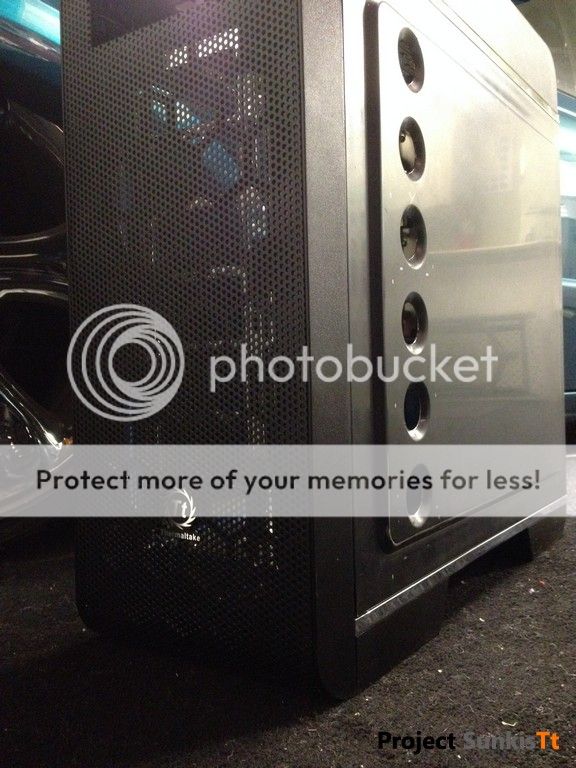
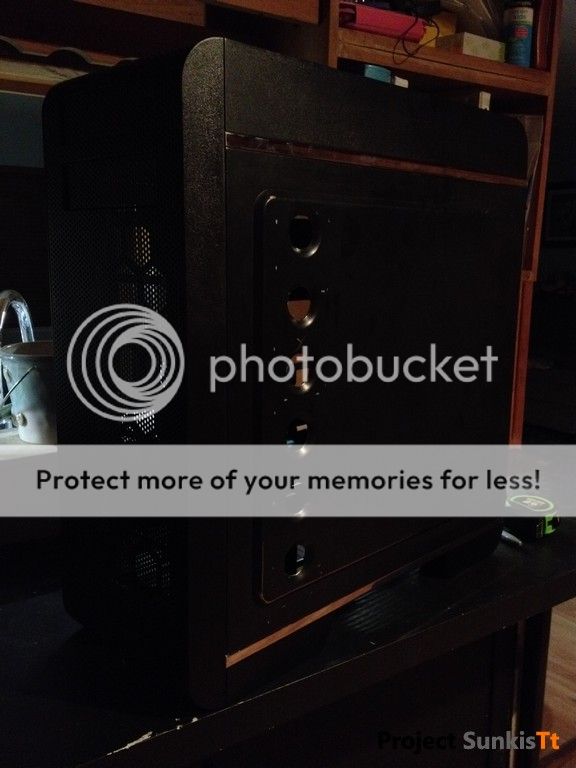
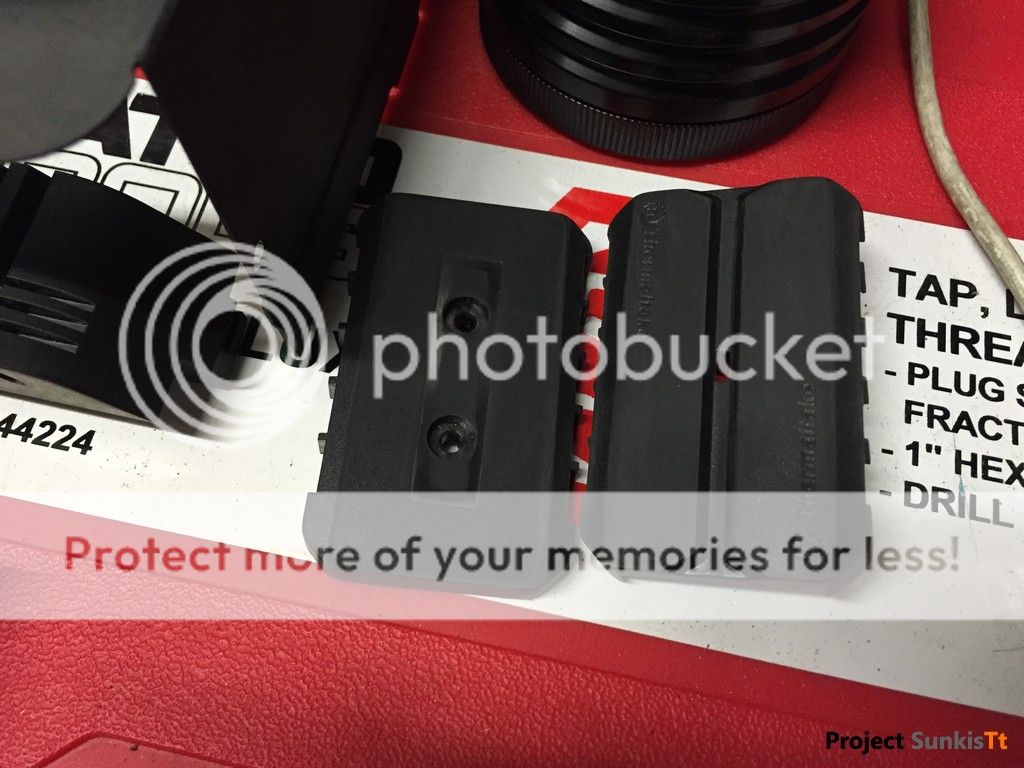
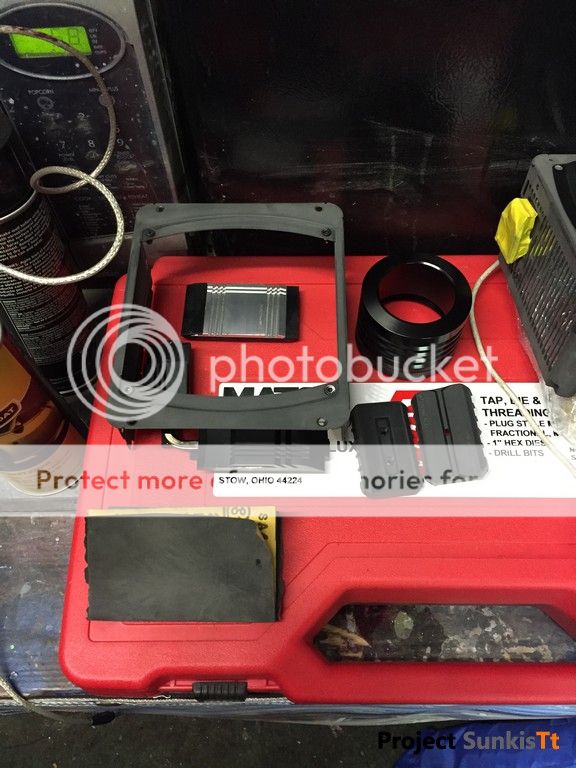
Putting the 2 latest mods together to see what it looks like:

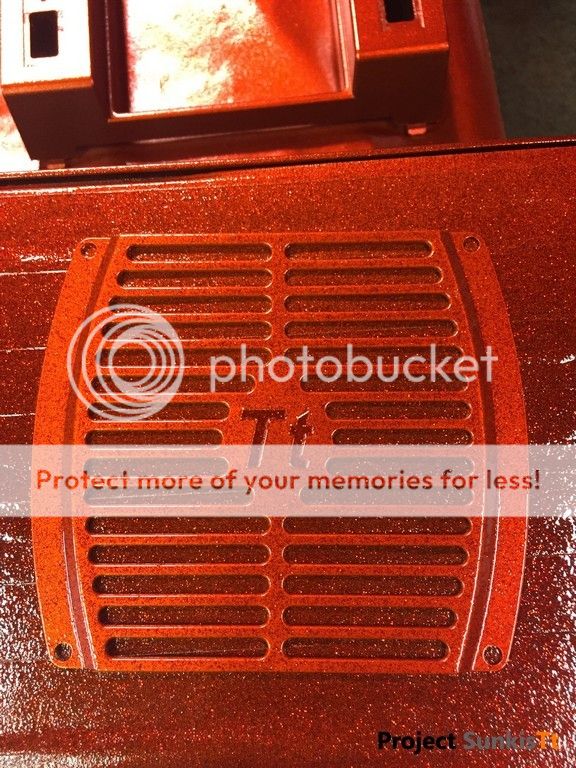
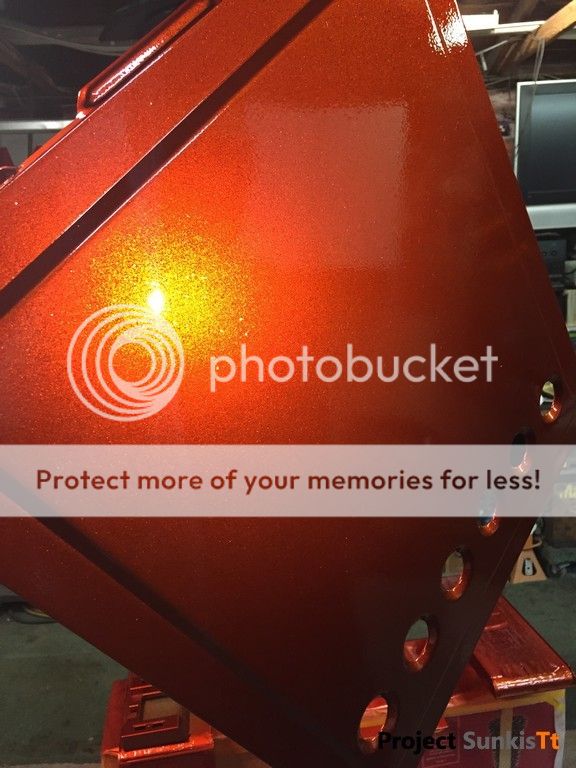
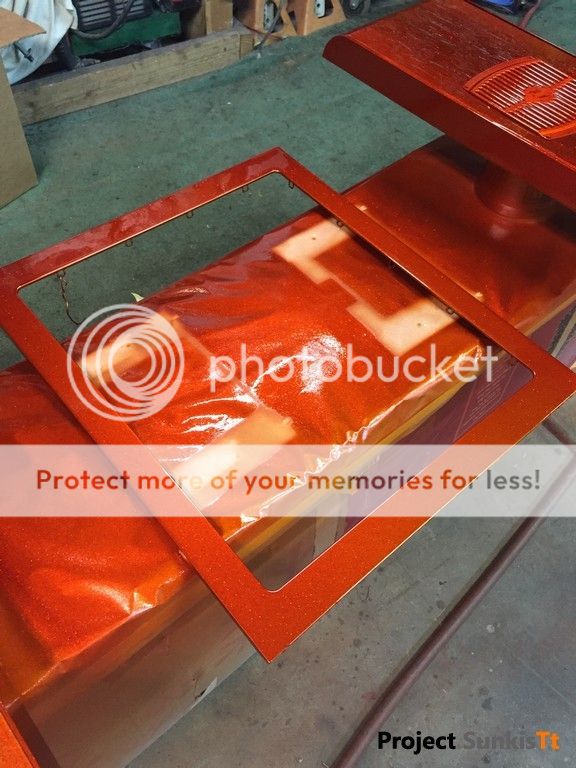
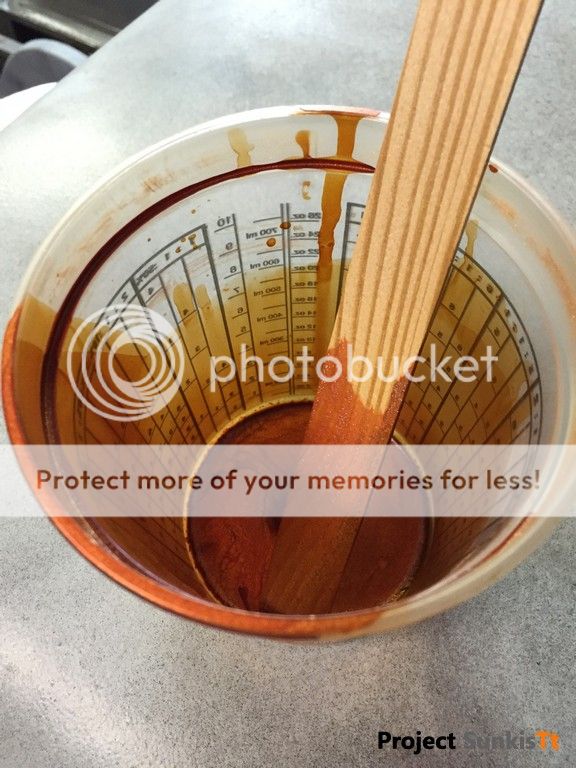
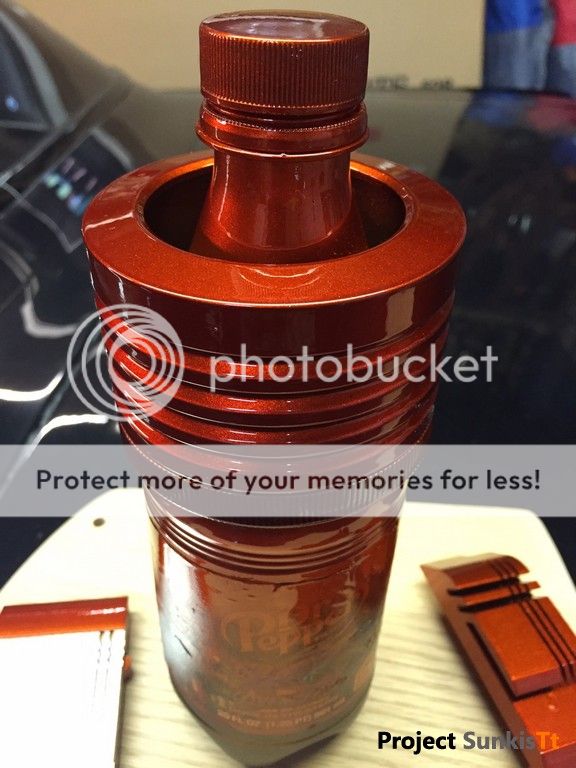
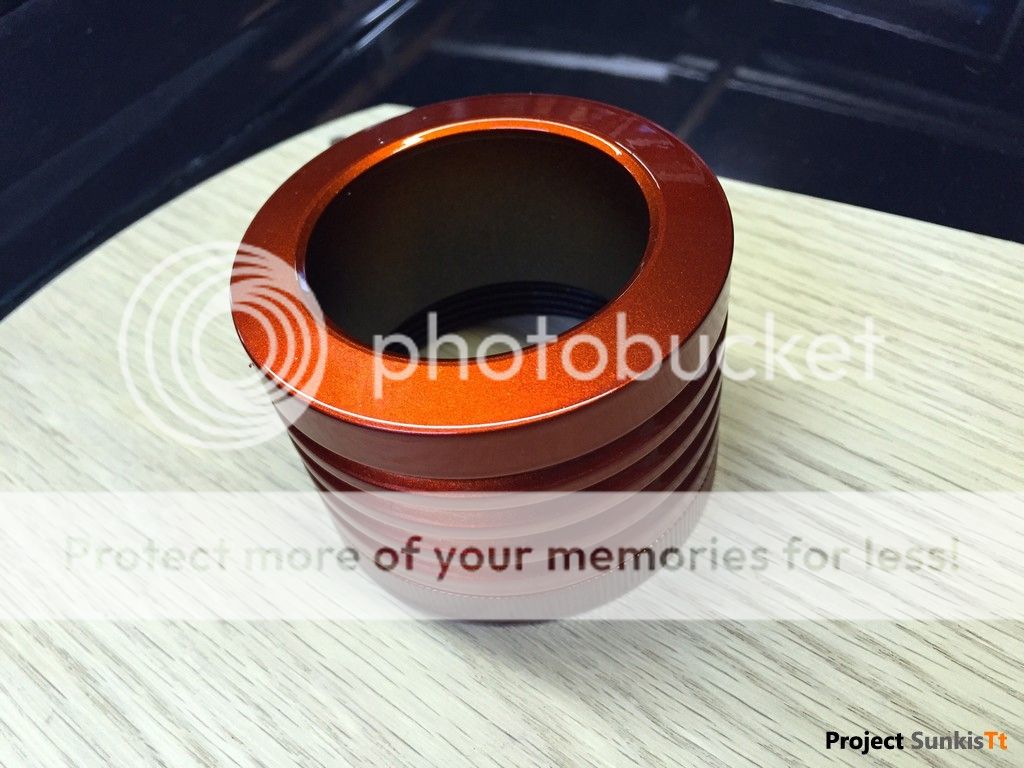
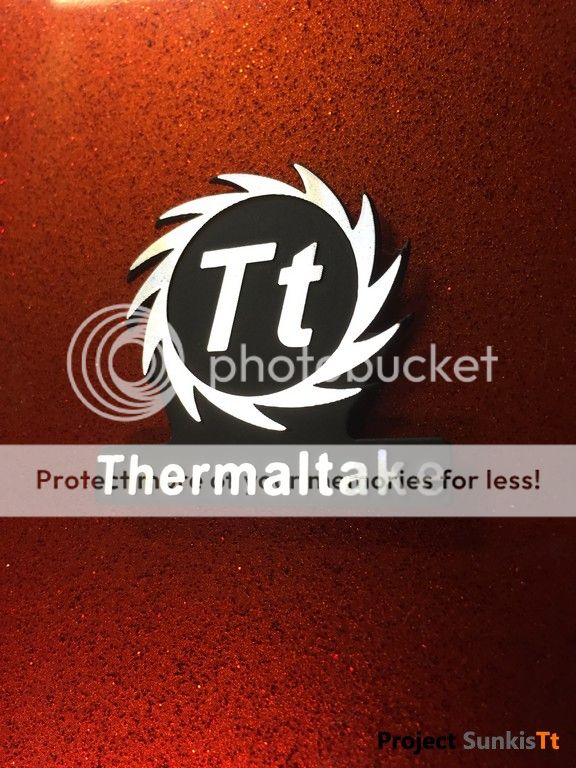
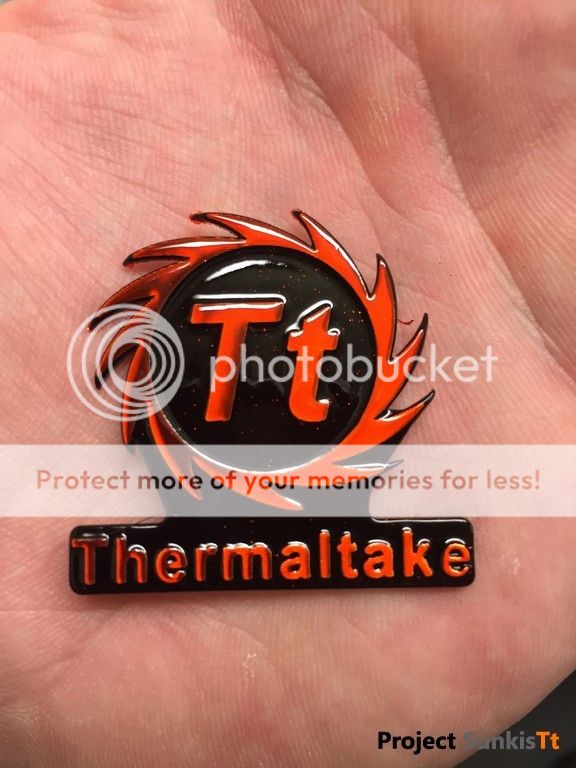
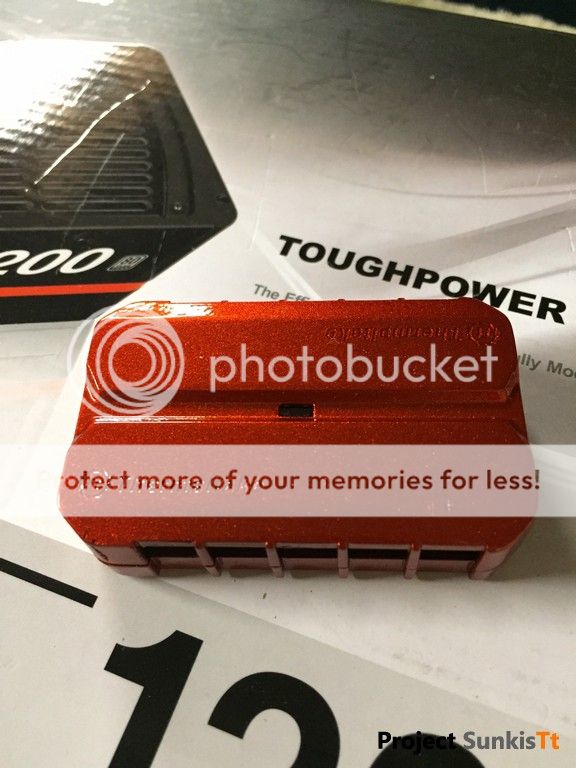
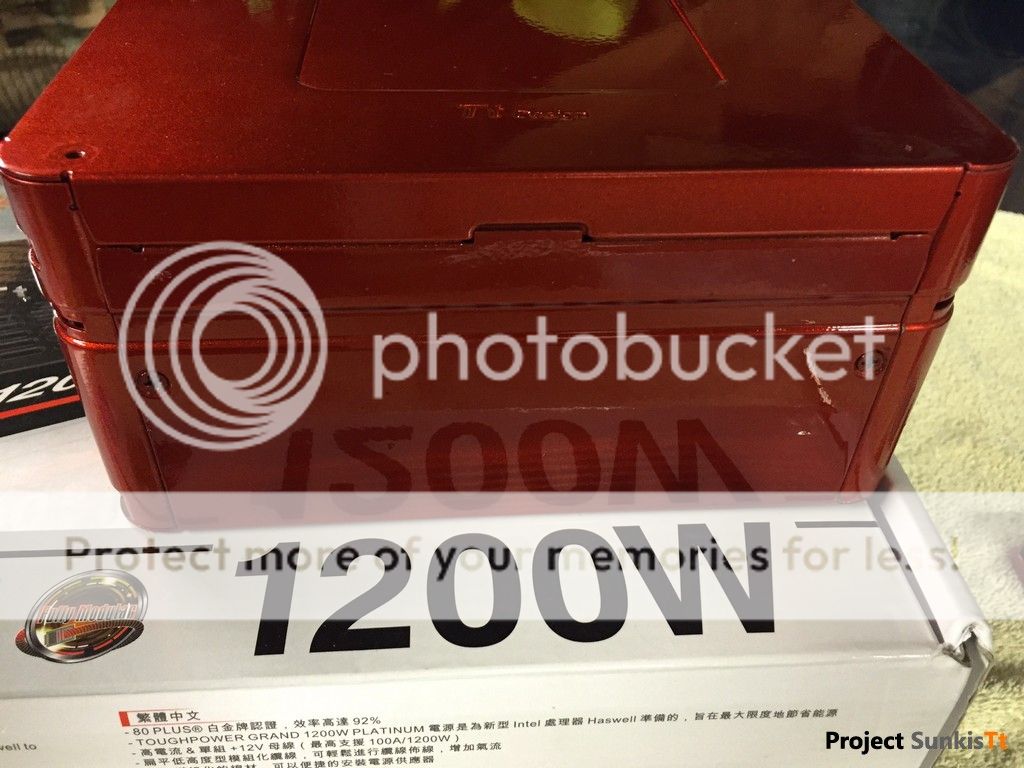
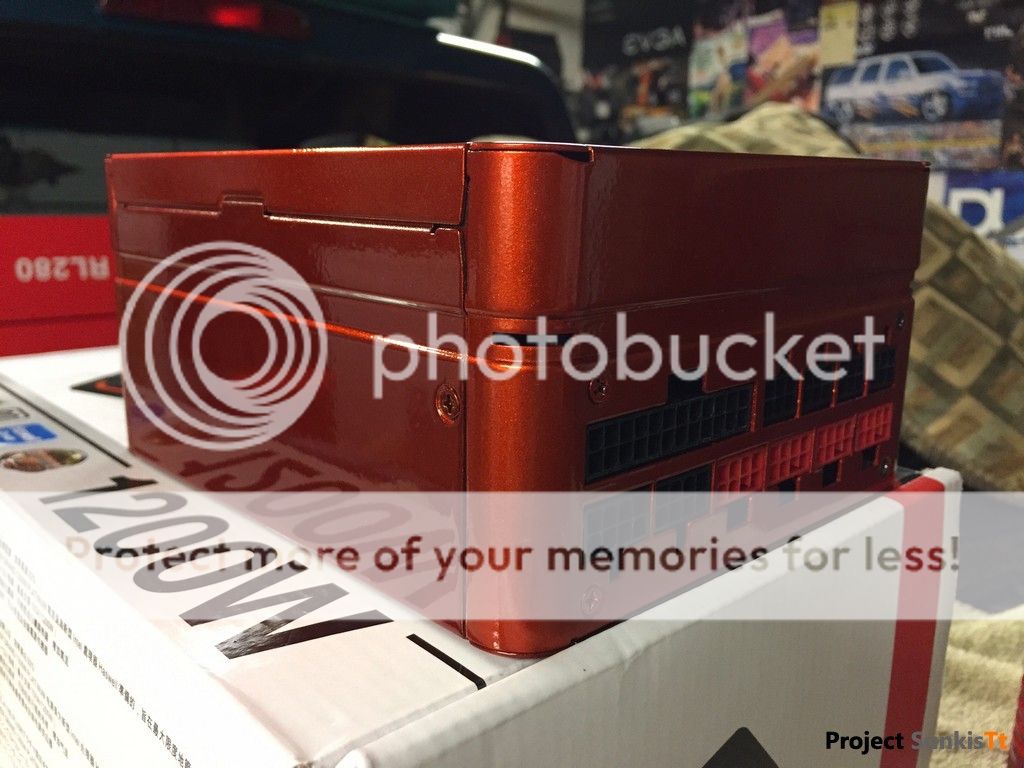
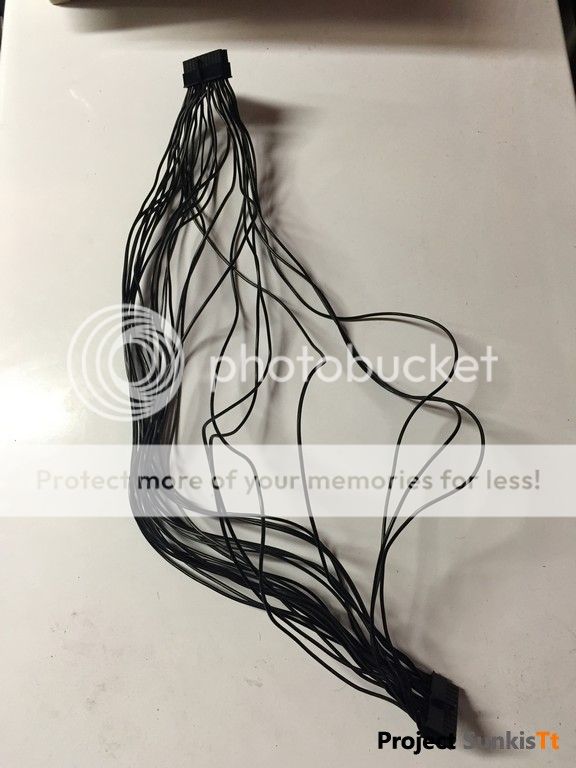
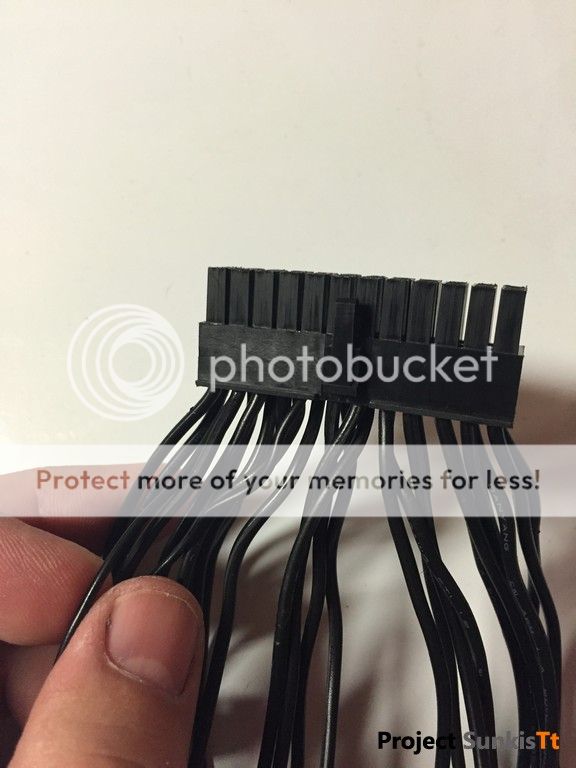
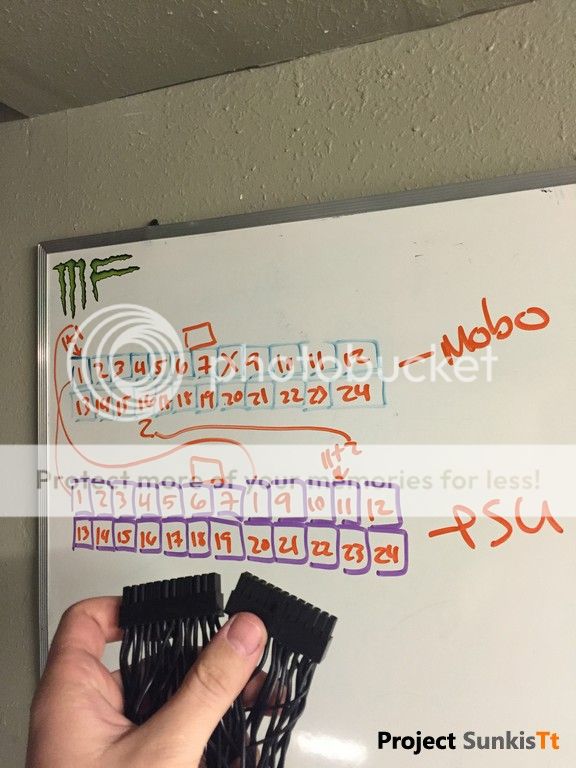
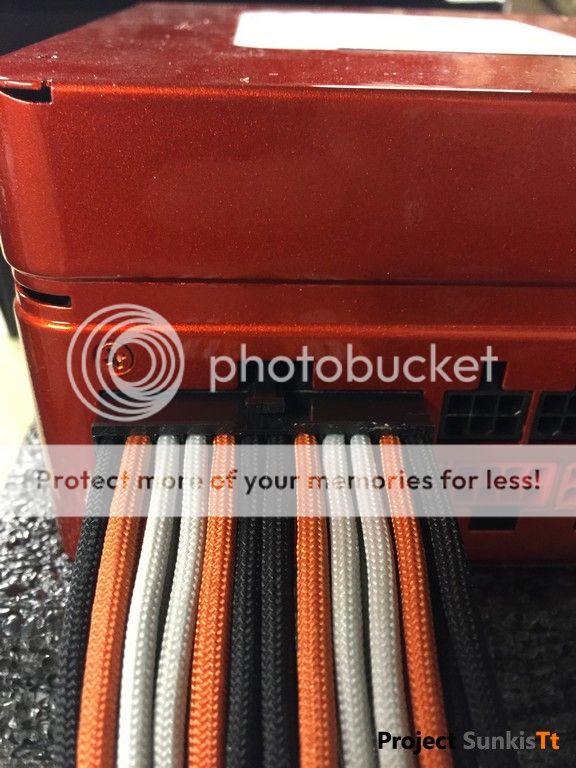
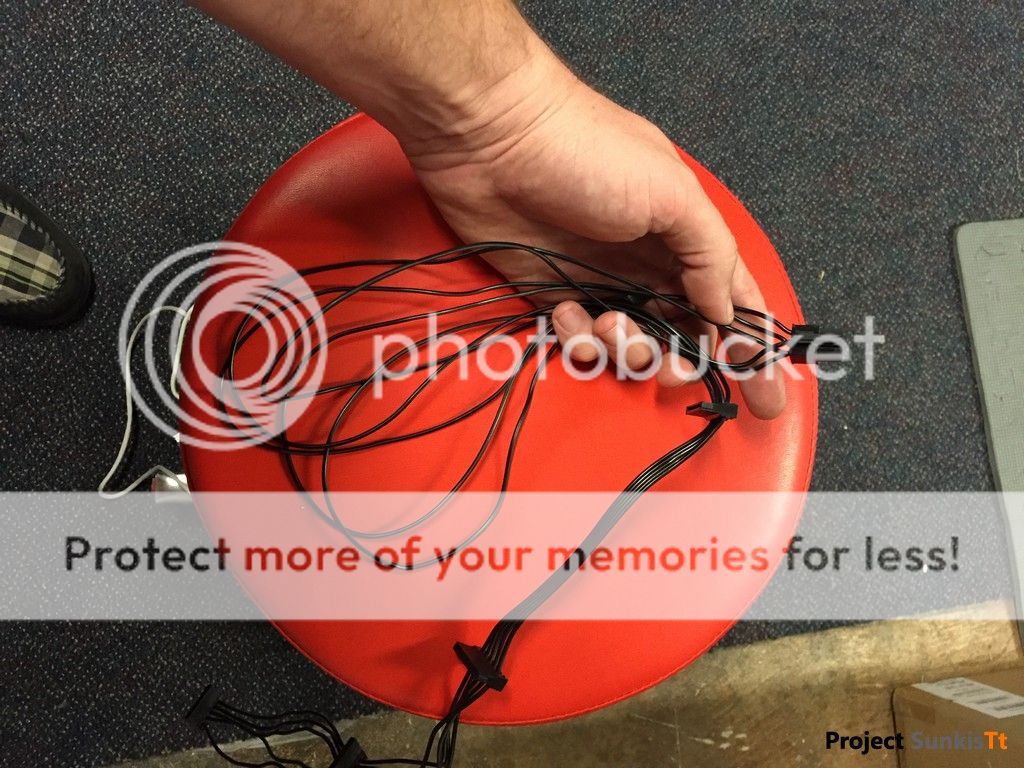
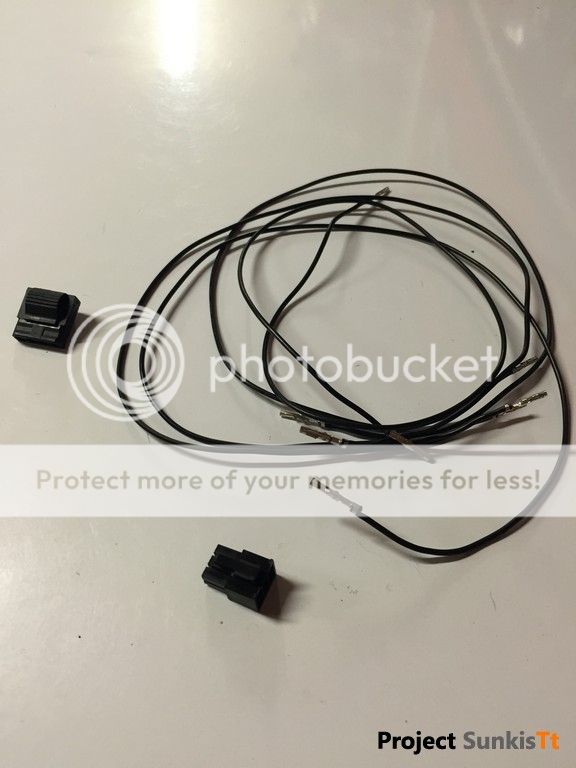
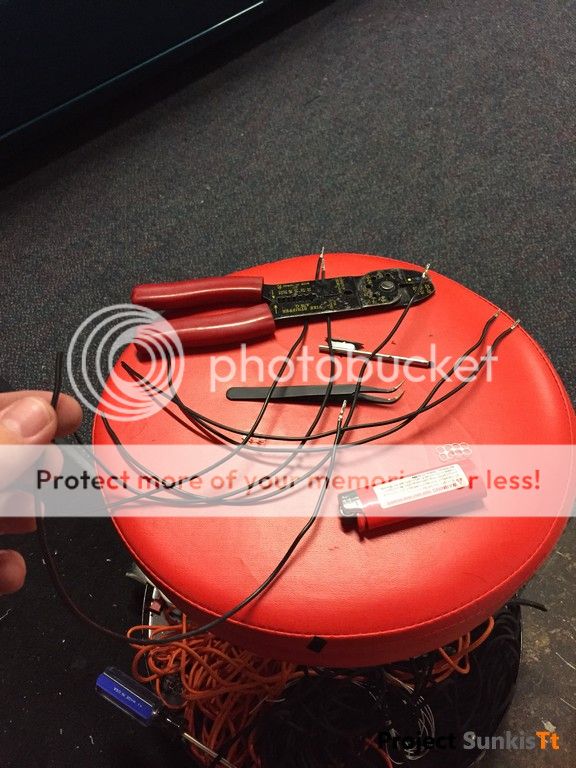
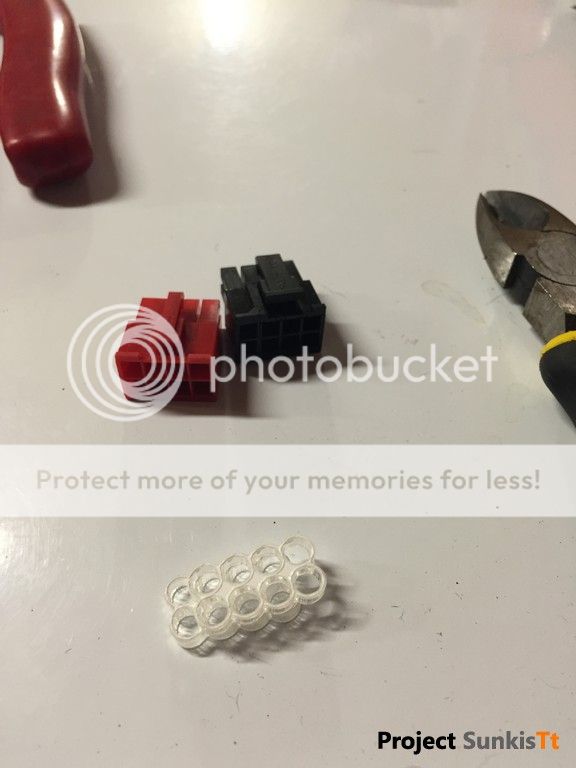
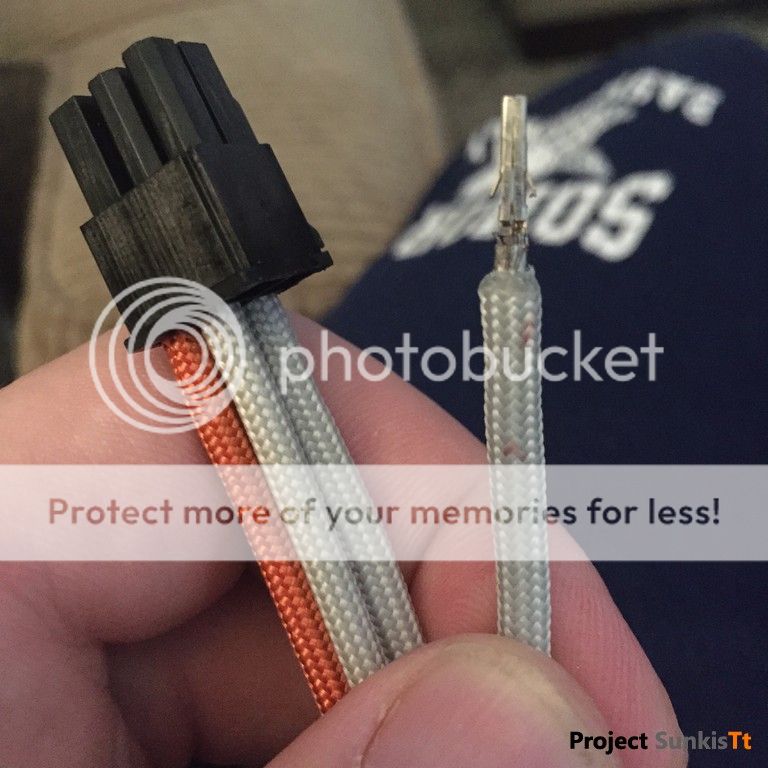
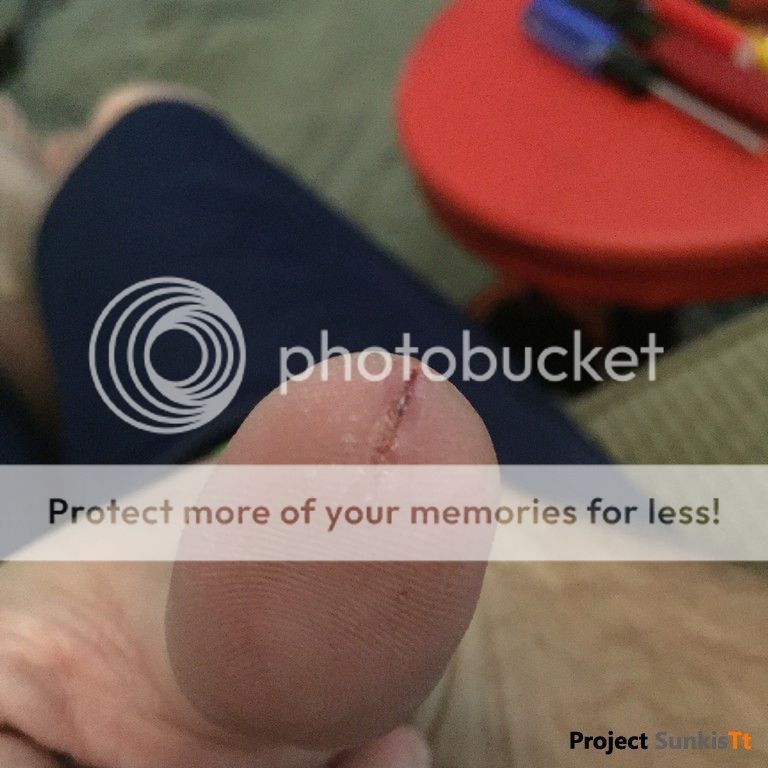
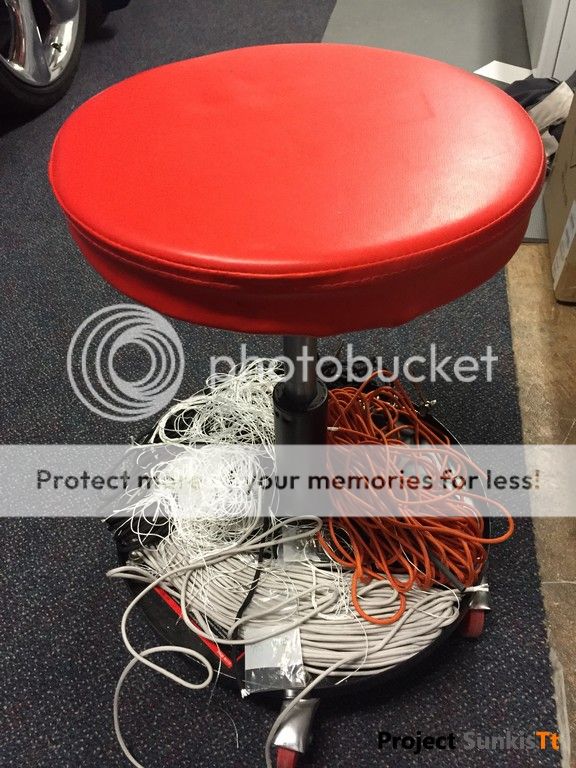
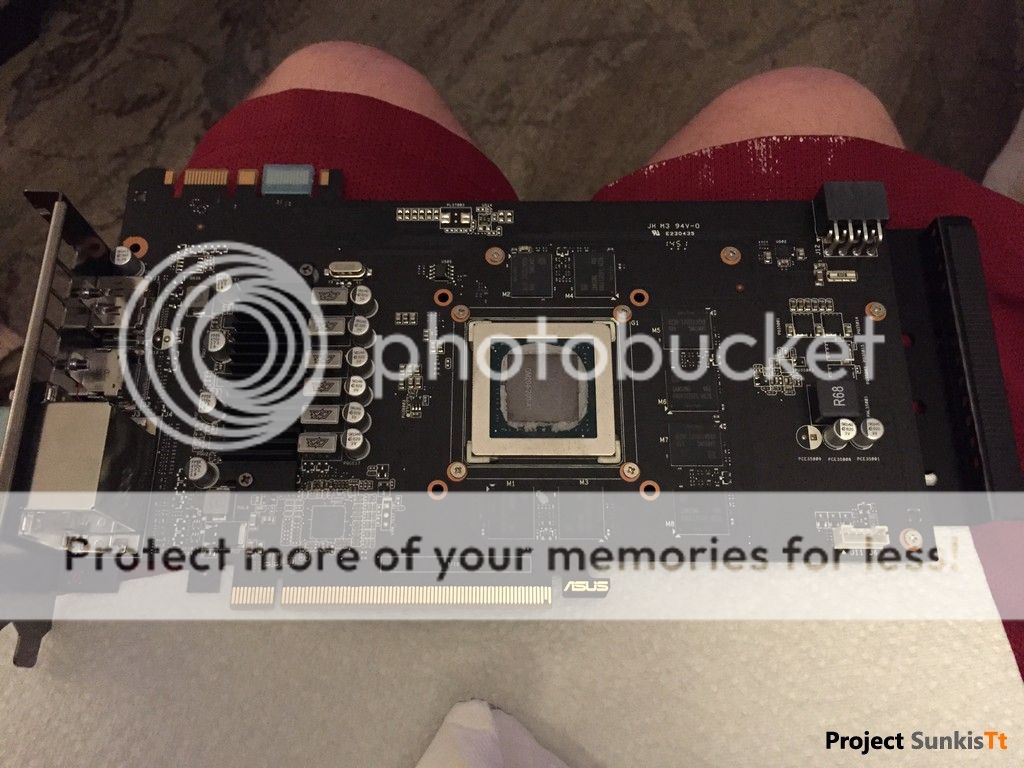
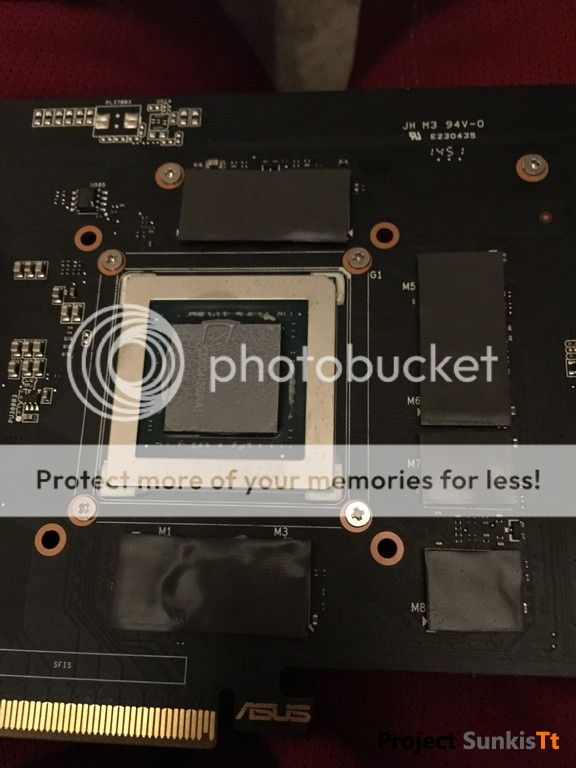
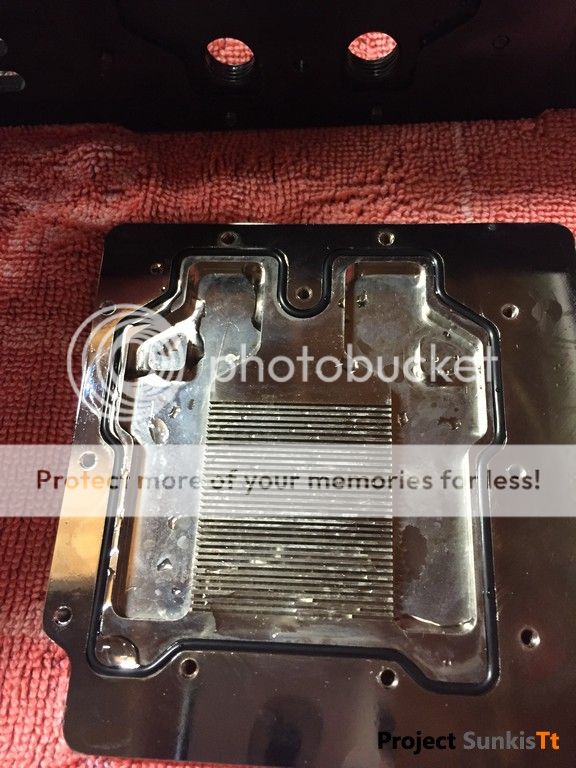
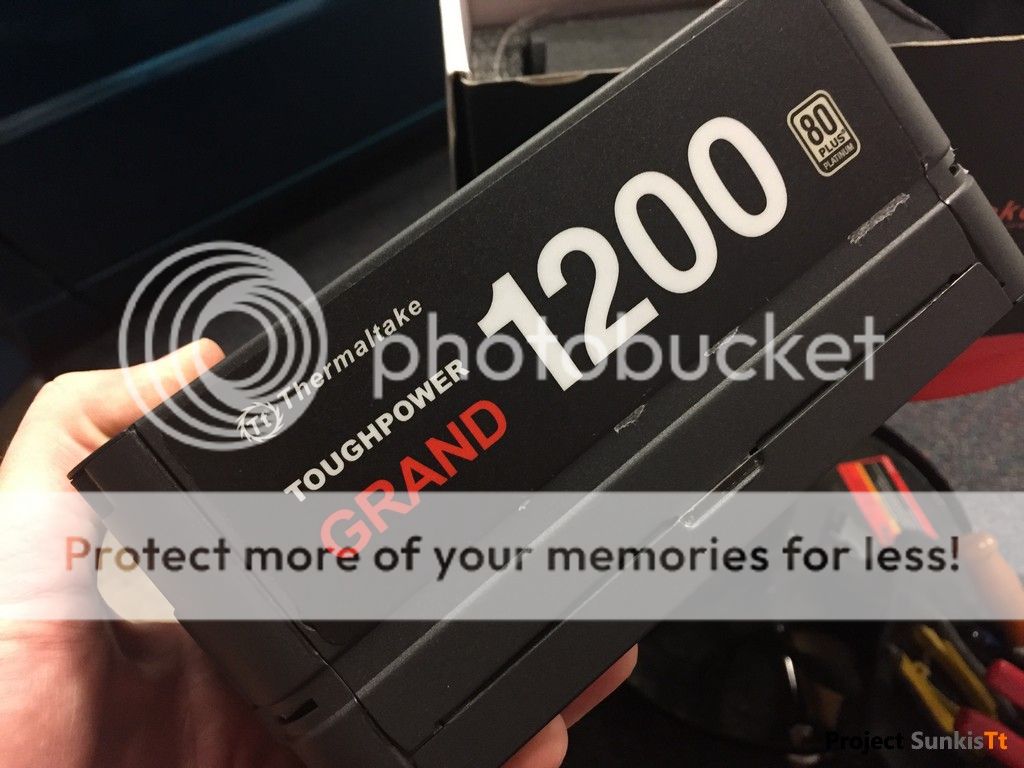
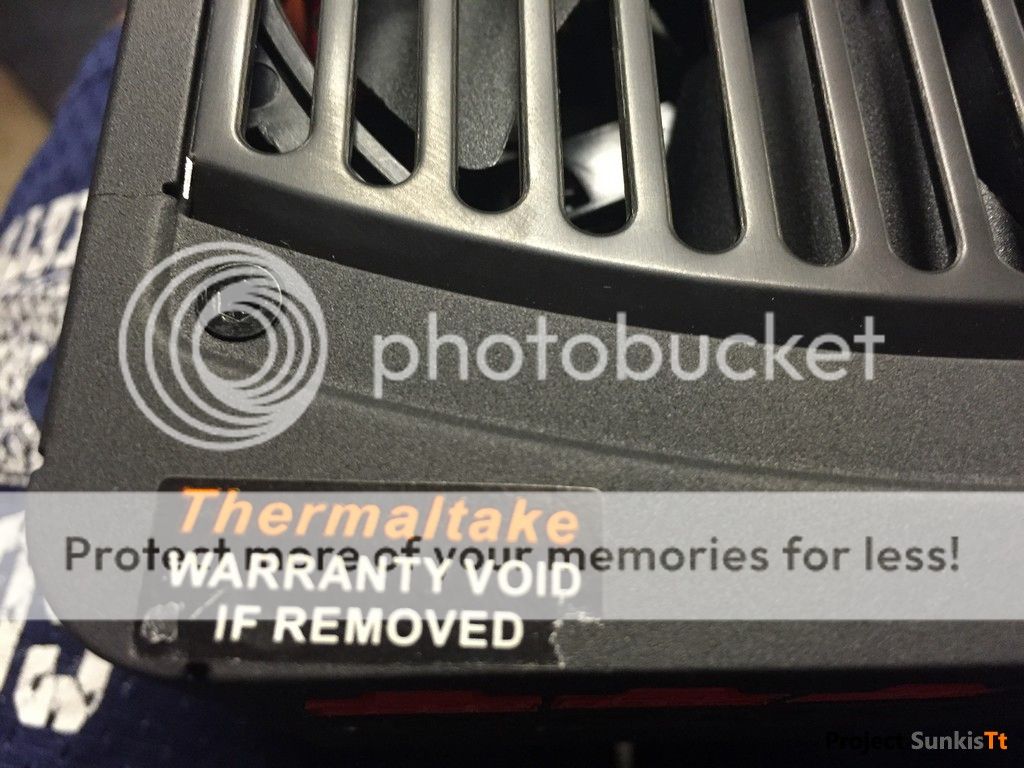
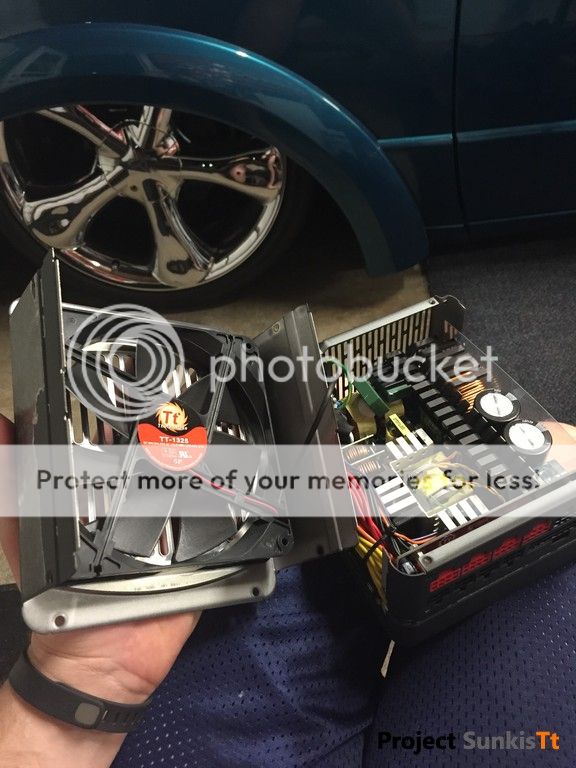
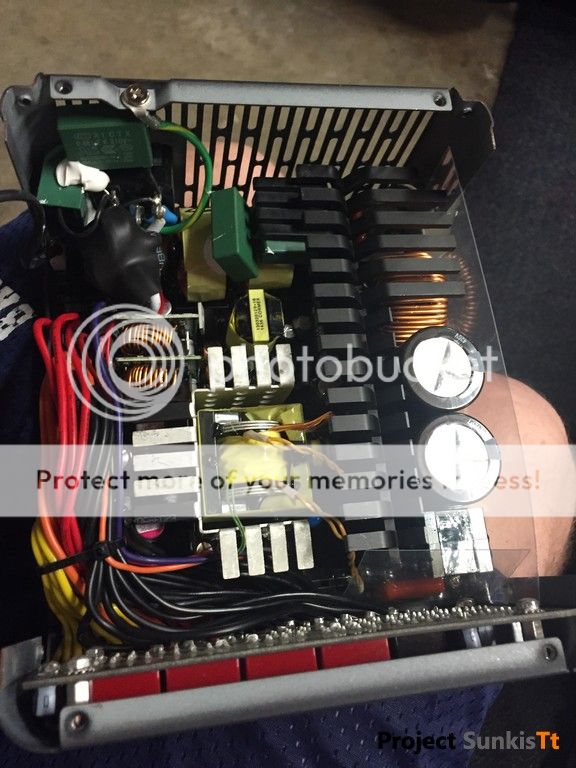
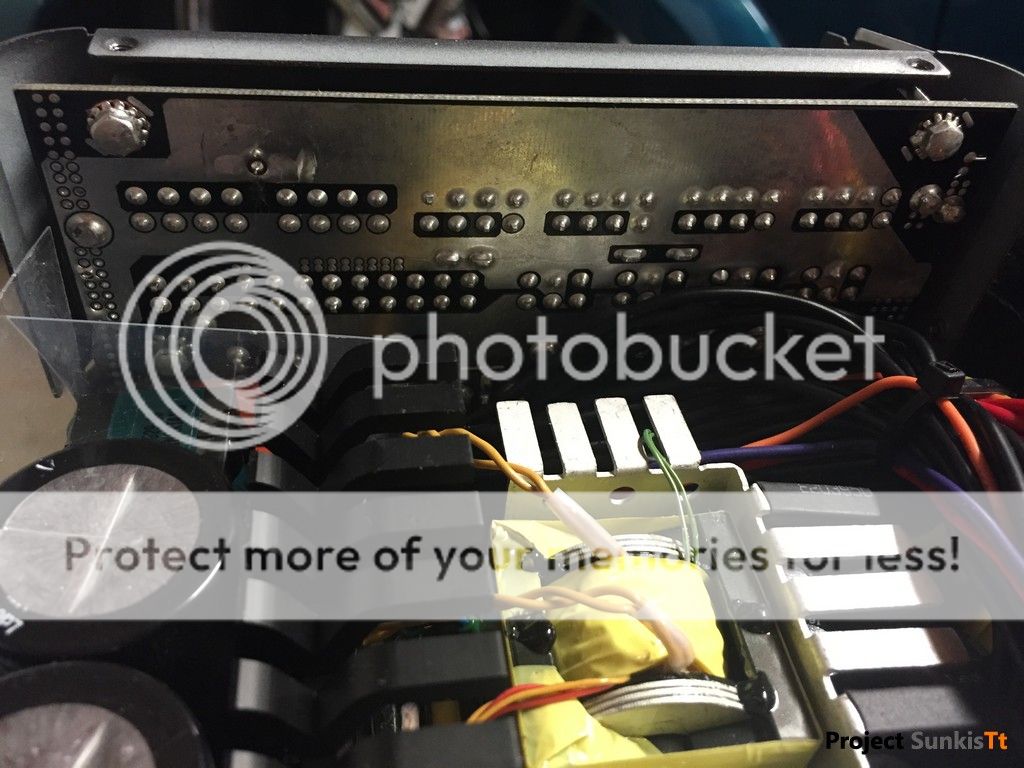
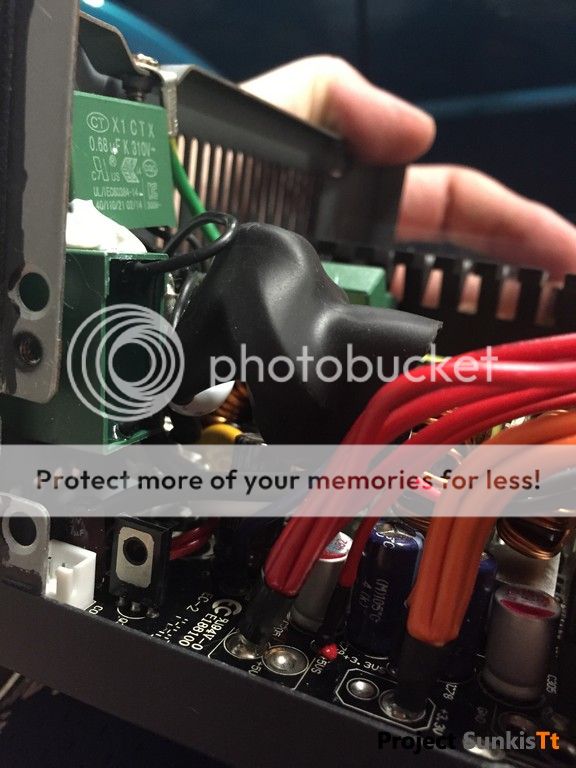
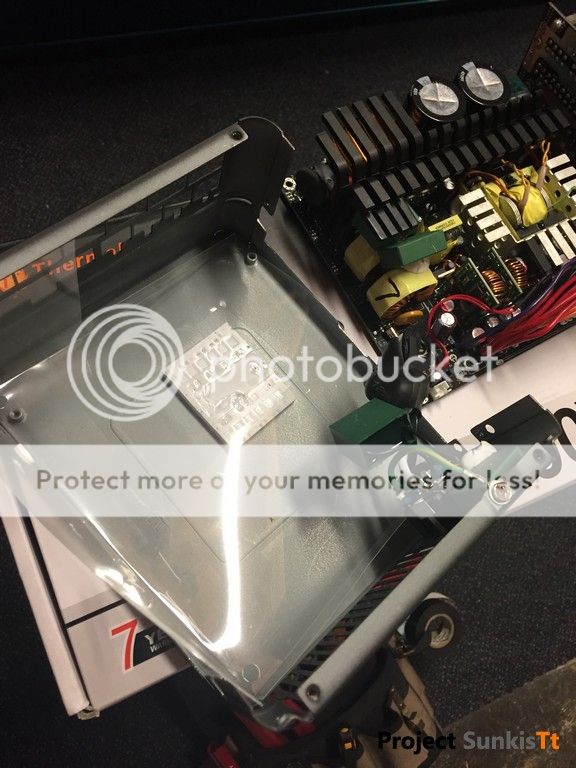
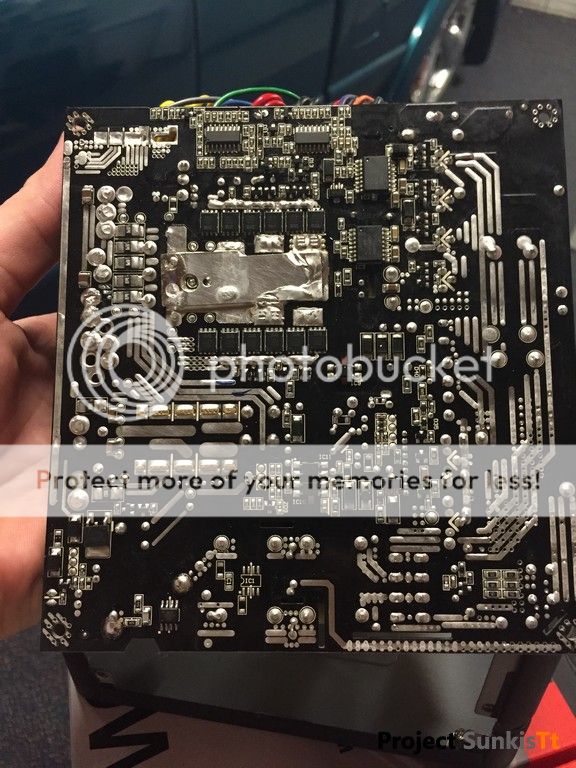
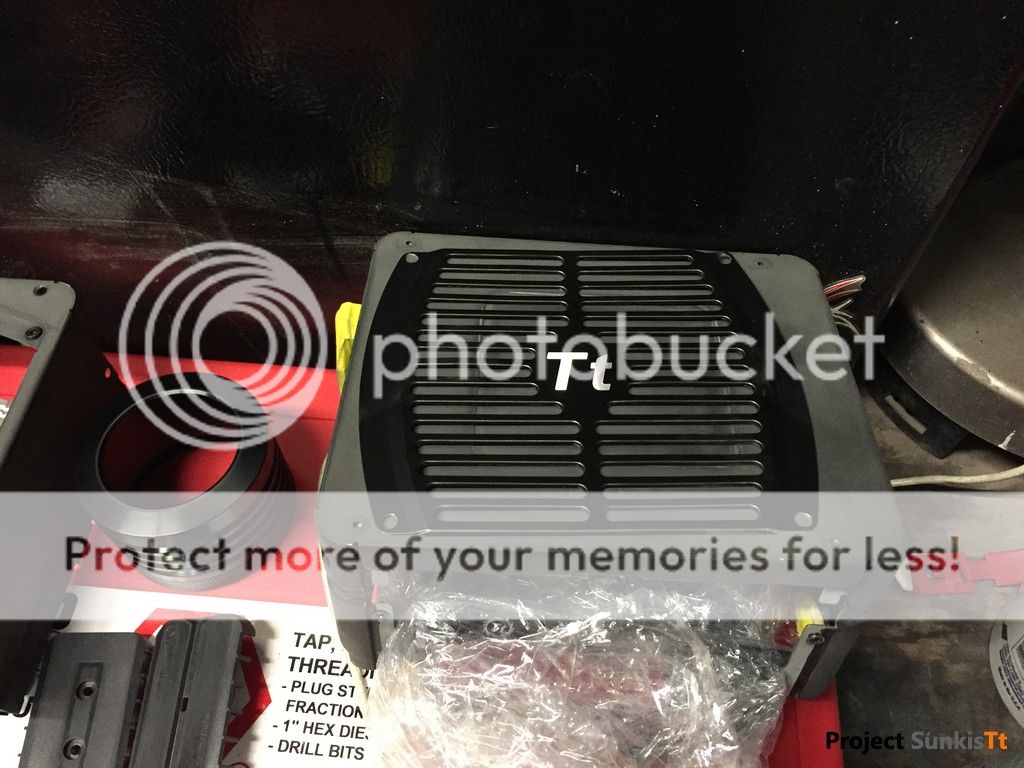
Moving on to the PSU, it would get a proper treatment of paint I had planed, so VOID Warranty actions must take place!

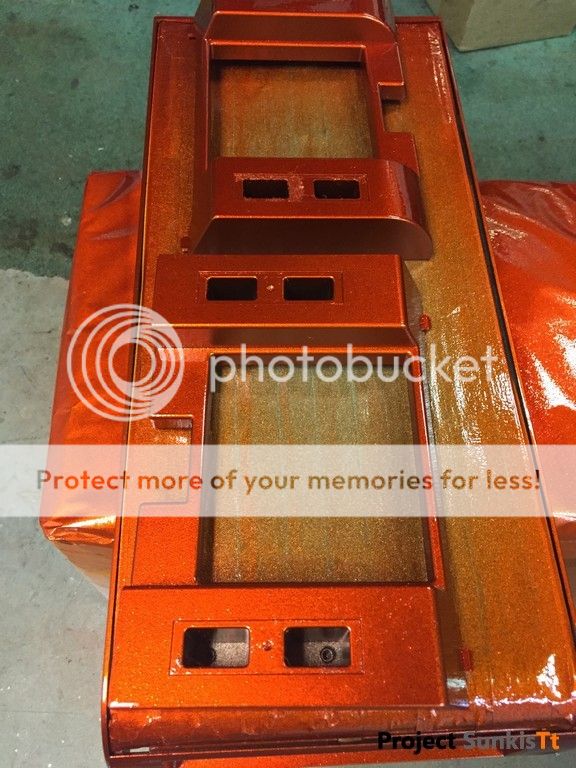
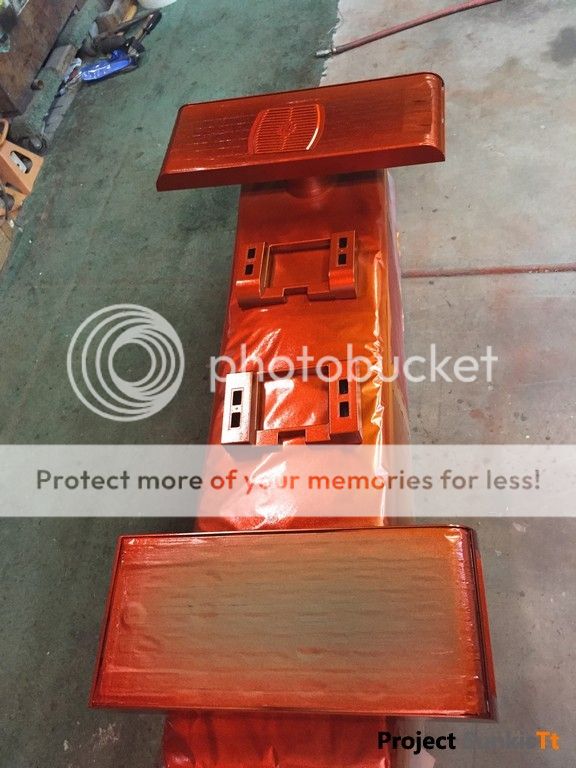
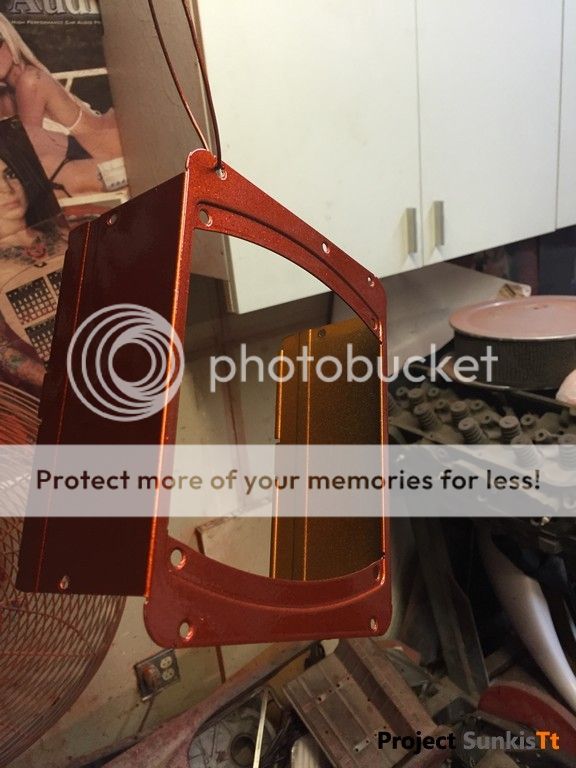
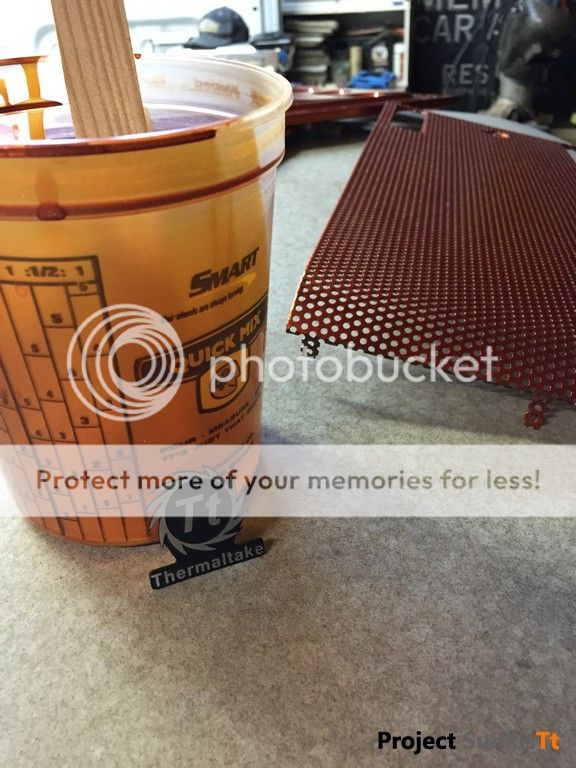
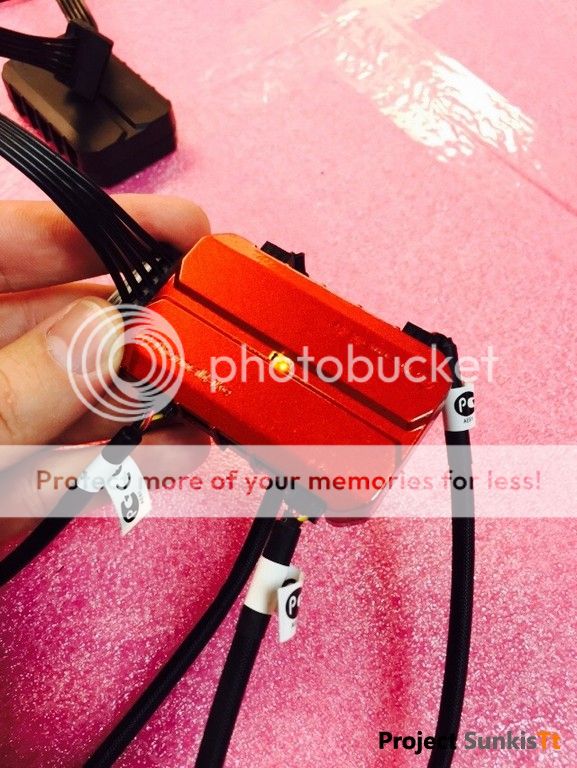
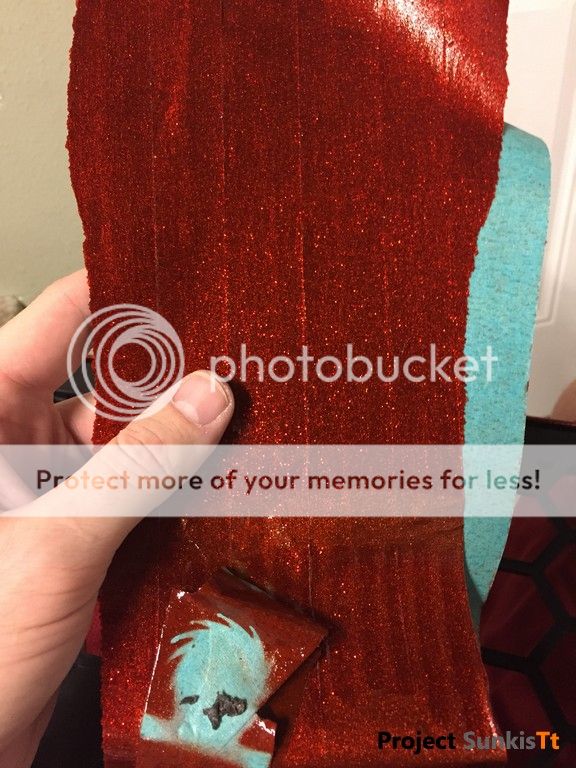
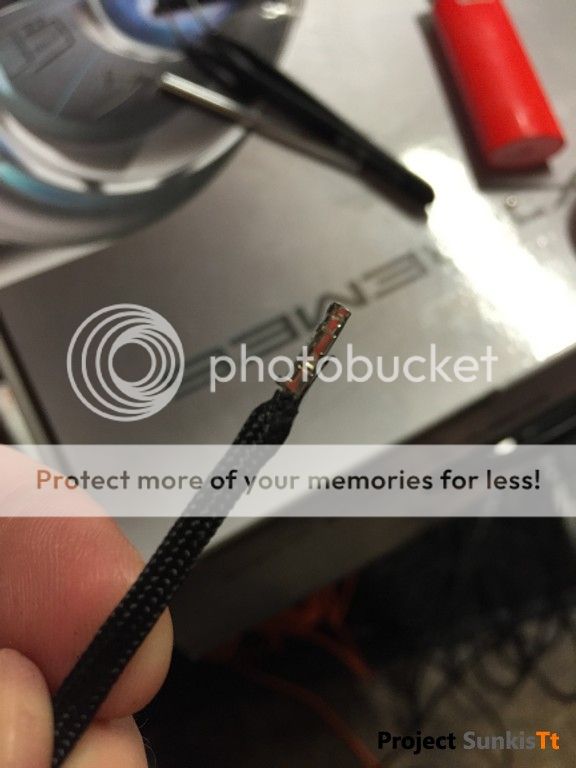
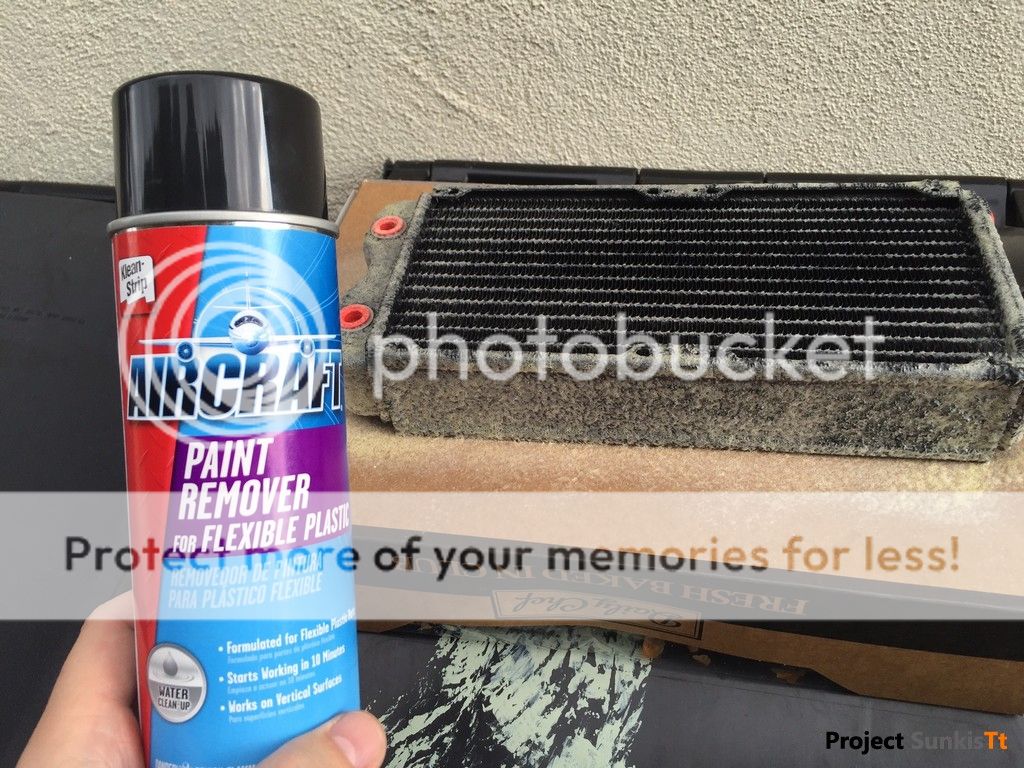
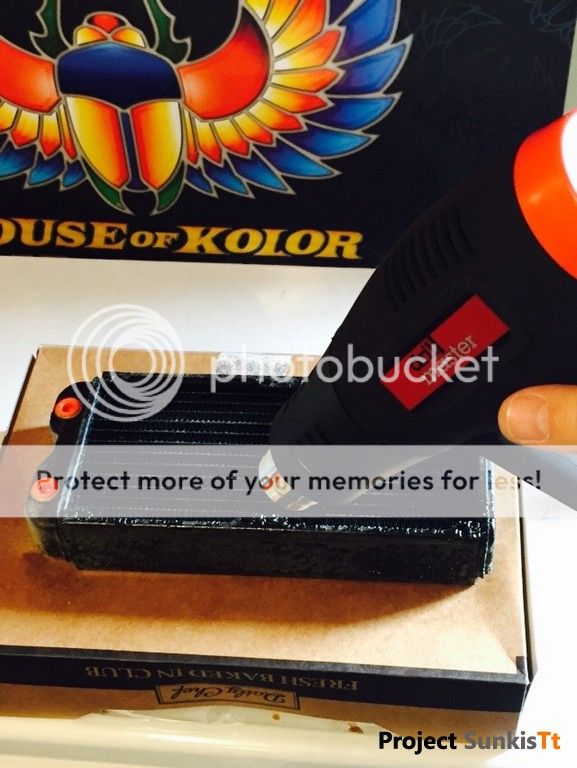
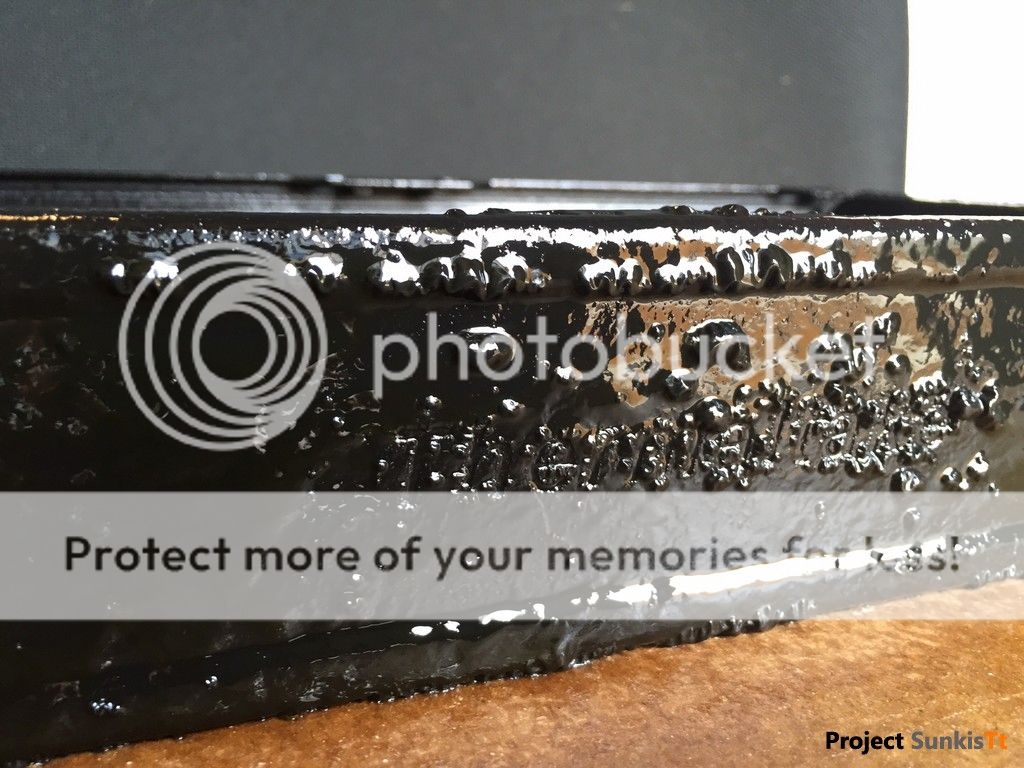
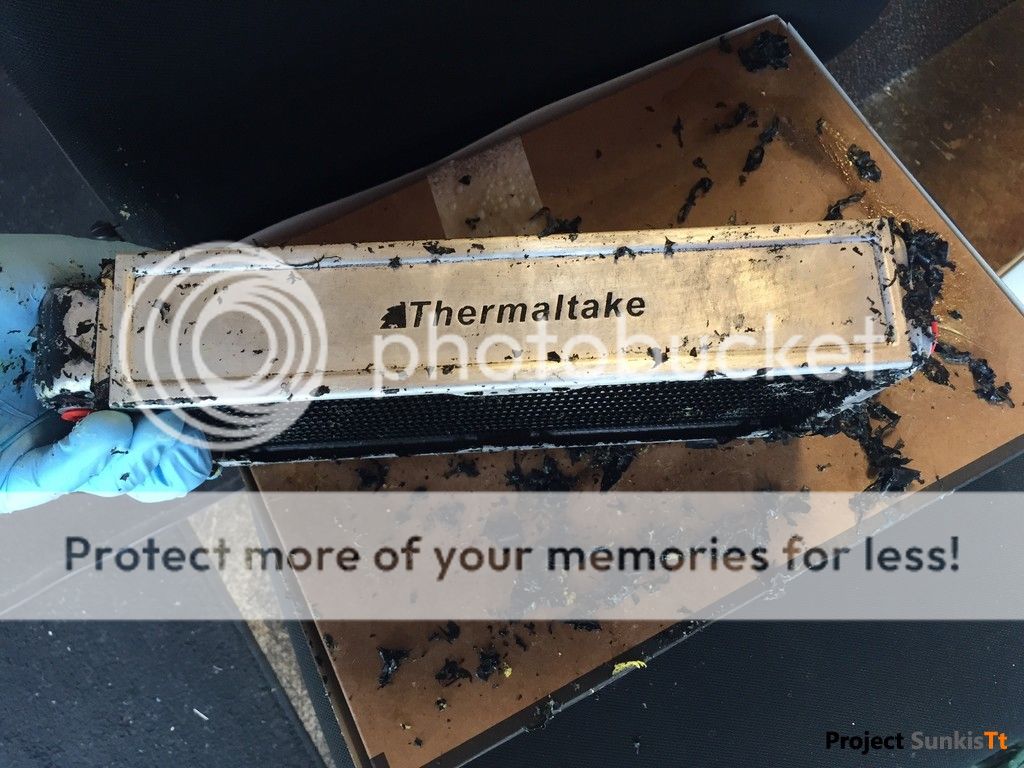
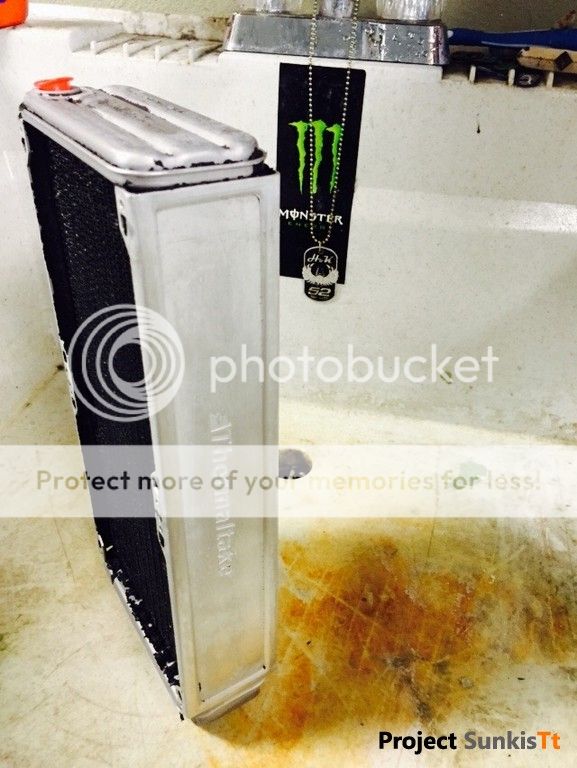
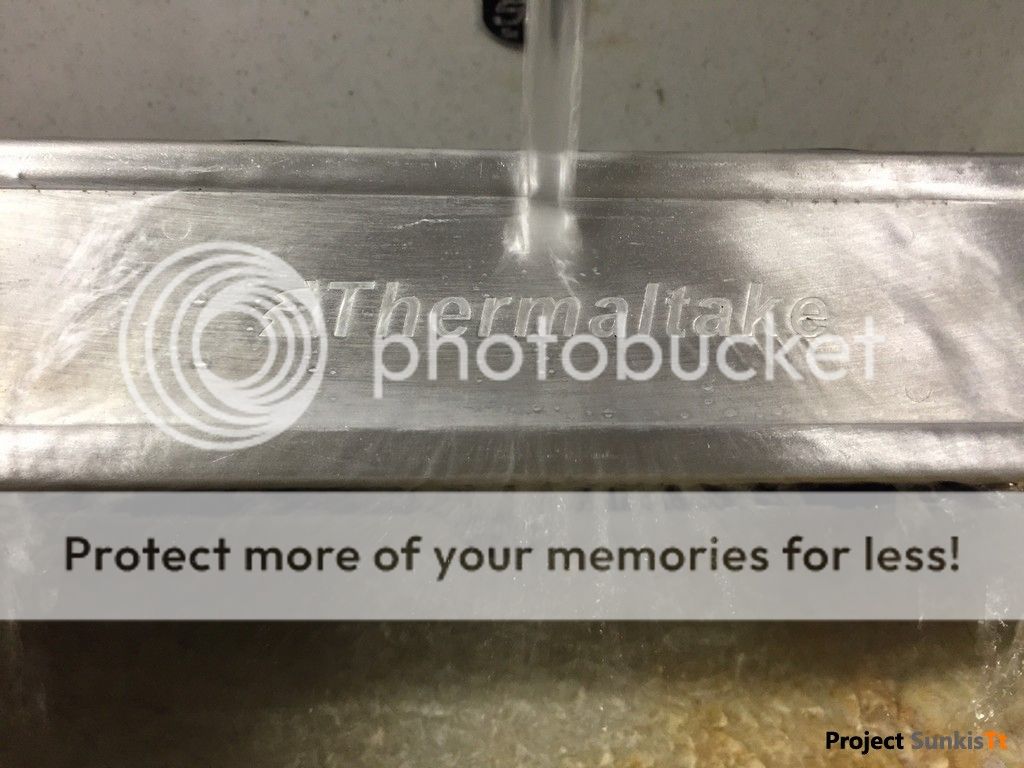
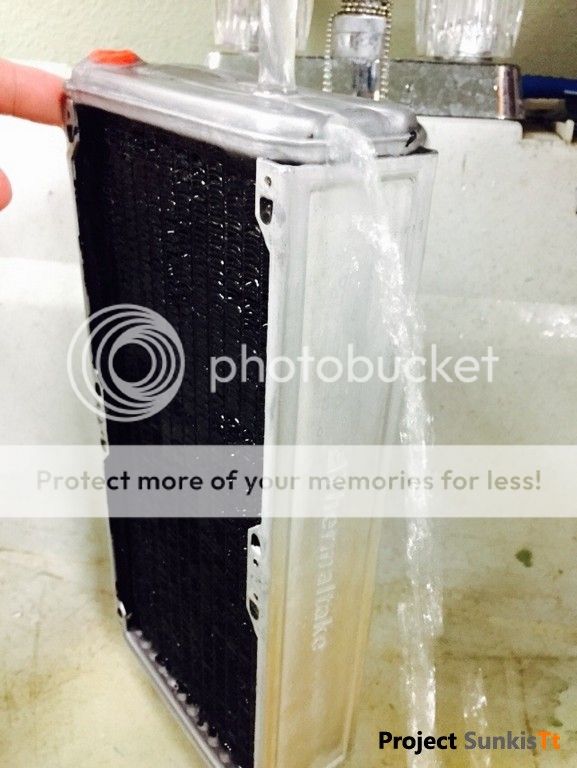
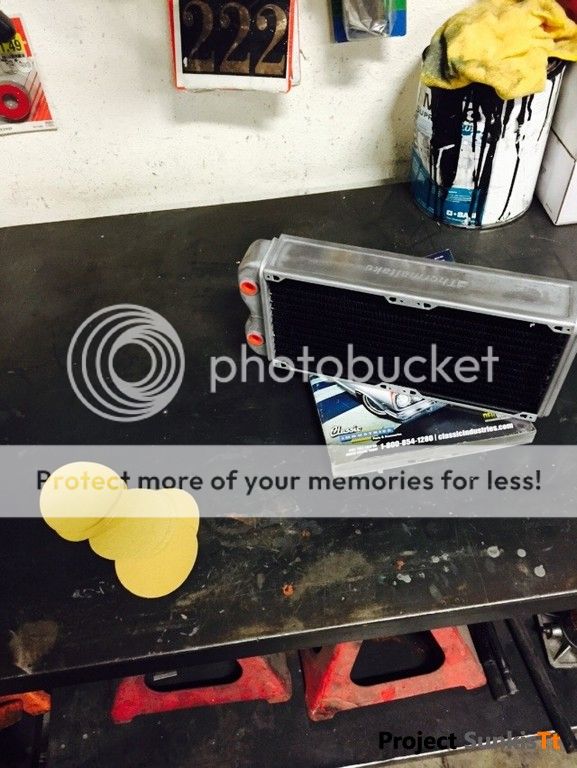
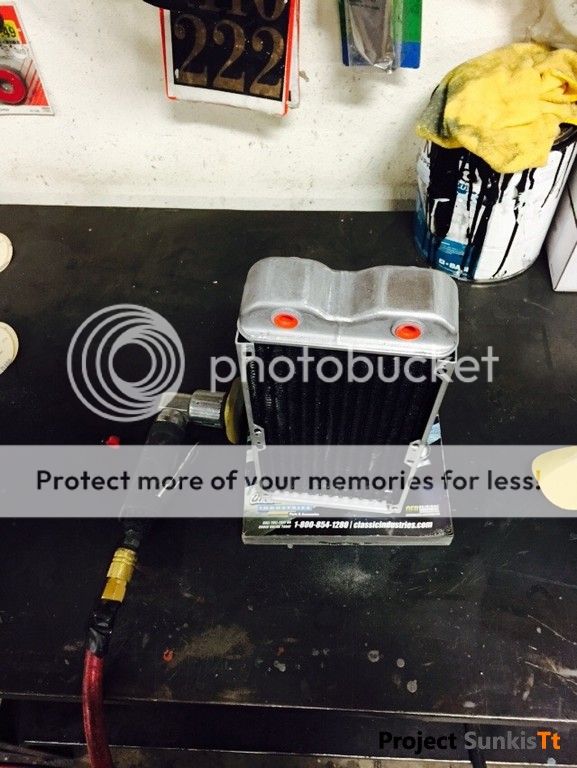
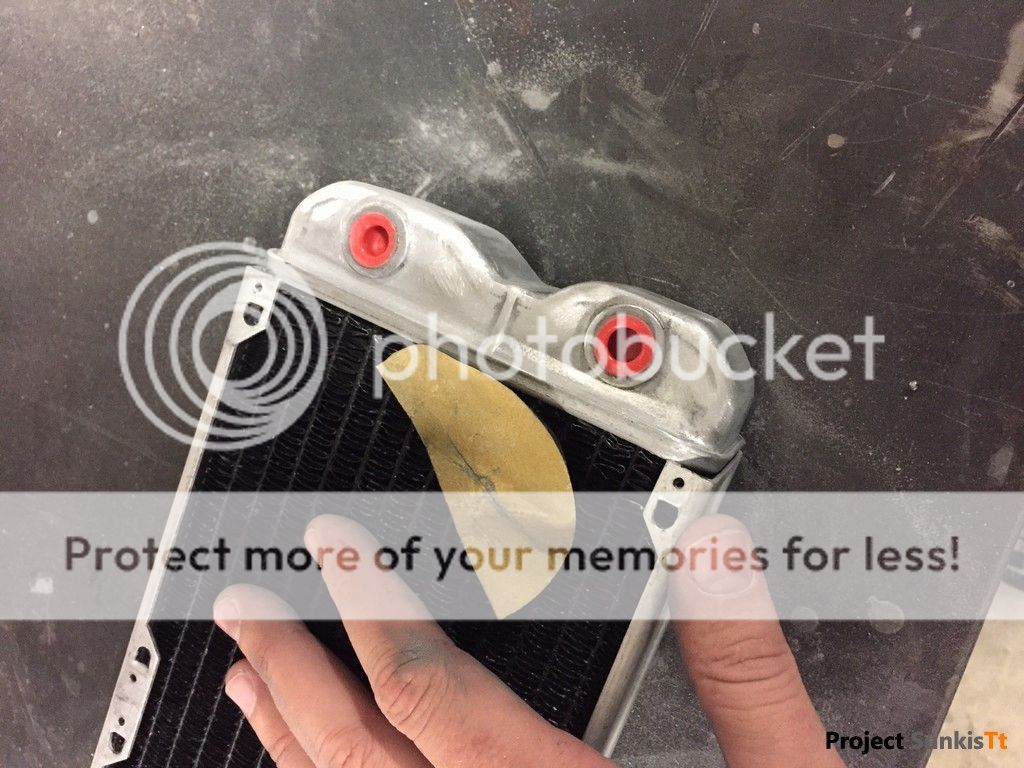
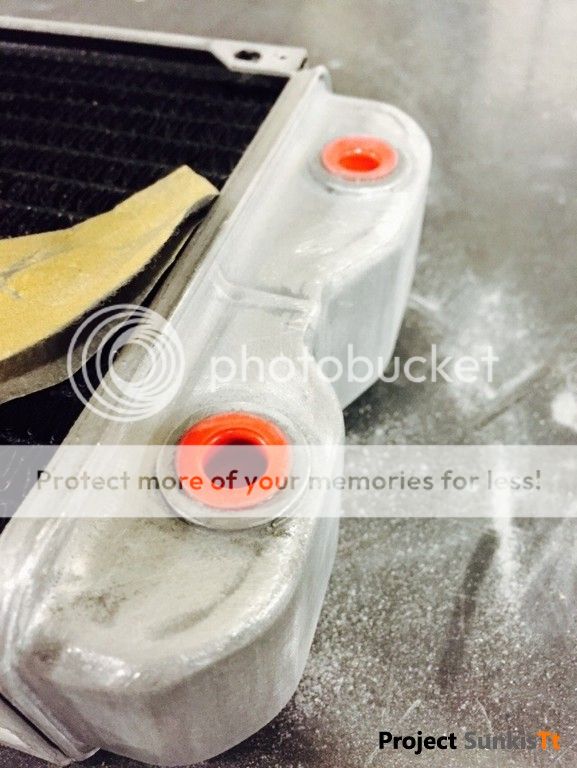
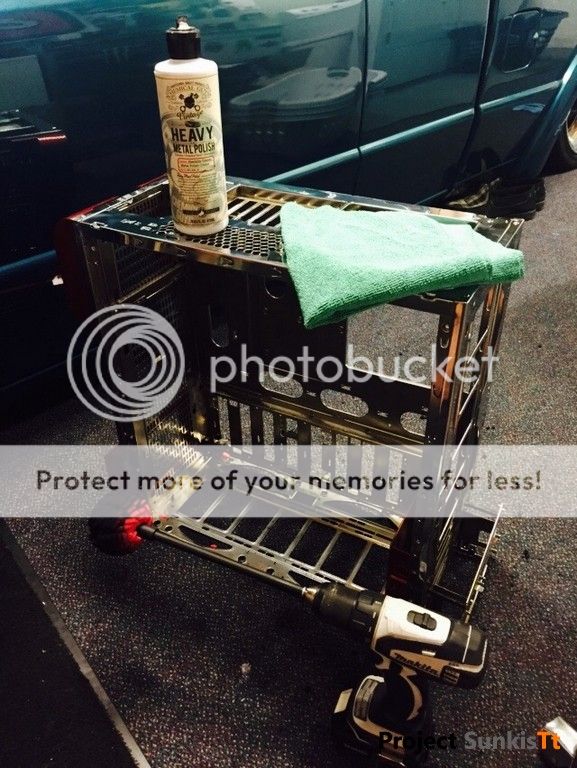
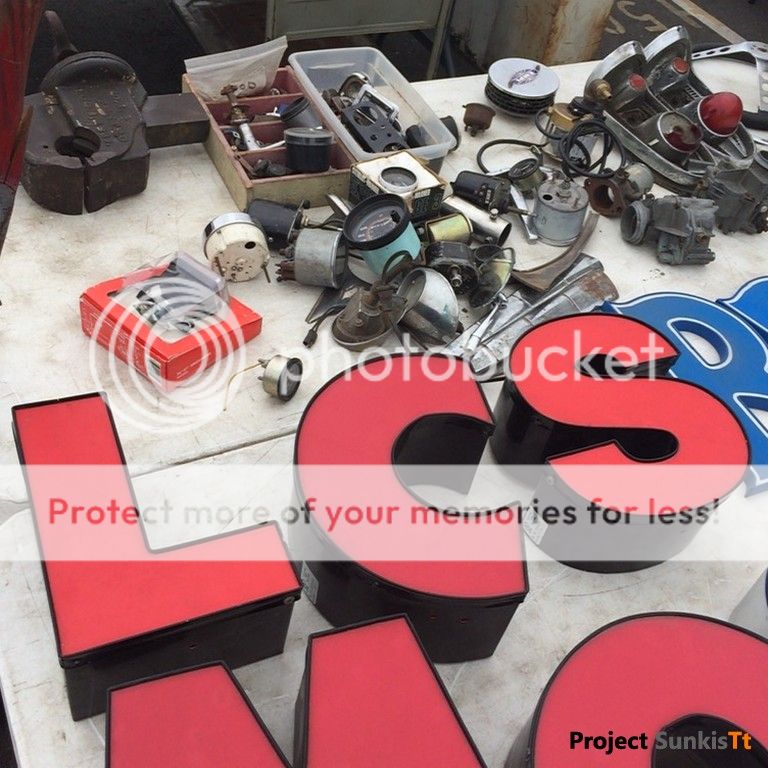
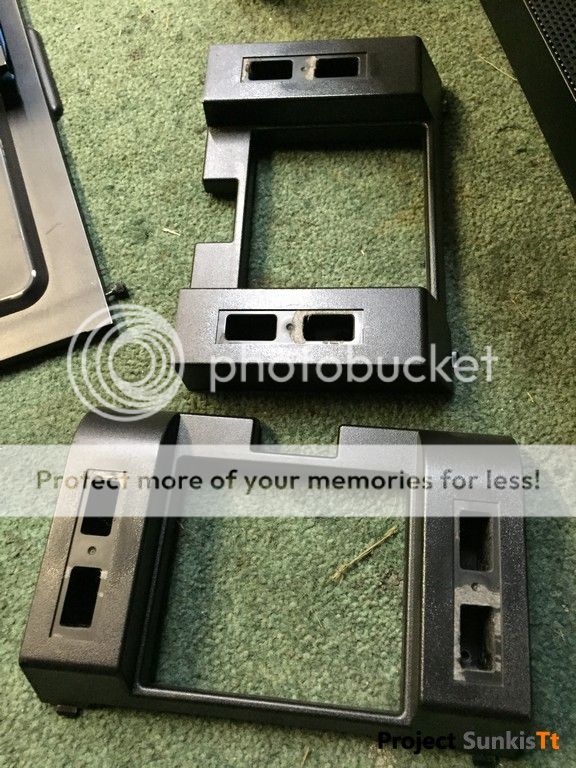
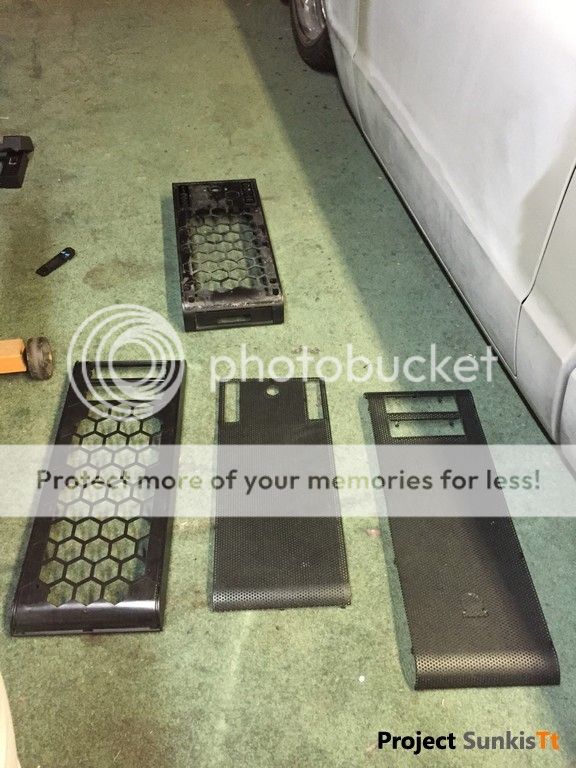
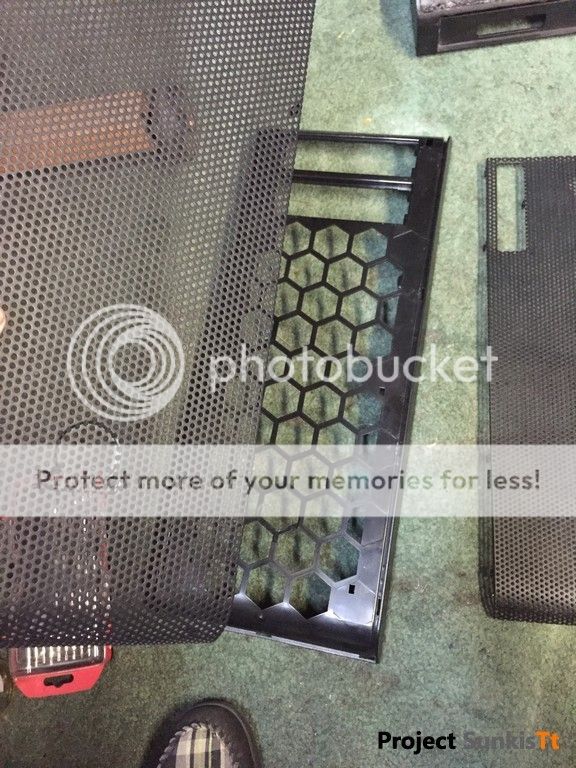
Then I had to prep and clean all the other parts for paint:

Name is Mike Fierheller, I have been an enthusiast for many years and have been working in the PC industry for 10 years. I really wanted to show something that both I would enjoy as well as show off some new liquid cooling components Thermaltake has been introducing this year from the New Pacific Series.
Project SunkisTt
Thank you to my Sponsors:
Thermaltake
Avexir
BS Mods
Mayhems
Parts List:
Case: Thermaltake Core V71
CPU: Intel Core i7 4770K
Motherboard: EVGA Z97 Classified
RAM: Avexir Core Series 4GB x4 DDR3-1600 C9
PSU: Thermaltake Toughpower Grand Platinum 1200W
GPU: ASUS Strix GTX 970's (2x)
SSD: Samsung Evo 256GB (2x) -RAID 0
CPU Waterblock: Thermaltake Pacific W2
GPU Waterblock: Thermaltake Pacific ASUS Strix GPU Block (2x)
Radiator: Thermaltake Pacific RL 280 (2x)
Pump/Res: Thermaltake Pacific PT40-D5 w/ Mod Kit
Fans: Riing 140mm White (7x) - LED modded Orange
Coolant: Mayhems Aurora 2 (Custom Orange/Red)
Tubing: Thermaltake Pacific PETG 16mm
Fittings: (Chrome)
Thermaltake Pacific G 1/4 PETG 16mm (9x)
Thermaltake Pacific G 1/4 Stop Plug (8x)
Thermaltake Pacific G 1/4 90 Degree (1x)
The Build
First had to take a look at the chassis, see what options I had available and to be honest, I had a lot of them. I started off by stripping the case apart, I had big plans for the chassis frame and for this I had to remove every piece of plastic from it.
I then had a good friend help me locate a Chromer that could do this kind of detail work as well as the time it takes for something like this. About 1 month later, I received back my freshly chromed Core V71 Frame and the project took off from there!
While I was waiting for the frame to come back from Chrome, I had some ideas to show off the Dual SSD's I planned to install on the backpanel side and decided to go with a dimple die effect using a 1.5 in die with .25 in roll on it, here is the results.
Putting the 2 latest mods together to see what it looks like:
Moving on to the PSU, it would get a proper treatment of paint I had planed, so VOID Warranty actions must take place!
Then I had to prep and clean all the other parts for paint:
Last edited: