• Welcome to TechPowerUp Forums, Guest! Please check out our forum guidelines for info related to our community.

[Project Log] "Blue Morpho"

Joined
Jan 25, 2015
Messages
81 (0.02/day)
Engraved And Custom Parts​

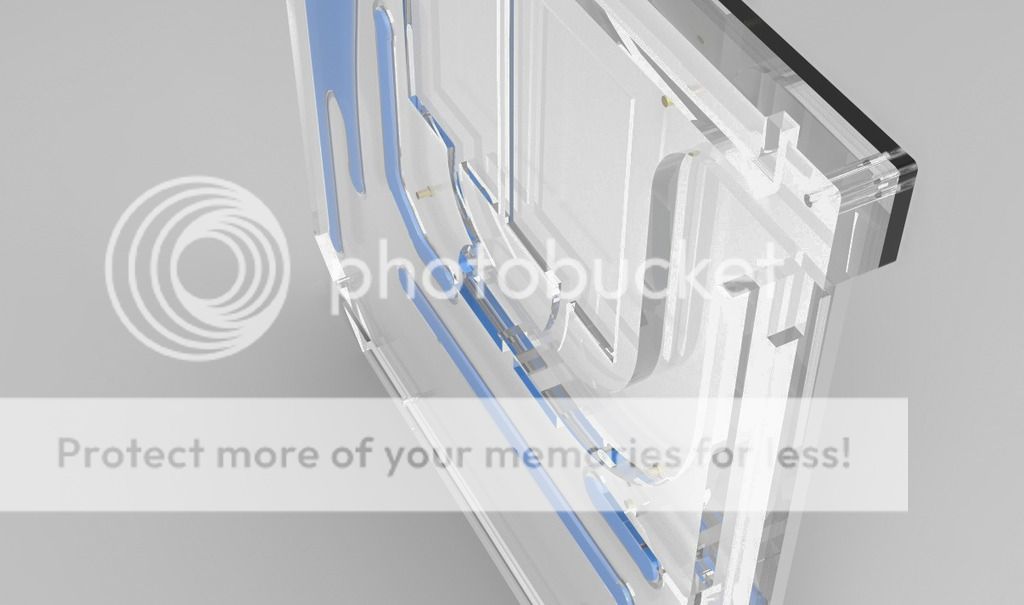
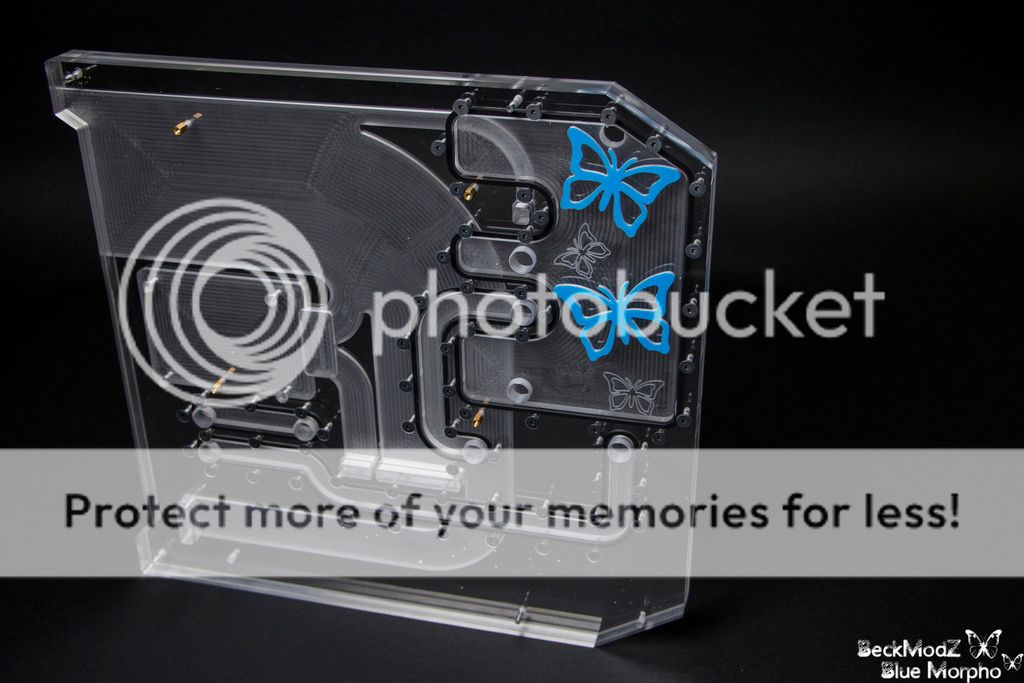
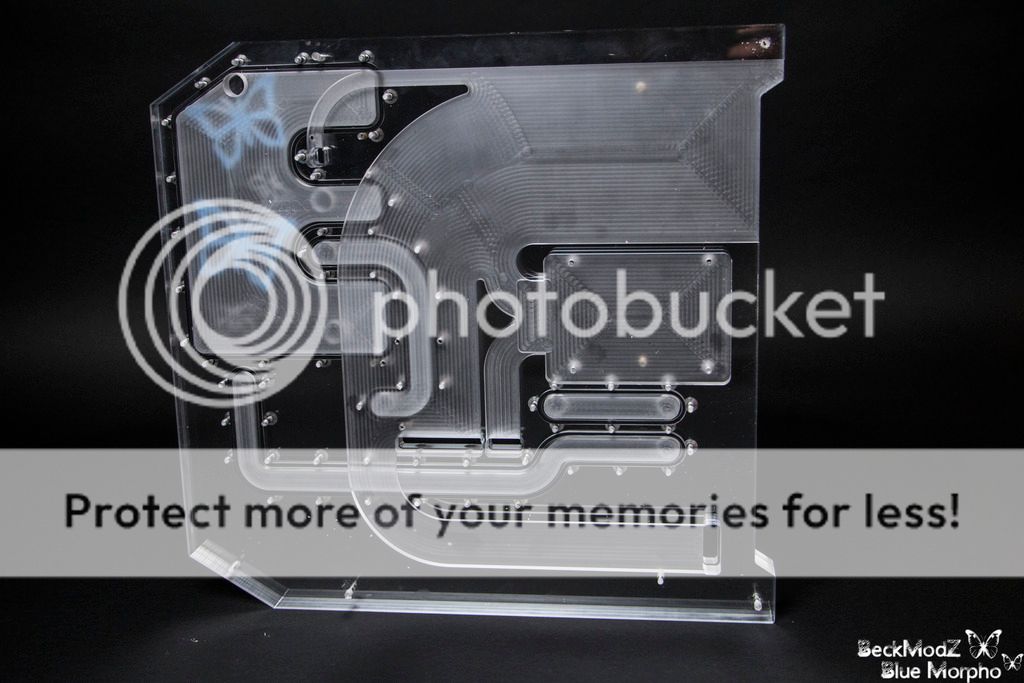
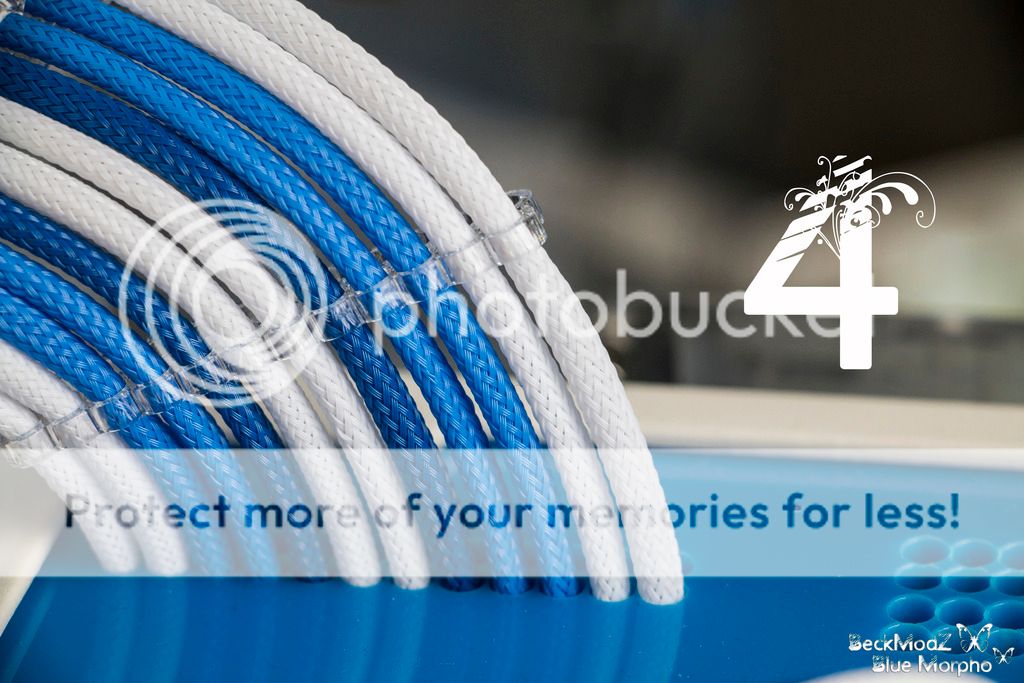
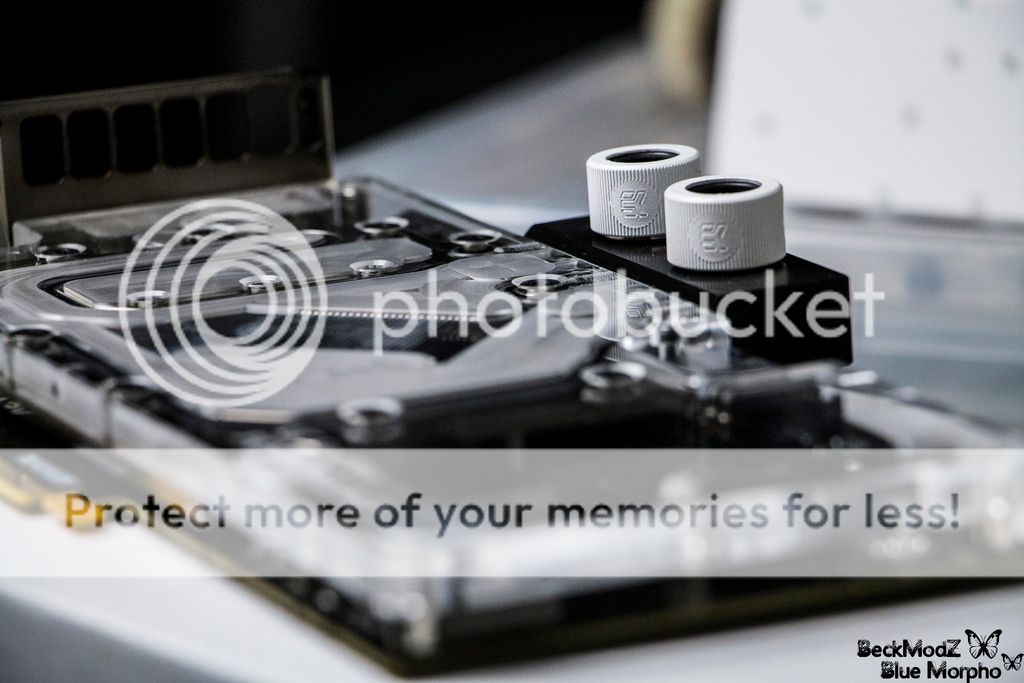
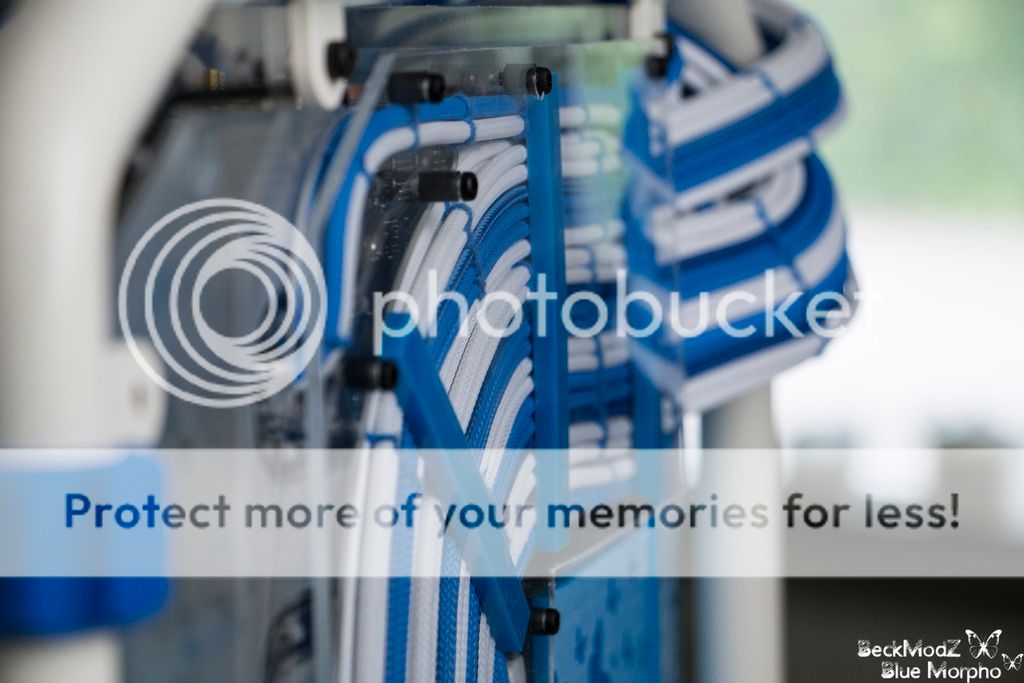
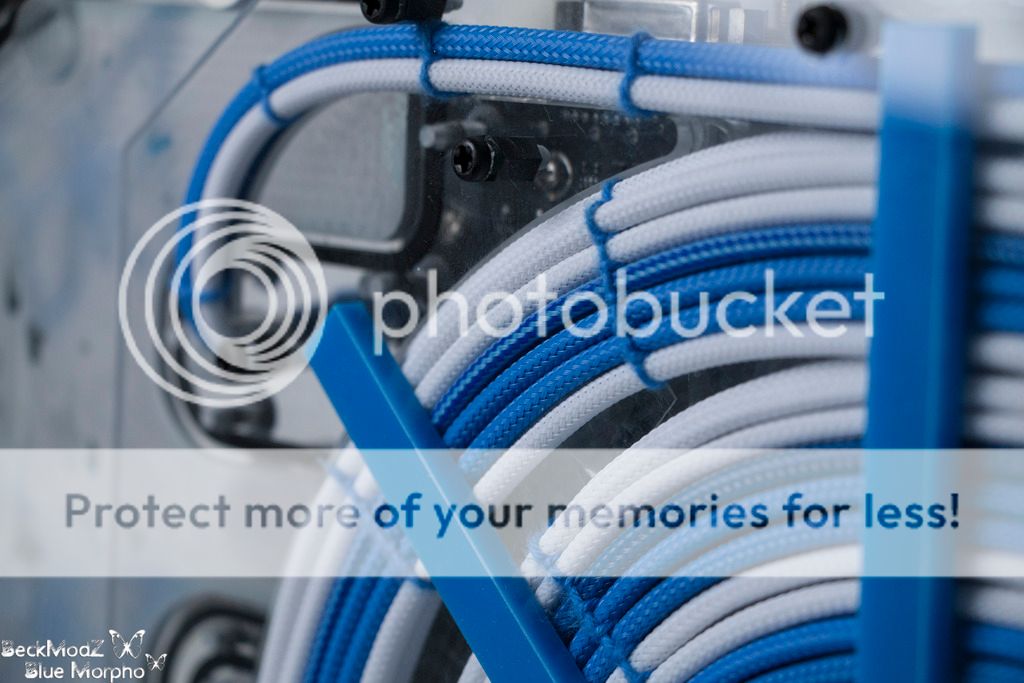
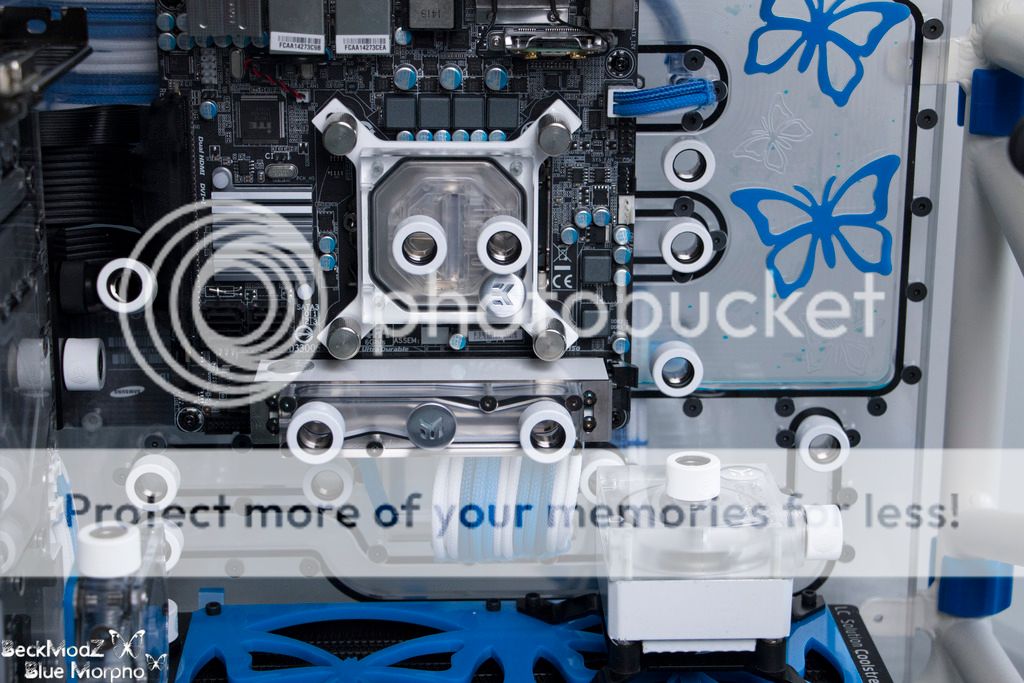
So today i recieved some custom cut and engraved parts from E22.biz
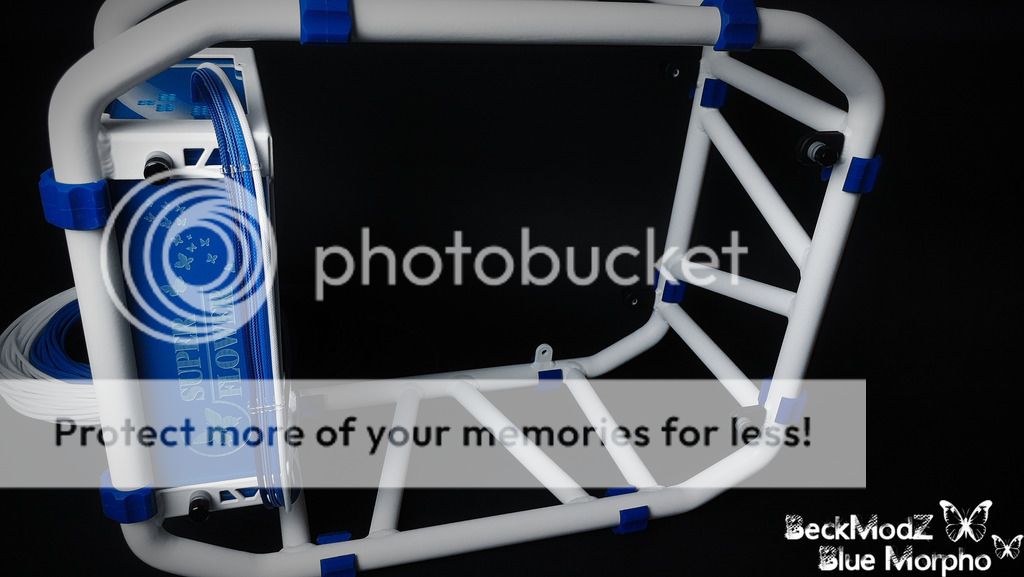
Absolutely amazing job done by Nate! Got the SSD covers, the engraved radiator side panels, the 240mm fan grill for decoration on the radiator, and the PSU covers.
Everything just looks so great, really stunning piece of work, and the details just took this build to a higher level.
Enjoy the goodies! Another update will follow shortly with the pieces installed and some extra Eye Candy.


Thanks to Nate at E22.biz for these beautiful parts, great to collaborate with you !!​
 
Joined
Nov 5, 2014
Messages
539 (0.16/day)
Location
Swanmore, United Kingdom
System Name Joel's Rig
Processor Intel i7-6700K (4 Cores, 4GHz)
Motherboard MSI Z170A GAMING M5
Cooling 3x 140mm Case Fans, Cooler Master Hyper TX3 Evo
Memory Kingston HyperX Fury (DDR4, 2x 8GB, 2133MHz) 16GB
Video Card(s) MSI AMD Radeon R9 290X (8GB VRAM)
Storage Samsung 840 EVO 120GB SSD, Samsung 850 EVO 250GB SSD, WD 3TB HDD
Display(s) Samsung U28E590D (28-Inch, 4K, 60Hz)
Case Corsair Carbide 600C
Audio Device(s) Realtek HD (Integrated)
Power Supply Corsair RM750i (750W)
Mouse Roccat Tyon
Keyboard Razer Blackwidow Chroma
Software Windows 10 Pro
Such a good cable management solution!
 
Joined
Jan 25, 2015
Messages
81 (0.02/day)
Installing the engraved PSU Covers and more

So as you know, yesterday i recieved all the custom made and engraved parts from E22.biz
Everything looks amazing and is just spot on the design we agreed on.
So i decided to install the psu covers just for a small photo shoot, so you can see how it's going to look.
Also quick mounted the Radiator grill and fans to the rad, just so you can get an idea of what my thoughts are with it.
Other then that, i took 300 images and narrowed it down to 15 haha. Enjoy.


Hope you like it !!​
 
Last edited:
Joined
Jan 25, 2015
Messages
81 (0.02/day)
Sleeving the EK-DDC Pump

So today i had a little time on my hands, and decided to sleeve the pump.
Not much to it, 4 wires that had to be sleeved only, so didnt take too many photos while sleeving, but will do next time.
Decided to use some of the 4pin cable combs i had laying around, just to make it look more tidy in the end.
I think i might have to shorten them up later, but i don't know that untill the reservoir is here.
I went for the heatshrinkless method for the pump, just my favorite way to sleeve, looks much better in the end i think.


Stay tuned !!​
 
Joined
Nov 5, 2014
Messages
539 (0.16/day)
Location
Swanmore, United Kingdom
System Name Joel's Rig
Processor Intel i7-6700K (4 Cores, 4GHz)
Motherboard MSI Z170A GAMING M5
Cooling 3x 140mm Case Fans, Cooler Master Hyper TX3 Evo
Memory Kingston HyperX Fury (DDR4, 2x 8GB, 2133MHz) 16GB
Video Card(s) MSI AMD Radeon R9 290X (8GB VRAM)
Storage Samsung 840 EVO 120GB SSD, Samsung 850 EVO 250GB SSD, WD 3TB HDD
Display(s) Samsung U28E590D (28-Inch, 4K, 60Hz)
Case Corsair Carbide 600C
Audio Device(s) Realtek HD (Integrated)
Power Supply Corsair RM750i (750W)
Mouse Roccat Tyon
Keyboard Razer Blackwidow Chroma
Software Windows 10 Pro
Keep them coming, perfect inspiration and some good eye candy :)
 
Joined
Jan 25, 2015
Messages
81 (0.02/day)
Small Status Update​

Hey Guys,
Just a small status update.. I am currently awaiting the Reservoir/motherboard block from Parvum,
and really not much work i can do until it's here. Would love to do the sleeving, but don't really
know the length of the cables until the block is here. Same goes with installing the parts or making
some sexiness to the motherboard since the motherboard is at Parvum for measurement.
So next photo update will be the reservoir block when it arrives, and it's going to be amazing!!

Also got my new camera, a Canon EOS 70D and some macro lenses, so images are hopefully going to get
even better now. If not then i will go back to my HTC ONE M9 that has delivered all the images up until now.

So stay tuned guys, next update is going to be pure sexiness!!​
 
Joined
Mar 14, 2016
Messages
130 (0.04/day)
Location
Iowa
System Name Gateway
Processor AMD A4-5000
Motherboard Laptop
Cooling Laptop
Memory 8 GB DDR3
Video Card(s) Radeon HD Graphics
Storage 1 TB
Software Windows 10
Small Status Update​

Hey Guys,
Just a small status update.. I am currently awaiting the Reservoir/motherboard block from Parvum,
and really not much work i can do until it's here. Would love to do the sleeving, but don't really
know the length of the cables until the block is here. Same goes with installing the parts or making
some sexiness to the motherboard since the motherboard is at Parvum for measurement.
So next photo update will be the reservoir block when it arrives, and it's going to be amazing!!

Also got my new camera, a Canon EOS 70D and some macro lenses, so images are hopefully going to get
even better now. If not then i will go back to my HTC ONE M9 that has delivered all the images up until now.

So stay tuned guys, next update is going to be pure sexiness!!​

I love this build if I get into modding do you mind me asking some you questions?
 
Joined
Mar 14, 2016
Messages
130 (0.04/day)
Location
Iowa
System Name Gateway
Processor AMD A4-5000
Motherboard Laptop
Cooling Laptop
Memory 8 GB DDR3
Video Card(s) Radeon HD Graphics
Storage 1 TB
Software Windows 10
How did you do the awesome grill and wraps for the ssd?
 
Joined
Jan 25, 2015
Messages
81 (0.02/day)
How did you do the awesome grill and wraps for the ssd?

Actually Nate from E22.biz laser cut and engraved the pieces for me, along with the Psu covers and radiator panels :)

You could do it your self if you printed out the image you wanted engraved, cut it out and used a dremel to engrave the image into the acrylic.. same goes with the grill, print it out, cut the center of the image that you want cut out, draw it onto the acrylic or aluminum piece, then drill a lot of jokes along the edges and cut the rest with a small saw or your dremel, and grind the edges clean :)
 
Joined
Jan 25, 2015
Messages
81 (0.02/day)
Just Trying Some New Stuff​

So as i await the big piece of acrylic block from parvum, I recieved som goodies from both CaseKing and Coolerkit.
I take photos of these later on, but first off i wanted to show some 90 degree angles adapters in acrylic that i recieved.
I kinda like the looks of these, an actually think they would be a perfect match to the big acrylic reservoir/motherboard combo.
But who knows, i might change it once the block is here and i have a better visual idea of it.
For now though, i installed them to get a visual idea of the flow direction, and also the new flow meter arrived, which had a matching

skye blue backplate that fits perfect to the rest of the acrylic custom parts!

The fittings leading towards the back of the case, from gpu, from rad and from pump, are going into the tunnels in the reservoir block,
and being guided to the next piece of hardware. Will be easier to see later folks, so stay tuned and let me know what you think of the

angled adapters. Should they stay or should they go ?


Stay Tuned Guys!!​
 
Joined
Mar 14, 2016
Messages
130 (0.04/day)
Location
Iowa
System Name Gateway
Processor AMD A4-5000
Motherboard Laptop
Cooling Laptop
Memory 8 GB DDR3
Video Card(s) Radeon HD Graphics
Storage 1 TB
Software Windows 10
Just Trying Some New Stuff​

So as i await the big piece of acrylic block from parvum, I recieved som goodies from both CaseKing and Coolerkit.
I take photos of these later on, but first off i wanted to show some 90 degree angles adapters in acrylic that i recieved.
I kinda like the looks of these, an actually think they would be a perfect match to the big acrylic reservoir/motherboard combo.
But who knows, i might change it once the block is here and i have a better visual idea of it.
For now though, i installed them to get a visual idea of the flow direction, and also the new flow meter arrived, which had a matching

skye blue backplate that fits perfect to the rest of the acrylic custom parts!

The fittings leading towards the back of the case, from gpu, from rad and from pump, are going into the tunnels in the reservoir block,
and being guided to the next piece of hardware. Will be easier to see later folks, so stay tuned and let me know what you think of the

angled adapters. Should they stay or should they go ?


Stay definetly they look awesome.​
 
Joined
Jan 25, 2015
Messages
81 (0.02/day)
Final Renders of Res/Mobo Block Before Cut​

So the reservoir/motherboard tray is now in ready to get cut!. While I have 14 days of work ahead of me with 168 hours total, so will not have any time to build in that period.
But when i get back from work in two weeks, the reservoir block should be arriving at my door.
Here's some new 3D renders with the cable routing and ssd housing on the backside of the block. Really looking forward to getting this piece home and see how it all comes together!
So be patient guys, updates will come again when i am home from work in two weeks, and when the reservoir is here.


Hope you like it !!​
 
Joined
Jan 25, 2015
Messages
81 (0.02/day)
Installing the PSU while Awaiting Parvum​

So just a small update guys. The reservoir/motherboard block from Parvum, still isn't finished :(
Really hope it gets done soon, as i hate to keep pushing the deadlines on this project, but i know it's a complicated
piece of work and that it's better to have everything correct so we dont have to re-do it..
Also had to re-design the block after sending new meassures, but i think this will look much more sexy when done. Will put in a image of that too.

So while waiting for the block, there's not really anything i can do, want to start sleeving but since the block isn't
here, i have no idea about the lengths of the wires. So i installed the PSU instead and started thinking about just making the psu side of the cables, and then just cut them long enough

that i can adjust the length once the block is here.
Well, i have around 4-6cm of freeroom for all the double wires, and just noticed that the 24pin has 11 freakin double wires.. Amazing, so i guess the old soldering iron will come into

play again. Just hope that i can make it neat and that there's enough space to fit all them cables :)

Oh, wait, i also have the next project planned when i am done with this one :)
An In Win S-Frame project called "Phoenix", with x99 soc Force from gigabyte, and alot of sexy custom waterblocks to be made for it..!
So have a look out for that one when the blue morpho is finished :)
Dropped in a few teaser images for that project.


Now some teaser images for the next project..


Hope you like it !!​
 
Joined
Jan 25, 2015
Messages
81 (0.02/day)
FINALLY!! The Reservoir/Motherboard block has arrived!​

So after waiting way too long for this piece of art, Parvum finally finished the reservoir and motherboard block,
and i have to say, once again they did an absolutely AMAZING job. The block looks so stunning.
i unpacked it and instantly tried to see if i could mount it, unfortunally the mount holes was on the wrong side of the block,
so i had to drill and tap new mounting holes, and also had to tap the rad holder mount.
So guys, finally here's a small tease of the block and a quick mount of it!
Really sorry about the white plastic pieces in the block, was lazy and didnt want to open up the block to get it out. (14 days of work and 200hours, im tired!)


Hope you like it !! cant wait to show you the next updates​
 
Joined
Jan 25, 2015
Messages
81 (0.02/day)
Need Help With 24Pin Sleeving Design?!​

Since the block is finally here, it is time to start the massive sleeving job!..
Today i started on the 24pin, and have some troubles choosing what layout to go with, so i took some photos and threw in some numbers on them,
and hopefully you guys can help me pick the best design, before i go all crazy with all the damn double wires i have to make!
Take your pick and let me know guys :)

Also added a quick picture of my pinout for the 24pin.. massive! ..Always remember to write down the pinouts before you rip the old cable apart !

And will be using white connectors in the front, instead of black ones, so threw in a photo of the 4pin CPU cable going in through the block, to give you an idea.
Also i decided that it will look too disturbing to the eyes if using cablecombs,when there's 44 cables in the back that has to be nicely tugged together..
So instead i will probably go Oldschool and do cable lacing on all 44 cables.
Hopefully with a very neat looking end result.


Please write what number you like the most, so i can get started with the 24pin.​
 
Joined
May 27, 2008
Messages
3,628 (0.62/day)
System Name Ultra 64
Processor NEC VR4300 (MIPS R4300i)
Motherboard proprietary design
Cooling Fanless aircooled
Memory 4.5MB 250 MHz RDRAM
Video Card(s) 62.5 MHz Reality Coprocessor
Storage 32 - 512 Mbit ROM Cartridge
Display(s) 720x576
Case Clear Blue Funtastic
Audio Device(s) 16-bit CD quality
Power Supply proprietary design
Mouse N64 mouse for use with N64DD
Keyboard N64 keyboard for use with N64DD
I'm a fan of number 2 personally. Feels like it has the most symmetry. Don't know how you have the patience for it. Tried once and not for me.
 
Joined
Nov 5, 2014
Messages
539 (0.16/day)
Location
Swanmore, United Kingdom
System Name Joel's Rig
Processor Intel i7-6700K (4 Cores, 4GHz)
Motherboard MSI Z170A GAMING M5
Cooling 3x 140mm Case Fans, Cooler Master Hyper TX3 Evo
Memory Kingston HyperX Fury (DDR4, 2x 8GB, 2133MHz) 16GB
Video Card(s) MSI AMD Radeon R9 290X (8GB VRAM)
Storage Samsung 840 EVO 120GB SSD, Samsung 850 EVO 250GB SSD, WD 3TB HDD
Display(s) Samsung U28E590D (28-Inch, 4K, 60Hz)
Case Corsair Carbide 600C
Audio Device(s) Realtek HD (Integrated)
Power Supply Corsair RM750i (750W)
Mouse Roccat Tyon
Keyboard Razer Blackwidow Chroma
Software Windows 10 Pro
I too am going to stand by number 2 :)
 
Joined
Nov 10, 2006
Messages
4,665 (0.73/day)
Location
Washington, US
System Name Rainbow
Processor Intel Core i7 8700k
Motherboard MSI MPG Z390M GAMING EDGE AC
Cooling Corsair H115i, 2x Noctua NF-A14 industrialPPC-3000 PWM
Memory G. Skill TridentZ RGB 4x8GB (F4-3600C16Q-32GTZR)
Video Card(s) ZOTAC GeForce RTX 3090 Trinity
Storage 2x Samsung 950 Pro 256GB | 2xHGST Deskstar 4TB 7.2K
Display(s) Samsung C27HG70
Case Xigmatek Aquila
Power Supply Seasonic 760W SS-760XP
Mouse Razer Deathadder 2013
Keyboard Corsair Vengeance K95
Software Windows 10 Pro
Benchmark Scores 4 trillion points in GmailMark, over 144 FPS 2K Facebook Scrolling (Extreme Quality preset)
Joined
Jan 25, 2015
Messages
81 (0.02/day)
Sleeving and Installing Blocks​

So the past week i've been busy doing all the sleeving, and I'm still not done... I started with the cable lacing, (takes forever!), and i'm not sure i want to use the

blue cotton thread because it looks fluffy. So probably going to get some waxed blue thread instead and redo it.
Anyways i will attach a few images below so you can see what i mean.

I also installed all the waterblocks and fittings today, and see if i can find the best looking way to do the tubing, this weekend.
Another thing i have been doing is drilling 14 holes on the backside of the reservoir and tapped them, then mounted some standoffs that will keep the clear plexi plate in

place, which is going to keep all the cables neatly in place.. At least thats the idea, dont know how it'g going to look yet.

Almost forgot! Been trying a few options out for the placement of the powerbutton, and ended up bending some acrylic under the rad, and installed the button in that.
Not done with it yet though!.. need some fine adjustments and maybe some blue vinyl.. Originally i was going to put an LCD temp in the acrylic piece also, but we'll see :)


Stay tuned guys, soon more sleeving and also the tubing is getting done soon!​
 
Joined
Jan 25, 2015
Messages
81 (0.02/day)
Allmost Done Sleeving!​

Thank GOD, i am allmost done with all the sleeving.. The cable lacing took forever and was hard on my OCD haha.
I still have to arrange them a little more neat and close together, and also sand the edges of the acrylic window that holds them in place.
But leaving the cables alone for a while and have started doing all the tubing, Just to get my mind on something else than lacing!

Anyways, here's a few photos of the sleeving result so far, hope you enjoy it, and i'm sure it will look very nice once it's all done.


Majestic looking EK WATER BLOCKS below :love:


Now to continue all the bends on the tubing. Needed a break! haha.​
 
Last edited:
Joined
May 27, 2008
Messages
3,628 (0.62/day)
System Name Ultra 64
Processor NEC VR4300 (MIPS R4300i)
Motherboard proprietary design
Cooling Fanless aircooled
Memory 4.5MB 250 MHz RDRAM
Video Card(s) 62.5 MHz Reality Coprocessor
Storage 32 - 512 Mbit ROM Cartridge
Display(s) 720x576
Case Clear Blue Funtastic
Audio Device(s) 16-bit CD quality
Power Supply proprietary design
Mouse N64 mouse for use with N64DD
Keyboard N64 keyboard for use with N64DD
It was well worth the effort, that cabling looks great.
 
Joined
Mar 18, 2008
Messages
5,400 (0.92/day)
Location
Australia
System Name Night Rider | Mini LAN PC | Workhorse
Processor AMD R7 5800X3D | Ryzen 1600X | i7 970
Motherboard MSi AM4 Pro Carbon | GA- | Gigabyte EX58-UD5
Cooling Noctua U9S Twin Fan| Stock Cooler, Copper Core)| Big shairkan B
Memory 2x8GB DDR4 G.Skill Ripjaws 3600MHz| 2x8GB Corsair 3000 | 6x2GB DDR3 1300 Corsair
Video Card(s) MSI AMD 6750XT | 6500XT | MSI RX 580 8GB
Storage 1TB WD Black NVME / 250GB SSD /2TB WD Black | 500GB SSD WD, 2x1TB, 1x750 | WD 500 SSD/Seagate 320
Display(s) LG 27" 1440P| Samsung 20" S20C300L/DELL 15" | 22" DELL/19"DELL
Case LIAN LI PC-18 | Mini ATX Case (custom) | Atrix C4 9001
Audio Device(s) Onboard | Onbaord | Onboard
Power Supply Silverstone 850 | Silverstone Mini 450W | Corsair CX-750
Mouse Coolermaster Pro | Rapoo V900 | Gigabyte 6850X
Keyboard MAX Keyboard Nighthawk X8 | Creative Fatal1ty eluminx | Some POS Logitech
Software Windows 10 Pro 64 | Windows 10 Pro 64 | Windows 7 Pro 64/Windows 10 Home
This was shown at computex?
 
Top