- Joined
- Oct 4, 2016
- Messages
- 64 (0.02/day)
Hello!
Thanks for following! I do my best!
Here is the milling of the new acrylic piece !
I would like to say that, the things i'm showing, are NOT AT ALL a tutorial, it's how i did, don't do that at home (for those who have a milling machine at home....)
First, i used a wooden plate, to not hit the table with the drill, i fixed the whole thing VERY CAREFULLY!

Seems i'm ready... the beast too!

Second step, make the exterior pass :

So you have a smooth surface, and the right size!
Then you make the 12mm holes, for G1/4 :

The coolant pass now, with a 10mm drills :

I'm using air to remove the chips!
Those pass are 10mm depth, but you don't do the 10mm in one time, here, i took 2mm by 2mm.
And to finish, the seal's groove.

After that i do holes for the screws...
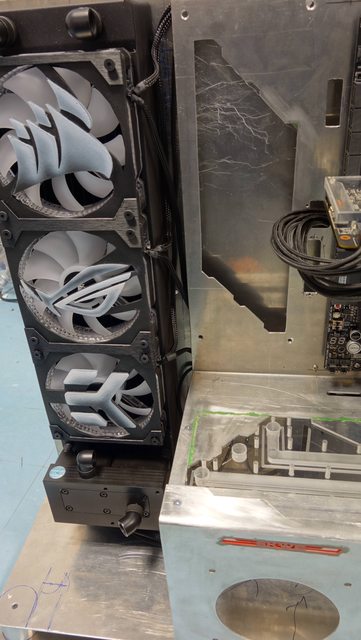
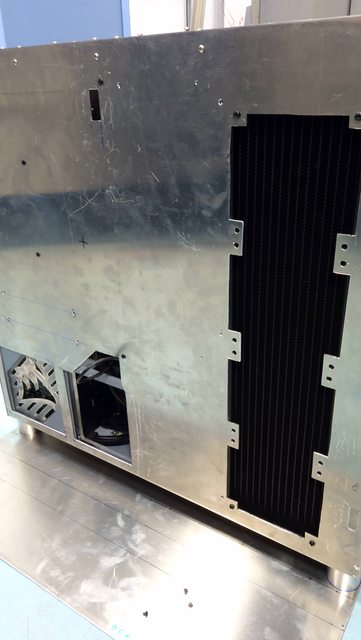
And after some cuts in the aluminium, and a nice bend, you have :


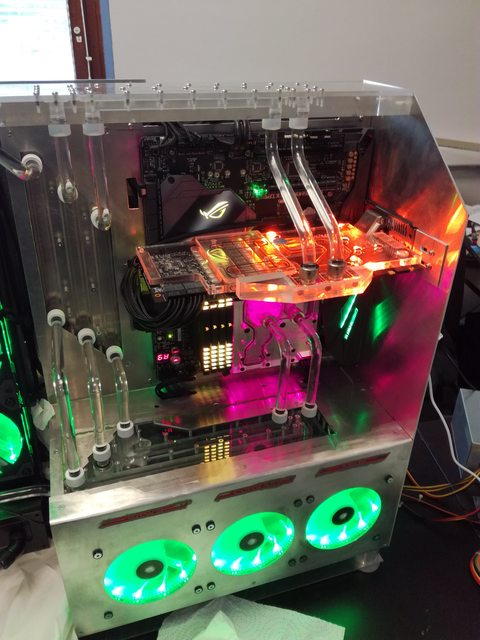
Hope you like!
Next week, pictures of the case building!
Thanks for following! I do my best!
Here is the milling of the new acrylic piece !
I would like to say that, the things i'm showing, are NOT AT ALL a tutorial, it's how i did, don't do that at home (for those who have a milling machine at home....)
First, i used a wooden plate, to not hit the table with the drill, i fixed the whole thing VERY CAREFULLY!
Seems i'm ready... the beast too!
Second step, make the exterior pass :
So you have a smooth surface, and the right size!
Then you make the 12mm holes, for G1/4 :
The coolant pass now, with a 10mm drills :
I'm using air to remove the chips!
Those pass are 10mm depth, but you don't do the 10mm in one time, here, i took 2mm by 2mm.
And to finish, the seal's groove.
After that i do holes for the screws...
And after some cuts in the aluminium, and a nice bend, you have :
Hope you like!
Next week, pictures of the case building!