- Joined
- Oct 22, 2010
- Messages
- 408 (0.08/day)
- Location
- Netherlands
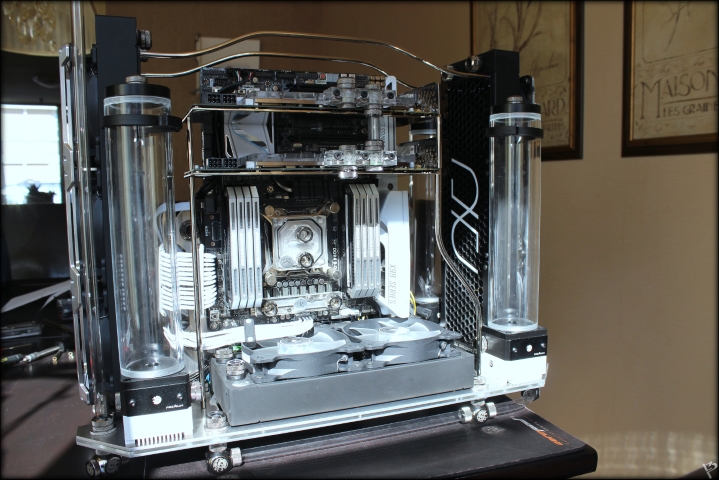
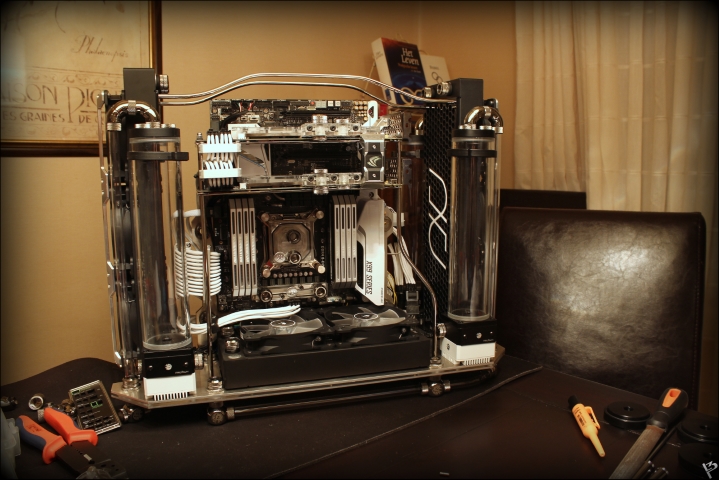
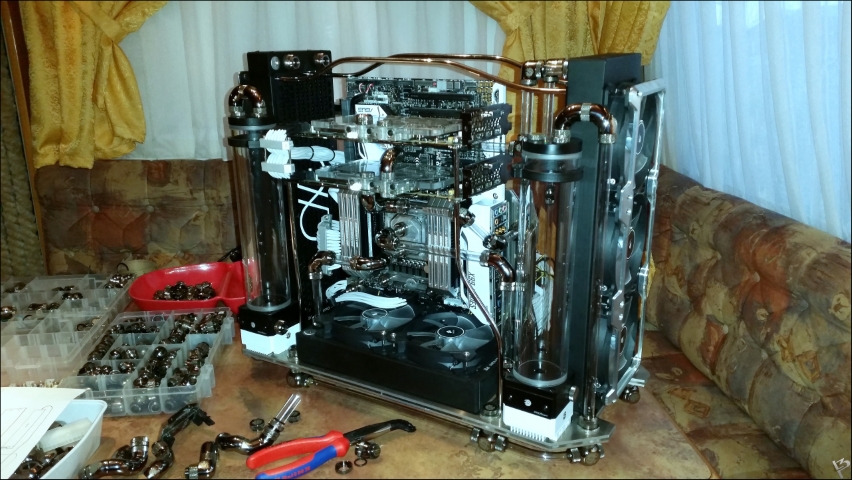
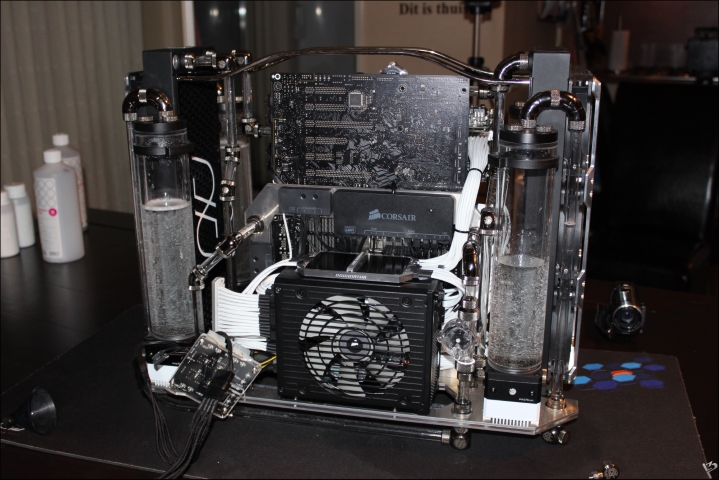
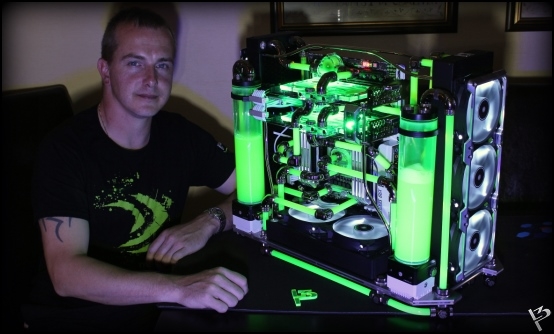
| System Name | L3p D3sk |
|---|---|
| Processor | Intel Core i9 7980Xe |
| Motherboard | ASUS Rampage Extreme VI |
| Cooling | H2o |
| Memory | Corsair Dominator Platinum SE 64GB 3400Mhz |
| Video Card(s) | Nvidia Titan X (Pascal) 12GB |
| Storage | Intel 750 Pci-e 1.2TB |
| Display(s) | Asus ROG PG348Q 34" Gsync |
| Case | Aluminium plate 2000x1000x3 |
| Audio Device(s) | Bose QC 35II |
| Power Supply | Corsair HX1000i |
| Mouse | Finalmouse Lightweight Pro |
| Keyboard | Corsair K70 RGB |
| Software | Windows 10 |
| Benchmark Scores | http://hwbot.org/community/user/l3p?tab=submissions |
Thanks Arjai ")


") ,
, .
.