Thermal Paste and How To Use It |
|
|
Author: djbbenn
Date: 2006-01-08 23:42:52
|
|
Applying thermal paste
Applying thermal paste is a simple task, but you must take your time as with all things. Remember what the thermal paste does. It gives better conduction between the heatsink and CPU/GPU because it fills in all those little imperfections on the heatsink that cause poor conduction due to having air in them. You only need as much thermal paste as it takes to fill in these little holes/divots.Some people will “lap”, their heatsink so they get it smoother. This will increase performance even more. The more area that the heatsink has touching the CPU/GPU, the better it will perform. When you lap your heatsink, and you do a good job of it, you will require even less thermal pastes, as these imperfections have got even smaller.
Once your CPU is nice and clean and you have your TIM, now it’s time to apply it.
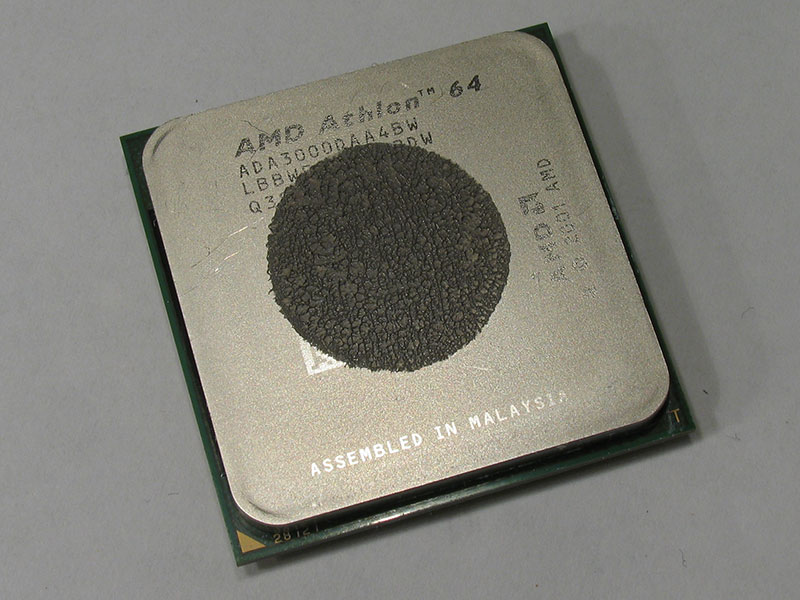
To apply it, you put a little drop, little being about the size of a rice grain and so it doesn't squeeze out when the sink is reapplied. Once you have the right amount of TIM (will vary depending on the application, GPU will uses less than a CPU with a IHS) you spread it out as thin as you can get it. Heatsinks that are not lapped generally require more thermal paste.
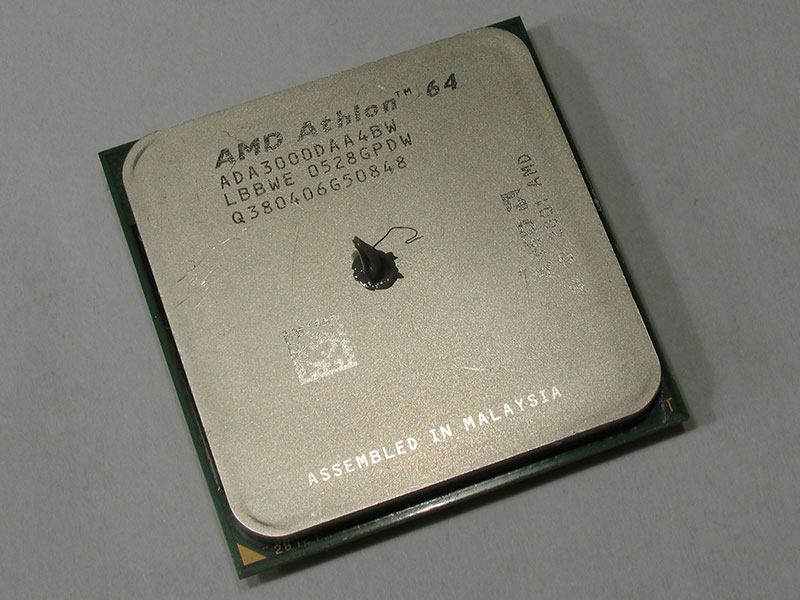
With AS5 and some other TIMs, it's perfectly fine to put a little dab in the middle without spreading it with a CPU that has an IHS. With the mounting force of the heatsink, the thermal paste will spread itself out. In some ways this is a better way of doing it, because you don't have to worry about getting it even. The possibility of having air bubbles between thermal paste and heatsink is also drastically reduced that way. CPUs with an IHS produce heat only in the center of the IHS, where the core is.

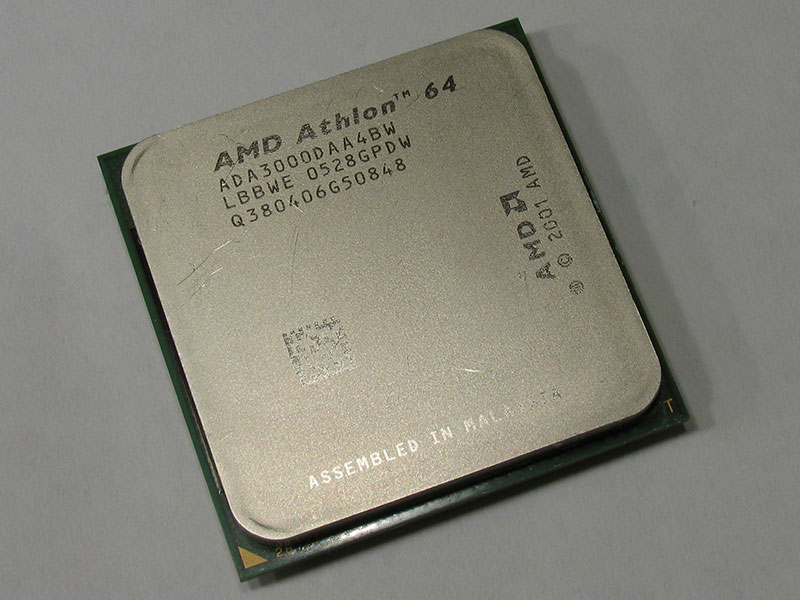
Note: It is recommended that you use the little dab in the center without spreading it technique on CPUs with an IHS. On everything else without an IHS (bare die, like a GPU or the picture above right) you should spread the paste out as thin as possible over the die.
Some people will put their hand in a plastic bag or latex gloves and spread the paste out so they don't contaminate it, then use some straight edge (usually a credit card) to get it nice and even. Others will just use the credit card straight away. You want the layer of paste as thin as possible; less than half a millimeter, almost translucent, is good.
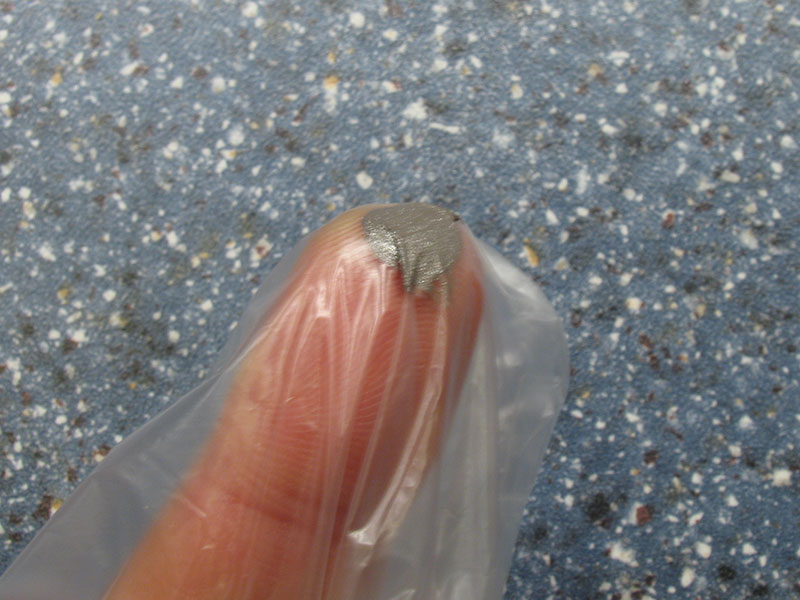
Note: If you decide to use a latex glove, make sure you get the powder-free ones. Getting the powder on the heatsink and mixed with the paste will degrade performance.
Another trick that some use is applying the thermal paste to the heatsink base, then wiping it off (not using cleaner, just a non-linty cloth). This assures that all the imperfections on the heatsink are filled as well.
Once you have the paste spread nice and even and as thin as you can get it; it's time to mount the heatsink. Be very careful when doing so, so that you don't have to do it twice. If you put it on, then take it off, you should re-apply the paste. You want to bring the heatsink onto the CPU as level as possible. If you angle it, it can disrupt the paste from spreading evenly.

Conclusion
Once your heatsink is properly mounted and the fan is connected you are ready to boot. It's not a bad idea to go into your BIOS or video card temperature-monitoring program to watch your temperatures for a few minutes. Just to make sure the paste was properly applied and that what ever part's paste you applied doesn't to get to hot.
Most pastes have what’s known as a "burn-in period". Over this period, the performance of the thermal paste will increase, and lower your temperature. Also with heat, the paste will even itself out more. AS5 will generally gain performance (5-8C drop) over 200 hours of break-in period. Having many heat-up - cool-down cycles help speed up the process.
Apr 25th, 2024 23:00 EDT
change timezone
Latest GPU Drivers
New Forum Posts
- What phone you use as your daily driver? And, a discussion of them. (1481)
- What are you playing? (20530)
- Secure boot already open help (0)
- TPU's Nostalgic Hardware Club (18465)
- Post your Speedometer 3.0 Score (36)
- Size on Disk Excessively Different than Size (9)
- Dell Workstation Owners Club (3056)
- Core PL1 + GPU PL1 + Ring EDP OTHER (10)
- Best SSD for system drive (80)
- Which new games will you be buying? (315)
Popular Reviews
- Fractal Design Terra Review
- Thermalright Phantom Spirit 120 EVO Review
- Corsair 2000D Airflow Review
- ASUS GeForce RTX 4090 STRIX OC Review
- NVIDIA GeForce RTX 4090 Founders Edition Review - Impressive Performance
- ASUS GeForce RTX 4090 Matrix Platinum Review - The RTX 4090 Ti
- MSI GeForce RTX 4090 Suprim X Review
- Gigabyte GeForce RTX 4090 Gaming OC Review
- MSI GeForce RTX 4090 Gaming X Trio Review
- MSI GeForce RTX 4090 Suprim Liquid X Review
Controversial News Posts
- Sony PlayStation 5 Pro Specifications Confirmed, Console Arrives Before Holidays (117)
- Windows 11 Now Officially Adware as Microsoft Embeds Ads in the Start Menu (110)
- NVIDIA Points Intel Raptor Lake CPU Users to Get Help from Intel Amid System Instability Issues (106)
- AMD "Strix Halo" Zen 5 Mobile Processor Pictured: Chiplet-based, Uses 256-bit LPDDR5X (101)
- US Government Wants Nuclear Plants to Offload AI Data Center Expansion (98)
- AMD's RDNA 4 GPUs Could Stick with 18 Gbps GDDR6 Memory (88)
- Developers of Outpost Infinity Siege Recommend Underclocking i9-13900K and i9-14900K for Stability on Machines with RTX 4090 (85)
- Windows 10 Security Updates to Cost $61 After 2025, $427 by 2028 (84)