Sleeving a Fan with Expandable Sleeving |
|
Prepare the Fan
Now that you know where the pins will go once you remove them, you can finally take them out of the connector. To do this, you need to insert your screwdriver or paper clip into the holes on the side of the connector and push down the small tab locking it in place.
After all the pins have been removed you are left with this:
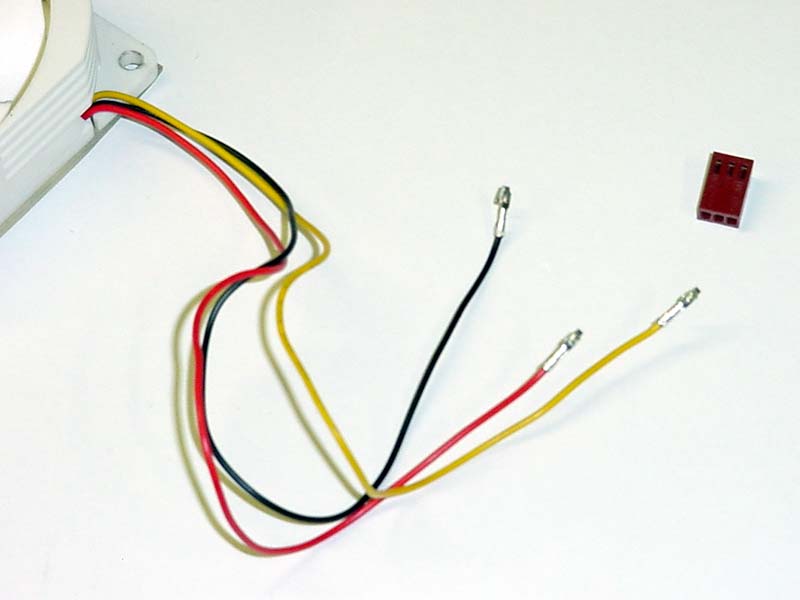
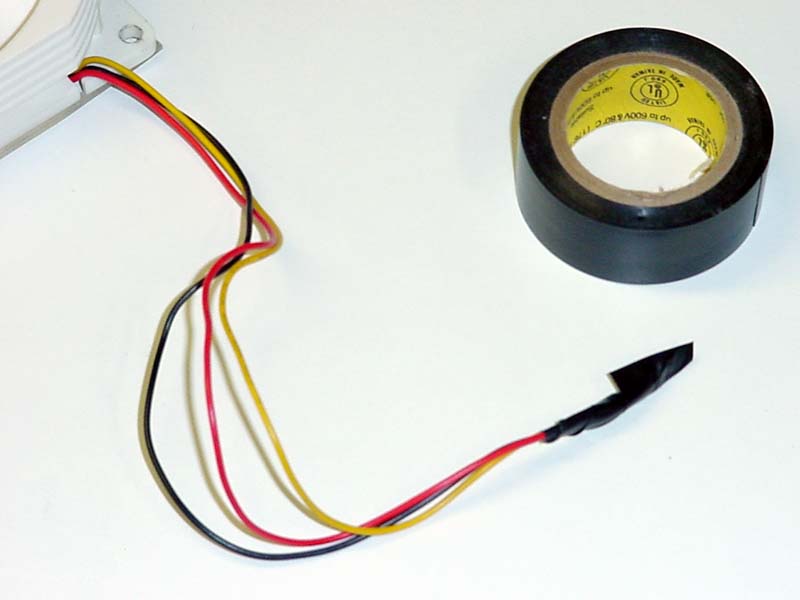
To prepare the pins for the sleeving you should wrap them in electrical tape. This will keep them together and keep them from snagging on the sleeving. For really tight sleeving you may want to stagger the pins so that they are not all in one big bunch under the tape.
Prepare the Sleeving
Now you will need to get the sleeving ready. First, decide how long the sleeving will need to be. You want the sleeving to be about 1.5” to 2” shorter than the actual length of the wires. The shorter length allows the heatshrink tubing that we will apply later to cover the ends of the sleeving correctly and still allow flexibility.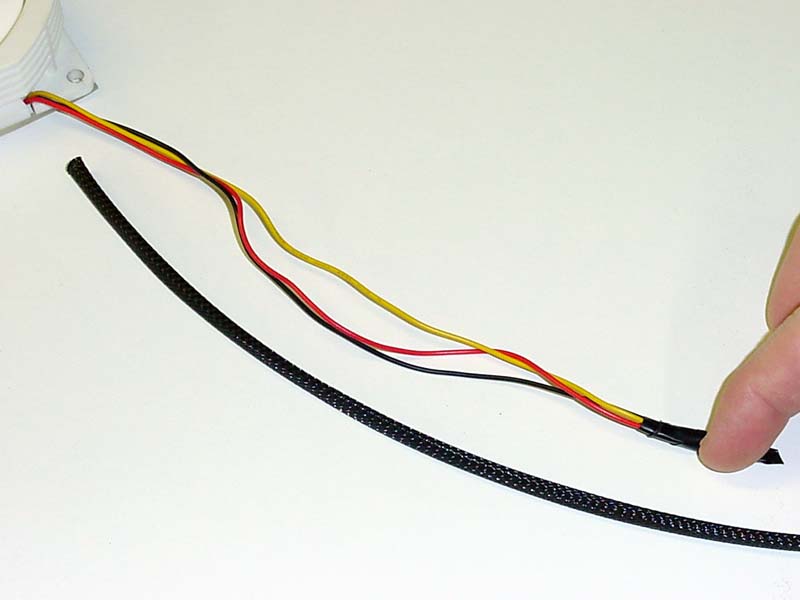
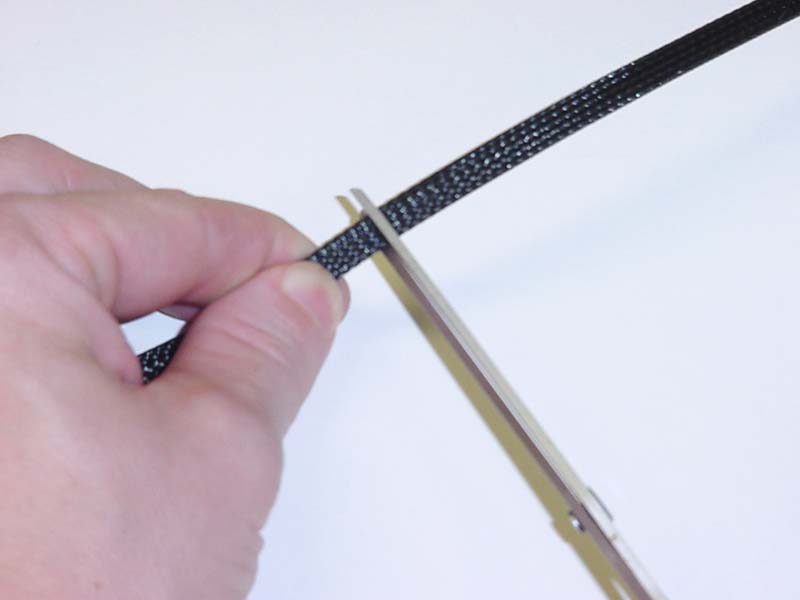
Using your scissors cut the sleeving to the desired length.
Here is the sleeving after it has been cut. Notice the fibers that make up the sleeving.
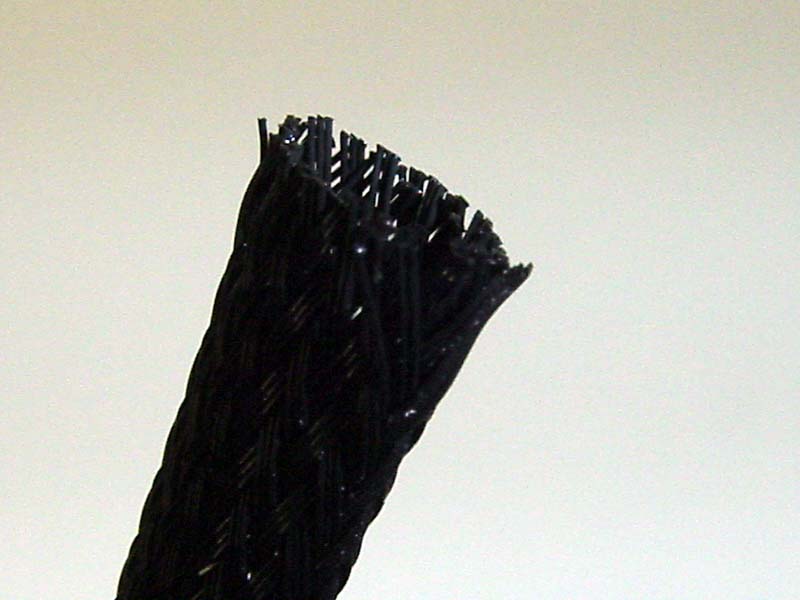
The ends of the sleeving where you just cut it will fray very easily, so you will need to lightly burn the ends to melt the fibers together with your lighter. Do not get carried away, but make sure there is enough melted to hold the fibers in place.

After you have completed prepping the ends of the sleeving you should notice the difference. On the left is the finished sleeving and the right is unfinished.

Jun 30th, 2025 18:27 CDT
change timezone
Latest GPU Drivers
New Forum Posts
- Will you buy a RTX 5090? (581)
- The TPU UK Clubhouse (26529)
- Do you use Linux? (663)
- Can you guess Which game it is? (194)
- Help me choose the right PSU , Cooler Master vs Seasonic (53)
- HOW TO ADD NVMe M.2 SSD SUPPORT TO OLD MOTHERBOARDS WITH AWARD-Phoenix LEGACY SUPPORT? (2)
- Whats a fair asking price - MSI 4070 Super (4)
- HTPC Power Consumption Discussion, Upgrade vs Migration (18)
- RX 9000 series GPU Owners Club (1103)
- Rare GPUs / Unreleased GPUs (2111)
Popular Reviews
- Sapphire Radeon RX 9070 XT Nitro+ Review - Beating NVIDIA
- ASUS ROG Crosshair X870E Extreme Review
- Sapphire Radeon RX 9060 XT Pulse OC 16 GB Review - Samsung Memory Tested
- Lexar NQ780 4 TB Review
- AVerMedia CamStream 4K Review
- ASRock Phantom Gaming Z890 Riptide Wi-Fi Review
- AMD Ryzen 7 9800X3D Review - The Best Gaming Processor
- Upcoming Hardware Launches 2025 (Updated May 2025)
- Intel Core Ultra 7 265K Review
- NVIDIA GeForce RTX 5060 8 GB Review
TPU on YouTube
Controversial News Posts
- Intel's Core Ultra 7 265K and 265KF CPUs Dip Below $250 (288)
- NVIDIA Grabs Market Share, AMD Loses Ground, and Intel Disappears in Latest dGPU Update (204)
- Some Intel Nova Lake CPUs Rumored to Challenge AMD's 3D V-Cache in Desktop Gaming (140)
- Microsoft Partners with AMD for Next-gen Xbox Hardware (105)
- NVIDIA Launches GeForce RTX 5050 for Desktops and Laptops, Starts at $249 (104)
- Intel "Nova Lake‑S" Series: Seven SKUs, Up to 52 Cores and 150 W TDP (100)
- NVIDIA GeForce RTX 5080 SUPER Could Feature 24 GB Memory, Increased Power Limits (89)
- Reviewers Bemused by Restrictive Sampling of RX 9060 XT 8 GB Cards (88)