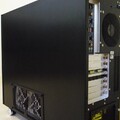
Subtle i7 Build


Owner:
Posted:
May 23rd 2009
Updated:
Viewed:
7,333 times
Rating:
 19 votes total
Outstanding (6.9)
Submit vote:
Please register on the forums & login to vote.
Key Features:


This modder's other projects:
System Specs:
Performed Mods:
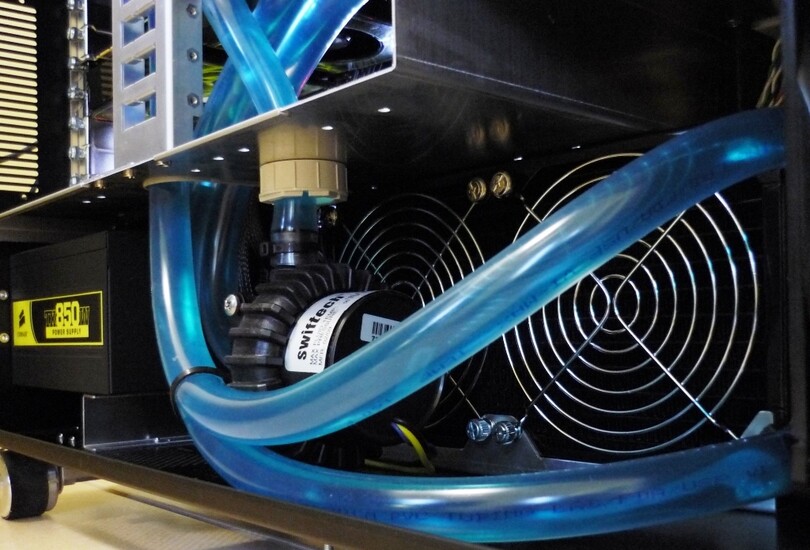
Removed bottom drive cages, mounted radiator with custom bracket, installed radiator exhaust in side panel, moded drive cage to fit inside 5.25" bays, general cable management.
The aim was to complete a watercooled build but still leaving the impression that the case was not heavily modded.
Apr 29th, 2024 11:01 EDT
change timezone
Latest GPU Drivers
New Forum Posts
- Why MS buying all of these Studios is bad for Gaming (31)
- Is it better for zero RPM PSUs to place the fan on top? (17)
- Dialing in the overlock on my new 12600kf, matured silicon process showing great results... (12)
- PL1 | OMEN 17-cb0xxx / I7-9750H / RTX 2060 (0)
- All I want is 2 monitors + 1 PC - Help! (0)
- Help me identify rx 580 card ? (6)
- Your PC ATM (34528)
- Graphics cards (7)
- HP Workstations Owners Club (322)
- Does charging protection matter? (31)
Popular Reviews
- Ugreen NASync DXP4800 Plus Review
- HYTE THICC Q60 240 mm AIO Review
- Upcoming Hardware Launches 2023 (Updated Feb 2024)
- MOONDROP x Crinacle DUSK In-Ear Monitors Review - The Last 5%
- FiiO K19 Desktop DAC/Headphone Amplifier Review
- Thermalright Phantom Spirit 120 EVO Review
- ASUS Radeon RX 7900 GRE TUF OC Review
- AMD Ryzen 7 7800X3D Review - The Best Gaming CPU
- ASUS GeForce RTX 4070 Ti Super TUF Review
- Logitech G Pro X Superlight 2 Review - Updated with 4000 Hz Tested
Controversial News Posts
- Windows 11 Now Officially Adware as Microsoft Embeds Ads in the Start Menu (146)
- Intel Statement on Stability Issues: "Motherboard Makers to Blame" (126)
- Sony PlayStation 5 Pro Specifications Confirmed, Console Arrives Before Holidays (117)
- NVIDIA Points Intel Raptor Lake CPU Users to Get Help from Intel Amid System Instability Issues (106)
- AMD "Strix Halo" Zen 5 Mobile Processor Pictured: Chiplet-based, Uses 256-bit LPDDR5X (103)
- US Government Wants Nuclear Plants to Offload AI Data Center Expansion (98)
- AMD's RDNA 4 GPUs Could Stick with 18 Gbps GDDR6 Memory (97)
- TechPowerUp Hiring: Reviewers Wanted for Motherboards, Laptops, Gaming Handhelds and Prebuilt Desktops (85)
17 Comments on Subtle i7 Build
looks nice
Now, if you think is going to get crouded in there, then just leave it as it is....
btw have you checked my rig? www.techpowerup.com/gallery/2097.html
theres not really any noticeable mods but I dont love your rig for what it is with out the mods so I will probably bump that up to a 8/10 I like it good job
Ive a few rants though. Change the weak Swiftech MCR220 using that for an i7 is poor choice. Change the plastic clamps or use compression fittings. Use an ek res, swiftech res are fugly imo. Tubings are quite long for just cooling one component.
Otherwise, its cool system, and a sweet case to boot. 7/10