 21
21
Asustor AS-302T Review
ADM Operating System & Administration Walk-Through »Software
You will have to load the bundled software disc into the drive of a client PC after installing the HDDs into the NAS and connecting all cables (power and network). Asustor suggests reading through the Quick Start Guide first, and we agree with them. You will also find the complete User Guide on the same disc, so feel free to take a look at it as well.


We decided to include a couple screenshots of the Backup Plan application before moving on to the Control Center application. It does as its name suggests, allowing you to create a backup plan or restore from a backup file.
Initial Setup


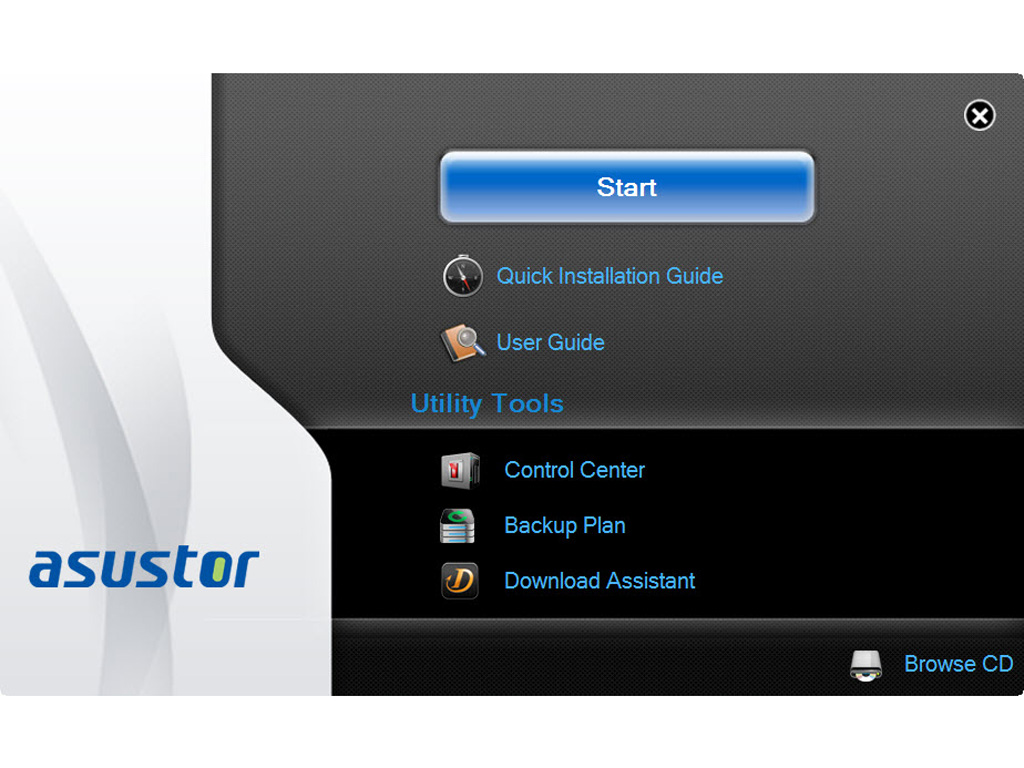
The time has come for Asustor's Control Center to be installed. This application will not only find the NAS on your network, but will also allow for its effortless and quick configuration. We highly recommend picking the Custom Setup option since it allows you set the RAID level that suits your needs best. We were also prompted to download and install the newest version of this program since the version on the bundled disc wasn't the most recent one.


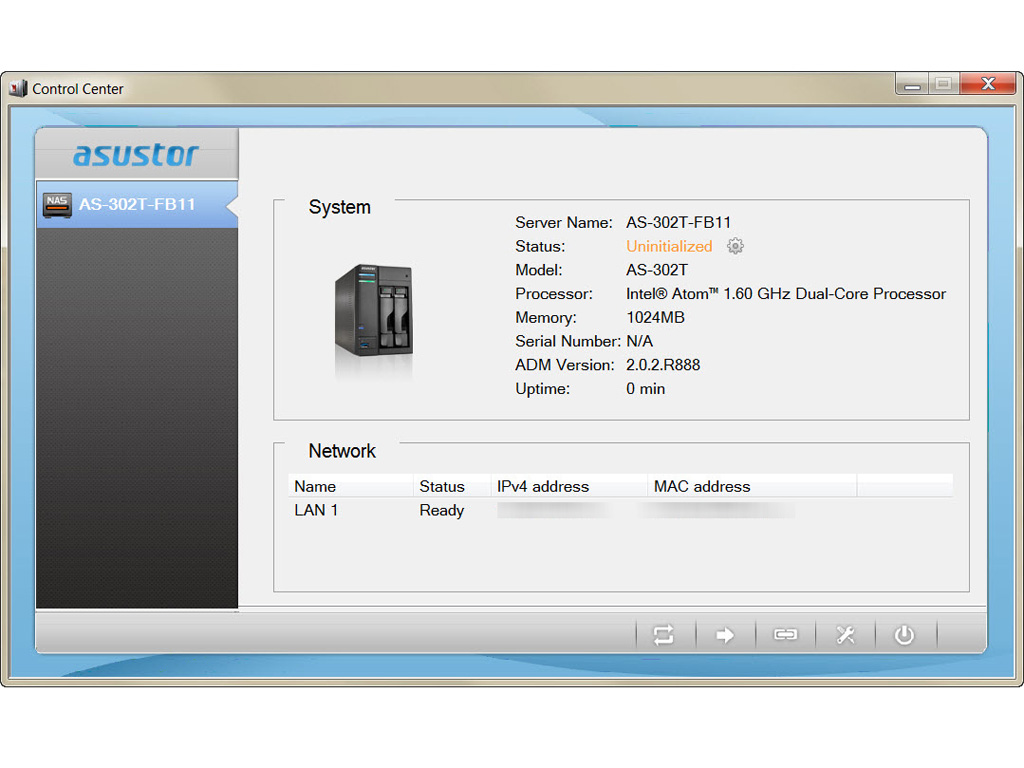
The first step of the initialization process asks you to make sure each tray has an HDD installed, and not to power the NAS down or remove the aforementioned disk. You will then be prompted to download a fresh version of ADM off the net, or manually install one you already have. If you have access to the internet, we highly recommend installing ADM off the net. The initial configuration begins after you have done so, and you will be asked whether you'd like to one-click setup everything instead of doing so manually. We chose the manually setup option since we like to be in control of everything.


You will now be asked to pick an admin password. You will then configure the time and network settings and pick the RAID configuration that suit your needs. There are RAID levels, but you can also configure your disks in JBOD (Just a Bunch of Disks) or pick to run everything off a single disk.


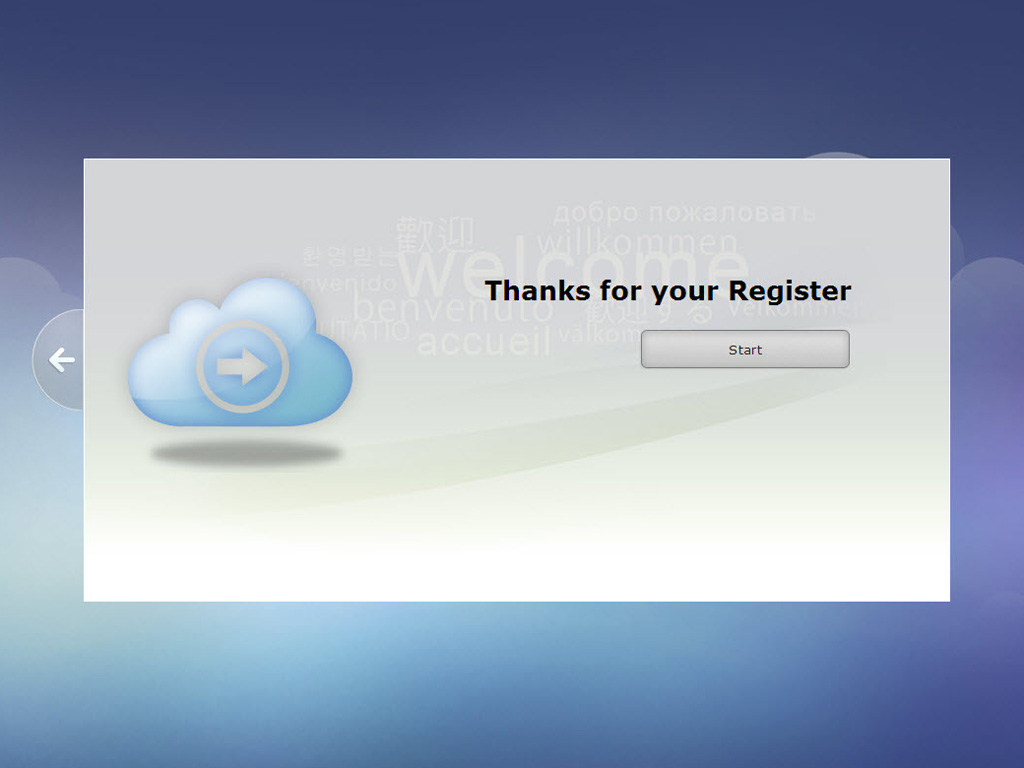
We started the second part of the initialization process after setting the RAID level. Configuring RAID didn't take long, and we were then quickly prompted to register our NAS to obtain an Asustor ID, which allows us to download additional applications for the device.

You will now be redirected to the login page, where you have to input your credentials to proceed to the administration interface.
May 9th, 2024 02:23 EDT
change timezone
Latest GPU Drivers
New Forum Posts
- Your way of cooling your PC? (49)
- Arctic MX-6 shelf life is just a couple months? (100)
- Microsoft butchering Xbox Studios (4)
- Epic Games launcher's ridiculous CPU usage (32)
- About to lose my mind with crashes/hangs: Is my 13700K dying? (15)
- Urgent: PC wont turn on with PSU connected to MOBO (35)
- Free Download Manager output the wrong format (2)
- Upgrade from 9700K to 7600X + B650 mobo for current RTX 3080. Advice needed, which parts to pick? (81)
- PNY RTX 4070 Ti XLR8 OC - New worse BIOS/version? (108)
- Flash VBIOS to turn RX 580 2048SP into RX 570 (21)
Popular Reviews
- CHERRY XTRFY M64 Pro Review
- Corsair iCUE Link RX120 RGB 120 mm Fan Review
- Bykski CPU-XPR-C-I CPU Water Block Review - Amazing Value!
- Finalmouse UltralightX Review
- Upcoming Hardware Launches 2023 (Updated Feb 2024)
- Cougar Hotrod Royal Gaming Chair Review
- AMD Ryzen 7 7800X3D Review - The Best Gaming CPU
- Meze Audio LIRIC 2nd Generation Closed-Back Headphones Review
- ASUS Radeon RX 7900 GRE TUF OC Review
- ASRock NUC BOX-155H (Intel Core Ultra 7 155H) Review
Controversial News Posts
- Intel Statement on Stability Issues: "Motherboard Makers to Blame" (261)
- AMD to Redesign Ray Tracing Hardware on RDNA 4 (206)
- Windows 11 Now Officially Adware as Microsoft Embeds Ads in the Start Menu (167)
- NVIDIA to Only Launch the Flagship GeForce RTX 5090 in 2024, Rest of the Series in 2025 (143)
- Sony PlayStation 5 Pro Specifications Confirmed, Console Arrives Before Holidays (119)
- AMD's RDNA 4 GPUs Could Stick with 18 Gbps GDDR6 Memory (114)
- NVIDIA Points Intel Raptor Lake CPU Users to Get Help from Intel Amid System Instability Issues (106)
- AMD Ryzen 9 7900X3D Now at a Mouth-watering $329 (104)