 10
10
Corsair Obsidian 450D Review
Value & Conclusion »Assembly

Installing the motherboard is done by traditional means, with the use of spacers and screws. There is plenty of space for a large cooler, but you have to watch its height as Corsair mentions a 165 mm limit.


The hard-drive trays are of very good quality and work quite well. While you have to use some of the included screws to hold an SSD in place, a 3.5" drive just snaps right down onto these embedded metal pins.


Once filled, simply slide the drive into the bay of your choice. There is no need for any tools if you want to use the 2.5'' contraption behind the motherboard tray as the plastic tray is engineered to hold the drive in place. That said, thin SSDs may cause problems as the trays are also tall enough for traditional 2.5" drives.


The covers have long prongs, which makes popping them out without having to pull the entire front off the chassis quite easy. With the bay free, simply slide the drive into place and the plastic lock will take care of the rest. It is strong enough to hold the unit well enough. To release the drive, pull on the locking mechanism's tab to push the ODD out through the front. I would still sink a single screw into the drive even though the contraption holds its drive in place well - just to be on the safe side.

Installing the PSU is done with the use of traditional screws. Corsair, oddly enough, does not include any with the chassis, so I had to use some of my own. It would be nice and rather easy for the company to throw in four PSU screws as some users may not have any at their disposal, especially if they buy an affordable PSU that may not come in its retail packaging – not that we would ever suggest buying such a low-quality unit.


With everything installed, the Corsair Obsidian 450D's main side makes an excellent, clean impression. The entire cable mess is hidden away nicely behind the motherboard tray, but you do have to tip the chassis on its side and apply some tough love to slide the panel back onto that part of the chassis.
Finished Looks

Once everything is put back together and the system has been turned on, the Obsidian 450D looks just as beautiful as its larger brethren. It will most likely be the most appealing one to many looking for an ATX case; that is, if they do not need the space XL-ATX frames provide.
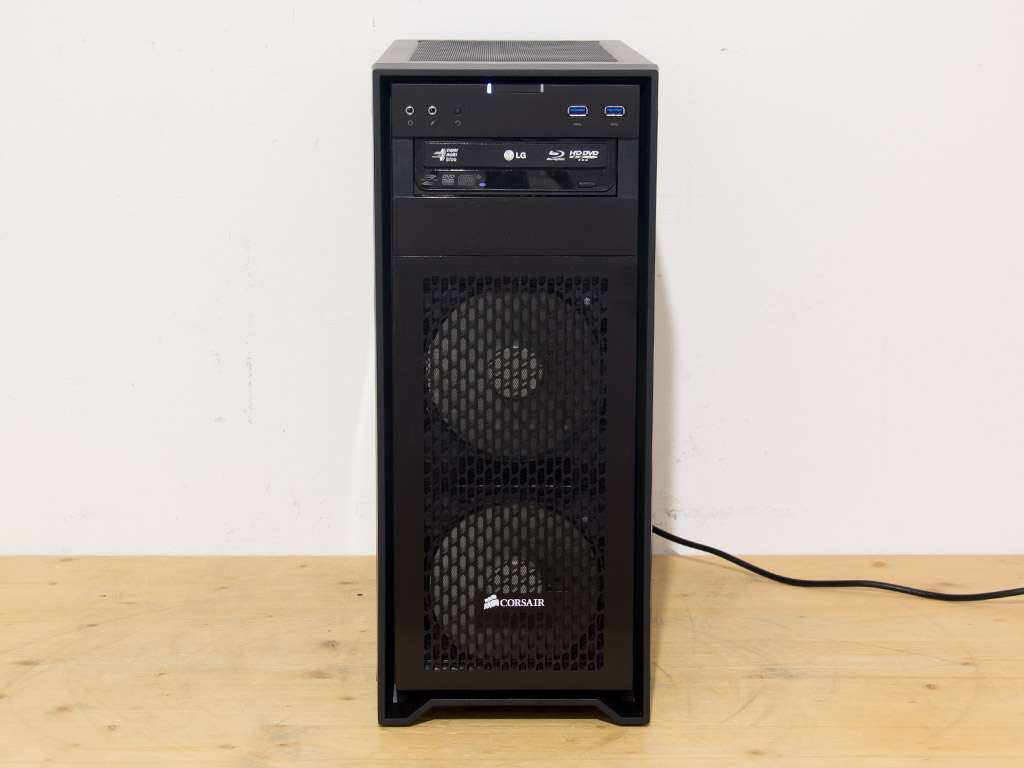


You can clearly see the fans spinning behind the air vent at the front, and we removed the vent while they where running, just for kicks. Everything in the rear is also where you would expect it to be, and everything there is easily accessible.


Viewing the chassis from its main side, you can clearly see the CPU cooler's wide fan. It comes pretty close to the window, but not close enough to have you worry about airflow. One can also easily spot the white PSU through the window, but everything else will require a lighting element to really shine.
May 6th, 2024 17:02 EDT
change timezone
Latest GPU Drivers
New Forum Posts
- HELP-pc turns on then off instantly (12)
- GPU Hot Spot Temperature 105 Celsius, fans at 3000 RPM, while GPU Temperature is max 70 Celsius (39)
- 7900 XTX Seriously lacking (118)
- Overheating/undervolt/setup issues (8)
- nvflashk - Flash any BIOS to NVIDIA GPUs - Safe board ID bypass up to 4xxx series (240)
- Is this Sapphire PULSE RX 5600 XT legit or fake? (42)
- Only some humans can see refresh rates faster than others, I am one of those humans. (181)
- Envinda RX 580 2048SP 8GB no image (20)
- AAF Optimus DCH Audio Modded Driver for Windows 10/11 - For ALL HDAUDIO Enumerator Chips (658)
- Update on the whole PC rebooting issue. There was an extra standoff in the case, but now it's crashing even more (0)
Popular Reviews
- Finalmouse UltralightX Review
- ASRock NUC BOX-155H (Intel Core Ultra 7 155H) Review
- Meze Audio LIRIC 2nd Generation Closed-Back Headphones Review
- Cougar Hotrod Royal Gaming Chair Review
- Upcoming Hardware Launches 2023 (Updated Feb 2024)
- AMD Ryzen 7 7800X3D Review - The Best Gaming CPU
- Montech Sky Two GX Review
- ASUS Radeon RX 7900 GRE TUF OC Review
- HYTE THICC Q60 240 mm AIO Review
- Logitech G Pro X Superlight 2 Review - Updated with 4000 Hz Tested
Controversial News Posts
- Intel Statement on Stability Issues: "Motherboard Makers to Blame" (248)
- Windows 11 Now Officially Adware as Microsoft Embeds Ads in the Start Menu (167)
- AMD to Redesign Ray Tracing Hardware on RDNA 4 (165)
- Sony PlayStation 5 Pro Specifications Confirmed, Console Arrives Before Holidays (117)
- AMD's RDNA 4 GPUs Could Stick with 18 Gbps GDDR6 Memory (114)
- NVIDIA Points Intel Raptor Lake CPU Users to Get Help from Intel Amid System Instability Issues (106)
- AMD Ryzen 9 7900X3D Now at a Mouth-watering $329 (104)
- AMD "Strix Halo" Zen 5 Mobile Processor Pictured: Chiplet-based, Uses 256-bit LPDDR5X (103)