 10
10
In Win 707 Review
Value & Conclusion »Assembly

Installing the motherboard is done by traditional means, with the use of included spacers and screws. As you can see, there is loads of space around the board for you to route cables and reach all connectors properly, which is especially true for the top where you may install potent water-cooling radiators and fans into the ceiling without having those parts collide with any components on the motherboard.


It takes traditional screws to install a 2.5" drive, like an SSD, but In Win made a point of including those. IF you opt for a 3.5" drive, simple squeeze it into place. You won't need tools or screws with these trays.


Once all drives have been installed onto their trays, slide them back into the bays of your choice. These trays will snap into place once you close the front, which seems to hold them in place nicely.


Adding a 5.25" device does not require any tools either. Just release the cover of your choice and slide the drive into place. Once in position, push down on those green buttons to secure it. Optical drives may still have a bit of play, but you can easily sink a single screw into one of the remaining mounting holes to secure it completely.

Installing the power supply is done by traditional means. Installing a larger unit is not a problem because of the spacious interior. A large PSU will fit even if you put the hard-drive cage into its alternative location.


With everything in place, the 707's interior looks very clean. I used the opening closest to the PSU to route all the cables behind the motherboard tray and tried to hide the I/O cables. Unfortunately, it was not quite as successful as I had hoped, so you will see the gray cables coming from the grommet-equipped hole below the motherboard. In Win should definitely switch to black sleeving—something other manufacturers managed to do with nearly all their cases.
Finished Looks

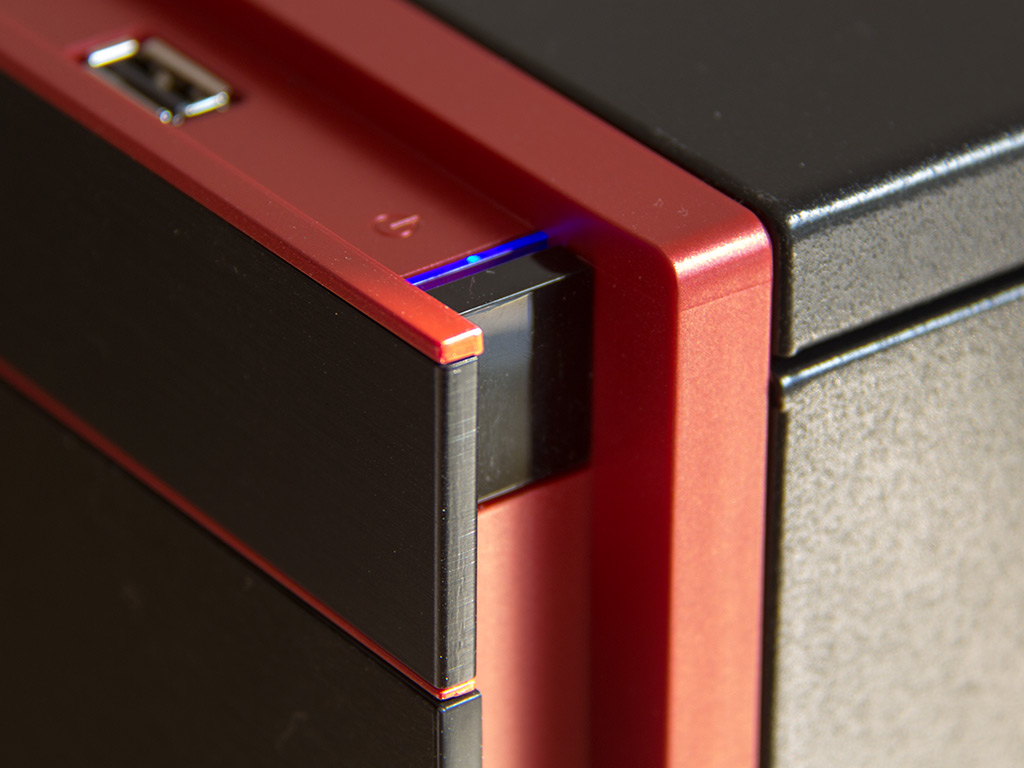
You will immediately notice the glow of the red LEDs in the rear after everything has been installed and the system has been turned on. Their glow is not too bright because of the tinted window, and it should encourage curious onlookers at LAN parties to take a look through the window and into the system. Even though the chassis is red and black, In Win has gone with a blue power LED. It would have been nice to also have a red power LED instead.


The front with its door closed looks just as the chassis did out of the box, but the optical drive bay is well hidden behind the door. One thing you should be aware of is the fact that no fan controllers with extruding buttons or dials will fit into the front due to the door's flat design.


Looking at the In Win 707 from all sides, everything looks great, with the windowed panel giving you a nice view of all the pertinent parts inside. A ventilation hole in the other side panel also allows for a peek at the motherboard's PCB, while all the connectors are where you would expect them to be in a full tower chassis.
May 8th, 2024 09:01 EDT
change timezone
Latest GPU Drivers
New Forum Posts
- Urgent: PC wont turn on with PSU connected to MOBO (16)
- Epic Games launcher's ridiculous CPU usage (8)
- POLL: Can you see the difference past 60fps (gaming/other) (37)
- Your way of cooling your PC? (14)
- Arc OC'ing, anyone? (7)
- Battery swap for cyberpower UPS (65)
- TPU's Nostalgic Hardware Club (18501)
- Any suggestion for hosting to test something ? (2)
- Does anyone here overclock their video cards? Is it really worth it? (40)
- not impressed - nvme vs ssd (51)
Popular Reviews
- CHERRY XTRFY M64 Pro Review
- Corsair iCUE Link RX120 RGB 120 mm Fan Review
- Finalmouse UltralightX Review
- Upcoming Hardware Launches 2023 (Updated Feb 2024)
- Cougar Hotrod Royal Gaming Chair Review
- Meze Audio LIRIC 2nd Generation Closed-Back Headphones Review
- AMD Ryzen 7 7800X3D Review - The Best Gaming CPU
- ASRock NUC BOX-155H (Intel Core Ultra 7 155H) Review
- ASUS Radeon RX 7900 GRE TUF OC Review
- Sapphire Radeon RX 7900 GRE Pulse Review
Controversial News Posts
- Intel Statement on Stability Issues: "Motherboard Makers to Blame" (261)
- AMD to Redesign Ray Tracing Hardware on RDNA 4 (203)
- Windows 11 Now Officially Adware as Microsoft Embeds Ads in the Start Menu (167)
- NVIDIA to Only Launch the Flagship GeForce RTX 5090 in 2024, Rest of the Series in 2025 (138)
- Sony PlayStation 5 Pro Specifications Confirmed, Console Arrives Before Holidays (119)
- AMD's RDNA 4 GPUs Could Stick with 18 Gbps GDDR6 Memory (114)
- NVIDIA Points Intel Raptor Lake CPU Users to Get Help from Intel Amid System Instability Issues (106)
- AMD Ryzen 9 7900X3D Now at a Mouth-watering $329 (104)