 8
8
In Win BUC 101 Review
Value & Conclusion »Assembly

Installing the mainboard is done quickly as you simply secure the board on the little "pyramids" of the mainboard tray. Since the chassis is quite compact, you will have to watch out that your graphics card does not exceed roughly 300 mm in length, but there is plenty of space for the large CPU cooler as long as you don't place a fan in the top spot of the side panel.
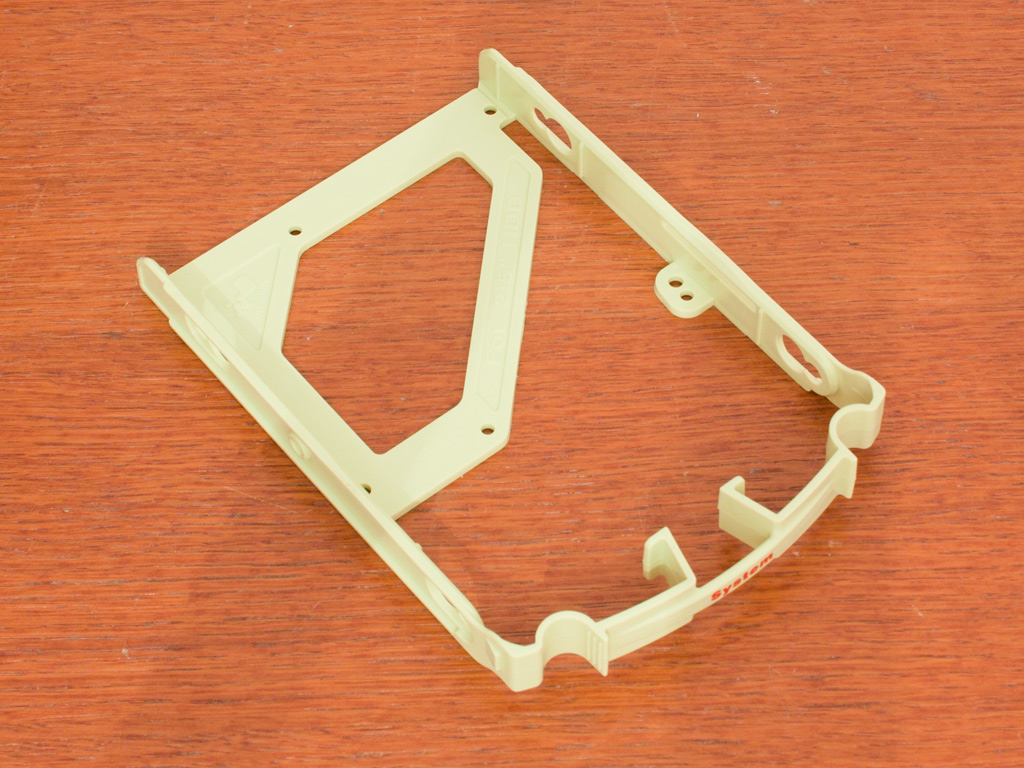
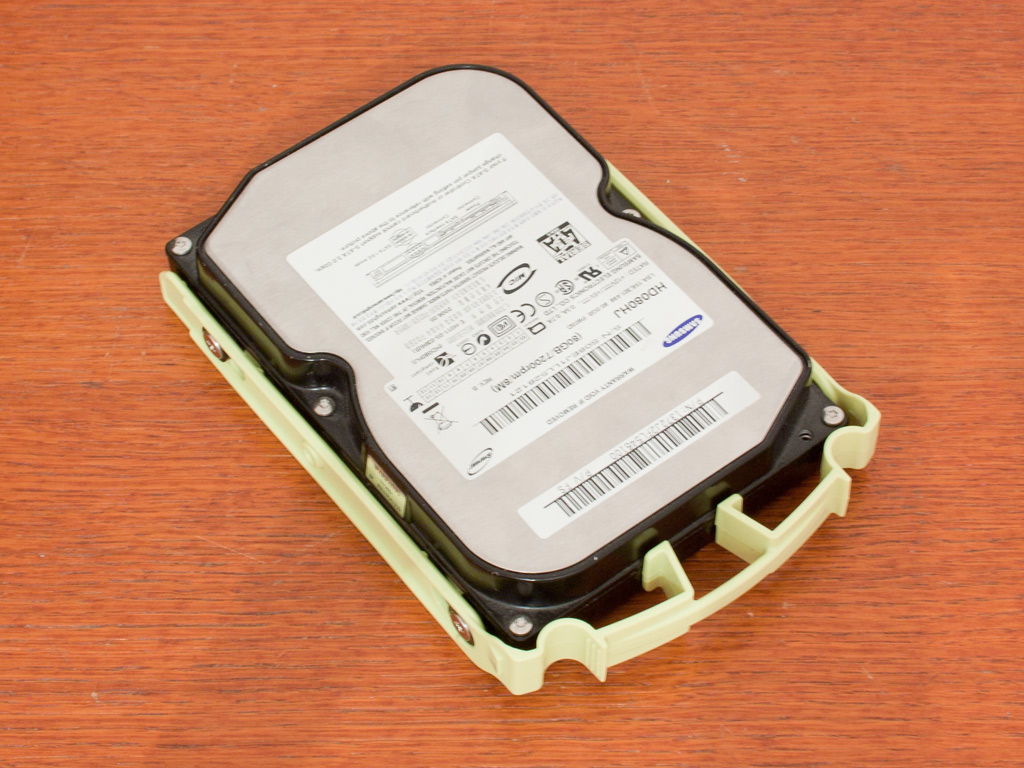
Installing the hard drive means prepping the trays first. They ship bare, so that you need to apply the rubber rings first, then place the drive in the tray and secure it with the special screws. Both 3.5 and 2.5 inch drives do still require you to use tools to put them in place.


Once done you can slide the unit back into place, which requires a lot of force. Best way to do it, seems to pull the middle portion of the tray so the edges collapse a bit. Upside is - of course - that you won't have to worry about the drives during transportation.
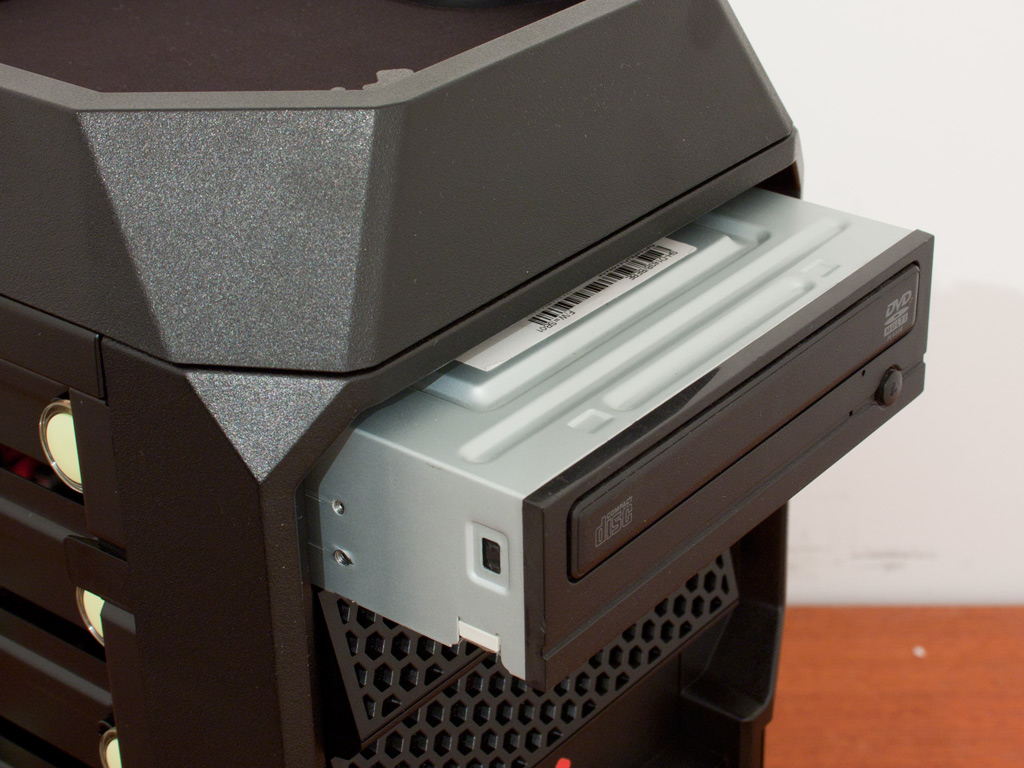

Installing the optical drive is extremely easy and does not require any tools. Simply remove the cover of your choice, slide the drive in and push the neon green pins down. This holds the entire drive well enough.

The power supply is placed within the BUC 101 by the usual means. Put it in place, screw it down and you are good to go. Nothing to see here - keep on moving!

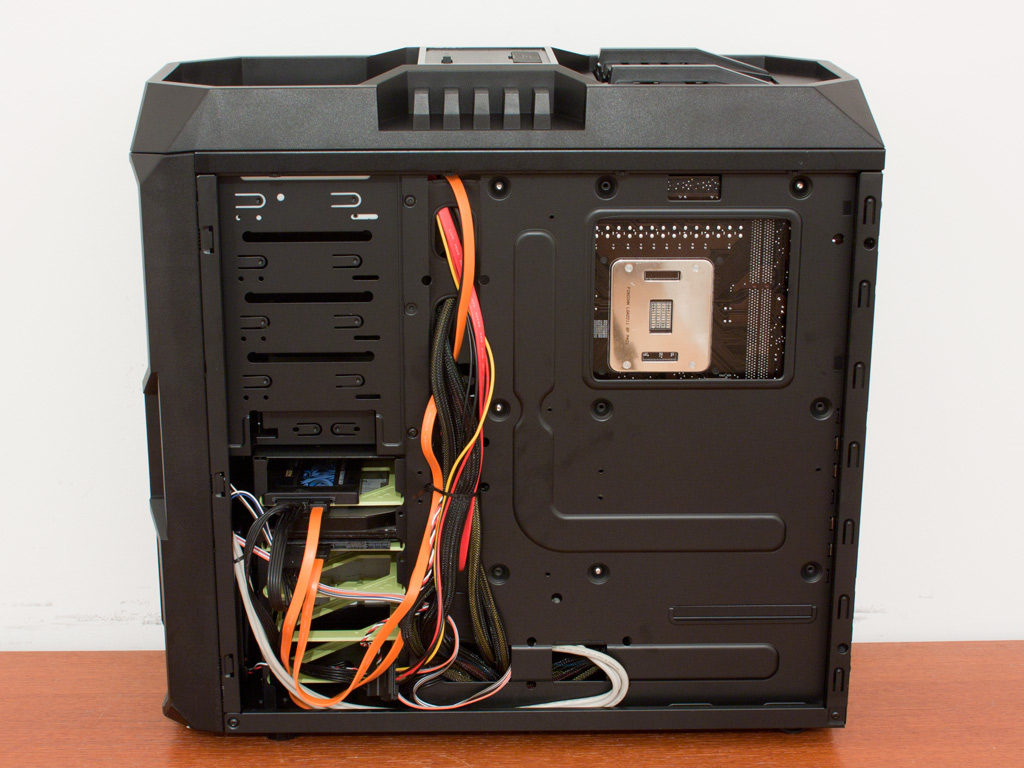
Once everything is installed, the case makes a clean impression. I was able to route and hide the cables nicely but you will have to invest quite a bit of work when filling this compact chassis to the rim. Having used smaller parts when reviewing the In Win BUC, the use of two long graphics cards and a large cooler really show the difference in cables and crowding within the BUC 101, which uses the same case frame as the original.
Finished Looks
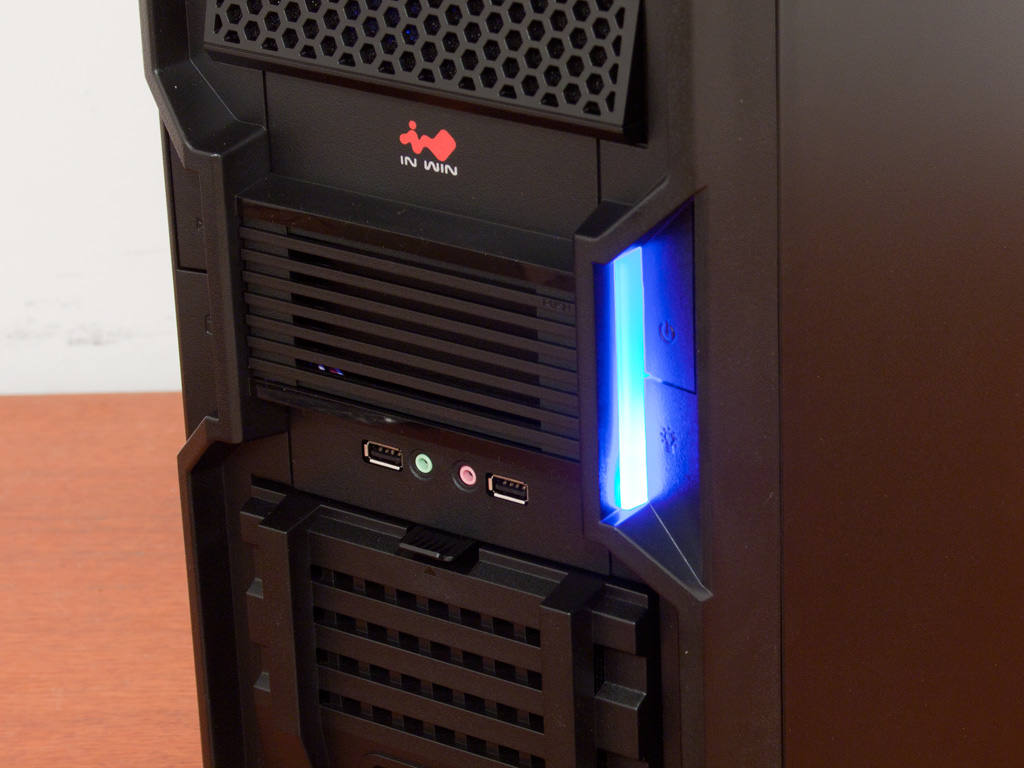

Once everything is in place, the BUC 101 makes a pretty cool impression. A big reason for that are the two large light strips in the front of the chassis. The one for power lights up blue, while the HDD activity strip will light up orange on the opposite side of the chassis.

3.5 or 2.5 inch SATA drives will fit easily within the top bay. Thanks to the foam lining, no vibrations are passed unto the chassis and the drive stays in place nicely.


One can clearly see the white fan through the side panel. As you can see, there is very little space between the cooler and the panel. Everything is where you would expect to find it when viewing the fully assembled system from the rear.
May 1st, 2024 14:58 EDT
change timezone
Latest GPU Drivers
New Forum Posts
- PYPrime 2.x free Memory benchmark. let's see those daily Memory OC performances. (41)
- Old high quality PSU, or semi-old mid-quality PSU? (24)
- Brother bought a house, found some old PC hardware.. (21)
- problem with my 7900xtx (24)
- CYBERPUNK 2077 O.F. (6)
- 7900 XTX Seriously lacking (94)
- Flashing original BIOS back to 5700 (1)
- Arctic MX-6 shelf life is just a couple months? (55)
- Recommendation for Android gaming tablet? (3)
- Alphacool CORE 1 CPU block - bulging with danger of splitting? (57)
Popular Reviews
- Ugreen NASync DXP4800 Plus Review
- Team Group T-Force Vulcan ECO DDR5-6000 32 GB CL38 Review
- HYTE THICC Q60 240 mm AIO Review
- Upcoming Hardware Launches 2023 (Updated Feb 2024)
- Montech Sky Two GX Review
- MOONDROP x Crinacle DUSK In-Ear Monitors Review - The Last 5%
- Thermalright Phantom Spirit 120 EVO Review
- AMD Ryzen 7 7800X3D Review - The Best Gaming CPU
- ASUS Radeon RX 7900 GRE TUF OC Review
- FiiO K19 Desktop DAC/Headphone Amplifier Review
Controversial News Posts
- Intel Statement on Stability Issues: "Motherboard Makers to Blame" (210)
- Windows 11 Now Officially Adware as Microsoft Embeds Ads in the Start Menu (157)
- Sony PlayStation 5 Pro Specifications Confirmed, Console Arrives Before Holidays (117)
- AMD's RDNA 4 GPUs Could Stick with 18 Gbps GDDR6 Memory (109)
- NVIDIA Points Intel Raptor Lake CPU Users to Get Help from Intel Amid System Instability Issues (106)
- AMD "Strix Halo" Zen 5 Mobile Processor Pictured: Chiplet-based, Uses 256-bit LPDDR5X (103)
- TechPowerUp Hiring: Reviewers Wanted for Motherboards, Laptops, Gaming Handhelds and Prebuilt Desktops (90)
- Superior Stability by GIGABYTE BETA BIOS with Intel Baseline on Z790/B760 Motherboards (86)