 10
10
In Win Matrix Review
Finished Looks »Assembly

After removing all components from the case, installing the mainboard is actually a breeze. One big drawback of the case is the fact, that you won't be able to install other small boards like ITX within the Matrix. The stand-offs are fixed within the case and there are no holes for such mainboards.
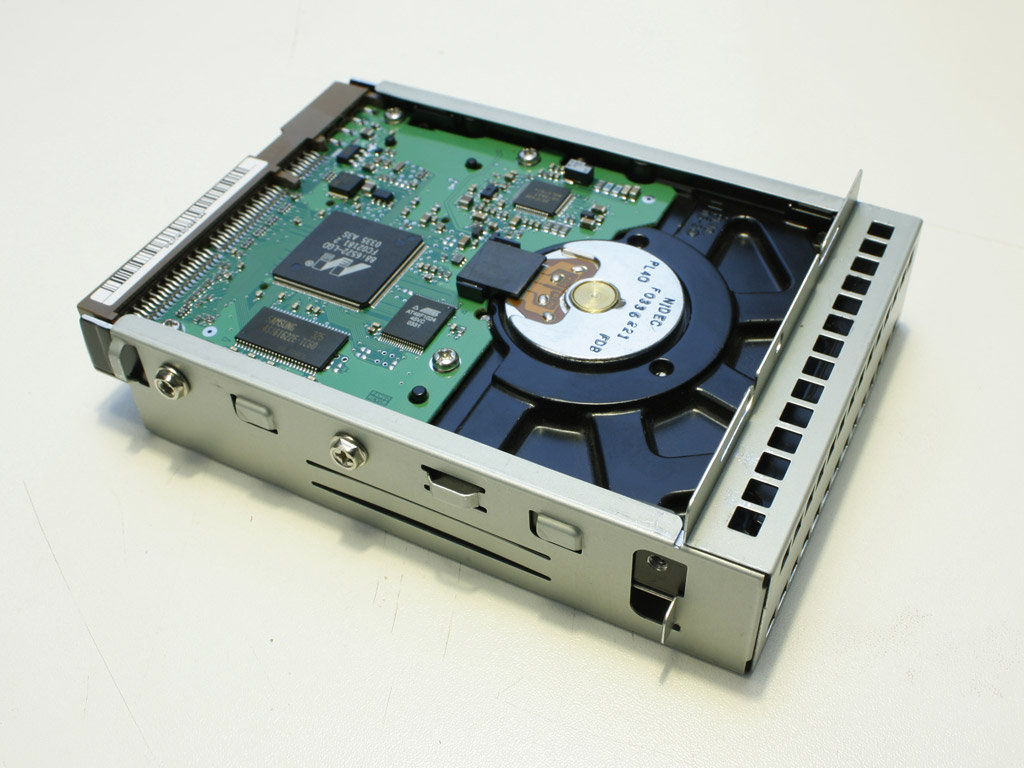

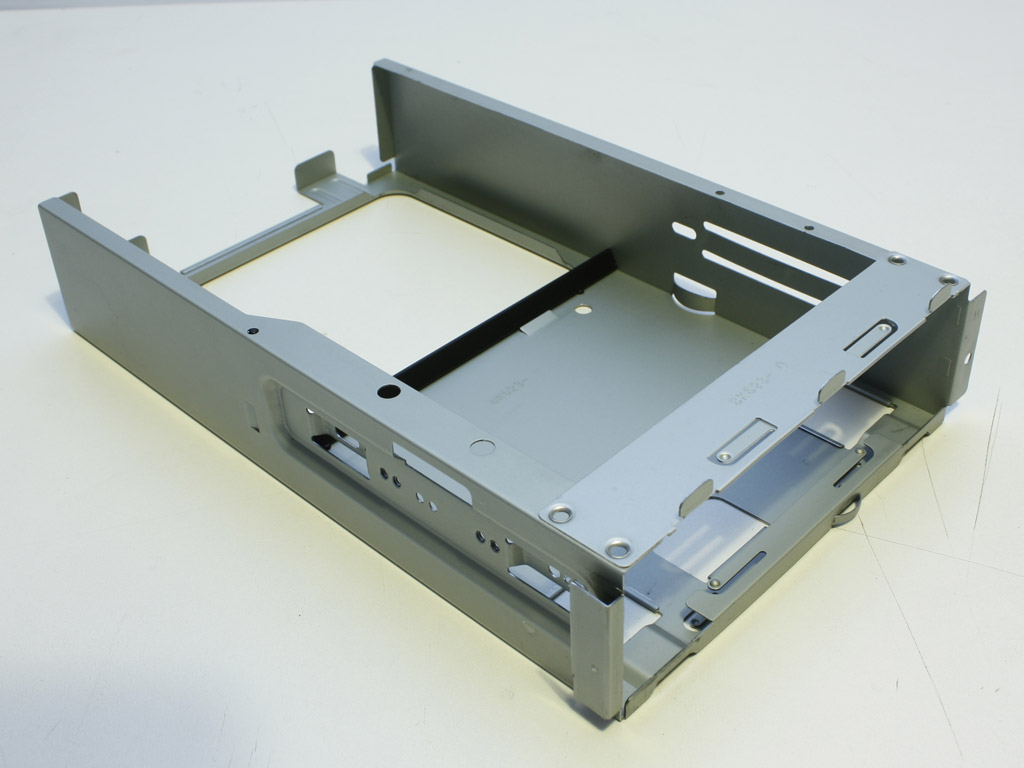
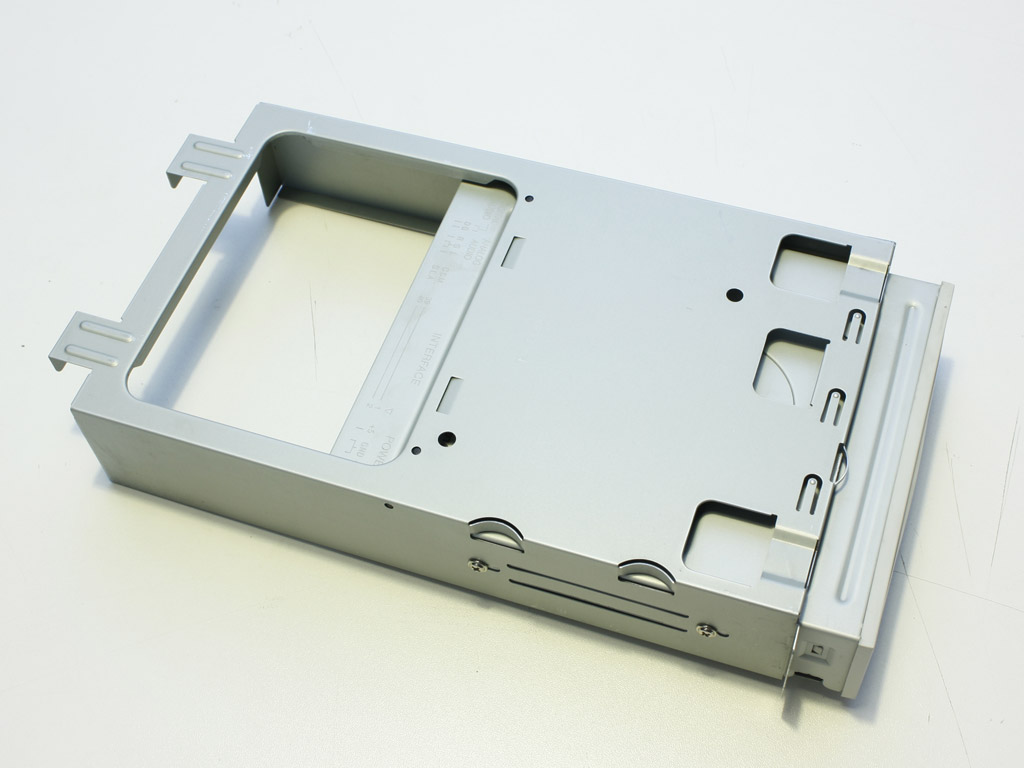
To install the hard drive you need to first secure it within the afore mentioned 3.5 inch tray. This is done with simple screws. As you can see it is placed upside down inside the tray and the cooling fan blows air directly unto the PCB.

Before installing the optical drive, you will need to replace the white plastic duct. This serves the simple purpose of keeping the area around the CPU fan cable free. Considering the overall size of the case, this is a much needed feature. A circular hole is large enough for all OEM cooling units, but you may get in the way with some aftermarket ones. Luckily, there are plenty of manufacturers, which produce heatsinks with similar shape to the OEM ones, but with a much quieter fan.

The optical drive is held in place by screws as well. This entire contraption is then placed on top of the white air duct/cover. At this point you will loose complete access to the main portion of the mainboard. Make sure you have connected everything before you reassemble the PC.

Once everything is installed you can clearly see the bottom part of the mainboard. The entire length of the case at the height of the PCIe x16 slot is free, meaning you could install at least a single slot graphic card for your gaming needs - like a Radeon 4850 or 9800 GT. Even though the power supply may not have the required power connector, a splitter or two and the PCIe power adapter should do the trick.
May 13th, 2024 22:14 EDT
change timezone
Latest GPU Drivers
New Forum Posts
- PNY 4070 Ti Super XLR8 (1)
- What are you playing? (20634)
- Ryzen Owners Zen Garden (7310)
- Ubuntu 24.04 LTS released (21)
- The Official Thermal Interface Material thread (1184)
- The Filthy, Rotten, Nasty, Helpdesk-Nightmare picture clubhouse (2630)
- Which RAM for AMD 7950X3D (15)
- Dell Workstation Owners Club (3086)
- Flash VBIOS to turn RX 580 2048SP into RX 570 (41)
- POLL: Can you see the difference past 60fps (gaming/other) (64)
Popular Reviews
- Homeworld 3 Performance Benchmark Review - 35 GPUs Tested
- ZMF Caldera Closed Planar Magnetic Headphones Review
- Corsair MP700 Pro SE 4 TB Review
- ThundeRobot ML903 NearLink Review
- Upcoming Hardware Launches 2023 (Updated Feb 2024)
- AMD Ryzen 7 7800X3D Review - The Best Gaming CPU
- Bykski CPU-XPR-C-I CPU Water Block Review - Amazing Value!
- CHERRY XTRFY M64 Pro Review
- ASUS Radeon RX 7900 GRE TUF OC Review
- ASRock Radeon RX 7900 XT Phantom Gaming White Review
Controversial News Posts
- Intel Statement on Stability Issues: "Motherboard Makers to Blame" (266)
- AMD to Redesign Ray Tracing Hardware on RDNA 4 (227)
- Windows 11 Now Officially Adware as Microsoft Embeds Ads in the Start Menu (172)
- NVIDIA to Only Launch the Flagship GeForce RTX 5090 in 2024, Rest of the Series in 2025 (152)
- Sony PlayStation 5 Pro Specifications Confirmed, Console Arrives Before Holidays (119)
- AMD Hits Highest-Ever x86 CPU Market Share in Q1 2024 Across Desktop and Server (115)
- AMD's RDNA 4 GPUs Could Stick with 18 Gbps GDDR6 Memory (114)
- AMD Ryzen 9 7900X3D Now at a Mouth-watering $329 (104)