 22
22
Raijintek Ereboss Review
Finished Looks »Installation


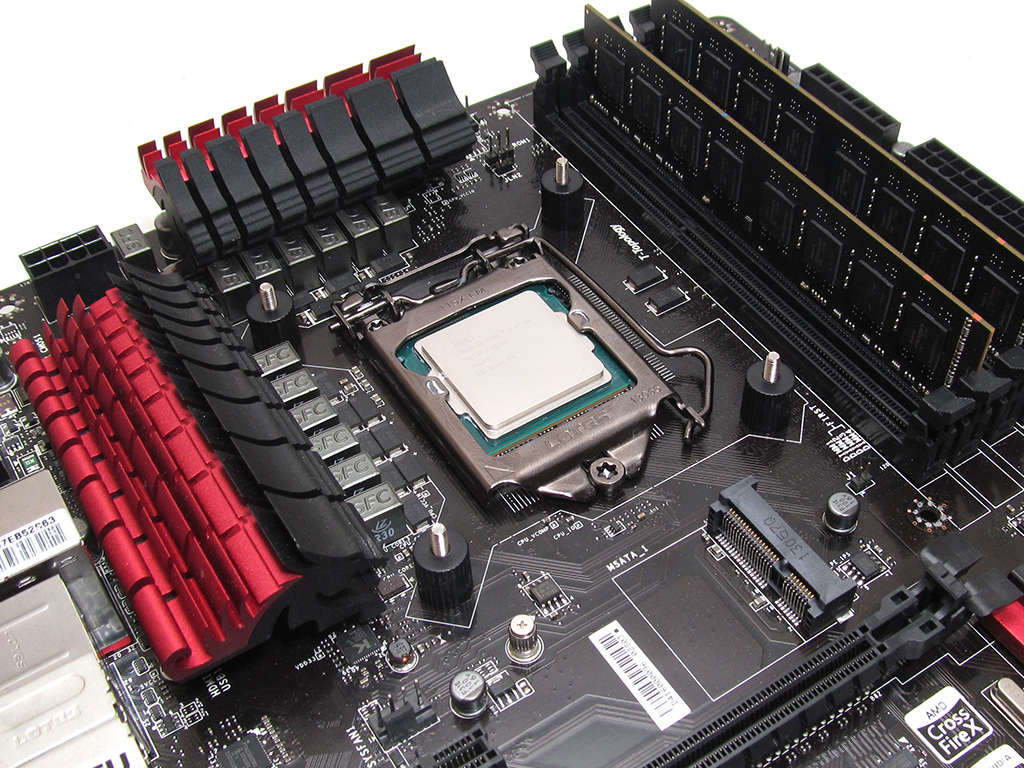
The first step in installing Raijintek's Ereboss cooler is to prepare the backplate. Line it up with the four holes on Socket 1150 and drop the four knurled screws through the proper holes on the backplate. Once the screws are in place, take the black nuts, screwing them down by hand to securly hold the backplate in place.


Install the mounting brackets onto the screws and tighten them down with the four metal nuts. The now secure brackets will hold the Ereboss cooler in place but apply your choice of thermal paste first.


With the thermal paste applied, it's time to mount the heatsink. Put the crossbar in place on the heatsink before lining the holes on the crossbar up with the holes on the mounting brackets. At this point, a long magnetic Philips head screwdriver is nice to have as you will need to screw the M3 screws through the crossbar and into the two mounting arms.


Attach the fan using the anti-vibration fan mounts and plug the fan into the CPU fan header. That's it, there is nothing else to it.
The mounting hardware Raijintek has provided with the Ereboss is, while universal, still easy to use. It could use some improvement, such as pre-attached spring screws to the crossbar to make the process easier. You might also be in for a bit of aggravation if you don't have a long screwdriver. I would rate the installation process for the prepared user a 7 on a scale of 1 (hardest) to 10 (easiest).
May 6th, 2024 15:11 EDT
change timezone
Latest GPU Drivers
New Forum Posts
- Update on the whole PC rebooting issue. There was an extra standoff in the case, but now it's crashing even more (0)
- HELP-pc turns on then off instantly (3)
- What is this? (5)
- Apparently Valve is giving refunds on Helldivers 2 regardless of hour count. Details inside. (105)
- AAF Optimus DCH Audio Modded Driver for Windows 10/11 - For ALL HDAUDIO Enumerator Chips (657)
- Rare GPUs / Unreleased GPUs (1880)
- Only some humans can see refresh rates faster than others, I am one of those humans. (180)
- Arctic MX-6 shelf life is just a couple months? (93)
- CYBERPUNK 2077 O.F. (7)
- Envinda RX 580 2048SP 8GB no image (19)
Popular Reviews
- Finalmouse UltralightX Review
- ASRock NUC BOX-155H (Intel Core Ultra 7 155H) Review
- Meze Audio LIRIC 2nd Generation Closed-Back Headphones Review
- Cougar Hotrod Royal Gaming Chair Review
- Upcoming Hardware Launches 2023 (Updated Feb 2024)
- Montech Sky Two GX Review
- AMD Ryzen 7 7800X3D Review - The Best Gaming CPU
- HYTE THICC Q60 240 mm AIO Review
- ASUS Radeon RX 7900 GRE TUF OC Review
- Logitech G Pro X Superlight 2 Review - Updated with 4000 Hz Tested
Controversial News Posts
- Intel Statement on Stability Issues: "Motherboard Makers to Blame" (248)
- Windows 11 Now Officially Adware as Microsoft Embeds Ads in the Start Menu (167)
- AMD to Redesign Ray Tracing Hardware on RDNA 4 (165)
- Sony PlayStation 5 Pro Specifications Confirmed, Console Arrives Before Holidays (117)
- AMD's RDNA 4 GPUs Could Stick with 18 Gbps GDDR6 Memory (114)
- NVIDIA Points Intel Raptor Lake CPU Users to Get Help from Intel Amid System Instability Issues (106)
- AMD Ryzen 9 7900X3D Now at a Mouth-watering $329 (104)
- AMD "Strix Halo" Zen 5 Mobile Processor Pictured: Chiplet-based, Uses 256-bit LPDDR5X (103)