 6
6
Saitek Pro Gamer Command Unit Review
Performance »Software
The software installation is made up of two parts. The first part installs the Saitek Control Panel while the second part installs drivers and Profile Editor. Windows finds four devices which need to need to be installed manually, by selecting the automatic install feature of Windows.Installation Process


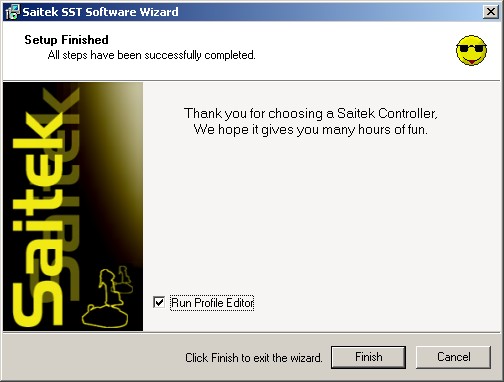
Look at that cool shades smiley at the end of the installation - quite funny :cool:
Profile Editor & Saitek Control Panel

The Profile Editor itself is quite straightforward. Each button pressed lights up in blue in the 3D view. Each button can be assigned to a single buttons or button combinations (macros). This makes for some great scripts which can then be used in games. It seems you can store an unlimited number of keypressed, I stopped counting at 260. Unfortunately adding delays is not possible. The profiles can be saved and then loaded via a Systray icon which is placed there after installation. That icon also allows the user to open up the Saitek Control Panel.


The Control Panel does just that. It controls all the functions of the Pro Gamer Command Unit. Each button pressed lights up, while the small joystick also triggers the crosshair to move in the selected direction. The window is quite similar to the Windows control panel for game pads and joysticks. The second tab of the Control Panel displays the current software version and features a link to download the latest version of the Saitek software.
May 18th, 2024 08:01 EDT
change timezone
Latest GPU Drivers
New Forum Posts
- Page load time extension results for popular websites (14)
- What are you playing? (20674)
- Ghost of Tsushima PC Port !!!! (55)
- is there anyway to verify my motherboard actually has a gen5 gpu slot without a gen5 card? (24)
- PSU Option for my PC (18)
- EK seems to be having major issues (98)
- Cannot locate ASRock rx6800 Challenger pro OC VBIOS update (1)
- AIO Water Cooler vs Tower Air Cooler (48)
- Would you pay more for hardware with AI capabilities? (32)
- What's your latest tech purchase? (20559)
Popular Reviews
- Ghost of Tsushima Performance Benchmark Review - 35 GPUs Tested
- Homeworld 3 Performance Benchmark Review - 35 GPUs Tested
- Lofree Edge Ultra-Low Profile Wireless Mechanical Keyboard Review
- Silverstone Shark Force 120 mm Fan Review
- Enermax REVOLUTION D.F. X 1200 W Review
- Sapphire Radeon RX 7900 GRE Pulse Review
- Upcoming Hardware Launches 2023 (Updated Feb 2024)
- TerraMaster D8 Hybrid Review
- AMD Ryzen 7 7800X3D Review - The Best Gaming CPU
- ZMF Caldera Closed Planar Magnetic Headphones Review
Controversial News Posts
- Intel Statement on Stability Issues: "Motherboard Makers to Blame" (269)
- AMD to Redesign Ray Tracing Hardware on RDNA 4 (227)
- Windows 11 Now Officially Adware as Microsoft Embeds Ads in the Start Menu (172)
- NVIDIA to Only Launch the Flagship GeForce RTX 5090 in 2024, Rest of the Series in 2025 (154)
- AMD Hits Highest-Ever x86 CPU Market Share in Q1 2024 Across Desktop and Server (139)
- AMD RDNA 5 a "Clean Sheet" Graphics Architecture, RDNA 4 Merely Corrects a Bug Over RDNA 3 (130)
- AMD's RDNA 4 GPUs Could Stick with 18 Gbps GDDR6 Memory (114)
- AMD Ryzen 9 7900X3D Now at a Mouth-watering $329 (104)