 11
11
Scythe Infinity Review
(11 Comments) »Introduction
I would like to thank Scythe for supplying the tested cooler.| Model Name | Infinity CPU Cooler SCINF-1000 |
|---|---|
| Compatibility Intel | Intel® LGA775 (SocketT) Processor Intel® Socket478 Processor |
| Compatibility AMD | AMD Socket AM2 Processor AMD Socket940 Processor AMD Socket939 Processor AMD Socket754 Processor |
| Fan Dimensions | 120 x 120 x 25mm |
| Combined Dimensions | 125 x 116 x 160mm |
| Fan Speed | 1,200rpm (±10%) |
| Fan Noise Level | 23.5dBA |
| Air Flow | 46.5CFM |
| Weight | 960g |
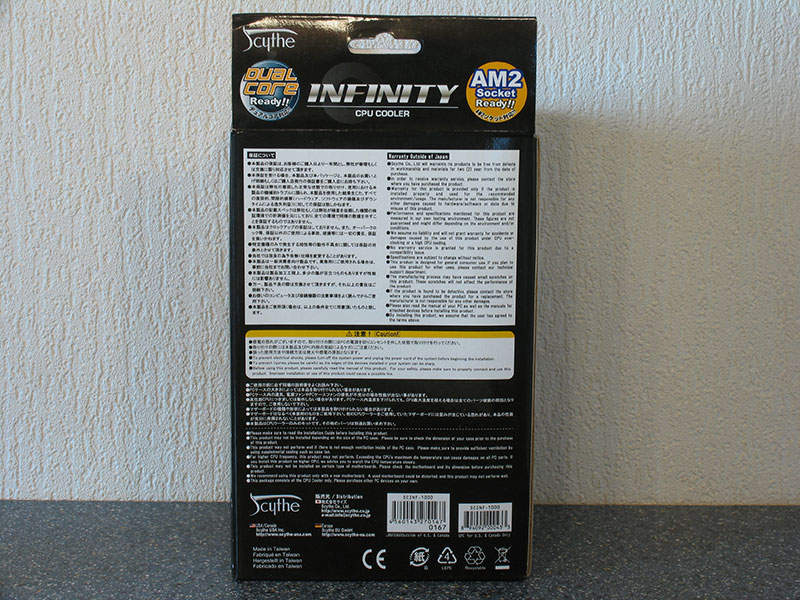
If you take a look at the processor compatibility list, you realize that pretty much every of today's CPUs is supported - and that at no additional cost for mounting kits or similar things.
Packaging

Box contents:
- CPU Cooler Heatsink
- 120 mm fan
- Fan mounting clips
- Mounting clips 939/AM2, 775, 478
- Instruction manual


This is one of the biggest coolers on the market. To give you an idea how big it is we put a Socket775 CPU on top of it.


The cooler's base plate is protected by a transparent blue plastic foil which is easily removed. This ensures that you receive an absolutely perfect shiny contact surface.
You can see that Scythe is paying a lot of attention to the contact area. It is very flat and perfectly smooth.

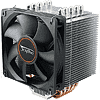
Five copper heatpipes are used to transport heat away from the CPU to the heatsink fins.

After installing the 120mm fan, your cooler is ready to get used.

If you need airflow going another direction you can also mount the fan on the thin side of the cooler, at slightly reduced cooling performance. The available width is perfect for your own 92mm fan.


The five heatpipes go all the way around the heatsink in one piece each, that's why you see ten endpoints at the top.


On top of the heatsink the Scythe logo is embossed in the metal.


At the bottom you can find a small heatsink which is sitting in the airflow and can get rid of some heat very close to the core. Any extra heat can now travel through the heatpipes to get dissipated there.
Installation
The installation of the Scythe Infinity is one of the easiest installations I have ever performed. I think everybody can do it, in just a few minutes. The first installation might require one or two looks into the manual, but after that it becomes easier every time.Depending on the socket you want to use, you have to install the right clips from the three included sets. The manual describes this very well.

We will show you installation on a Socket775 motherboard, that's why we will need the LGA 775 clips.

At the sides of the heatsink base are four small holes into which the clips go in.

Once you clipped them in, the connection is very secure. To remove the clip you press the little metal tabs together and pull the clip out.

We will be using this ASUS P5B Deluxe to install the Scythe Infinity on.

All you have to do is align the cooler correctly so that the black push pins align with the holes in the motherboard, then press them down one after another.

Since this cooler is so big, it blocks direct access to the push pins. In places where there is also something tall on the motherboard this could make installation a bit hard. My suggestion is to start with the pins that are hard to reach and push in the easier ones last. The reason is that once you have two or three pins locked down, the other ones require a lot more force to push down. It helps if you have small fingers which you can put between heatsink and push pin - ask your wife/girlfriend/mom/sister for help.


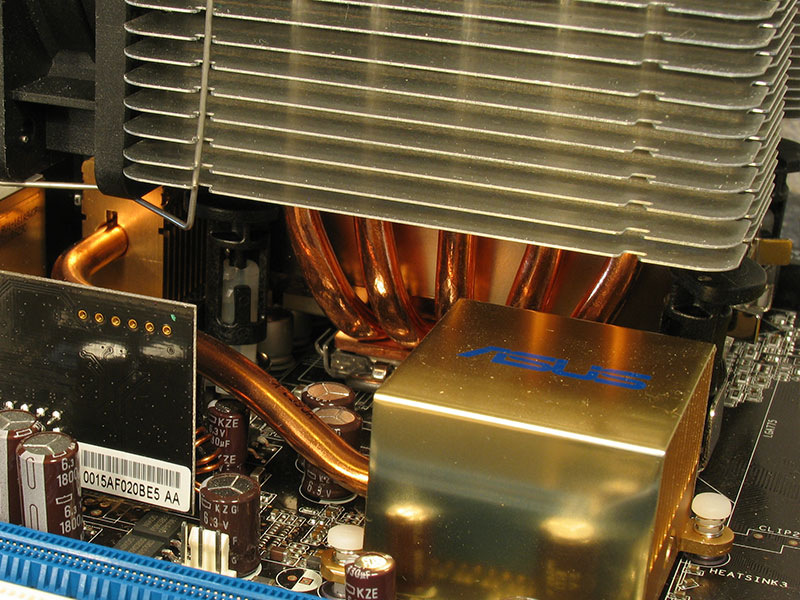
After installation the cooler sits rock stable on the board and fits perfectly. I also tried to fit it on the ABIT AW9D-MAX and it fits fine there too.


This is the installation a Socket AM2 motherboard. The two clips go into the hooks on the retention module. Very easy to do, you don't even have to remove the motherboard from the case.
Our Patreon Silver Supporters can read articles in single-page format.
May 7th, 2024 18:21 EDT
change timezone
Latest GPU Drivers
New Forum Posts
- What's your latest tech purchase? (20472)
- Urgent: PC wont turn on with PSU connected to MOBO (5)
- Battery swap for cyberpower UPS (63)
- 1GHZ less than I should be getting (3)
- Arkane Austin and Redfall: what happened? (48)
- Only some humans can see refresh rates faster than others, I am one of those humans. (212)
- What are you playing? (20597)
- not impressed - nvme vs ssd (36)
- Share your AIDA 64 cache and memory benchmark here (2929)
- Arc OC'ing, anyone? (2)
Popular Reviews
- Finalmouse UltralightX Review
- Corsair iCUE Link RX120 RGB 120 mm Fan Review
- CHERRY XTRFY M64 Pro Review
- Cougar Hotrod Royal Gaming Chair Review
- Meze Audio LIRIC 2nd Generation Closed-Back Headphones Review
- Upcoming Hardware Launches 2023 (Updated Feb 2024)
- ASRock NUC BOX-155H (Intel Core Ultra 7 155H) Review
- AMD Ryzen 7 7800X3D Review - The Best Gaming CPU
- ASUS Radeon RX 7900 GRE TUF OC Review
- Logitech G Pro X Superlight 2 Review - Updated with 4000 Hz Tested
Controversial News Posts
- Intel Statement on Stability Issues: "Motherboard Makers to Blame" (254)
- AMD to Redesign Ray Tracing Hardware on RDNA 4 (200)
- Windows 11 Now Officially Adware as Microsoft Embeds Ads in the Start Menu (167)
- NVIDIA to Only Launch the Flagship GeForce RTX 5090 in 2024, Rest of the Series in 2025 (129)
- Sony PlayStation 5 Pro Specifications Confirmed, Console Arrives Before Holidays (119)
- AMD's RDNA 4 GPUs Could Stick with 18 Gbps GDDR6 Memory (114)
- NVIDIA Points Intel Raptor Lake CPU Users to Get Help from Intel Amid System Instability Issues (106)
- AMD Ryzen 9 7900X3D Now at a Mouth-watering $329 (104)