 11
11
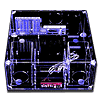
Sunbeam Acrylic HTPC Case Review
(11 Comments) »Introduction

I would like to thank Sunbeam for supplying the review sample.
Features:
- HTPC chassis
- High quality hardware
- Core fan design
- 2 x USB 2.0 Ports , Audio and Microphone in Front of the Case
- Can be assembled 8 pcs 3.5" HDD
- Four 80mm fans included
Specifications:
Color: Transparent (HTPC-T)
UV-Blue (HTPC-HUVB)Drive Bay: 5.25" Drives Bay x 2
3.5" External Drive Bay x 1
3.5" Internal Drive Bays x 8Front I/O Port: USB 2.0 x 2 + Speaker + Microphone Weight: Gross Weight: 5.6 kg; Net Weight: 4.8 kg Dimensions: 47.5 * 44 * 19.5cm (L*W*H) Motherboard Type: Standard ATX
Packaging & Contents


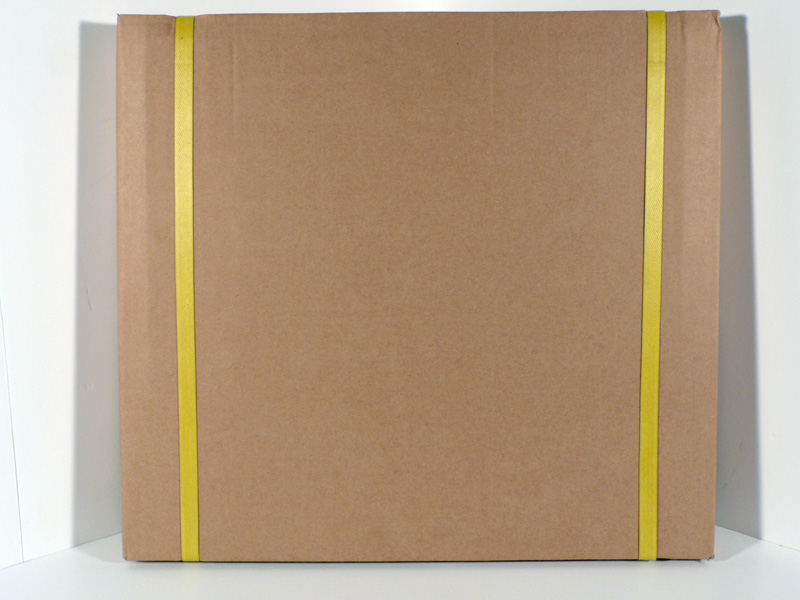
The Acrylic HTPC case comes in typical Sunbeam packaging, consisting of a black cardboard box with color images and specifications on the box. Like most acrylic cases, this one requires assembly, so the box is small and thin.
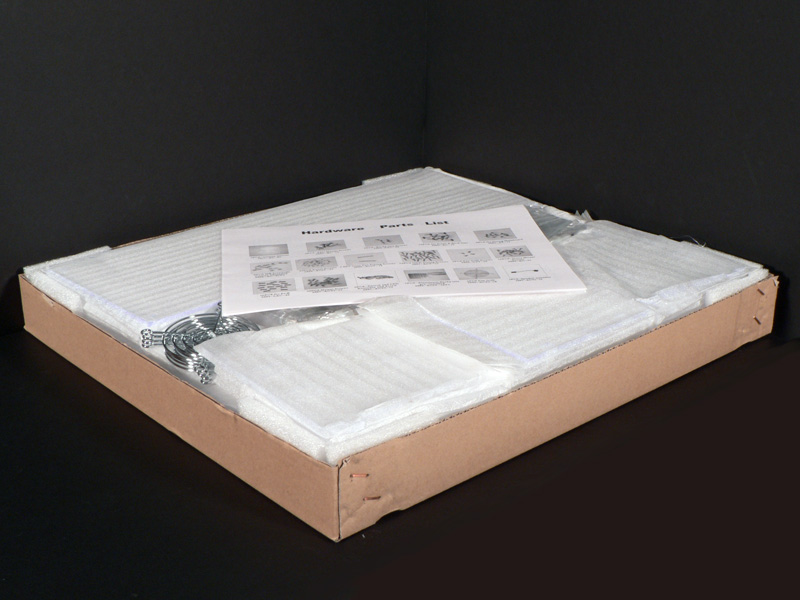

Inside the package the parts are placed in another cardboard box and banded together with two plastic straps. Half of the inner box contains the acrylic panels for the case, while the other half contains the hardware, fans and other pieces.


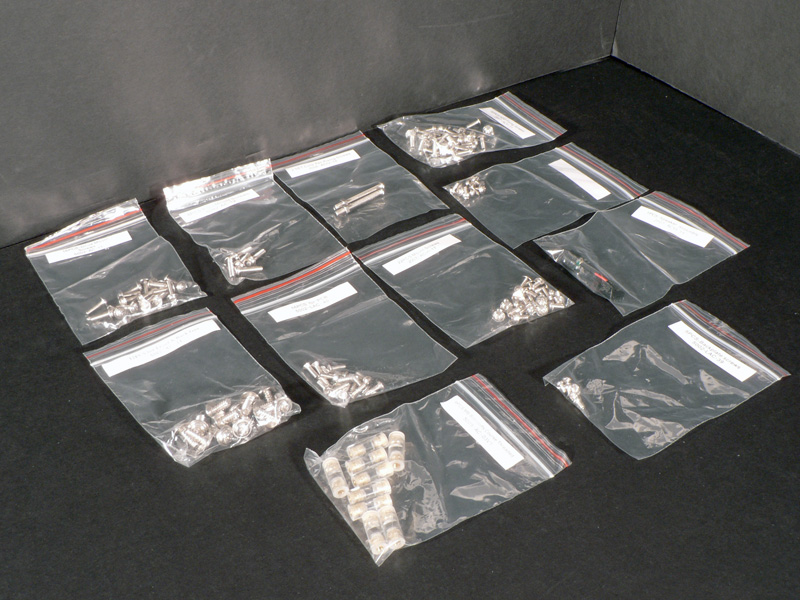
Included with the case are four 80mm UV blue LED fans and four chrome wire grills. Nearly all the components are individually wrapped, which keeps parts from rubbing together or scratching other parts. The acrylic panels are wrapped in white foam, while almost everything else is placed individual resealable bags.


The other items included with the Acrylic HTPC case are the rear metal PCI and I/O panel, a front I/O panel, a pair of white cloth gloves and two screwdrivers.
Assembly


To start the assembly of the Sunbeam Acrylic HTPC case, the bottom panel needs the four case feet and two power supply supports attached to it with the included double-sided tape. Four corner brackets are then attached loosely with the chrome thumbscrews. By leaving these thumbscrews just a little loose, adding the side panels and making minor adjustments will be much easier.


There are nine motherboard support stand-offs included with the kit, and these should be added next.


The Acrylic HTPC case features eight internal 3.5" bays, which has to be the most I have ever seen in an HTPC case. In fact, it is probably more hard drive bays than on many standard cases, aside from some full tower monsters out there. Here, the two HDD cages are assembled and added to the lower panel. These two cages can be left out if not needed, or one or both used depending on the user's needs. It would make sense to add the drives to the cages as they are assembled, but the drives were left out for clarity.


Next the front panel was assembled. Two of the fans and two of the grills were added to their respective openings, and the front I/O panel was added, too. Then the front panel was attached to the corner brackets, still leaving the thumbscrews a little loose.


Moving on to the rear of the case, the metal PCI plate should be attached to the rear panel, along with another 80mm fan and grill. This panel then gets attached to the bottom, same as the front.


Now the two side panels can be added, and they get attached with more of the silver thumbscrews. There are two supports that are used along the sides to help hold the case together.

Sunbeam includes a bracket for their "Core Fan" system, which in this case is another 80mm fan that is used internally to provide additional airflow around the PCI cards. This works rather well, unless by some chance the video card used is a full-sized card like any of the high-end models from ATI or NVIDIA. This bracket might be in the way then, and if left out of the system there would be four open holes on the top panel.


The top panel gets added last, and then all of the thumbscrews can be tightened up.
Our Patreon Silver Supporters can read articles in single-page format.
May 4th, 2024 23:17 EDT
change timezone
Latest GPU Drivers
New Forum Posts
- Apparently Valve is giving refunds on Helldivers 2 regardless of hour count. Details inside. (31)
- Arctic MX-6 shelf life is just a couple months? (85)
- Change GPU or PSU ? Games looks bad with microsuttering (15)
- Keysfan (21)
- Post your 7zip 23.01 scores (16)
- Is updating BIOS to beta versions a good idea if you have the most recent version installed but still face issues? (3)
- Everytime i plug something into my wall, it stutters, and it never goes away (6)
- Unigine Heaven 4.0 Benchmark Scores Part 2 (930)
- Only some humans can see refresh rates faster than others, I am one of those humans. (100)
- Have you got pie today? (16326)
Popular Reviews
- Finalmouse UltralightX Review
- Meze Audio LIRIC 2nd Generation Closed-Back Headphones Review
- ASRock NUC BOX-155H (Intel Core Ultra 7 155H) Review
- Montech Sky Two GX Review
- Upcoming Hardware Launches 2023 (Updated Feb 2024)
- Cougar Hotrod Royal Gaming Chair Review
- Alienware Pro Wireless Gaming Keyboard Review
- HYTE THICC Q60 240 mm AIO Review
- AMD Ryzen 7 7800X3D Review - The Best Gaming CPU
- Logitech G Pro X Superlight 2 Review - Updated with 4000 Hz Tested
Controversial News Posts
- Intel Statement on Stability Issues: "Motherboard Makers to Blame" (237)
- Windows 11 Now Officially Adware as Microsoft Embeds Ads in the Start Menu (167)
- AMD to Redesign Ray Tracing Hardware on RDNA 4 (130)
- Sony PlayStation 5 Pro Specifications Confirmed, Console Arrives Before Holidays (117)
- AMD's RDNA 4 GPUs Could Stick with 18 Gbps GDDR6 Memory (114)
- NVIDIA Points Intel Raptor Lake CPU Users to Get Help from Intel Amid System Instability Issues (106)
- AMD Ryzen 9 7900X3D Now at a Mouth-watering $329 (104)
- AMD "Strix Halo" Zen 5 Mobile Processor Pictured: Chiplet-based, Uses 256-bit LPDDR5X (103)