 5
5
Aerocool Mechatron Review
A Closer Look - Inside »A Closer Look - Outside

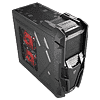
The chassis design is quite elaborate. It does looks great, but Aerocool chose to leave half the top panel bare, which makes for a bit of a weird look. The materials used feel sturdy, but do flex a bit here and there as the plastic is a tad bit softer than I like it to be. That said, overall build quality of the Mechatron is good for a case of this price class.
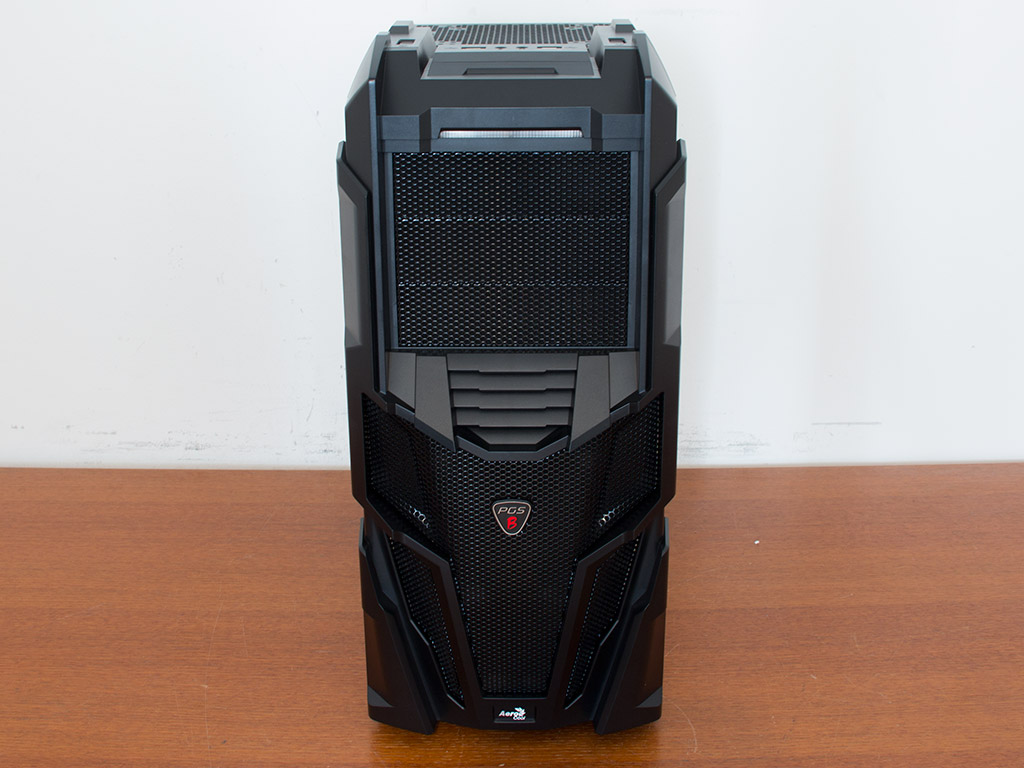


The front of the chassis looks pretty spiffy. Clean, edgy, and straight lines in its plastic front and good use of metal mesh do convey the "Transformers" look, hence the name Mechatron. The rear shows the entire interior to be painted black, which is pretty standard nowadays. Like most modern units, the PSU bay is located on the bottom. We received the variant without a side window. You will instead find this one to be equipped with a large honeycomb air vent you may install your choice of two 120/140 mm or one massive 180 mm unit to. Aerocool has extruded parts of this side panel to make its design fall into line with that of the front. The opposite side is unfortunately completely flat, with no extruding parts. It would have been nice to see such parts on both sides completing the overall look and feel.

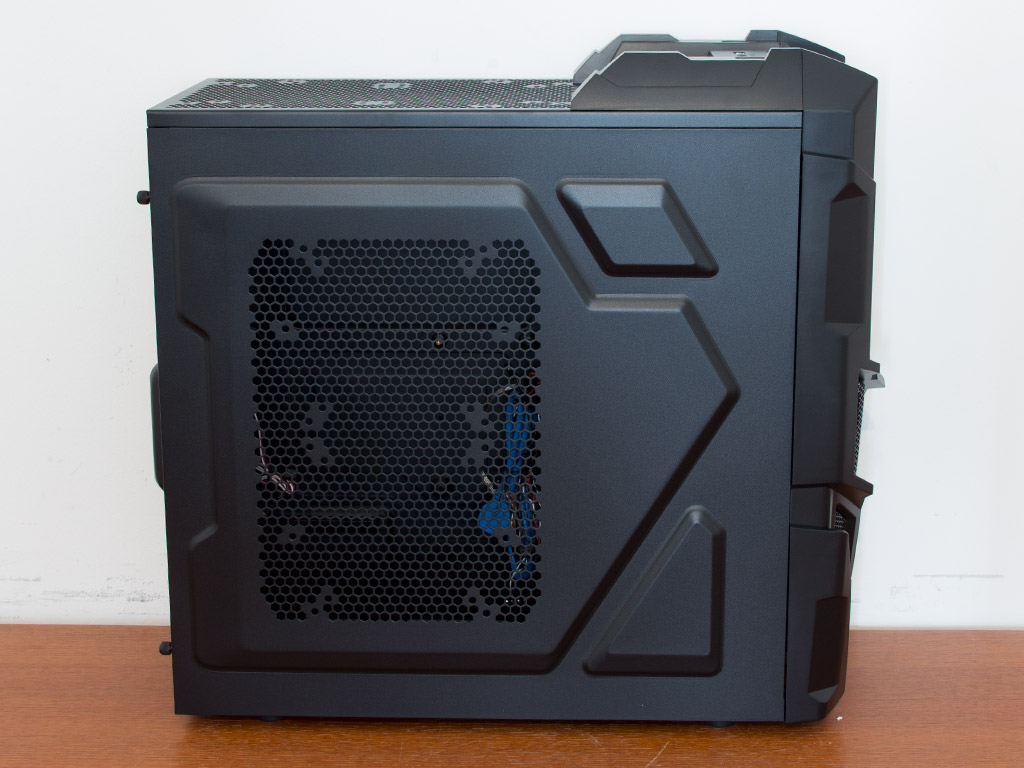
Three 5.25" bays with separate metal-mesh covers fill the top half of the chassis. Each of these also has an embedded dust filter—you won't have to worry about dirt entering the chassis here. Below it is an intricately designed air vent for the red LED-equipped 180 mm intake fan in the front. You will also find the PGS-B logo in this area, but no actual Aerocool branding.

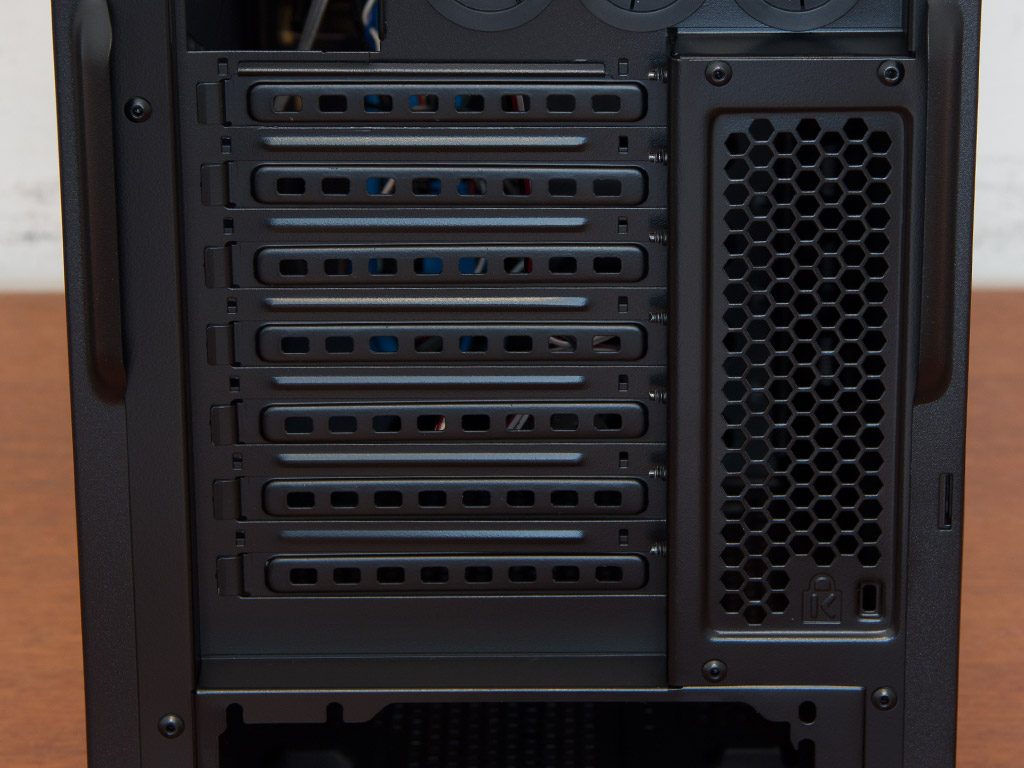

There is a 120 mm exhaust fan in the very top of the rear, with plenty of space above it, which should allow you to install fans onto the ceiling vents without obstructing the CPU cooler within. Below the rear cooling unit are the seven standard expansion slots, each protected by an individual, reusable cover. As mentioned before, the PSU bay is on the floor of the Mechatron and comes equipped with two sets of mounting holes, so you can install a power supply with the fan facing either up or down.
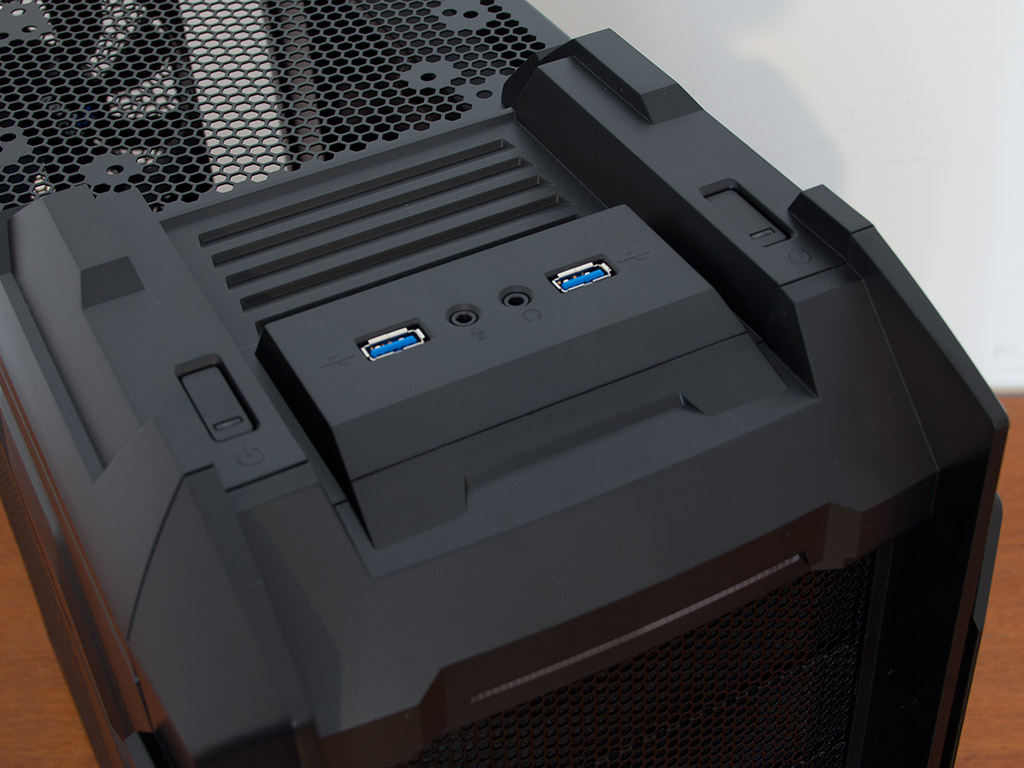
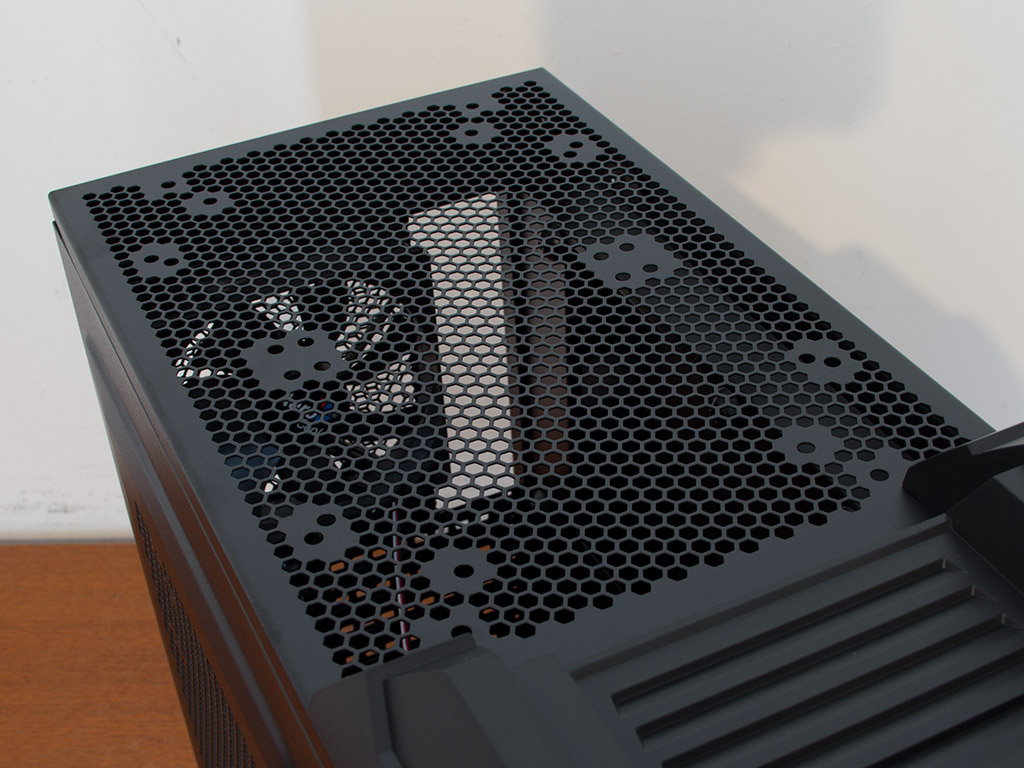
The plastic fixture at the front of the top also holds the two USB 3.0 and usual pair of audio I/O. While most people may not need more, it is the most basic constellation of such connectivity. To the left and right are the power and reset buttons. The rear of the top cover functions as an air vent for either two 120/140 mm fans or a single 180/200 mm cooling unit. There is also enough clearance all around for a 240 mm radiator.

Taking a quick peek at the underside of the chassis, there is a large dust filter to protect the intake areas on the floor of the case. This dust filter is easily removed and may be cleaned by simply holding it under running water.
May 12th, 2024 16:03 EDT
change timezone
Latest GPU Drivers
New Forum Posts
- How to optimize my PC by overclocking my system (4)
- LOL ASUS says this is $200 in repair, Steve from gamers Nexus smokes ASUS, Steam Deck til I die boys!!!! (74)
- Regular frametime spikes in all games (2)
- Results and questions (5)
- Keysfan (29)
- I don't think Ryzen 9900x3d is just being announced next month, I think it's launching next month. (65)
- Which Audio System Would you Choose and Why? (0)
- Air makes its way from the reservoir into the radiator. (24)
- Homeworld 3 [Official Thread] (30)
- AMD FX funny cooling (9)
Popular Reviews
- ZMF Caldera Closed Planar Magnetic Headphones Review
- ThundeRobot ML903 NearLink Review
- Corsair MP700 Pro SE 4 TB Review
- Bykski CPU-XPR-C-I CPU Water Block Review - Amazing Value!
- CHERRY XTRFY M64 Pro Review
- Upcoming Hardware Launches 2023 (Updated Feb 2024)
- ASRock NUC BOX-155H (Intel Core Ultra 7 155H) Review
- AMD Ryzen 7 7800X3D Review - The Best Gaming CPU
- Corsair iCUE Link RX120 RGB 120 mm Fan Review
- ASUS Radeon RX 7900 GRE TUF OC Review
Controversial News Posts
- Intel Statement on Stability Issues: "Motherboard Makers to Blame" (266)
- AMD to Redesign Ray Tracing Hardware on RDNA 4 (218)
- Windows 11 Now Officially Adware as Microsoft Embeds Ads in the Start Menu (171)
- NVIDIA to Only Launch the Flagship GeForce RTX 5090 in 2024, Rest of the Series in 2025 (147)
- Sony PlayStation 5 Pro Specifications Confirmed, Console Arrives Before Holidays (119)
- AMD's RDNA 4 GPUs Could Stick with 18 Gbps GDDR6 Memory (114)
- AMD Hits Highest-Ever x86 CPU Market Share in Q1 2024 Across Desktop and Server (107)
- AMD Ryzen 9 7900X3D Now at a Mouth-watering $329 (104)