 2
2
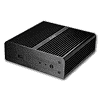
Akasa Newton NUC Case Review
Temperatures »A Closer Look - Inside
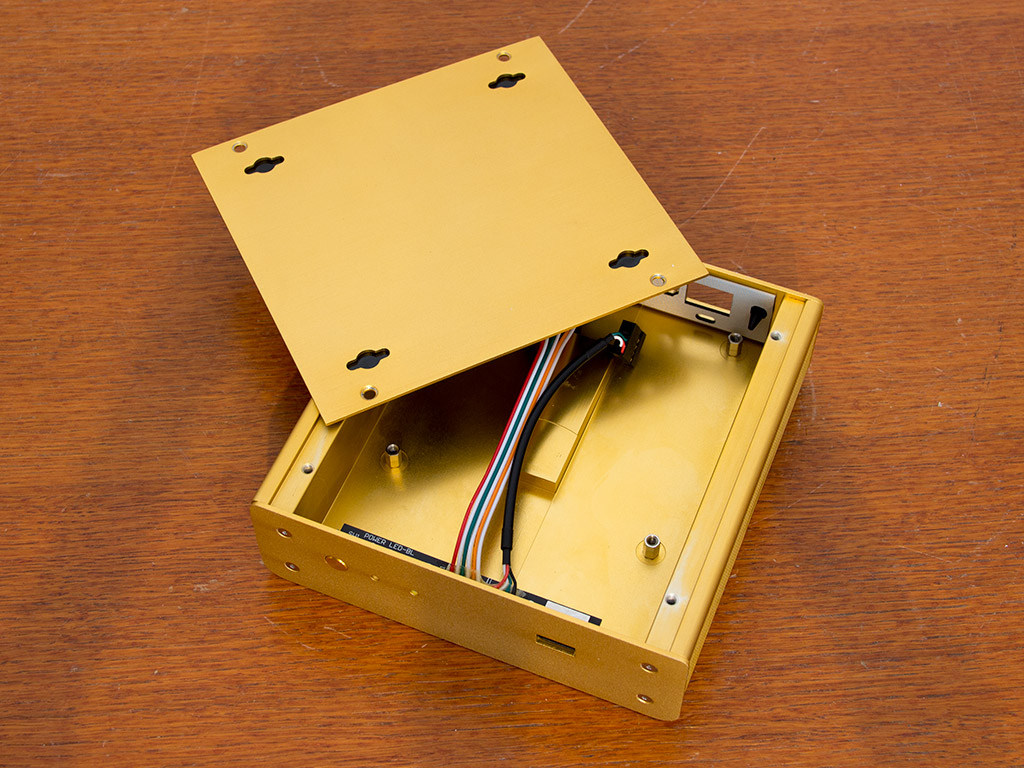
Simply remove the screws holding the bottom cover in place to access the interior. As the chassis has been anodized golden, the interior features the same shiny surface as the rest of the chassis. You can expect the same of the black variant, or a silver surface for the untreated unit.
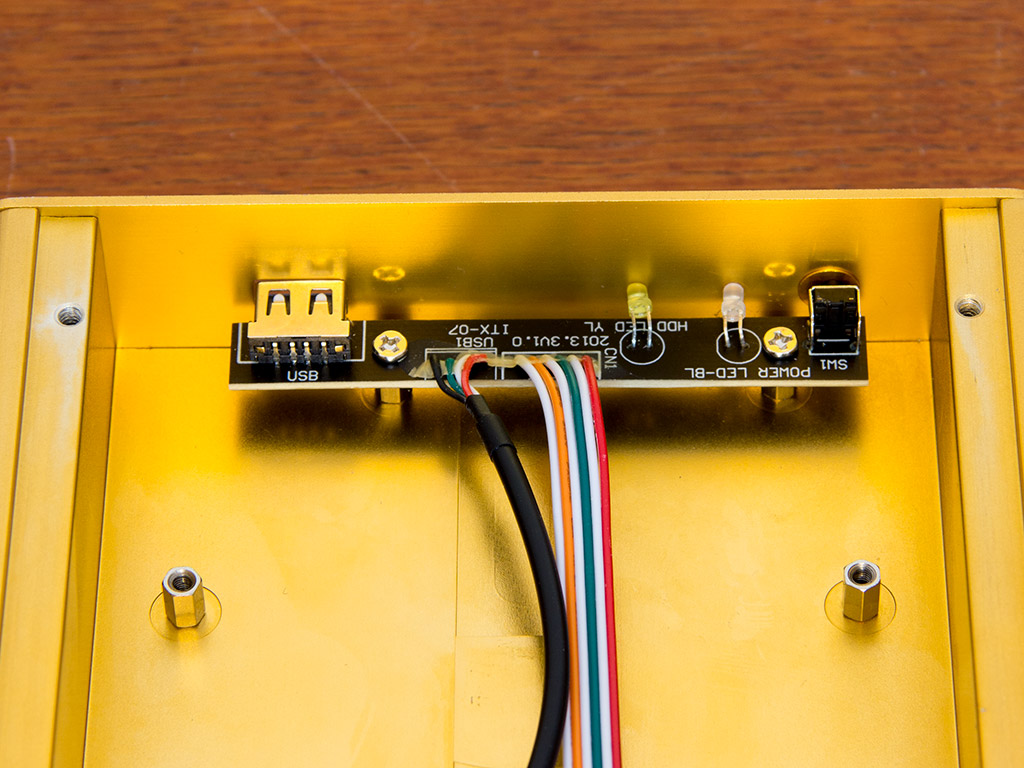

Unlike other NUC cases, the Newton comes with an actual PCB on which the front USB, LEDs, and power button reside. This traditional approach is necessary as the chassis is a bit bigger than the Intel NUC enclosure, which then also makes the front I/O possible—other manufacturers try to put the power button on top of the board instead. The PCB also allows for flexibility, offering other connectivity options should the platform change over time. The cutouts for the motherboard's various connectors are in the rear, and the little opening above the large square for Ethernet connectivity is for a Kensington lock. A protective layer has been added to the rear panel, and the two additional WiFi openings have their own rubber plugs; simply pull these out if you need one for an external antenna.
Assembly

Akasa utilizes one large block to transfer heat from the board to the case fins, while Tranquil PC opts for two separate blocks. The Akasa Newton could then heat the cooler of the two chips up involuntary, but we should not jump to any conclusions until the numbers are in. I uninstalled the board to clearly show where the two large ICs make contact with the chassis. There is loads of space toward the front of the chassis, which is surprising as Akasa could have made the Newton smaller overall. It is most likely in an attempt to increase thermal performance, as the larger chassis also translates into a larger heatsink.
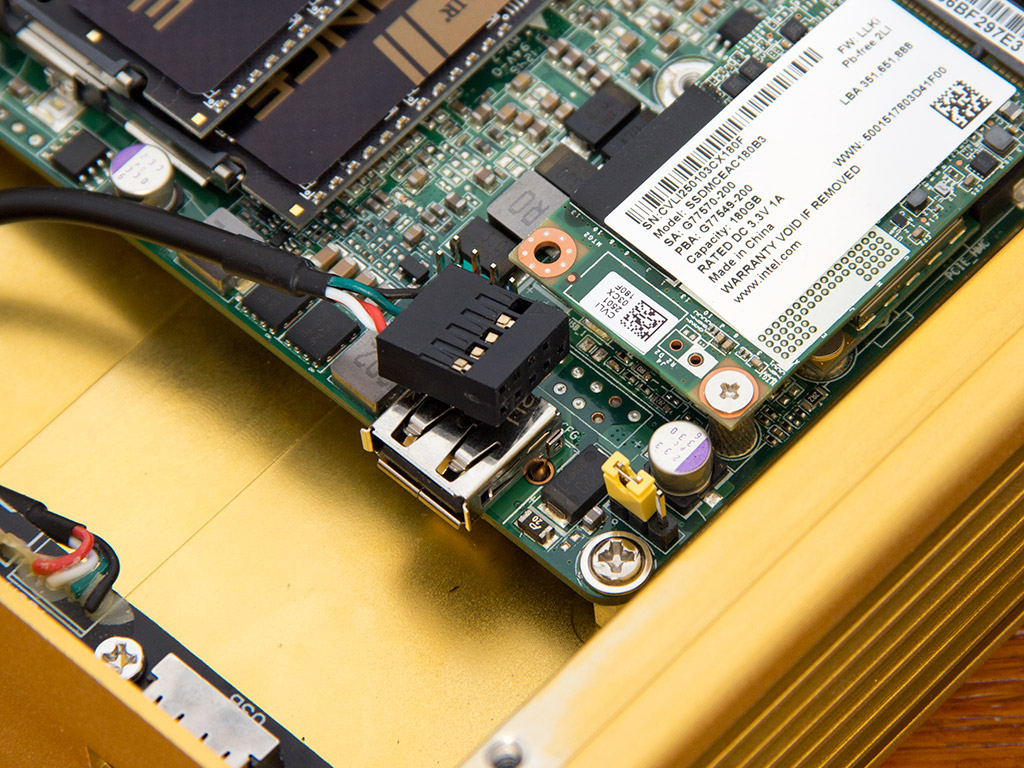
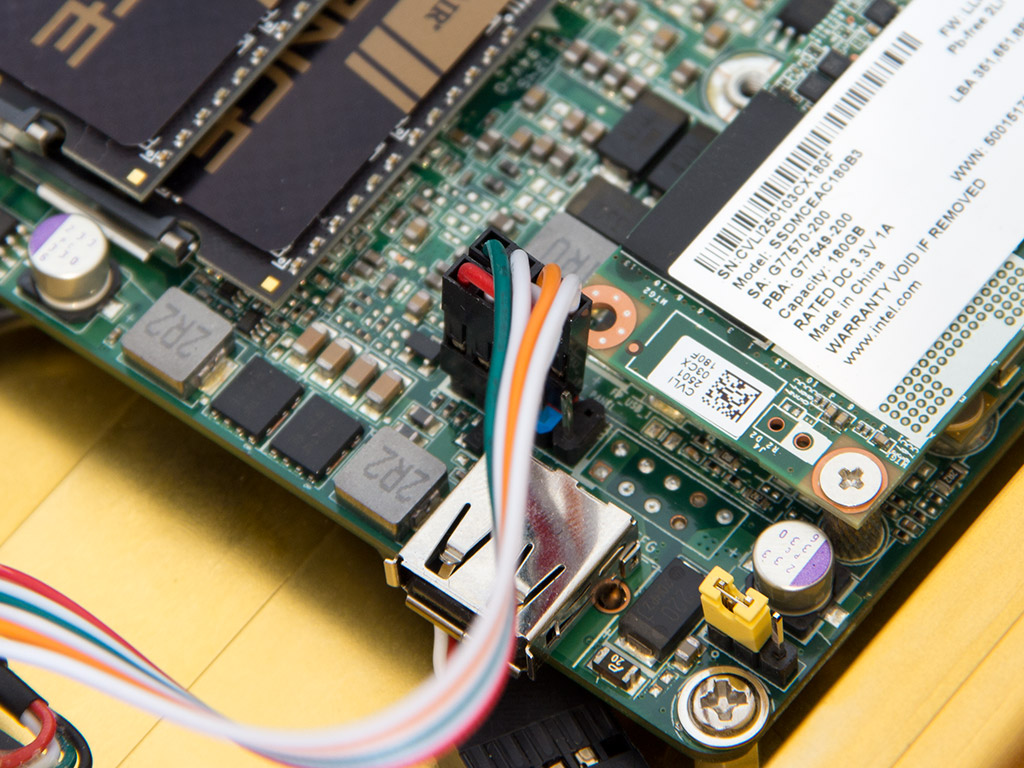
Connecting the front I/O to the NUC board should not be an issue unless you ripped the motherboard out of a retail Intel NUC chassis. You will, if so, miss the USB 2.0 header pins. While the location is clearly there, Intel skipped attaching these headers, resulting in the front USB port's inability to connect properly. A little adapter to transform the internal plug to that on USB sticks would have then been nice since it would make routing the external plug to the front possible. Fortunately, connecting the power button and LEDs works as those pins are present on even the fully encased Intel NUC board.
Finished Looks
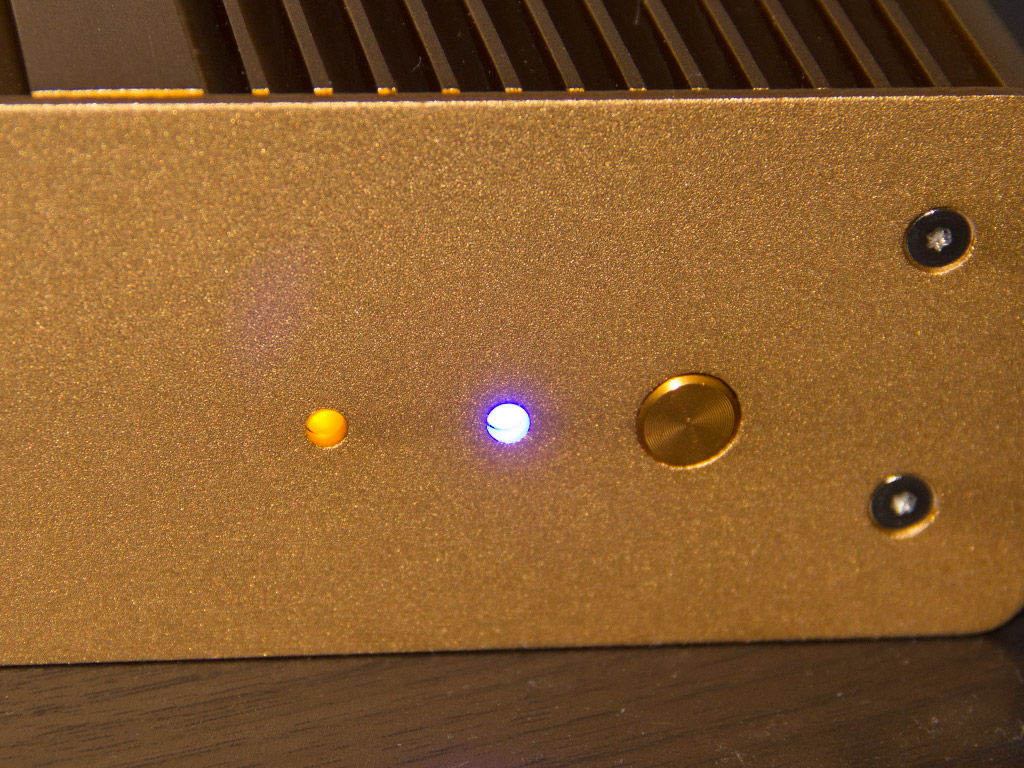
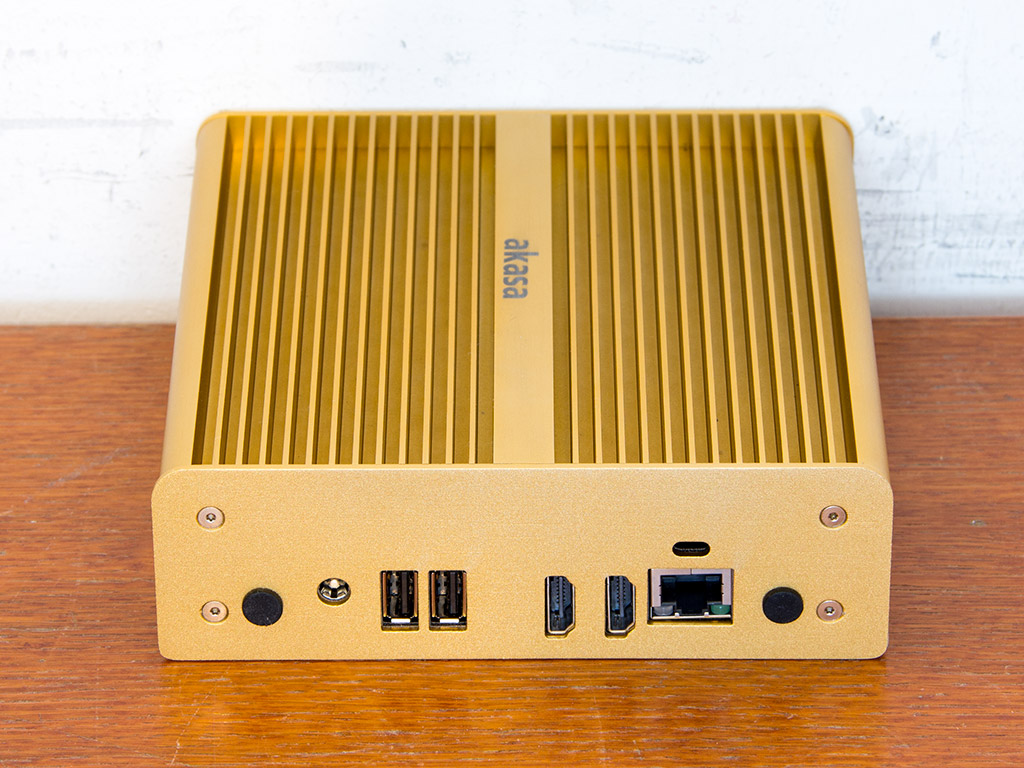
With everything connected, both LEDs light up in different colors, with the orange LED being the HDD activity LED and the blue denoting that the Newton is powered on. All the connectors in the rear are easily accessible as the rear is completely flat, with no recessed connectors.
May 10th, 2024 16:08 EDT
change timezone
Latest GPU Drivers
New Forum Posts
- TPU's WCG/BOINC Team (34422)
- Have you got pie today? (16332)
- Flash VBIOS to turn RX 580 2048SP into RX 570 (31)
- Milestones (13882)
- WCG Daily Numbers (12512)
- Cyberpunk 2077 Game Discussion (2123)
- MSI Stealth GS65 9SF settings after repaste (2)
- TPU's Rosetta Milestones and Daily Pie Thread (1876)
- What are you playing? (20616)
- Folding Pie and Milestones!! (9023)
Popular Reviews
- CHERRY XTRFY M64 Pro Review
- Bykski CPU-XPR-C-I CPU Water Block Review - Amazing Value!
- Corsair iCUE Link RX120 RGB 120 mm Fan Review
- ThundeRobot ML903 NearLink Review
- Corsair MP700 Pro SE 4 TB Review
- ZMF Caldera Closed Planar Magnetic Headphones Review
- Upcoming Hardware Launches 2023 (Updated Feb 2024)
- Finalmouse UltralightX Review
- AMD Ryzen 7 7800X3D Review - The Best Gaming CPU
- Sapphire Radeon RX 7700 XT Pure Review
Controversial News Posts
- Intel Statement on Stability Issues: "Motherboard Makers to Blame" (264)
- AMD to Redesign Ray Tracing Hardware on RDNA 4 (206)
- Windows 11 Now Officially Adware as Microsoft Embeds Ads in the Start Menu (170)
- NVIDIA to Only Launch the Flagship GeForce RTX 5090 in 2024, Rest of the Series in 2025 (144)
- Sony PlayStation 5 Pro Specifications Confirmed, Console Arrives Before Holidays (119)
- AMD's RDNA 4 GPUs Could Stick with 18 Gbps GDDR6 Memory (114)
- NVIDIA Points Intel Raptor Lake CPU Users to Get Help from Intel Amid System Instability Issues (106)
- AMD Ryzen 9 7900X3D Now at a Mouth-watering $329 (104)